Sekiro walkthrough part 14 - Owl and Fountainhead Monk Cheese

After giving your large furry friend a headache to remember, the way to the last ingredient is finally clear.
Make your way into the cave next to where the Ape sat minding his own business and take the flower, then return to the Shrine outside to teleport back to Kuro. But what’s this? All of the Castle Shrines are unavailable, something must be very wrong.
The only back into the Castle Grounds is through the Abandoned Dungeon Entrance Shrine, where you can buy the Mask Fragment.
When you arrive, what follows is quite possibly the sternest test of patience that the main story of Sekiro has to throw at you.
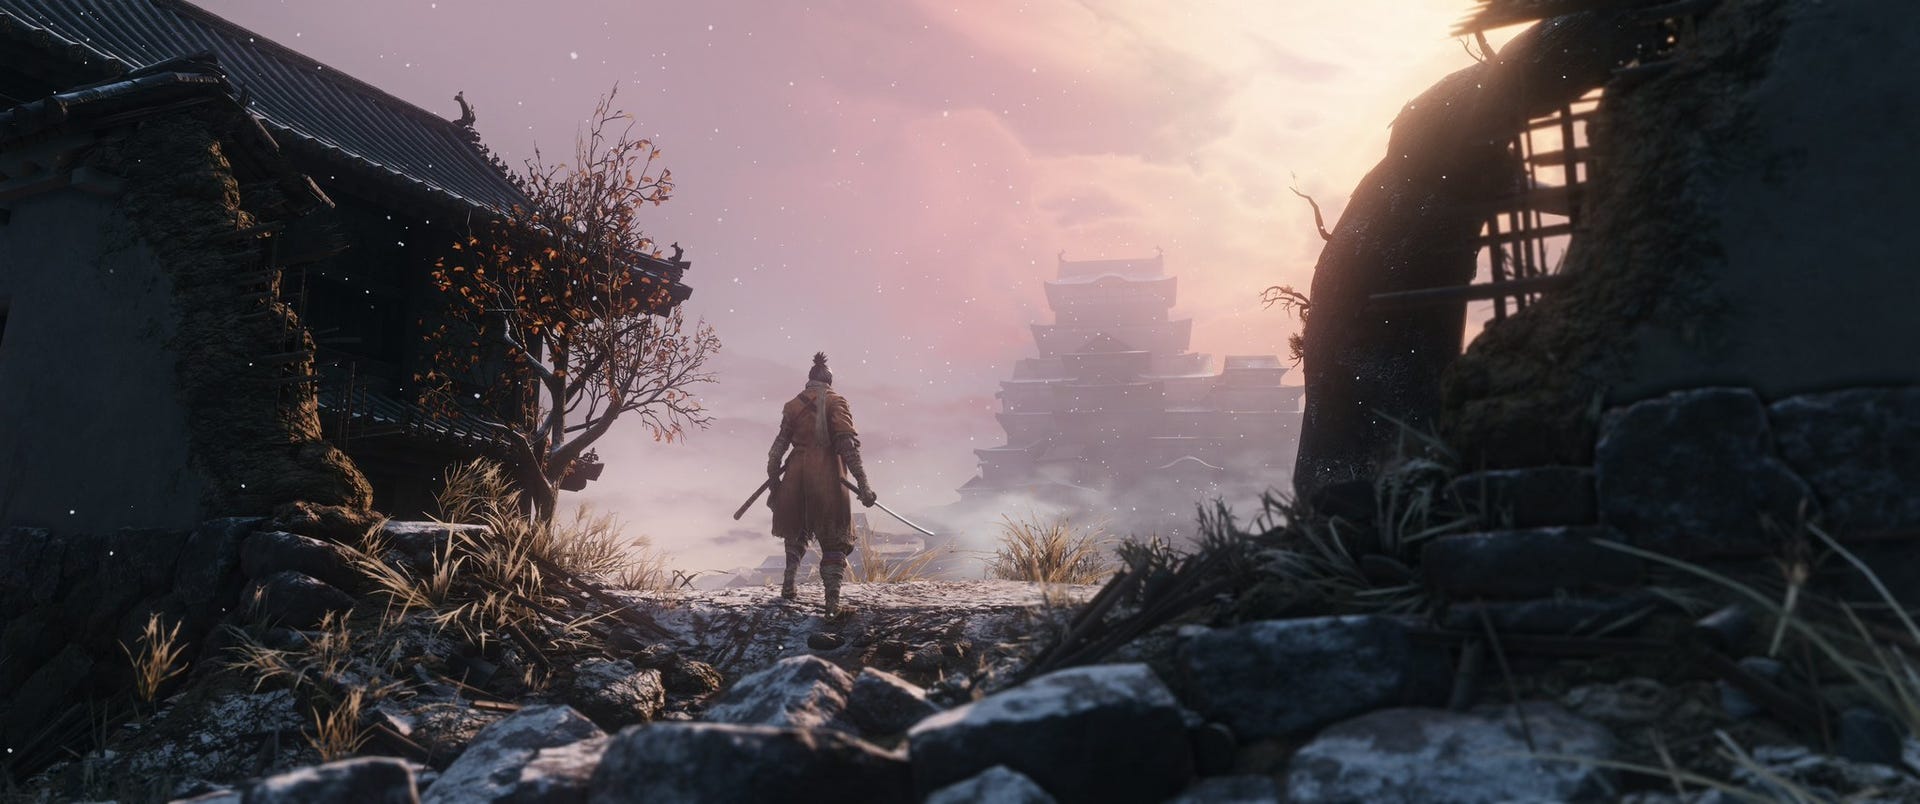
Your destination is the rooftop arena where you fought Genichiro earlier in the game. Only now there are a ton of tough new enemies in your way.
Apologies for the mild spoilers, but it’s necessary so that you’re prepared. There’s a boss at the end of this stretch with no convenient Shrine to rest at in between, so you’re going to want to run past everyone on the way there.
Route to the Owl
From the Abandoned Dungeon Entrance, go right into the square with the big bell boi and his dogs. Sprint past him and grapple up onto the gate. Jump down, ignoring the fleeing guard running towards you.
There’s a dual-wielding samurai stomping through the large gate on the other side of the bridge, but since you have bigger fish to fry, just jump over his head and through the open door.
Past him, you’ll be overlooking the large moat around the castle. Jump down into it and grapple to avoid fall damage. Then dive into the water with your new underwater ability and swim into the tunnel on your left.
There’s an underground hole that gets you through to the other side of the moat, surface on the other side and grapple out of the pool onto the high ledge. Now grapple up onto the nearby rooftop on your right, but be very wary of the shinobi enemy waiting above you. If you rush in too quickly, he’ll just jump on your head and deal a ridiculous amount of damage.
If you stand on the edge of the rooftop he’ll just drop down harmlessly, so once he’s airborne nip forward and grapple up to the walkway where he was standing.
Turn right and get over to the top of the castle stairs wall, then gap across to the right-hand side. On your left will be another grapple point on a walkway that leads to the tall rooftop above the front door of the castle.
Sprint to the left, ignoring the Shinobi and dogs that attack, and grapple to the roof ledge above him. You can then grapple to another point on the roofs opposite, before grappling up and to the right a further two times to reach the walkway that leads to the rooftop arena.
Here you have two choices, you can either go and engage the boss straight away, or try and drop down to reactivate the Upper Tower - Antechamber Shrine. If (when) you die you’ll be transported back to the Dungeon Entrance Shrine and have to run that gauntlet again, but you’ll start to get it down very quickly after a while.
Great Shinobi - Owl
Once you’ve made up your mind about which Shrine you want as your base, make your way to the roof and trigger the cutscene.
This is your major story choice for the game, and time to decide which ending you want to go for - refer to our Sekiro best ending guide if you’re unsure.
Your adoptive father, who’s eight feet tall and built like Thanos for some reason, presents you with a choice: obey the Iron Code and betray your Young Lord Kuro, or reject the greed of your father and protect your charge.
The first choice could be described as the “evil path”, whereas the second opens up multiple “good paths”.
The evil way is by far the easiest, and will cut out a large part of the game. For the walkthrough, we’ll complete the “Return” path, which is generally considered to be the “best”.
If you want to be bad though, you’ll fight both Emma and Lord Isshin one after the other. Simply deflect their regular attacks and step dodge behind their unblockable specials. These fights are quite straightforward, so make of that what you will.
The choice to disobey your father though will trigger a much, much tougher boss battle with him.
There are two ways to tackle this as well: be aggressive, deflect his regular combos, and go beast-mode with your reflexes to step dodge his unblockables - or you can cheese it to high heavens.
On medical grounds, I’d recommend the cheese, but if you’re feeling flash try it the proper way if you like. Focus on learning tells for his attack patterns and which can be punished.
For instance, his regular sword slash attacks can be deflected if you’re quick enough, as can his shuriken. A lot of time after he’s thrown the shuriken, he’ll jump into the air for an attack. Dodge diagonally forward to get behind this slam and you can chip away at his health and posture.
When he jumps backwards and throws a lot of shuriken in an arc at you, step-dodge forwards underneath them in the first phase. In the second phase this is replaced with acid, so dodge backwards.
Great Shinobi - Owl cheese method
However, if that’s proving a pain there are less mechanically intensive options.
If you sprint around the arena while locked-on to the Owl, you can bait him into doing the punishable shuriken jump combo often enough to whittle down his health.
Sprint in a counter-clockwise circle only, otherwise the camera will go weird and you’ll just end up getting hit.
If you need to create more space to run counter-clockwise, walk clockwise for a small distance to let him get closer to the centre of the arena, then resume your counter-clockwise run.
As you run in your circle, he should keep doing the exploitable shuriken combo quite a lot, so dash in and hit him once at the end of the combo. Eventually, he’ll go down.
It’s not quick, it’s not pretty, but heal often when you’re hit and don’t forget to use the Divine Child’s rice and other healing items like Pellets if you need to.
Try to resist slashing into his orb attack, because it’ll stop you from healing. You can throw your own shuriken for additional damage here if you wish.
Following his defeat, you’ll be able to reconvene with Kuro and Emma. Reactivate the Shrine in the room and speak to the Young Lord.
Return to the Wedding Cave where you fought the Corrupted Monk Spirit and pray in the Poliquin, after the cutscene you’ll be able to reach the Fountainhead Palace!
Fountainhead Palace & Corrupted Monk cheese
In your new surroundings, grapple forward onto solid ground, then rest at the Shrine in front of you.
Through the gate, you’ll face a tougher version of the Corrupted Monk, but one that is very easy to cheese the heck out of.
As she drops down, grapple to the tree branches on the right and then to the higher branches behind her. You should then be able to jump down on top of her and perform a deathblow. If it’s not working, you might need to wait a second or two longer for her to fully spawn in.
One health bar down.
Now just grapple back up to those same branches, and as she readies for her second phase, just jump down and deathblow again.
Two down.
Finally, your shinobi firecrackers will stun her every time you use them in range. So just stun-lock her into oblivion, with a firecracker-slash-slash-slash-slash-firecracker combo.
Sekiro guides
- Sekiro walkthroughs
- Sekiro walkthrough Part 1 - Yamauchi, General Naomori Kawarada
- Sekiro walkthrough Part 2 - Chained Ogre
- Sekiro walkthrough Part 3 - Find the Flame vent, Shinobi Axe and fight General Tenzen Yamauchi
- Sekiro walkthrough Part 4 - Find the Shinobi Firecracker and fight the horse-rider
- Sekiro walkthrough Part 5 - How to reach Ashina Castle
- Sekiro walkthrough Part 6 – finishing the Hirata Estate
- Sekiro walkthrough Part 7 – Ashina Reservoir
- Sekiro walkthrough Part 8 - Senpou Temple, Long-Armed Centipede Sen'un
- Sekiro walkthrough Part 9 - Ashina Castle Upper Tower
- Sekiro walkthrough Part 10 – Where to find Lord Isshin
- Sekiro walkthrough Part 11 – Ashina Depths and Hidden Forest
- Sekiro walkthrough Part 12 – Mibu Village, Corrupted Monk Spirit, Screen Monkeys
- Sekiro walkthrough Part 13 – Sunken Valley, Gun Fort and Bodhisattva Valley
- Sekiro walkthrough Part 14 – Owl and Fountainhead Monk Cheese
- Sekiro walkthrough Part 15 – Finding a Persimmon and collecting the Frozen Tears
- Sekiro walkthrough Part 16 – Mibu Manor, Fountainhead Pot Noble and Dragon
- Sekiro walkthrough Part 17 – Clean up and Isshin Sword Saint Cheese
- Sekiro - best ending guide
- Sekiro skills and combat
- Sekiro - top combat tips
- Sekiro - best skills
- Sekiro - Boss guide
- Sekiro crafting and items
- Sekiro - how to remove Rot Essence and cure the Dragonrot
- Sekiro - crafting and upgrade materials guide
- Sekiro - Gourd Seeds and Prayer Beads locations
- Sekiro - Treasure Carp Scales Guide
- Sekiro - Mask Fragment Guide
- Sekiro - where to find more Divine Confetti and Snapseeds