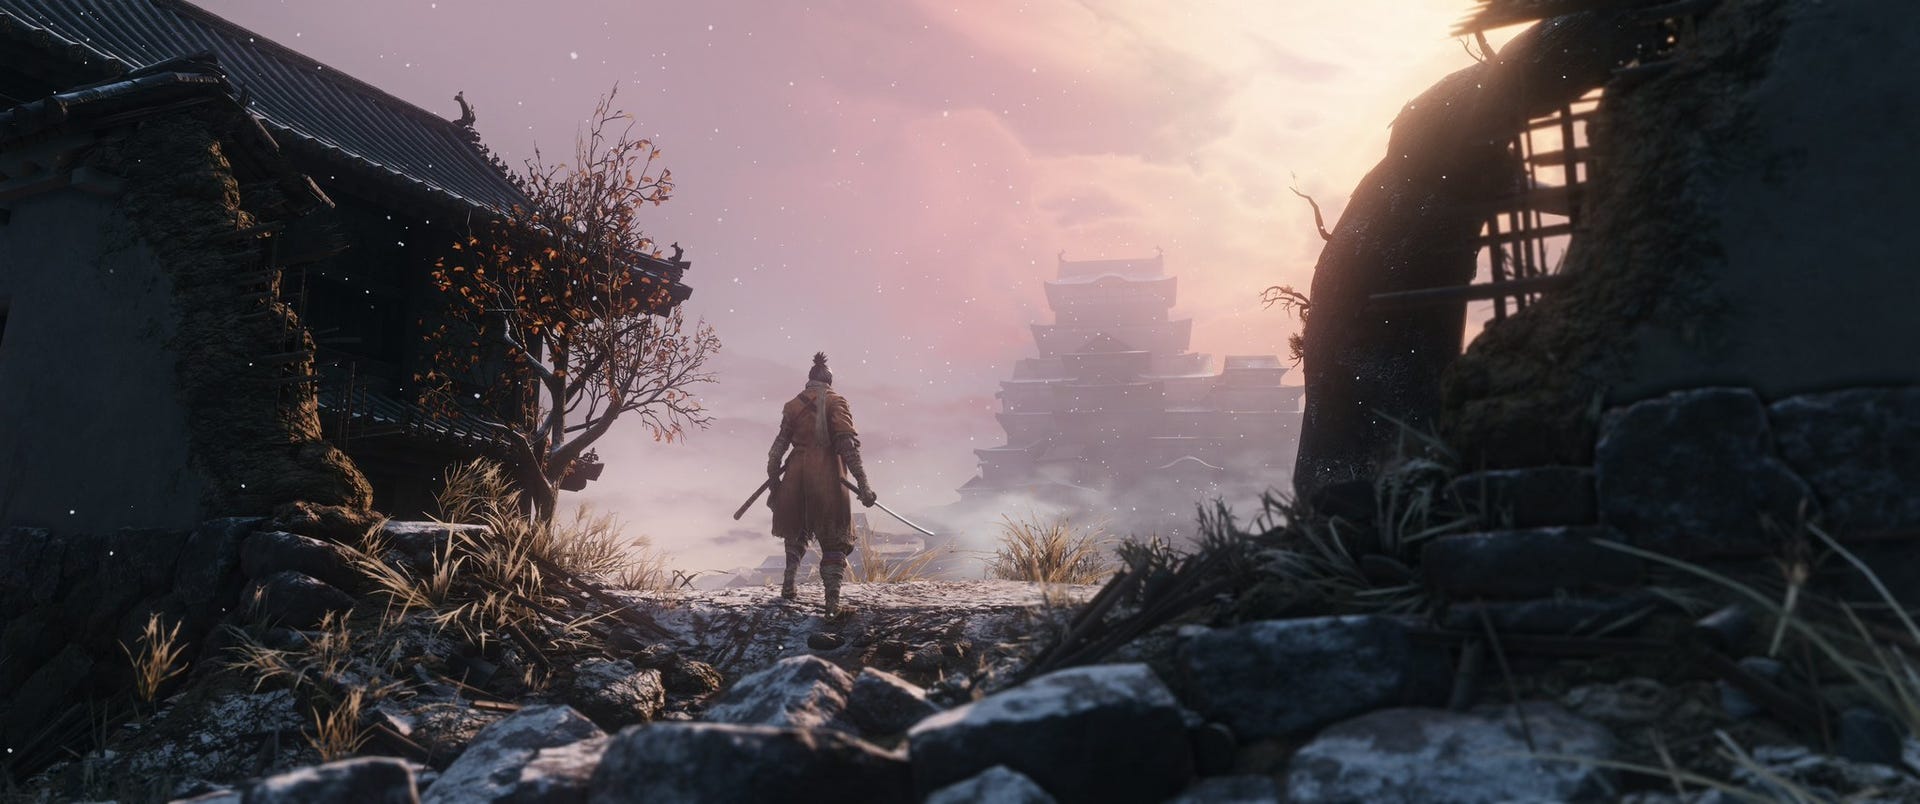
Sekiro walkthrough part 11 - Ashina Depths and the Hidden Forest
With the missing Lord found, your main objective has shifted yet again. Some of the most interesting new areas in the game beckon, as do some of the deadliest foes yet.
Travel to the Ashina Reservoir Shrine and head down the steps. Defeat the enemies, grapple to top of arch then Grapple on to left, taking out the two guards on near the cliff edge. Follow edge round to the right then go down to the stairs through into the underground entrance where you fought the Lone Shadow Longswordsman earlier.
Follow the path around until you enter the water, then swim until you see the next grappling point in front of you to enter the Abandoned Dungeon.
There are lizards skulking around that spray poison at you, so sneak up on them where you can - it's quite easy to jump attack them with a deathblow. If you look down below, you’ll see a ritual of sorts. This guy's called the Shichimen Warrior, a mini-boss who fights using the Terror status. You can jump down and fight him using Pacifying Agent and Divine Confetti. Avoid his ethereal Terror attacks and keep aggressive to trigger his physical attacks. Towards the end of the fight he'll do a ridiculously OP beam attack, so sprint to one side of the arena as he charges then all the way back as he fires.
If you choose to ignore him, follow the platform around and down and you’ll find a Bulging Coin Purse. Keep following the path around and you’ll stumble across a Sculptor’s Idol where you can rest.
Follow the tunnel past the Idol and go up the stairs to the platform to find a woman praying. Have a chat with her and she’ll tell you that you’ll need to jump off the cliff edge in front of you. Have a look over at the black abyss in front of you, take a gulp of air, then jump down.
You’ll fall for a few seconds and then a grappling prompt will appear, which will take you up to a small ledge. Keep grappling to the left until you reach the platform you can climb up on to.
Once you’ve climbed up onto the ledge, look to your right to find the next grappling point. Follow the tunnel around until you reach an area with an enemy and a ledge that you can scale to your right. To your left, you’ll be able to find a Fistful of Ash, which will come in handy.
The zombie-like enemy can climb onto you and bite you, so keep them at a distance. You could climb up onto the ledge on the right if things get a bit tricky. Once you’ve climbed up, follow the path around to the left and you’ll find a Mibu Balloon of Soul.
Go back to the zombie and look for an opening in the floor and jump down the hole. There’s a Pacifying Agent at the bottom and a Sculptor’s Idol, so interact with it, rest, and then press on into the Ashina Depths.
Snake Eyes Shirahagi
Exit the tunnel and jump down to the wooden ledges below. Bear to the right, there’s an enemy on the bottom ledge which you can attack from above or behind if you're quiet.
From here, you’ll be able to see a blocked pathway and your next Boss. Use the trees to grapple to the ledge on your left, near where the big statue of Buddha is. Then drop down and activate the Sculptor's Idol here. Now grapple across the Poison Pool and sneak up on the two enemies at the makeshift camp. Start by stealthing the one on the right, then quickly dispatch the one on the left.
Sneak around the camp and the other statue to perform a stealth attack on the Boss, Snake Eyes Shirahagi. She has a weapon that fires bullet-like shots that can take you out quite quickly, and her regular attack do a huge wodge of damage too. Don’t stay still for too long because she can hit you no matter where you are in the cave - an absolute sniper.
There's one more heavy canon enemy that needs dealing with in the centre island, and is an absolute pain to fight if you're spotted. With Snake Eyes aggroed, swing over to the island as quickly as you can and stealth attack the heavy canon enemy to take them out.
Snake Eyes will chase you, so try and get above her and let her walk towards the centre island with the tent in the middle. Jump down with an attack where you can. The best strategy is to kite her around the tent, using it as cover from her gun attacks. You can Whirlwind Strike for reliable damage at the end of her combos, and well as punish her with regular counter-blows as she finishes attacking.
Be quick in and out - it will only take her two or so hits to kill you.
Once you’ve defeated her you’ll get a Prayer Bead and the path ahead is unblocked.
Hidden Forest
Follow the path ahead out of the Poison Pool and you’ll soon reach a large chamber. Straight ahead of you, there is a grappling point to the ledge above. Enter the tunnel and grapple to the left when the prompt appears and you’ll soon end up outside again.
Jump down to the ground below and go to the cliff edge to grapple across to the next platform where you’ll find another Sculptor’s Idol. You’ll now be able to access the Hidden Forest.
Grapple your way through the trees and watch out for the big chickens in the branches. No, that’s not a typo. Keep following the path around and you'll fight two more chickens, before emerging at the edge of a cliff.
This area is filled with ghostly enemies that appear from nowhere. Just below the cliff you should be able to see one ghost man, drop down and stealth him. Then sneak your way over to the temple over to the right. Watch out for dogs and other enemies standing guard in front of the house. Then stealth attack the enemy stood looking into the temple.
To get into the temple, turn left from its entrance until you reach a path being patrolled by more ghosts. Turn left at this path until you reach a ditch between two small slopes. There's a ghost a little way up the hill, so sneak around and kill them. Above the ghost is a grapple point on a tree branch, so swing up to it.
On the other side of the grapple point, you’ll need to watch out for monkeys and you’ll see a Boss below, Tokujiro the Glutton. Ignore him for now, but take out his monkey buddies if they start to give you jip. Go around to the right using the grapple swing, then follow the trees around to the right. Here you will eventually find a tree with a man hanging upside from it. Grapple onto it, then jump onto the temple roof, walking around to the front where you can jump inside.
Here you’ll find a Boss and the source of the poor visibility, the Mist Noble, playing a tune on a flute. You can hack this Boss down very quickly - it's probably not even fair to call them a boss.
You’ll get a Lump of Grave Wax for defeating them and you’ll be able to find Yashariku’s Sugar nearby. The fog will disperse and a new path will become available. If you go to the front of the temple, you’ll find a Heavy Coin Purse in a ditch and you can scour the rest of the area for more items.
You’ll also be able to find Bite Down, a Light Coin Purse, Contact Medicine and Yellow Gunpowder nearby.
If you return to the temple and go past the hanging man, where you’ll be able to follow the new path. To the left, you’ll find a Pellet. Jump down to the platform below then along the thick tree branch then grapple across to the other side.
You’ll see a Sculptor’s Idol below, so grapple down until you reach it, unlocking the Mibu Village fast travel location.
Now's time to head back to the Hidden Forest and tackle Tokujiro the Glutton and his monkey friends.
Retrace your steps from the Hidden Forest Shrine to the grapple point next to Tokujiro, then swing over to the raised platform next to him. The monkeys will climb towards you, so take them out first.
Once they’re dealt with, you can grapple away back into the main area to break his aggro. Then return to his area with him unaware, get behind him using the grapple swing, then perform a sneak attack on Tokujiro.
He's like a tougher version of the Drunkard boss from the Hirata Estate. Deflect his regular sword blows then retaliate. When he sucks in drink, punish his opening then retreat up onto the ledge with your grapple. He'll spit out poison gas that you don't want to get a lung-full of.
Keep tight to him, and you'll eventually whittle down his health with counter-strikes.
With him down, collect your Prayer Bead and return to the Mibu Village Shrine, ready to face your next test!
Sekiro guides
- Sekiro walkthroughs
- Sekiro walkthrough Part 1 - Yamauchi, General Naomori Kawarada
- Sekiro walkthrough Part 2 - Chained Ogre
- Sekiro walkthrough Part 3 - Find the Flame vent, Shinobi Axe and fight General Tenzen Yamauchi
- Sekiro walkthrough Part 4 - Find the Shinobi Firecracker and fight the horse-rider
- Sekiro walkthrough Part 5 - How to reach Ashina Castle
- Sekiro walkthrough Part 6 – finishing the Hirata Estate
- Sekiro walkthrough Part 7 – Ashina Reservoir
- Sekiro walkthrough Part 8 - Senpou Temple, Long-Armed Centipede Sen'un
- Sekiro walkthrough Part 9 - Ashina Castle Upper Tower
- Sekiro walkthrough Part 10 – Where to find Lord Isshin
- Sekiro walkthrough Part 11 – Ashina Depths and Hidden Forest
- Sekiro walkthrough Part 12 – Mibu Village, Corrupted Monk Spirit, Screen Monkeys
- Sekiro walkthrough Part 13 – Sunken Valley, Gun Fort and Bodhisattva Valley
- Sekiro walkthrough Part 14 – Owl and Fountainhead Monk Cheese
- Sekiro walkthrough Part 15 – Finding a Persimmon and collecting the Frozen Tears
- Sekiro walkthrough Part 16 – Mibu Manor, Fountainhead Pot Noble and Dragon
- Sekiro walkthrough Part 17 – Clean up and Isshin Sword Saint Cheese
- Sekiro - best ending guide
- Sekiro skills and combat
- Sekiro - top combat tips
- Sekiro - best skills
- Sekiro - Boss guide
- Sekiro crafting and items
- Sekiro - how to remove Rot Essence and cure the Dragonrot
- Sekiro - crafting and upgrade materials guide
- Sekiro - Gourd Seeds and Prayer Beads locations
- Sekiro - Treasure Carp Scales Guide
- Sekiro - Mask Fragment Guide
- Sekiro - where to find more Divine Confetti and Snapseeds