Zelda Link's Awakening: Bottle Grotto & Goponga Swamp walkthrough

The adventure in Link's Awakening continues with a battle in the Bottle Grotto - but not before you rescue Bowwow from the Moblin Lair and visit Goponga Swamp!
In order to have this guide be worthwhile, you need to have finished the Tail Cave dungeon. Check out our guide on everything from the game's intro through the end of Tail Cave if you need to - or read on.
Once you exit the Tail Cave, our owl buddy will talk about how in order to wake the Wind Fish all of the instruments are needed. He also tells you that your next goal is in the north, in a place called Goponga Swamp. So then...
Road to Goponga Swamp: rescuing BowWow and opening Dungeon 2
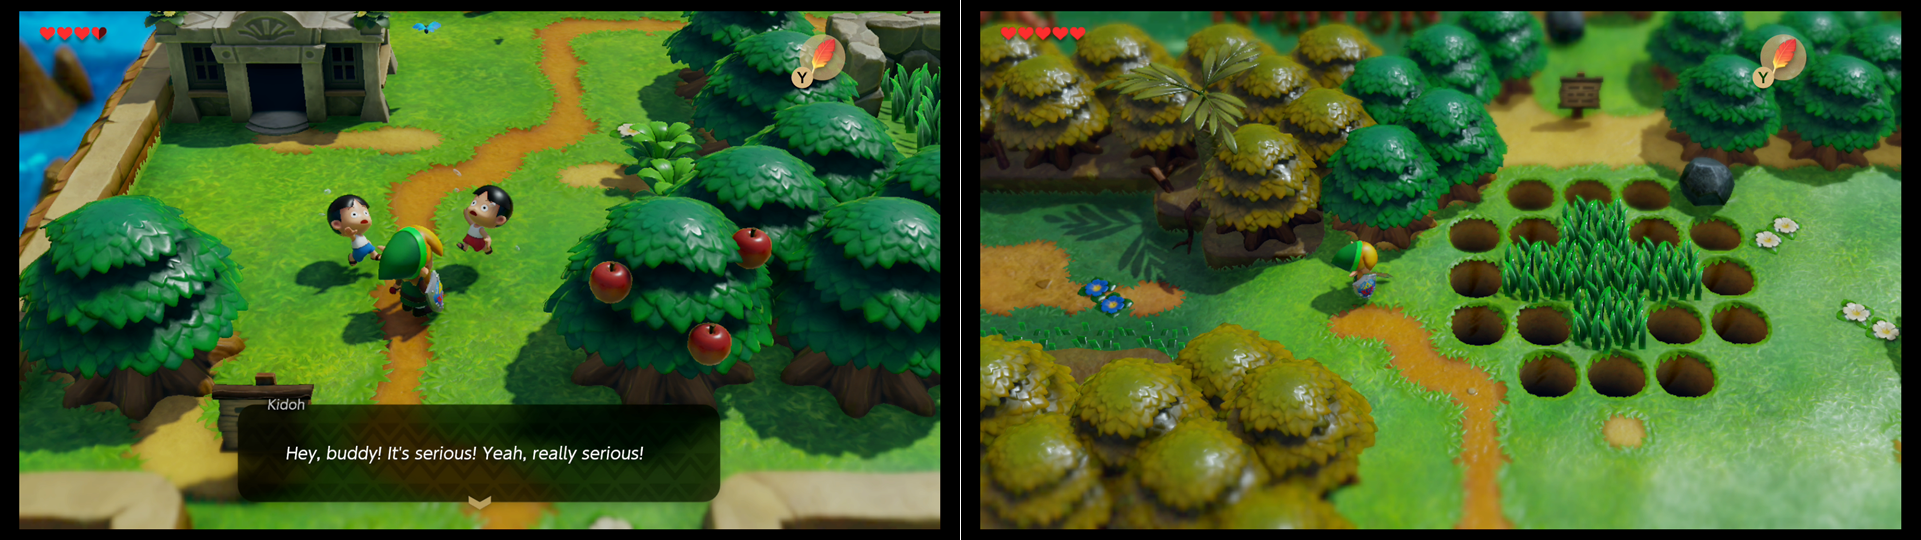
Head back to Mabe Village. When you get there, you'll find that disaster has struck: the moblins have raided the village while you were in the Tail Cave, and they've kidnapped BowWow, the chain chomp making a cameo from Mario that here is a pet to Madam MeowMeow. They live in the house in the middle of Mabe Village. The kids will tell you about it, then pay a visit to the house to see what's happened. It's up to you to save BowWow.
To do that, head back into the forest and make your way back out of the forest to the east, where you went to get the magic powder from the witch hut. You can also grab the Toadstool again if you want to have the witch make some more magic powder while you're passing by. What we really want is to the north of that area, however - you'll see a bunch of holes in the ground with some grass in the middle. The first time you pass here, there's also a Piece of Heart for you to grab.
Now you have Roc's Feather, you can jump the gap - first in the middle, and then up, through the path to the north - which is going to take us to the Moblin's Lair.

The entrance to the Moblin's Lair is obvious. There's a creepy owl statue next to it that gives you an ominous hint of things to come. Head into the lair. There's three rooms and three encounters: one against a sword and shield Moblin, one against a group of spear Moblins, and one against a mini-boss, King Moblin. Remember our advice: use your shield to create openings by blocking attacks. For the mini boss, dodge his spears and then encourage him to charge at you. Dodge that so he hits the wall, which will stun him. Then you can hit him. Keep repeating this.
Once you've defeated the boss, free BowWow in the next room. BowWow will now follow you around and automatically eat enemies that get too close to you - and can also clear obstacles that way. You will return BowWow to his mother, but first, let's use him to clear some stuff out of Link's way.

The primary use for BowWow is to eat some flowers that are overgrown in front of the entrance to level 4, the Bottle Grottle Dungeon. But keep in mind he protects you from enemies by eating them. This walkthrough is focused on the critical path, but if you want to do some exploring off the beaten path, now isn't a bad time, with BowWow in tow.
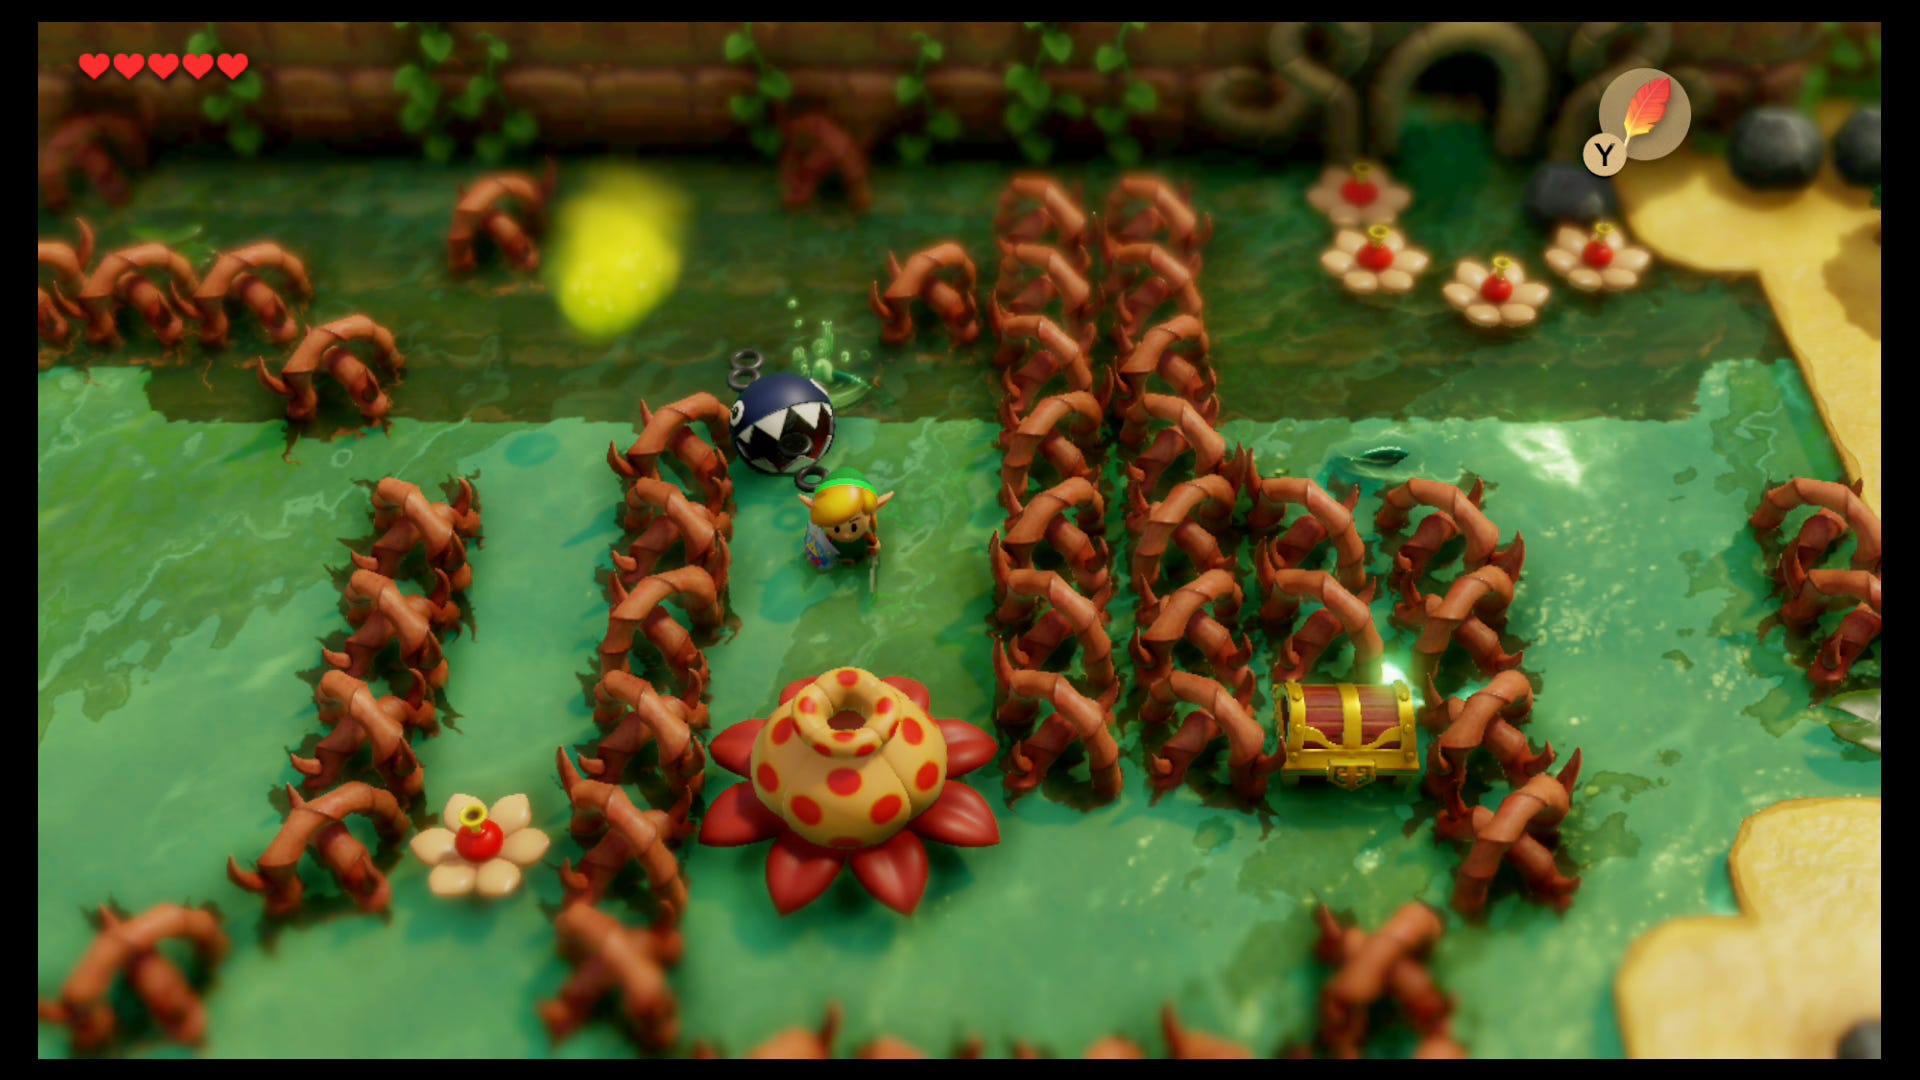
When you're ready, return to the mysterious forest. You want to exit to the north of the forest. You'll come to an area with a few houses and one of the telephone hint houses - there you should head East rather than North by jumping over the pits. This takes you to Goponga Swamp. There are giant flowers in this area that block your path and even spit poison at you.
Your sword strikes will just bounce off and make the flowers clam up defensively, but BowWow can swallow the flowers whole. Just get near to them to clear a path. There's a 50 Rupee chest to grab here, then of course the entrance to Dungeon 2 - Bottle Grotto.

Bottle Grotto Walkthrough – Dungeon Level 2
Right away you'll get a hint as to what the key item in Level 2 is - there's a chest clearly visible among the bottles from which the dungeon gets its Bottle Grotto name. You can't lift, move or destroy the bottles, however, so you can't get to the chest. So... let's keep going. Head north a screen.
In this room there's a fireball moving around the room, but just avoid it and head to the middle of the room where there are two torches - but they're unlit. This is where your magic powder comes into play - equip it and sprinkle a little on both torches to light them. That'll unlock the door to the east. Head on that way.
Inside this room are two skeleton enemies. Defeat them both in order to make a key spawn on the differently-colored title on the floor. While there's a locked door we can open here, the best path is actually back where we came - so go back to the torch room on your West, then head immediately West again, through the locked door.
This room has a couple of keese (bat) enemies. Watch out for the sliding hazards and kill the keese to open the door to the North. Head that way. Up here is one of those hard-hat enemies that can't be killed and can only be pushed into pits. Hit the enemy, jump over the gap, then get behind the enemy to knock them into the abyss. Open the chest to get the owl beak for the Bottle Grotto dungeon. Now head back to the original unlit torch room, then East to the room where we fought the two stalfos (skeletons).

From the room where we fought the skeletons, head east one more screen. You'll find something new here - a blue crystal. When you hit the crystal, blocks will rise and fall. By hitting this blue crystal, blue blocks will lower, but red ones will rise, while hitting it again will reverse that. Hit the crystal to lower that first line and then head south, to the opened up path. You'll notice another crystal, which will now be red, surrounded by the blocks. The blocks also guard a chest. While being careful of the enemy, stand near to the crystal - you'll be able to hit it with a sword strike through the raised red blocks. Do this to get to the chest and get a fresh key.
We have a new key, but head east from here. You'll want to use Roc's Feather to jump across these gaps. Grab the floating Magic Powder refill here - always useful, with those torches around. Otherwise just keep going across the room. Stand on the switch next to the crystal to make a chest containing a small key appear. Hit the switch, grab the key from the chest, then jump across to head north.
Beware the new enemy in this room - they look like Mario's Shy Guys, but in Link's Awakening's world they're called Mask Mimics. These guys copy your movements, and you can only kill them by hitting their rear. The best way to defeat them is to charge a spin attack and then move so you're behind them. Kill them both to drop a key into an area we can't reach from here. Backtrack to the room with the first crystal and then head East; this leads to the spot where they key dropped.
Now head West until we're back in the room with the two stalfos, who by now have respawned. Kill or ignore, it's up to you, but we want to head south. There's another Shy Guy here. This one can be a pain to kill because of the pots in the way, but if you manage it a chest containing the Compass will appear - that'll get you that useful chime whenever you enter a room with something to discover.

Now we need to head back to the room with the two Shy Guy enemies - so that's north, east, south, east again across the jumping puzzle room and then north again. Head east once more to end up in a room with the spiky enemies. Block their dash with your shield and then hit them to kill them. Then head through the locked door. In this room kill the keese, avoid the flame and push the two blocks onto the different colored tiles in the center of the room. This will make a staircase in the corner of the room; take it down and go through the side-scrolling screen.
Taking the ladder out of the side-scrolling segment will drop you in a dark room with some unlit torches, a keese and a fireball. Ignore it all and instead head to the one-way door in the north - which puts you into the mini-boss room. Meet Hinox - who Switch Zelda players might remember from its starring role of The Legend of Zelda: Breath of the Wild! In this game, it charges you and tosses you aside. Your best method is to dodge those charges and then get in strikes after Hinox misses you. Once defeated, head east.
Traverse this room, but for once really take notice of the Owl Statue - it has some interesting advice: "First, defeat the imprisoned Pols Voice. Last, the skeletal Stalfos..." This is important, so make a mental note - and then head north, the only way you can currently go. This room has an enemy that sucks you towards it, black hole style. Watch its pattern, run against its pull, and grab the dungeon map from the chest. Once that's done, head north once again.
There's a chest in this room with 20 rupees and a whole lot of pots. Head West, through the locked door. Inside this room there are two Boo Buddy enemies... they're Boo, from Mario. They're more aggressive, however, and can't be defeated with sword strikes. Quickly light one of the unlit torches to make them vulnerable, then slash them with your sword. When both are banished, a chest appears, and it contains this dungeon's item: the Power Bracelet!

Finally, you can lift heavy stuff. This is vital to dungeon progression, obviously, but if you want to backtrack to the Bottle Grotto dungeon entrance using the portal in the mini boss room, you can finally reach that first chest we saw for 50 rupees. For actual progression, exit the room where you got the power bracelet and lift the pots on the top half of the room, where the now-empty chest is. There's switches and colored blocks here; hit the switch three times as you pass through in order to be able to open the chest for another small key. To do this, you'll have to hit the switch while standing on top of the blocks, and it's important to know that you can do this.
With the key in hand, hit the switch again while standing on the right-hand set of red blocks. Then walk east atop the red blocks, dropping down. Follow this room around, killing or avoiding enemies as you go, until you reach a locked door heading east. Ignore that for now, instead heading south through the already-open path.
The mystery of the Imprisoned Pol's Voice
In this room is the Keese, Pols Voice and Stalfos. Three unique enemies. The stairs in the corner lead through a 2D segment back to the room where the owl gave you a hint earlier. Remember what it said? "First, defeat the imprisoned Pols Voice. Last, the skeletal Stalfos..."
So, in the room with the three enemies, that means we have an order to kill them: Pols Voice (rabbit eats) first, then the Keese (bat) and finally the Stalfos (hooded skeleton). To kill the Imprisoned Pols Voice, first push the blocks at the top of its cage - push the middle-left black down, and the middle-right block right. This will let it out. Once that's done, pick up the pots near the stairs and throw it at the Pols Voice to kill it. Finally, use your sword to kill the Keese, then the Stalfos. If you go wrong, use the stairs and then climb straight back up to force the enemies to respawn. Completing this little puzzle gets you the Nightmare Key, aka the boss key.

From this room head north, and then east through the nearby locked door. There's two Pols Voice in here. Smash them with pots, just like you did the one in the puzzle room. This makes a staircase appear in the corner of the room; take it down to a new sidescrolling section. There are two falling blocks here, but the second is stubborn - you need it to drop, and it'll only do so if you're holding a pot. So pick a pot up and stand on the platform to make it lower, then take the stairs. It spits you out right in front of the boss room.
A bottle is not a lamp, but the Genie still feels like quite an appropriate boss for the Bottle Grotto. The Genie will move back and forth spitting fireballs - avoid them. Once he retreats into his bottle, slash the bottle with your sword and then pick it up and toss the bottle at the wall. Keep this up; eventually Genie's bottle will shatter.
When Genie no longer has a bottle, he'll go nuts. All you can do here is dodge the fireballs and slash at Genie with your sword. Keep going - after a bunch of hits, it'll be defeated. For your efforts you get a Heart Container and the Conch Horn, which is second of the eight instruments you need. Next up is the Kanalet Castle and the Key Cavern dungeon, but before you can head there you also get a hint about where to go next... the Prairie.