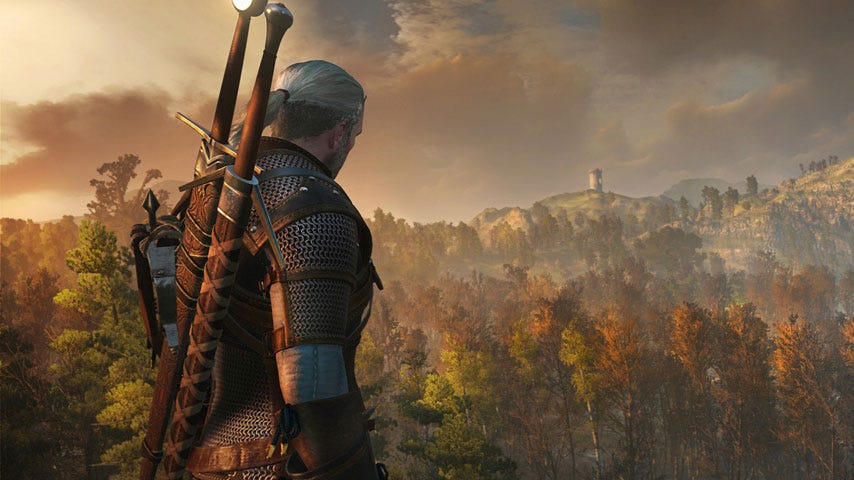
The Witcher 3: Through Time and Space guide
Geralt of Rivia will be paying a visit to some distinct locations in the The Witcher 3's Through Time and Space quest.

Through Time and Space is a main quest in The Witcher 3 that ends up sending Geralt of Rivia on a long and weird journey, and you'll be able to pick it up as soon as you finish the Final Preparations quest.
During this quest, you have your work cut out for you, but will find yourself in some very unique locations as a result, so it's not all bad. Without further ado, here's our guide to completing Through Time and Space in The Witcher 3.
The Witcher 3: Through Time and Space guide
Speak to Avallac'hAfter completing the Blindingly Obvious, The Great Escape and Payback quests - and It Takes Three To Tango if applicable - visit Avallac'h on the top floor of Dandelion's Inn.
Avallac'h is convinced he can get one of Eeredin's generals to turn on him. Agree to leave with him and be transported to the portal leading to an ancient elven world. Funnily enough, it's in the basement of the 'haunted' house you visited earlier, and if you go upstairs, you can say hello to Sarah the Godling.
Go through the first portalWalk with Avallac'h through the desert while he shows off - I mean, explains a little about this strange world. After a few moments at the portal, you'll be attacked by sandcrabs. Don't waste your bombs and potions; use Signs and roll about, tackling them one by one, until a new portal opens - then flee. You can't kill them all.
Go through the second portalYou will then be separated from your companion. Turn left to find a safe path down, and Geralt soon spots your goal in the distance.
Killer Whale can be a big help in this section as it extends your breath meter, so if you keep getting lost and dying, give that a shot. Also note that you often need to take a step or two away from an edge after climbing, to escape the toxic vapour produced by the red reeds.
Continue along the grassy path by the cliff side, climbing up when necessary. Follow along in the same general direction and eventually you'll reach a vaporous patch; sprint through and climb up the next ledge to escape.
You should see another portal directly ahead; turn right and follow the grassy path around in a clockwise direction to reach a Place of Power. Continue past it, dropping down to the next level. At the end of this path you should see several standing stones in a field of reeds.
Run south across the little gap to the next safe ledge, then turn left (northeast) and cross the gap to the next sanctuary. From this island, we're going to run north-northeast, up the slope covered in red reeds. When you climb up to the top of these ledges you'll see that you're very close to the portal now.
Don't try to make it in one sprint; aim for the little island part way (at an angle) and take a breather. Then make the final sprint. Catch your breath before going through; this portal deposits you underwater, so swim forward quickly and enter the next one.
Go through the third portalThe next world is very cold; how fortunate that Geralt is all wet, huh? Follow the passage and use Igni or Aard to break the ice and pass through to the external ledges.
You have to sprint out here; the cold will eat away at Geralt's health. Aim northwest and search for a little rock alcove with an X carved on it just a few steps from the exit. Use Witcher Senses to help you find it.
The next shelter spot is due north - just aim for the dark patch of rock. You want to get out of the wind, see? So look for places the wind hasn't covered in snow.
From this one, you want to head north again, around the corner of the outcropping, to huddle in some broken walls. Now, head east to the steps and more sheltering walls. Go a little further, around the corner, to the next patch of wall, which is almost continuous with this one.
See the slope to the right (east) of this little patch of wall? Slide down. At the bottom just run forward a bit and you'll trigger a bit of a scene, and be safe from the wind. If you're low on health, turn around and go into the house behind you, go up to the top floor, and light the fire to warm Geralt up. You can read some bleak notes found in the loot caches nearby while you're there.
Back outside, drop down to the slope in front of this house and run down the slope as fast as you can. Right at the bottom, where the path is blocked off, is an open doorway on your left. Go in, drop down, light the fire and face off against two Hounds.
At the door to the barn, pause and use Witcher Senses - see the door with an X to your left? Duck in there as your next stop. Our goal is to head north, ducking into shelter whenever available. The next safe spot is on the same side of the street - a gable window. Go down the stairs inside here to a kitchen, where you can heal up by a fire and loot some more sad notes.
You can see the next safe spot from the doorway - another door, directly north. There's little of note in here, alas. Steel yourself for a long dash - run out and turn north again, running all the way down a long slope to where some stairs lead up to another door.
It's safe to walk out into the open from this one, until you reach the break in the walls, where you can spot the next door. Before you can get there, Hounds attack - so move over to the braziers instead, keeping warm as you battle them.
When they're dead, climb the short flight of stairs and make for that door - it's the lighthouse at last. In the basement you'll meet Avallac'h - feel free to pump him for information.
Reunite with Alvallac'h and go through the fourth portalAfter speaking with him, Avallac'h opens a new portal for you. This elven palace makes me feel annoyed, so I extinguished all the braziers and stole a report I found on a bench. That'll show 'em! Snobby elves.
At the waypoint, chat with Ge'els. He's a bit of a dick. Feel free to be rude to him, and say whatever you want about Avallac'h. After several cutscenes and dialogues, during which you are transported back to Novigrad, Ge'els agrees to help and offers a plan of action.
What a slog! Well, it's over. Up next, you'll be looking to complete the Battle Preparations quest. Alternatively, take a look at our The Witcher 3: Act Three walkthrough for more stuff to do.
For more help on your journey, here's our Hearts of Stone walkthrough, and Blood and Wine walkthrough. These pages contain tips and guides to help you throughout your adventure as Geralt of Rivia.