Best Content Warning Mods and how to install them
Looking to mod Content Warning? Here’s how to do it, and some of the best mods for the game.
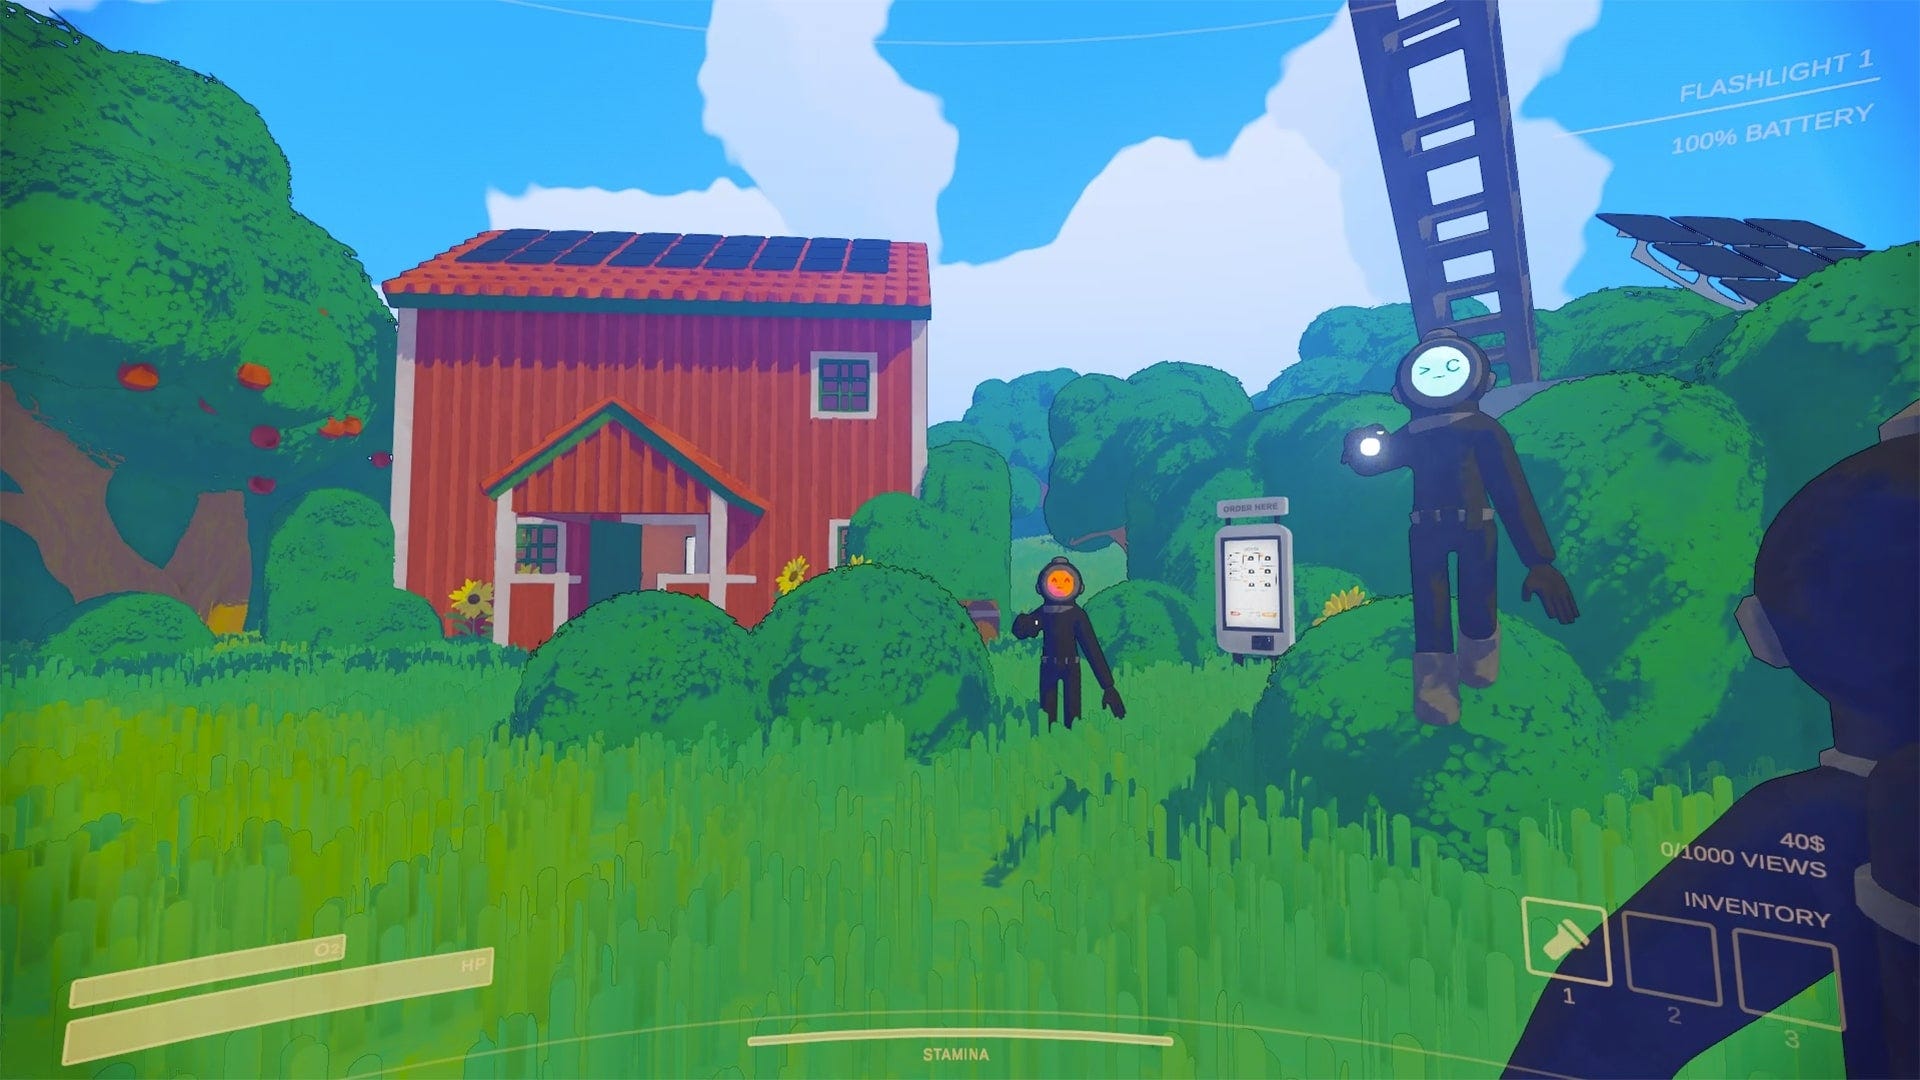

Content Warning has taken Steam by storm, and for good reason. It allows players to form their own video crew of 2-4 players, tasking them with capturing creepy, entertaining content to upload to SpookTube for money. Your goal? To go viral, and try not to die (or do!) while doing so.
It’s all about having fun and goofing around with your crewmates more than anything else, and this can be amplified with the use of mods. Whether you want to add endless items to the game or invite more than four friends, we’ve got you covered. Here’s the best Content Warning mods and how to install them.
Best Content Warning Mods
There are a few mods to emerge for Content Warning that players can have fun with, but this wouldn’t be a guide to installing mods if I didn’t first warn you that you will be installing these mods at your own risk.
While the below mods have been tested by yours truly, remain vigilant when installing files you aren’t familiar with. Check they’re from a reputable site and modder with positive reviews before anything else. Now, here are some of the best mods for Content Warning that you could consider trying.
Virality - More Players
The Virality mod allows you to increase the maximum number of people that are able to join your lobby in Content Warning. Bid farewell to four-player lobbies and say hello to a whole new level of chaos with the ability to invite as many friends as you want to the game.
At the time of writing, however, the Virality mod no longer works. Landfall Games has reportedly set a hard-cap on the size of player lobbies, making this mod redundant for now. I’ve left it here anyway on the off chance that it starts working again in the future.
As is usually the case with this type of mod, when it works, take caution with how many people you invite. The more players there are, the more likely it is for things to go wrong.
BetterLobby - Players can join late
If you’re using the Virality mod (once it is working), you likely also want to use the BetterLobby mod, too. This allows players to join your game after it has been started, so you can replace friends who have quit, or invite someone along for the ride while halfway through your game and so forth.
It’s worth noting that inviting players to the lobby while in the Old World can cause some issues, so perhaps wait until you’re back home before inviting new players for now.
MoreColors
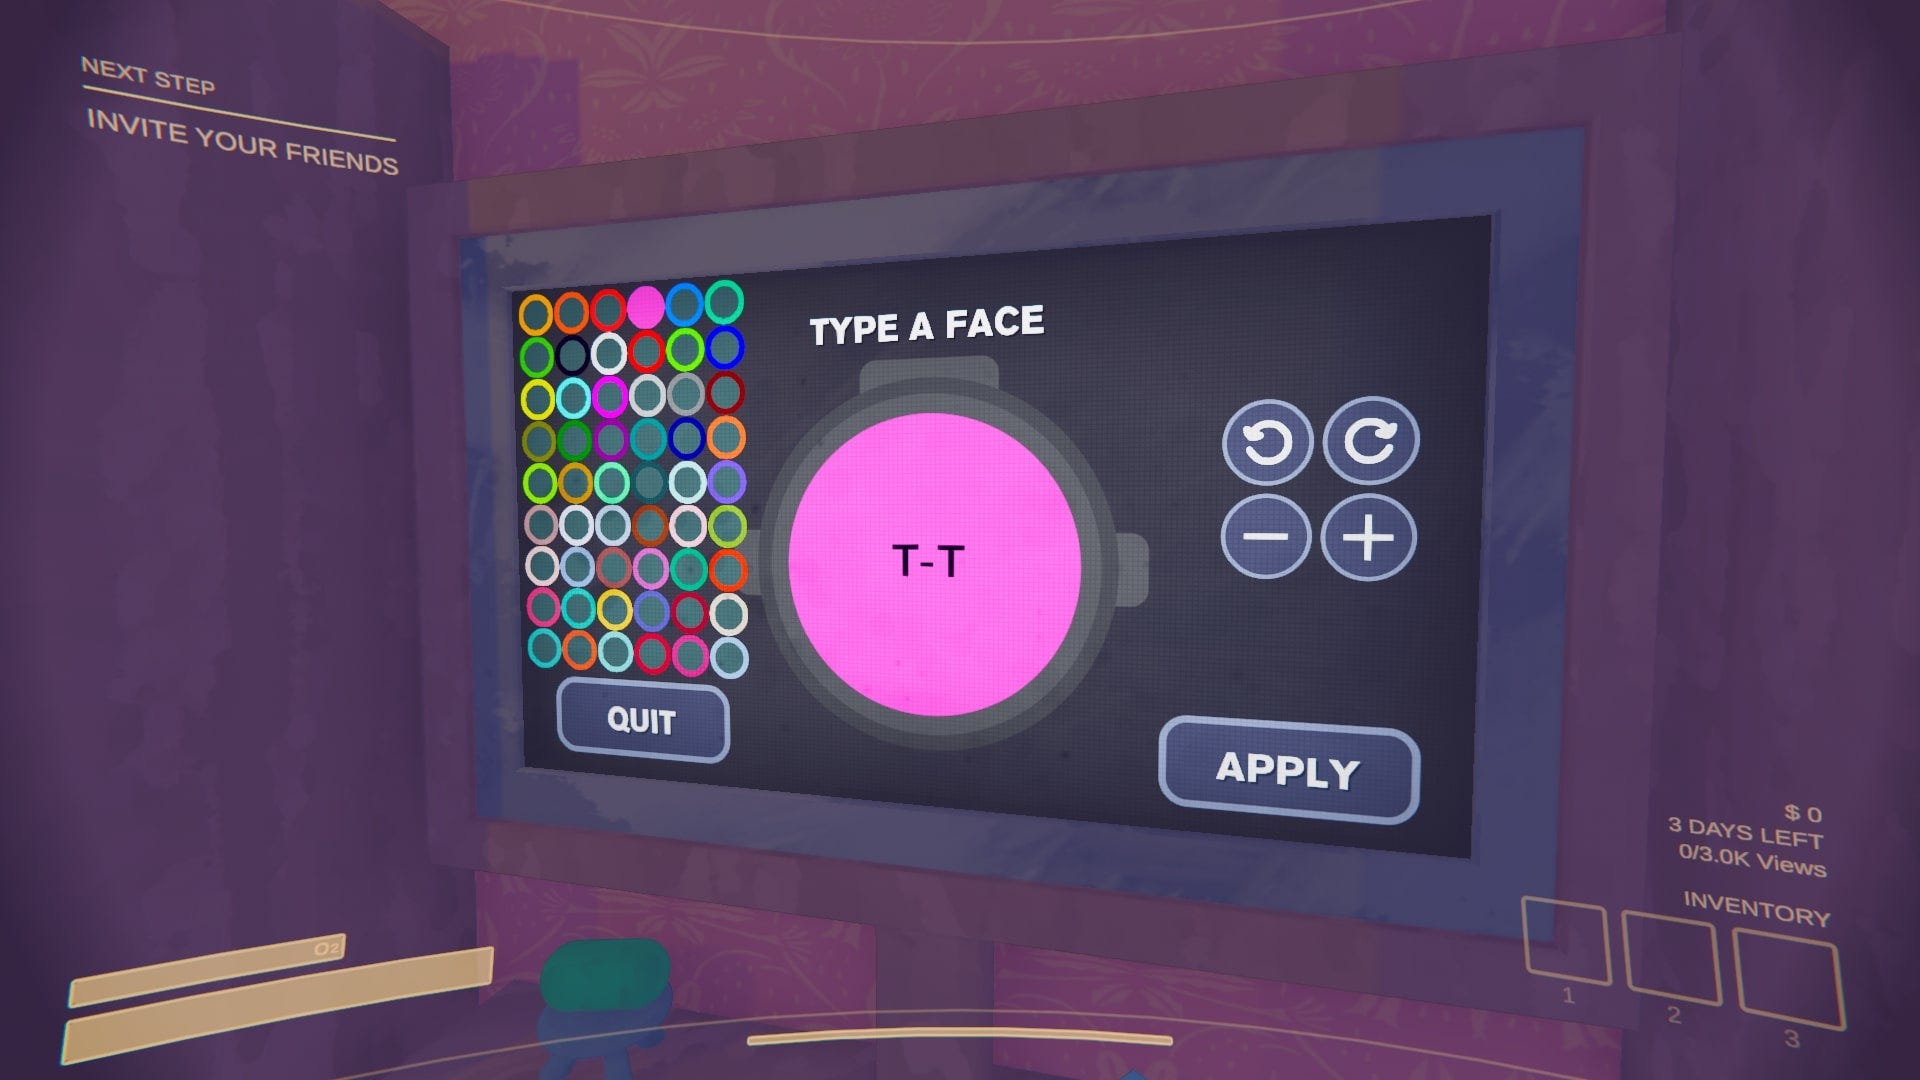
The MoreColors mod is what it says on the tin. It provides more colors for you to choose from when customising the face of your character. Simple as that! Now you and your friends can all be different shades of green or something.
MoreCustomization
The MoreCustomization mod is similar to the MoreColors mod, giving you more options when it comes to customising the face of your character. Instead of being capped at just three characters, you’ll be able to use up to 128 characters, copy and paste faces, and adjust the size of your face even more than before.
CWMouseWheel - Change items using the mouse wheel
The CWMouseWheel mod allows you to navigate your inventory using your mouse wheel, rather than having to press 1, 2, or 3 to access an item.
With this mod installed, you’ll need to press and hold ‘Z’ to use the mouse wheel to zoom while recording video.
InfiniteOxygen
The InfiniteOxygen mod provides you and your crewmates with an infinite supply of oxygen, so you can roam around the Old World for as long as you like. Not having a time limit on your exploration is pretty fun, and means you’ll simply have to take care to not die to other things instead…
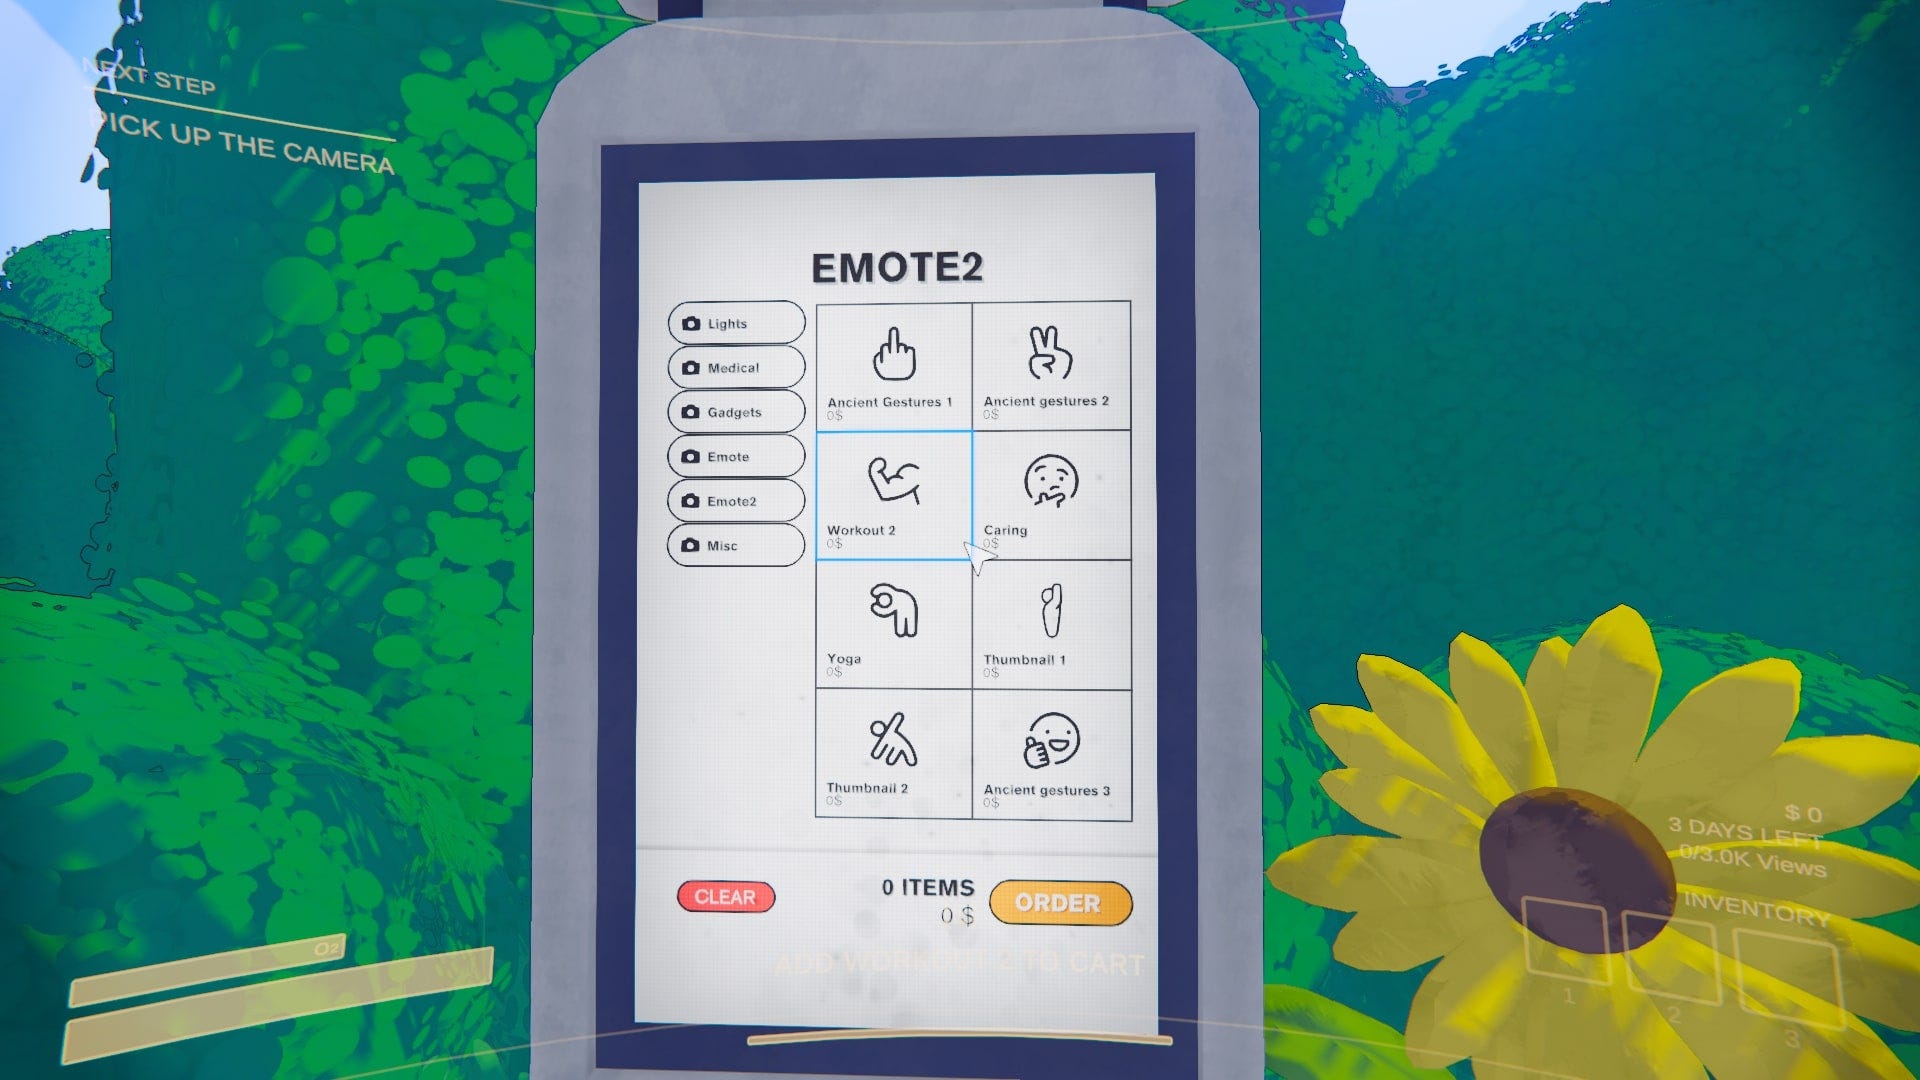
FreeEmotes
The FreeEmotes mod makes all emotes in the item shop free, so that you need not spend a single penny on them ever again. I quite like this mod because who doesn’t love being able to use emotes at opportune times in co-op horror games like Content Warning? A touch of yoga while your crewmate is mauled to death will only do numbers when it comes to viewers...
SuitColours - Customise your suit
The SuitColours mod is simple. Whatever colour you choose for your face during character customisation will also be the colour of your suit. This is great for adding some additional colour to your crew, but that’s about it.
ViewRollover - Keep excess views
The ViewRollover mod feels a little bit like cheating, but it does mean that your hard-earned views won’t be going to waste at any point. With the mod installed, you’ll be able to keep any excess views from your previous quota and have them roll over into the next one.
For example, managed to achieve 5K+ views in your first three days, where only 3K views are needed? That spare 2K viewers will be a part of your next quota, giving you a small headstart.
LongerSprinting
The LongerSprinting mod allows you to modify the stamina regeneration rate in Content Warning, so you can essentially make it so that you have infinite stamina if needed.
While I wasn’t able to work out how you could modify the rate of stamina regeneration in the mod’s files, the default boost to regeneration rate that it gives you is pretty good without making running from enemies incredibly trivial. So, it’s worth giving a whirl, and if you work out how to customise it, let us know!
Don’t Trip - Fall over from sprinting
The Don’t Trip mod is a goofy one that I’ve added to this list just for fun. I recommend using this if you plan on using the LongerSprinting mod, as it can help keep things pretty amusing even when there’s infinite stamina involved.
Don’t Trip will simply make the player trip over on occasion when sprinting, which definitely makes for some comedic moments worth recording. You can even adjust the settings of the mod so that players who fall over sustain damage from their trip or not, and the chances of tripping up can also be modified.
How to install Content Warning mods via Thunderstore Mod Manager
If you’ve played the likes of Lethal Company before and happen to have modded that, you’ll already be familiar with the process for installing mods for Content Warning. Your mods will primarily be installed via Thunderstore.io, and you can subsequently use the Thunderstore Mod Manager (installed via Thunderstore’s website) to keep things organised.
While we have tested Thunderstore’s Mod Manager, as well as the below files required to use mods in Content Warning, take care when installing unfamiliar files on your device. Make sure you’re downloading them from a reputable source, double check the modder and their rating, and so forth.
On the Mod Manager, all you need to do is select the game you’re modding - Content Warning - and then create a profile for it. From here, you can choose which mods you want to install! A must-have mod is the BepInExPack, which is what makes all of our other mods work.
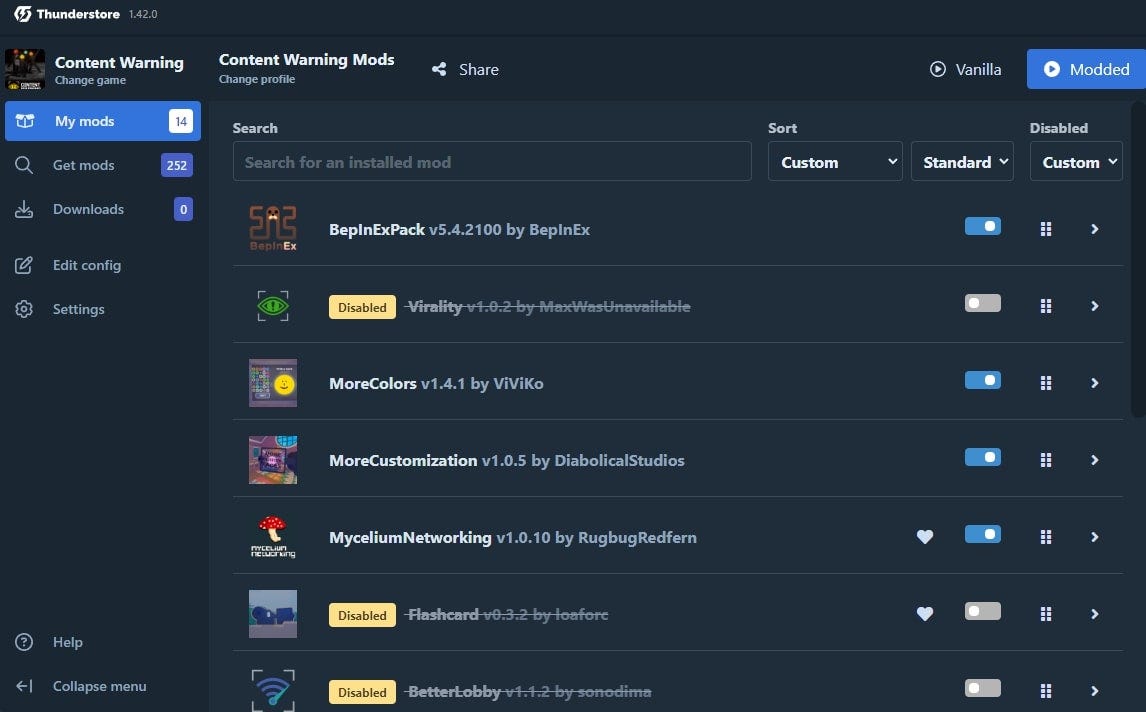
These mod files will then automatically be placed where they need to go by the Mod Manager, so you’ll then be able to boot up your game and get going!
How to install Content Warning mods manually
If you’re hoping to install mods for Content Warning manually, however, you’ll have to complete a few extra steps.
- Install BepInExPack manually.
- Extract (or paste) files inside the BepInExPack folder into Content Warning’s game files, which can be found by right-clicking the game on Steam and selecting ‘Browse local files’.
- Launch your game, and then close it again.
- Install any mods of your choice manually.
- Inside the ‘BepInEx’ folder, create a ‘plugins’ folder.
- Extract (or paste) the contents of the mod into the ‘plugins’ folder that you just created.
- Once installed, boot the game and your mods should be working.
I recommend testing one mod at a time, so on the off chance that you do run into any issues with launching the game, you immediately know which mod is the problem.
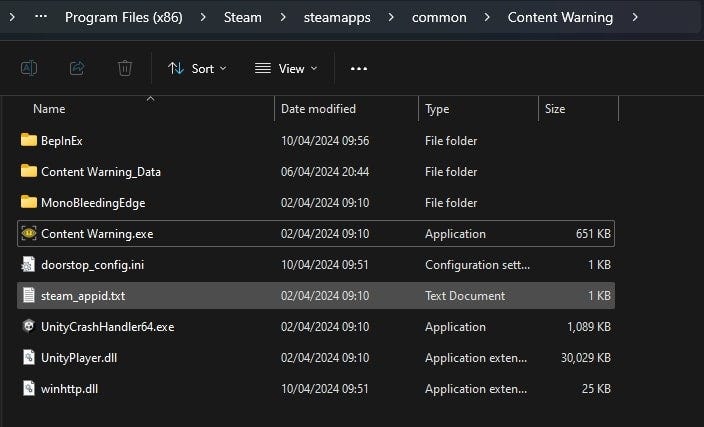
If everything has been installed correctly, you’ll end up with a game folder that looks a lot like the below screenshot.
That’s it for Content Warning’s best mods and how to install them. For more on the game, take a look at our guide to all of the monsters you’ll run into, and all of the items that you can buy.