Resident Evil 7 guide: How to beat the Bedroom Banned Footage Vol 1 DLC
The first DLC for Resident Evil 7 is one big puzzle. Let's get stuck in.
If the main game of Resident Evil 7 didn't have enough puzzles for you, we've got some good news for you: the Banned Footage DLC bundles have a fair amount more puzzle action for you.
The first puzzle-focused tape of the Banned Footage DLC is 'Bedroom', a new story chapter that places you in the shoes of Clancy, a side character whose presence is felt throughout RE7 even if you never actually meet him while playing as Ethan. You might also know him as the chap you played as in the RE7 demo.
Clancy is another of the Baker's old victims, and this particular tape sees him trying to escape the clutches of Maugerite - mama Baker. Below, we detail the solutions to the puzzles in this mini story chapter - so if you get stuck or just need a hand, we've got you covered.
Resident Evil 7 Bedroom Banned Tape Walkthrough: Breakfast in Bed
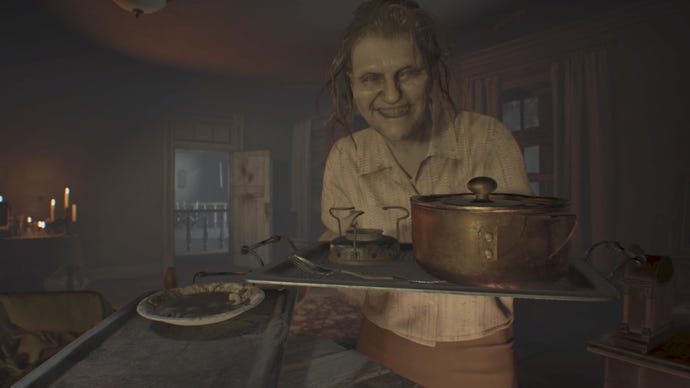
When the DLC starts, Clancy wakes up in a room that'll be familiar if you played the main RE7 story - the Baker's Master Bedroom. He's shackled down to the bed. Soon enough Maugerite shows up. She's got food for you - kind but also not so much once you see it.
There's a dialogue choice here but it doesn't impact anything significantly as far as we can tell. Maugerite will leave the room, and then you're given your first command: Escape from the Bedroom.
Escape the Room: Searching the area
- Once Maugerite leaves the room, pick up the spoon.
- If you're so inclined, you can eat some of her food... but beware that it's not only going to make Clancy vomit, but it's going to do damage to him. Three spoon-fulls of Mama Baker's dinner is all it's going to take to kill you, for the record.
- Next interact with the shackle. You'll be surprised to see that a little fiddling with it and it comes right off. Easy!
- You'll slide out of bed on the left side. On the wall to your immediate left (and to the right of the bed) is a hook on the wall, and hanging from it is Maugerite's signature: a lantern. Take it. Without the lantern it'll be too dark to interact with anything in the room.
- Head to the dresser. On top of the dresser is a small pot or urn or something of the like. Examine it and look inside to find a lighter. Take it.
- DO NOT open the right hand drawer of the dresser. It might screw you over. Inside the left hand drawer there's a clue on paper. If you open this drawer, close it again.
- If you've played the main story, you'll remember the clock to the left of the bed. Interact with that and... oops, you break it. Take the broken clock hand all the same.
- For now, ignore everything else and head to the grandfather clock. It's near the door. Use the broken clock hand to pick the lock. The clock will open, and inside is Untitled Painting A for the taking.
- Crap! The grandfather clock sounds out! Maugerite will hear, and is on her way. You have one minute. Very quickly do the following: Close the clock door, hang the lantern back on its hook (right of the bed, lower hook), get back into bed and put your shackle back on. Wait for Maugerite to come investigate.
So, here's the key to this entire DLC, by the way: Maugerite is going to come back from time to time. You need to make progress, but you also need to keep resetting the room. If Maugerite thinks she sees something out of place, you're for it. So be careful. Our guide will tell you the correct order, anyway.
The puzzle of the paintings
Okay, so - while waiting for Maugerite, let's take stock. You now have all the items above - ready to start taking this room apart. You also have Untitled Painting A. Good. Once Maugerite has tucked you in and left again, here are the next steps:
- On the far wall of the room there's a painting on the wall, and you can also clearly see from the outlines that there are meant to be two more paintings mounted in specific positions. Interesting...
- Once you get out of bed, grab the lantern and look to the left of the bed for a barrel which has Untitled Painting B on top of it. Grab it, and ignore the stuff behind it for now.
- Finally, Untitled Painting C is just sitting on the wall - though based on the dust outlines, quite obviously not in the right place - so remove it.
- Now you have all three paintings, it's time to put them on the wall in the correct order. The order is Painting B, Painting C, Painting A.
- When the paintings are in the correct positions, the book beneath them will open. Take the Sewing Needle out of the voodoo doll inside the book.
- You still need to reset the room to avoid making Maugerite suspicious, so now remove the paintings and put them back as they were: That's Painting B on top of the barrel, Painting C in the leftmost slot to hang on the wall, and Painting A safely tucked away in your inventory (with the clock door closed).
- Once this is done, head back to the bedside clock. Use the sewing needle as a replacement clock hand. Set the clock to 5.
- Damn it, not again... you'll be familiar with what happens thanks to the main story, and boy, it makes some noise. Underneath the bed there's a Snake Door. Okay.
- Maugerite heard the bed, so interact with the clock to slide the bed back into place, drop the lantern off on its hook and get back into bed. Try to look innocent.
Maugerite actually brings you more food. With it comes a Fork and a Stove - two key items you can actually use. Pick them up. Ignore the actual food, unless you've got a death wish...
Solving the Combination to get into the Storage Room
Get out of bed and grab the lantern again. There's one obvious elephant in the room: the combination look on the door to the storage room.
- Once you've grabbed the lantern, look on the floor on the side of the bed where you get in. There's a note. The note gives you clues as to the password: Snake, Fig Leaf, Apple.
- In the storage room, look to the right. There's a wardrobe and the bottom half of it has been nailed shut. Use the fork to pry out the nails and grab the Solid Fuel inside.
- That's all there is for you in here. Head back into the bedroom and close the storage room door behind you.
- Head over to where painting B is. Pick it up. In its place, where the painting sat, there's a plate.
- In your inventory, combined the Stove with the Solid Fuel. Place the stove on the plate, then use the Lighter on it. The resulting explosion will get rid of the spiders, allowing you to take the Corkscrew key item.
- The explosion is going to attract attention. You have even less time this time. Think fast: Remove the stove from the barrel, replace painting B, hang the lantern on its hook, get back into bed and wait.
Getting a snake key and escaping the bedroom
You know the drill by now. Get out of bed. Take the lantern.
- This seems risky, I know... but use the corkscrew to remove the Lantern Hook from the wall. This is Lantern Hook A.
- Head into the storage room and use the corkscrew again, this time removing Lantern Hook B from the far wall.
- In your inventory, combine the two to make Iron Statuette.
- To the left of the second Lantern Hook is a coat stand with a coat on it. Read the note inside. Hmm... Zoe hides knives in the bedroom. Okay.
- Exit the Storage Room, close the door behind you and squeeze up against the door. Crouch and look behind the dresser... thank you, Zoe! Grab the knife.
- Back in the Storage Room, use the knife to open up the Projector.
- Quickly dash back into the bedroom and use the clock to slide the bed over.
- Put your lantern inside the projector.
- On the platform closest to the projected image, use the Iron Statuette. Normal shadow puzzle rules: look at the shadow, not the item, and make the pair match.
- On the platform closest to the projector, use the fork. Again, match the image!
- The bird cage will open. Grab the snake key.
Okay, this is it - crunch time. Take out the knife you kindly borrowed from Zoe and head out into the bedroom. Maugerite is p**sed, yep. Stab her when she dashes at you, and then while she's incapacitated, run to the snake key door under the bed. Use it and rush down into the underground passage. Mission complete! You'll get a trophy for your troubles.
