Resident Evil Village Walkthrough Part 1 | Into the Village, Luiza's House, and the Castle
Take your first steps towards Castle Dimitrescu!


In a series known for its unexpected twists, massive boss fights, and devious puzzles, it makes sense that you would check a Resident Evil Village walkthrough at some point during your adventure.
Resident Evil Village is the continued story of Ethan Winters, a regular guy without a huge amount of military training or a supreme intellect, and he will be muddling through the nightmarish happenings just as much as you.
Across the 10 or so hours your first playthrough of Village will take, we have broken this walkthrough down into 17 parts, guiding you through every story section with each difficult puzzle and boss encounter having its own page in between.
During the walkthrough, outside of page titles that are necessary for navigation, we won't spoil the moment-to-moment surprises that lurk behind nearly every corner.
However, we will point you in the right direction to fully complete every main and optional objective the game gives you.
An important thing to note: this Resident Evil Village walkthrough assumes you are playing on default/normal difficulty.
You can also follow along if you are playing on casual/easy difficulty, but those choosing hardcore difficulty will find their story progression items in different places to the standard game.
Resident Evil Village Walkthrough Part 1 - The Winteres’ Home
When you gain control of Ethan in the Winters household, you can walk around the house with Rose as much as you want - investigating the TV, dining room and kitchen pantry - before taking her upstairs.
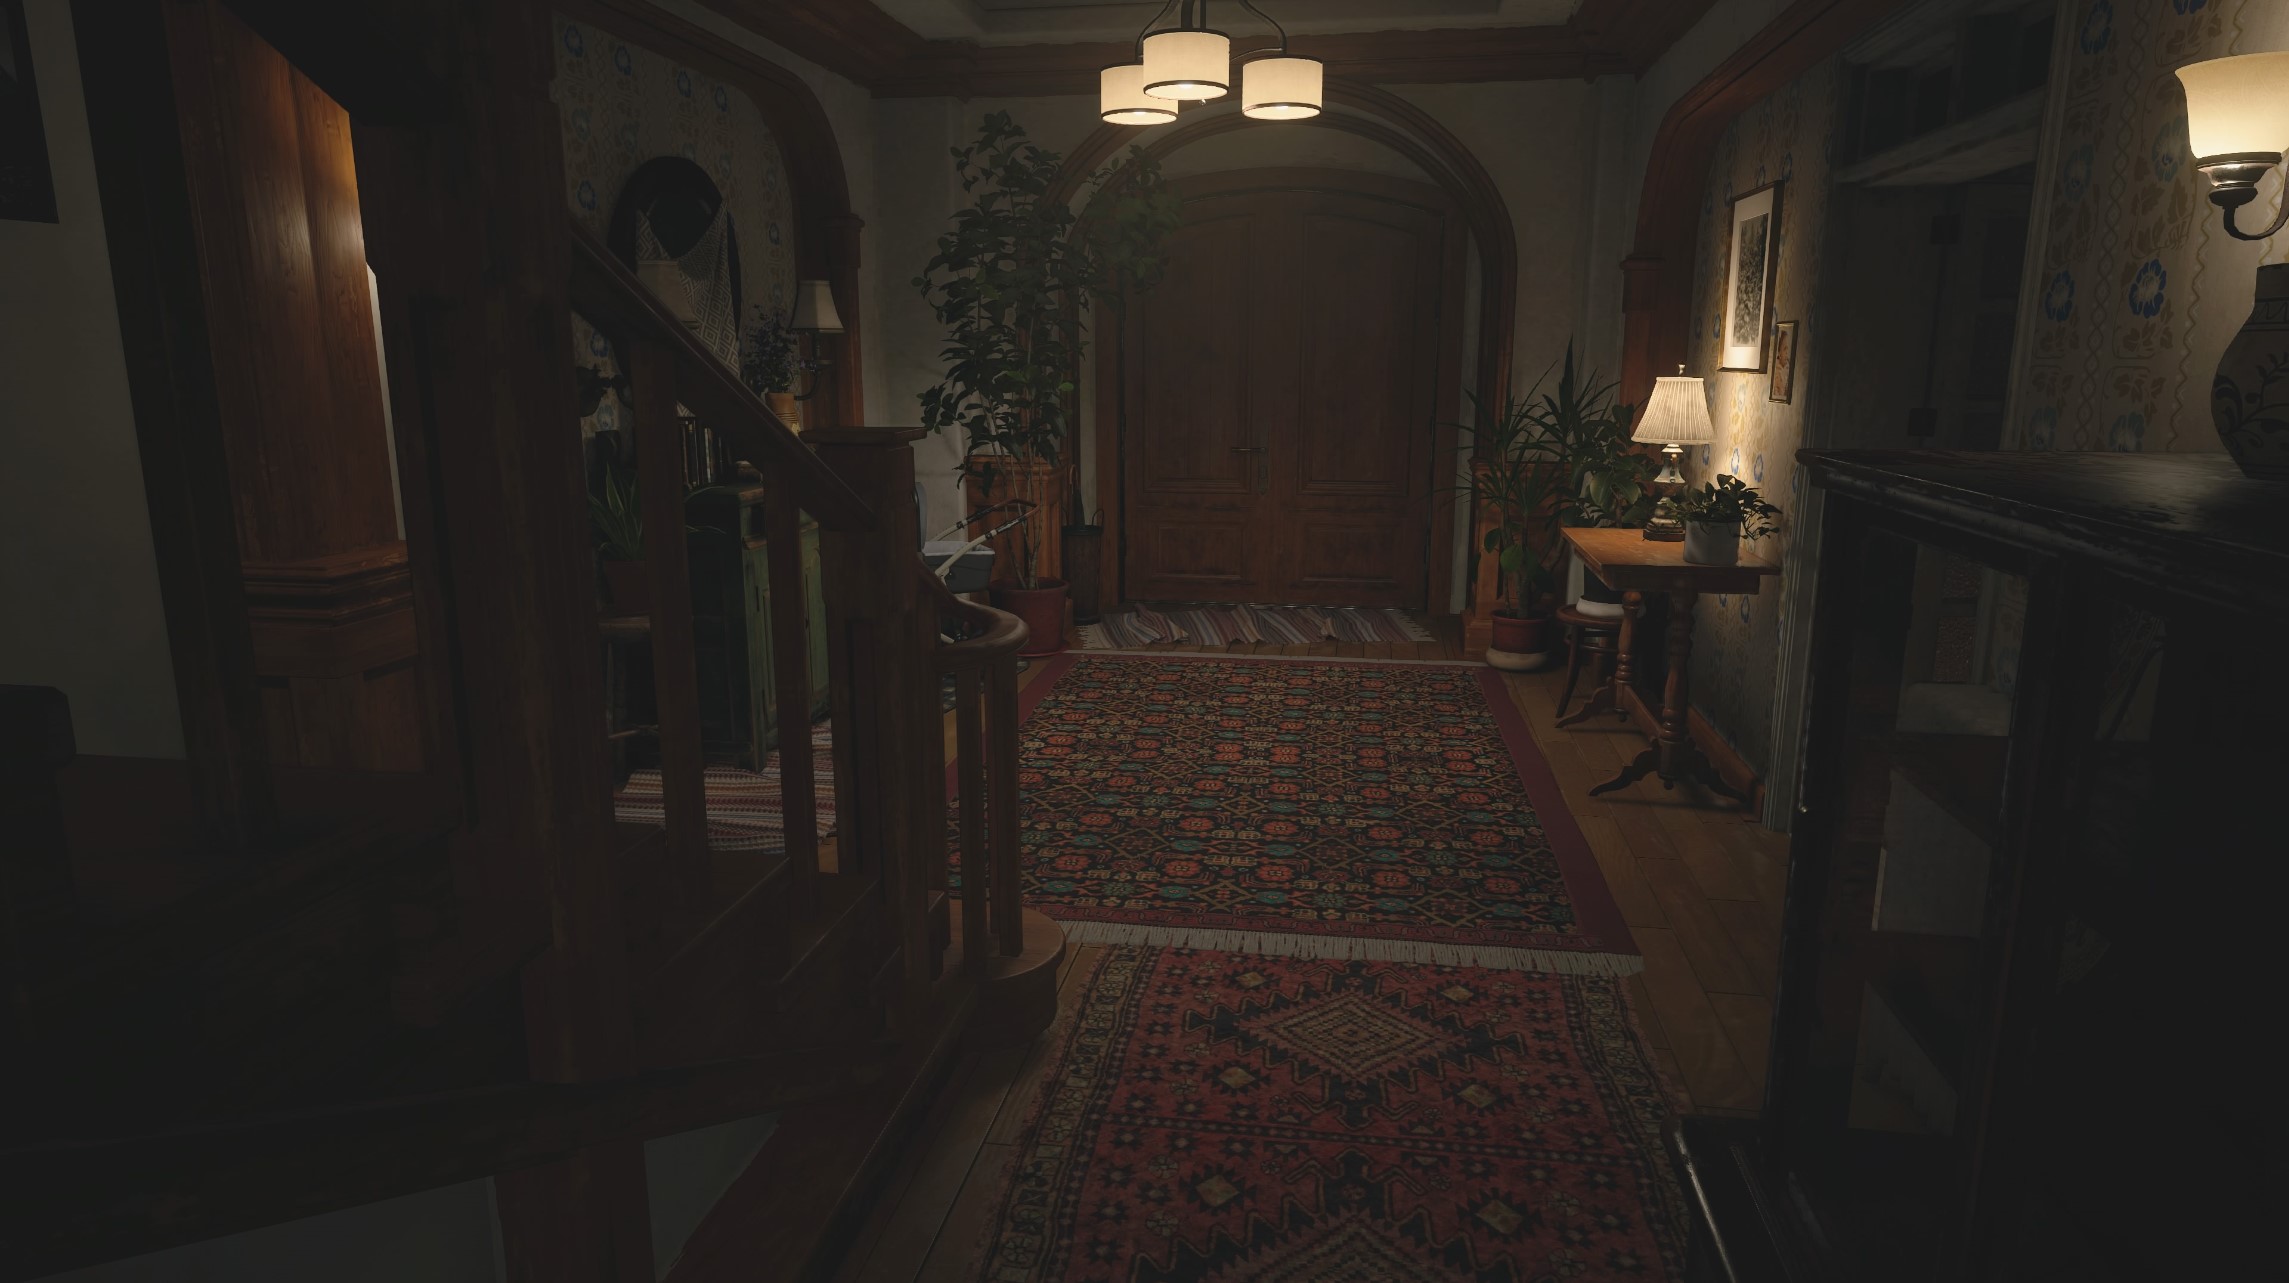
At the top of the stairs, you can veer off to the left or the right to read the scattered notes and lore clues in the bathroom and storage room.

Here, you find out that Mia and Ethan made their way to Europe after Resident Evil 7 and had a baby, Rosemary. Or Rose for short.
You’ll find Rose’s crib in the master bedroom at the left-hand end of the lit hallway.

Then with Rose in bed, you can investigate Ethan’s laptop in the study before returning to Mia downstairs.
Into the Village
After the cutscene, walk forward towards the path illuminated by the headlights and continue into the dark forest.

When you reach the barbed wire fence, crouch underneath, then keep heading forward into the dark.

After a little way, some rocks will fall to your right, so turn right and walk up towards them.
Now follow the trail of birds through the snow until you drop down a ledge.
Press on along the snowy path and you’ll reach a wooden bridge across a stream. On the other side, you’ll pass a pile of logs and then find a cabin, which you can enter through the door on your right.

Inside the cabin there are drawers you can open and close, but nothing to find. Bear left into the main room, then open the wardrobe on the far wall - again, nothing to see.
Now turn around and head through the door behind you, and turn right down the dimly illuminated staircase.

Turn right at the bottom and make your way through the rooms, examining the picture frame on your right along the way.
Continue into the dark until you reach another wardrobe. Open it.
Now retrace your steps back upstairs, push your way under the kitchen dresser, and make your way out of the ‘new door’ you find.

Hop the fence outside, then bear right up the mountain path to your right.
On the other side of the pass, drop down the ledge and descend the hill in front of you.
At the bottom, walk forward a little, then look right to the creaking door. Go inside and admire the decor if you wish. But to advance, you need to go left out of the yard and take the path towards the castle in the distance.

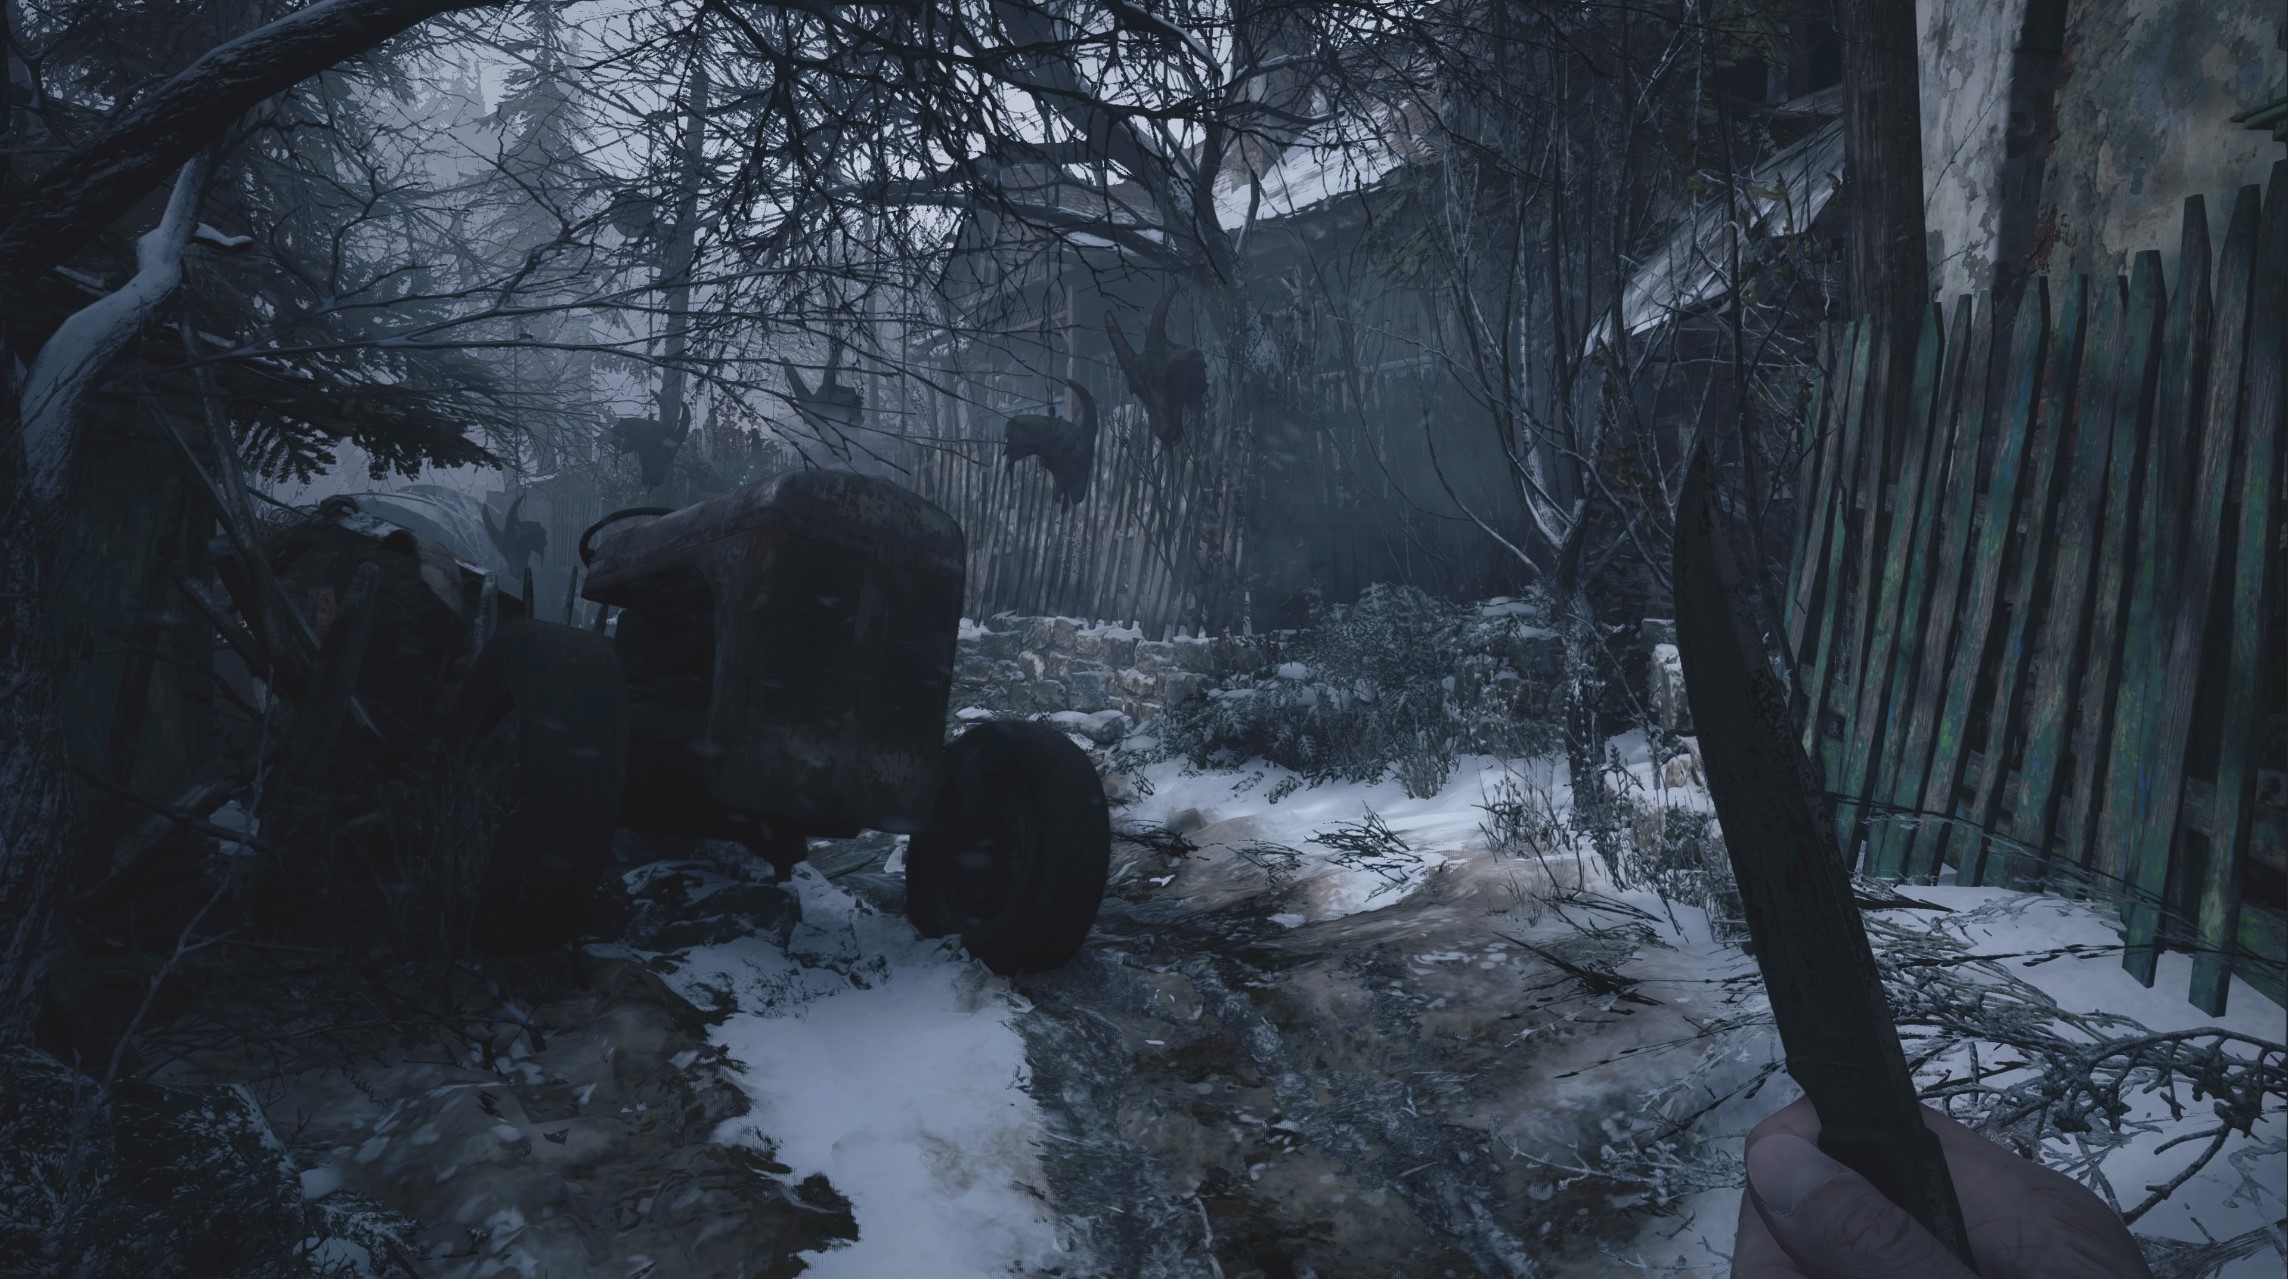
Follow the eerie music, and walk past the tractor and suspended goat heads, then take a left at the end.
Follow the path towards the light, then enter the home through the open door. Then go towards the light again and pick up the knife, a means of defending yourself.

Take a right into the kitchen, cross the room, then open the curtain on the other side.

Next, crawl forward and interact with the examination point.
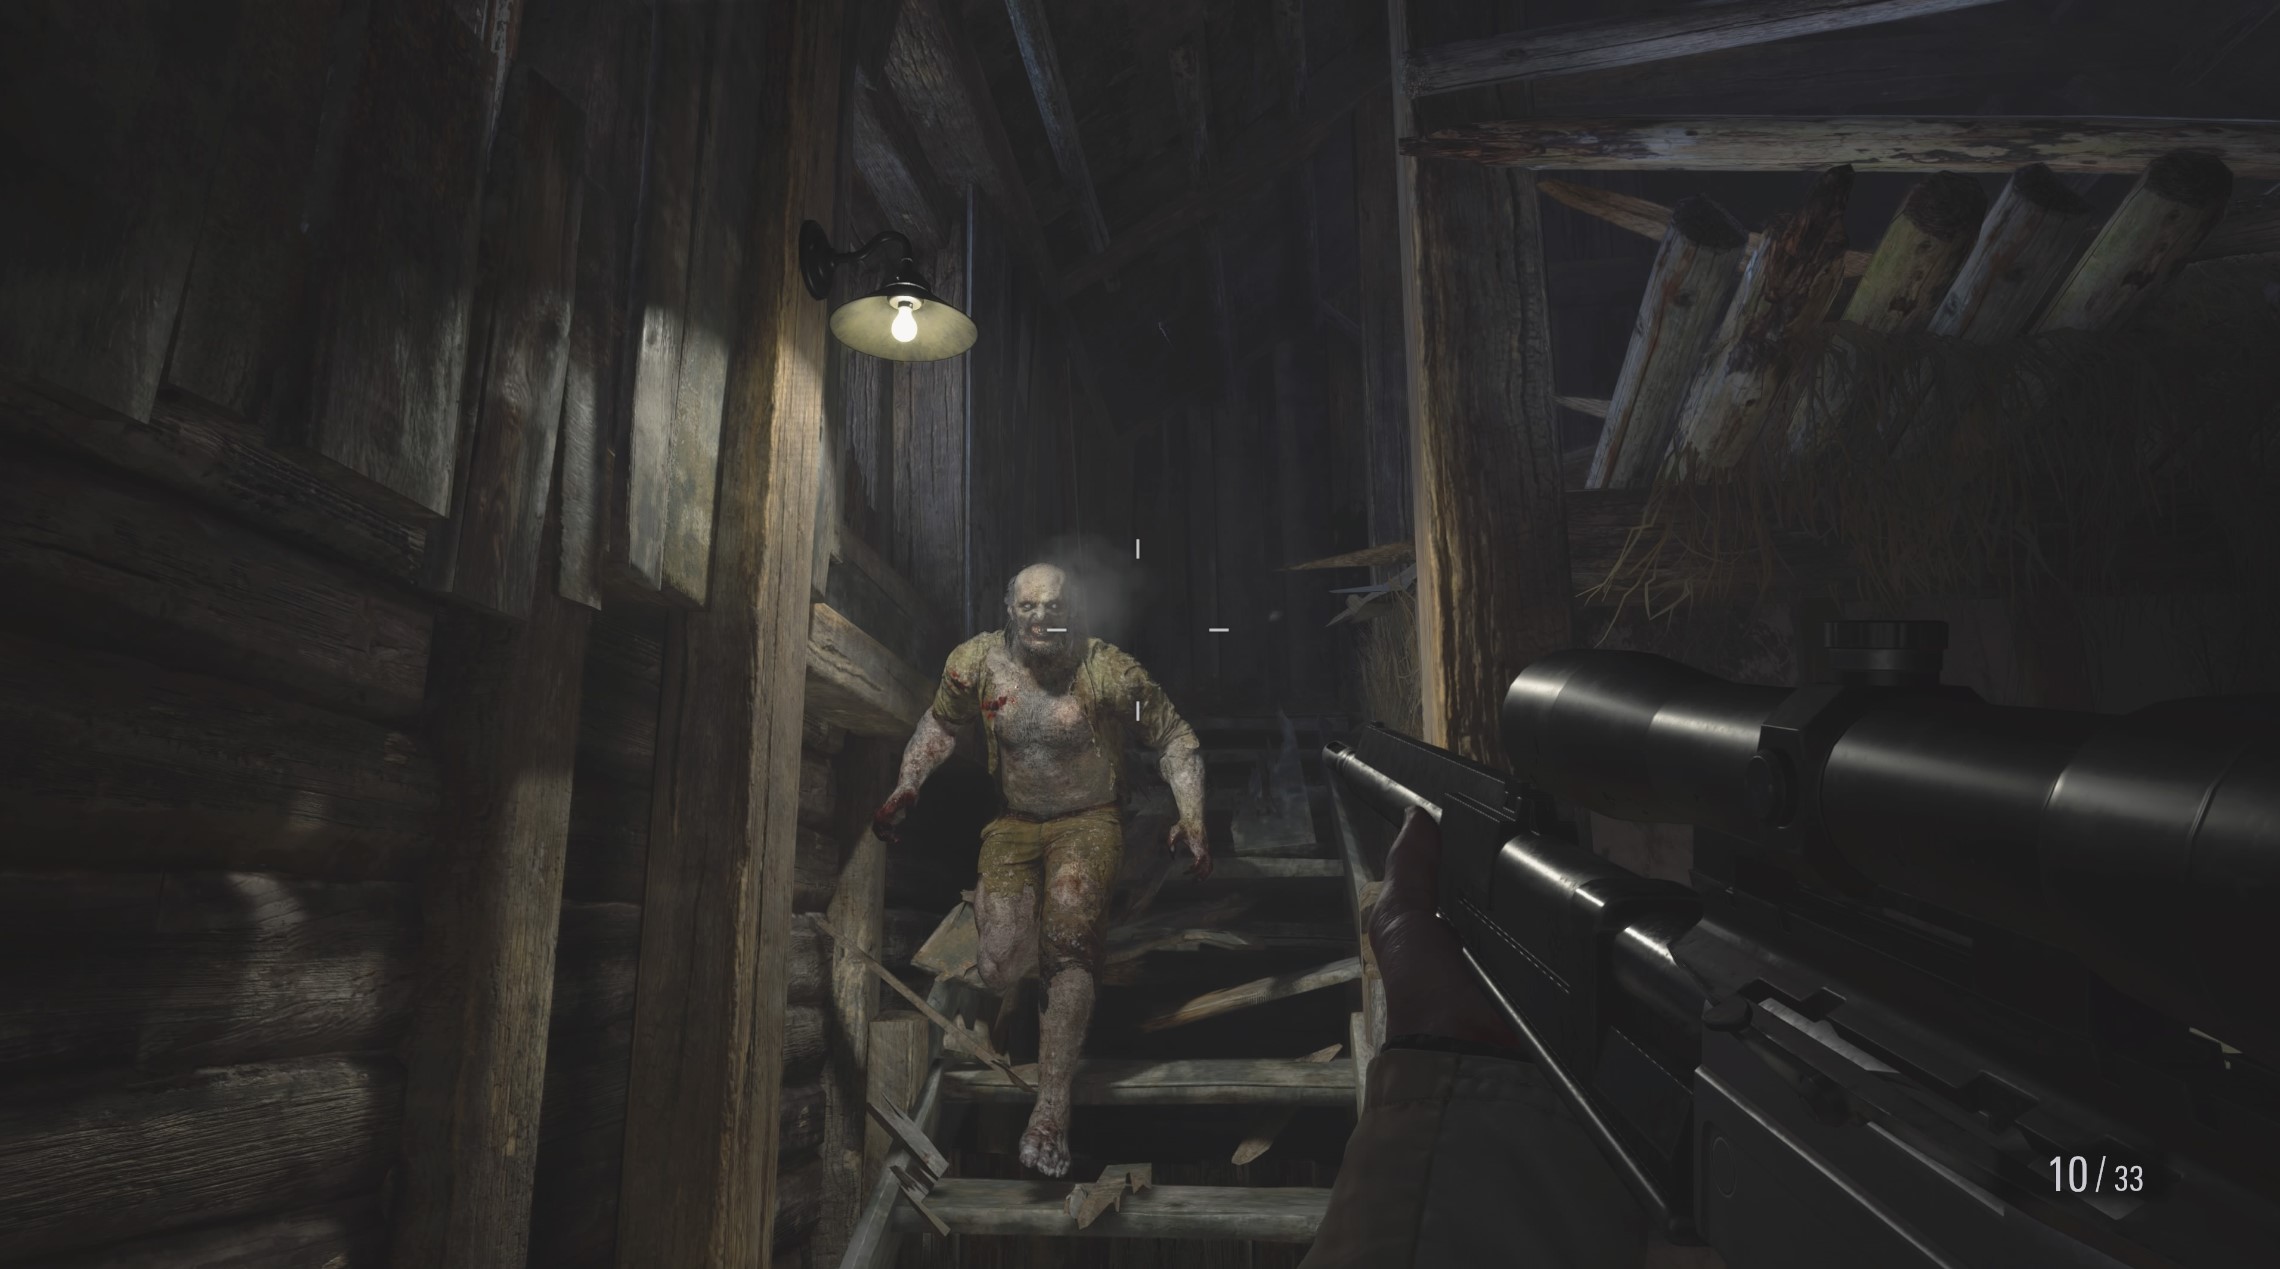
When you regain control, aim and shoot - this guy is tough - aim for the head, but it’ll likely take at least 10 shots to down your first Lycan on normal difficulty.
Now reload and take stock of your surroundings.
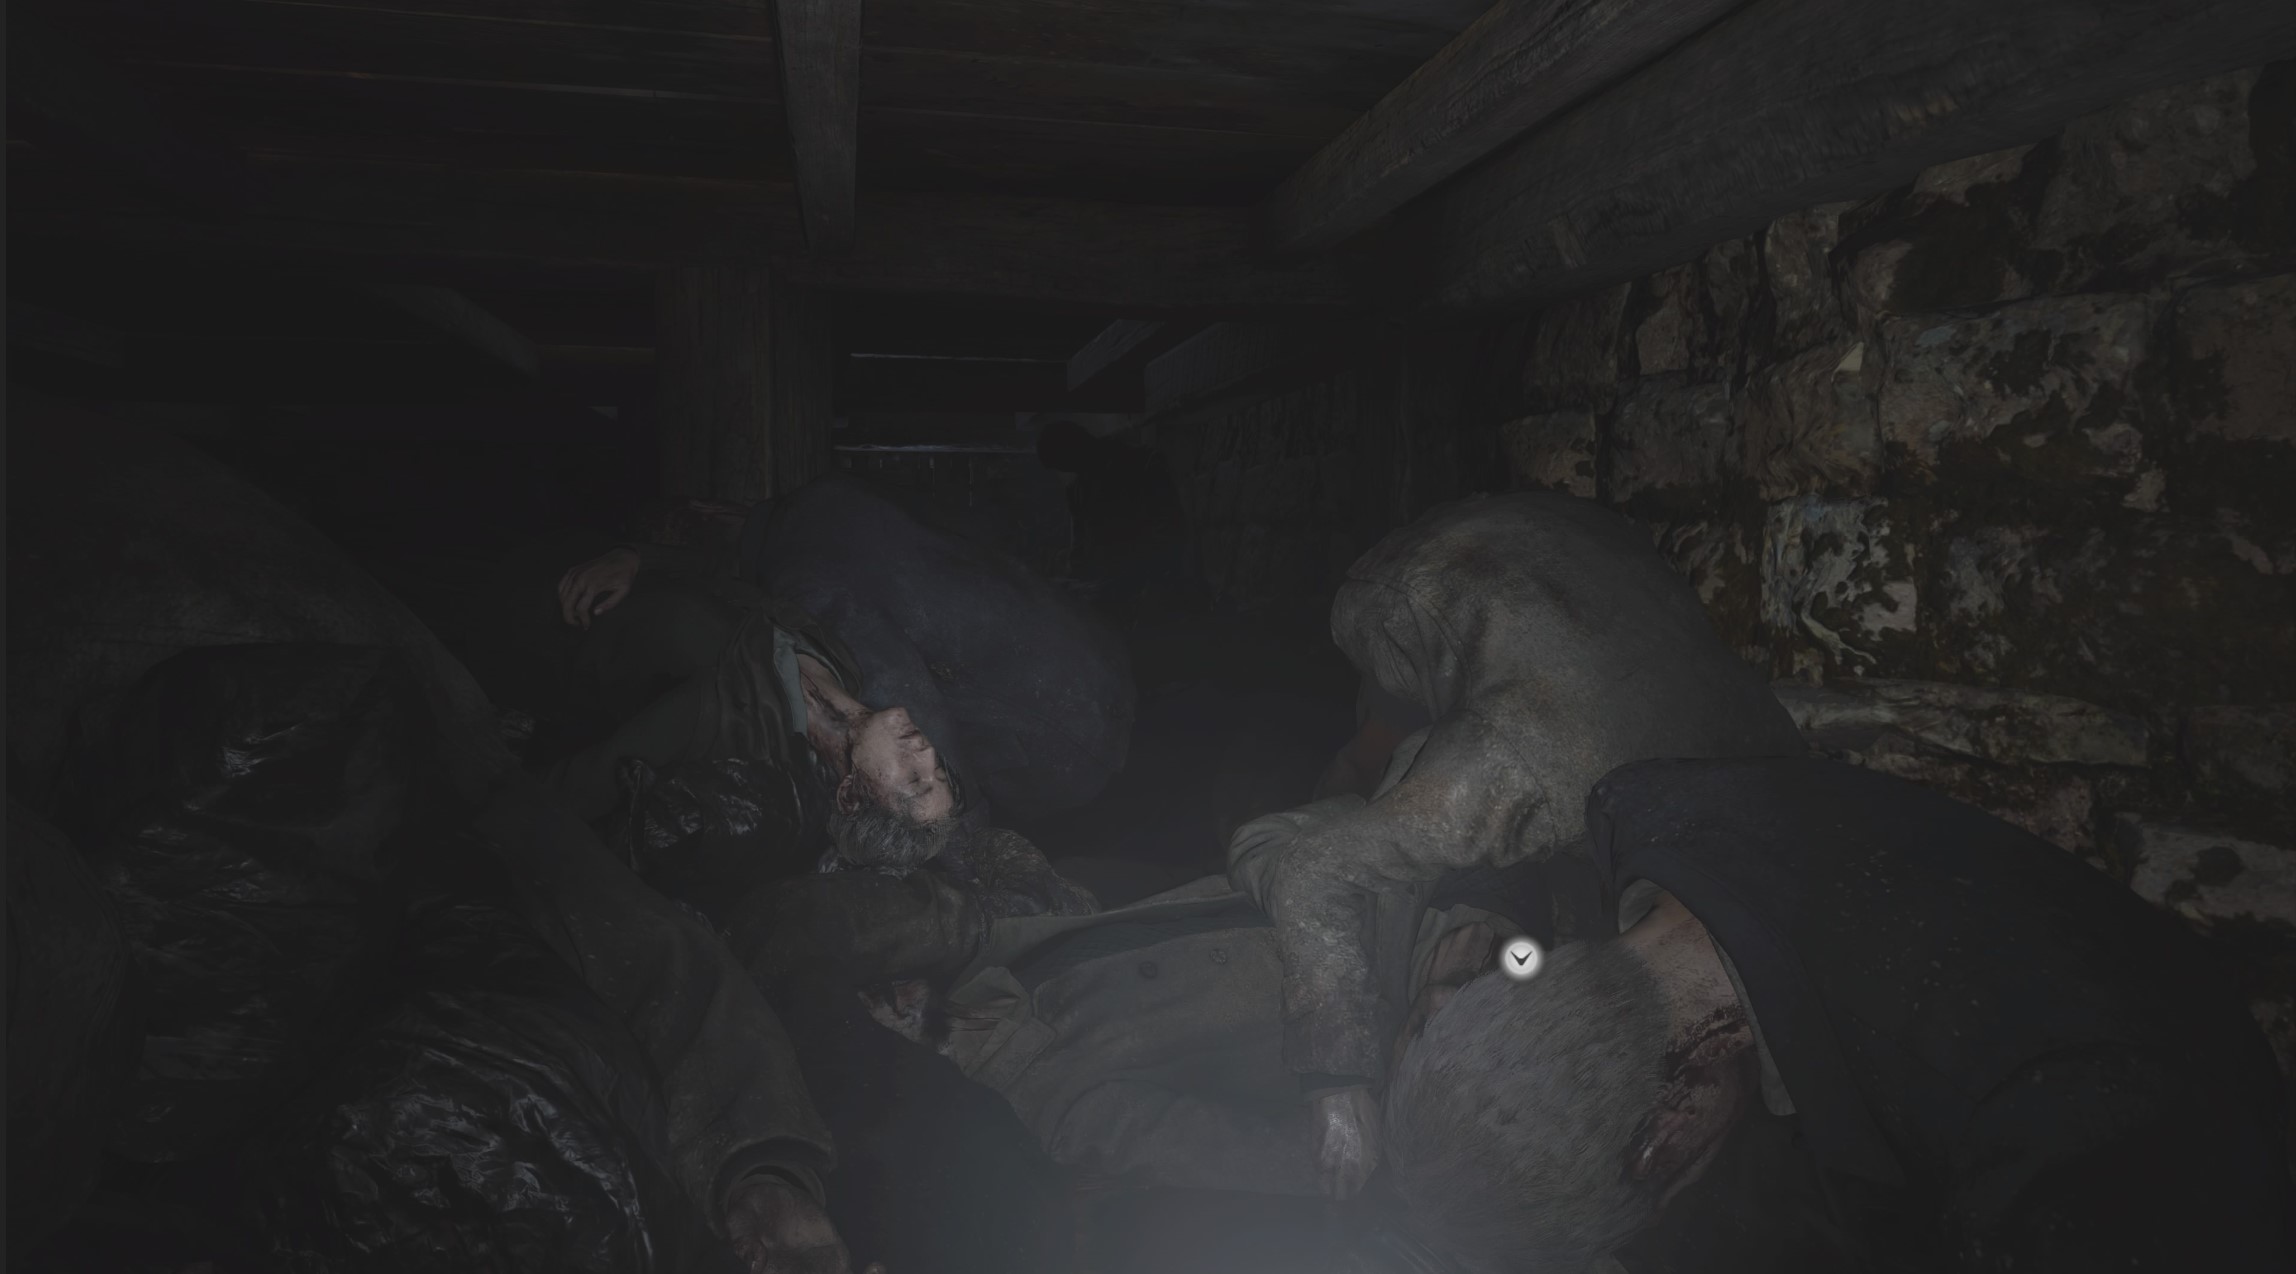
Go back into the house you were thrown out of, then go into the cubby where the old man was hiding to find a pair of bolt cutters.
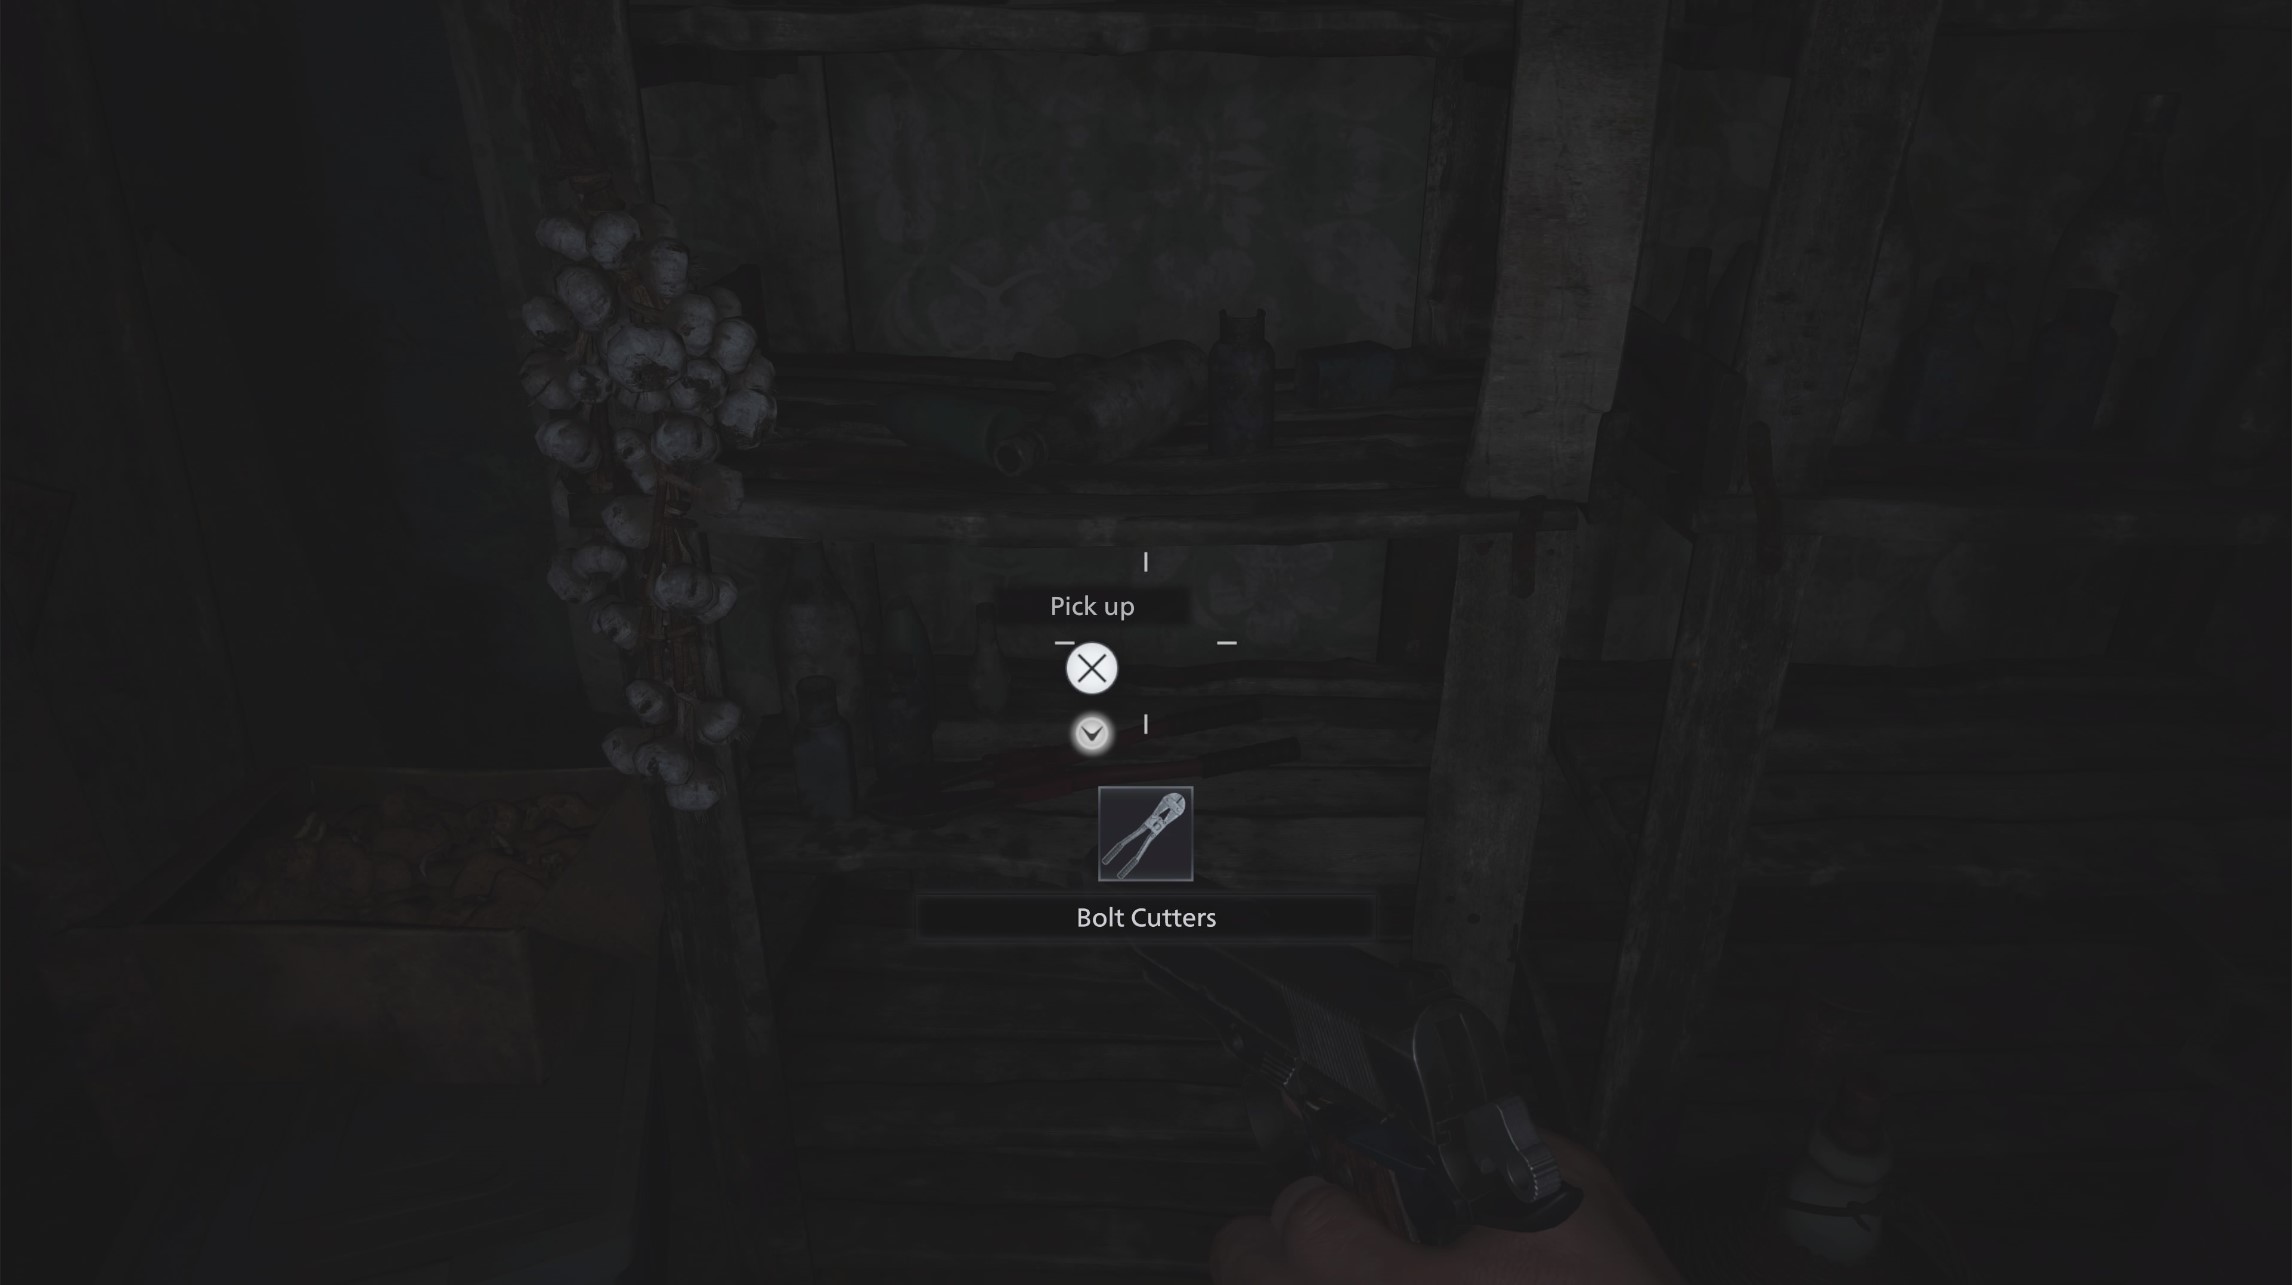
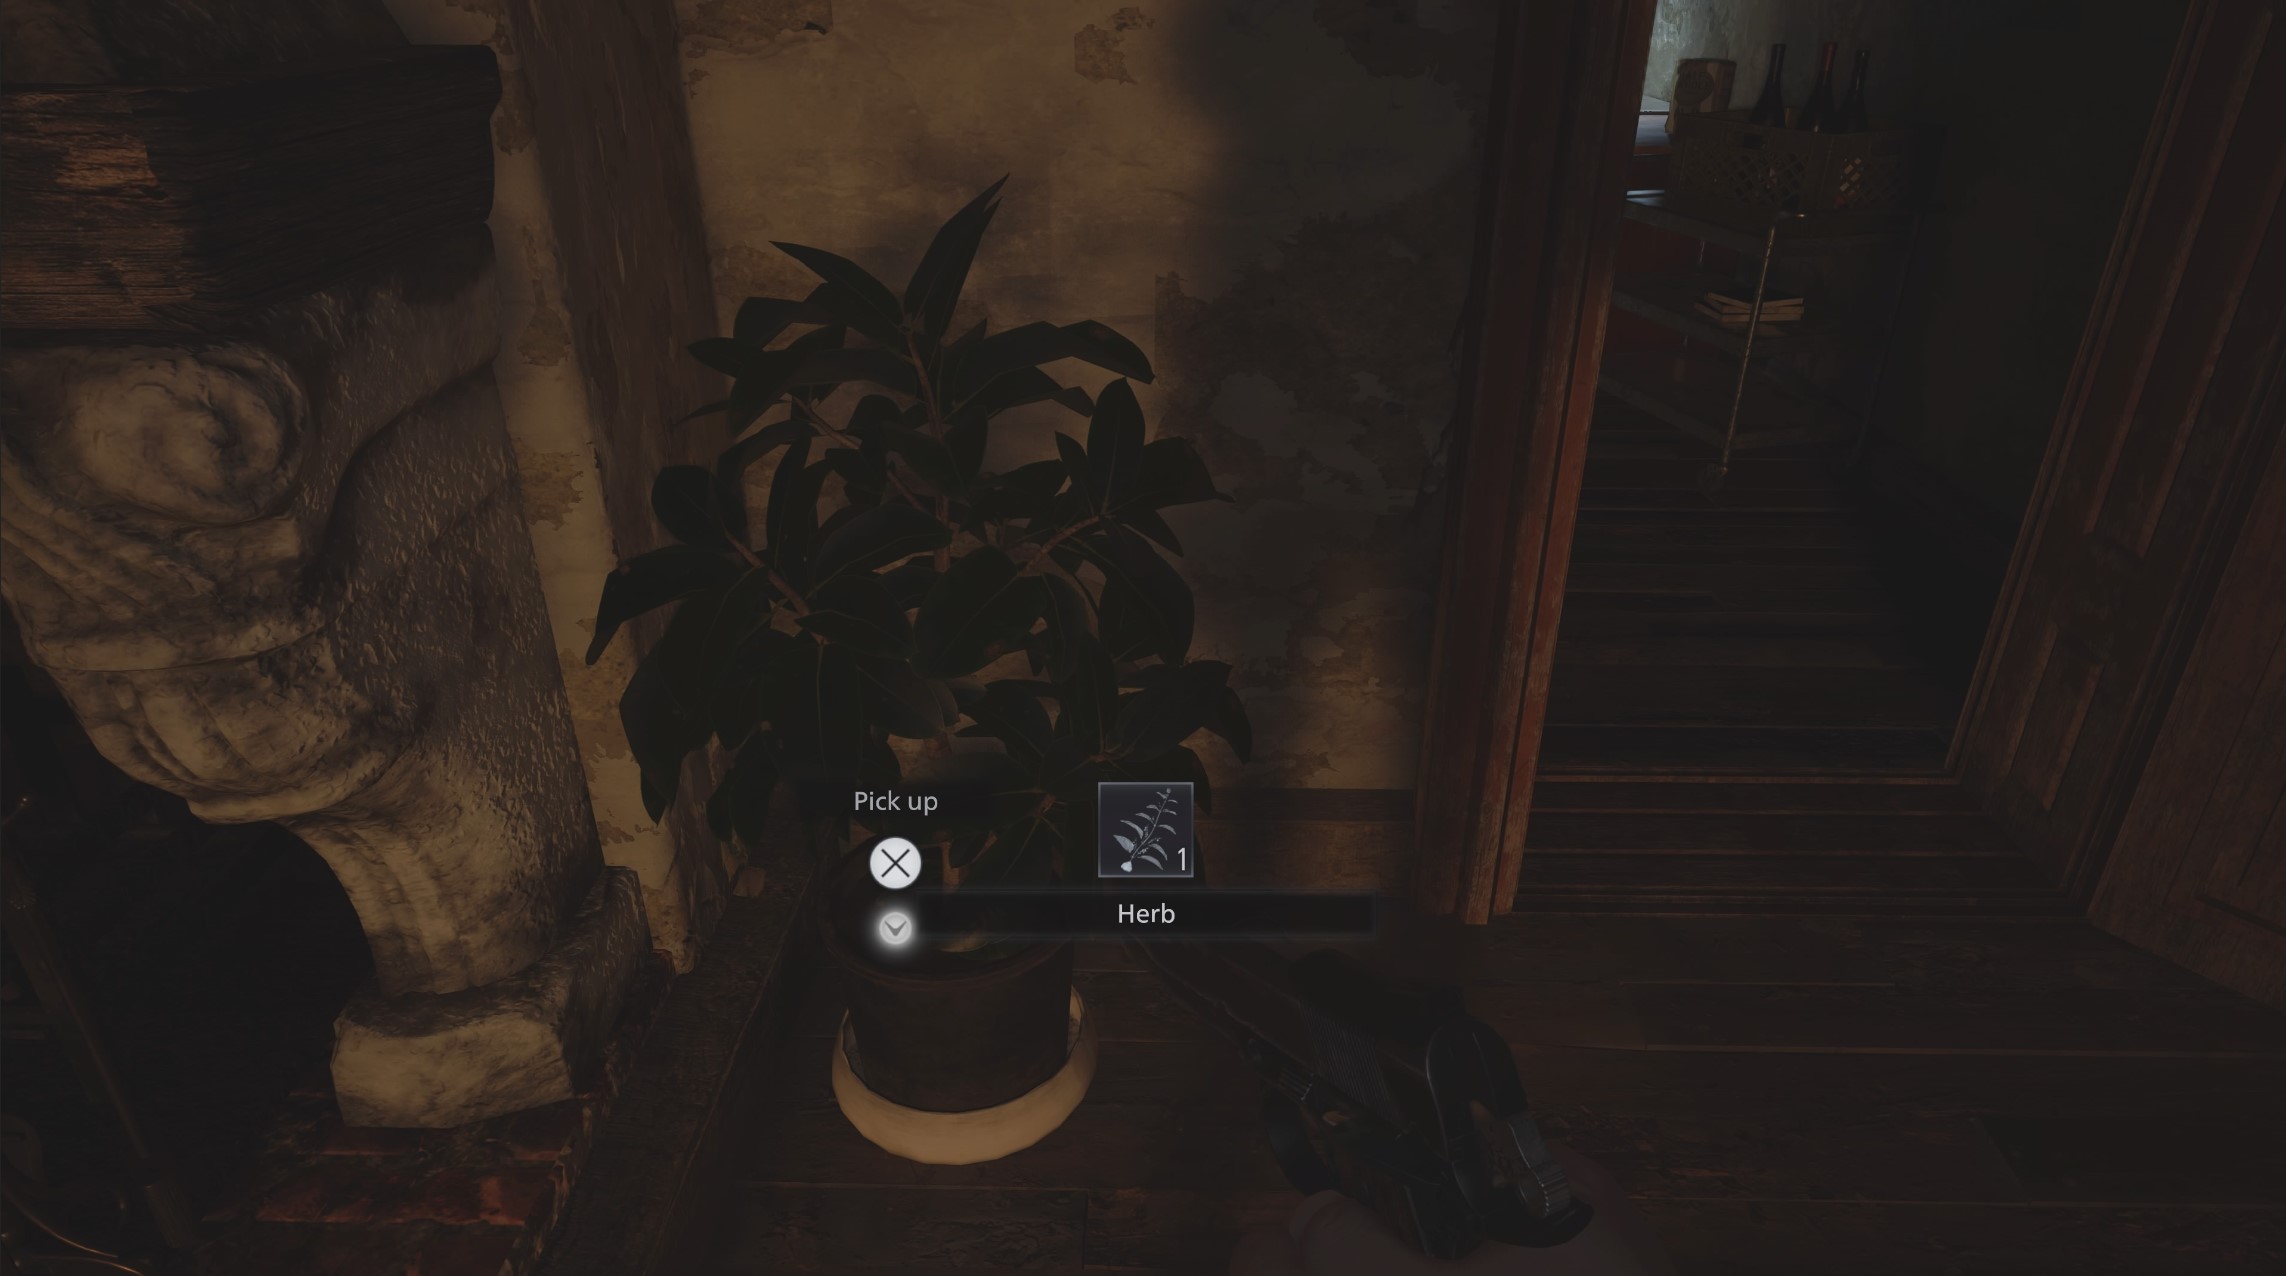
This lets you open the locked gate back out in the yard, but not before you’ve grabbed the herb and chem fluid - the ingredients for a first aid kit - from the outbuilding to the right of the gate.
Across the bridge, there’s no other way forward than into the building with the white door in front of you.

Inside, up the stairs on the left you’ll find some chem fluid and handgun ammo, but things will go south pretty quickly.
Go back downstairs and barricade the door with the shelf next to it by holding the prompt, you can shoot the attacking Lycans to get them to back off, but eventually, one will break in.

Shoot him as you did with the first, and he’ll drop a herb. Press Triangle on PlayStation or the equivalent to open the crafting menu, then craft a first aid med and use it from the item section of your inventory if you need it.
With that, you’ll find the danger passed. Now listen to the radio downstairs and you’ll hear about Luiza’s house, near the fields.
Remove the barricade from the front door and head back outside.

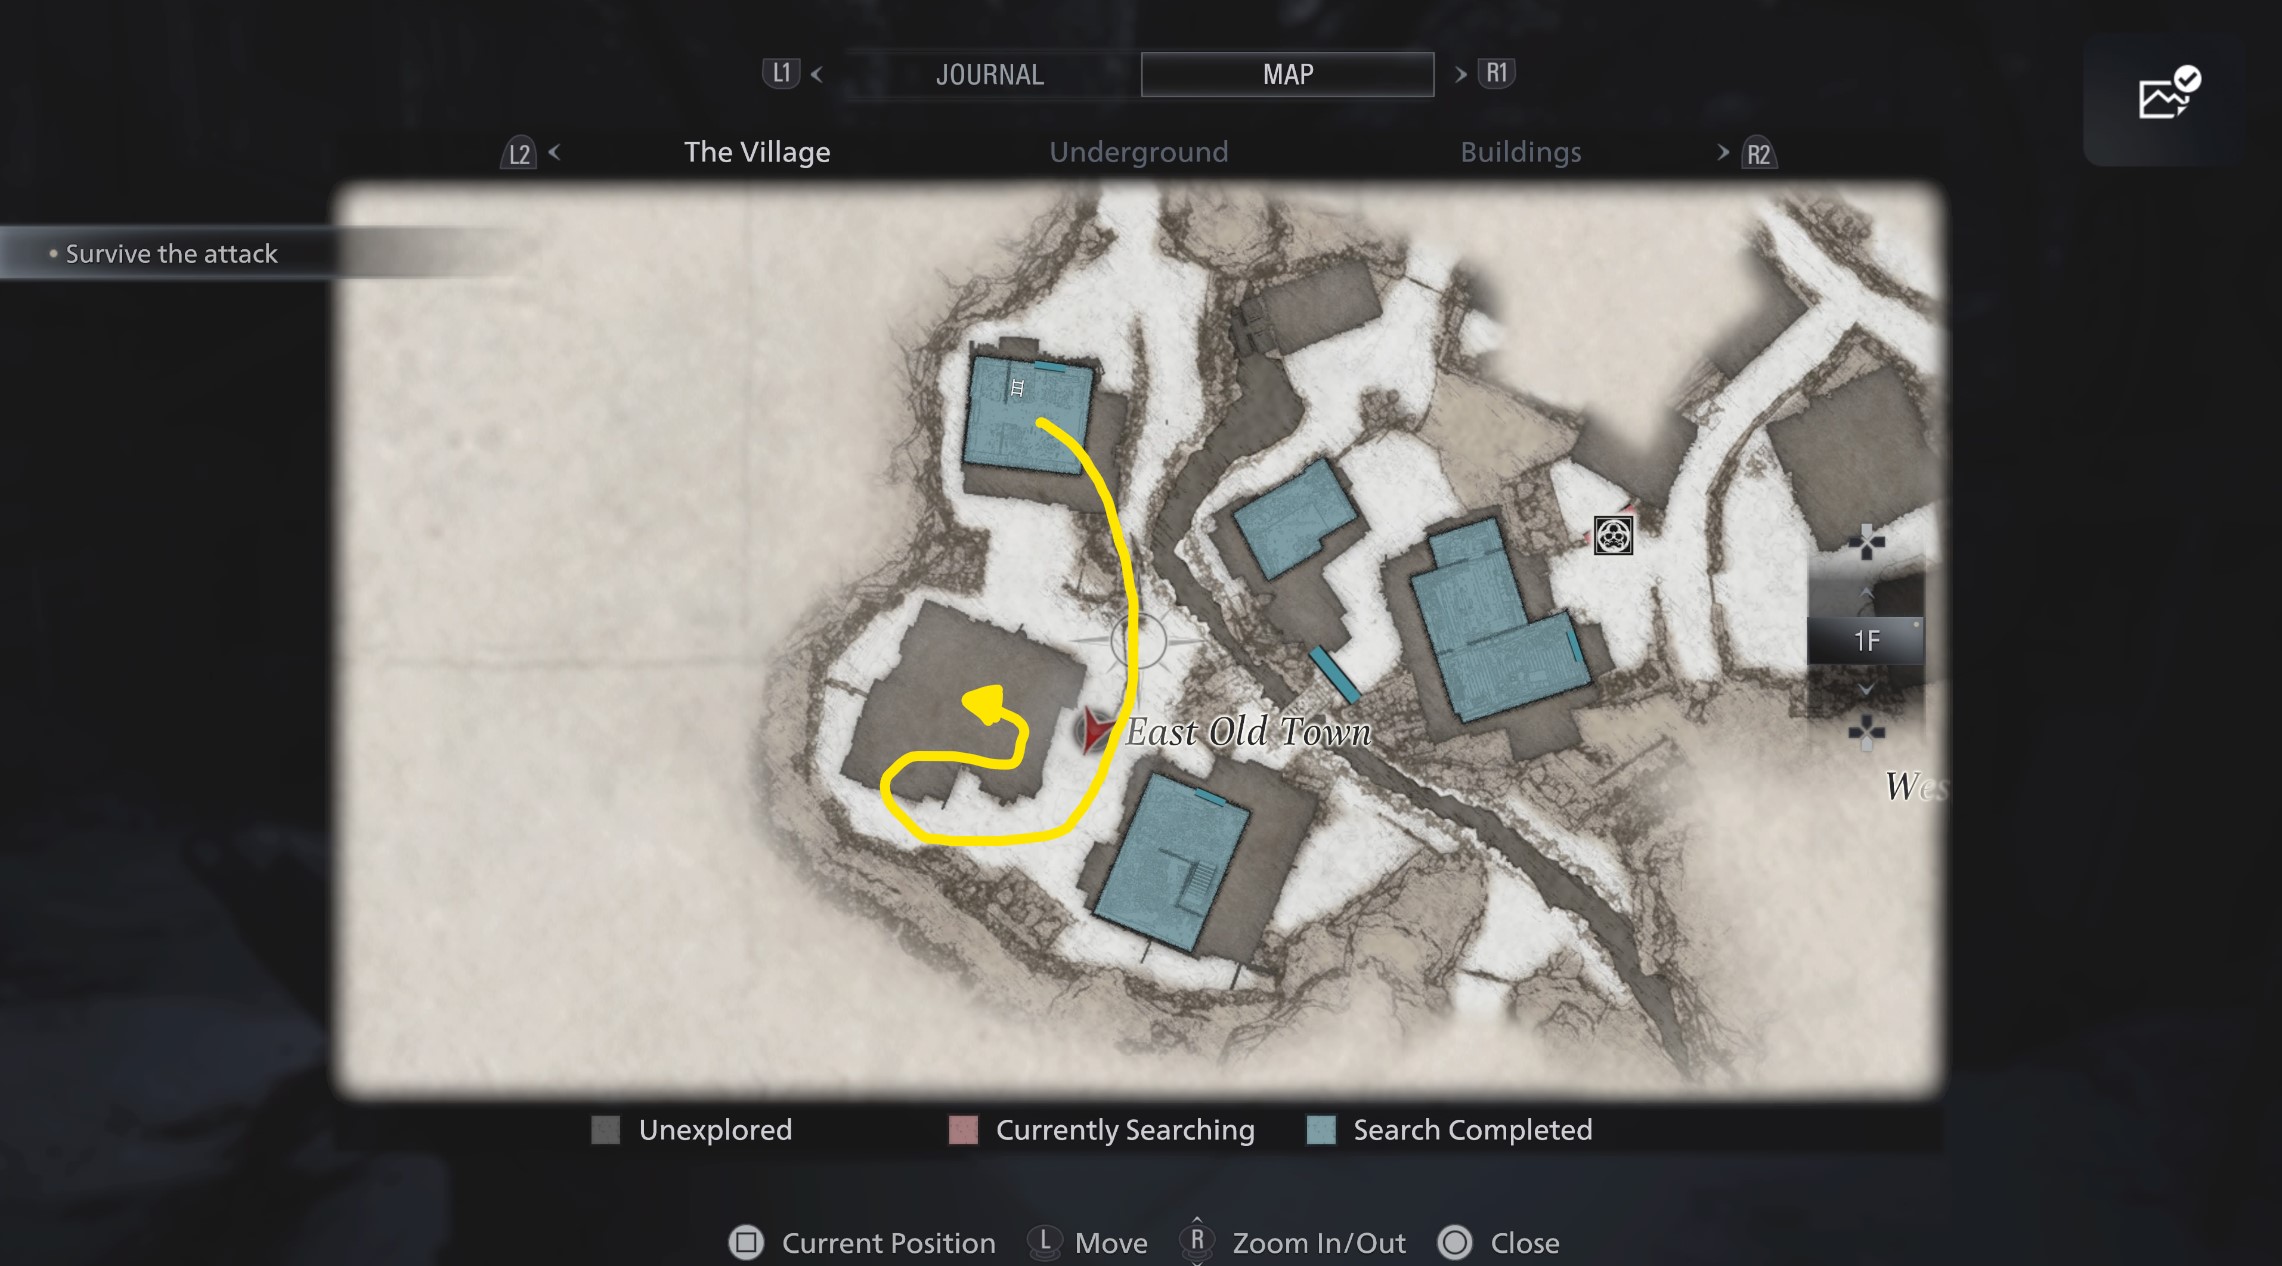
In the cold air, look around and you’ll see hunkered Lycans in nearly every direction. Look left, go around the fence in front of you. There’s a Lycan crouched on the path ahead, and you can tell they’re starting to aggro as they stand.

If you press in the left stick and sprint past up the path, then go around the back of the house at the top of the hill, he won’t attack you, honest.

This is a good rule of thumb to remember: go fast and you’ll be able to outmaneuver enemies.
Around the back of the house, you’ll see a way inside, where you can break the box to get some more handgun ammo, as well as collect a herb and some shotgun ammo for later.

The Lycans will swarm the house again, so barricade the door, but instead of fighting, climb the ladder next to the door and escape onto the roof.

Drop down from the tiered roofing on your left, then head right - past the building where you survived the first attack - and sprint under the tree with the fabric flapping in the breeze.

The path turns right, where you’ll see another breakable box in front of you. Loot it, then sprint up the stairs to your right and another the porch until you reach a room you can enter.
Barricade the door as soon as you enter, then turn to survey your options.
On the table, you’ll find a shotgun to better defend yourself.
Grab everything you can, including a herb, then go through the kitchen into the lit room around the back.
There’s some more ammo in here, and the vital info that you can attack flour bags to create cover for yourself, but more pressingly, climb down the ladder.

In this crawlspace, there’s some rusted scrap to collect.
Make your way around to the side and you’ll see a grate at a dead end. By this point, a Lycan will probably have followed you down into the hole.
Turn and defeat them with your new weapons, then another Lycan will burst through a new hole to the left of the grate at the end of the crawlspace.

Defeat them as well, then grab the item they drop.
Fight off as many Lycans as you can, again collecting the items they drop, until eventually a real big boy arrives to close down the party.

As you continue fighting off the enemies, eventually one will grab you and throw you to the floor.
When you regain control, head through the gate in front of you. Or if you missed anything in haste, go back and pillage what you’ve forgotten.
Through the gate, watch the scene, then set off into this new part of the village.

Immediately after you start on the path, look to the left and there’s an illuminated porch. Inside the house there’s some chem fluid to craft healing items, and some reading material.
Return to the path and at the top you’ll reach the Maiden of War square. There’s some gunpowder to collect from the bench on your right, then on the far side of the statue there’s some rusted scrap on top of a tractor.

When that’s safely stuffed into your pockets, take the path up the hill from the statue, which the sign says leads to Castle Dimitrescu.
On the right, there’s a shrine with a Goat of Warding - hit it with your knife for a trophy.
Continue following the path and you’ll reach a carved door with two faces missing. Your objective now changes: Find the face keys and you’ll be able to reach the castle.
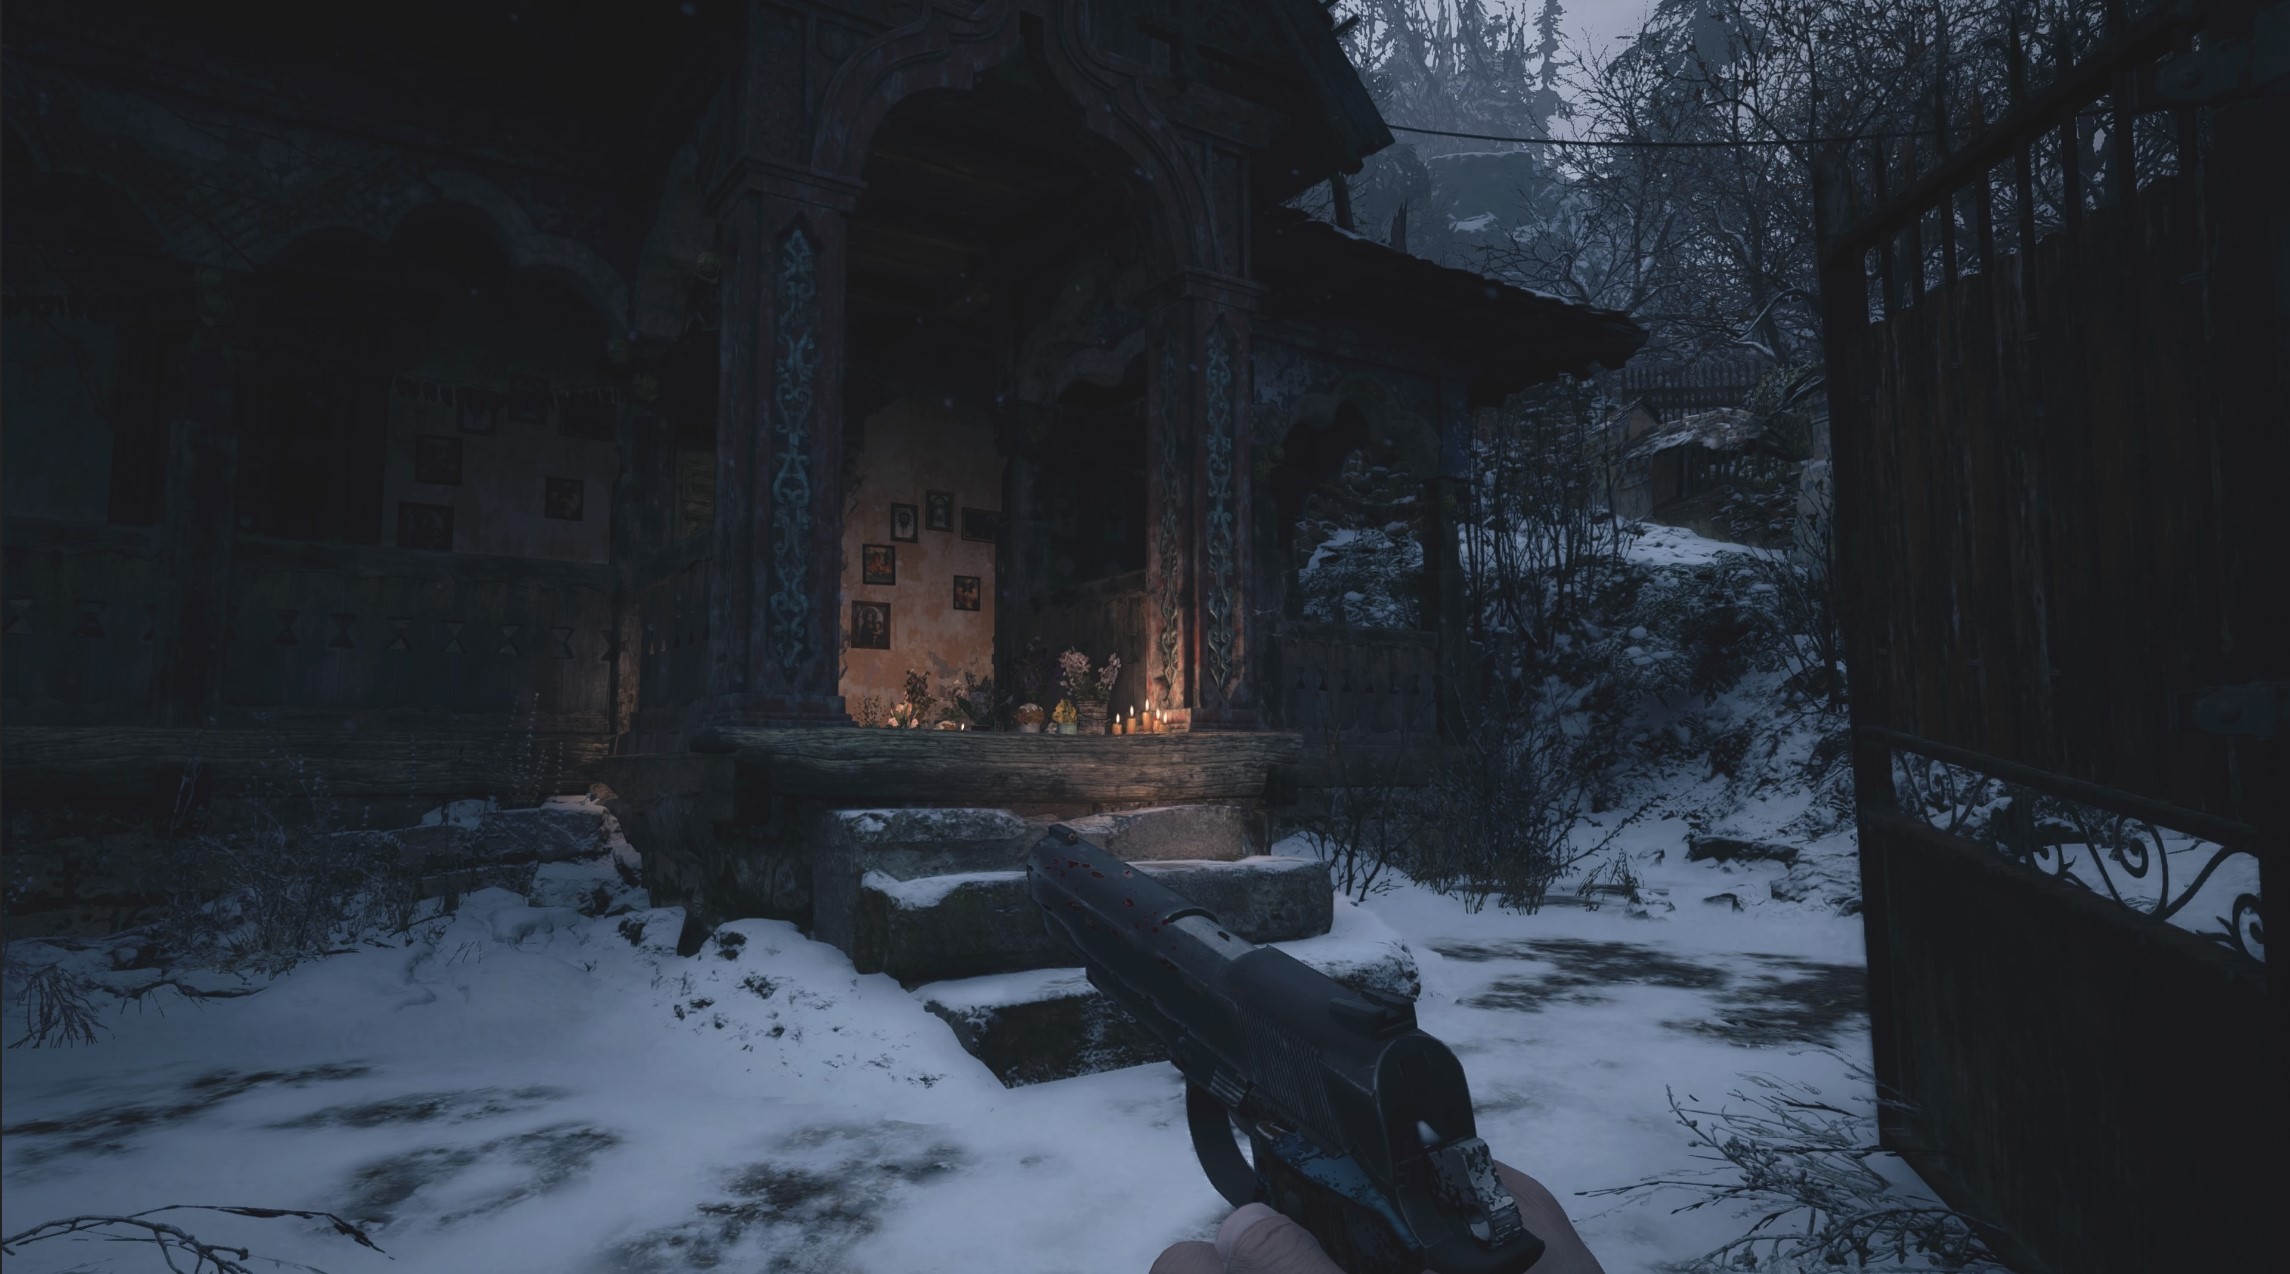
Look right and you’ll see a house through an open gate. Push through the wrought iron gate and enter the house, which turns out to be an ersatz chapel.

From the altar take the Maiden Crest, then examine the drawing on the chair to its right.
It says to go to Luiza’s house for the next crest, which you can see is southeast of the church, on your current side of the river.
Luiza’s House
Leave the church through the door opposite the one you entered through, saving your game at the typewriter on the left if you wish.
Before you leave though, look above the altar for a flashing light on a picture. Shoot it, and a crystal fragment will drop to the floor - you can sell these later for cash.

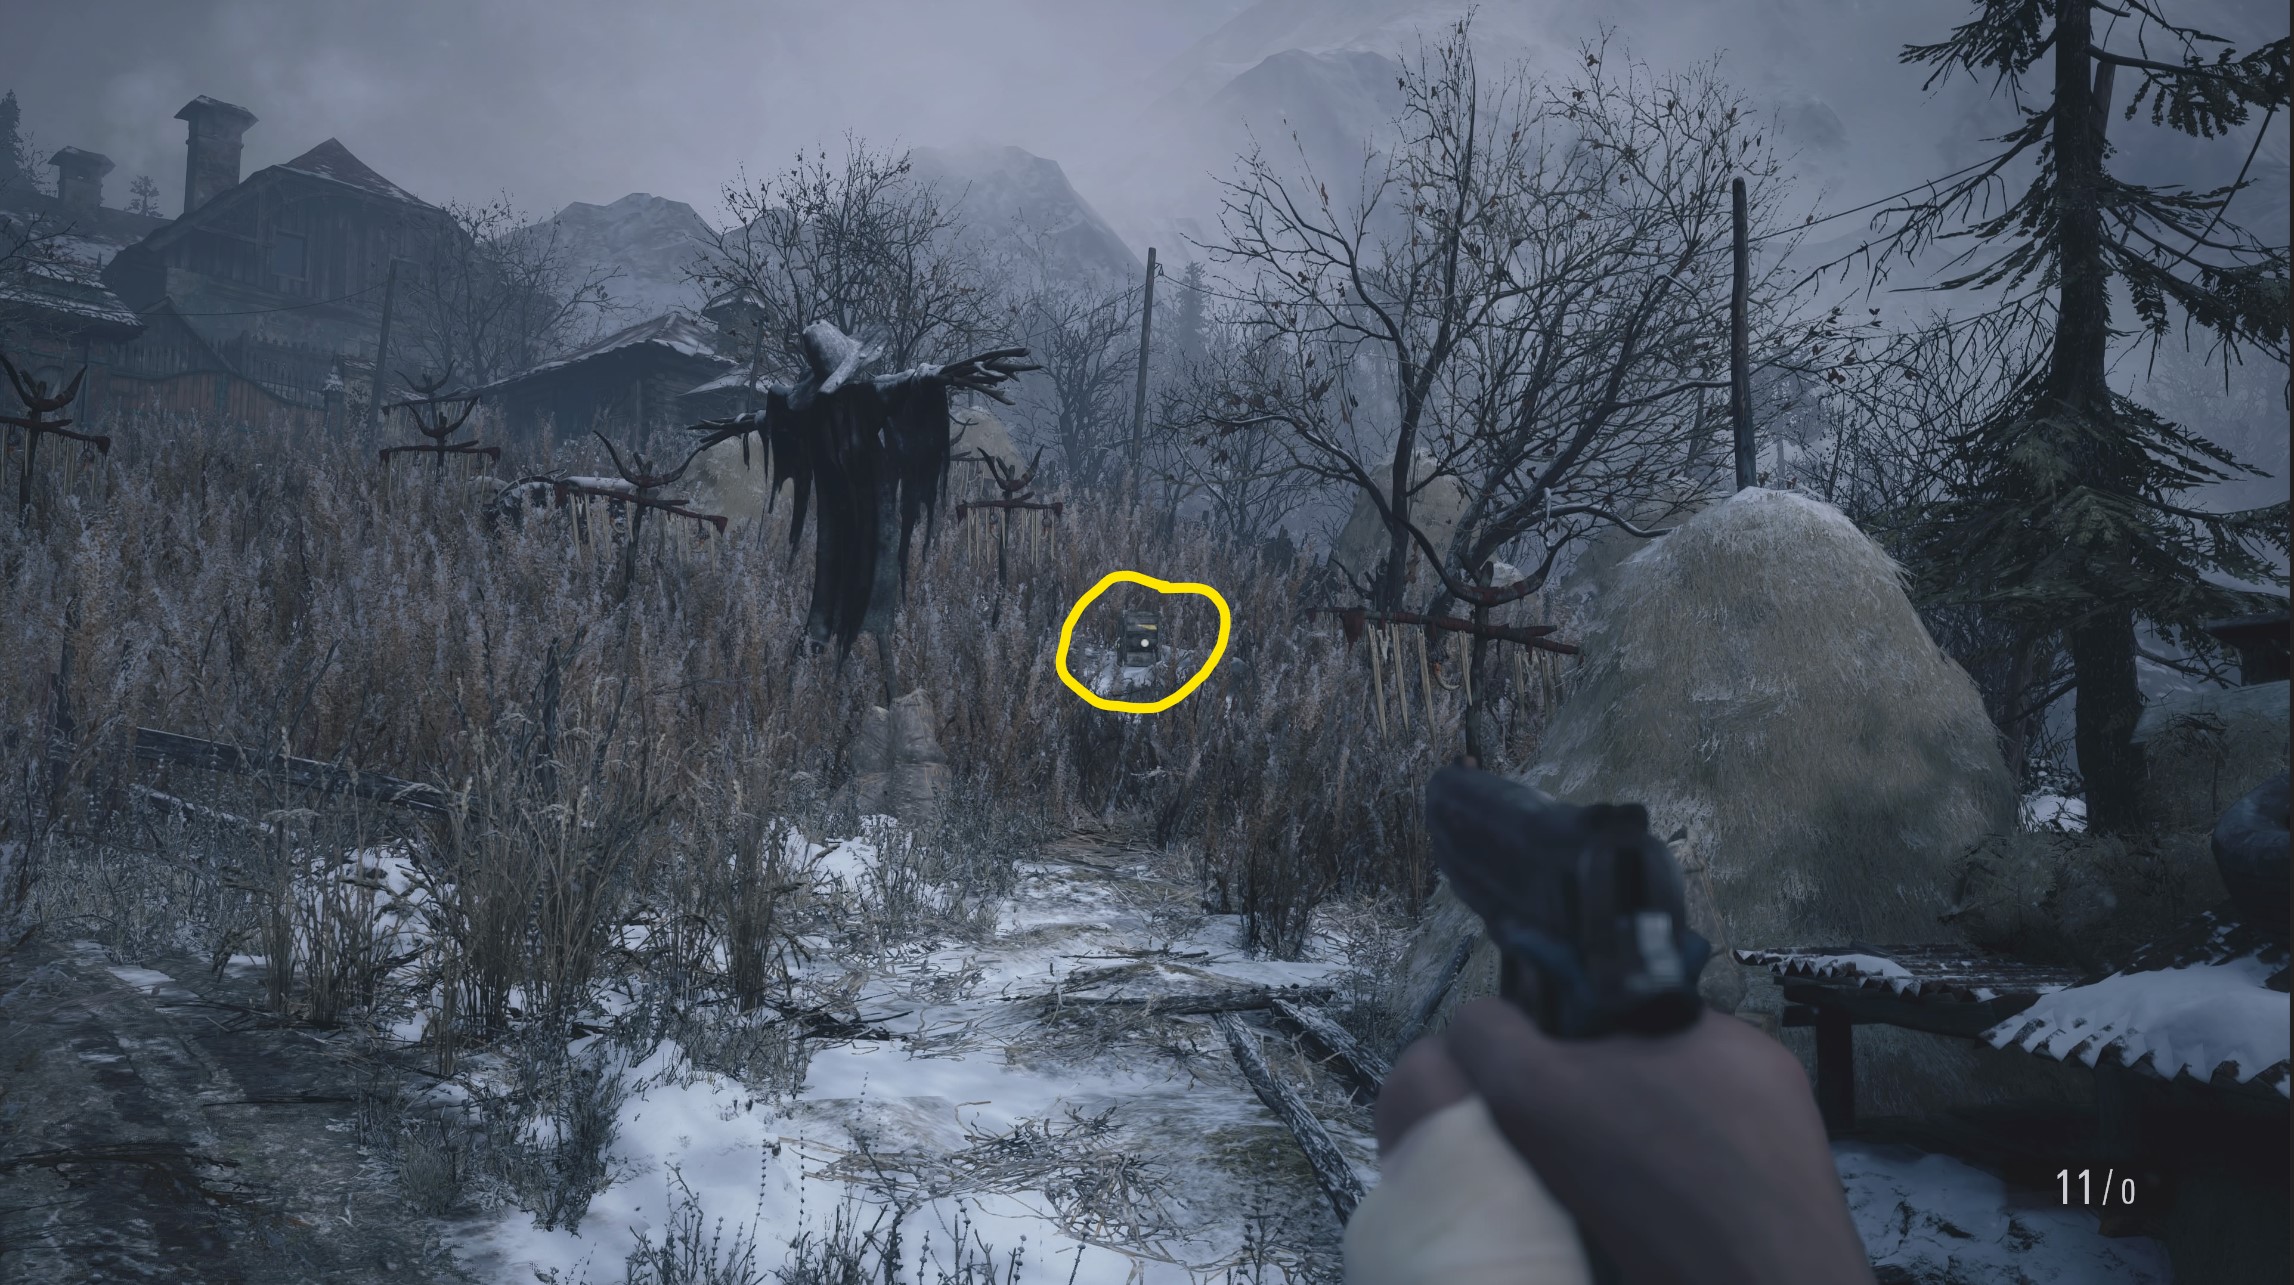
From the outside of the church, go down the stairs into the field towards the scarecrow. This area is called the Fallow Plot. Might these be the fields that the woman on the radio spoke of?
For no particular reason, this might be a good time to use any scavenged gunpowder and scrap you have to craft some bullets. It’s not like I know what’s coming or anything, but in Resident Evil, it never pays to go in half-cocked.
You can approach the Fallow Plot in a couple of ways: stand your ground and methodically work your way through, or just run like a chicken nugget to the gate at the top.
Before you choose though, you can quite safely run over to the box you see on the right, grab the gunpowder inside, then run back to your starting position.
You can then loot the two outbuildings on the left of the field for more bullets, and a landmine. A lycan will attack when you search the lower outbuilding, but you can easily headshot him down from the window, since he’s on his own.

Back in the main fallow plot, I suggest walking alongside the fencepost through the middle of the wheat. Otherwise, it’s very difficult to see what you’re doing. Should you meet something in the grass, deal with it using the weapons at your disposal, then continue along the fence.

At the top of the field, move slowly and you can avoid triggering the Lycan on your right, or take the initiative and fire the first shot.

Double back on the other side of the fence and you can grab some scrap next to the broken cart, but to advance, open the gate at the crest of the hill.
You’ll hear someone in the nearby house, so head over there to investigate.
When you regain control, head through the open window to your left.
Break the box to claim some crafting supplies, then climb up onto the blue tarped planks on the left.
There’s more gunpowder here, and a wall to climb over.

On the other side, look right, open the outhouse and claim some chem fluid.
Then turn left and go toward the other side of the gate, where you’ll see the other Crest in a lit box.
Unlock the gate, and the two villagers will enter the compound. Bang at the door and enter.
In the reception room there’s a typewriter to save. Soon, Luiza will beckon you further into the house.
After the scene, you’ll be in the garage. Look right and go into the sitting room, grabbing the herb there, then continue through into the kitchen.
Open all of the drawers and you’ll find a heavy sack of 500 Lei.
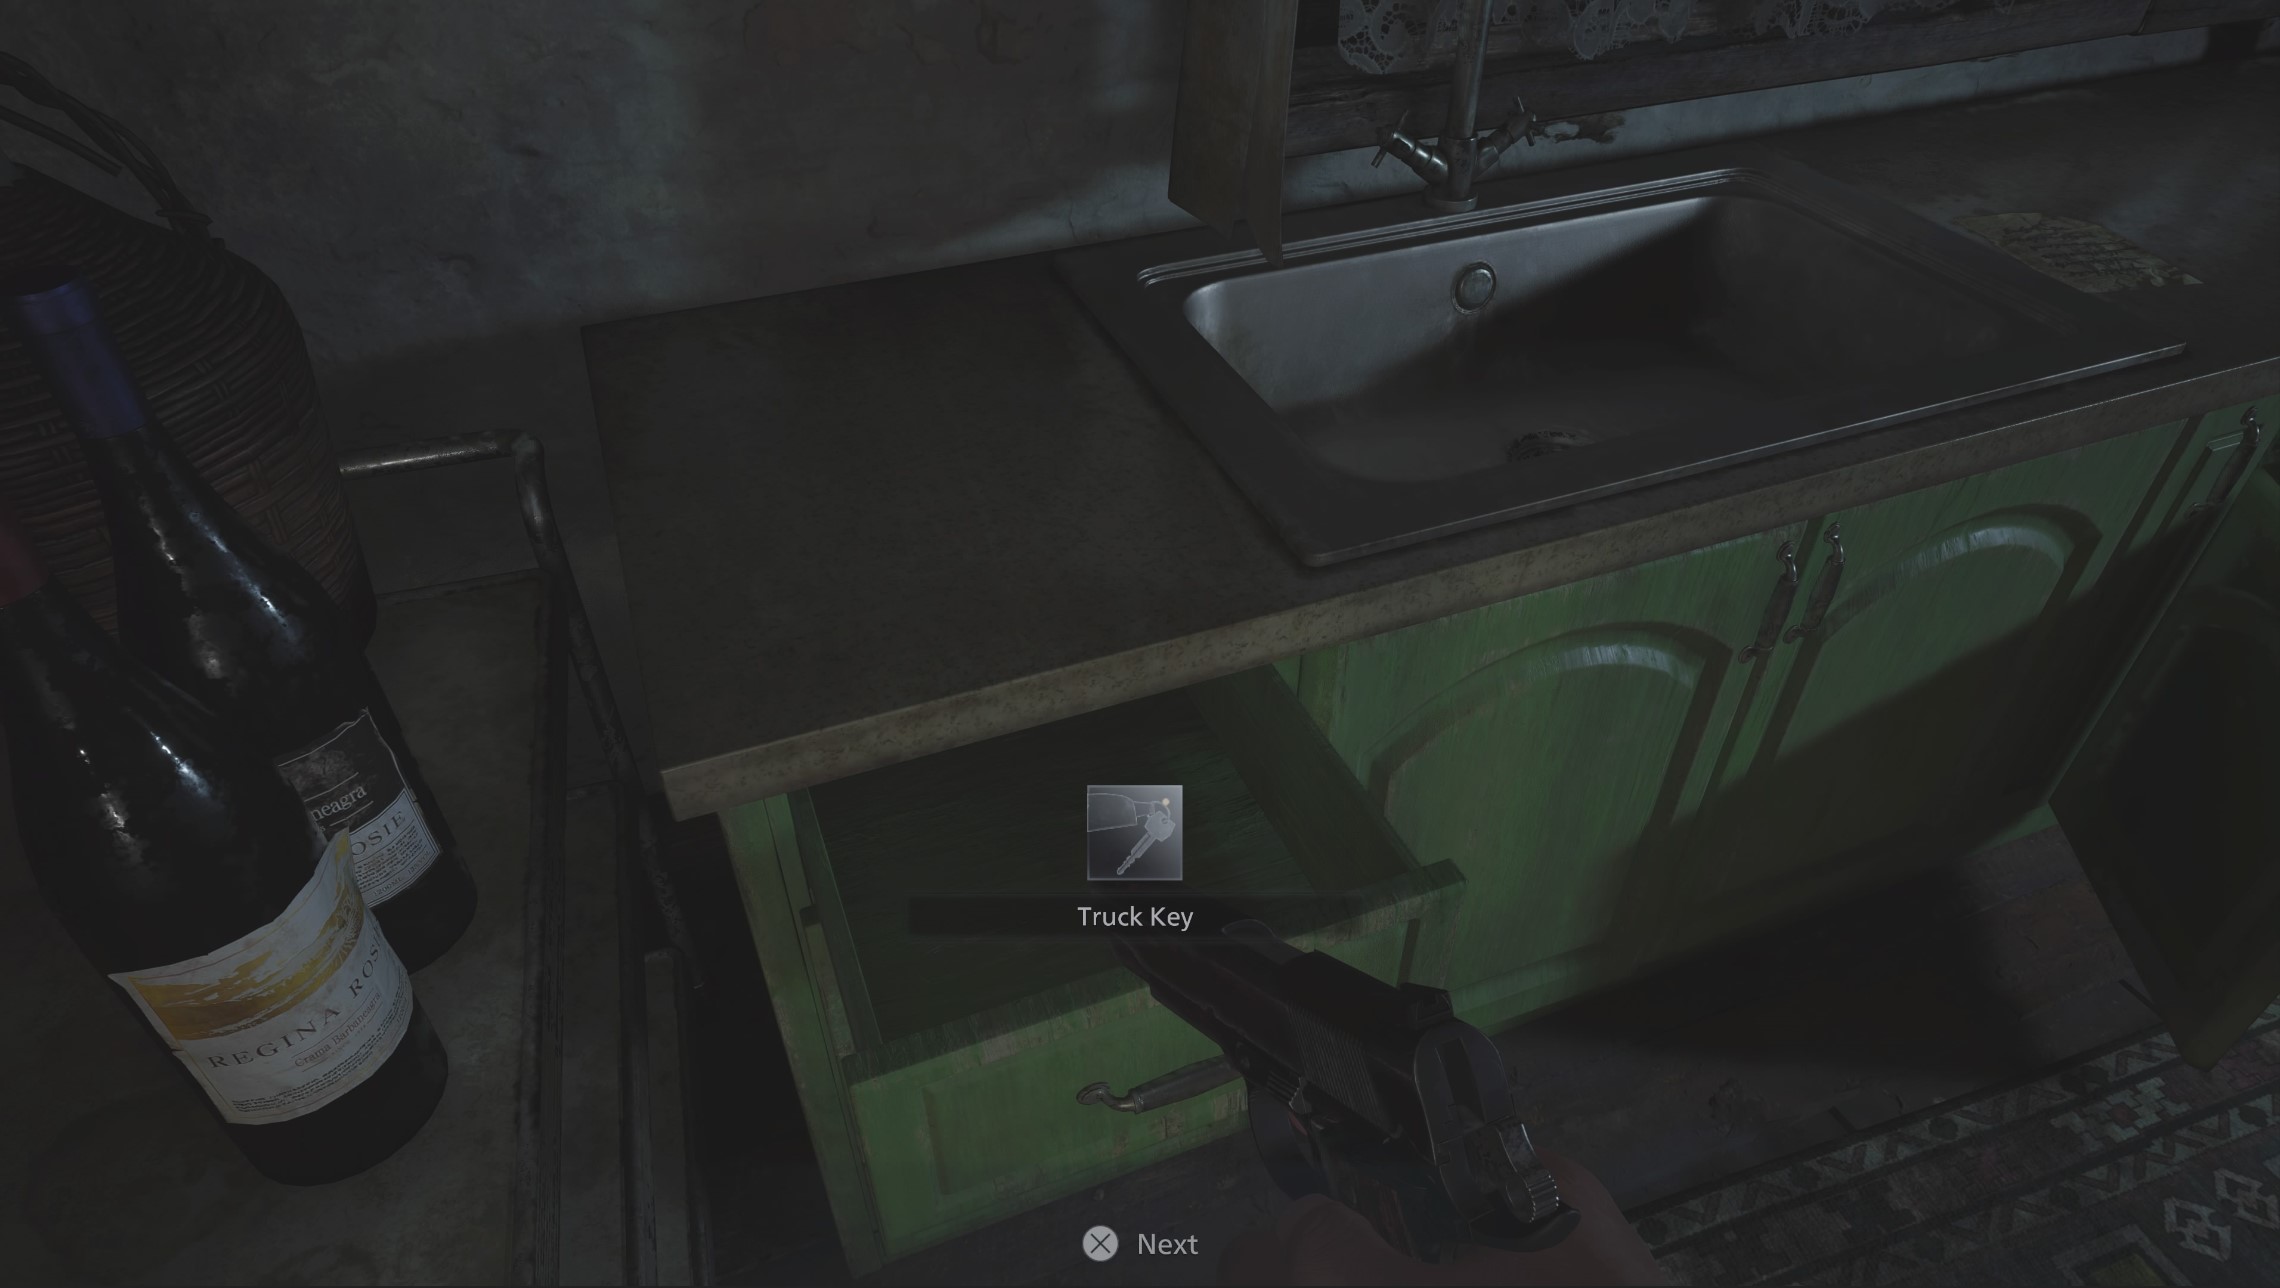
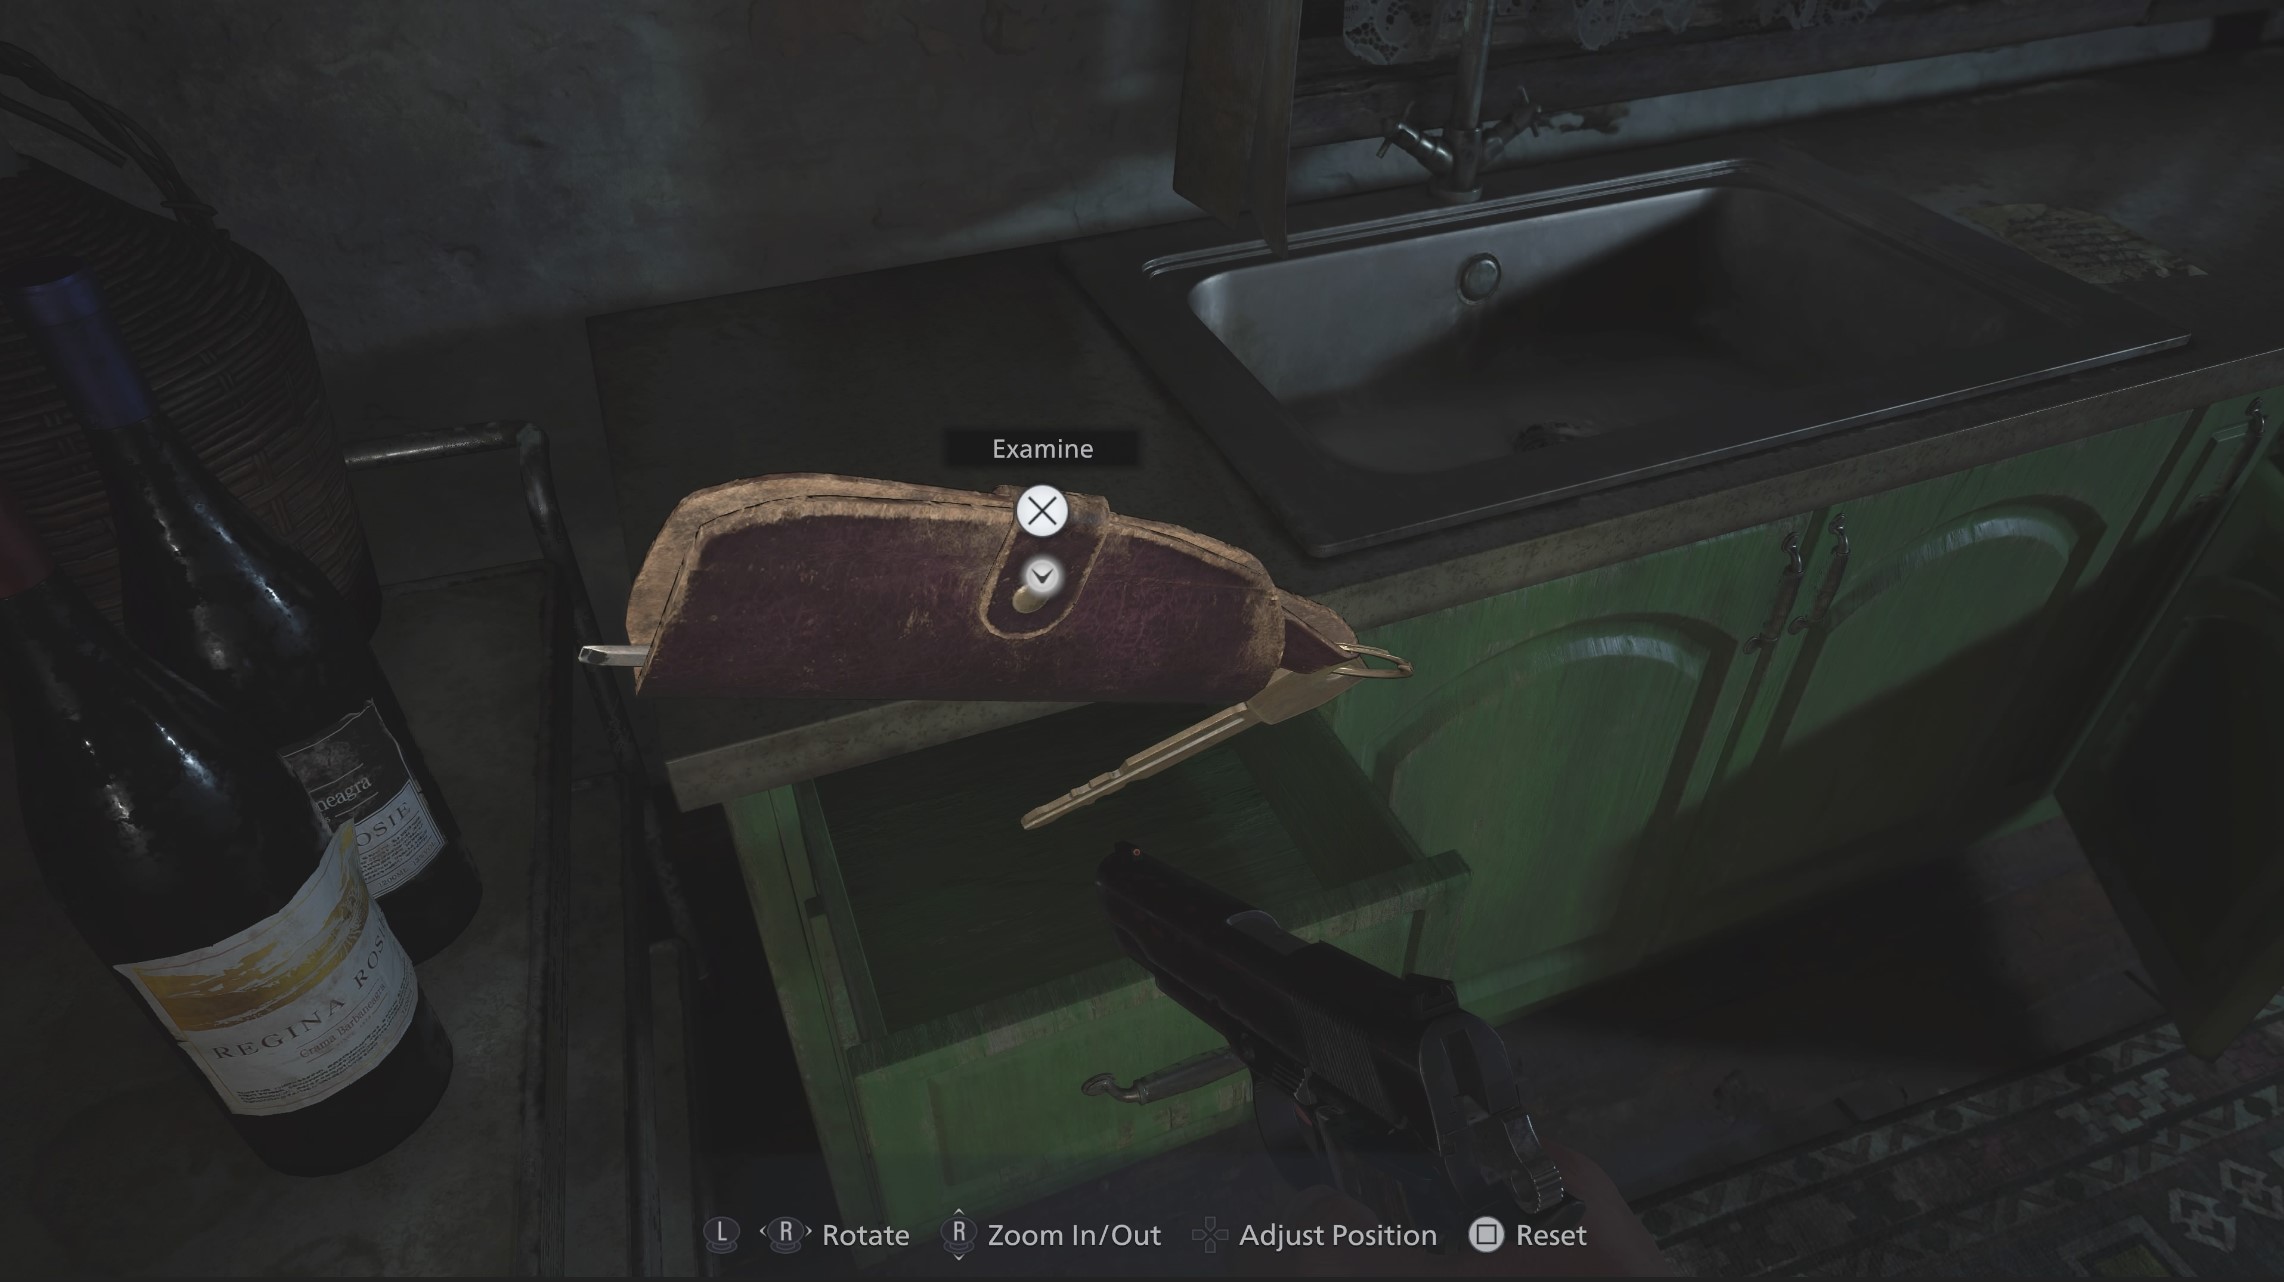
Around the corner there’s some shotgun ammo, but the keys are in the drawer next to the sink.
Flip the keys over and examine them to get a screwdriver too.
Return to the truck and start the engine, and Resi 7 fans will know Ethan knows a thing or two about driving a car inside a house while it’s on fire.
Help Elena up into the attic, then climb out of the window, drop down onto the ground, then use the screwdriver to open up the shrine for the second Crest.

Unlock the gate, then run through the field to the church at the bottom.
Save your game inside if you wish, then head to the carved door and use the crests.
Line them up with the carving, then head inside. Cross the bridge and ascend the stone staircase.

At the top, you find yourself in a wine cellar - which, as we know from previews, is full of wine and absolutely nothing else.
Cross the room and pull the lever to open the door.

Meet the Family
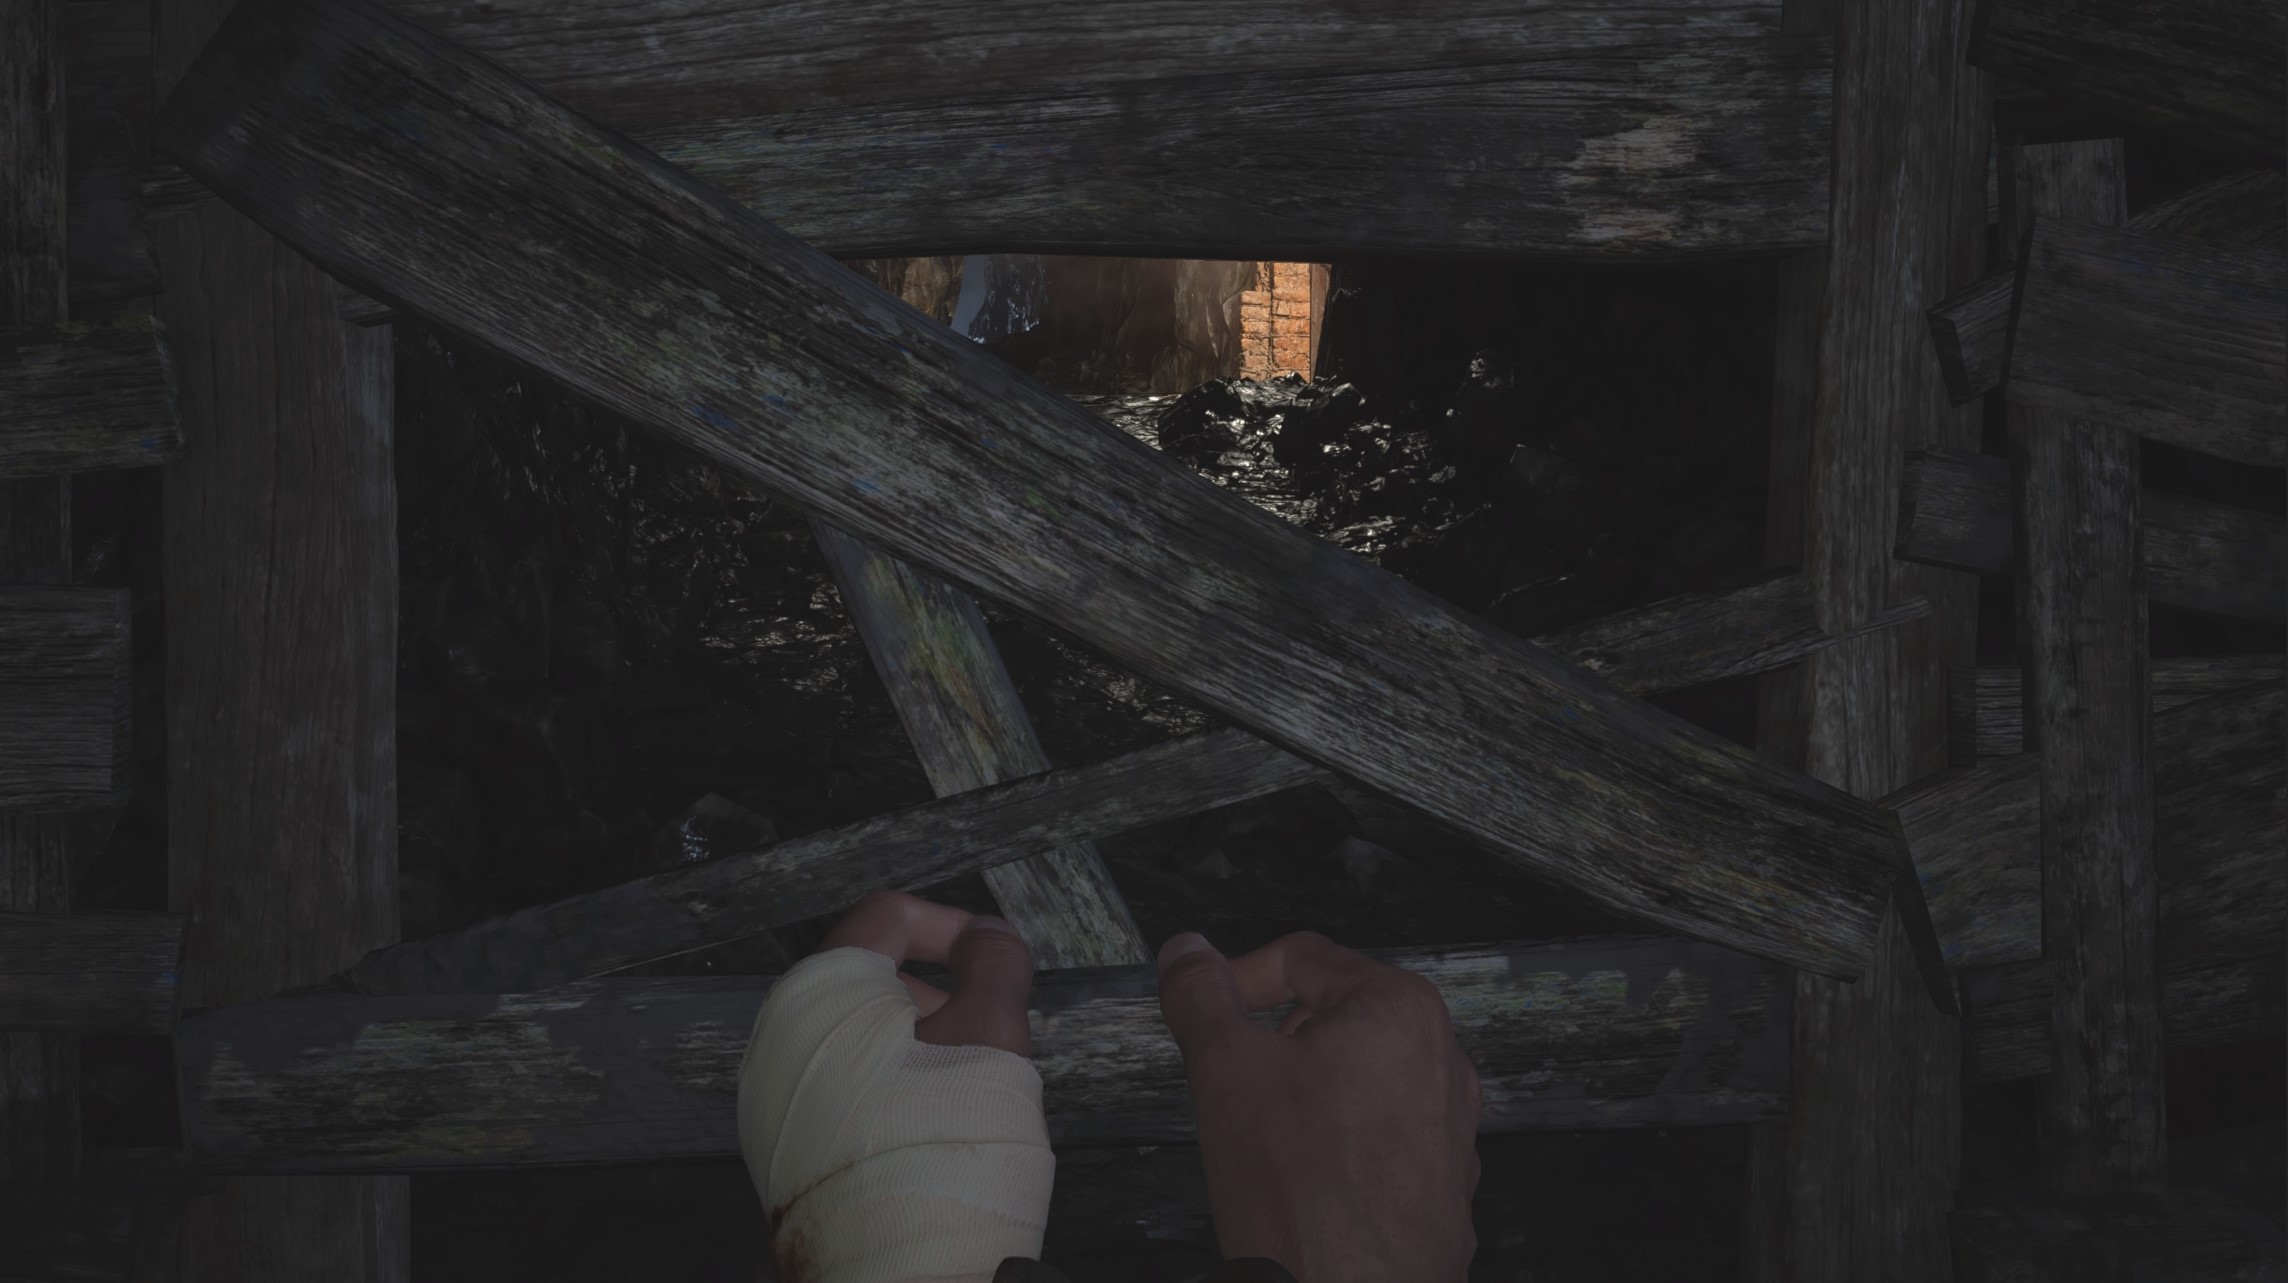
When you gain control, sprint down the corridor in front of you. At the fork, take a left, then examine the barrier to kick it down.

Drop down into the cave, then run towards the light.
Cross the room and examine the barriers to break them open again, then crouch through the hole and run forwards towards the light at the end of the tunnel.
Take a right and drop down. Ignore the boxes, they don’t work properly and will just get you killed.
To get past the spiked rotor, cram yourself in the back left corner, and you’ll break off your manacles.

Then when you regain control, pick up the money and ammo from the now broken boxes and go through the door on the other side of the room.
Take a right in the corridor, then crouch left through the hole in the wall.
On the other side of the room you’ll find a door to unlock and wind up back next to the lever you pulled before the unpleasantness.

Go and pull the lever, then make your way through the door.
At the top of the corridor, you emerge into a blustery field of scarecrows. In the middle vine, there’s a herb to scavenge, then trudge up the hill.

On your left, there’s a lit cart - approach it.
Speak to The Duke and open the shop. He not only sells useful items, but upgrades your guns too. Upgrading guns is a simple matter of paying a sum of Lei.
If you have “valuable” items in your inventory, you can sell them for a cash boost. You can sell any “valuable” or “very valuable” treasure you find, you only need to hang onto items which say “valuable/combinable”.
In the shop menu, you can upgrade your inventory space, learn how to make different ammo types, and collect your pre-order bonuses should you have any.
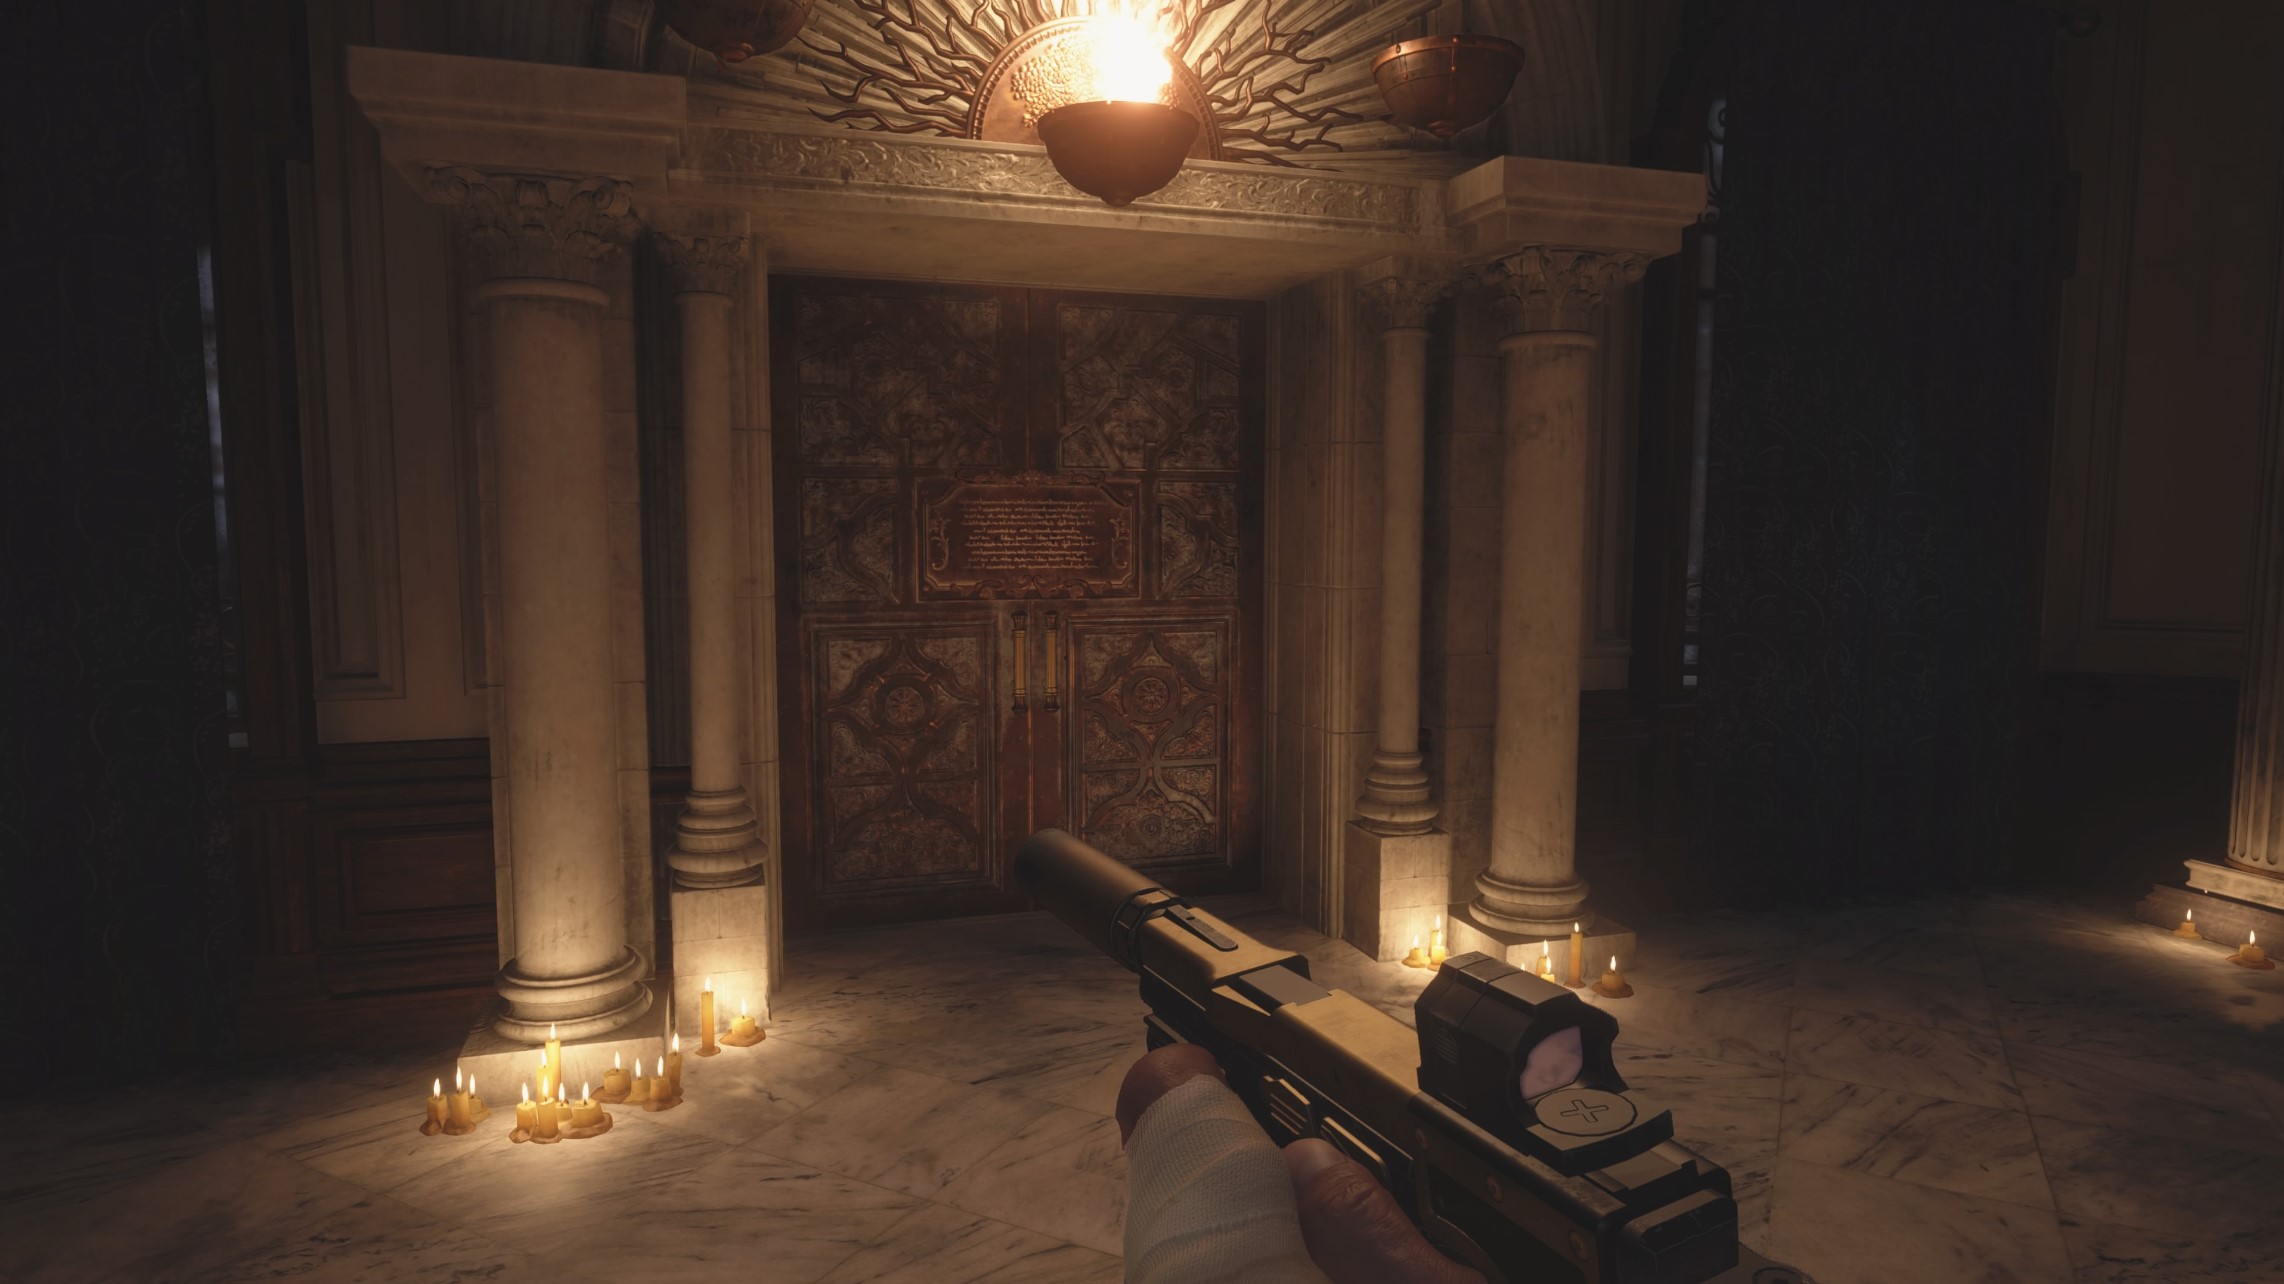
When you’re done with The Duke, head into the Castle.
Inside Castle Dimitrescu
Inside, break the urn on your left for some ammo, and the dresser on the right for some gunpowder, then go through the door on the right where you’ll find a bag of 500 Lei, a button that does nothing, and a crystal fragment to shoot down in the rafters above the bag.

Return to the entrance hall, then go through the door on the left hand side of the room, down the stairs and break the urn on the right for some more Lei.

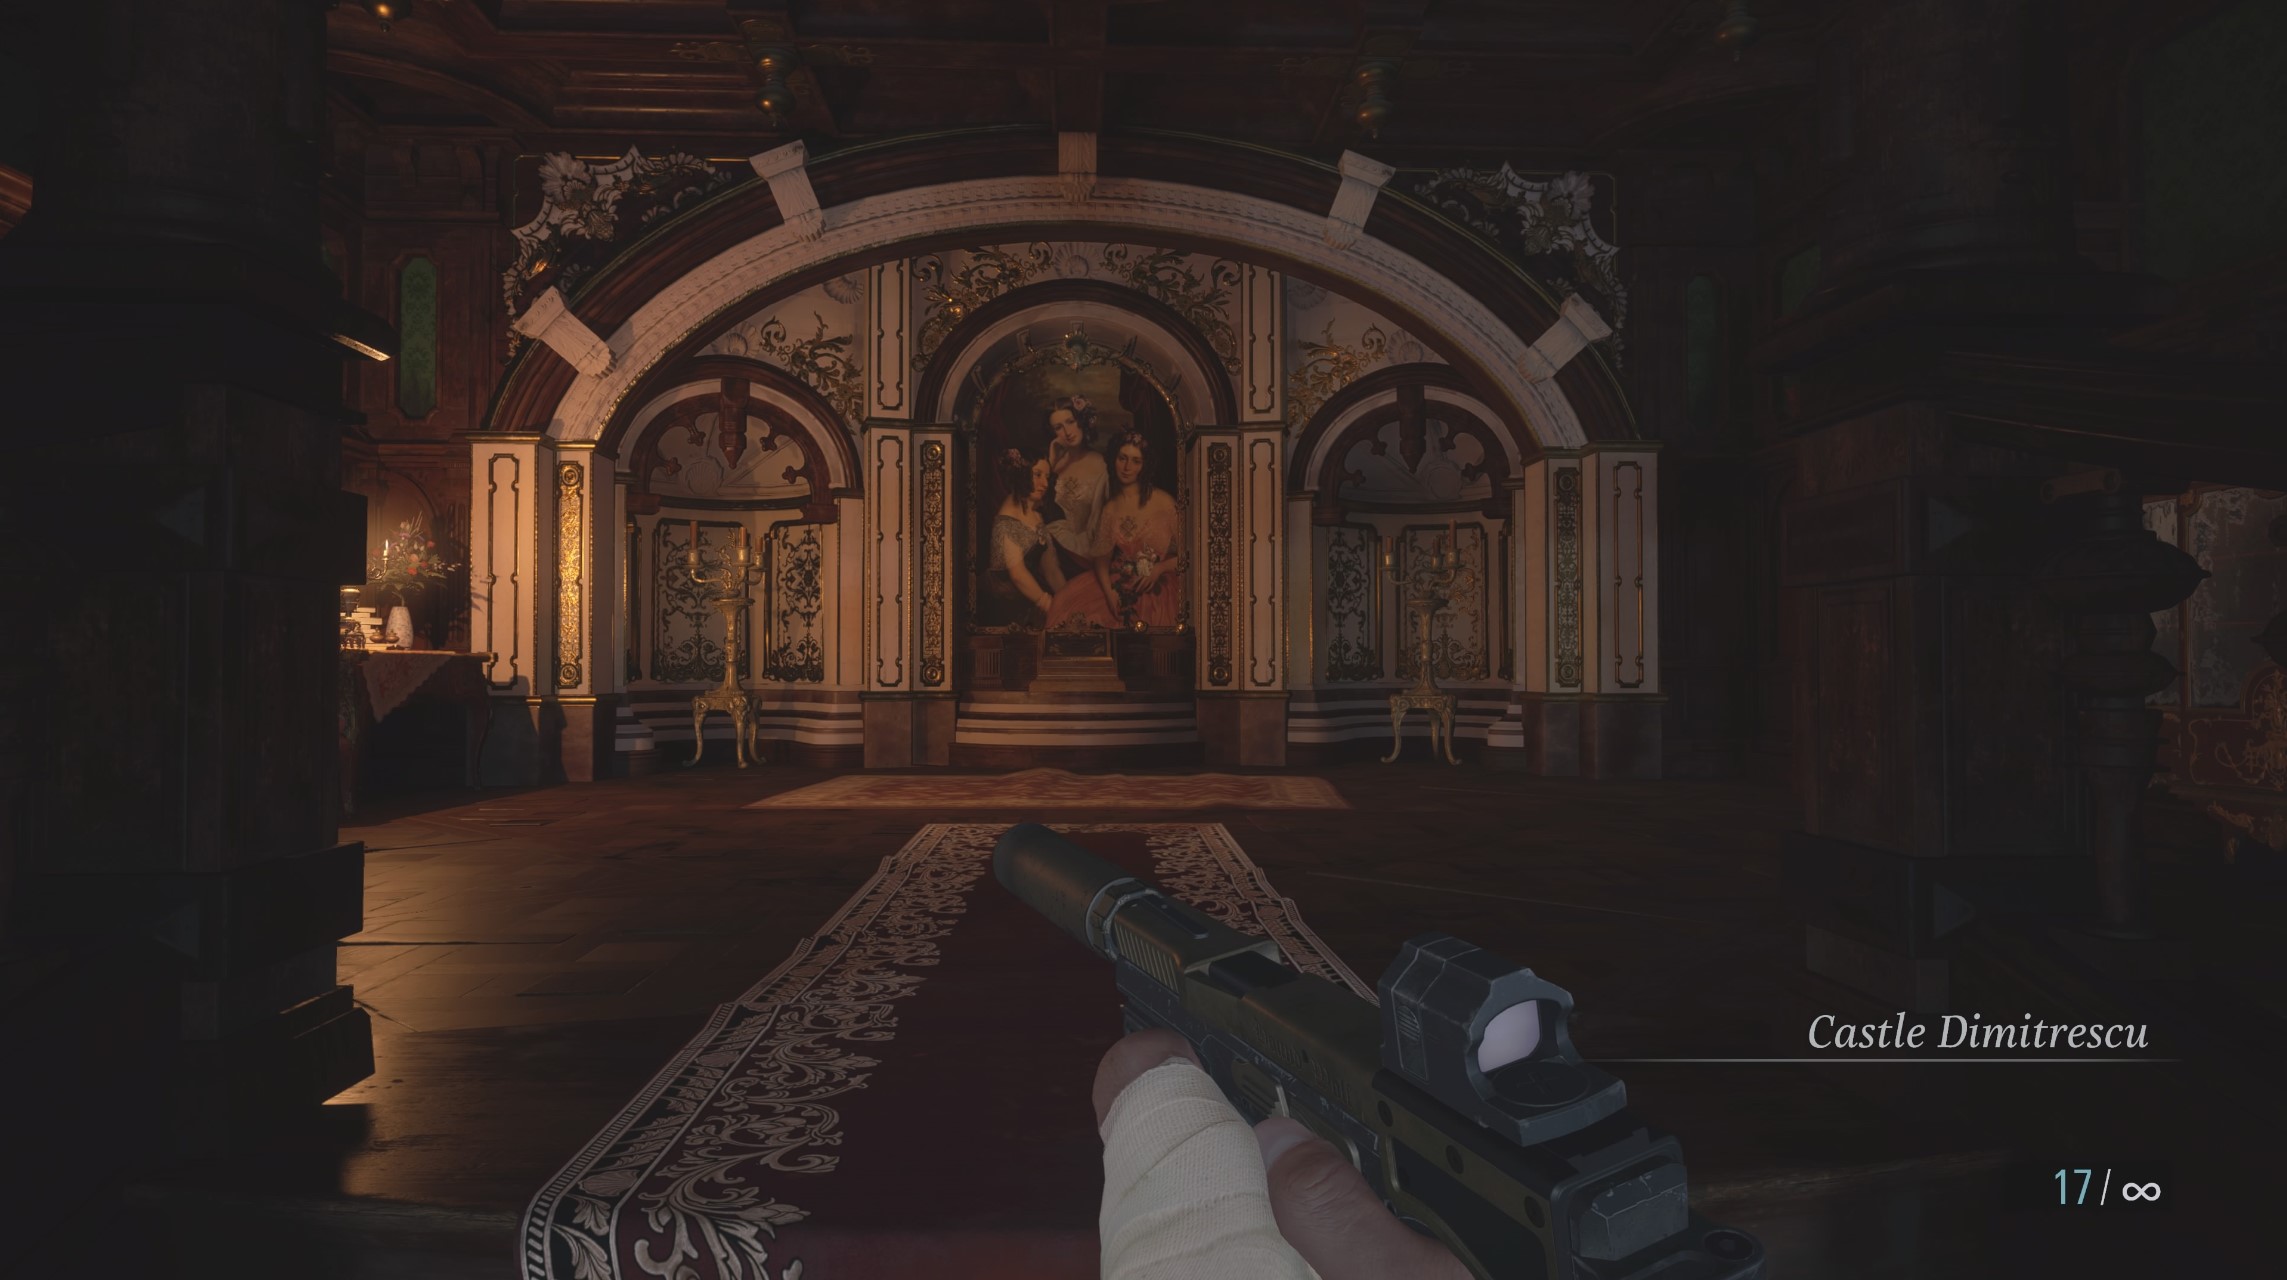
Now go through the door and right towards the Hall of the Four. Bear left, then examine the red door.
When you regain control, look up at your right hand and you’ll see a prompt.

On the floor, go over to where the Lady was sitting and take the crimson glass.
Then go out of the door, pick the lock on the left if you have a pick, then interact with the fireplace to escape.
When you emerge there’s some rusted scrap on your left, then continue forward through the corridor.
Take the Maroon Eye Ring from the statue, then slip through the opening.

In the corridor you find yourself in, open the drawer in front of you to find some chem fluid, then double back towards the bedchamber for another drawer full of gunpowder.
You can also unlock the bedchamber door for an easy route back to the lockpick drawer if you wish (it has shotgun ammo in it).
Before you return to the Hall of the Four, smash the cabinet to the left of the door for a crystal fragment - do this with your knife to save ammo.
Back in the room, angel statues will rise from the ground, and you’ll have to find specific items to slot into the top of them to continue.

Go into the side room of the Hall of the Four to speak to The Duke again.
In his room is a labyrinth puzzle you need to find a ball for to get the crystalised remains.
There’s also a save point here, which you can use at your leisure.
When you’re done, head back into the Hall of the Four and up the stairs at the back.
Here you’ll find yourself in the main hall from the Maiden demo.

Search the drawer on your right for some ammo, then unlock the door next to it - this leads back to the corridor you first ran through when you entered the house.
Then return to the main hall and smash the pot under the stairs with your knife for some money.
The door at the bottom of the hall is locked, so ascend the grand staircase.
At the top you’ll see the wine room, pop in and grab the chem fluid, then remember that there’s a bottle stand in the far corner.
Go back out onto the balcony, and go right. Along the wall, there’s a breakable pot with money in, then another at the end with gunpowder in.
Halfway down this side of the balcony is a door, but it’s locked. Go to the other side of the balcony and look above the portrait of a man on the left. There’s a crystal fragment to shoot down and collect.

To advance, you need to make your way through the Prioress Door in the next part of the walkthrough!
- Resident Evil Village Walkthrough Part 1 - Into the village, Luiza’s House, and the castle
- Resident Evil Village Prioress Door
- Resident Evil Village Part 3 - Hall of War, Dungeon, Bela Dimitrescu First Daughter Boss
- Resident Evil Village Hall of Ablution statues
- Resident Evil Village Part 5 - Wine Cellar, Terrace, and Courtyard
- Resident Evil Village Piano puzzle
- Resident Evil Village Part 7 - Library Second Daughter Boss Fight
- Resident Evil Village 5 Bells in the Atelier
- Resident Evil Village Part 9 - Treasure map, Rooftops, and Third Daughter Fight
- Resident Evil Village Lady Dimitrescu Boss Fight
- Resident Evil Village Part 11 - House With the Red Chimney
- Resident Evil Village Beneviento Dollhouse | Beneviento's Treasure, Door Code, Music Box Puzzle Solutions
- Resident Evil Village Part 13 | Moreau Boss, Sluice Gate puzzle and boat key location
- Resident Evil Village Part 14 | Well Puzzle, Otto’s Mill, Stronghold, and Urias Boss Fight
- Resident Evil Village Part 15 | Heisenberg's Factory and Boss Fight
- Resident Evil Village Part 16 | Finding Chris Redfield
- Resident Evil Village Part 17 | Mother Miranda Final Boss