Metroid Prime Remastered Chozo Ruins Part 2 | How to beat the Incinerator Drone
We'll also be getting the Morph Ball back.
.jpg?width=1920&height=1920&fit=bounds&quality=80&format=jpg&auto=webp)

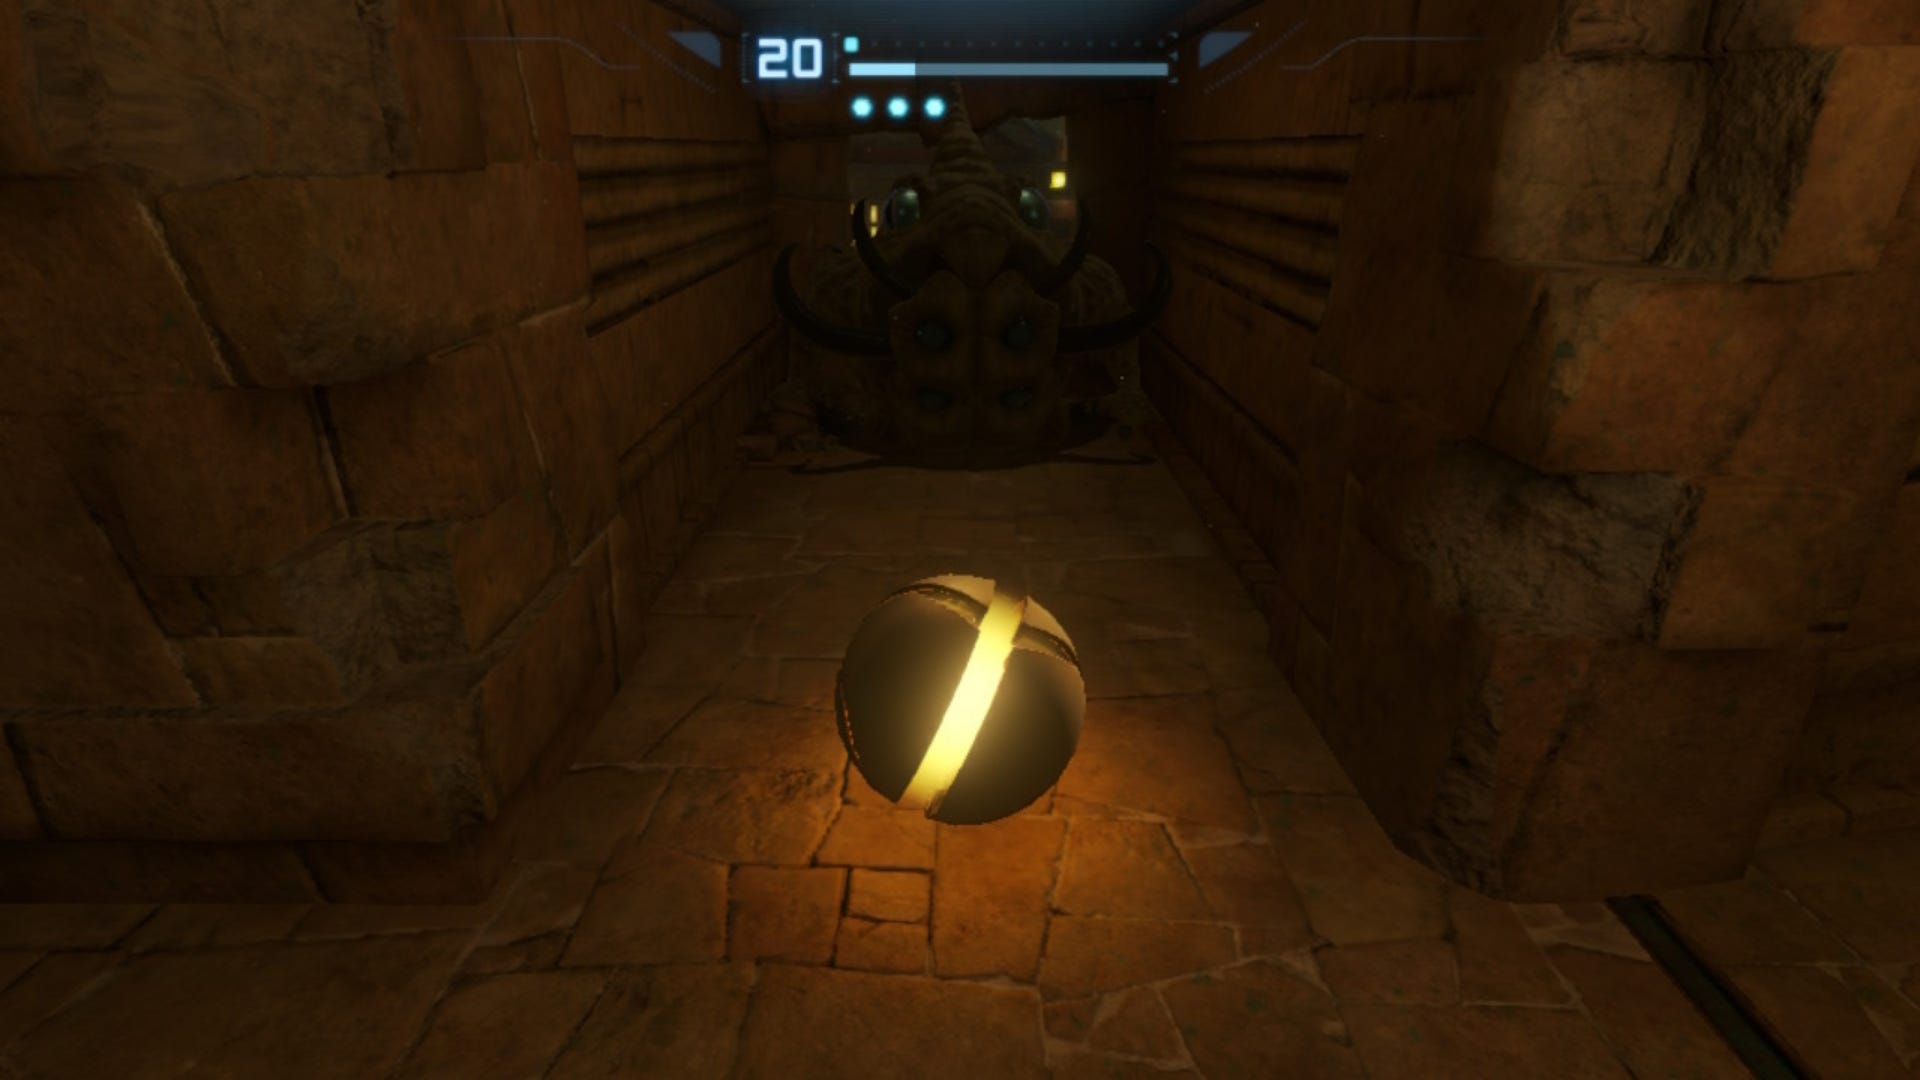
Chozo Ruins in Metroid Prime Remastered is a scenic, sandy desert-scape packed with critters I can’t stand. This particular section isn’t an outlier, either, as there are wasps and beetles galore. Having lost track of her target, Samus is currently exploring Tallon IV and finding all of her previously lost upgrades.
Part 2 of our guide to Chozo Ruins sees Samus finally get the Morph Ball back, as well as take on a nasty, fiery drone. So, without further ado, here’s our guide to part 2 of Chozo Ruins, and how to beat the Incinerator Drone.
Metroid Prime Remastered Chozo Ruins Part 2
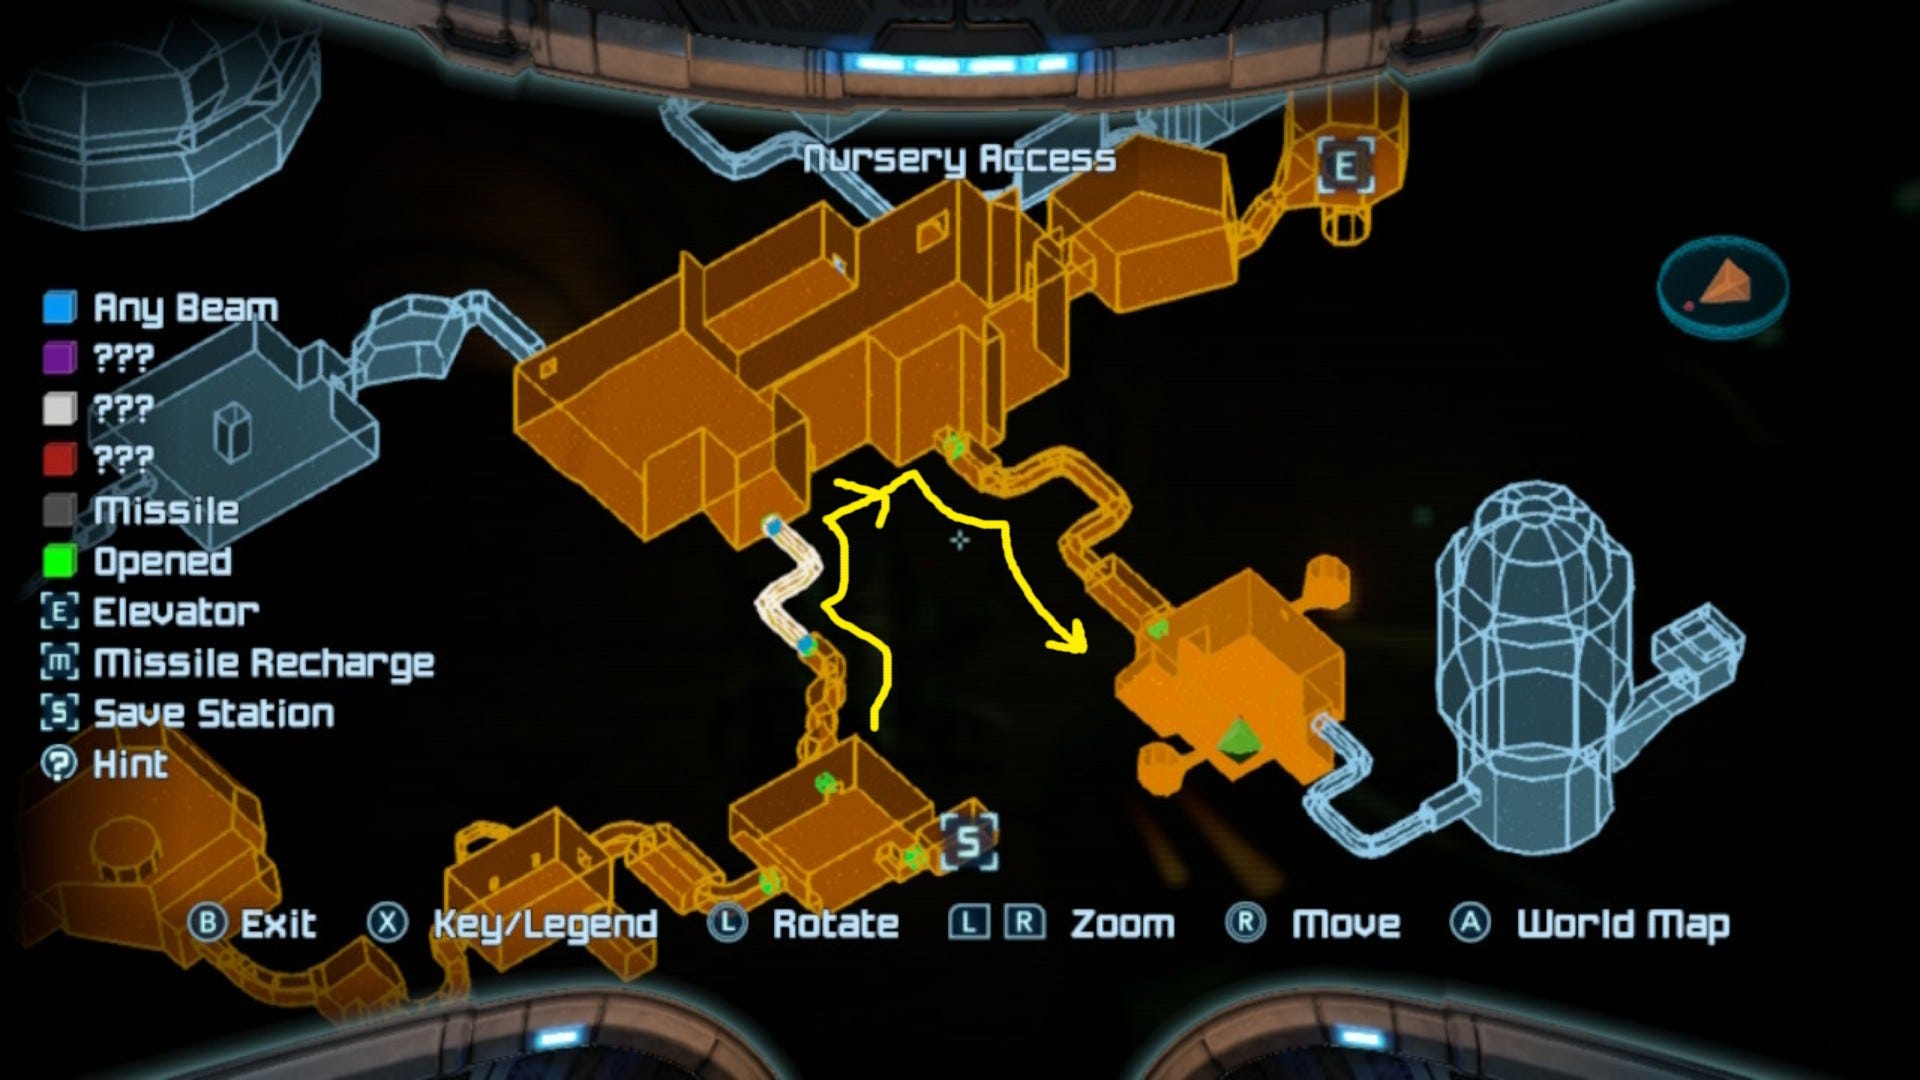
If you’re continuing on from our Chozo Ruins Part 1 guide, you’ll be in the Ruined Nursery. From here, return to the Main Plaza, and go right, where you’ll find a blast door. Use your missile on this and enter the Ruined Shrine.
Here, you’ll need to fight a horde of beetles before then taking on the Plated Beetle. This critter is easy enough to kill; lock onto it and dodge it when it charges at you, then, fire at its glowing red rear-end. You’ll want to be quick, however.
With that taken care of, retrieve Samus’ Morph Ball again, and head back to the Main Plaza.
Now, we’re going to climb up the rocks near the door to the Ruined Nursery, and clamber across the tree root over to the opposite side of the plaza. Go through the door here (Ruined Fountain Access), and change into the Morph Ball to keep going.
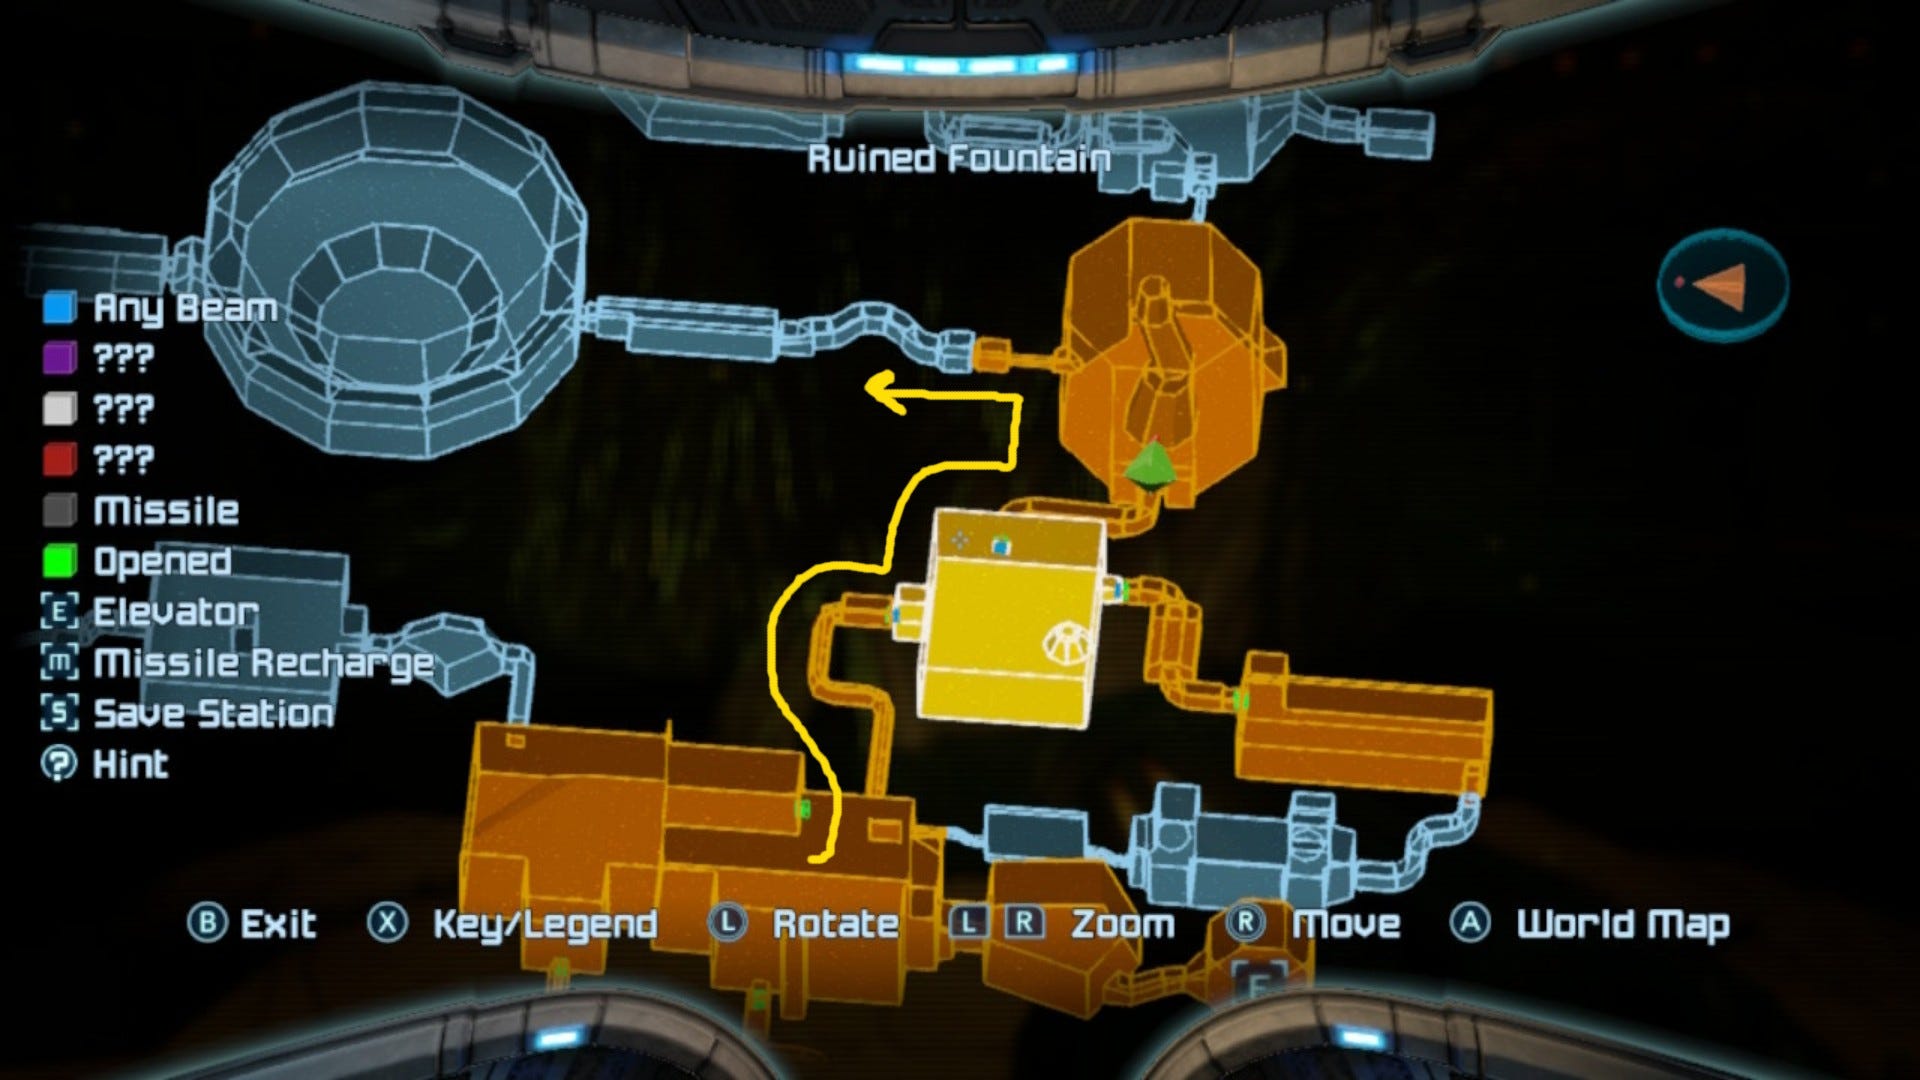
Here, keep right and go past the fountain, then go through the door to your left. This door will lead to Arboretum Access.
In the Arboretum, shoot the vines to make them retreat. Then, platform your way around the tree until you reach a bridge; head left along the wall, and go through the door below.
Make your way into the Gathering Hall next, where you’ll find a Save Station in the far-right corner, through a blast door.
After saving, exit the room and head up the platforms to your right, taking care of any mushrooms or bats that get in your way.

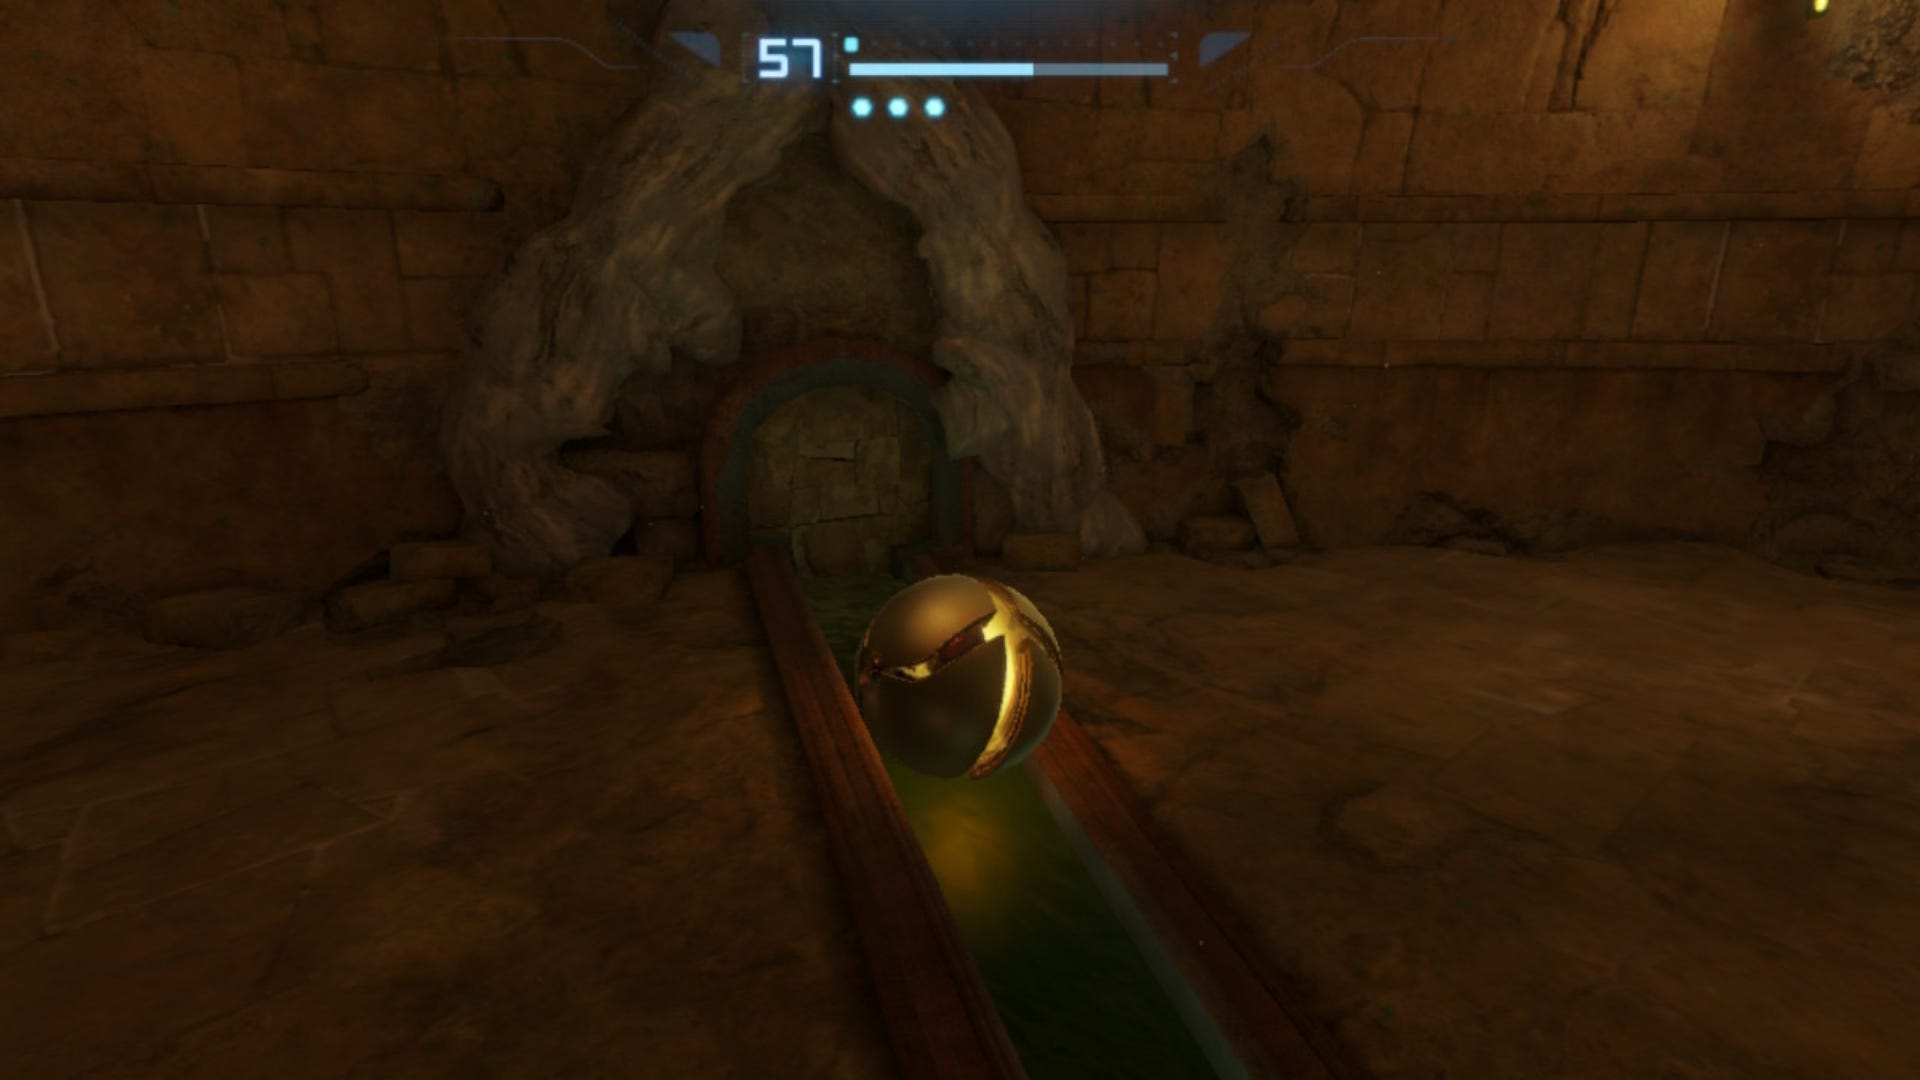
When you reach the red tunnel, change into the Morph Ball and continue on, but take it slowly to ensure you don’t fall off the upcoming platform.
After exiting the tunnel, jump across and enter the East Atrium.
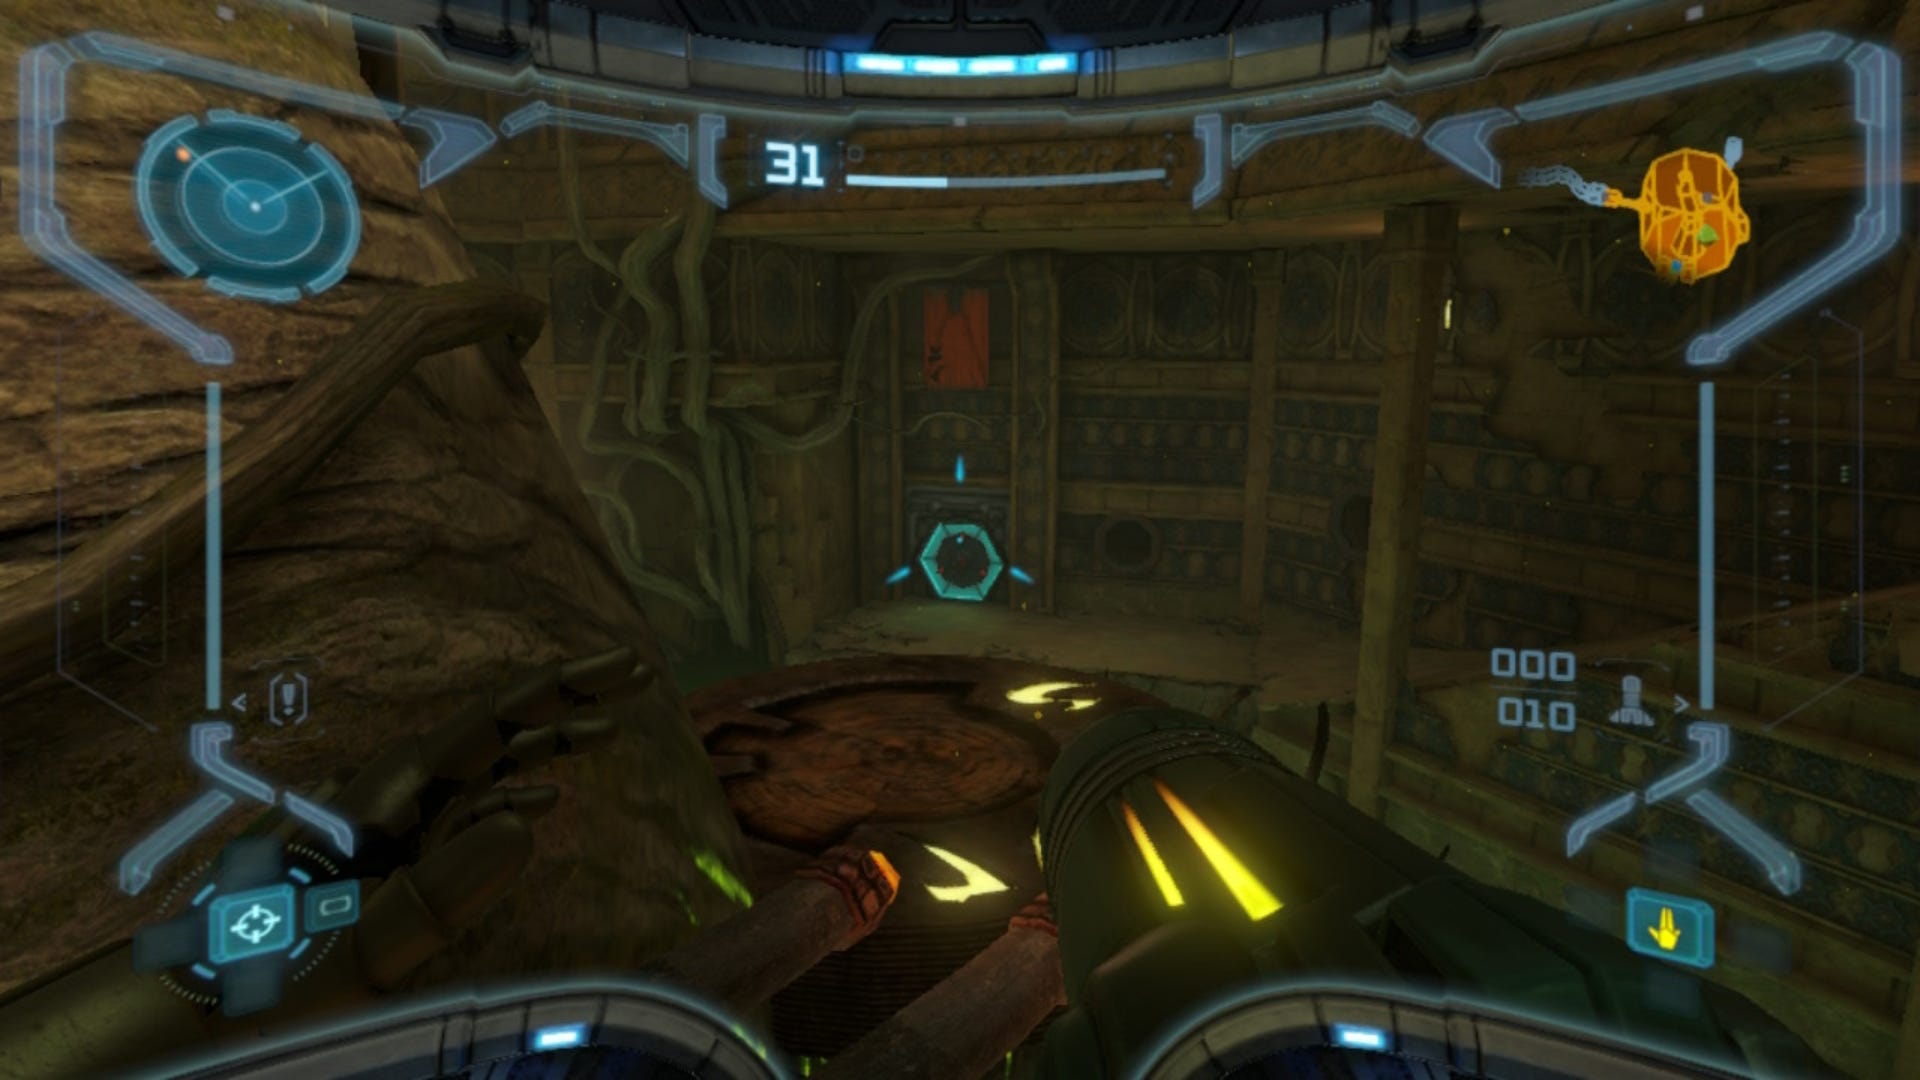
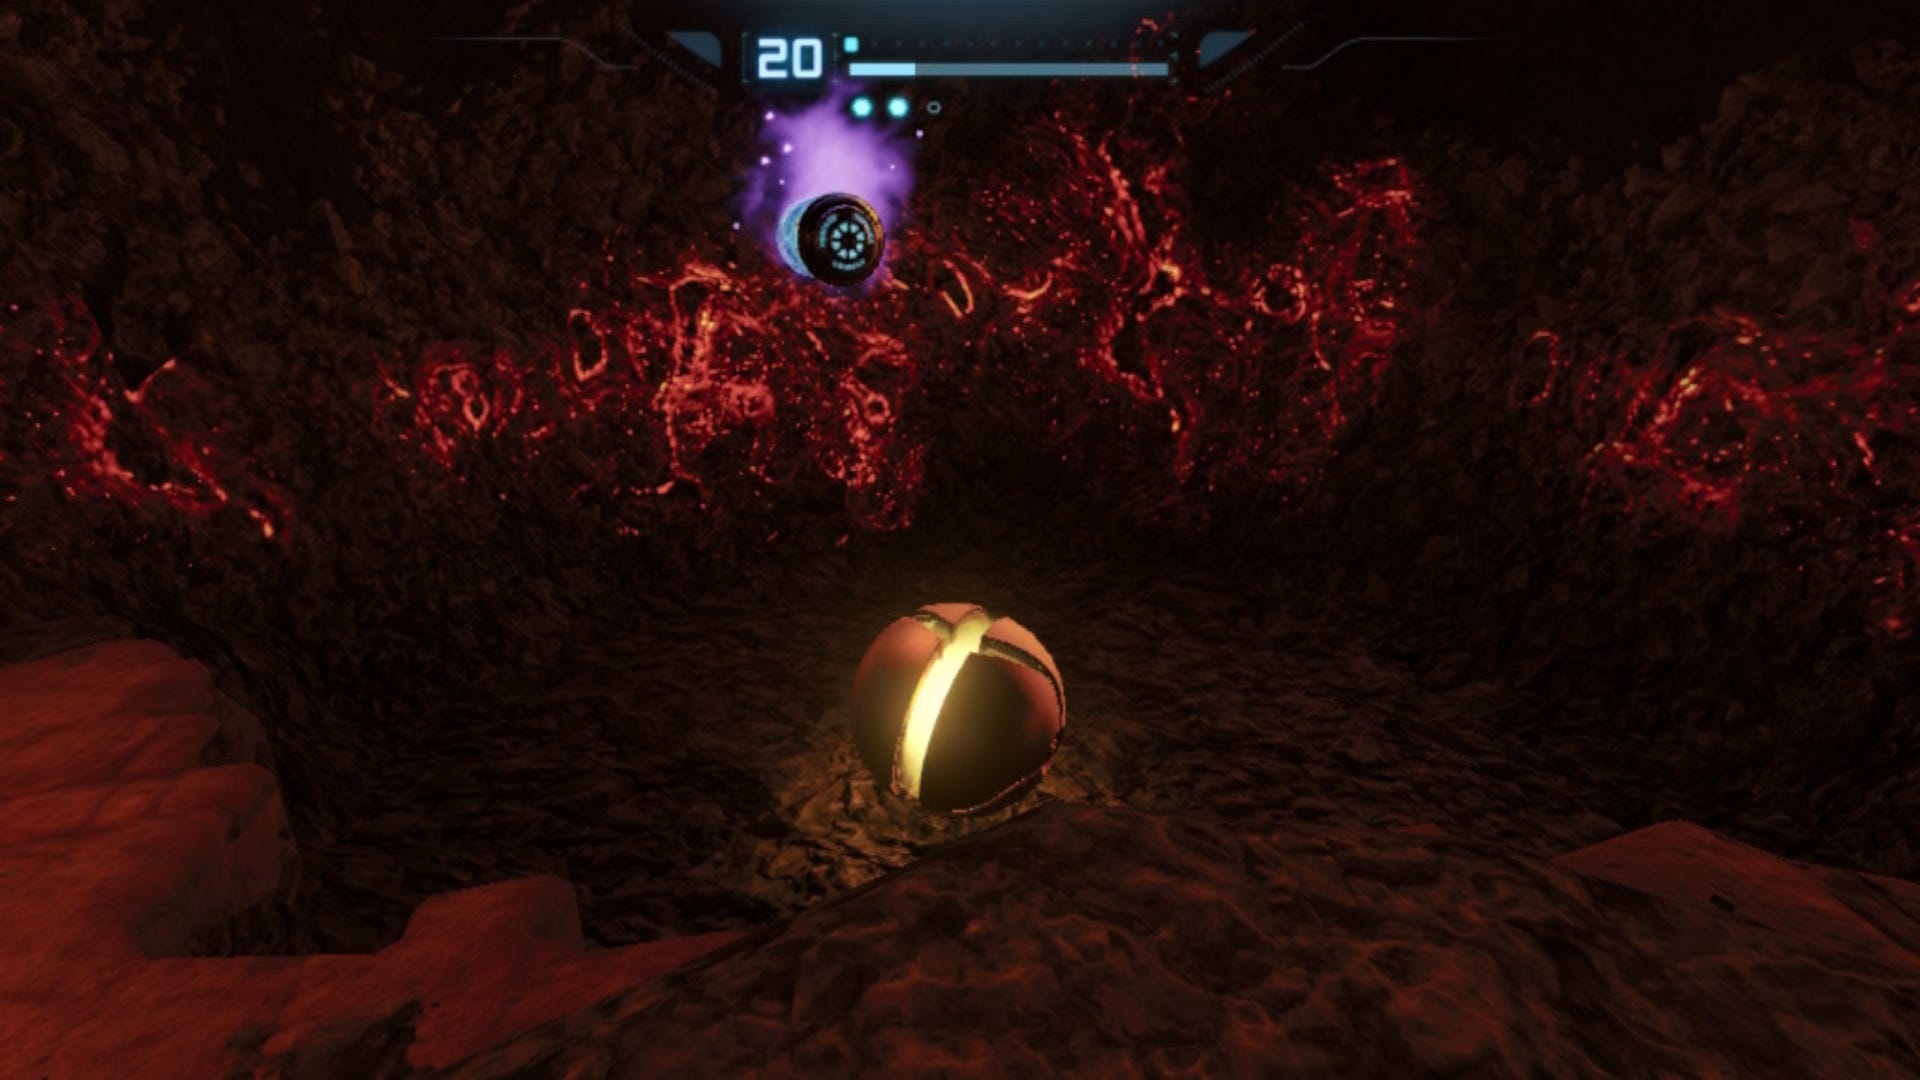
Continue on through Energy Core Access, and once in Energy Core, just head left. You’ll reach a tunnel to go through as your Morph Ball, which will land you directly in the next boss arena; it’s time to take on the Incinerator Drone.
How to beat the Incinerator Drone in Metroid Prime Remastered
As per usual, scan the Drone first, and you’ll learn of its weak spot. The Incinerator Drone’s weak spot is its red eye that appears periodically.
You need to dodge the flames that the Drone is spitting out, while also firing at its weak spot when it appears. Whenever you successfully shoot a weak spot, wasps will emerge from the hive in the ceiling.
It’s a similar fight to the Hive Mecha, in which you’ll switch between fending off wasps and firing at the bosses weak spot. Sooner or later, the Incinerator Drone will be done for, and you’ll retrieve some Morph Ball Bombs as a reward.
Where to go after beating the Incinerator Drone in Metroid Prime Remastered
Using the Morph Ball Bombs we just grabbed, bomb the wall in the water canal here. Roll on through to acquire another Missile Expansion!
Head back to Burn Dome Access, using the Morph Ball Bombs to blast yourself upwards when needed.
Back in the Energy Core room, find Stone Toad (pictured below). As the Morph Ball, hop into his mouth, and then bomb him from the inside.
Now, roll on over to the Morph Ball-sized slot and jump into it; use a bomb to then activate it, and the water will drain in the room, revealing another Morph Ball-slot.
Roll back into the main room, and hop into the second slot; this will raise platforms around the room. Hop up the new platforms to find a third Morph Ball-slot, and activate this one, too.
Now, the platforms will be high enough for you to access the next room, West Furnace Access.
Continue on into the Furnace, and have fun with the Morph Ball course. Bomb Jump at the end to reach another room where you can find an Energy Tank!
Now, make your way back to the Gathering Hall, and this is a good time to save your game again.
From here, we’ll be commencing with Chozo Ruins Part 3, and taking on Flaahgra.
For more on Metroid Prime Remastered, take a look at the rest of our walkthrough:
- Chozo Ruins Part 3 | How to beat Flaahgra
- Phendrana Drifts Part 1 | How to beat Sheegoth
- Phendrana Drifts Part 2 | How to beat Thardus
- Frigate Crash Site | How to get the Gravity Suit and Grapple Beam
- Phazon Mines | How to beat the Omega Pirate
- Artifact Chamber | How to beat Meta Ridley
- Impact Crater | How to beat True Metroid Prime