11 things I wish I knew before starting Helldivers 2
We’ve rounded up a few basic, and very advanced Helldivers 2 tips for veteran divers, and newcomers alike.

Helldivers 2 is a deceptively deep game that doesn’t explain much of what it hides. This was also true for its predecessor, which helped cement its cult status. Helldivers 2 is Sony’s biggest PC launch, and can be viewed as its first foray into live service, so the game is in the big leagues now. And its popularity shows, with over 360,000 concurrent players across PlayStation 5 and PC - quite the leap over the original Helldivers.
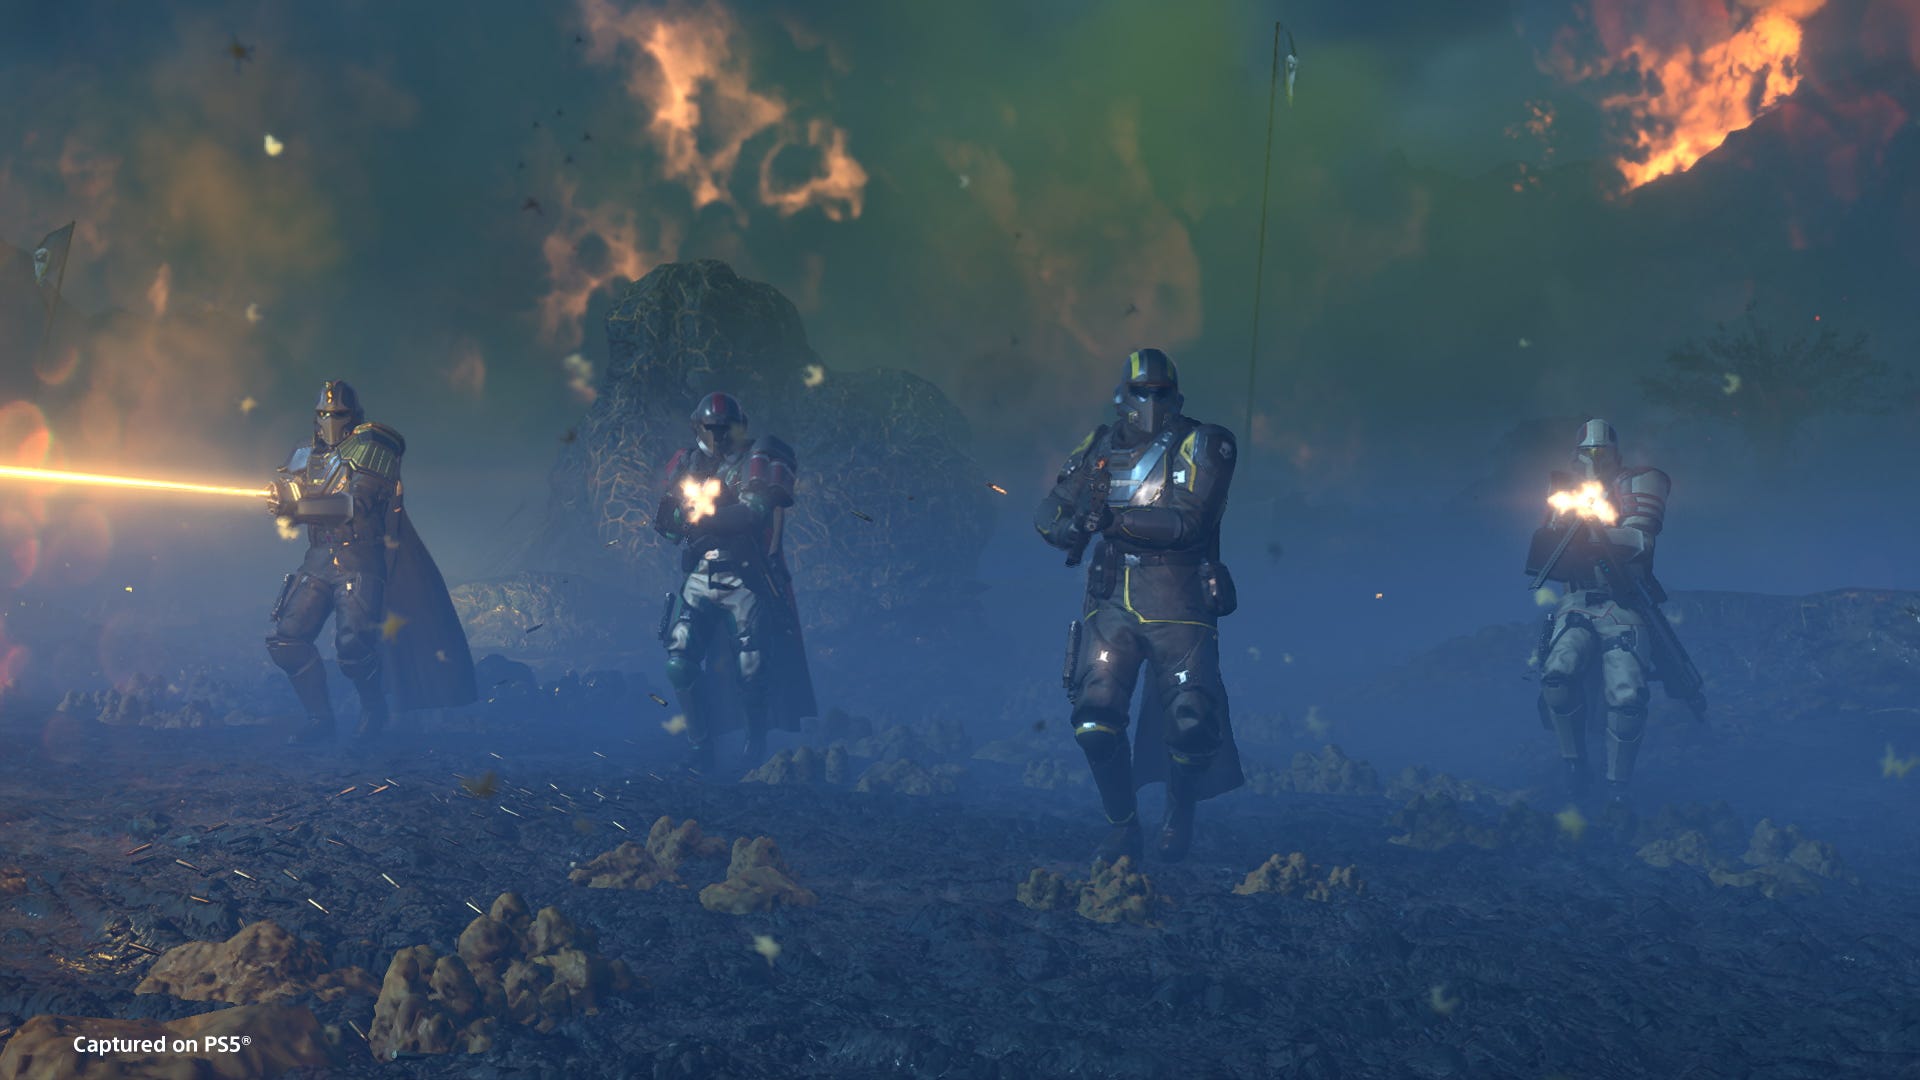
Helldivers 2 may have the appearance of a standard co-op third-person shooter, but spend five minutes playing it, and you’ll see just how much more than that it is. It will take you a while to appreciate everything its mechanics and systems have to offer, and longer yet to understand the nuances of the whys and hows.
All that, not to mention the things the game just doesn’t teach, can cause you to overlook some major tools in your arsenal, and even miss out on some really effective gameplay tweaks that could change the way you approach certain moments in the game.
In this guide, we’ll provide some crucial Helldivers 2 tips about how to make the most of the new mechanics, guidance on how classic features have evolved in the sequel, and hopefully share some of the lessons we learned from the early hours of the game.
You can switch weapon fire mode, toggle sights and check ammo count
Helldivers 2 has a somewhat realistic way of handling firearms, so it’s easy to see why certain features found in other shooters aren’t in this game. For instance, you may already be aware that reloading before the magazine is entirely depleted discards the entire magazine. You may also know that the UI doesn’t actually show how many rounds are left in your current magazine, making judging when to reload a bit tricky - unless you wait for the prompt to reload.
But did you know that you can, in fact, see how many bullets are left by holding the reload button? Doing this not only displays the number of bullets in your magazine, it also unlocks a host of other options for your weapon. For starters, this is where you can turn your flashlight on or off. Yes, flashlights exist in Helldivers 2, and they can be very useful in night missions.
There’s an ‘auto’ option, too, which allows the game to decide when to turn it off/on for you. This hidden menu has even more useful options. It lets you switch between sight zoom levels, assuming your weapon comes with one that has multiple range options. You can also adjust the fire mode (single/auto/burst) from the same menu.
What’s more, later weapon unlocks will offer more advanced control. For instance, you can control the fire rate, which is helpful for weapons with large magazines and a high RoF. It may be wise to limit the RPM to something more manageable to conserve ammo.
You can make aiming work like it does in PUBG
If you’re an OG PUBG player, you may recall that before first-person mode was introduced to the battle royale shooter, the game used a hybrid aiming mode. By default, holding right click entered third-person aiming, whereas clicking it let you aim down sights.
This achieves the best of both worlds, as it lets you quickly whip out a weapon (especially lighter arms like SMGs and pistols) to deal with close-range targets, while keeping the slower ADS aim for enemies at a distance. This becomes even more crucial after you start relying on weapon sights, because it’s going to be very awkward to look through a sight meant for targets at 100M to shoot one in melee range.
To make this happen, simply head into the Options menu, and hit the Gameplay tab. Toggle Dynamic Aim Mode to Yes. You can also toggle Remember Aim Mode to Per Weapon if you want the game to remember the last aim mode you used for each weapon.
Always keep an eye on the circle
No, this isn’t another excuse to bring PUBG into this. We’re talking about the big circle (reticle) at the centre of your HUD, which typically sits right over the centre dot. If you haven’t already figured this out, the circle is where the gun will be shooting, whereas the dot is where your character is looking.
The best way to see the lag between the two is to equip a machinegun and make a quick turn. You’ll notice how long it takes the circle to re-align with the centre dot. This is especially true for heavy weapons, but the snap is obviously much faster for light weapons.
The reticle is also a good indicator of your weapon’s recoil. If it continues to kick away from the centre dot, you’re probably not doing a good job at handling recoil, which means you’ll be missing a lot of your shots.
In short, keep your eye on the circle (where the gun will actually shoot) for best accuracy, not the centre dot. The options menu has a couple of tweaks to make the HUD brighter, too, and change its opacity - both of which you should mess with if you tend to lose it in the chaos.
As a bonus top to help with recoil control, make sure to move as little as possible while firing. Better yet, crouch or go prone to further stabilise the recoil. Some weapons require you to be stationary to use them, of course, and it’s going to be a waste to do anything else.
You can find Super Credits (paid currency) in missions
Helldivers 2’s paid currency is Super Credits. $10 will buy you 1,000 of them, so you get the idea. Super Credits can be spent in the Super Store, and to acquire the premium Warbond (battle pass). The store only has armor, so far.
The Warbonds, however, have all manner of cosmetic, and functional weapons and armor pieces. These are effectively variants of existing ones, adding elemental abilities, trading rate of fire for raw damage and so on. The good news is that Helldivers 2 lets you acquire this premium currency by playing its missions.
If you take the time to explore, you’ll find these crashed ships, which more often than not offer some Super Credits when you interact with them and retrieve their contents. Other times, that could be a Medal or Requisition. Look for golden beacons in the world, which will guide you to the location of important finds.
Like everything else you find in missions, Super Credits are also shared among the entire squad, so it doesn’t matter who gets to them first.
You can avoid patrols/detection
While Helldivers 2 is primarily a co-op game, it does support solo play. You can’t play it entirely offline, mind you, but you can go it alone if you just want to shoot some bugs/robots and farm currencies and upgrade materials.
One crucial tip that can help you survive longer as a solo player is that you don’t have to engage everything in sight. In fact, unless you’re going after a specific mission objective or attacking an outpost, you can just avoid enemies elsewhere in the open world.
Enemies have set patrols that send them roaming around trying to find you, but if you’re careful, you can wait for them to pass and continue on your way. They’re often found on the map, too, so you can tell the general area they’re covering and where they’re headed.
It’s also a good idea to take care of smaller enemies that can call reinforcements before dealing with the bigger ones, even if they may not immediately pose a bigger threat. If you kill them before they shoot off that flare to call more of their kin, you get to deal with the larger prey in relative peace.
There’s something else you need to keep in mind, however, as a solo player…
Don’t overstay in missions unless you have a plan
While it may be tempting to use up that mission timer to scour every inch of the mission area, as a solo player, you may want to wrap things up quickly after tackling the main objective. Yes, you’re going to miss out on some Medals, Super Credits etc., but this also means you can finish missions much faster, which will, in turn, let you farm what you need even more efficiently.
Mission completion time rewards speediness, so running out the clock only really works when your squad is spread across the map tackling a bunch of objectives simultaneously. Mission XP is also what levels up your character, and you’d ideally want to reach the cap quickly to unlock all possible Stratagems.
What’s more, enemy presence grows with every passing minute.
Again, this may not be an issue for organised squads of four, but solo players have to be extra careful not to die and fail to extract after spending 20 minutes or so farming and completing objectives. The increased enemy presence (and patrol frequency) are particularly more pronounced on difficulties higher than Medium (3).
So don’t risk it if you can help it.
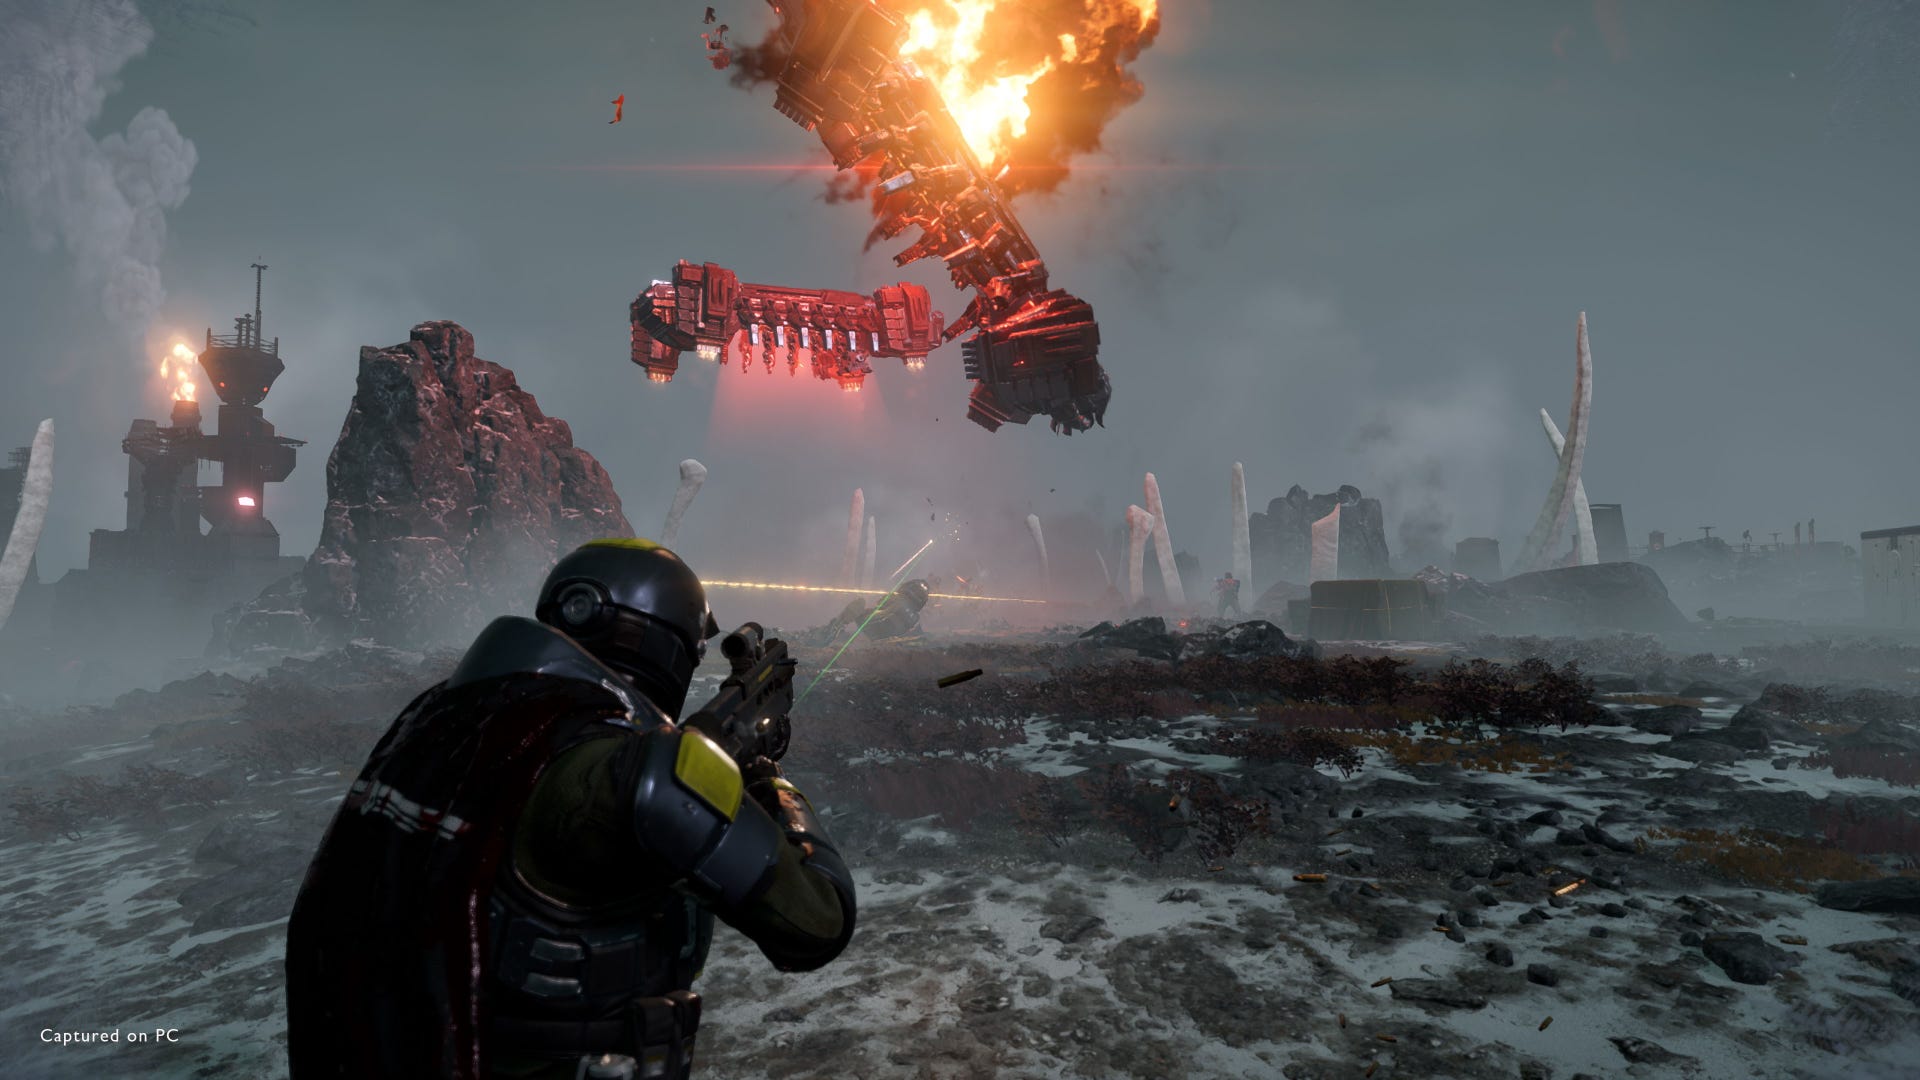
Don’t underestimate the damage and utility of the drop pods
Like the original game, Helldivers 2 makes great use of its redeploy pods as an offensive tool. We all know you can kill a teammate if you land on them, but the same also goes for enemies. In fact, the larger enemy variants will take massive damage from a single drop pod - if not die outright.
Any of your alive teammates can help you perfect that landing by tagging (spotting) the monster causing the most havoc. All drop pods give you control of their trajectory in the last few seconds of the descent. Once you see the orange thrusters, you can move the stick or WASD to adjust the trajectory and slam whoever has the misfortune of being in the way.
Redeploy pods can also be incredibly useful in reaching areas you won’t be able to otherwise. While the jetpack can later help with traversal, not everyone has/wants one. By re-deploying, you can effectively manoeuvre your pod to land at the top of a mountain or a structure and prevent enemies from being able to get to you, which is always a good idea.
Indeed, a good teammate will throw the beacon that brings you back somewhere strategic to make it easier to achieve either of the two goals. So keep all of that in mind when you’re hurtling towards the ground.
Reinforce and Resupply Stratagems are shared
Speaking of bringing back the dead, it’s worth keeping in mind that Reinforce and Resupply Stratagems are shared amongst all players. In other words, the team is tapping into a finite number of respawns and resupplies, so don’t be careless with them.
A single Resupply Stratagem, for instance, is good for a full-team resupply, so there’s no need to request two of them, only to leave behind two half-used ones and move on. Managing this well is crucial on higher difficulties, as resources become more scarce and every life counts.
Call your Weapon Stratagems at the start of the mission
Weapon Stratagems, marked by the blue colour in the Stratagems list, are powerful weapons you can use yourself or give to a teammate, such as machineguns and grenade launchers. Do not wait until you’re swarmed before calling them in.
Think of them as weapons missing from your loadout, so make a habit of calling Weapon Stratagems in the second you hit the ground. This also means those weapons - which are often very powerful - can be resupplied later into the mission when you find ammo, or call a Resupply Stratagem.
You’re meant to use those weapons regularly, so it’s best to think of them as tools and not a panic button/overpowered move like orbital strikes or Eagle strikes.
You can call for an extract just as the timer runs out, but maybe don’t
If you have a full squad of four, you’re likely splitting up to scour as much of the map as possible before heading out. Often, you may even delay tackling the main objective until you’ve destroyed every enemy outpost, finished every side objective, and found all potential pickups.
All of that is well and good, but don’t forget to keep an eye on the timer. If you go until the very end, it’s helpful to know that you can still call the extract just before the mission time reaches zero, but there’s a catch. Doing so will prevent you from being able to call upon any Stratagems, even if you never used them.
Your super destroyer simply won’t be able to provide any support after the mission time ends, which could very well end up hurting you in that last holdout. It can be pulled off, if you must do it, but it’s much better to extract with plenty of time on the clock, use your Stratagems, and live to fight another day.
Pay attention to Armor Passives and Weapon Traits
When you go to your Armory to gear up for a mission, it’s crucial to tailor your armor and weapons to the task. Armor in Helldivers 2 is not just cosmetic; it can offer crucial passive perks that may be the difference between life and death. Armor class - light, medium, heavy - affects movement speed, stamina regen and the level of protection, but the perks can take that into wild directions.
For instance, one piece of heavy armor with a certain Passive can absorb all damage and prevent what would otherwise be fatal damage from killing you, or it could offer resistance to certain elements, prevent status like bleeding, protect certain limbs and so on. Light armor has more solo-tailored perks like making it harder for enemies to spot you or increasing the time your pings remain on screen.
As for weapons, the Traits menu will tell whether a weapon can be one-handed, and whether it has any armor penetration. A weapon that can be one-handed is perfect when carrying certain objects, and it can be fired from the hip without any noticeable hit to movement speed.
Armor penetration is self-explanatory, and it’s going to become a necessity the higher mission difficulties you attempt, as more enemies will either carry a shield or wear more armor around crucial points. You should also pay attention to rate of fire and damage values, because no single variant is outright better than its base, they're all tradeoffs.