Destiny's King's Fall Raid guide - Hall of Souls
Here we go. King's Fall starts with Relics, windows and... basketball.
Destiny's King's Fall Raid guide - Hall of Souls
King’s Fall’s first section requires two teams, a theme you’re going to see repeated throughout the entire Raid.
When you spawn in you’ll be facing the totems at which you sacrifice runes for the Court of Oryx. The first thing you need to do is split yourself into two sets of three. One team will go left, the other right.
On the two pillars in front of you are two black, floating balls speared by shafts of white light. These are the Relics. If this is the first time you’re doing this, or you’re just looking for an easy ride, each team should designate someone to “do the Relic”. It'll cut down on confusion.
The object is for two people to grab the Relics and place them – actually, it’s more like slam-dunking - on the same totem within a few seconds of each other. If the second person takes too long to deposit their Relic, you’ll be taken back a step. You should aim to do it at the same time.
The puzzle works like this. The Relic runners walk forward and grab the Relics. Just follow the prompt to pick it up. Once someone’s holding the Relic they won’t be able to use weapons, but they can do a melee attack with R1.
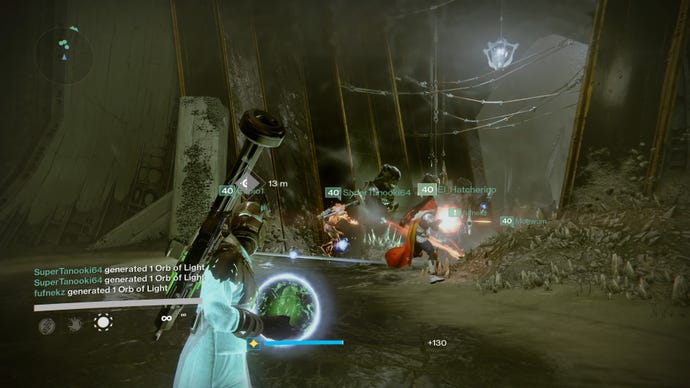
Ahead of you, you’ll see a bunch of Taken adds behind a glass wall. Shoot the wall and kill the adds. Once it’s safe, the two runners walk up to the same totem, the one with another black ball on it, and simultaneously deposit the Relic.
You have to complete this process six times. Each round, the Relics will spawn further away from the totem.
Once the first set of Relics is dunked, one team goes right of the door, down the stairs and through the doors to a bridge area. The other team goes left. The Relic runners should speak to each other to grab the two Relics at the same time. The four people not holding the Relics need to clear the adds and shoot the windows which appear over the doors leading back to totems as soon as the Relics are picked up.
Again, the shooters then need to smash the large window leading to the statues, and, when it’s safe, the Relic runners dunk the Relics onto the relevant totem together. Now you split up again and get the next Relic.
There are ways of fetching the Relics to make the entire process more efficient. You can hold the Relics for any length of time, provided no one puts one onto the totem, so after the first Relic you could have a team member standing waiting for the second Relic to spawn and immediately pick it up. Obviously, they need to be covered from the adds, so only try this if you’re in a good group and you’re feeling confident. If not, just stick together in your threes, fetch the Relics, bring them back, dunk them and repeat.
The only other thing you really need to know is that you’ll have to cross the bridge and enter the room containing the power conduit from the Taken King story quest for the later Relics. The can spawn in a number of locations in this room, including the conduit itself, so you’ll have to look around. Just speak to each other so you know both teams have found the Relic.
Once all six totems have been activated, the Court of Oryx portal will open. Kill the adds on the stairs then run through. You’ll see the first chest on the other side of the portal. Run forward and enter The Crux.
Head back to our King’s Fall Raid guide, or on to the next stage: The Crux.


