Pillars of Eternity Side Quest Guide - Act III: Elm’s Reach, Oldsong, and Hearthsong
A complete guide to help you finish every side quest featured in Act III of Pillars of Eternity.
No matter what you’re into, Pillars of Eternity has enough extra content to keep you busy for hours. This is something we know first-hand, as we've been hard at work playing the game and creating content well before its official release to gamers worldwide.
Previously, we covered all of the Pillars of Eternity side quests in Act I, as well as what you'll find for side quests in Act II. This time out we'll shift our focus to all that is involved with the Pillars of Eternity side quests in Act III.
Of course, if you've yet to pick the game up, be sure to check out our in-depth review of Pillars of Eternity. Should that convince you to buy it, you might also want to spend a few moments with our character creation guide.
Side Quest: Sacrificial Bloodlines
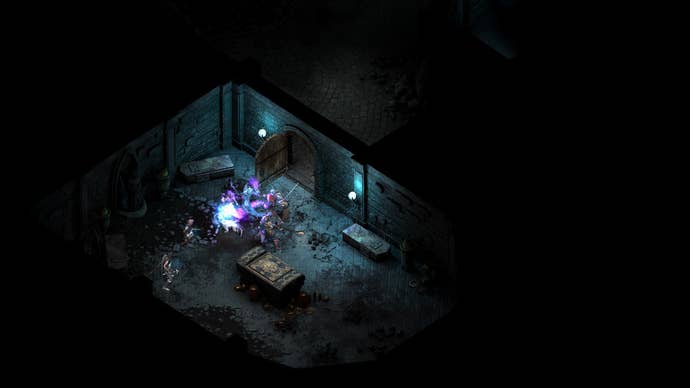
Head into the Hall of Warriors in Elm’s Reach and speak with a man named Simoc. During the conversation he will ask you to kidnap an Orlan girl from one of the houses in Hearthsong and escort her to Keep Wrdha for a sacrificial ritual.
While leaving the Hall of Warriors, Simoc’s son will approach and ask you not to complete the task. If you ask what else he has in mind, he will advise you to poison his father and end all plans for the upcoming sacrifice.
If you prefer to follow Simoc’s plan, travel to Hearthsong and kidnap the little girl from the Glafanthan home. You’ll get attacked on your way out, but fight and then escape to Elm’s Reach to enter the Blood Land’s cave. Speak with Keeper Mrdha and wait for her to prepare the potion before returning to Simoc.
If you’re not willing to murder an innocent child, you’ll need to side with Simoc’s son, Lliras. Exit the Hall of Heroes and head over to Golden Grove. Locate the woman Bledha and obtain the poison. Now it’s time to administer the antidote to Simoc, but you’ll need to reach level 19 in Resolve or Intellect to pull this off. Failing to convince Simoc will result in a tough fight against him and his men.
Side Quest: Hunter, Brother
To start this quest, head into the Passage of the Six in Hearthsong and speak with Ridai in the long passageway at the back. During the conversation you’ll find out that the Glafanthan want to know what happened to a man named Fiorm.
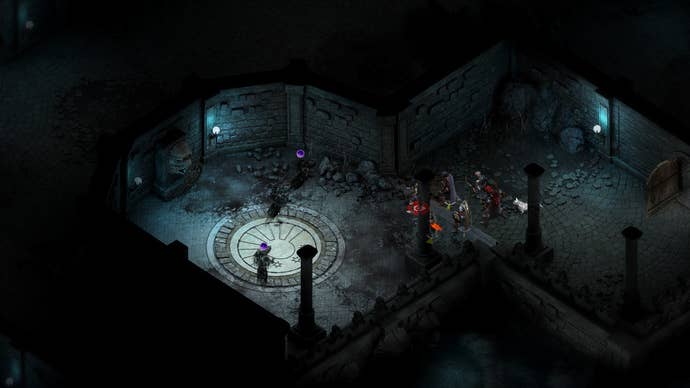
To continue this quest, go to Elm’s Reach and speak with Arthwn in front of the Hall of Warriors. Here, you will learn that Fiorm chose to live his life in exile. Now it’s time to move this quest forward. Grab your party and head over to Northweald to explore the central area of the map. Here you will find Fiorm’s corpse and interact with his soul. After the interaction, you’ll want to head towards Sentinel Ridge and take out the group of stelgaers in the area. Once they are dead, move to the soul of the dead great stelgaer and interact with it to see the true course of events.
Now return to Hearthsong and report your findings to Ridai and the Anamenfath. You can either lie or tell the truth. Being honest earns you a powerful great sword, whereas lying earns you a rare and powerful bow.
Side Quest: At the Mercy of the Tribes
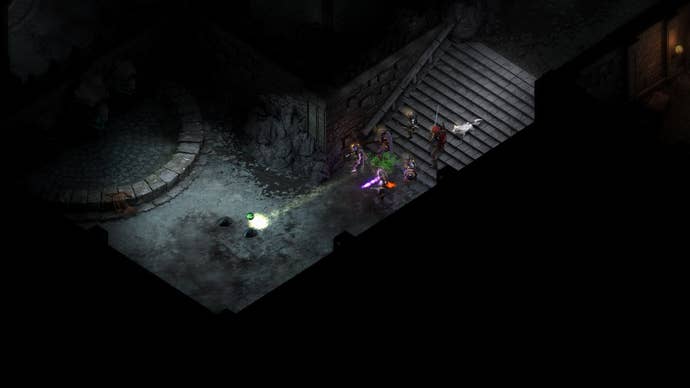
Head to the Celestial Spring Inn in Hearthsong and speak with the elf Cwineth to find out that her tribe is under threat of a Glanfathan attack. Once you have the quest, head over to Northweald and keep heading east until you cross a river and spot Cwineth waiting for you. Speak with her to learn more about the situation and then head over to the East and speak with the Glanfathan Fangs camping in the area. There are two ways to handle this situation. Either fight and kill the Fangs, or promise to look into their case. If you kill the Fangs you won’t need to meet up with the mercenaries. Instead, meet up with Cwineth once more to complete the quest.
Alternative solution:
During the conversation with Fangs Bright Blood, you can use persuasion if your Reputation in Twin Elms is high, or if your character has 17 points of Resolve. In this situation you’ll need to reach a compromise. If you play your cards right, the Fangs will agree to let the elves go, as long as the leader, Esmar, stays behind.
The surrounded mercenaries are at the destroyed tower. Here you need to meet with Captain Esmar. Two options are available. Offer to help the mercenaries or attack them. If you choose the former, head south and eliminate the Fangs, or go North to deal with the monsters on the escape route. In the latter case, you would have to defeat a group of stelgaers. If you chose to attack the mercenaries, kill them and then return to the Fangs and report to Bright Fangs Blood about the quest.
If you helped the mercenaries, you’ll need to meet back up with Cwineth afterwards for your reward.
Side Quest: Champion of Berath
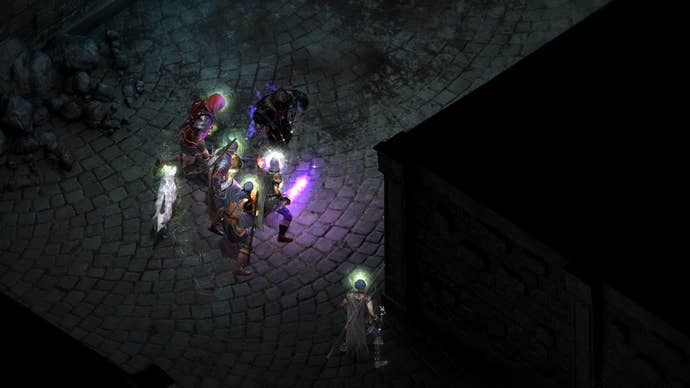
In order to obtain this quest, you will need to overthrow Lord Raedric in the Lord of a Carren Land side quest from Act I. If you’ve completed that task already, head to Hearthsong and enter the Celestial Sapling Inn to find a frightened villager, who reports that Lord Raedric’s ghost has returned.
Head over to Raedric’s hold near Gilded Vale and speak with Fampyr near the drawbridge. After the conversation she’ll take you to meet Raedric. After you’ve spoken to his ghost, you’ll be forced to do battle. Once he’s dead the quest is finished, and you’ve finally seen the last of the whiny Lord.
Side Quest: Prison of Ice
You’ll receive this quest from Larha in Galawain’s Maw. Speak to her and she’ll inform you of a missing Fang Scout named Alvah. She’ll also tell you that Alvah went missing near Noonfrost.
Head out of Galawain’s Maw and into Noonfrost. Look for a cave, and once you find it, head inside. Alvah is being held prisoner in a room north in this area. Before you can free Alvah, however, you’ll want to clear out the enemies so she has safe passage out of the area. Once all of the enemies are dealt with, head into the library and grab the key to Alvah’s cell. Now unlock the cell and set her free.
To complete this quest, head back to Galawain’s Maw and speak with Larha once more. If you want, you can seize this opportunity to grab a lesson from Alvah, which will leave you with the Blooded Hunter Skill.
Note: The final four side quests of Pillars of Eternity are only activated after you entered Teir Evron and used the Luminescent Adra Shard on the altar in the middle of the area. Once you activate the altar, the main quest Council of Stars will begin and you will need to complete one of the following four quests to continue through the game’s main storyline. We suggest choosing a quest whose god lines up with your adventuring style.
Side Quest: Into the White Void
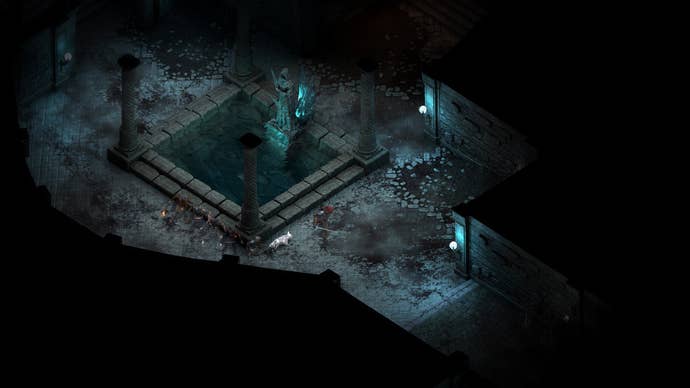
To begin this quest, pray to the god Rymrgand. His altar is in the right-hand corner of Teir Evron. Before you pray, however, make sure to grab the book Enigmatic God of Cold from the right bookshelf. This book contains the proper ritual words you’ll need to answer, as getting those wrong will force you to fight four Rain Blights.
Pray to Rymrgand, and when asked to recite the ritual words, simply reply, “All life ends in stillness.” Now pray a second time to trigger a vision, and in the vision tell the elves involved that they’re angering something big and they should probably stop, then plug the hole with some snow. Now the real quest begins
Your first task is to find Noonfrost. Don’t worry, it isn’t rocket science. Simply head up to Oldsong and then travel northwest to find the entrance to Noonfrost. Once you’re inside, speak with the pale elf, Vesgel, in the main chamber. She’ll warn you about entering restricted areas, and advise you that the eastern area is the only area open to you.
Time to head that way. Move into the eastern chamber and continue in that direction until you run into a couple of elves guarding a locked door. Again, you’ll be warned not to go where you aren’t allowed, and we suggest listening to them. Back away, head just north of that chamber to the next one and unlock the door here. Locate the wooden box in this room and interact with it to obtain the Blue Crystal Key. There’s also a low level locked door nearby, but ignore it for now, as opening it will cause all the guards in Noonfrost to hate you.
With the Blue Crystal Key in hand, head back to the main chamber and then continue west. Wait for the patrolling guard to move out of view and then sneak up to the northern door and open it using the key. There’s another guard here, so wait for it to pass before raiding the supplies in the room and then continuing into the western hallway. Move quickly, as the guard won’t stay gone for long.
Now you’re going to need to bust open a few doors with your lockpicks. You’ll either need 2 Mechanics +3 Lockpicks, or 3 Mechanics. Either way, head south and unlock the door and move inside the chamber. There is a chest in here you’ll need to open, but it’s bolted shut with a lock that requires 5 Mechanics +6 Lockpicks or 6 Mechanics. Once it’s open, you’ll want to grab the White Crystal Key from it.
Continue northward to find another locked door, which will open using the key you just found. Time to fight, as you’ll want your entire party to gang up on the Pale Elf Sorceress at the back of the room before disabling the traps, and raiding the nearby table to obtain the Wend-Walker. Now enter Scouting mode and look for the purple star switch on the floor near the eastern wall. It can be a bit tough to see, but this is the easiest and fastest way to advance the quest. Once you locate this, interact with it and then head through the new opening.
The next chamber contains your target. An elf named Glasvahl, his followers, and the Frost-Hewn Breach you were sent to close, there is also a pedestal of black ice in this area, but you can ignore that. If you want to complete this mission, you’ll need this to play out one of two ways.
A: Kill Glasvahl and seal the breach.
B: Use a Resolve of 17 to allow Glasvahl and his friends to enter the breach, and convince Rymrgrand that it was for his glory.
If you don’t have 17 Resolve on any of your party members, you’ll need to fight. Choose the Attack option in conversation and then focus first on the magic users of Glasvahl’s group. Once the mages are down, take the others down as well. This is a very tough fight, and it won’t get any easier as you’re going to need to fight the rest of your way out of Noonfrost.
Once Glasvahl is dead, interact with the breach to seal it, then return to Teir Evron and pray to Rymrgrand’s altar once more to complete this quest.
Side Quest: A Servant of Death
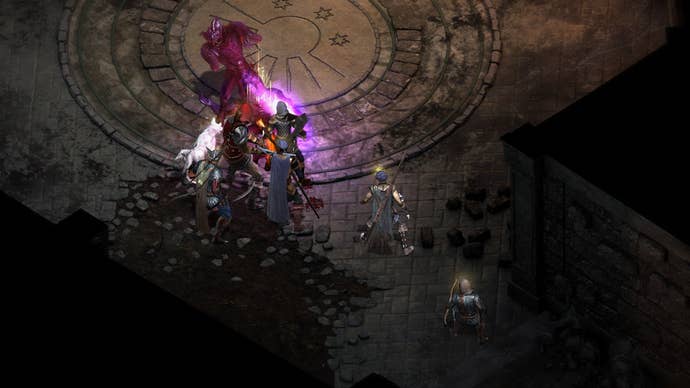
This quest is a bit easier than the last, and will only require that you kill two key figures within the Twin Elms area. To get this quest started you will need to grab the book, The Many Faces of Berath from the left-hand bookshelf, then pray to Berath’s altar located in the bottom right hand corner of Teir Evron. Pray the first time and choose the ritual words, “There is life in death, and death in life.”
Now pray a second time to witness a vision of shifting land, a road, and two stone sculptures. Once prompted via conversation, choose “Enter the Skull’s Mouth.” Now you have to do a little murdering. Approach both the male and female within the vision and attack them to end the vision and begin the quest.
The first target, Archdruid Rehstin, isn’t hard to find. Travel north to find Bloodsands. You’ll enter the area through the southeast entrance and you’ll need to work your way to the chamber to the far northwest. This is the Blood Sacrifice Chamber, and in here you’ll find Rehstin. He’ll ask you why you’re there, and you can either make small talk or simply attack and murder him. During the fight you’ll have to deal with other enemies, so make sure half your party is focused on the Chanters and magic users, while the other half is focused on Rehstin. Once the others have fallen, focus solely on Rehstin until he falls. Now it’s time to move on to target number two.
The second target, Archdruid Erona, is located in Elmshore. Travel out of the Bloodsands (you’ll have to battle your way out), and once the reach Elmshore, you’ll want to head to the area of ruins located on the island in the far eastern area of the map. Once you arrive you can attack and kill Erona and her pals, or you can commence conversation and wait for Aloth to chime in. Once he chimes in, choose the Resolve 15 conversation option and she will petrify herself. If you don’t have Resolve 15 you’ll need to fight them.
Once both targets are dead, head back to Teir Evron and pray at Berath’s shrine once more to complete this quest and move on within the Council of Stars main quest.
Side Quest: A Nest Above the Clouds
You can’t have a great fantasy game without magic and dragons, and Obsidian wasn’t looking to disappoint when they created the next quest. First, head to Teir Evron and pick up the book “The Midwife’s Memoirs” from the bookshelf. Read it to learn the proper ritual words and then pray to Hylea’s shrine, which is located in the southwestern corner of the room. When asked, the words of ritual reply “Live every note of life’s song.” Now pray once more to trigger a vision of an open-air temple on a mountaintop. Hylea will now ask you to restore her temple and the quest will begin.
First things first, the end of this quest is tough. If you don’t think you’ll be able to defeat the boss of this quest, we highly suggest taking the easier way out, which we will explain further along. If however you think your party is strong enough, don’t be afraid to complete the initial request that Hylea asked of you.
Time to travel to Oldsong. Once you arrive you’ll want to speak with Onwen and Casfath near Hylea’s Shrine. Speak with them to learn that a dragon has taken up residence in Hylea’s temple, and explain to them that you were sent to restore the temple and drive the beast away. From here you’ll want to head into your World Map and stop by Northweald to continue the quest.
Once in Northweald, you’ll find yourself in the southwestern entrance. Head north along the trail and then turn right at the first fork in the road. Once you reach the second fork, you’ll want to turn left and then follow the road left at the third fork to arrive at the Pilgrim’s Shrine in the northwestern area.
Once you’re at the shrine, interact with the staircase on the left and head inside. Follow this cavern path until you reach a rock, then inspect and choose to push it out of the way with a Might level 16 character. Once the rock is gone, continue forward along the jagged path to reach the dragon’s nest.
This is where things can either take a turn for the better or for the worse. As we mentioned above, this fight is going to be tough, and if you don’t think you can pull it off, then by all means simply take the alternate way out of this. If you want to simply complete Hylea’s task, and gain a massive bit of experience, simply face off against the dragon in combat.
If you aren’t able to beat the dragon, there is another option. During your conversation with the beast, choose the following options:
“You Have Young Here?”
“Hylea is the goddess of motherhood, actually.”
“Is that why you came here?”
“Then you should stay. Raising your offspring here would honor Hylea.”
If you choose this option, you’ll need to leave the temple and return to Hylea’s shrine at Teir Evron. Once you pray, you’ll have a bit of explaining to do, so simply choose
“Dragons, like birds, are creatures of the skies. Every life bears a cost.”
At which point Hylea will ask “What does a dragon create?”
And you should respond: “Beauty. Great and powerful and colorful, they are a marvel to behold.”
This will cause Hylea to buy into your flattery and poetic nature, and you’ll be free to ask for her aid in the final part of the main quest.
Side Quest: The Old Queen and the New King
The final option of the four god-chosen quests is perhaps one of the most challenging. To get this one started, head into Teir Evron and grab the “Book of the Hunt” from the western bookshelf. Read it to grab the ritual words and then pray to Galawain’s shrine, which is located in the northwestern corner of the chamber. When asked, the ritual words reply “Survival begins with strength from within.” Pray a second time to receive a vision of a dark room with candles. Ahead you’ll hear a howl and you’ll respond by howling back. Suddenly you’ll be running, with a beast chasing you through damp grass. As you run, a bear will jump out at you and eyes will appear behind you. Once you look back again the Bear and beast will be gone, and all you’ll see is the stone maw of a wolf. Choose “Turn Back” to begin this quest.
The first thing you need to do is head to Oldsong and locate Galawain’s Maw, which you’ve probably passed by more than once in your travels. If you somehow haven’t, head to the middle of Oldsong. Once you find it, head inside to continue.
Inside you’ll find a group of Fangs and their companions. Turns out your quest is to resolve a stalemate between Sul, Galawain’s favorite Lioness, and Oernos, a young ferocious warrior looking to challenge Sul’s title. Speak with Einden, the fang in the second chamber, offer to take care of Sul, and then head forward into the next chamber to speak with Desthwn. After you finish speaking with Desthwn, you’ll obtain Galawain’s Maw Key, and receive access to the Maw. Time to find Sul.
Sul is holed up in the back of the area. To find her, you’ll need to move through the maw until you reach a bridge. Don’t cross the bridge. Instead continue down the path you were already taking. We suggest using your Scouting ability, as these paths are littered with traps. Continue following this until you reach a den of lions. Take them out and then inspect the wall to the east to find a bunch of vines blocking the entrance to Sul’s den. Interact with them and squeeze through to enter.
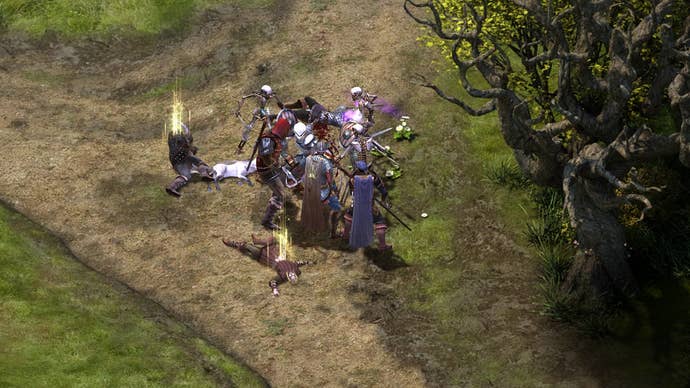
From here, the tale can take two turns. You can either kill Sul and her allies, or you can speak with Sul and offer to take out Oernes. Either way this pans out, someone’s blood will be spilled. Once you’ve made your choice, take out your target and then return to the front area of Galawain’s Maw. Before you head back to Teir Evron, make sure to stop and speak with Desthwn in order to obtain the Cat’s Claw, which is a powerful one-handed sword. Once you have the sword, simply go back and pray to Galawain’s shrine once more to end the quest and move on.


