Pillars of Eternity Side Quest Guide - Act I: Gilded Vale, Raedric's Hold and Magran's Fork
A guide to all side quests in Pillars of Eternity, starting with Act I: Gilded Vale, Raedric's Hold and Magran's Fork.
Pillars of Eternity contains a massive world, and there is a lot to be done. We’re not against sticking to the main story to see how the plot unfolds, but for those who like to get lost in the lore and side quests, don’t worry, we have your back. Should you choose to allow Obsidian Entertainment’s latest cRPG to suck you in, we’ll help you achieve 100 percent completion with this guide to every side quest featured through all four of the Acts.
Not sure where to begin? Read our complete Character Creation guide, as well as our Pillars of Eternity Quick Leveling guide.
Quest: A Mother’s Plea
Fear of Hollowborn
During your travels you’ll meet Aufra in her home in Gilded Vale. She’s afraid her child will be born Hollowborn, and asks that you help her by visiting Mother Ranga in Anslog’s Compass. Aufra also happens to be Calisca’s sister, in case you feel inclined to tell her of her sister’s death, which you witnessed earlier in the game. For your help, she offers you 20CP up front, with the promise of more once the task is complete.
Snake Oil on the Seashore
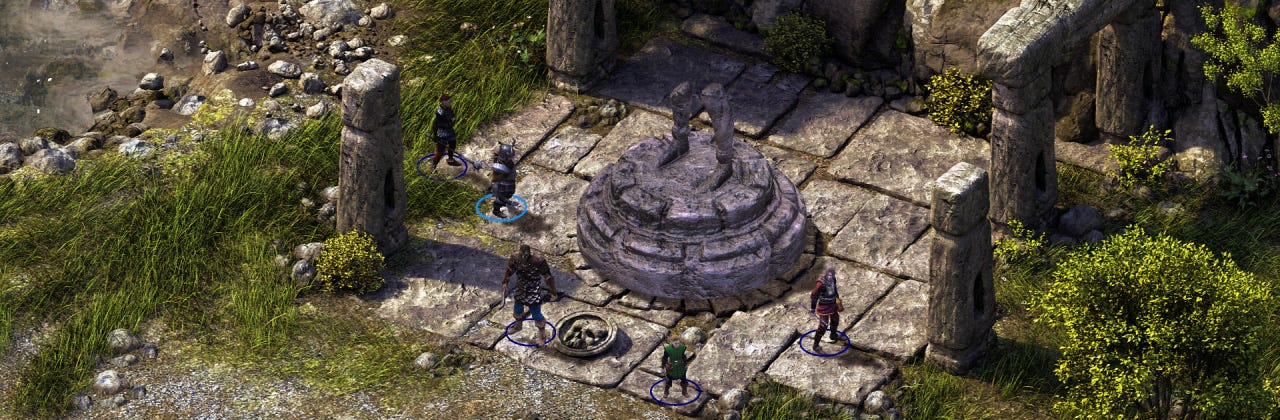
After you’ve picked up the quest and at least gathered a couple companions (there are two that you will find in Gilded Vale), it’s time to hit the road and find Anslog’s Compass. To reach this new place, you’ll need to head through Magran’s Fork, where you’ll come across another companion you can pick up near the statue of one of the many gods featured throughout the land. Leave the forest through the southernmost exit to bring up the World Map and gain access to Anslog’s Compass.
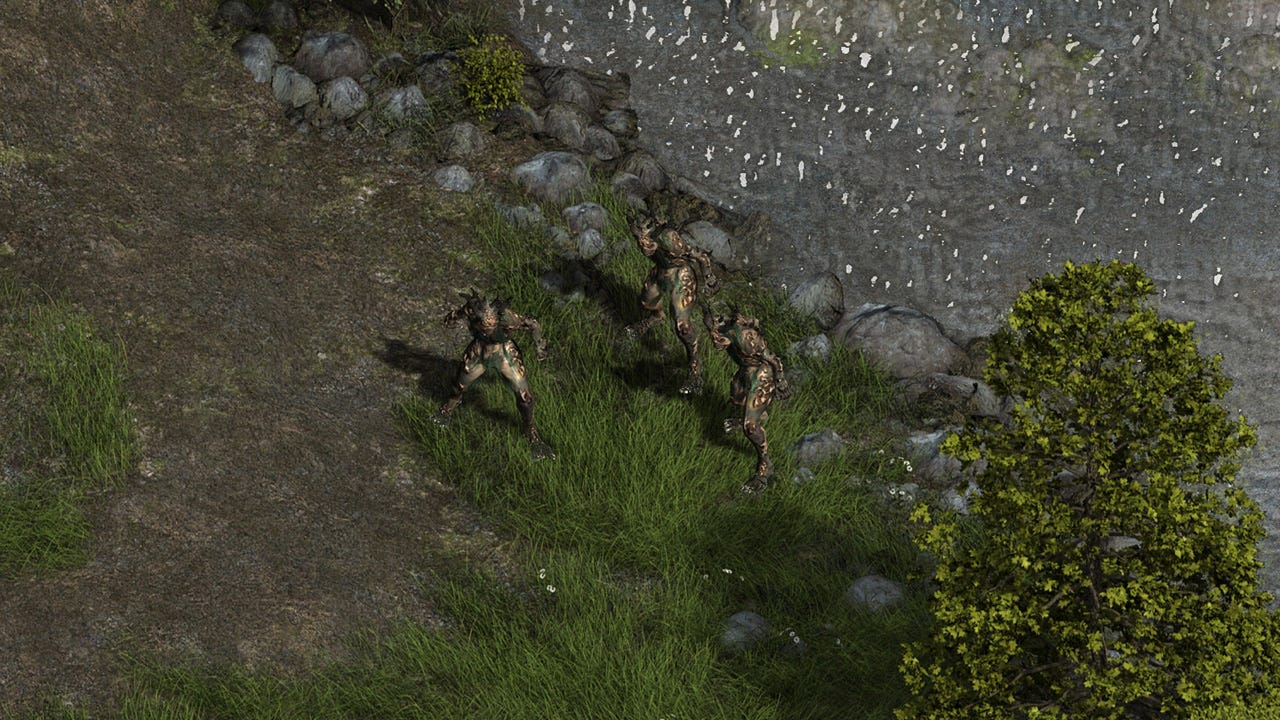
Once inside Anslog’s Compass, you’ll need to battle your way into the southeastern corner of the map to find Mother Ranga, who will ask you to slay all of the Xaurip in the area. Do as she asks, and upon returning to her, you’ll receive another quest to kill more enemies at the nearby Sea Cave. Take out this next group, then return to Ranga to pick up yet another mission to kill Sporelings and Dank Spores so you can collect spores.
Now that you’ve killed the Sporelings and Dank Spores in the Sea Cave – this task can easily be achieved by leading the Sporelings away from the Dank Spores and then finishing off the immovable enemies once the others are dead – it’s time to collect the spores and bring them back to Ranga to finally pick up a potion which will help Aufra. Now you can trade with Mother Ranga, camp for free to rejuvenate your party, and then head back towards Gilded Vale to turn in your quest.
Placating a Placebo
This is where your morals start to play tricks on you. The potion that Mother Ranga gave you is a placebo, a fake, and it won’t really help Aufra. This allows you two choices as an outcome for this quest.
If you tell her the potion is a fake she will pay you an additional 10CP, and you’ll also earn a Potion of Minor Recovery, Potion of Minor Regen, and a Potion of Minor Stamina.
However, if you choose to let Aufra believe the potion is a real elixir, you will also get the 10CP, but you’ll also receive a Cloak of Minor Protection once you return to Mother Ranga in Anslog’s Compass.

Quest: The Smith’s Shipment
Before we move into this quest, we’d like to mention that you should NEVER steal items in a town. This will lower your Reputation with that town, and even prevent you from completing some side quests like the one we are about to cover.
Tuatanu’s Goods Gone Missing
Head into Gilded Vale’s smith shop, the Black Hammer Smithery, to find that the Blacksmith Tuatanu is expecting a load of goods that has yet to arrive. He’ll also advise you that they were last seen somewhere in Black Meadow. As you speak with him, advise him that you’ll keep an eye out for it, and then head to the world map via one of the eastern exits.
The Black Meadow Marauders
Once in the World Map, head to Magran’s Fork and then make your way across the forest to the eastern exit. Once you’ve reentered the World Map, you should now be able to select Black Meadow as your destination.
Once you arrive in Black Meadow, ready your party and head to the north along the path to find Tuatanu’s supply cart turned over and riddled with the arrows. From here, keep traveling north until you pass two trolls and spot a group of bandits around a stash of supplies and a fire. Take the bandits on and murder every last one of them before checking the area for the supplies that Tuatanu lost. Once you’ve gathered them all, it is time to head back to Gilded Vale.
What’s in Store for You?
With everything collected, head back to Gilded Vale and into the smithery. Speak with Tuatanu to bring the quest to a close and pick up your hearty reward of 100CP and a Larder Door.
Quest: Buried Secrets
Under the Hanging Tree
To start this next quest, you’ll need to head down the stairs within the burned out temple just south of the hanging tree. Once inside you should see a man named Wirtan slumped on the ground. Approach him to start up a dialogue box, and accept the quest when he asks you to find the bones of the dead Eothasian priests.
Temple of Eothas – Level 1
You’re going to experience a lot of combat while on this quest. We suggest making sure your party is well-rested before continuing, as you will be fighting several Will-O-Wisps, Ivory Spiderlings, and even Ivory Spinners as you make your way through the temple. Once you’re inside, head northeast towards the Main Altar Chamber, which you’ll recognize by the set of stairs at the end. Kill the enemies in this room, then speak with the Ghostly figure at the top of the stairs.
Now you need to head into the scriptorium and continue into the Rectrix’s room, where you’ll need to find two items before continuing.
The first item is located within the nearby bookshelves. By holding down TAB, the game will highlight all the items you can interact with. Interacting with the bookshelves will help you find a Book of Verses. Go ahead and open this book within your inventory to learn its secrets.
With the second item, you’ll need to use your party’s Scouting ability to find it. It’s a Hollow Book, and you’ll find it laying on the floor close to the desk. We also suggest going ahead and grabbing the Engraved Silver Key for the Ritual Bells Chamber door.
Now it is time to fight some spiders. Head into the nearby corridor filled with them, and move southwest until you reach an archway with three Skuldr camping out nearby. Take the Skuldr out and then head into the Reflection Pool Ritual Chamber where another three Skuldr will appear. Take them out, and then notice the Ghostly figure that appeared. Speak with it to pick up a few clues about the Ritual Bells, and then ring the bells from the Right, Middle, Left and then the Right, in that order to open up the door and access to lower area.
Temple of Eothas – Level 2
Now you are inside of a stairwell with a Shadow hiding out nearby. Kill it and then head southeast to reach another door that will open into the main corridor.
Defeat the three Shadows and enter the area, heading northeast from the entrance to find a locked door. This is the door you want to head through, but that isn’t possible right now. Turn around and open the door on the opposite side of the hallway. This is the Water Level Chamber. Here you will find three Shadows and a wooden valve. Defeat the enemies and turn the valve to lower the water in the room just south of you.
Once the water drains, head down the stairs and into the damp room below. Fight with the Ooze enemies here, and once they are dead check the area near the fountain to find the Gleaming Silver Key. With the key now in your inventory, head back to the locked door you found earlier and unlock it to continue. Alternatively you can skip the last bit with the Water Level Chamber if your character has 4 Mechanics and +5 Lockpicks, or 5 Mechanics.
To continue, head forward down the corridor and into the sanctuary. Defeat the enemies here and head southeast to find a dead-end passage with a locked door. If you use the Scouting ability you should spot a lever hiding along the corridor. Pull it to open the door and move on.
This is the vault. The object of this quest is hidden within the glowing pile of bones. Interact with it to grab the Bones and then you’ll need to return to Wirtan.
Wirtan’s Fate
Once you reach Level 1 you have a choice to make. Much like an earlier quest, there are multiple decisions you can choose that will change how the quest ends.
A: Give Wirtan the bones and send him into exile.
Doing this will net ZERO reward, but you’ll be able to see Wirtan in Gramrfel’s party at Magran’s Fork.
B: Give Wirtan the bones and tell him to redeem himself.
Again you’ll receive ZERO reward, however you will gain a Reputation boost within Gilded Vale.
C: Ignore Wirtan, leave the temple, and turn him in to the magistrate.
ZERO reward, but you will gain an average Reputation boost within Gilded Vale.
D: Kill Wirtan because he deserves it.
ZERO reward, and you will lose Reputation within Gilded Vale.
E: Give the bones to Wirtan.
Reward of 200CP.
F: Kill Wirtan for being a creep and give the bones to Magistrate Urgeat in Gilded Vale.
Reward of 300CP and an average Reputation boost within Gilded Vale.
No matter what your choice is, make it and then continue on to the next quest that catches your eye.
Side Quest: Lord of a Barren Land
You’ll only unlock this quest after completing A Mother’s Plea and The Smith’s Shipment. Alternatively you can complete one of the quests mentioned in the previous sentence and the Task, Against the Grain (but you’ll have needed to side with Tremble).
A Raid on Raedric’s Keep
Prepare your party because this quest is going to be long, and it’s going to be full of fun twists and turns. To get started, you’ll need to talk with a man named Kolsc, who beckons to you outside of Aufra’s home. Once you’ve spoken with him and accept the quest, grab your party and head out of Gilded Vale and travel to the newly opened Ernstwood area. Be careful as you make your way through this area, as you will encounter several Skeletons roaming about.
Once in Ernstwood, follow the cobblestone road until it leads you back to the World Map, where you’ll need to travel to Raedric’s Keep.
Storming the Fortress – Initial Planning
Once you arrive outside the keep, there are quite a few ways to enter the imposing gothic-styled fortress. The most direct involves heading right up the middle, which will put you against several enemies and many combat sessions. The least direct, however, is to either climb up the vines along the wall or sneak into the keep through the dungeons. No matter which way you decide to go, we’ll walk you through it.
Up the Middle
Let’s cover the most direct route first. Continue along the road to run into the first two hostiles, Nudwin and Cletlan. Kill them and continue along the bridge to fight another nine guards. After dispatching the guards, move up the central stairs and take on another six highly trained enemies. From here there are two direct routes.
A: Open the archway door and walk to Keep Hall. This will skip all the goodies within the keep and you’ll need to skip ahead in this guide to the area marked Assault on the Throne Room.
B: Explore the upper battlements. Gather supplies throughout the hold. Fight enemies throughout the keep, and if you’re really looking to get the most from this quest, head to the northern tower and enter Temple Storage before jumping to the part marked To Find a Priest to continue following this guide.
Climbing the Vines
Head along the moat to the north and locate the strip of vines running along the wall of the bell tower. Use these to climb to the battlements and then head east to take out six guards. Open the arched door leading into the northern tower to access storage, and move into Raedric’s Sanctuary, which is just above his throne room.
If you decide to go up the vines, make sure to look out for the Armory, as it is stocked full of goodies you’ll want for your party.
Enter the Dungeon
Head east along the moat to find a grate that will lead you to the sewers. You’ll need a character strong enough to bend the bars, so if you don’t have that, you won’t be able to continue this way unless you buy a crowbar from the blacksmith back in Gilded Vale. If you have a character strong enough to break through, or happen to have a crowbar lying around in your stash, interact with the bars and then head inside to continue.
Dungeon Crawl and Osrya’s Offer
We highly suggest using your Scouting ability as much as possible to help avoid traps.
Head up the pipe and into the drain room. From here, head northwest into the pool chamber and then take out the enemies inside. Once the battle is over, head west to take out six Black Oozes and gather some treasure.
Now head to the southeastern area of the map to find a ladder leading up to a trap door. Climbing up through this will lead you into the lower ramparts of the keep. Take out any enemies you spot and grab any treasure before heading to the center of the dungeon to find four locked cells. Take out the undead guarding the prisoner and then open up the locked door if you have 4 Mechanics +5 Lockpicks, or 5 Mechanics. If you don’t meet these requirements, the only option is to wait until you meet up with Osrya, and then kill her to get a key.
If you can open the door now, speak with the man Giacco to learn of Osyra’s power, and then either tell him to escape or have him stick around so Nedmar will help you.
Continue walking towards the middle of this area to find a locked door. Open it and kill the six undead enemies before heading northeast to an open door. Inside this door you’ll find Osyra’s chamber. Speak with her, and then you’ll need to make another choice.
The first choice is to pledge your sword to Osyra and Raedric, then kill Nedmar. Doing this will provide you with a safe passage to the throne room.
The second choice is to continue on your present course and take out Osyra. Once she is out of the way, you can pick up the Rusted Key off her corpse and unlock Giacco’s door if you haven’t already.
With her dead, head up the corridor to the stairs and then into the kitchen. Raedric is located on this floor, however he’s heavily guarded. You can either head straight for him by killing his guards, or walk up the adjacent set of stairs to pick up another part of the quest.
To Find a Priest and Nedmar’s Offer
Once you’re in Temple Storage you’ll need to look through the chests to find some Berathian Priest Robes for your party. If you want to wander without being attacked right off the bat, put these outfits on, or just continue without them.
Head east, then turn southeast to head through a door into a long hallway. Move through the final door at the end and then walk northeast into Nedmar’s Chambers to speak with Nedmar.
There are options here, just as there were options when dealing with Osyra. Either kill Nedmar and make Osyra happy, or free the prisoner Giacco from the dungeon to get a Master Key.
Completing Osyra or Nedmar’s Task
Depending on which option you chose and who you chose to side with, you’ll need to finish certain things before continuing on the main point of this quest.
If you chose to kill Nedmar for Osyra, simply return through the kitchen and then tell her to open a secret passage.
If you chose to side with Nedmar, head out through Temple Storage and into the kitchen, then down into the dungeon to find Osyra and some undead foes. Take them all out, grab the Rusted Key from Osyra’s corpse and then free the prisoner Giacco from his cell. Now return to Nedmar and let him know that Kolsc will take over the hold once Raedric is disposed, and he will give you the Burnished Steel key, which will unlock the Keep Chapel and propel you to the next part of the quest.
Assault on the Throne Room
How you choose to go about this area is entirely up to you. Everyone in the keep wants you dead, so either make your way through the various areas slaughtering and pillaging, or head straight for Raedric to hurry the quest along. No matter what you do, you’ll either enter the throne room via the Chapel by siding with Nedmar; enter through the Chancery by siding with Osyra; or fight into the throne room from the kitchen or main hallway. Once you enter the throne room there are choices to be made.
Killing Cousins
Speak with Raedric before murdering everyone. Turns out Raedric and Kolsc are cousins. After he tells you this you have three options. Either kill Raedric to help Kolsc take over, kill Kolsc and leave Raedric in charge, or kill both Kolsc and Raedric.
Choosing to side with Kolsc will pit you against some very tough enemies and grant you a large Reputation boost in Gilded Vale, and a decrease in Reputation in Defiance Bay. It will also affect the ending of the game.
Choosing to side with Raedric will require you to travel to Magran’s Fork and kill Kolsc in the Crumbling House north of the entrance. This ending will give you a massive decrease in Reputation in Gilded Vale, however your Reputation in Defiance Bay will shoot up and Raedric will reward you with loot from the keep. This will also affect the end of the game.
If you choose to kill both Raedric and Kolsc you won’t receive extra loot rewards or Reputation boosts. No matter who you choose to kill, the ghost will appear later on in the Champion of Berath side quest.
Completing this quest will net players with 500CP and a Justice Find Great Sword.
We've got more for you, as our Pillars of Eternity Act II Side Quests are now completed. Be sure to head over there to continue your journey.