Rise of the Tomb Raider: 10 beginner's tips you absolutely need to know


Rise of the Tomb Raider: tips to get you started on your quest to save the world
Lara's life's hard. She's constantly being shot at, set alight and thrown from cliffs on her endless mission to rescue humanity from itself, and Rise of the Tomb Raider continues on the series's ever-violent path. Charting the steps Lara makes from the unwilling adventurer we saw in 2013's Tomb Raider reboot to globe-trotting treasure plunderer, Rise throws many instruments of pain in your direction. Fortunately, you get a few to chuck back yourself.
These tips will help you get into the game with fewer failures and save some time. Rise is about exploration, character progression, hard-boiled combat and extensive platforming, and much of the information pertinent to each aspect can be less than obvious. Hit the next arrow. Help us help you.

Spend your early Skill Points wisely
You earn XP as you do stuff in Rise's world, and every time you level up you get a Skill Point. These are used to unlock three skill trees. The temptation will be to go for a combat perk, but make Avid Learner your first learned skill. You'll find it in the Survivor section. This boosts the amount of XP you earn from reading Documents, discovering Survival Caches and more. More XP, more Skill Points, faster progression.
The second upgrade should probably be Thick-Skinned (the first one in the Brawler menu), as this reduces general damage taken during combat. Remember, though, that combat skills aren't the most important thing early on. Eye for Detail, for example, makes it easier to find Challenge Objects with Survival Instincts. That means you miss less, get more XP and progress faster. This will give you the Skill Points you'll need to unlock those combat upgrades when you need them: later in the game.

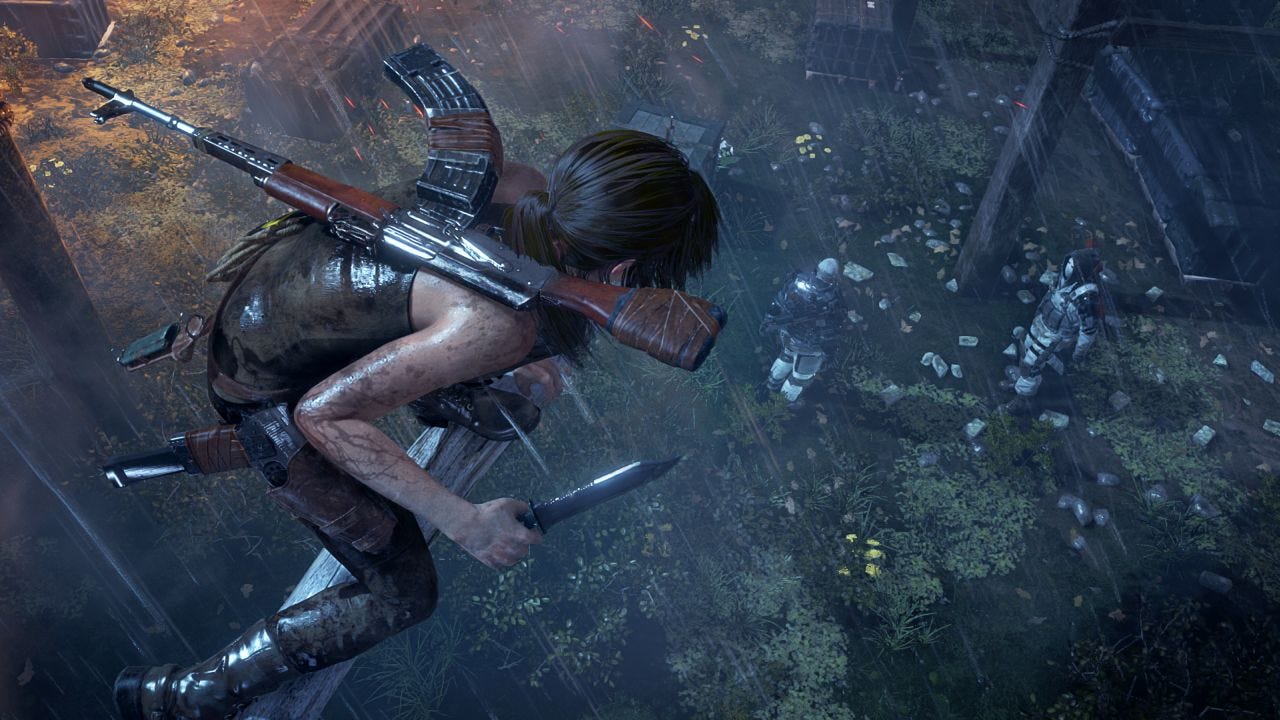
Use Survival Instinct all the time
Survival Instinct is your key to unlocking the secrets of the game. You activate it by clicking the right stick (R3). It's a special view that shows you routes up trees, through walls and down hidden passages, as well as highlighting relics, documents and objects for crafting. You should get used to clicking the stick when you move into any new area. Remember, Rise is a game about exploration as much as anything else, and you'll miss so much stuff if you don't stop, look properly and check your Survival Instinct.
Also, remember that Survival Caches are indicated by small flashing white light on the ground. They aren't otherwise highlighted by Survival Instinct, so you need to pay close attention.

Watch colours if you're going for stealth
Enemies in Survival Instinct are now lit either red or yellow. Red means they can see one another, meaning you'll trigger and alert if you drop them as someone else will see. Yellow means no one else can see them and they'll die without further incident, assuming you get a headshot. Just kill them. Why not?
If you want Survival Instinct to remain active so you can see the coloured markings on each enemy, you need to stay still. As soon as you move the game will return to its default world mode. If you're looking to clear a group of enemies without causing a fuss (or drawing down reinforcements), get into cover, activate Survival Instinct and then watch. As the guards move away from each other, their colour will change from red to yellow. Pick your moment and waste them all.

Don't forget to change Lara's clothes
You can change Lara's outfits at campfires (and only at campfires). The option's hidden in the Weapons menu, oddly. Just go to the Outfits option, and you'll be able to customise Lara's look with a push of a button.
This feature isn't just cosmetic. You sometimes get granted different outfits from completing objectives, and they can affect Lara's performance. The Battle Worn coat, for example, is gifted by completing an optional Mission of one of the game's main map areas. It reduces the delay between taking damage and regenerating health, so it's obviously useful for combat.

Do the Challenge Tombs
This is easier said than done, as the entrances to the Tombs really are tough to find, but don't just ignore them if you come across one. The Tombs represent some of the best platforming puzzles in the game, showing off Rise's movement mechanics to their fullest. You're really missing out if you don't take the time to complete them, so resist the urge to rush ahead.
Successfully beating a Tomb nets great rewards. The first one, Ice Ship, is presented to you very clearly, and completing it gives you the ability to speed-shoot arrows. Well worth the effort.

Don't try to 100% areas first go: you have to come back
There's a temptation to really take your time over the environments and try to discover everything they have to offer the first time you enter them, but you're going to have to wait. There are many secrets in Rise only accessible once you've got further along into the campaign and unlocked better kit. To smash planked entrances, for example, you need a shotgun.
Certain objectives are going to make your life easier as you work through the story (completing the Tombs, for example, or the Missions - these grant you gear and skills), but you're going to find it much easier to uncover the collectibles, such as Documents, Survival Caches and Relics, if you take your time to find the Explorer Satchels. These are the key to unlocking all the secrets in any level. You can do this later. There's really no need to completely rinse each area before you finish the story. Reading Documents and collecting Relics boosts XP, thus giving you Skill Points, but I ended my run-through on around 60% and I was barely troubled. Once you've finished, go back and aim for the 100%.

Hunt, but treat Rise's wildlife with respect
Whether or not you find dropping deer and bears fun, you'll have to access your hatred for all things fluffy if you're going to get on in Rise of the Tomb Raider. Until you get enough skins, you won't even be able to use your ice-axe as a melee weapon.
A good place to kill deer is at the first base-camp. Take the time to kill a bunch of animals before you get properly started, at least enough to get you through the first few upgrades. You should aim to collect around ten skins.
You must treat Rise's animals with respect. Wolves, for example, are dicks. Seriously. They kill you. You need to take them down with a ranged weapon before they get to you. Also, dropping an exotic animal, such as a bear or a large cat, is serious business. You'll have to run away, use alternate modes of fire and be prepared to punch out many arrows to bring down a grizzly. They're tough. Even using an assault rifle is no quick fix, so get ready for some furry rumble.

Remember to check your load-out at camp fires
Check your load-out! You must stop at a fire before you enter a hot area and ensure you have appropriate gear equipped. You can't change weapons any other way, so don't go thinking you can just swap over from your rifle to your AK when you're getting swamped. If you have the wrong stuff equipped you're going to be in all sorts of trouble. Without wanting to spoil anything, there's a section in which you're stuck under an area and you have to keep popping up through holes to kill goons. I'd lumbered myself with a bolt-action rifle and an unfamiliar bow because I didn't pay attention to my load-out at the preceding fire. Don't repeat my mistakes. It's painful.

Don't ignore the bow: it's a key weapon
A natural temptation is to plough all your materials into gun upgrades, but you mustn't ignore the bow. It's a key weapon. Think of it as a sniper rifle. Once you've pushed through to the later perks, it's a hugely versatile part of your armoury, one capable of dropping three enemies at a time with triple headshots, and it has fantastic range and power. You should also aim for Dead Eye, a second tier Hunter skill, as quickly as you can. This gives you a red dot headshot indicator when you're lining up both arrows and guns, turning the bow into a serious killing tool.
Get used to it, because you're going to be using it a lot. Stealth is much more important than in the last game. Bushes have been added for sneaking, and you should take the hint. Some of these sections are seriously bruising, and if you attempt a straight up fight against a dozen armoured assault troops you are going to die. Stay quiet and make sure your bow's suitably upgraded.

Finding it tough? Do Missions and Challenges
If you're having a hard time, it's probably worth doing some of the Challenges and Missions in the hub areas. They're usually easy to complete and can net you decent gear, such as new outfits and weapons. As noted earlier, the outfits can give you extra buffs and skills, so they're not to be sneezed at.
When you're close to a mission pick-up point, you'll see the message, "Ally nearby: optional mission available". Find the person in question, speak to them and grab the quest. They're worth the loot.