Shadow of War Helm Hammerhand Boss Fight - Tips and Tricks for Defeating the Nazgul
Here's our beginner's guide for Shadow of War, including how to save, essential tips and tricks, and more.

This Shadow of War Nazgul boss fight marks the second time that Talion faces off against one of the Nazgul in Shadow of War, but this time it's Helm Hammerhand who comes forth from the shadows to fight Talion and Eltariel. In the Fire and Fury mission, you'll have to first defeat the Drakes that Helm summons to aid him in battle, after finally heading into the showdown with the boss himself. Follow this Shadow of War Helm Hammerhand Boss Guide and you’ll be fine.
Shadow of War Helm Hammerhand Boss Guide
At the beginning of the Shadow of War Helm Hammerhand boss fight, you'll want to shoot the first Drake out the sky as quickly as possible, before it has a chance to land and deal some serious damage to Talion. Aim for the head of the Drake and charge up your Elf Shot arrows to inflict maximum damage, and you should be able to take down the beast in around 6 Elf Shots.
Don't forget to collect all the Elf Shot arrows you can from the battlefield after you've defeated this first Drake, even if it means letting Eltariel run on slightly ahead of you, as you'll need all the arrows you can get your hands on for the next phase of the fight.
Next, head into the fortress ruins with Eltariel, and face off against the next 2 Drakes. For this fight, we'd recommend ignoring all the Orcs on the ground, and climb to a vantage point as soon as you can, shooting at one Drake repeatedly until it goes down, and then turning your attention to the other one. If either Drake lands on the ground feel free to approach it and lay into it with some quick attacks, but make sure you're ready to dodge its swipe and fire breath attacks.
You can mostly leave Eltariel to your own devices when you're facing down against the two Drakes. She'll either take care of any minions down on the ground below, or she'll turn her attention to firing arrows at the Drakes in the air. She's a solid support fighter throughout the entire Shadow of War Fire and Fury mission.
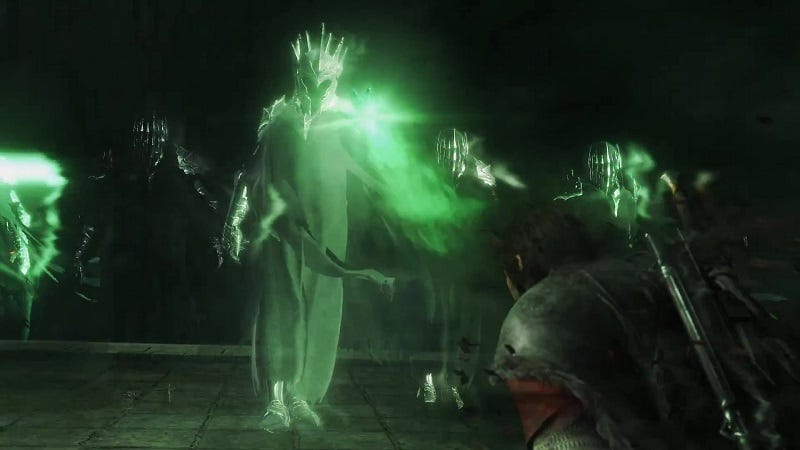
Once you've despatched the pair of Drakes, you'll have to journey with Eltariel for a minute in order to come face to face with Helm Hammerhand. Like Suladan, Helm can also pull Talion towards him for an attack, so be prepared to press the parry button very quickly if this ever happens to you. Helm can also summon Ghuls into the arena to support him, and we'd recommend taking these out as quickly as possible, while keeping an eye out for the dodge prompt from any of Helm's attacks.

There are also Drakes in the sky that can rain down fire upon the battlefield, so if you see a red marker on the ground, make sure to get away from it as quickly as possible. Don't let the Drakes distract you from Helm though, as you generally want to focus on fighting the boss, and not his minions in the sky. Talion unfortunately has to dodge most of Helm's attacks instead of parrying them, and the boss usually unleashes three attacks in a row, so be prepared to dodge a few times whenever you see the button prompt flash up on the screen.
After Helm has attacked however, he's open to a few quick hits from Talion, so take this opportunity to land roughly three attacks, and then back off, waiting for Helm to make the next move. Apart from all this, there isn't much else to the Helm Hammerhand boss fight, aside from reviving Eltariel quickly by holding down B/Circle if she gets injured during the fight. She can't bleed out however, so don't worry about taking too long to revive her.
If you need anything else to do with Shadow of War, why not head over to our guides on how to beat the Frozen Flame Balrog boss fight, or our complete guide to the Shadow Wars endgame mode.