Dark Souls 3: The Ringed City walkthrough - The Dreg Heap to Earthen Peak Ruins

Dark Souls 3: The Ringed City starts in The Dreg Heap, which - not to ruin it for you or anything - is not a very nice place.

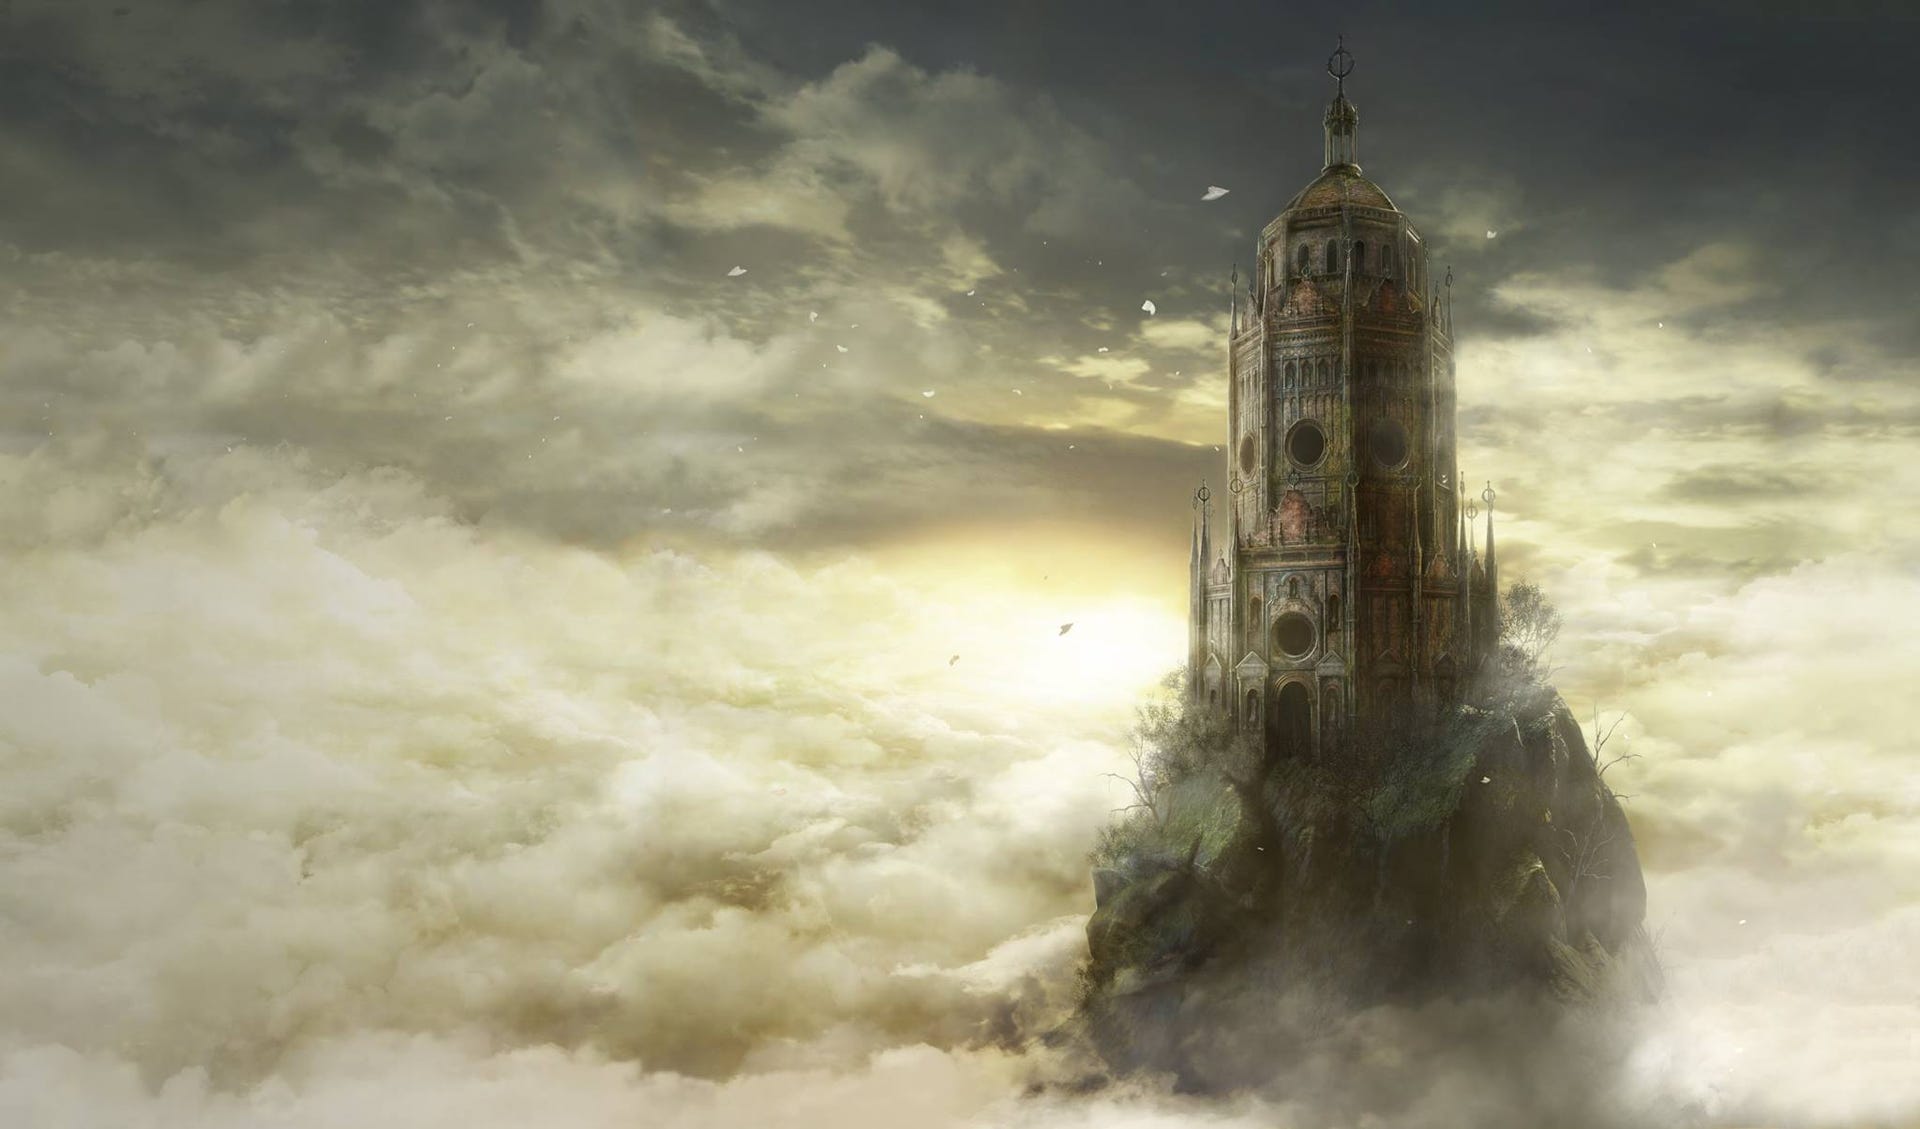
This Dark Souls 3 walkthrough begins at the first bonfire of The Ringed City DLC, The Dreg Heap, and continues through to the second available bonfire, Earthen Peak Ruins.
Along the way it introduces a bunch of stuff The Ringed City brings to Dark Souls 3 - notably enemies and weapons - and gathers every loot item we could see. We'll also kick off a new NPC quest, which longtime series fans will really enjoy, and bypass some exciting new hazards.
If you're just tuning in and don't even know how to access the DLC, check out our guide to starting Dark Souls 3: The Ringed City.
Right, let’s do this. One last time, cats; one last time to pay for all. I strongly considered chucking a sickie and leaving you to it, but how could I abandon my cheeseburger assassins like that?
The Dreg Heap: meet the murkmen
After travelling to the new area, activate The Dreg Heap bonfire. This area is made up of bits and pieces of other environments, stuck together with no regard for physics - especially gravity. The first bonfire run is littered with one-way drops, and you will not take fall damage.
Speak to the NPC on the ledge outside the bonfire room; she can sell you bits and pieces, including a new weapon.
To begin, walk outside and hug the right wall, ignoring the instruction to jump, to circle the dome and grab an ember. Then take the indicated plunge. On the ledge, keep facing the same way and drop down on the right again – you won’t take damage in the soft snow.
Pause here and watch the slopes below as several enemies rise up. These are murkmen, I think. They move slowly, but there’re a lot of them and their attacks are very painful; they’ll also sometimes disappear in the snow, because they’re so low to the ground. Watch out for their combos, which can be a nasty surprise if you’ve baited them into what you expected to be a single swing. Bear in mind that if you walk over a spawn point for a murkman it will grab you, which does a lot of damage.
One of the figures is a murkman sorcerer - the upright one with a staff. It fires slow-moving but nasty projectiles, but it generally won’t use that in this first rush unless you hit it with a projectile of your own. Its staff attacks are bad enough – the vertical slash is deceptively quick, and the horizontal combo has huge reach. Try to get behind it or kill it before it can attack, as rolling and dodging on this high ledge is dangerous.
For later encounters with these guys, be aware that the projectiles track closely, and do magic damage (so will still hurt through your shield). What you want to do is dodge at the last moment – so you have to be very aware of your surroundings. All their attacks can be staggered, though, so if you have your bow out you can just lock on and ping away, or snipe them, to put them out of action.
There’s one other thing you need to know about murkman sorcerers. Sometimes, especially if you’re shooting them with arrows or magic and they’re on the same platform as you, they transform into something that looks a bit like a Haunter from Pokemon and come rushing towards you, flailing claws wildly. The good news is: after a short distance they just vanish into thin air and go away forever. The bad news is: if this happens up close you may s**t yourself, die, or s**t yourself and die. Be prepared, and watch for the wind up; they kneel as if in prayer.
Advanced tactics: the murkmen in this area actually rise up when the murkman sorcerer calls them in, which is the sound you hear as you approach the bridge. If you’re quick enough you can snipe him to prevent this happening – an arrow will stagger him and prevent the attack, so just keep firing away. That said, you’ll probably end up just sprinting through this area once you’ve cleared out the items, so this trick doesn’t have much mileage in it.
Once all the baddies are dead, slowly cross the bridge and listen for the audio cue of more spawning. Run back up the bridge to avoid being flanked by the murkman sorcerer who appears on your left, as you face across the bridge to the unexplored area. You can snipe him with arrows (he often falls off an edge for you), but don’t forget the few extra murkmen crawling across the bridge towards you as you deal with him.
With that done, do not rush towards the item glow on your right just yet. Peer in the opposite direction. With your back to the tempting item you’ll see a fallen dragon and some short stairs to the right of them. There’s another murkman sorcerer next to these. I suggest sniping him from near the bridge, using the small tower as cover from his projectiles.
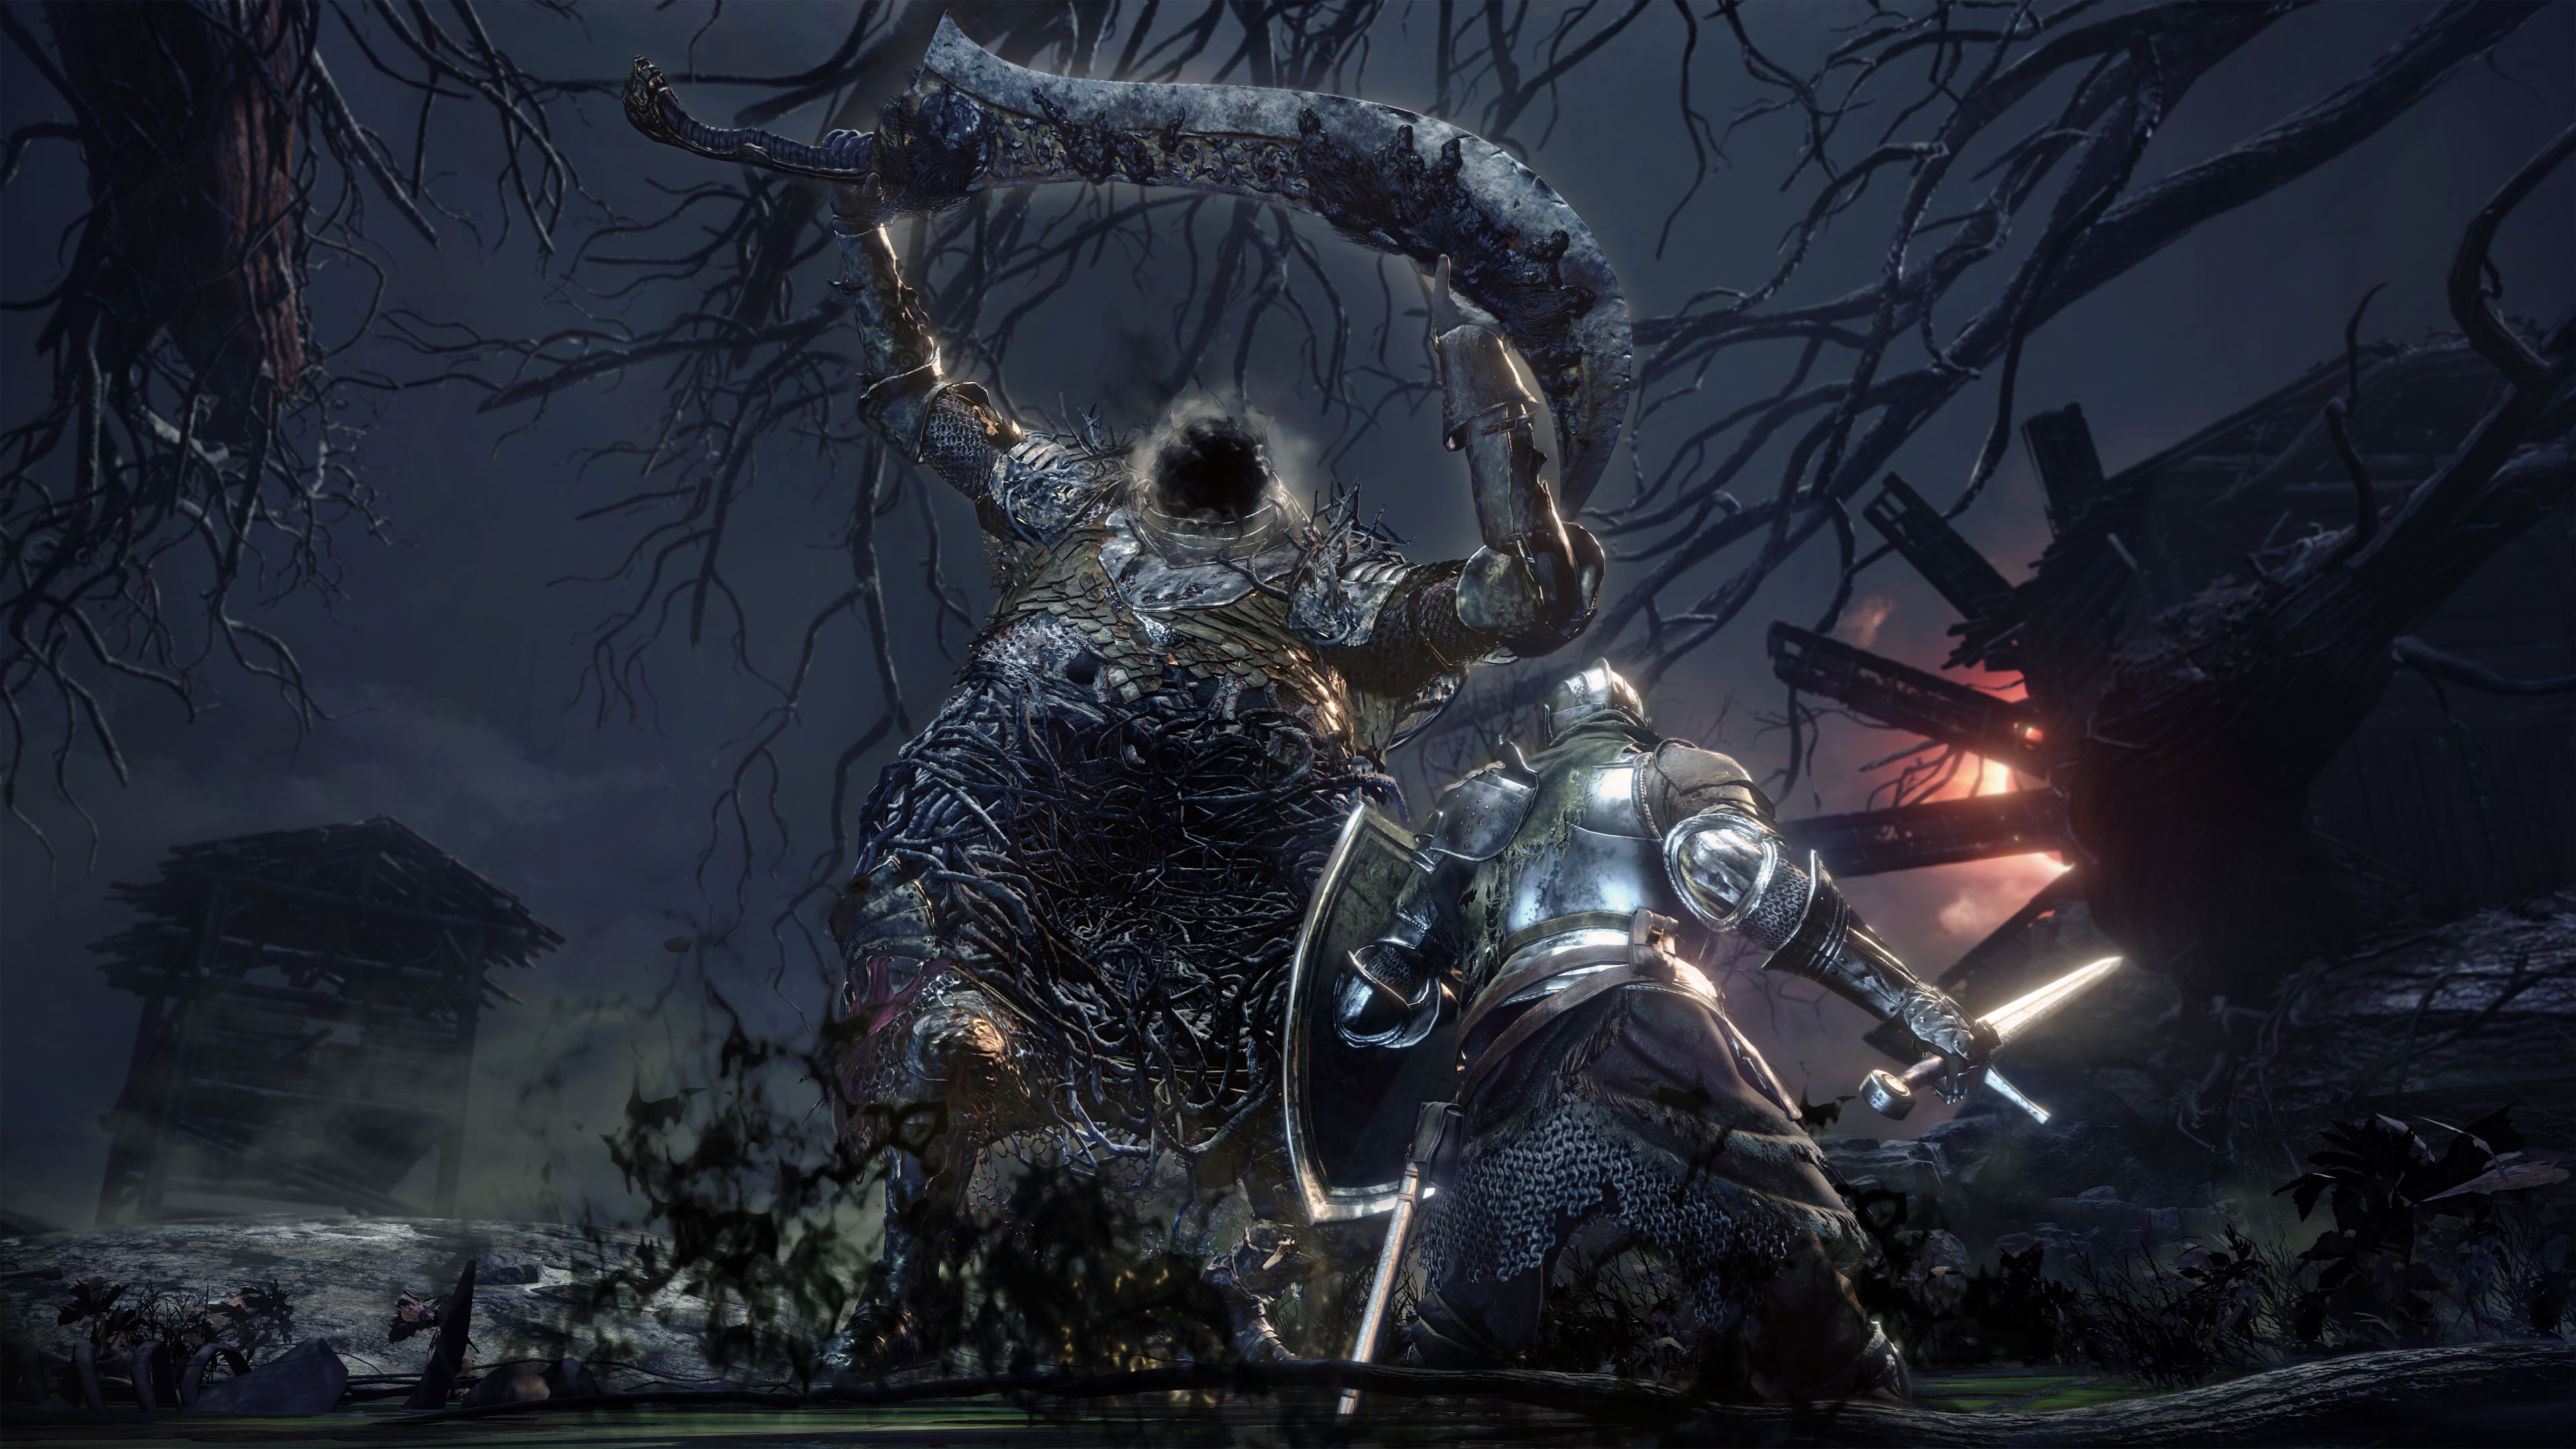
Head slowly up the stairs and a great big Harald Legion (I finally found out what these guys are). Run away as far as you can, right back to the snow ledge, and ping him with arrows. He’s too smart to forget you between shots, but has a lot of trouble returning to his start position, so he will eventually come for you. When this happens, dodge his attack and sprint past him, running up to where he came from, and hit him with arrows again. Keep doing this, running back and forth, if you don’t want to duel. Usually he’ll manage to fall off a ledge within three laps, though. Nice to keep up our cheesy traditions.
Update: brave warrior AlexAce discovered the Harald Legion have a serious weakness to drop attacks. Two commenters report getting one-hit kills on this guy by running up the stairs just behind his starting position. Both were using the Crow Quills weapon from the Ashes of Ariandel DLC, as it happened, but try it with anything you've got and see what happens.
Anyway, once it is dead, grab the Titanite Chunk from the round arena where the Harald Legion was. Climb the second flight of stairs to grab the Aquamarine Dagger. Its special skill turns it into a sword briefly, making it very versatile, and it does magic damage.

The drop and the angel
We’re going to that item glow above the drop now. As you approach it the ledge will crumble and you’ll fall down a long way - but you land in a circle of protection, and don’t worry, nothing happens when you step out. Turn around to face behind you and dash forward and right to kill a murkman sorcerer as he rises to attack. Immediately dodge a projectile which will be honing in on you - listen for the sound - then turn to face the other corner of the room at this end to spot the second murkman sorcerer. If you can’t dodge the attacks, try lighter gear – or go for something that will help you survive the blast. If you can’t kill the first murkman sorcerer in three to four weapon swings, about the time it takes for the second murkman sorcerer to fire off at you, you’ll need better weapons and stats for this DLC, I think.
When the two baddies are down you can collect anything they’ve dropped, plus a Titanite Scale from the corner near the first one. Remember this corner so you can retreat to it in a minute.
Advance slowly and hug the left wall to avoid triggering unnecessary extra spawns, aiming to climb the short stairs. At the top, turn and walk back along the top of the shelves, then drop down. A murkman will fall on you from above. When it’s gone, grab the Murky Hand Scythe.
Getting out of here is a tiny bit tricky. As you climb over the ramp at the other end of this narrow area, a murkman sorcerer and a murkman spawn in front of you, and another murkman spawns on your left, dropping from the ceiling. A second murkman sorcerer also spawns on your left, and immediately does the Haunter attack.
Here’s how I survived it: I legged it back to the other end of the room and hid behind the shelves, where the sorcerer projectiles couldn’t hit me in that nice corner I mentioned. One more murkman spawned as I ran back, so when he and one of the other ones arrived, I murdered them in safety. Then I sniped the sorcerer from my nice safe corner. Finally, I advanced a little further and lured in the third murkman, who’d apparently forgotten I existed.
Wth all that done, you can you safely collect the original item, which turns out to be the soul of a weary warrior. Gosh, I can’t imagine why he felt a bit tired in this place.
Hug the right wall as you advance this time and approach the item glow in the back corner. One murkman will spawn in front of you as you arrive, and another murkman will fall from the roof. Kill them both before grabbing the Twinkling Titanite.
Approach the hole in the wall. As you move forward you’ll hear a terrifying sound and you’ll notice another message waiting for you, but don't just walk up and read it casually. If you linger in the open here you’ll be attacked by the horrible great big bastard on the other side of the area.
Now I know what you’re thinking. You’re thinking, here comes a red hot Brenna Hillier special, oozing cheese in all directions. Absolutely not. This horrible great big bastard – let’s call it an angel – takes minimal arrow damage and fires very fast projectiles in barrages. It is slow to turn and spot you, yes, but its detection is flawless and long range, so you need to be really far away to take advantage of that and be within reasonable reach of cover, which means even feather arrows do rubbish damage. Also, it’s a tricky target, it seems to take decreasing damage from your arrows as you keep attacking it, and worst of all: it respawns. Just take the damn plunge!
Don’t hang about after you drop; rush forward to shelter behind some masonry; if you go the whole way part of the angel’s barrage will almost certainly hit you. There’s an item behind you, but it’s only a Divine Blessing. Grab it if you dare, but push on in the other direction to shelter behind the building. Grab the lightning urns here.
Update: as of the latest Dark Souls 3 patch, the Hidden Body sorcery will allow you to sneak past angels - and they deal out less damage than before. Phew!
Beware the murkman who spawns as you approach the corner of the building in the angel’s direction. It's tempting, but don’t cheese the angel here, either; we can get rid of it in a minute and nab the loot (a ring) it is guarding in total safety.
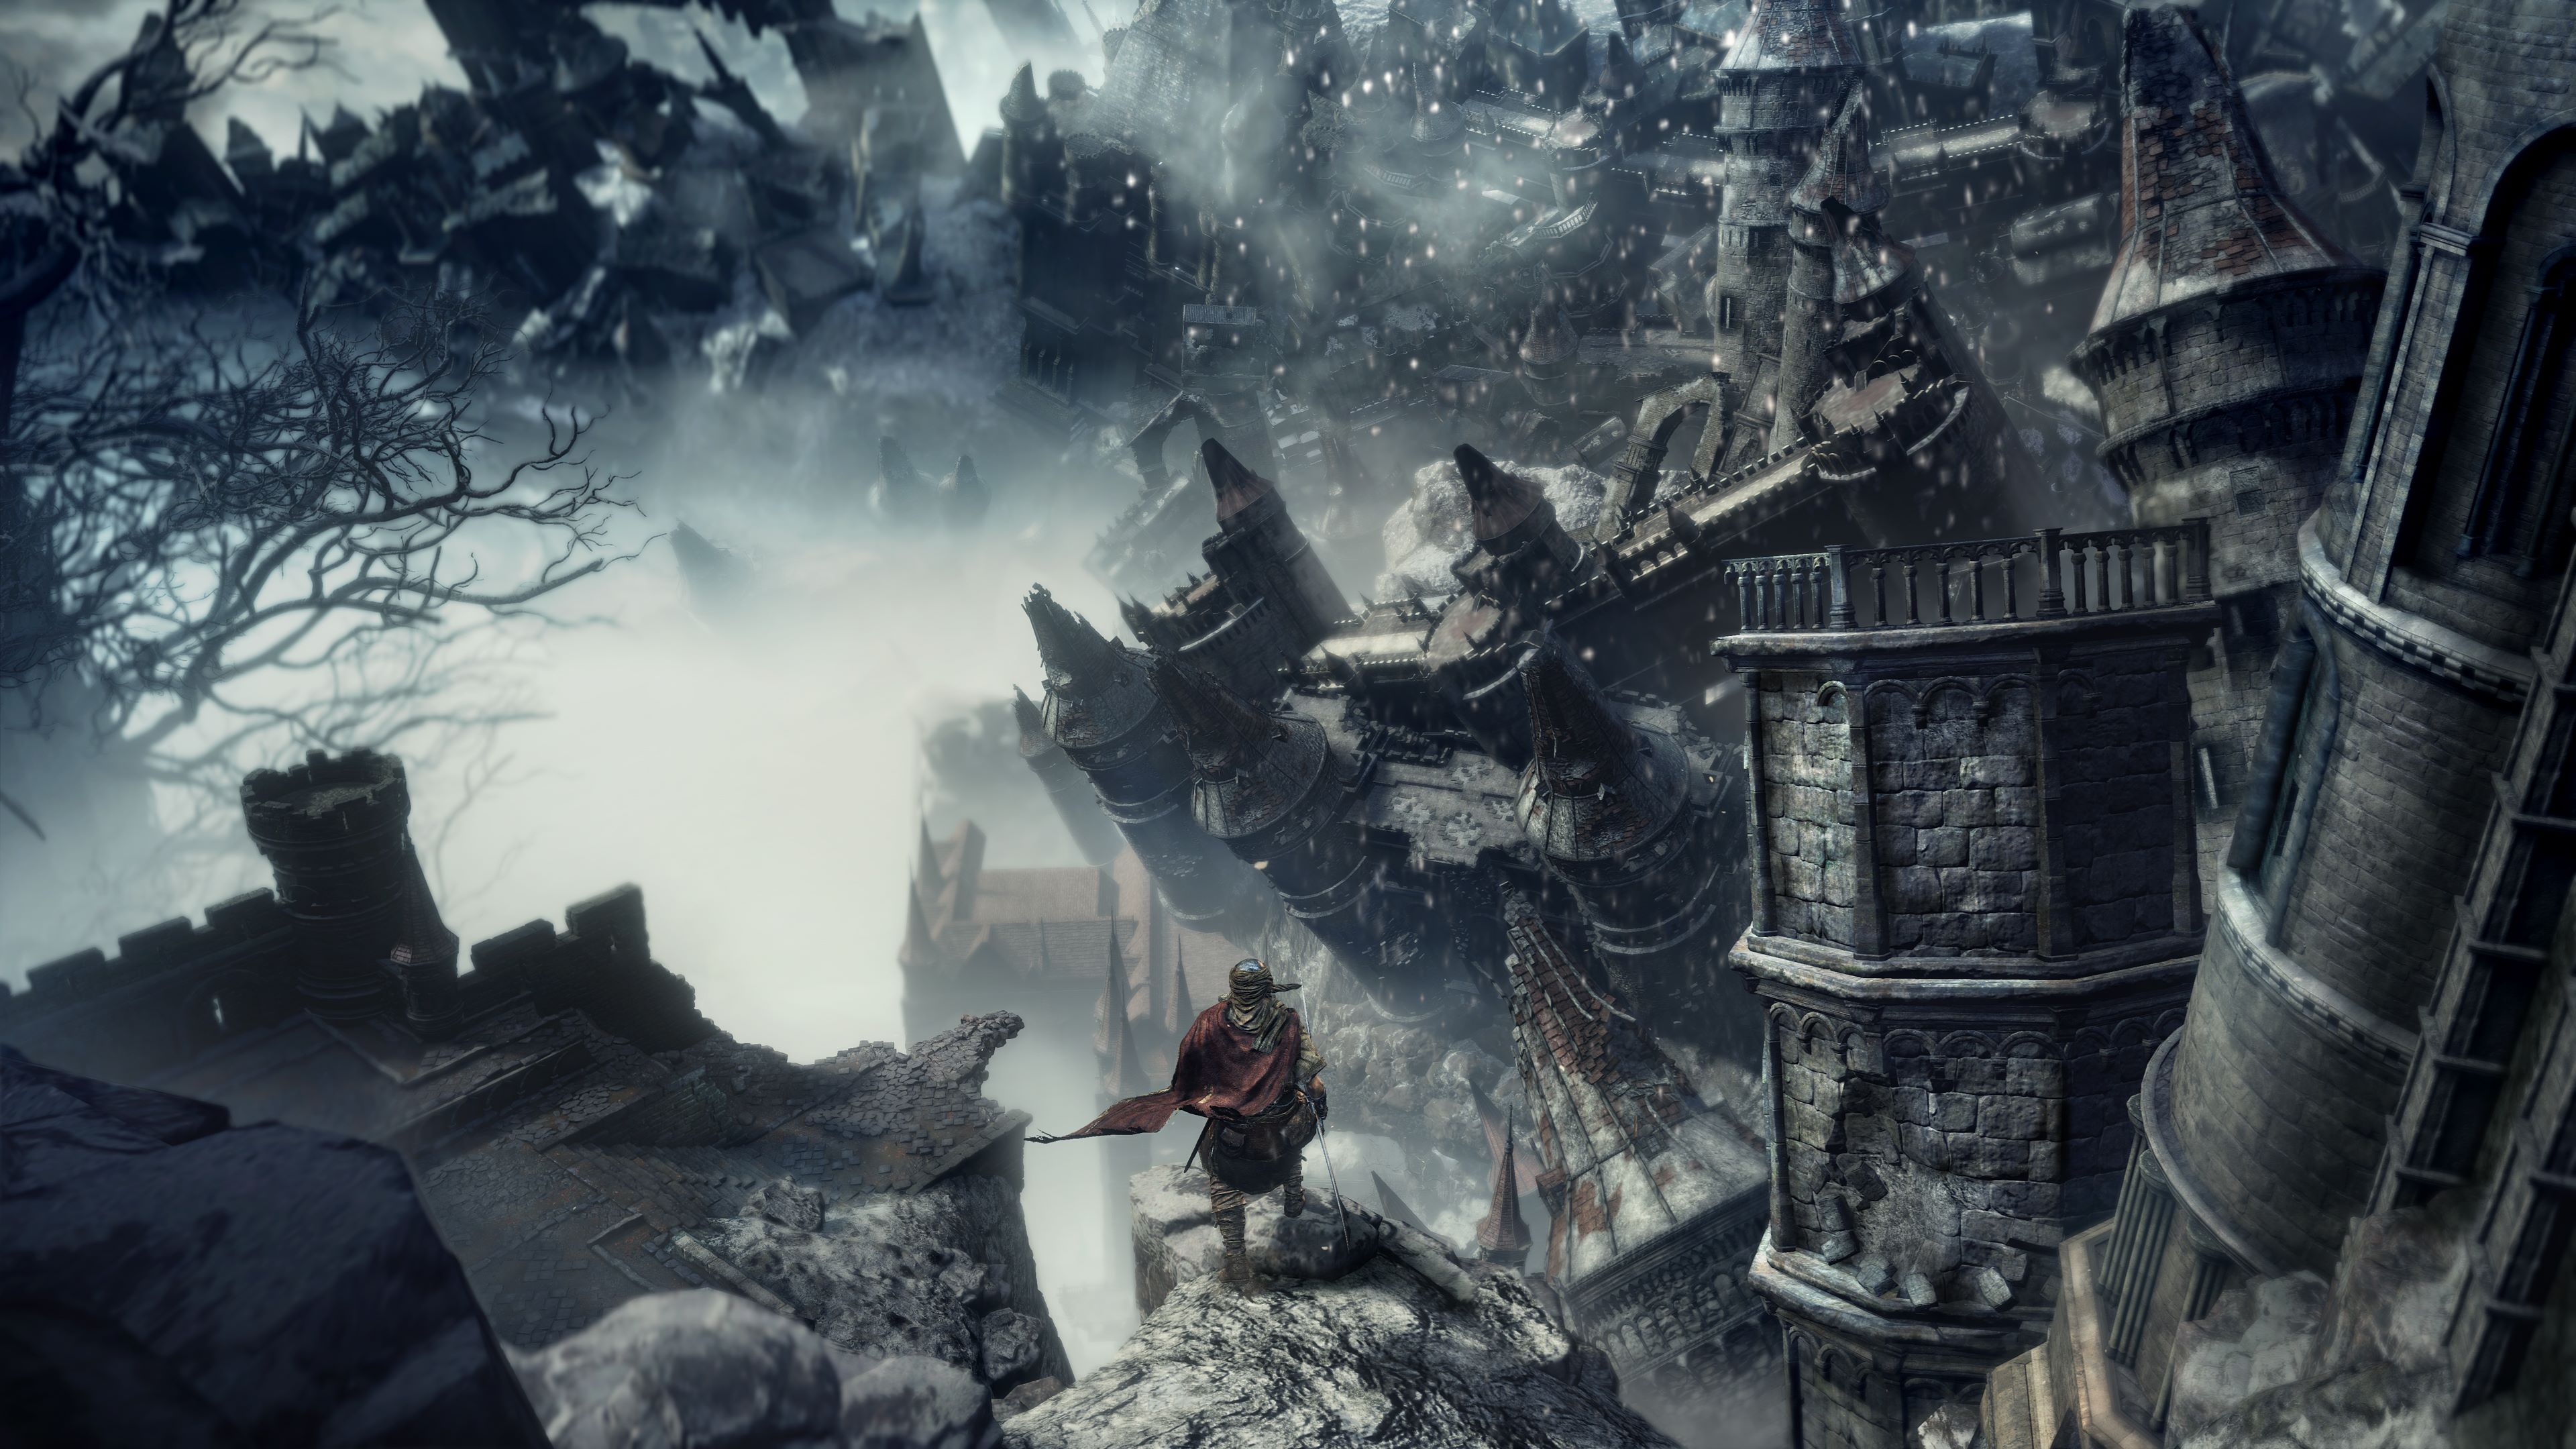
Instead, head through the arch into the chapel, moving very slowly, and look left. There are two knights waiting here. They look like Lothric Knights but on closer examination, such as when the YOU DIED screen is fading in, you can see they’re covered in thorns or something. This section of the Dreg Heap is definitely made of Lothric Castle though, as you’ll see from the assets throughout.
With the angel outside and the one-way drop it’s impossible to cheese these guys with ping-and-retreat; you just can’t get out of their detection zone. You may want to just sneak (use spook!), chameleon or even sprint (sprinting not recommended) through the door on the right and skip them altogether. The item they’re guarding is only a Soul of a Crestfallen Knight.
Buuuuuuuut if you so want to kill them, you can use arrows to lure them to you one at a time, fighting them outside the little chapel. (Make sure you clear that murkman in the corner near the angel first, to make sure it doesn’t join the fight, and don't get into the angel's range.) The knights seem to be scripted to only leave the chapel one at a time, the sword guy first and the cross guy second. They use familiar move sets and don’t have much damage protection (my good old simple uchigatana +10 did for them both in about eight hits each), so I think you can take them if you’re nice and calm. They’re both vulnerable to backstabs, and you can circle out of their combos easily, dropping your shield to restore stamina while they flail in the other direction.
Update: it looks like you'll need Hidden Body and either Spook or the Slumbering Dragoncrest ring spell to sneak past these two; I only ever managed it once otherwise.
On the other side of the chapel from the angel, all the knight figures are just props – ping ‘em with arrows to make yourself feel better. Facing out the door, turn right and advance slowly, retreating when you hear the two murkmen sorcerers spawn in. One immediately goes Haunter, so you’ll only have to deal with one if you keep your distance and let them get on with it. You can grab some rusted coins from the far side of the fountain once they’re gone, then head up the slope to examine the doorway to the building.
This bit is horrible, and totally optional. Every few seconds you are in this room, a random combination of two to four murkmen units will spawn. Even if you put them down fast, they’ll beat you down with numbers eventually, and nothing seems to stop them. Your best bet is just to run. The item on the raised area near the doorway is a Titanite Chunk, and if you push through to the back room you’ll get the Murky Longstaff. Be careful when you exit; I found a murkman sorcerer had got outside somehow, and he went Haunter on me, which caused me to scream and frighten my long suffering cat.
Update: In the comments, Johnson646 said you can get to the item on the balcony above the fountain in this area via an illusory wall in the building with endless murkman spawns. The doorway is in the back room, on your left as you enter. It leads to several more rooms, also full of respawning murkmen. In the top room there's a ladder you can kick down, and if you run to the far end of the room, you can collect Great Soul Dregs spell. Drop off the side to reach the lower balcony, where the fantastic Covetous Silver Serpent Ring +3 awaits. Cor!
Our actual goal is in the other direction from the horrible building. As you head down the slope, a structure overhead collapses, which is very frightening. Pause under it and you can peek out at the angel hovering to your left. You don’t want to be exposed to that, do you? But what’s that thing ahead of you, to the left of the arched doorway? The thing that looks like a wingless angel? Shoot it until it is dead - and the angel vanishes. Hooray! Sneak back past the knights if they're still alive and go around the platform to grab that Ring of Steel Protection +3 you might otherwise have wasted 45,000 souls retrieving like some jerk whose job it is to gift you with this amazing hindsight.
Update: once you’ve killed the corporeal form of an angel, it does not respawn, ever. Nice!

The final push for the bonfire
Update – alternate path: on my second pass through this area I found a better route, with an important NPC encounter. Rather than drop down the ledge as described below in italics (the original route), take this quicker and easier path.
Go back into the chapel where the knights were, and cross the bridge formed when the tower fell. Here you can talk to Lapp, an NPC who is at the far end of the sentient Hollow spectrum. Chat to him till his dialogue is exhausted – three times, at least.
Move past Lapp to find a murkman sorcerer you can snipe. If you drop down the little ledge, a murkman will spawn right there, so take a few steps, then turn around and beat him up.
Another murkman spawns as you advance, from the air above you. Back right off, as it goes Haunter. As you continue on and onto the stone path, a murkman sorcerer and murkman spawn under your feet.
From this area you can easily drop down and sneak past the Harald Legion who spawns below, without chameleon or other tricks - but cast Spook or use Cat's Ring to ensure you can make the fall unharmed. After dropping, turn right and run to the edge where a message indicates another safe drop.
Original route: after killing the angel, approach the door and take the plunge. A murkman sorcerer immediately spawns below, but the good news is if you back up against the drop you just made and edge to the right (as you face the enemy), his projectiles hit the rocks at your feet harmlessly, but you can snipe away merrily.
When it's safe, drop down again and advance very slowly, so a bunch of murkmen spawn. Back right up and fight them close to the drop to avoid triggering the next hazard. Advance very slowly and hug the left wall to grab a titanite chunk, then immediately retreat as far as you can to avoid detection by the Harald Legion who climbs out of that oily pit.
You can certainly fight this guy if you like, since there’s no good way to cheese him here, but I chamelon’ed on past him (you could also sprint), grabbed the Homeward Bones and took the next plunge – it’s clearly marked with another glowing message, but use your binoculars from the safety of the other end if you’re uncertain of its location.
Taking either route, drop down. You land in another circle of protection and if you move forward slightly, you’ll be able to see the next bonfire. Drop down and activate the Earthen Peak Ruins bonfire.
Phew! One bonfire down, who knows how many to go.