Battlefield 1: best class loadouts for Assault, Medic, Support, Scout
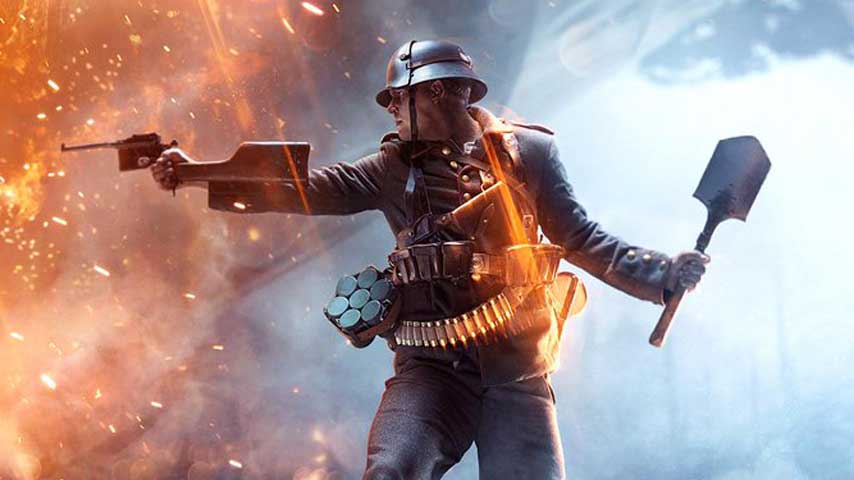


Battlefield 1 - best class loadouts for Assault, Medic, Support, Scout
We’ve been playing Battlefield 1 for a while now and we saw the different loadout variations the community has been devising since launch.
Creating a unique loadout in Battlefield 1 requires a bit more finesse than previous games, thanks to the fact most of the guns are variations of one another, and also because classes are more specialised now with no class-agnostic weapon types.
A killer loadout means all your tools work to serve a specific purpose, not just providing a good weapon or good sidearm. Broadly speaking, loadouts in the game dictate your play style, which also means you’ll be exploring ways to play Battlefield 1 you may not have considered before.
In the pages to follow, we’ll be listing two of the top loadouts for each of the four classes. Some of these are borderline broken, some are a bit of a challenge but pay off in the end, and others just mix together a good selection of weapons and gadgets.

Assault Class: Gas Shredder
A shotgun of your choice (M97, Model 10-A, or Hellfighter will work) + Gas Grenades + P08 Pistol.
This is one of the most overpowered combos in Battlefield 1 right now. Basically, the point of this setup is to overwhelm your enemies with gas clouds so they either move away, or put on gas masks.
Equipping gas masks means they won’t be able to aim down sights, instantly putting them at a disadvantage. You don’t need to ADS with shotguns to be effective, however, which means you’re going to have a golden opportunity of taking out a few of them before they known what hit 'em. Of course, you will need to equip a gas mask yourself, but like we explained, when you’re using a shotgun, it doesn’t matter.
The P08 pistol is one of the best in hip fire accuracy. It does less damage than the M1911, but works better in close-quarter situations. Given that you'll be running into rooms full of enemies, your main weapon will run out and you're going to need a trusty sidearm to take out the few enemies remaining before stopping to reload.
You can also replace the shotgun in this build with the Automatico M1918 Trench. This SMG has amazing hip fire accuracy, and an incredibly high rate-of-fire, making it a true shredder in CQC. Watch out, though, as it does run out of ammo pretty quickly.
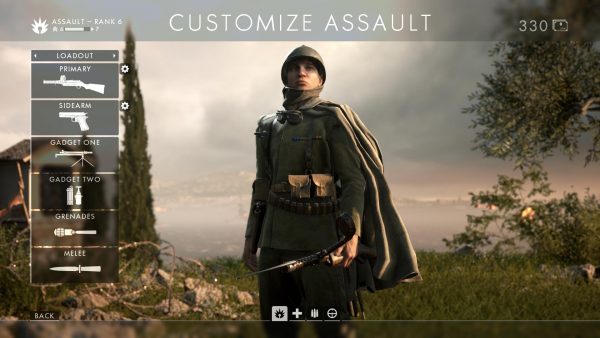
Assault Class: Armour Killer
The MP18 Trench + M1911 + AT Rocket Gun + Dynamite + Light Anti-Tank Grenade.
The main function of the Assault is to take out armour. Assault is, without a doubt, the single most dangerous threat facing anyone in armoured vehicles, and this loadout intends to make use of that.
The MP18 Trench is one of the early unlocks for the Assault, and is overall among the best weapons for the class. It works great in close range, which is where you’re mostly going to be with this setup.
The rest of the gadgets are designed to help you focus solely on taking out armour. It’s also a good idea to save this preset in-game and switch to it when you really start seeing enemy armour dominate.
Although you won't have regular grenades with this, the other two you have (and the Dynamite) can all be used to kill infantry just fine should the need arise.

Medic Class: Sensible Healer
M1907 SL Sweeper + M1911 + Medic Pouch + Syringe.
This loadout is made for those looking to win games as Medics. Being a good Medic means you’re constantly on the front lines risking your life to revive and heal others, and occasionally dealing with incoming threats.
The Medical Pouch and Syringe are perfect for that goal, and the M1907 SL Sweeper is a solid weapon that you can fire in full-auto and not lose much accuracy. Constantly tending to the needs of your teammates is one of the best feelings in any Battlefield game, and you'll witness first-hand what it's like to turn matches around.
We recommend the M1911 as a sidearm because of its slight advantage at range, but that’s left to your preference.

Medic Class: Long-range Support
Mondragon Sniper + M1911 + Medical Pouch + Rifle Grenade + Smoke Grenade.
If you prefer to stay back a bit but still want to support your team, this loadout gives you access to a solid long-range rifle and the ability to suppress faraway targets and harass snipers.
The bandages will get you back to full health quickly when you take damage, but the real killers here are the Smoke and Rifle Grenades.
The Smoke Grenade is great on Rush and Operations, or really in any situation where you need to either render enemy sharpshooters useless for a few seconds, or to advance on well-defended front lines, without painfully witnessing your teammates get picked off one by one.
You can throw one of these to help the squad move forward, while you stay further back and cover them. The Rifle-mounted Grenade is perfect for suppressing enemy snipers or anyone taking cover you can't otherwise shoot.
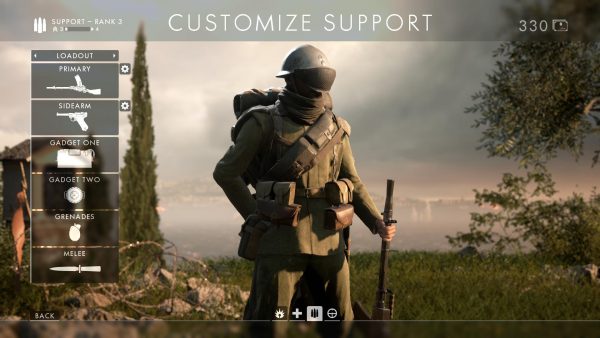
Support Class: Front Lines Assaulter
Madsen MG Storm + P08 Pistol + Ammo Crate + Limpet Charge.
The Support Class is perhaps one of the hardest classes to get to grips with thanks to its arsenal of unconventional weapons. This loadout, however, presents the closest thing we have to Assault Rifle-levels of accuracy and utility.
The Madsen MG Storm is an incredibly accurate LMG with more than enough bullets to get the job done. You can use it at close and medium ranges without the need to hold the trigger for long to gain accuracy. The P08 is a great CQC pistol as well, and together with the Madsen Storm forms a decent BF4-style combo.
You and your teammates are going to need a constant supply of ammo, obviously, which is where the Ammo Crate comes in. Unlike the Pouch, the Crate supplies explosives and can give out ammo to multiple teammates at once.
Generally speaking, you won't be running and gunning with this setup, so it’s best to sit tight for a few seconds every time you get the chance, throw the Crate down and help keep teammates at the front well-supplied.
In case you need to breach locked doors, or take out armour, the Limpet Charge will get the job done. Ran out? No problem, just resupply!
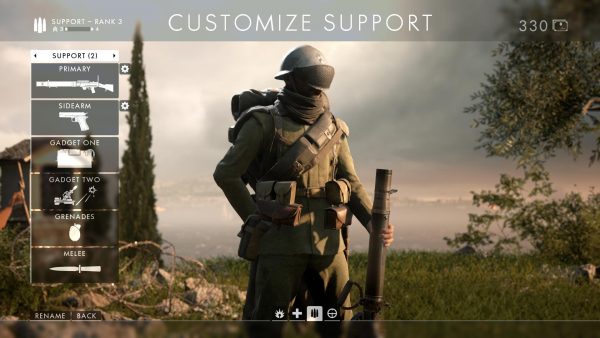
Support Class: Suppressive Shell Shocker
Lewis Gun Suppressive + M1911 + Ammo Crate + Mortar Air.
This particular loadout is made for people new to the Support class, and anyone who wishes to play more of a support role rather than an aggressive one. This Lewis Gun variant is perfect for suppressing enemies and has enough bullets to keep them that way for a while, effectively preventing them from returning fire.
Since you won’t be seeing much action, the Mortar Air is another way you can help out your teammates. The Mortar is incredibly powerful right now in the game, not to mention it’s pretty easy to use. Just place one down, aim and land your shells in clusters of enemies for maximum damage.
You can switch to the HE Mortar variant if you need to take out an Armoured Train or vehicle. Mortars also resupply relatively quickly, which you’ll be able to do thanks to your big Ammo Crate.
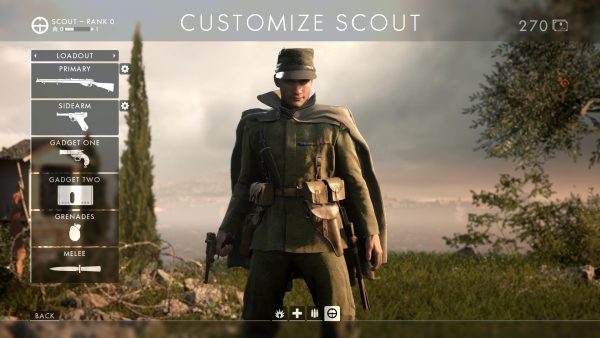
Scout Class: Ultimate Sniper
SMLE MK3 Marksman + P08 + Flare Gun Spot + Sniper Shield.
Look, we’re not judging, and sometimes the situation calls for a stationary sniper in Battlefield 1. It doesn’t help the team that much, but if you have to do it, this loadout is among the best you can run with.
The SMLE MK3 Marksman is one of the best snipers in the game, and this variant comes with a decent scope for proper long-range dominance. Couple it with the Sniper Shield, and you’ll be harder to hit when going prone, for an ultra-low profile.
You also need the Flare Gun Spot to reveal enemies on the map for your benefit, as well as that of your teammates. The Flare Gun is much more useful with this setup than K-bullets, seeing as you will be seeing very little armour.
You can replace the Shield with the Decory for maximum trolling, or if you want to change sniping positions without altering the enemy team.
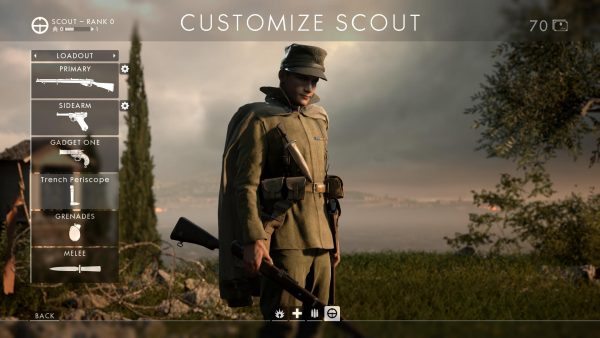
Scout Class: Objective Pusher
SMLE MK3 Infantry + P08 + Flare Gun Spot + Trench Periscope.
This setup is made for the brave few who can hold their own in a fight with a sniper rifle, but prefer to be near the action than far away on a hill.
The SMLE MK3 variant is perfect for close-quarter combat with its high rate-of-fire. You can’t put a scope on this one, but iron sights are clear enough for the ranges you’ll be engaging at that it doesn’t really matter.
The Flare Gun means your squad is always aware of campers defending the point, especially helpful when said point is contested and you can’t quite figure out where the last couple of enemies are hiding.
The Trench Periscope can be used on your way to capture objectives to identify threats early for your team. It’s also a great way of checking if someone is coming to take the point from you in Operations when your squad is left behind defending it.
If you reach level 10 with the Scout, you can unlock the Marini Henry sniper. It’s one of the best weapons in the game, but you’ll have to reload after every kill. The Marini Henry is satisfying to use, but won't quite it cut it if you're looking to maximise your performance.