Resident Evil 2 4th Survivor Walkthrough - How to Finish The 4th Survivor Mode in Resident Evil 2

Only after you've beaten Resident Evil 2 for the first time, with either Leon Kennedy or Claire Redfield, will you be able to take on Hunk's playable section of the game. In our Resident Evil 2 4th Survivor walkthrough, we'll be explaining how you can make it from start to finish in the shoes of Hunk as quickly as possible.
If you instead need help with any other areas of Capcom’s fantastic new remake, you can head over to our Resident Evil 2 walkthrough. Here you can find our full beginner’s guide to the game, as well as a complete index of all our individual guide pages on weapons, puzzles, and more.
Resident Evil 2 The 4th Survivor Guide
If you’re unfamiliar with the 4th Survivor mode, it’s unlocked after you’ve completed Resident Evil 2 for the first time, and then completed the ‘2nd run’ campaign as the other character (Leon or Claire). After you’ve played the campaign for both character, the 4th Survivor will unlock, which stars the mysterious and powerful Hunk.
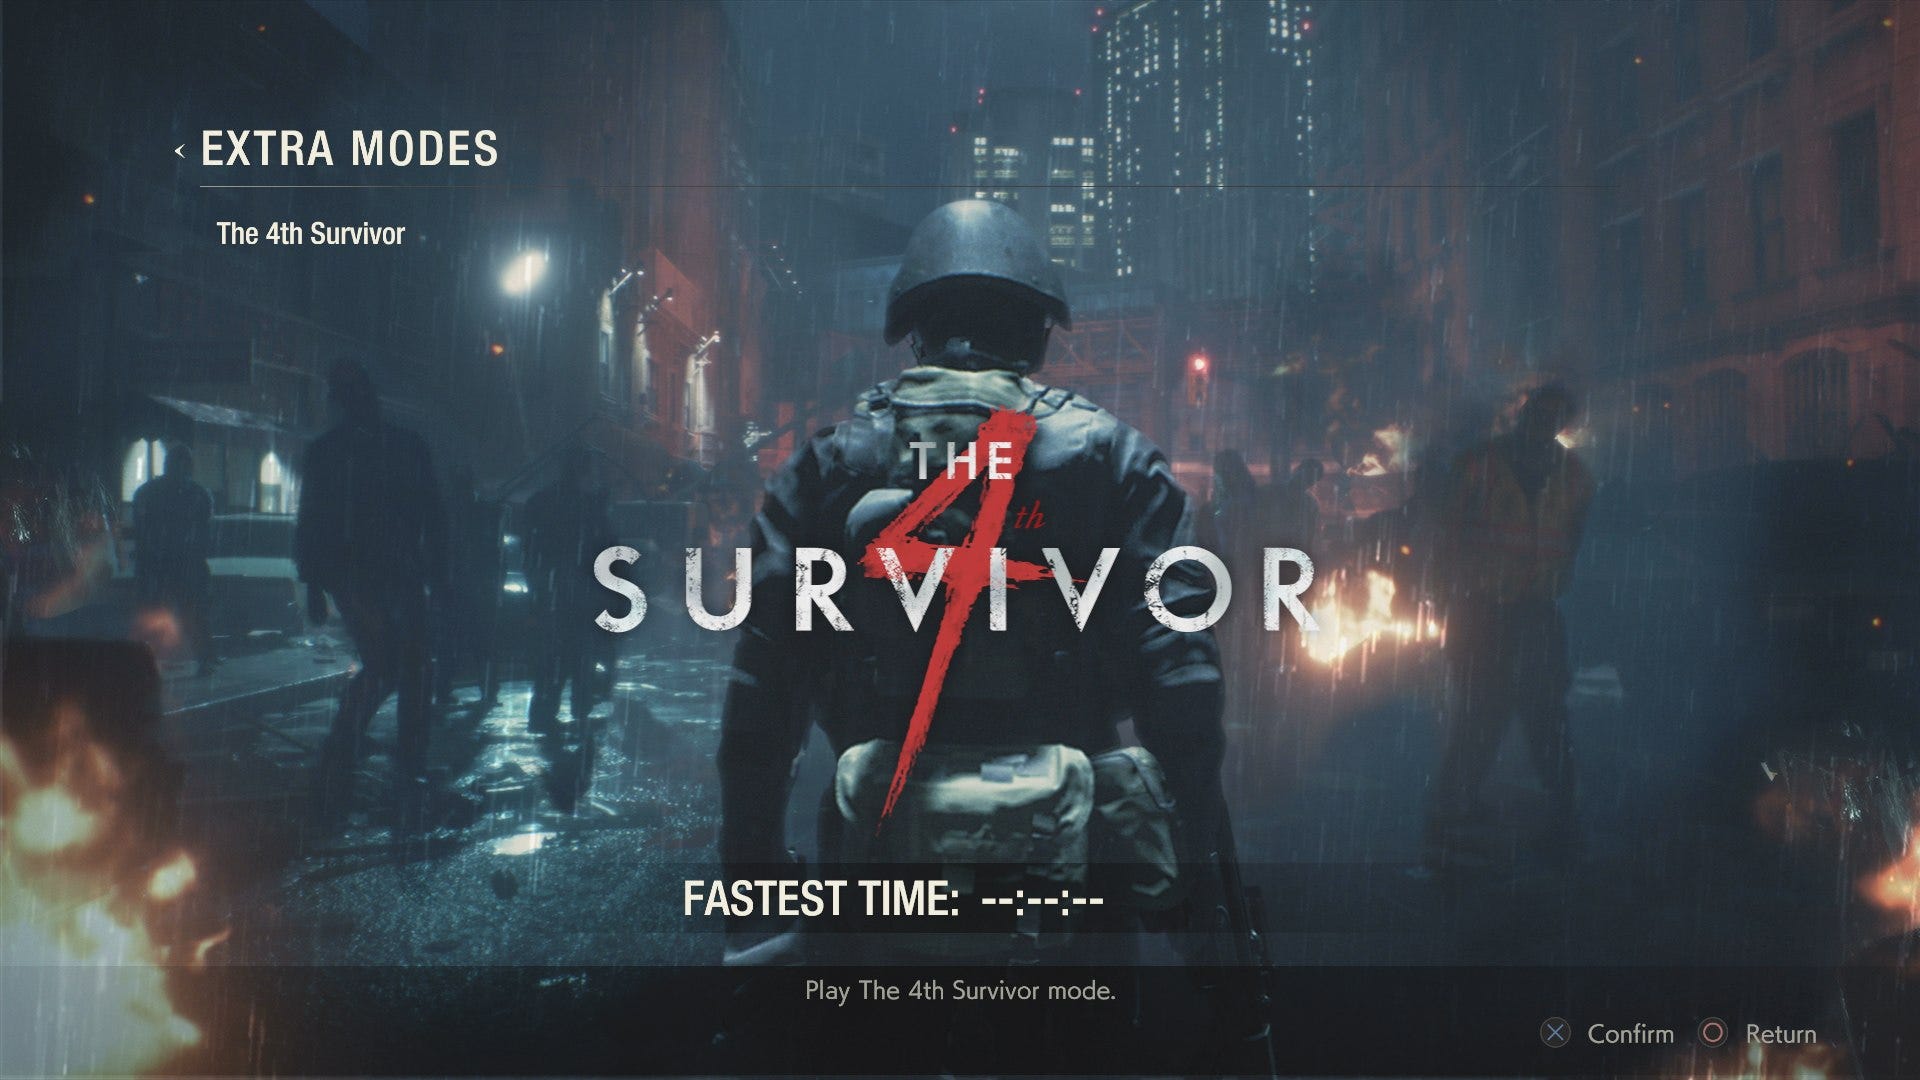
The mission briefing for the 4th Survivor is this: Hunk is stranded in the sewers of Raccoon City, with the rest of his team dead (after they presumably run into the mutated William Birkin). He’s just called for evac, and now you need to make it through the sewers section, and up to the police station, within the best time possible. There isn’t a time limit as such for 4th Survivor, you’re just racing to record the best time possible.
How to Complete the 4th Survivor in Resident Evil 2
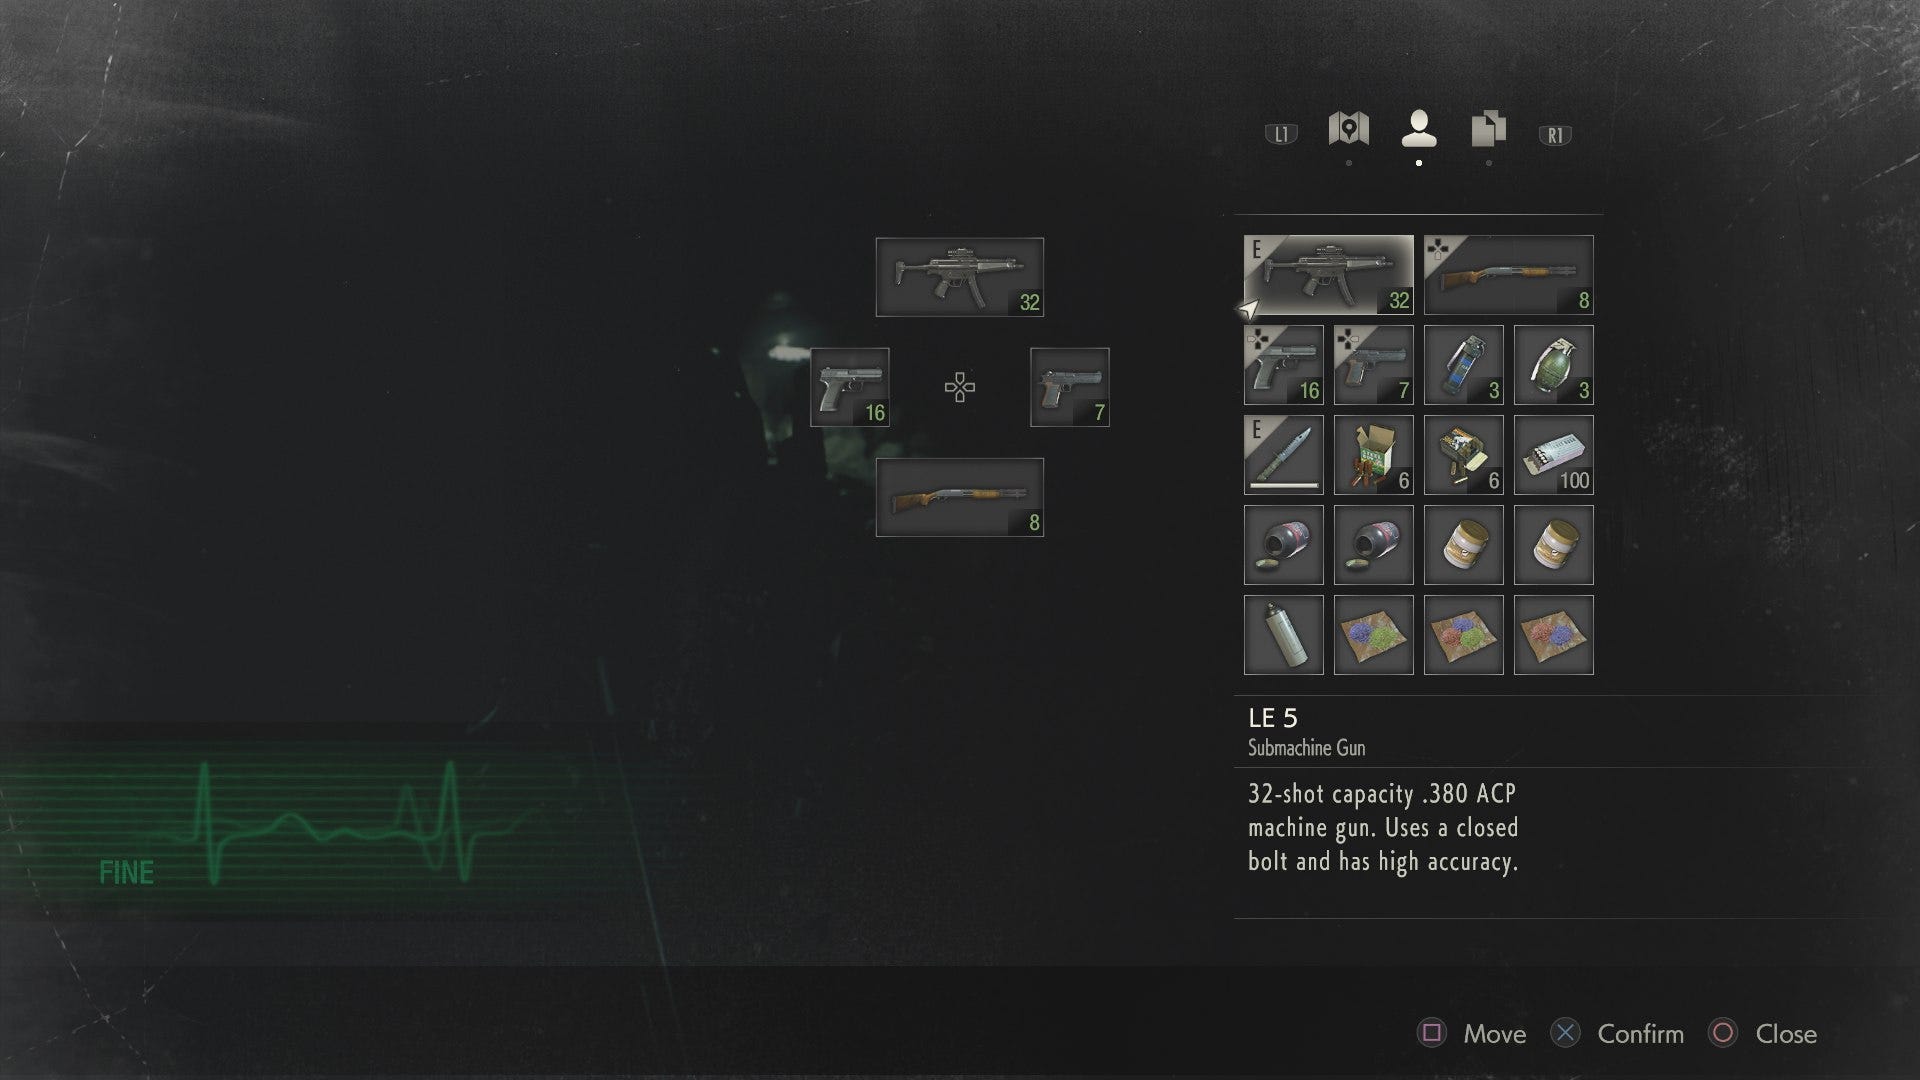
Just below, you can see the range of gear that Hunk has to work with in the 4th Survivor mode. You’ve got a shotgun, a machine gun, a pistol, and a magnum, blending together the weapons that Claire and Leon had to work with in the main portion of Resident Evil 2. There’s no picking up new items in this mode, so once you’re out of ammo, your weapons are useless.
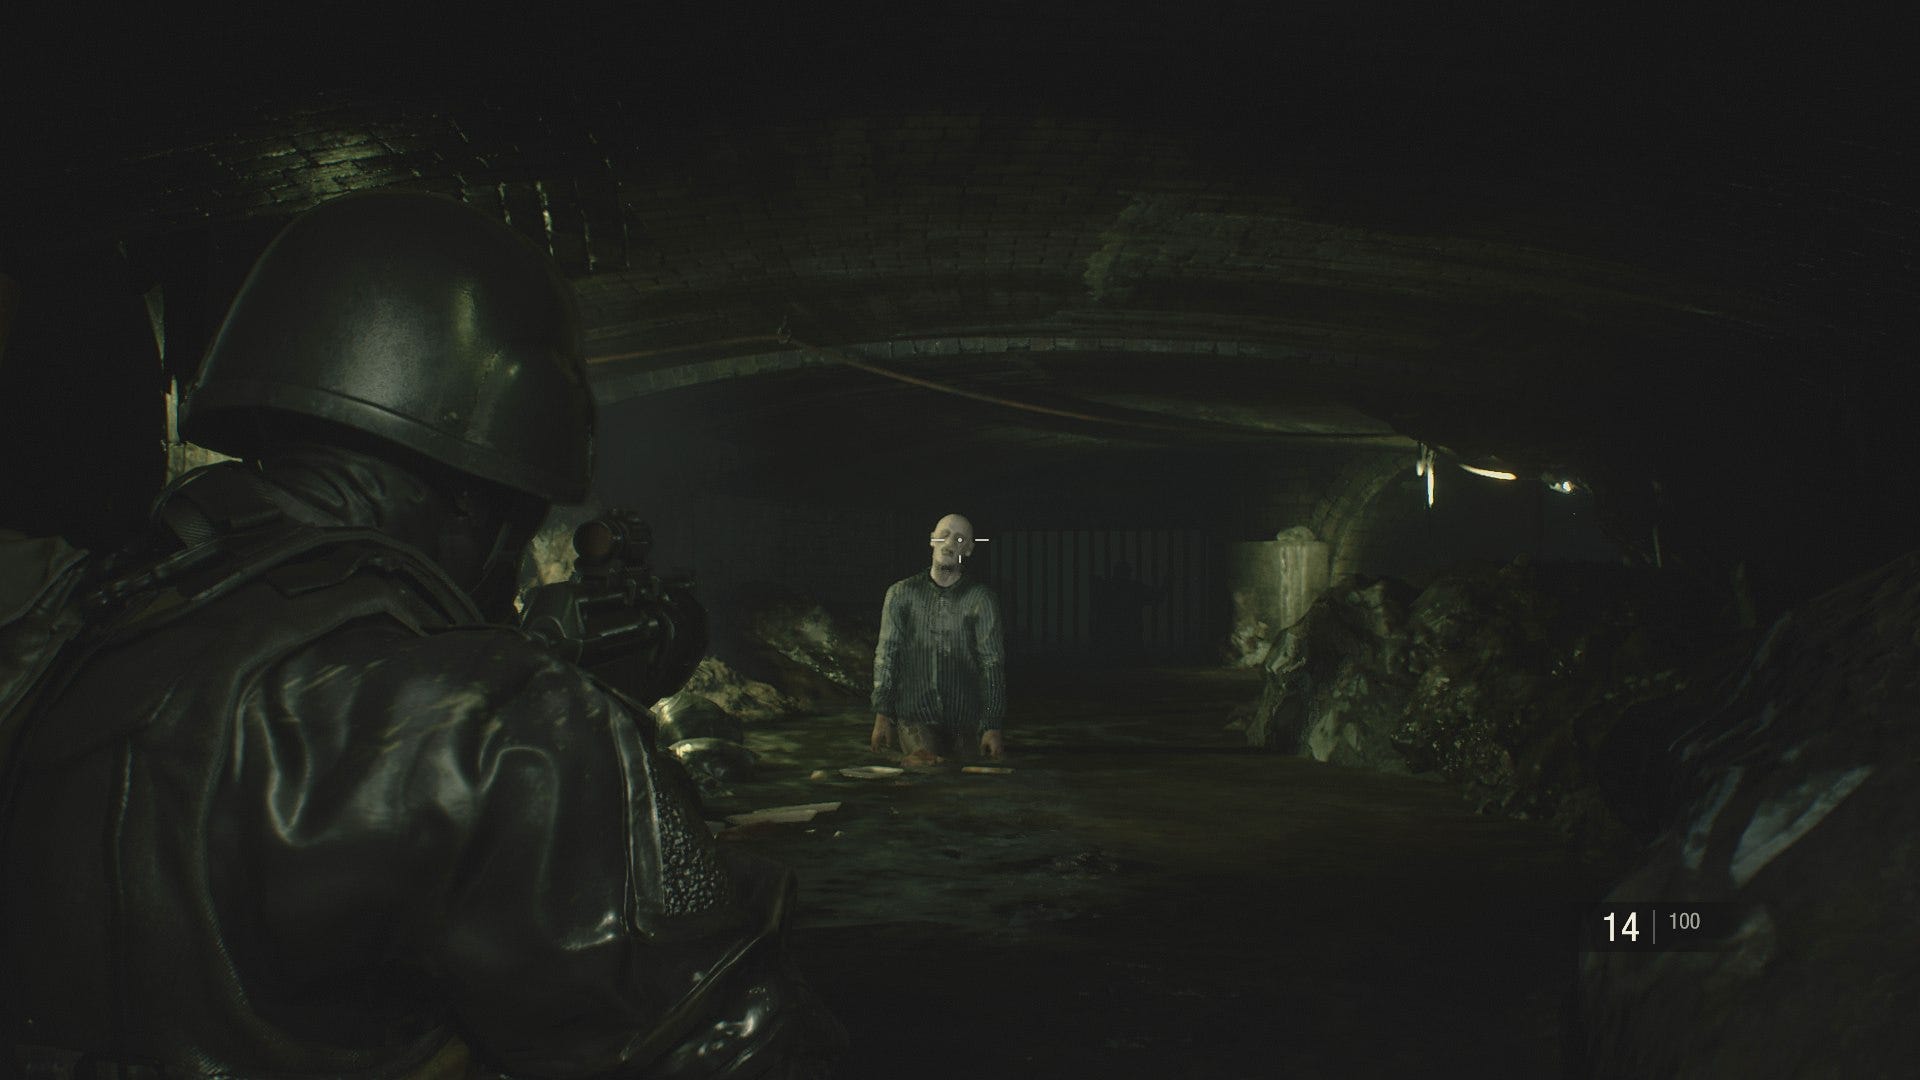
Start by going straight ahead, and sliding down the waterway. Three zombies will spawn at the bottom, and if you can’t run past them, you’ll want to aim for the knees with your pistol, so you can get them down quickly.
Take the pathway on the right, and get rid of the sole zombie there. Climb up on the ledge, and follow the stairs round, through the door, and up the ladder by where the cable car would have previously been.
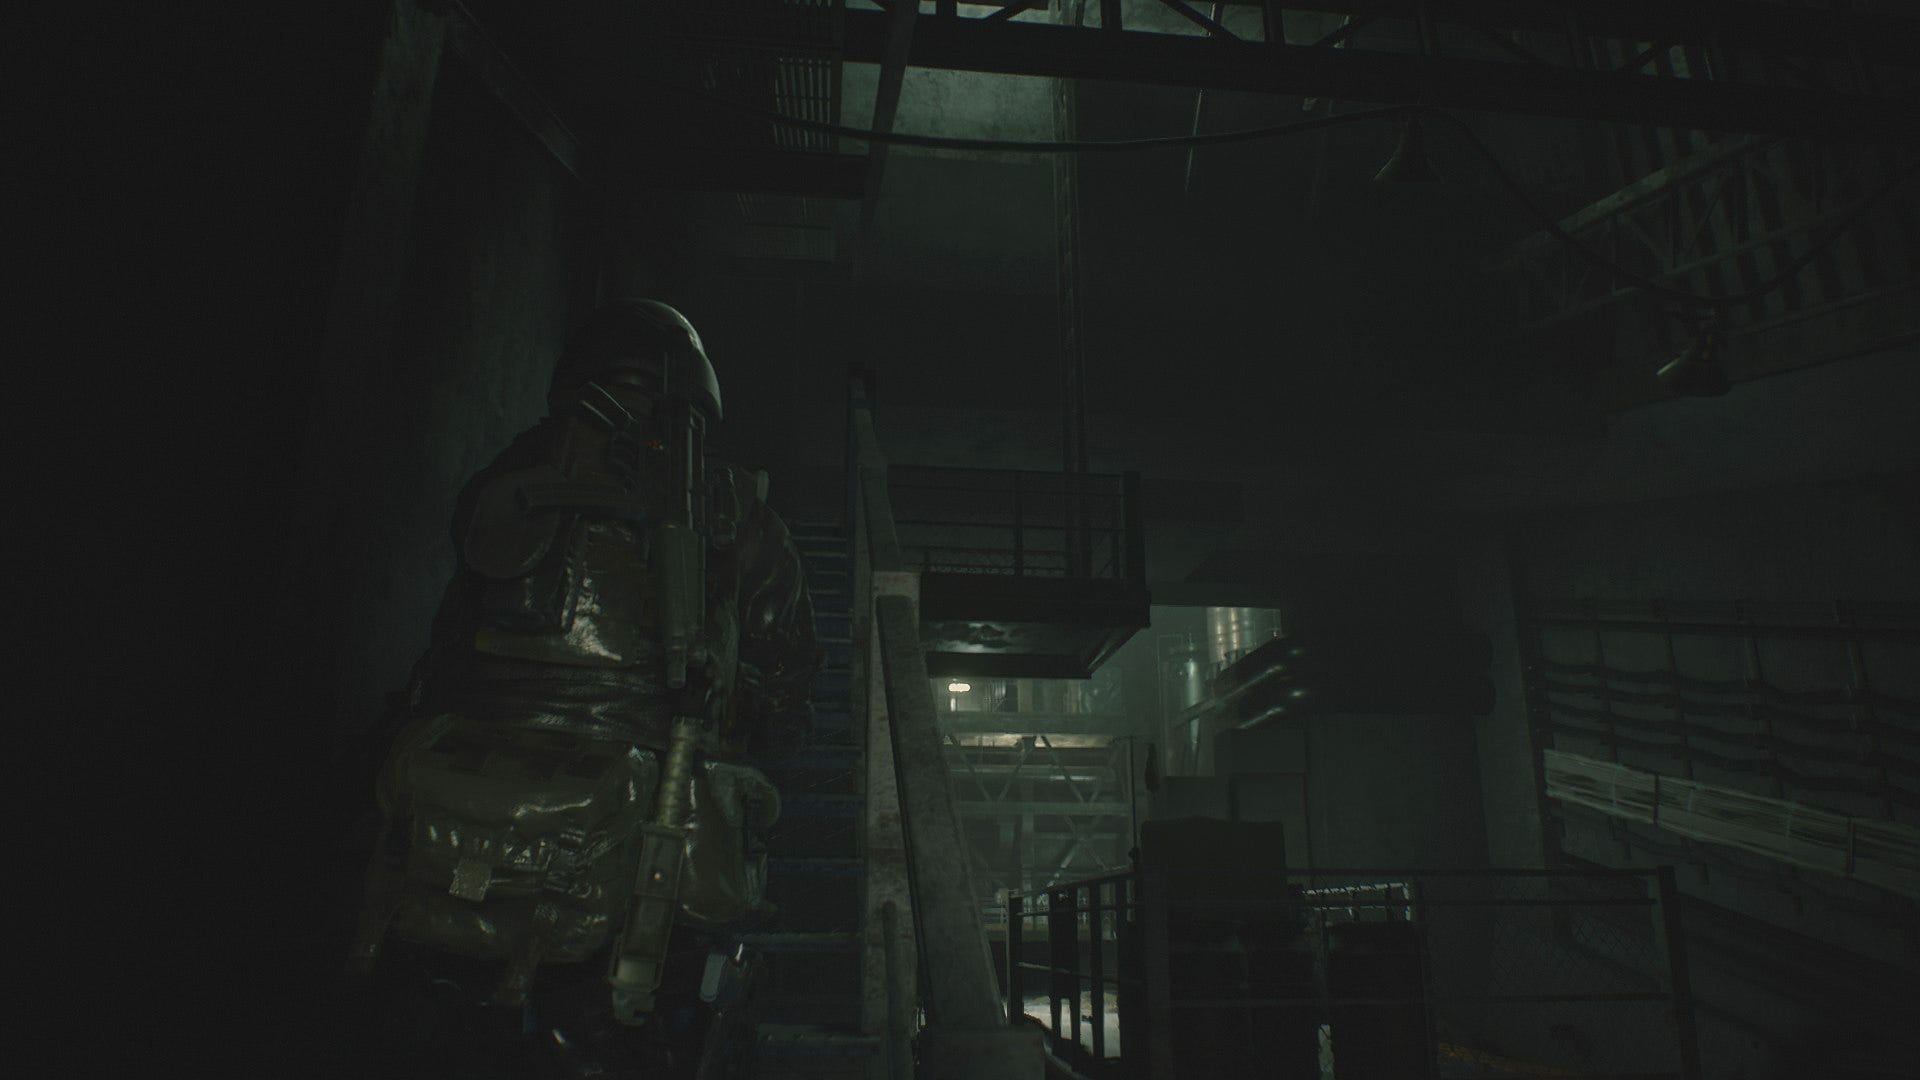
Go through the door on your left, and immediately turn right once you’re in this next room. You need to sprint past three dogs and one zombie in this room, and jump down the two platforms in the right corner of the room.
At the bottom level, there are three zombies munching on some poor soul. Ignore them and hug the wall on your left, where you can take a door out to a wide open area. Bring your machine gun up for this bit, because you’re going to need to dispose of four dogs as they come bounding over the bridge at you, while also keeping your distance from the three zombies following close behind them.
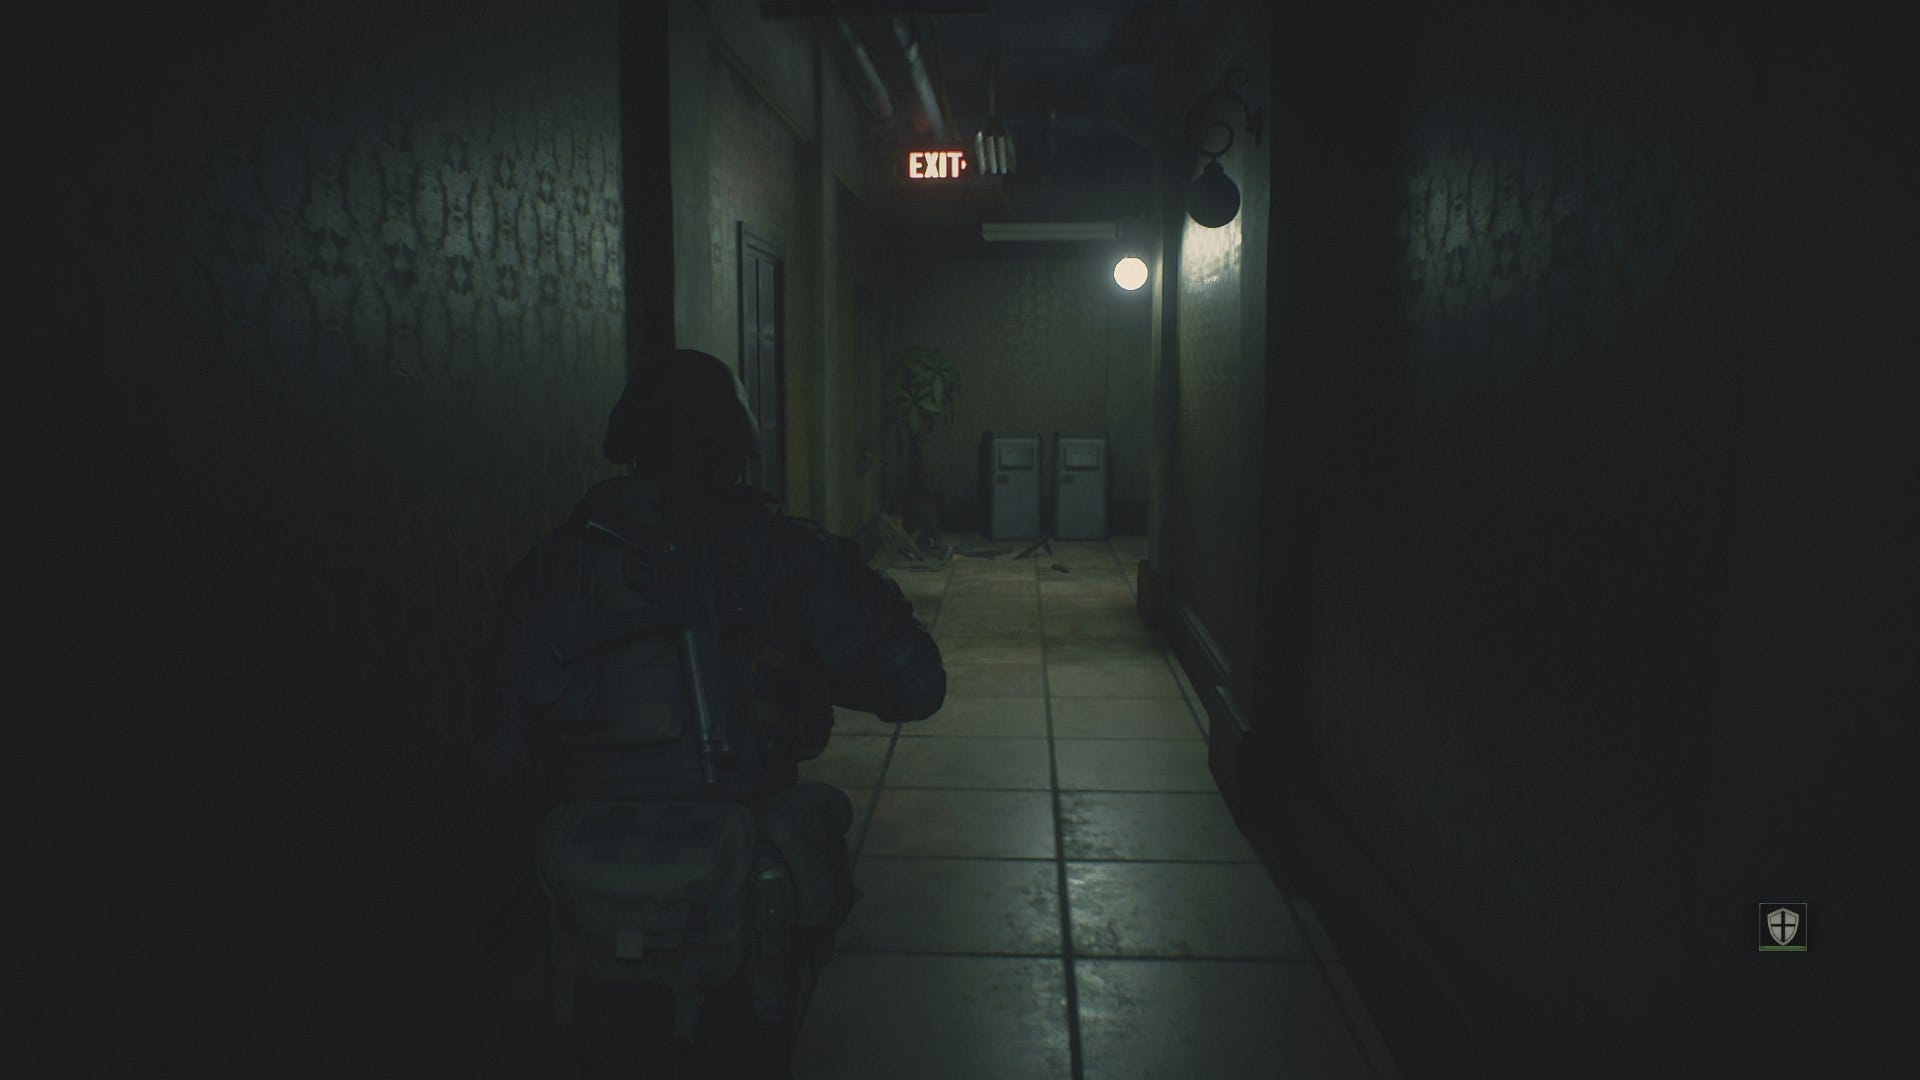
As soon as you’re done dealing with these pesky dogs, turn right once you’re over the bridge, and take the door on your left, with the big red ‘exit’ sign above it. Descend down the stairs, and turn left, where you’ll need to take out a fair few zombies that will try and swarm you at the bottom of the stairs.
Head over the bridge and turn left, taking the stairs all the way up to the top. When you drop down into the water once you’ve reached the top of the stairs, there’ll be two sludge monsters waiting for you directly down the path ahead.
Deal with these monsters however you see fit. It’s certainly a good idea to try and run around them, but it’s also not a bad idea to spend some magnum bullets here on putting at least one of them down for good.
Regardless, once you’re past the sludge monsters, take the path on the right. Then jump on the platform to the right of this path, and you can take the stairs up, where multiple zombified special forces units are waiting for you. It’s best just to kneecap them with a pistol and run past, but once you’re at the top of the stairs, take the first door on your right.
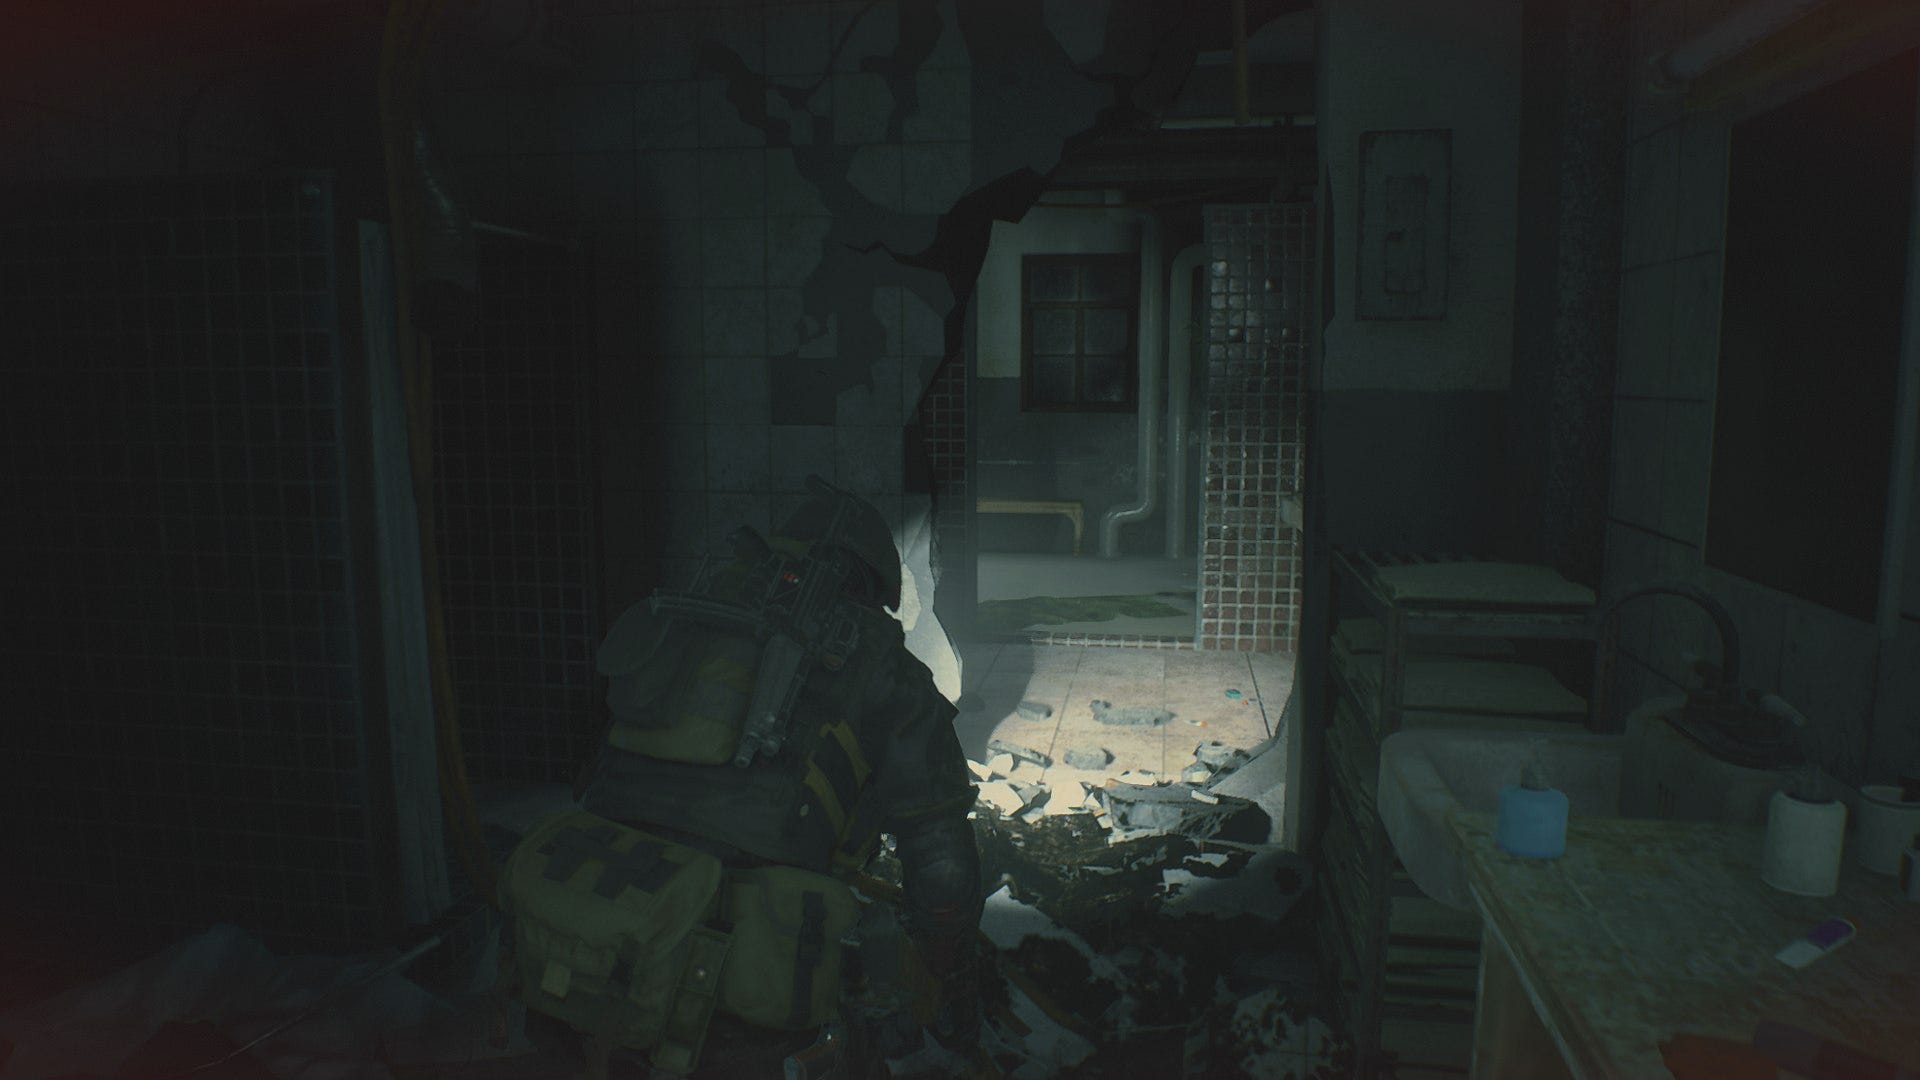
Head to the back of this room, and you can take an elevator up to underneath the Raccoon City police station. There’s plenty of zombies waiting for you when the doors to the elevator open, and it’s not a bad idea to use a flashbang grenade here to hold them off, and spring up the stairs to your left.
Round the corner at the top of the stairs, and a Licker is going to appear at the other end of the walkway. We hope you’ve got some magnum bullets left, because now is a very good time to put them to use against dealing with the Licker quickly.
Don’t waste any time dealing with the zombies in this next area. Round the corner to the right at the end of the walkway, and a zombie will get up, but if you’re quick enough you can run past not only this zombie, but the zombie in the next room after this.
Continue on this path, running past another zombie that isn’t paying attention to you, and across a bridge. When you approach a room ahead of you, you should be able to see zombie and a dog waiting for you in there. Throw any sort of grenade into the room, and run through, going round the corner to the left, and climbing up the ladder.
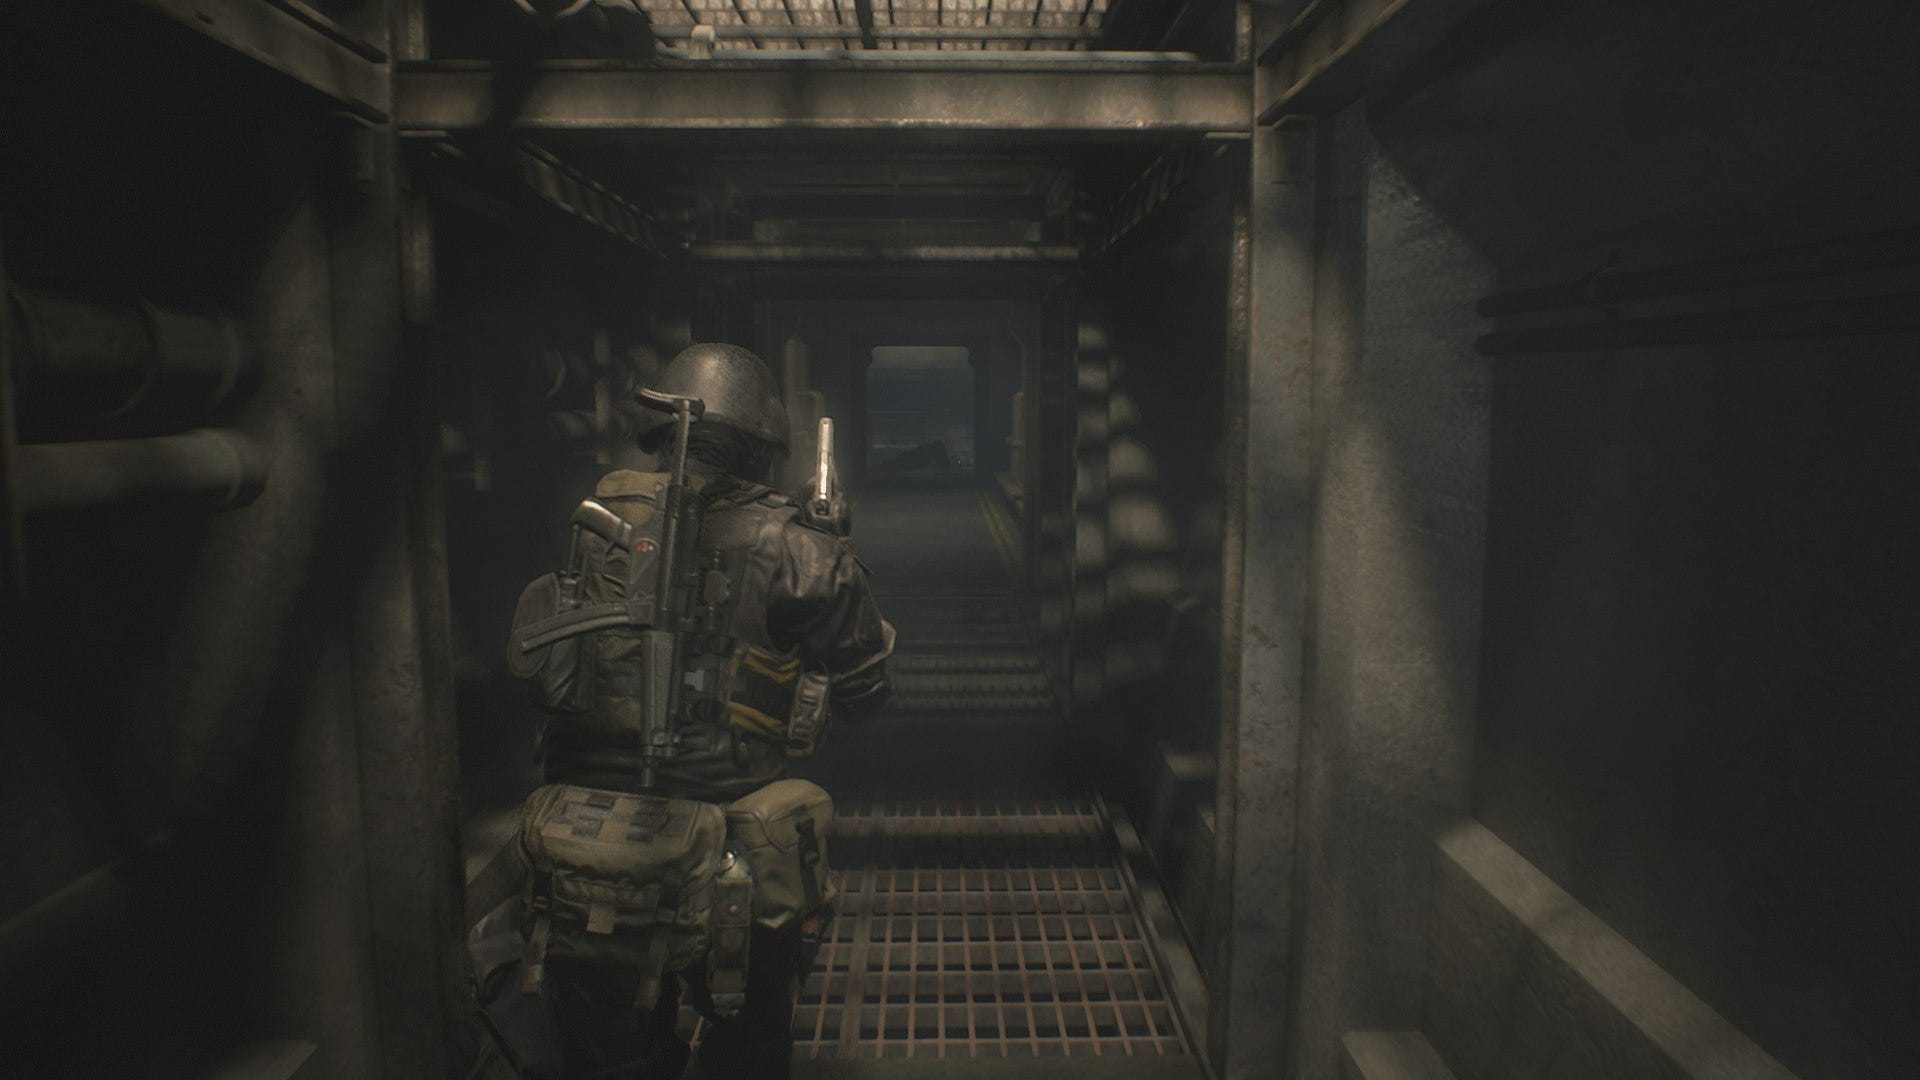
Now you’re back in the parking garage, and there’s a ton of zombies rising up from the ground to meet you. You need to turn immediately to your right once you’re up the ladder, and go through the gap between the cars and the pillar to reach the door with green lighting above it.
Press forward in this corridor, past the zombie with no legs, and a Licker will jump out to meet you. It’s not a bad idea to spend some magnum or shotgun ammo here, if you’ve got it to spare, because the last thing you want is this Licker following you into the police station.

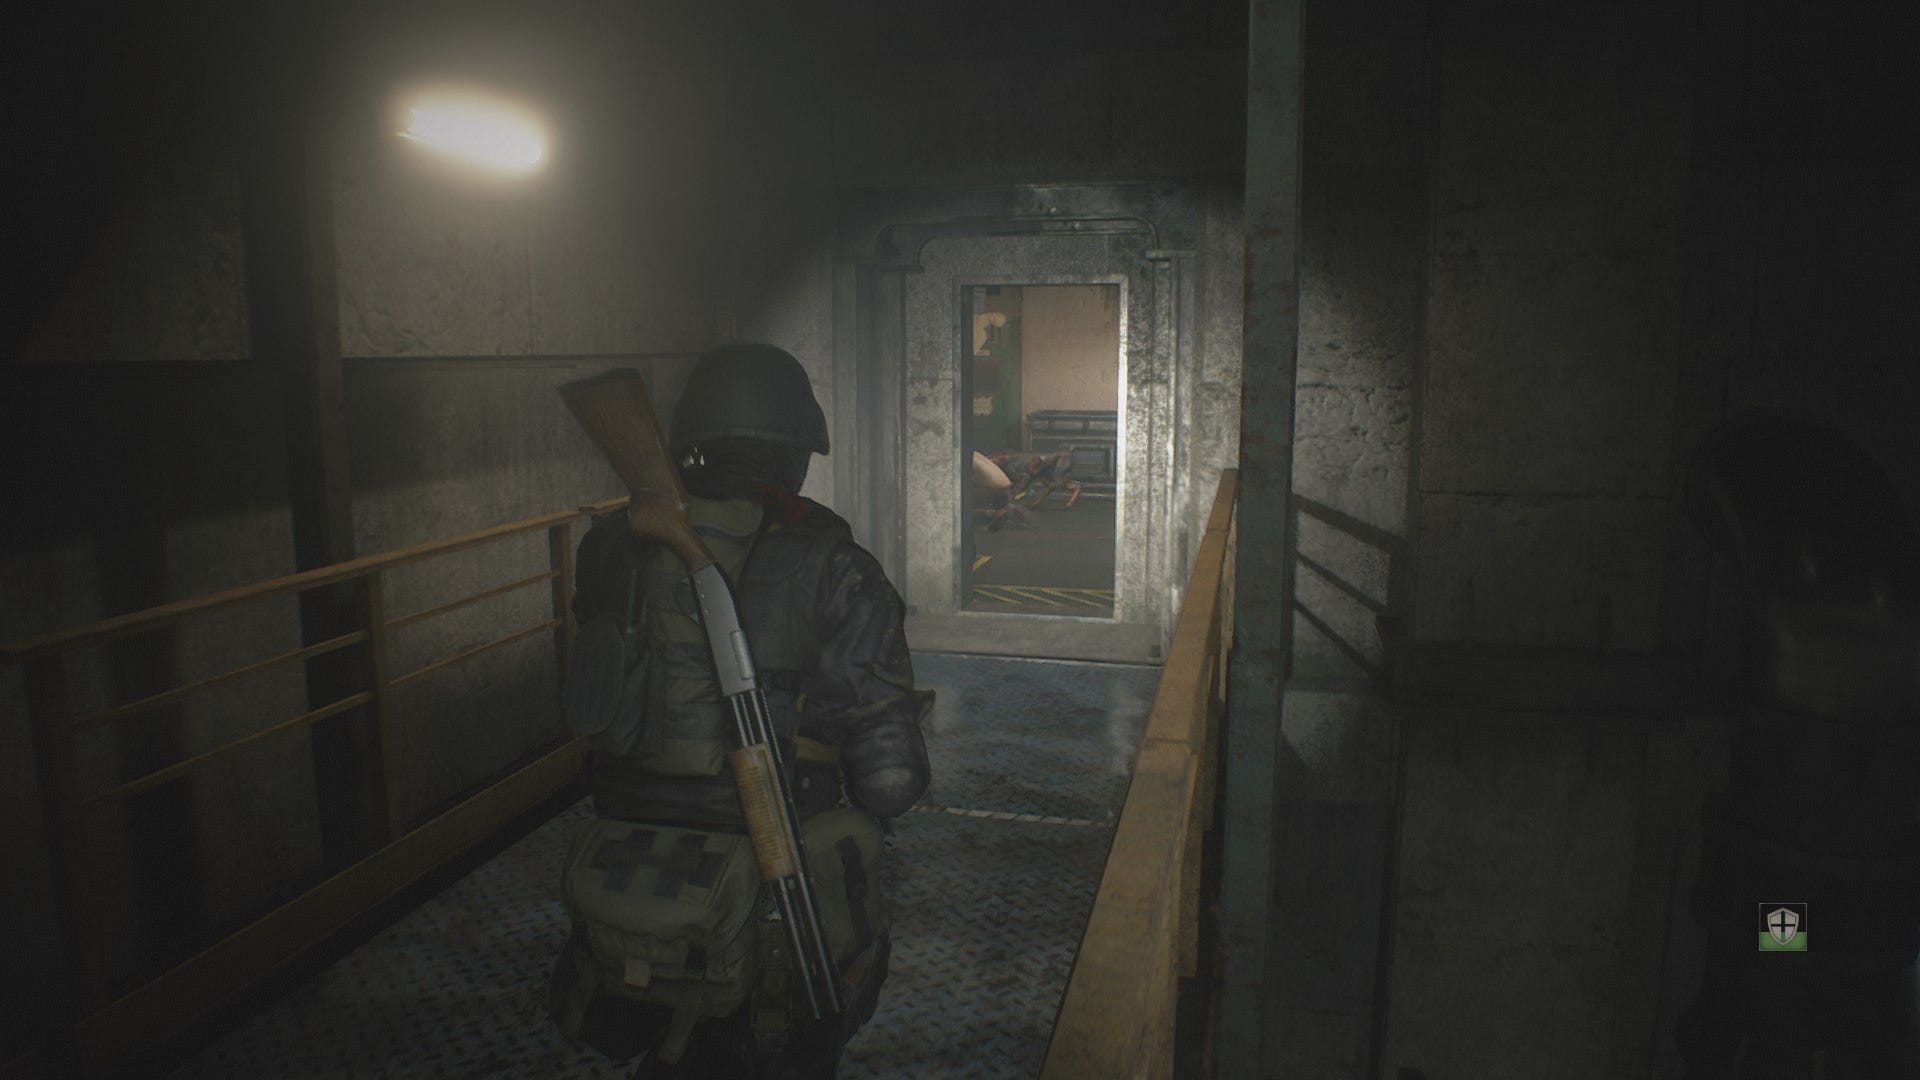
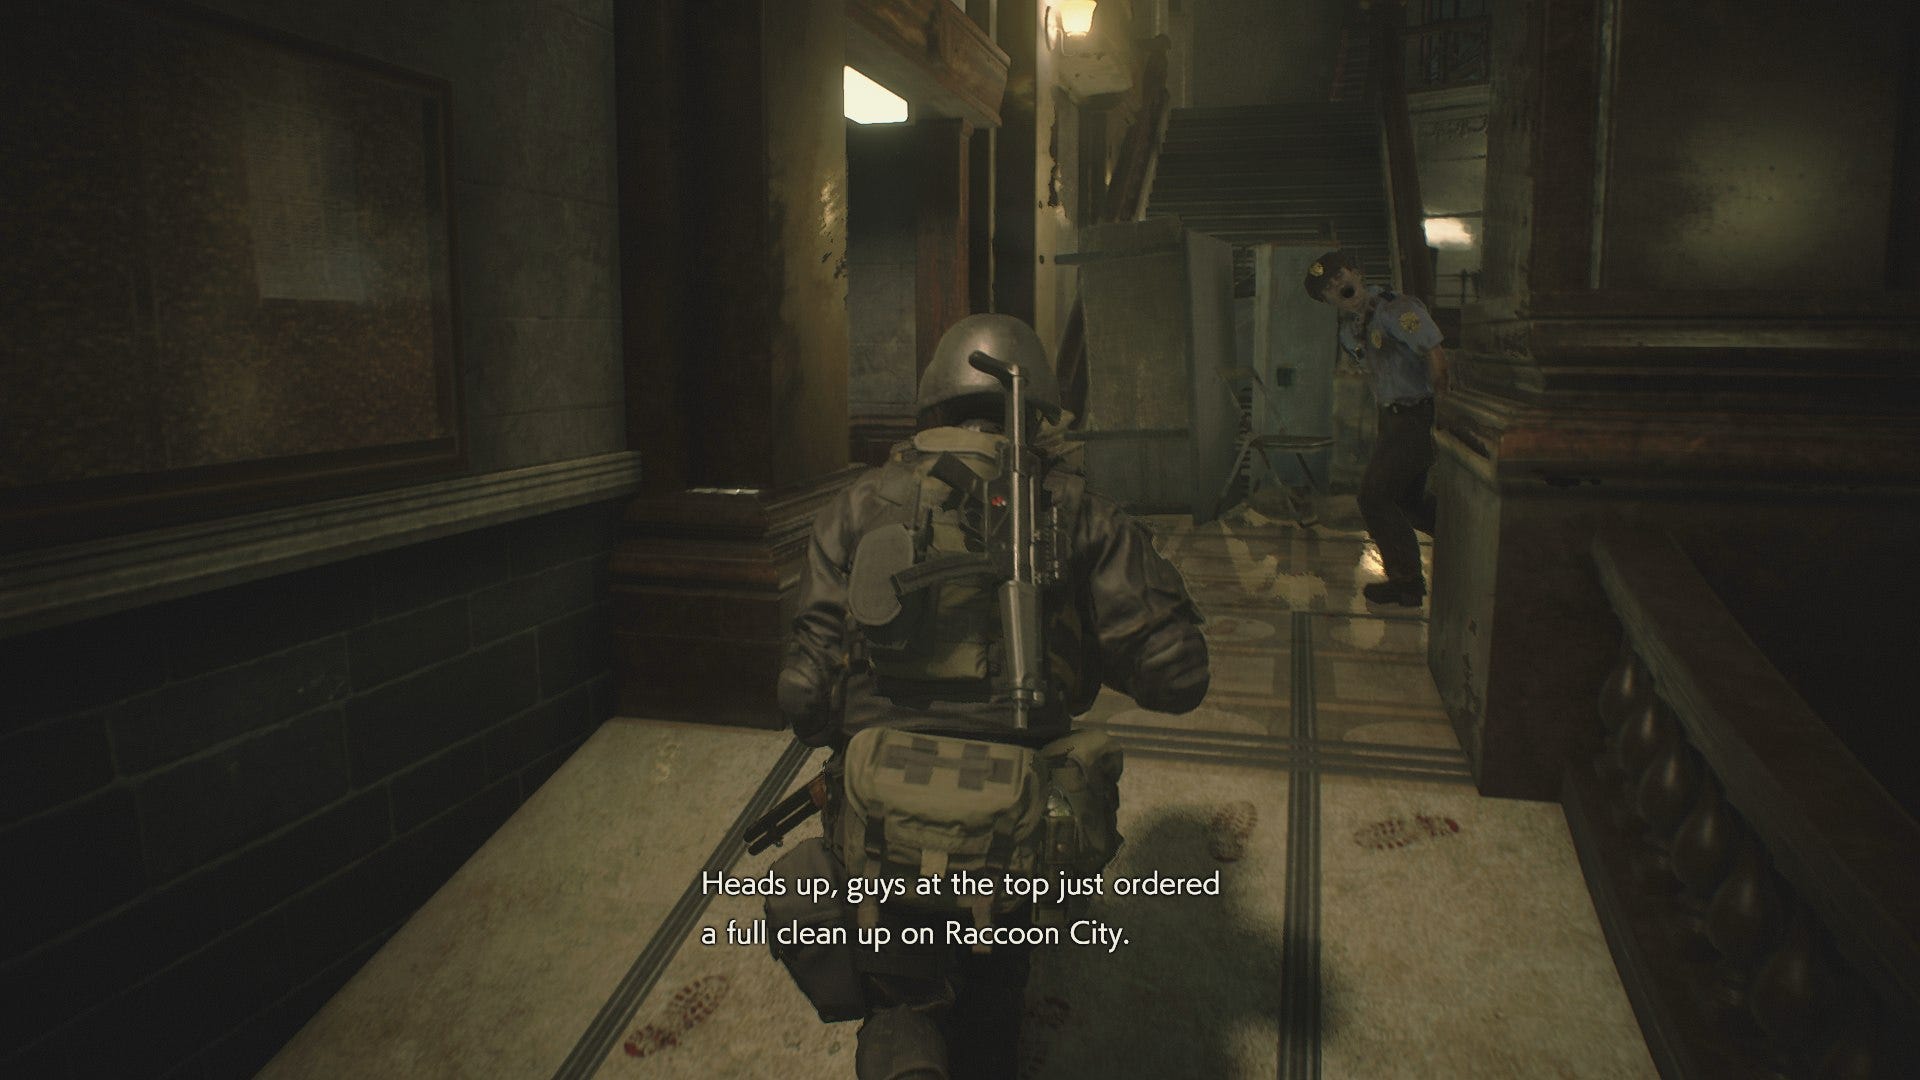
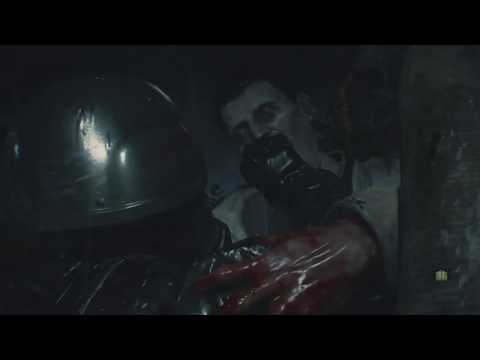
Once you’re at the top of the stairs, head straight down the corridor with the windows on your left, and guess who’s here to meet you? Mr. X, that’s who! Dodge the Tyrant as quickly as possible, and run out into the corridor in the police station, where there’ll be a few zombies that you need to get past as quickly as possible.
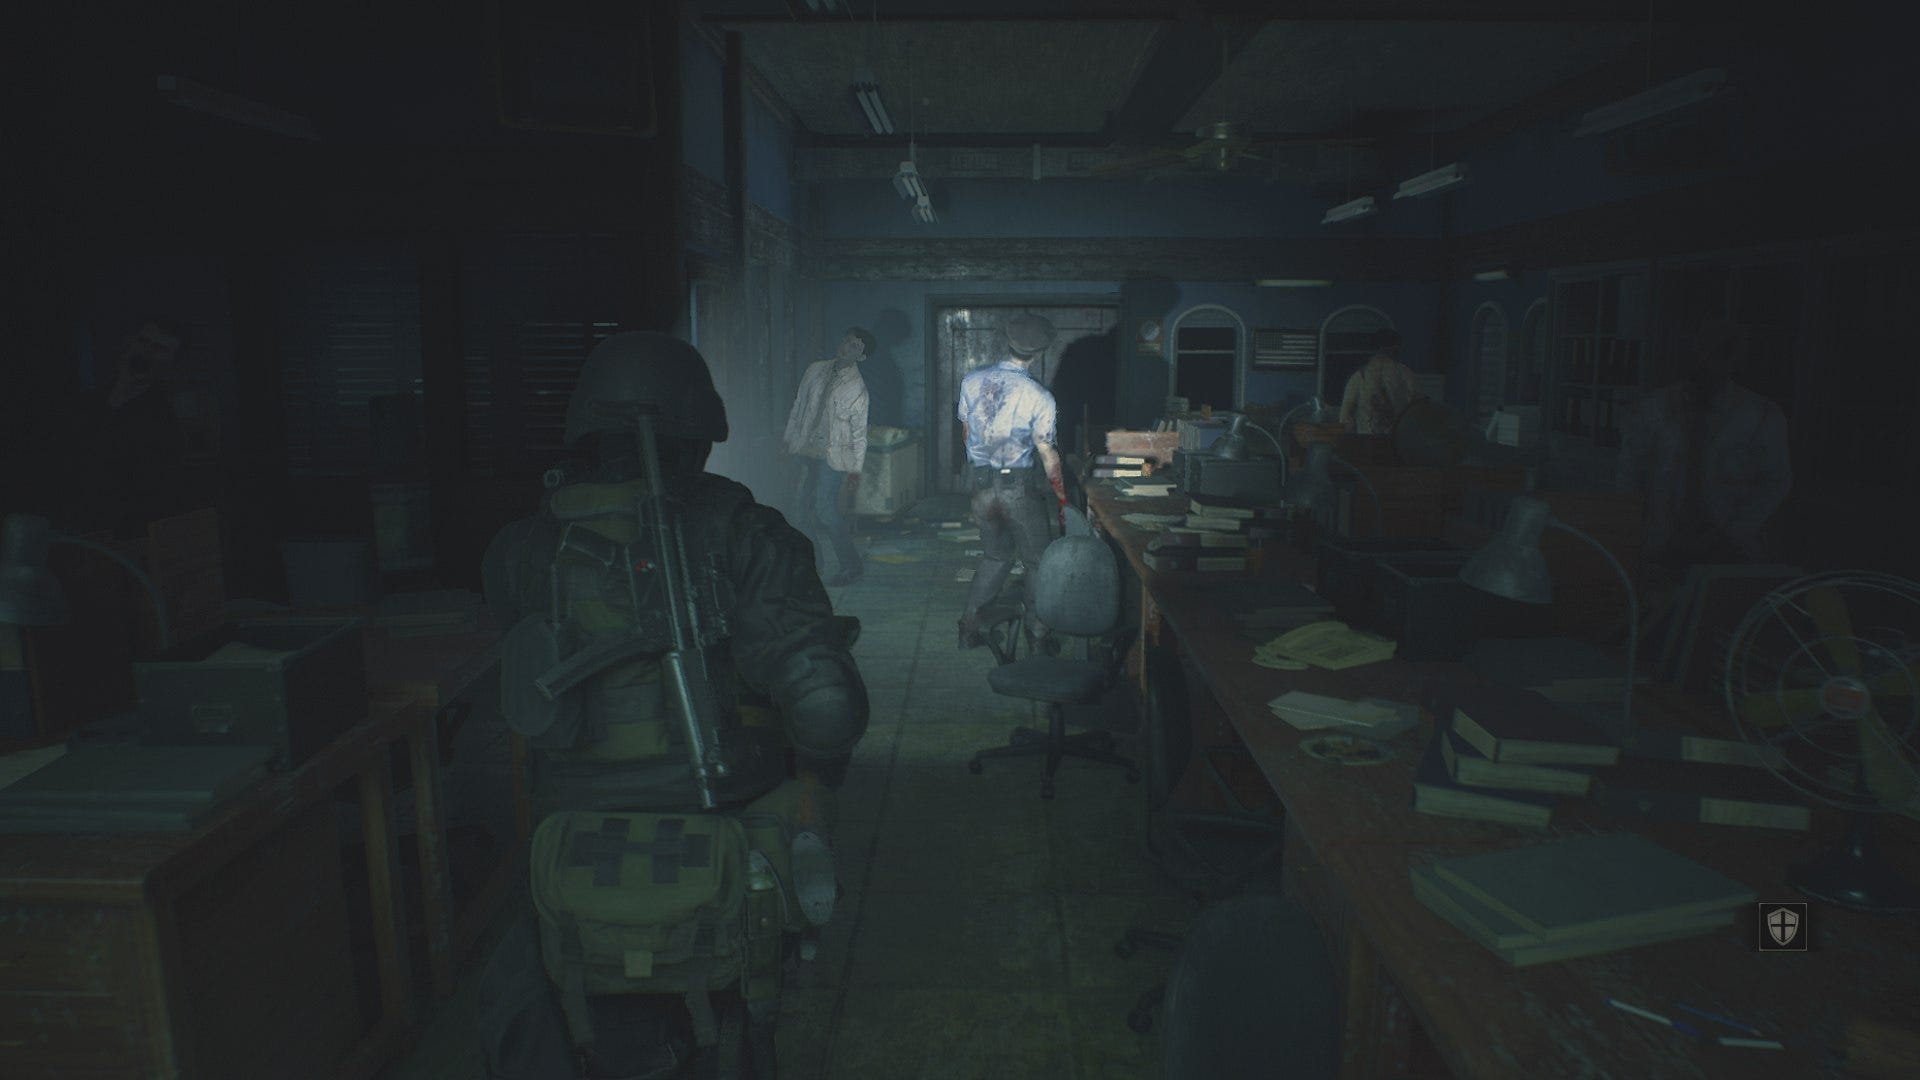
Take the door on your left that leads into the east office, and you’ll be in another room full of zombies. Run past the zombie near the window, and angle back towards the door at the far end of the room. It’s important to get zombies on the ground as quickly as possible in this area, because Mr. X is in hot pursuit.
Run through the red double doors and turn left, running past the zombie getting up off the ground, and through the open metal shutter. In the main hall area, you need to go to the western edge of the room, and take the sole door there into the west office.
Take the door out into the corridor, and there’ll be a Licker there to greet you. Dispose of it in any way necessary, because this beast will follow you right up the stairs if you let it stay alive.
Speaking of the stairs, you need to take them up to the second floor, where Mr. X will appear again. Run round him while he’s dealing with zombies, and you need to take the door to the shower room.
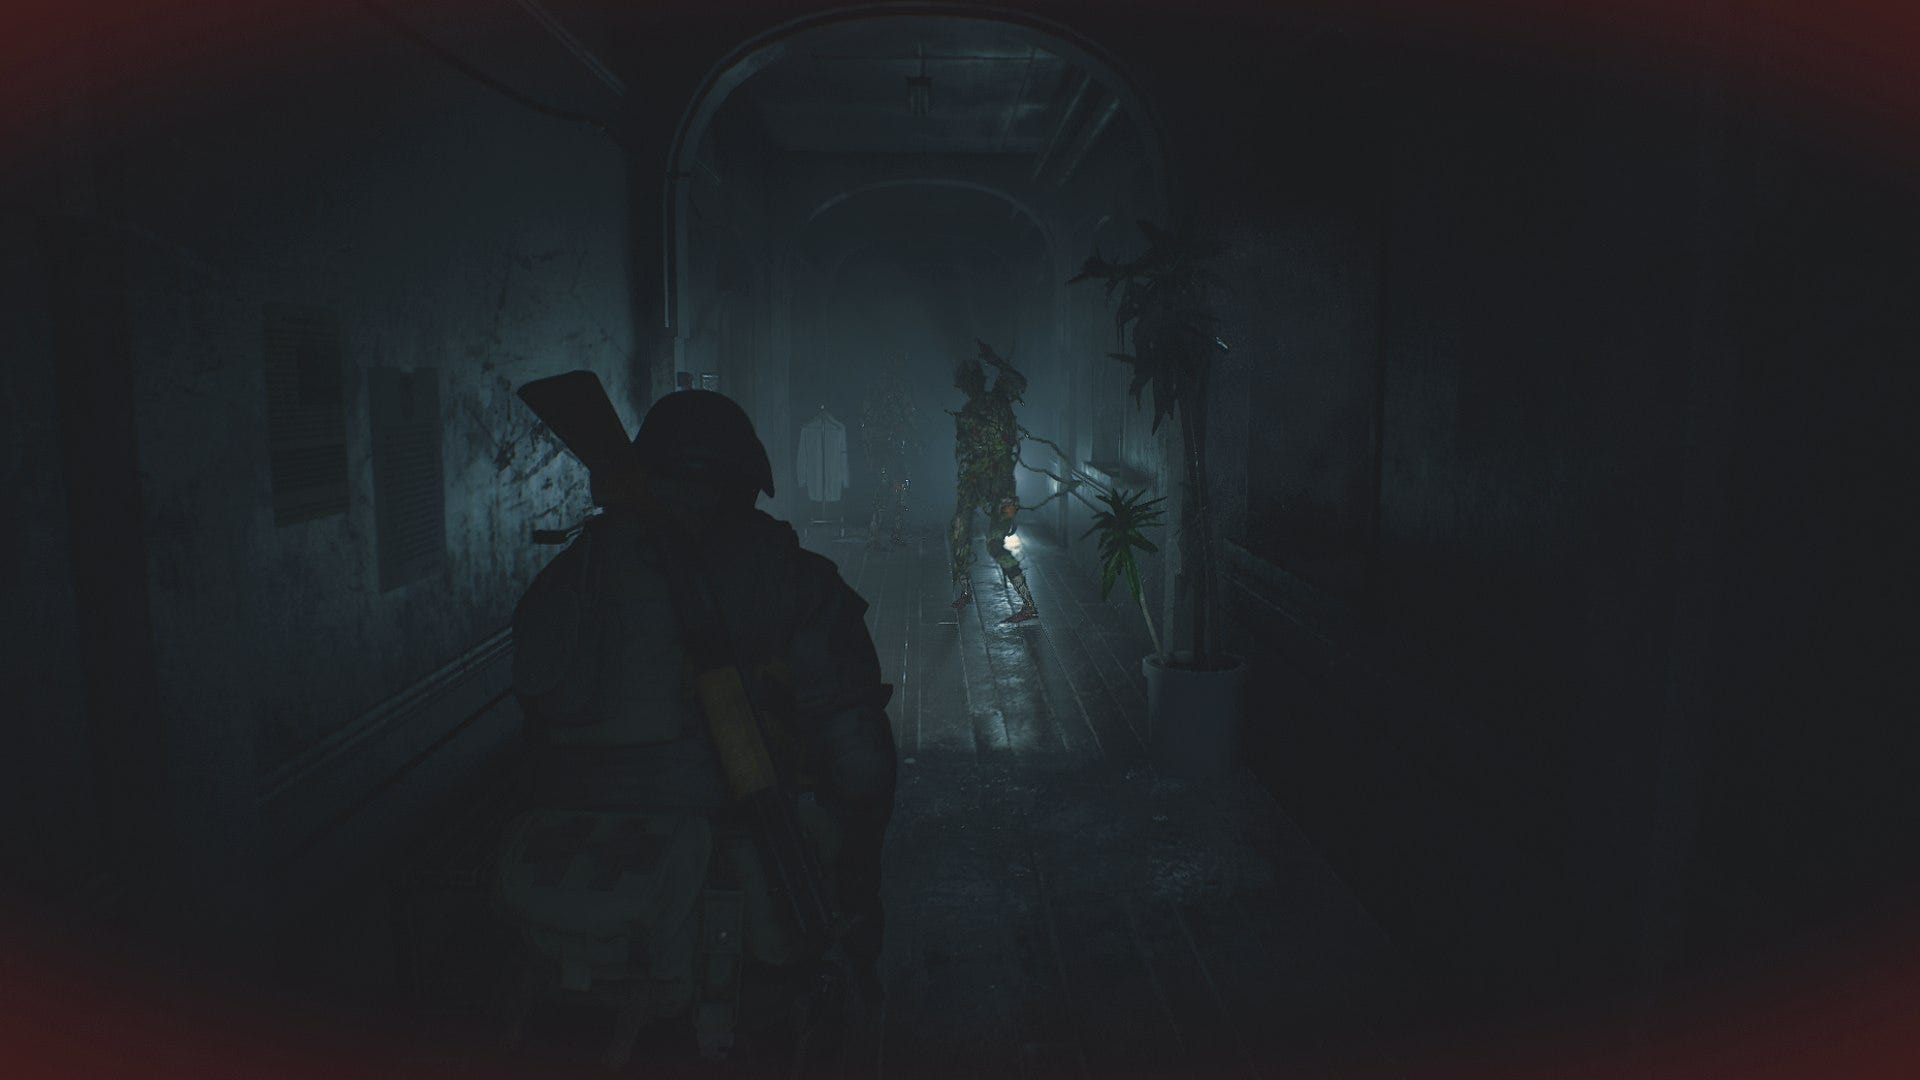
You need to make it through the shower rooms and to the corridor in the west, where there’ll be two of the vine zombies waiting for you. There’s no getting past these two without a fight, so either throw a grenade, or use some precious magnum ammo to put them on the ground quickly.
Run through the room with the unicorn statue into the library. Kneecap the two zombies waiting for you as soon as you enter the library, and quickly make your way through the door, and onto the balcony that overlooks the main hall.
Now head round to the opposite side of the balcony, and through the door, where two zombies will come through the door opposite you. Get them on the ground by shooting them in the legs, and run out into the corridor, where you need to turn left, and head round until a Licker will attack you.
You can afford to leave this Licker alive, so run past it and up the stairs. Take the door out onto the balcony at the top of the stairs, and there’ll be a sludge monster waiting for you. Descend down the ladder as quickly as possible, and go through the door directly opposite you and slightly to the right.
Work you way around the corridor, and take the first door on your left, into the fire escape area. Go down the ladder, shoot the zombie at the fence, and go through the gate. A sludge monster will now storm towards you, and you need to get round it as quickly as possible.
There’s a whole lot of zombies in this area, and we hope you’ve got a few grenades spare. Running into the zombies, pressing the left bumper to get out of the grab with a grenade, and running on through the crowd as the grenade explodes is your best bet to get through this area as quickly as possible.
Go down the stairs ahead of you, and shoot the legs of all the zombies at the bottom as quickly as possible. Head up the stairs at the other end, go round the corner to your left, and towards the gate. Interact with the gate, and the nightmare is finally over for Hunk.
If it's more content for Capcom's remake that you're after, head over to our essential Resident Evil 2 tips page. Alternatively, you can hit up our page on how to unlock Fourth Survivor in Resident Evil 2 with the enigmatic Hunk, our article on how to unlock the magnum in Resident Evil 2, or our Resident Evil 2 Leon's desk locks guide. If you want more Resident Evil goodness, check out our definitive ranking of the best Resident Evil Games.