Nintendo Switch Preview: A Visual Walkthrough of Nintendo's Newest Console
We have a Switch! We take you through the entire system, with a ton of photos.

This article first appeared on USgamer, a partner publication of VG247. Some content, such as this article, has been migrated to VG247 for posterity after USgamer's closure - but it has not been edited or further vetted by the VG247 team.
After months of speculation and various hands-on events, we finally have the Nintendo Switch! The system represents the culmination of Nintendo's two halves, the portable and home console sides working together on a single platform. Two weeks ahead of the system's launch, Nintendo has finally given us a retail unit for its latest console.

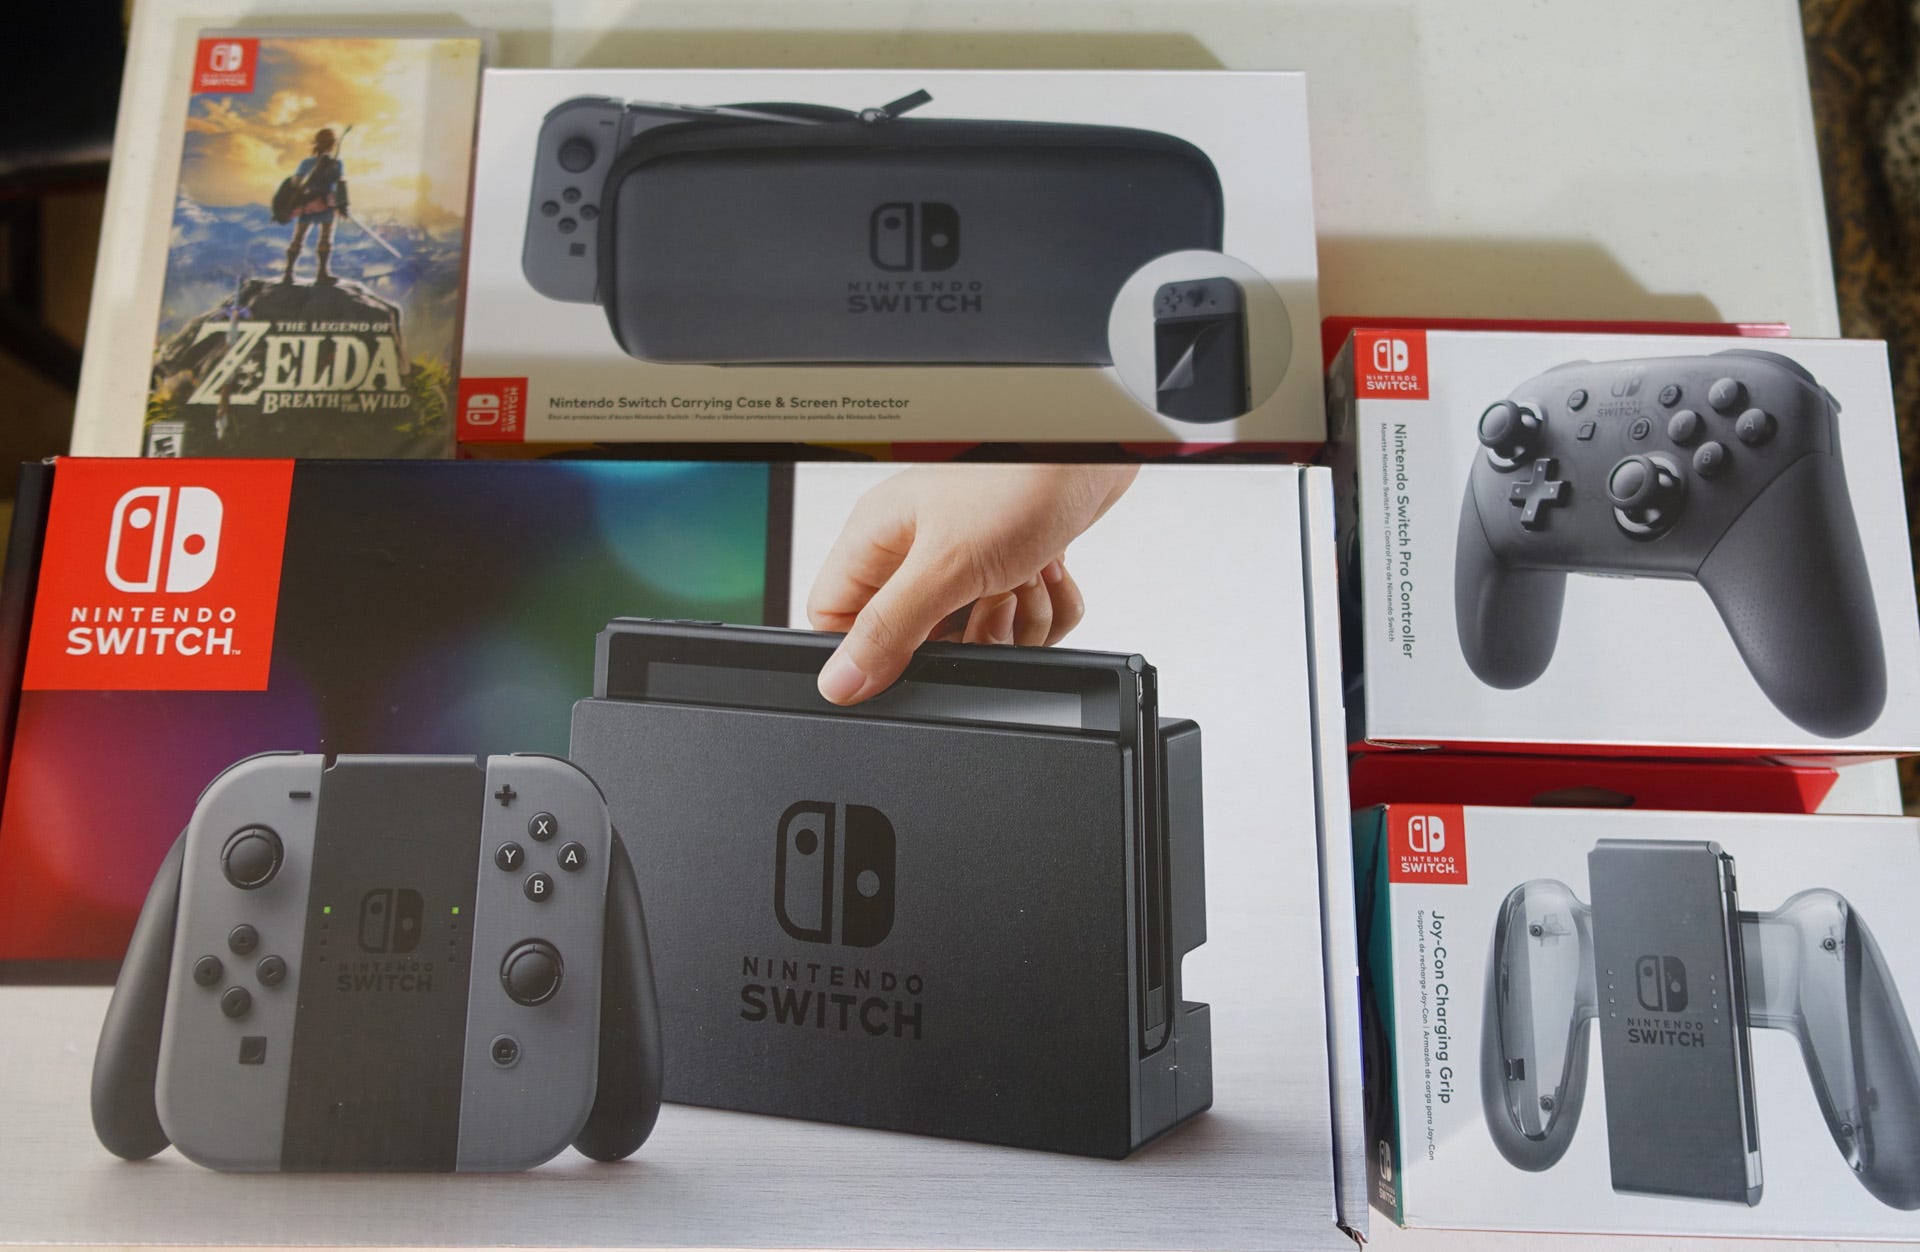
The package we received from Nintendo included the Nintendo Switch, The Legend of Zelda: Breath of the Wild, the Pro Controller, the Joy-Con Charging Grip, and the Carrying Case & Screen Protector. This is a walkthrough of everything you'll be dealing with when you have your very own Nintendo Switch and the assorted accessories. This is everything we can tell you about the system.
Unboxing All That Shiny Hardware
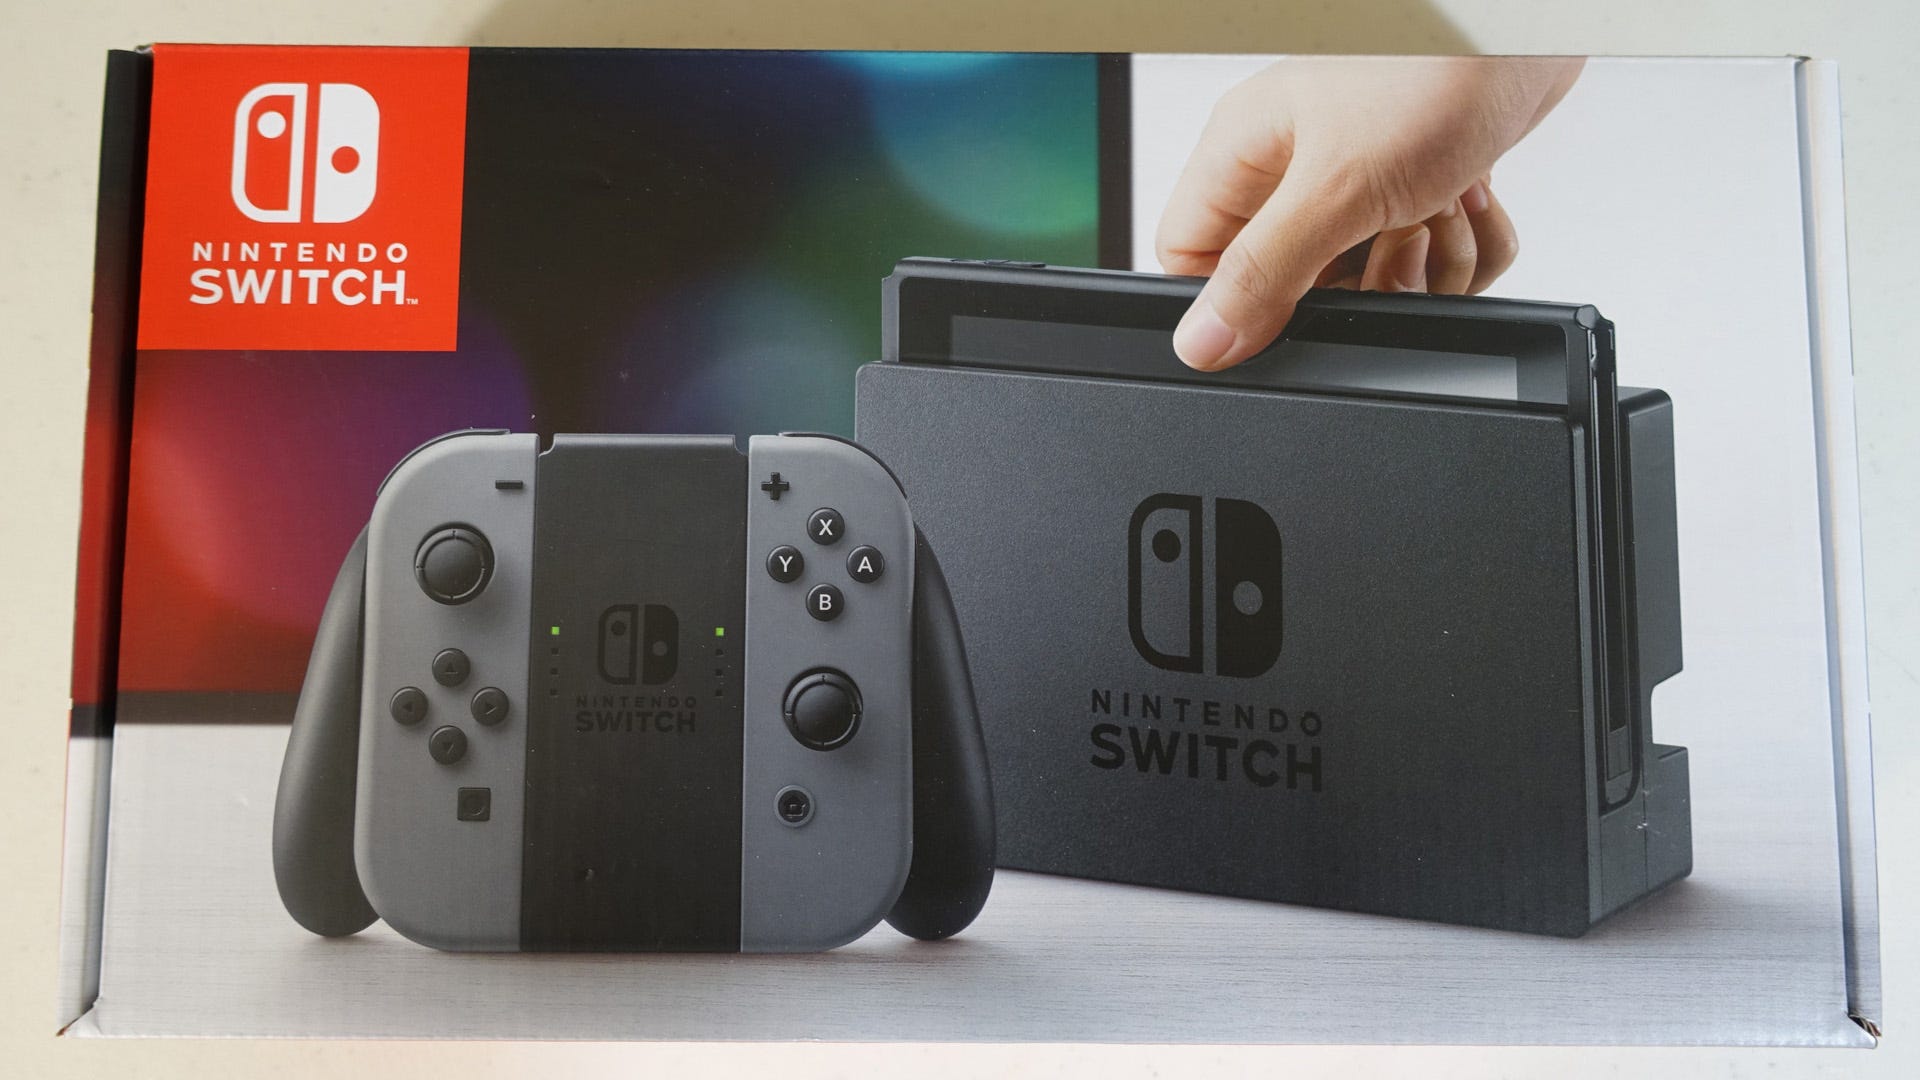
So you have your Switch! This is the box. It's a simple, shiny box. And inside, there's a Switch console!
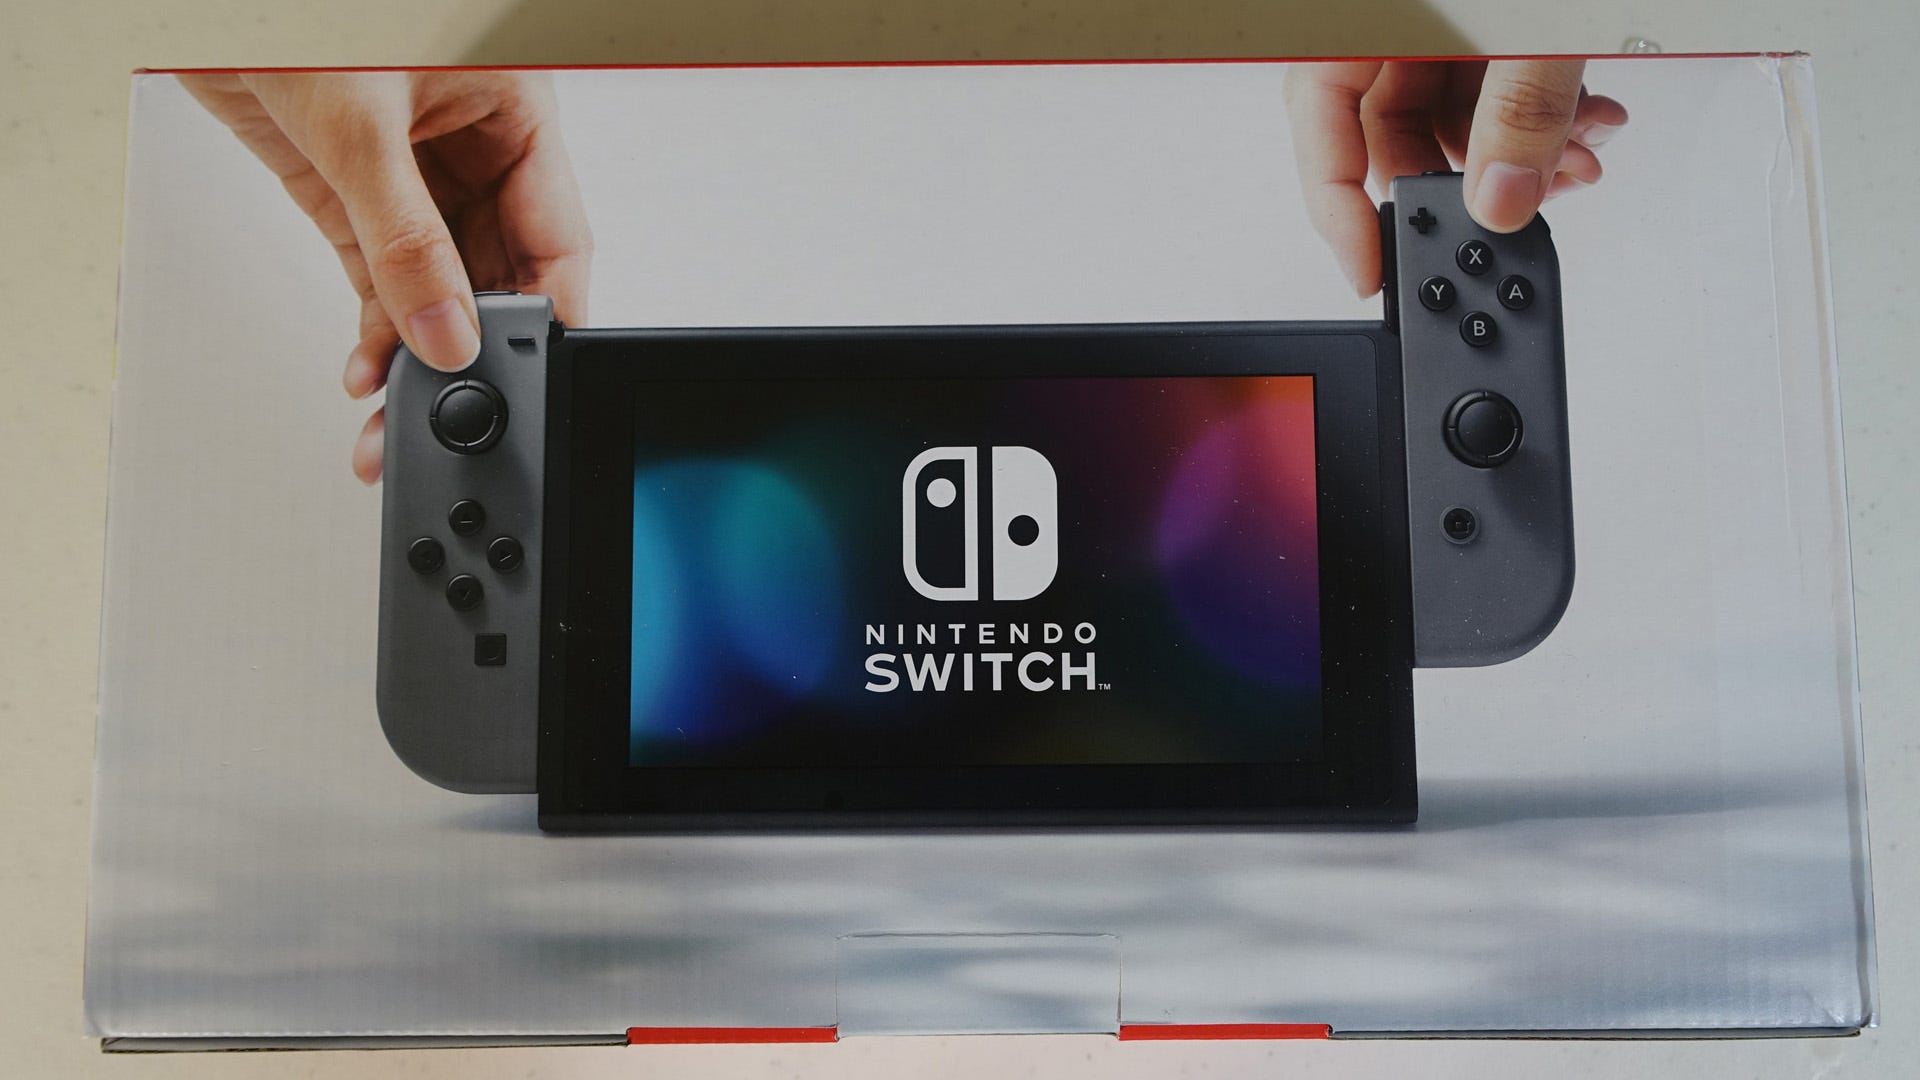

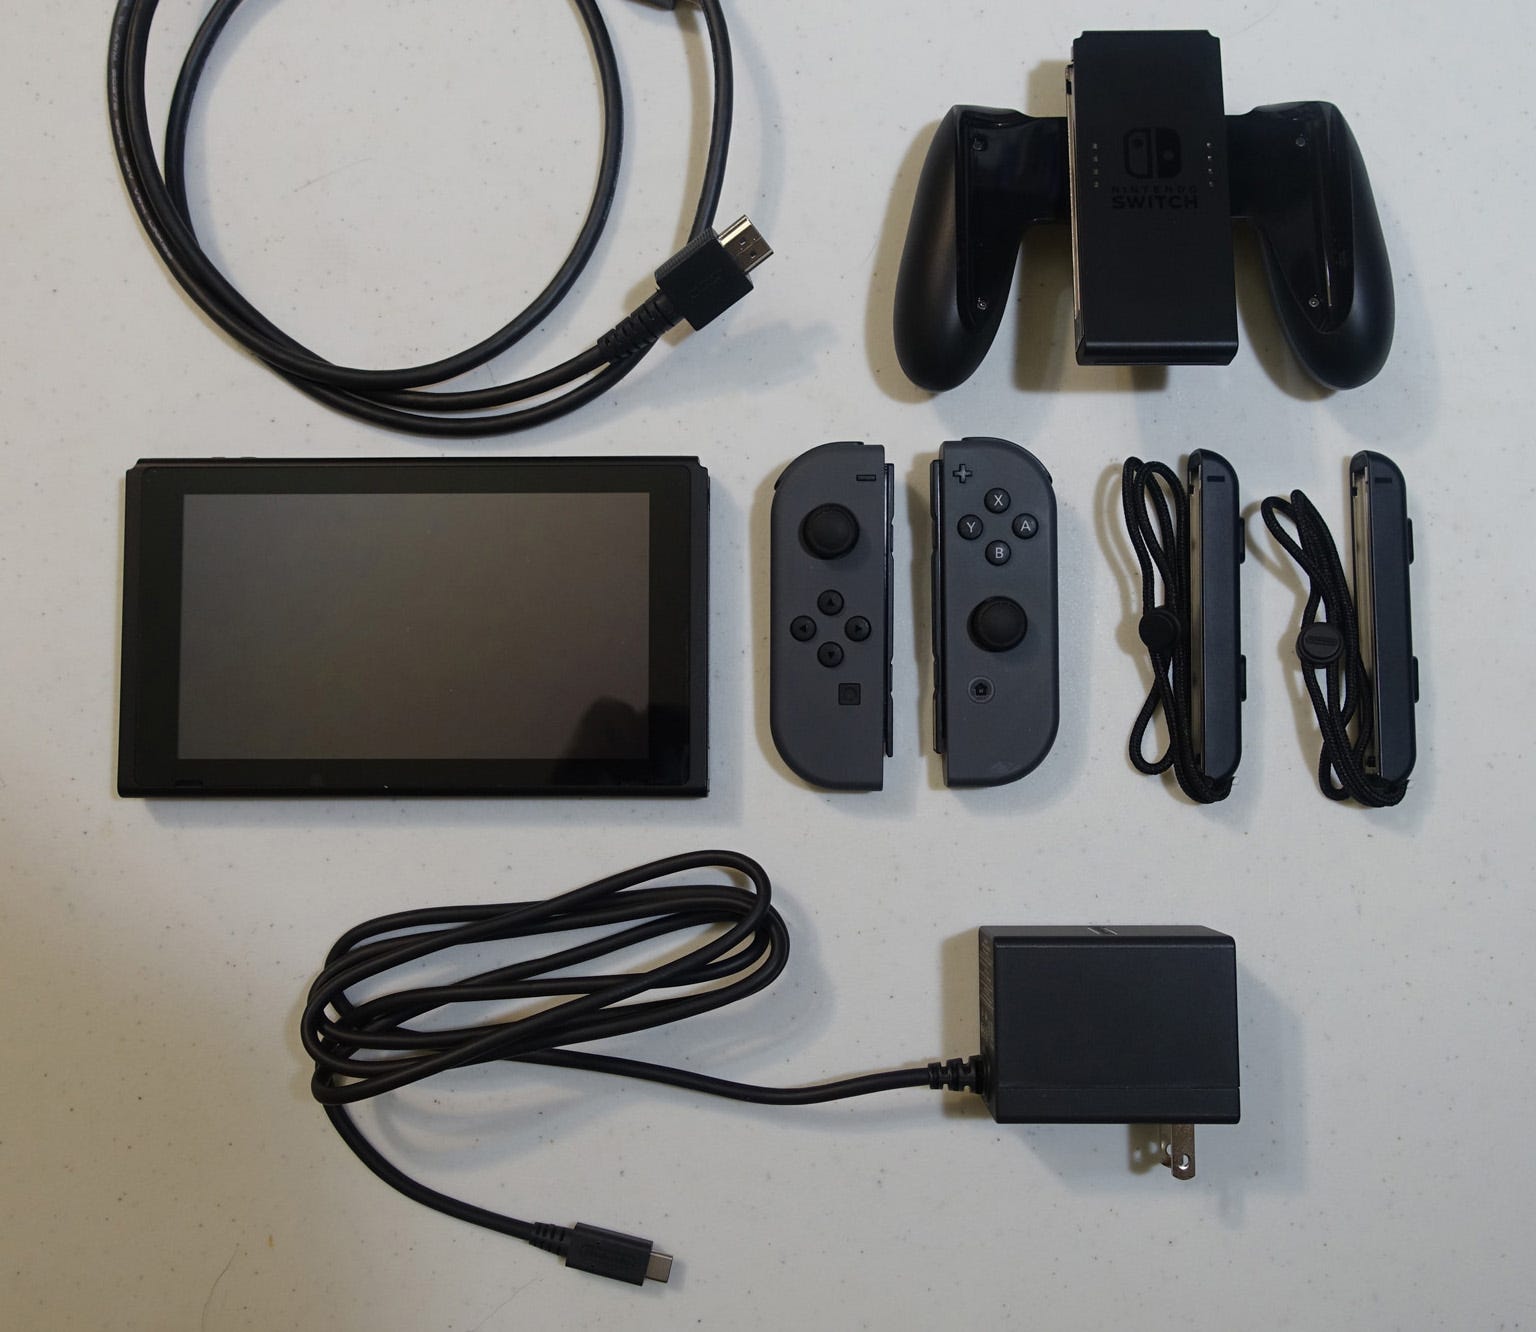
Every retail Switch comes with the Nintendo Switch itself, which is technically just the tablet-style unit, a Joy-Con L, a Joy-Con R, a Joy-Con Grip, two Joy-Con Straps, the Switch Dock, a USB-C AC Adapter, and an HDMI cable. For the most part, the system is ready to go right out of the box without even using the Dock: just turn on the system and the Joy-Cons should already be paired.
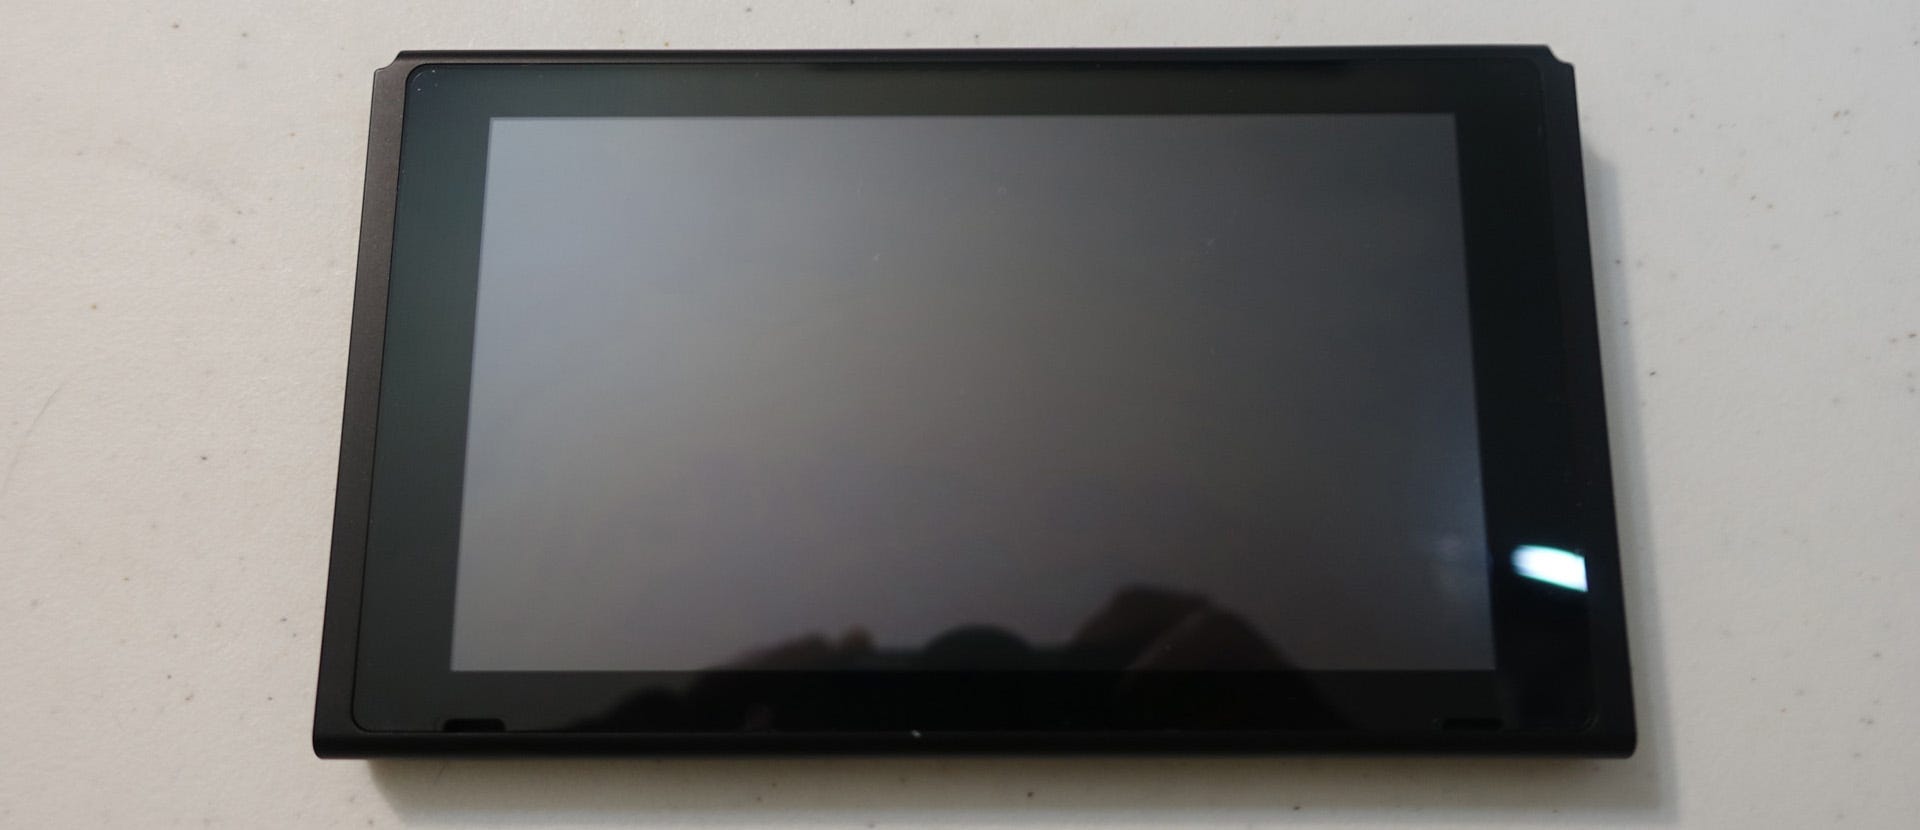
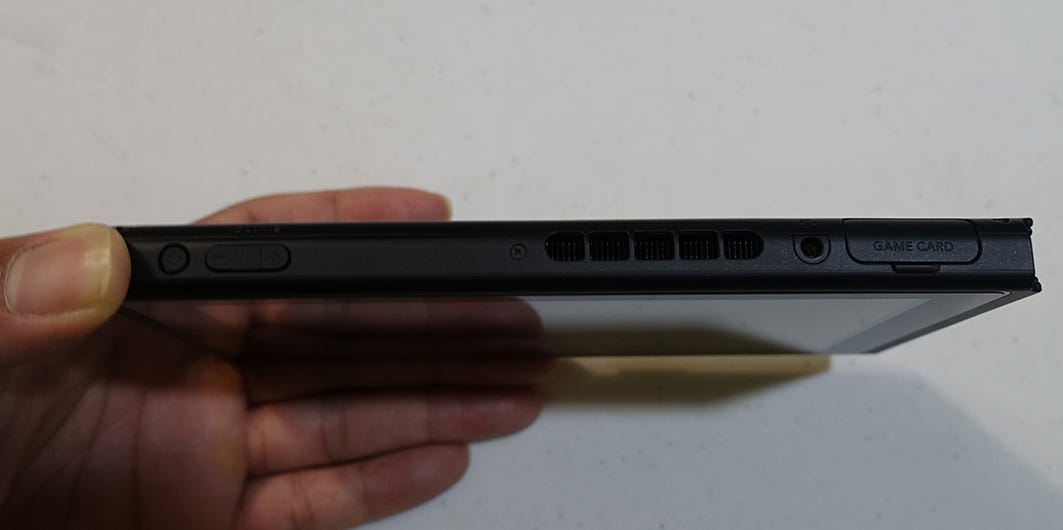
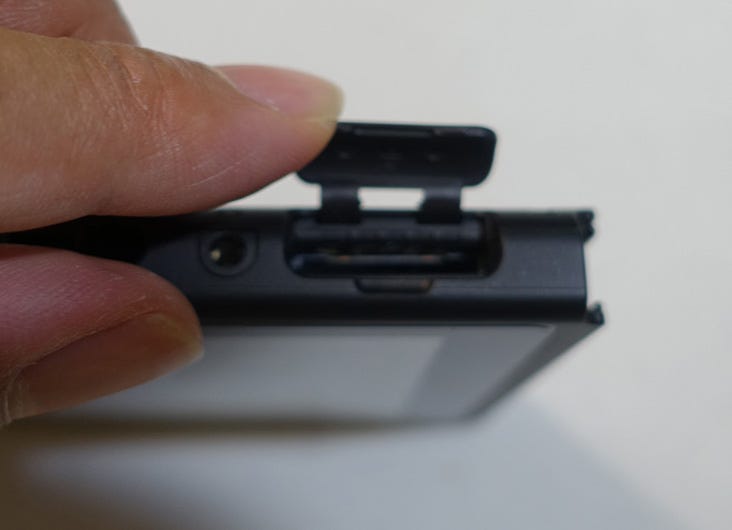
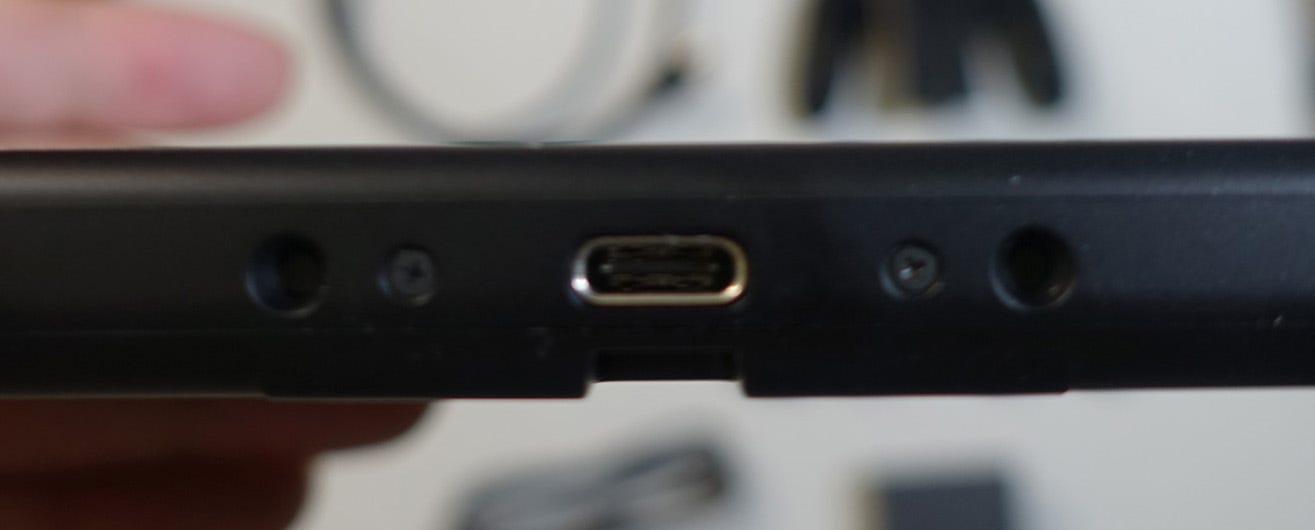
Let's take a look at the Nintendo Switch tablet itself. The front of the system includes the 6.2-inch capacitive multi-touch display, a brightness sensor, and two speakers, both hidden in small gaps on the bottom of the screen. The top includes the Power/Sleep button, a Volume rocker, an air intake vent, a headphone jack, and the Game Card slot. The slot is protected by a soft plastic cover, not unlike the PlayStation Vita.
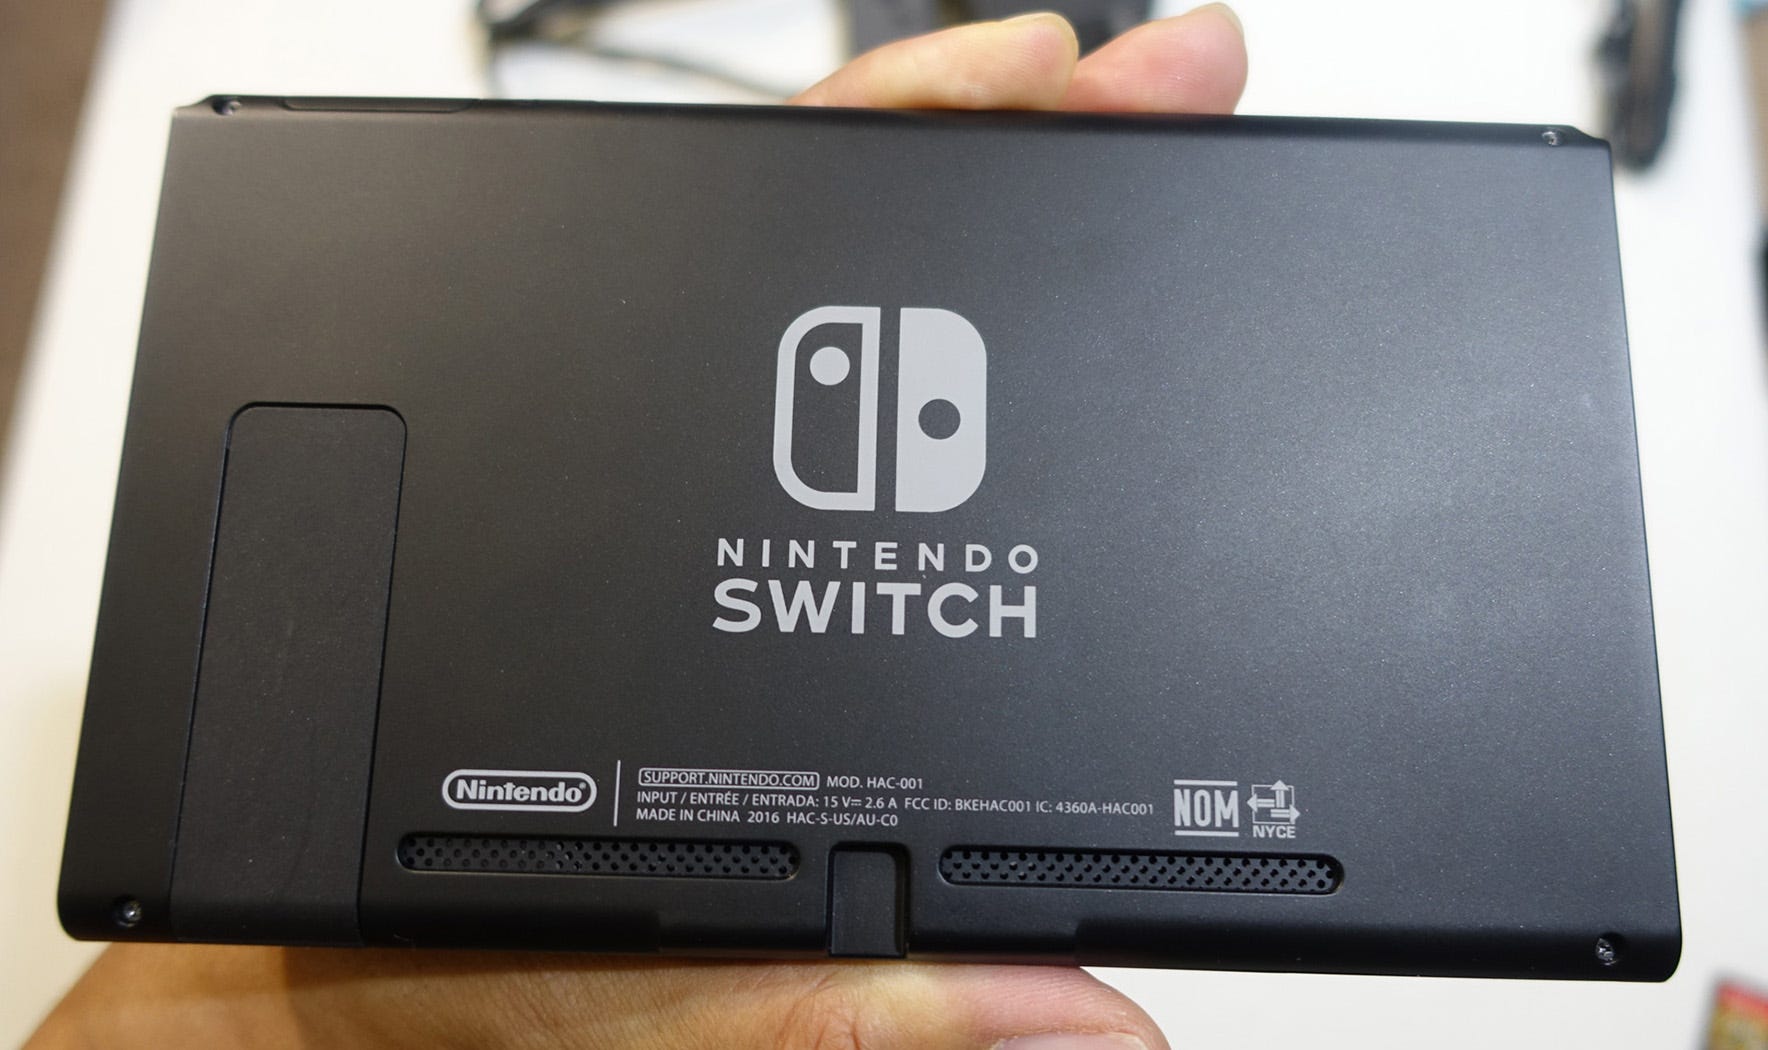
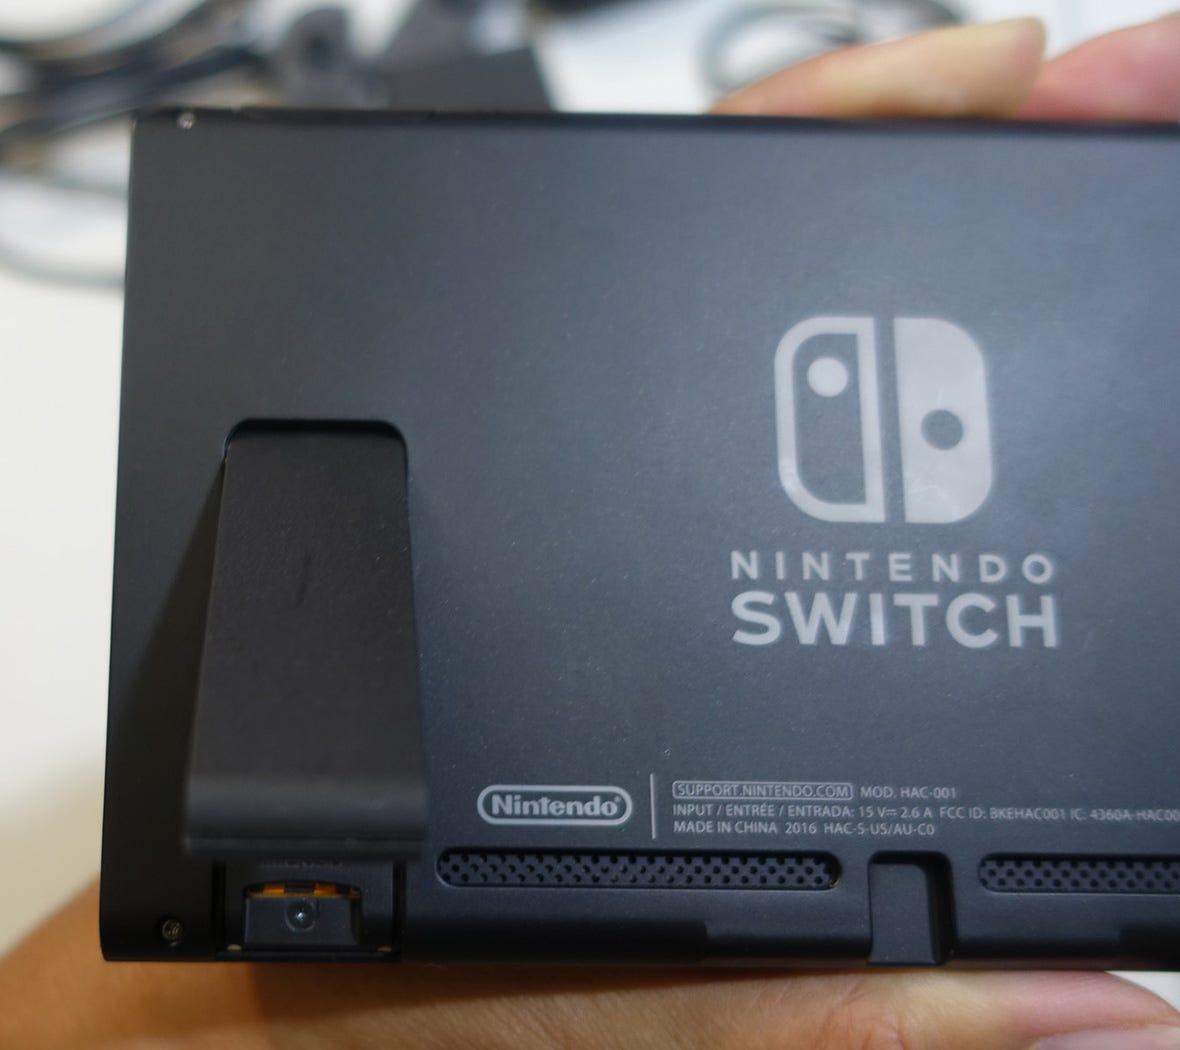
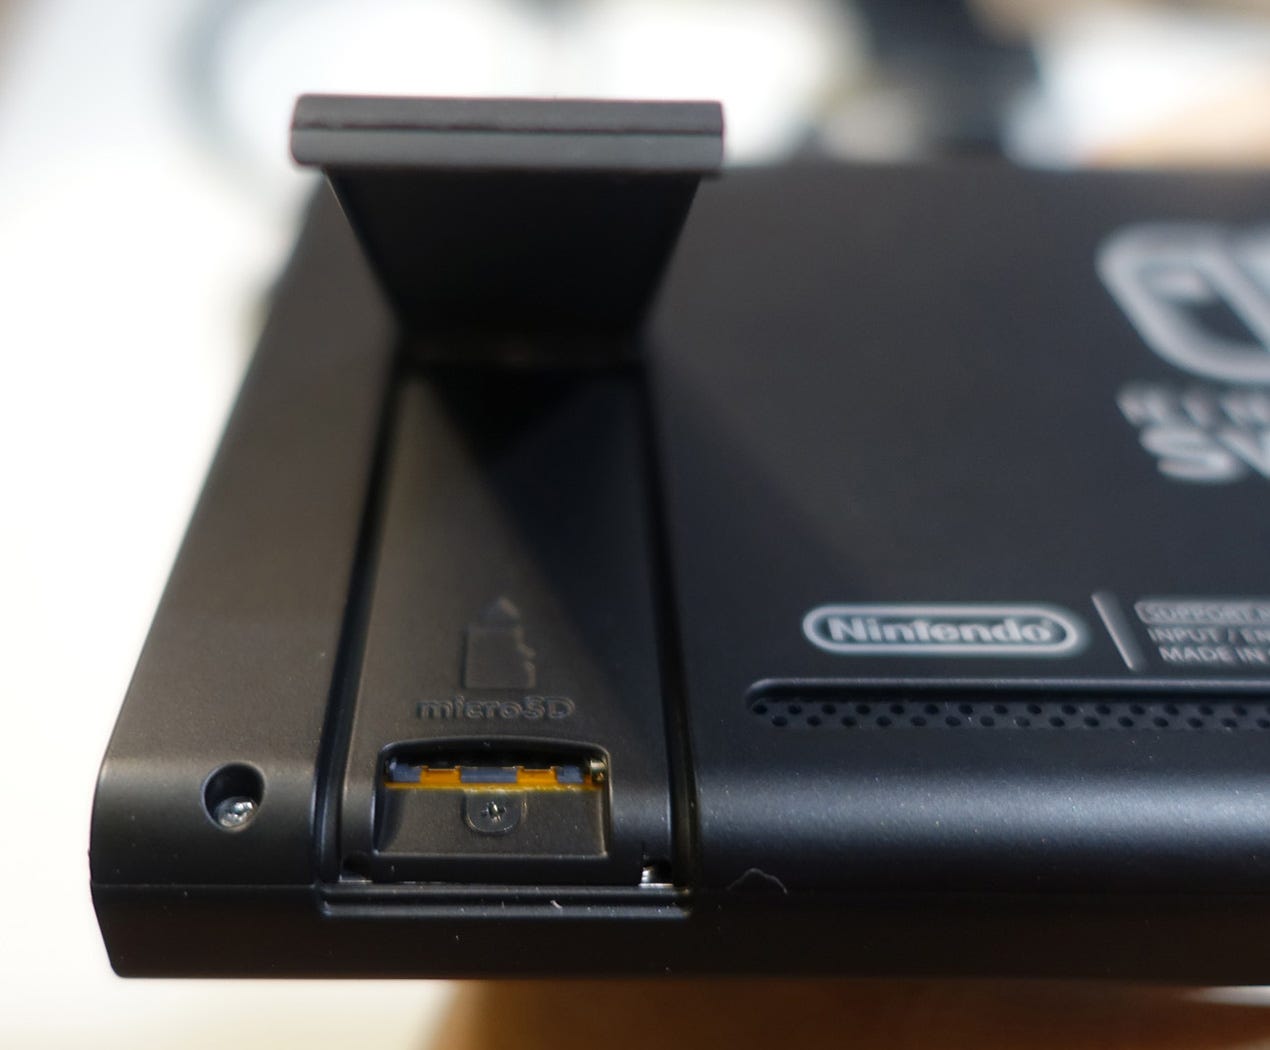
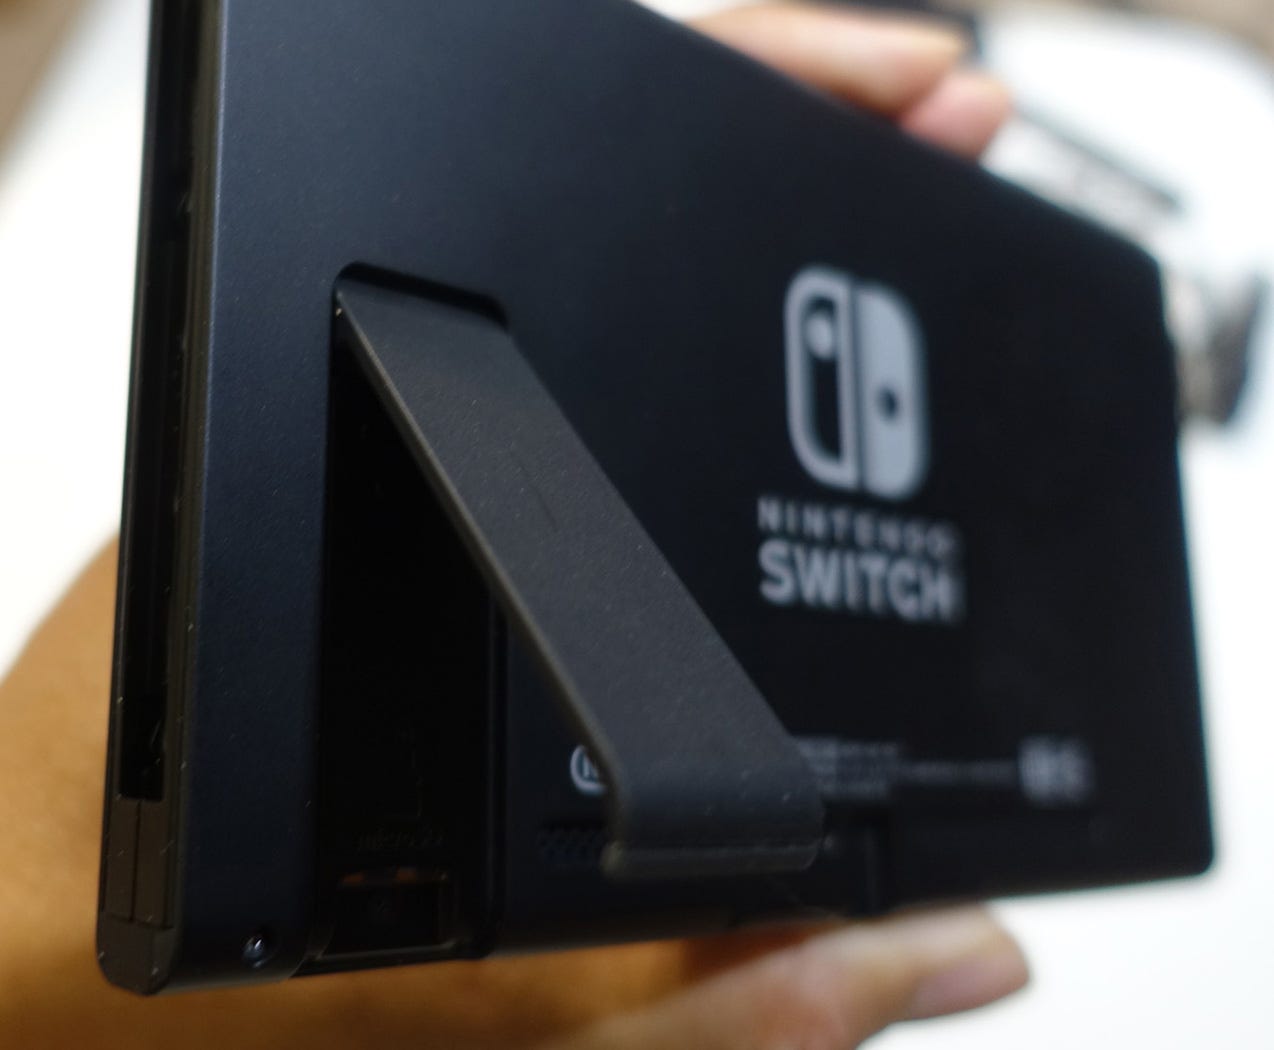
On either side are metal rails for the Joy-Cons and the bottom includes the USB-C port and two guide points for sliding the system into the Dock. On the back are the heat vents and the Kickstand, which also doubles as a cover for the microSD card slot.
The Switch is a study piece of kit. It's a tiny beast of plastic, metal, and glass, feeling much more premium than the Nintendo 3DS right out of the box. I'm afraid to drop this thing, something that never really crossed my mind much with my 3DS.
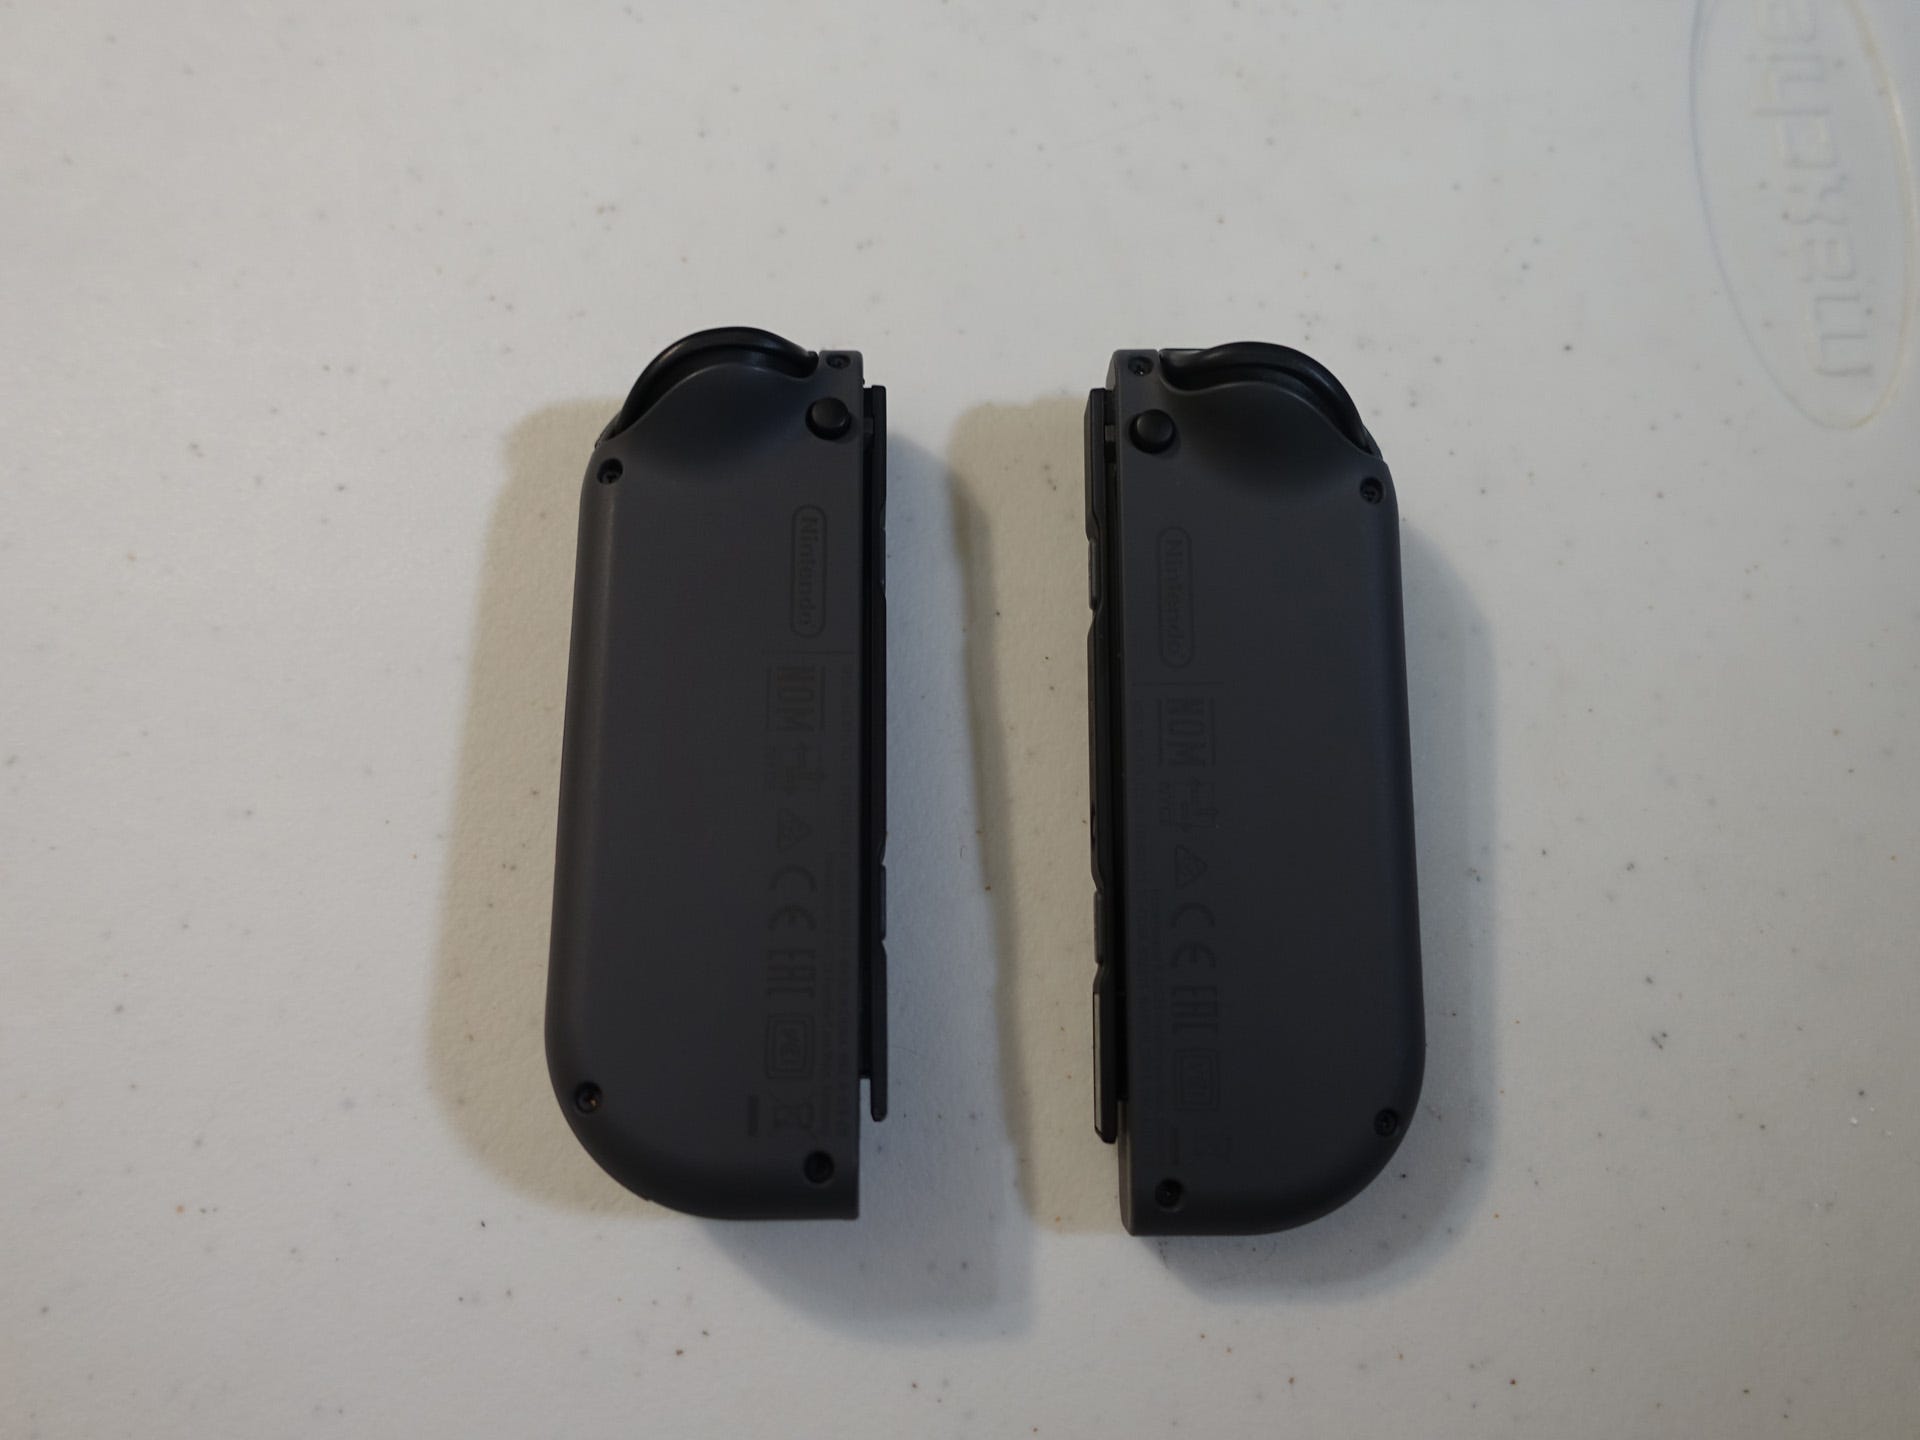
In contrast, the Joy-Cons feel slightly cheaper in construction than the Switch console. When not connected to the console, they feel a bit small in my meaty hands, but they're not uncomfortable. In fact, I'd argue they feel a bit more ergonomic than a Wii Remote. Each Joy-Con can be docked to the console or undocked for single or multiplayer titles.

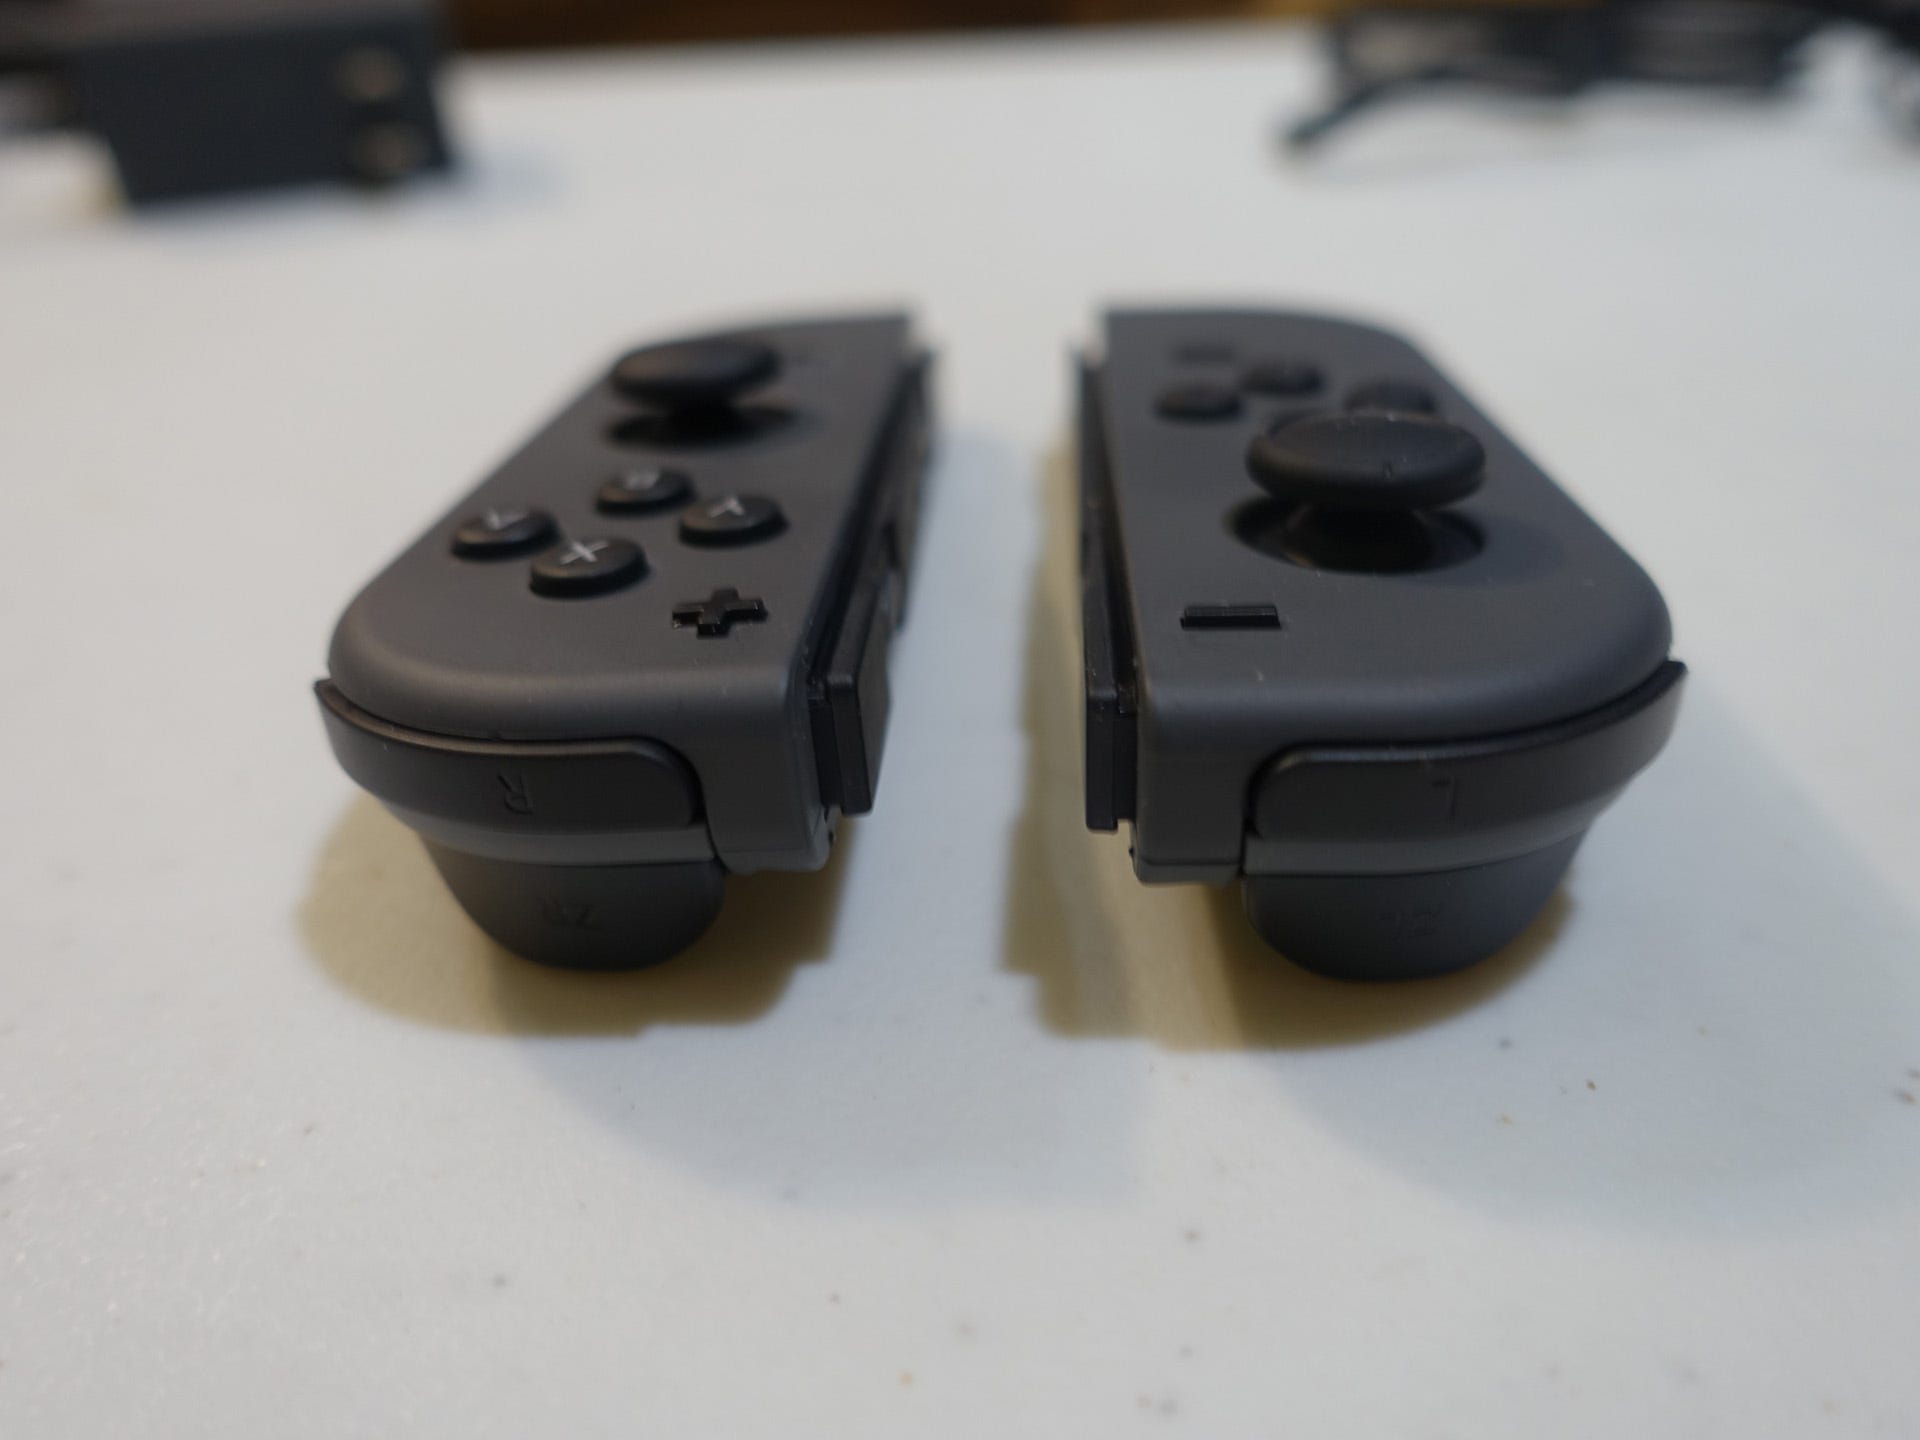
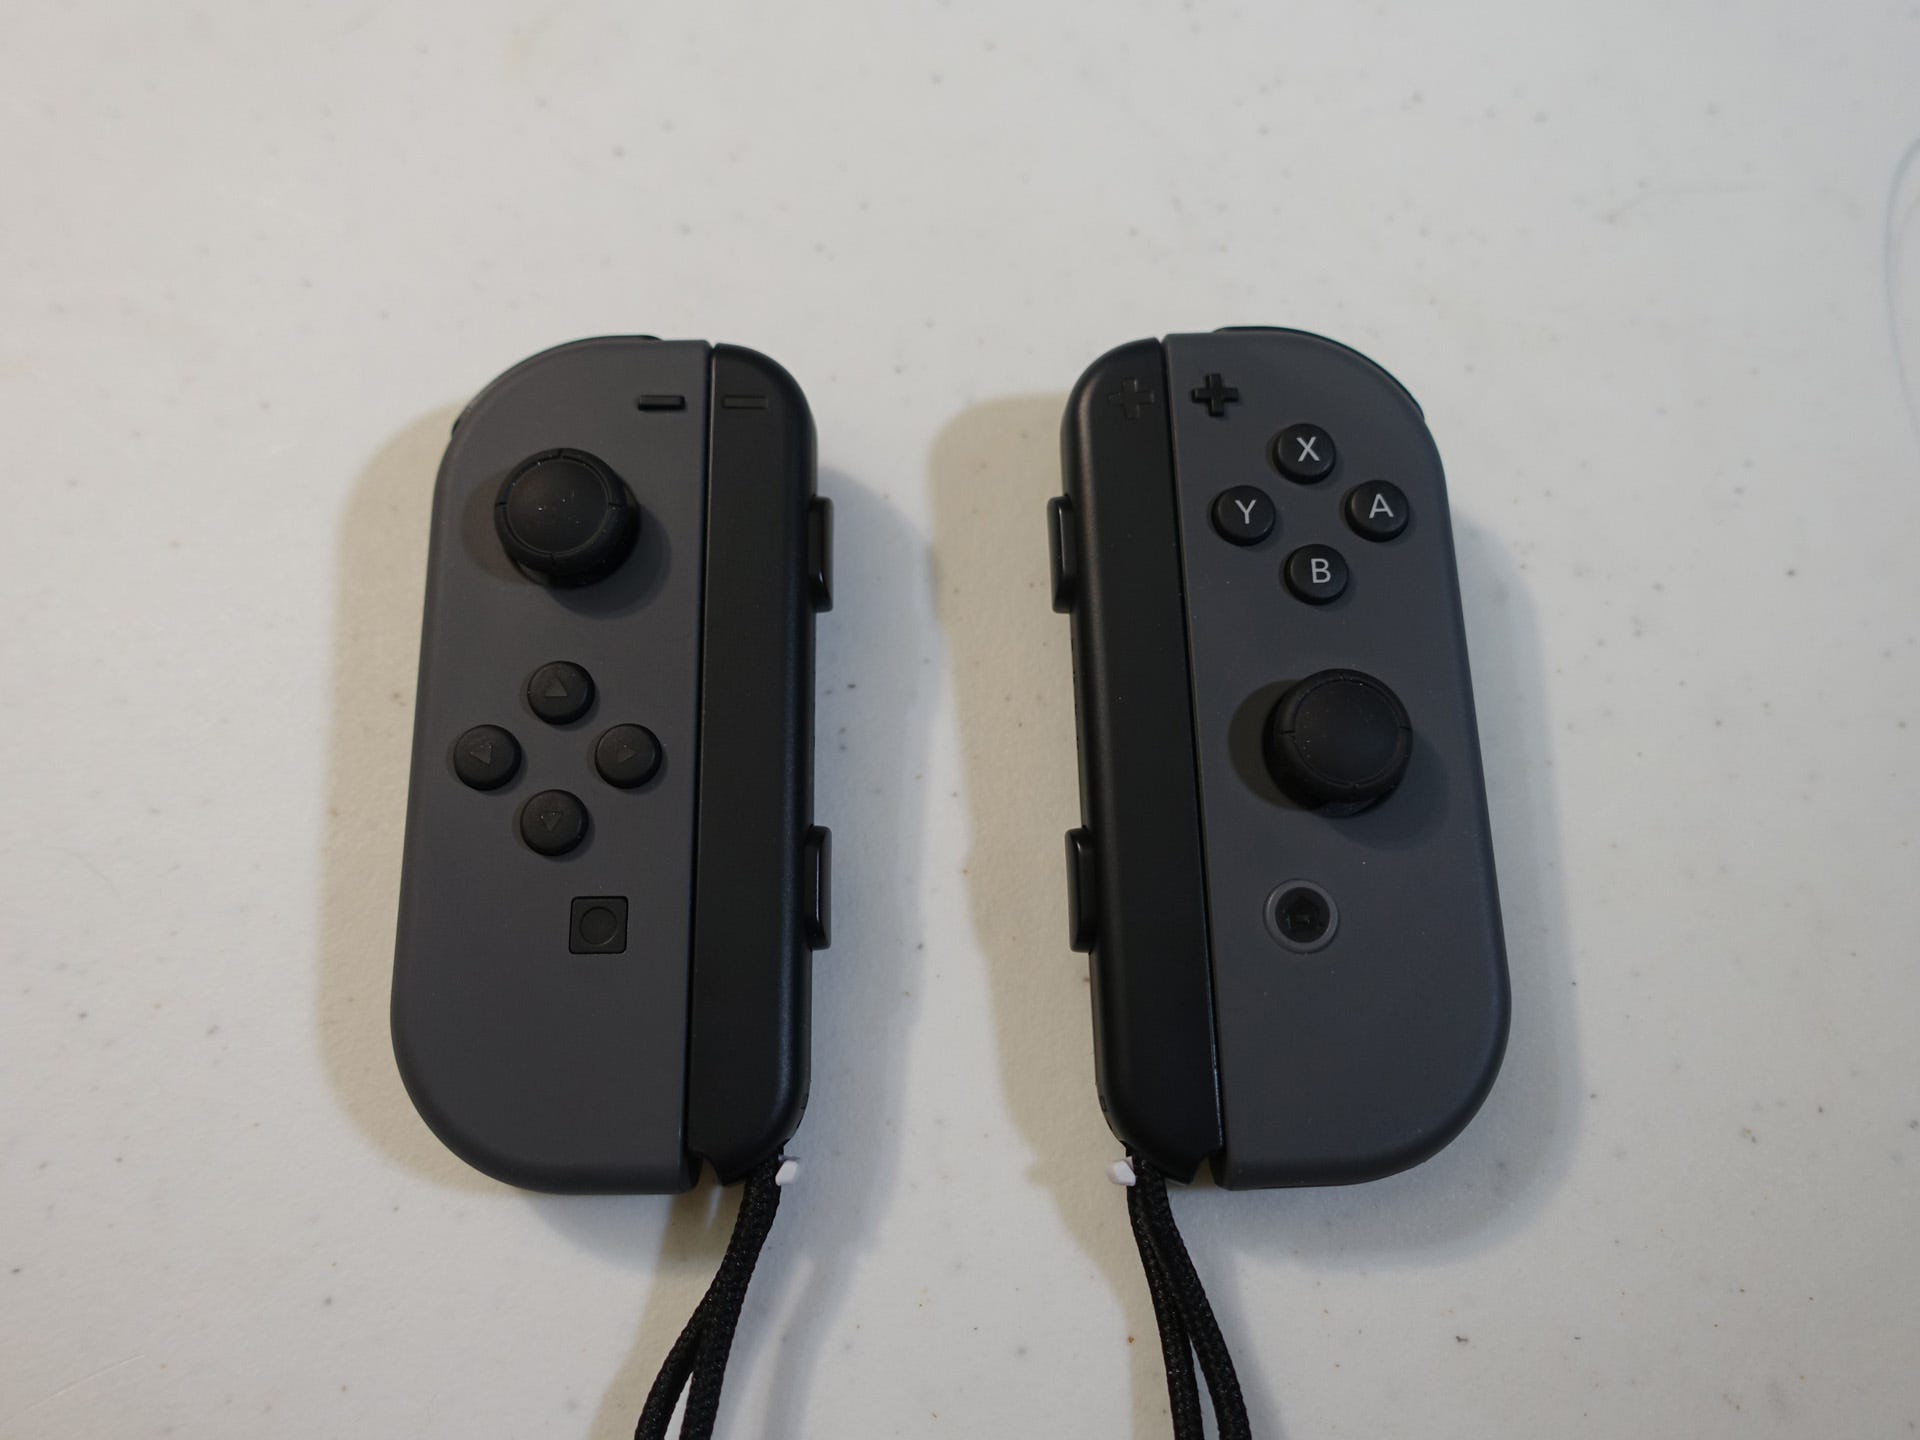
Joy-Con L has one analog stick, the directional buttons, the Minus button, L/ZL shoulder buttons, and the Capture button for taking a picture of whatever's on the Switch's screen at the time. Joy-Con R has the X/Y/B/A buttons, another analog stick, the Plus button, R/ZR shoulder buttons, and the Home key.
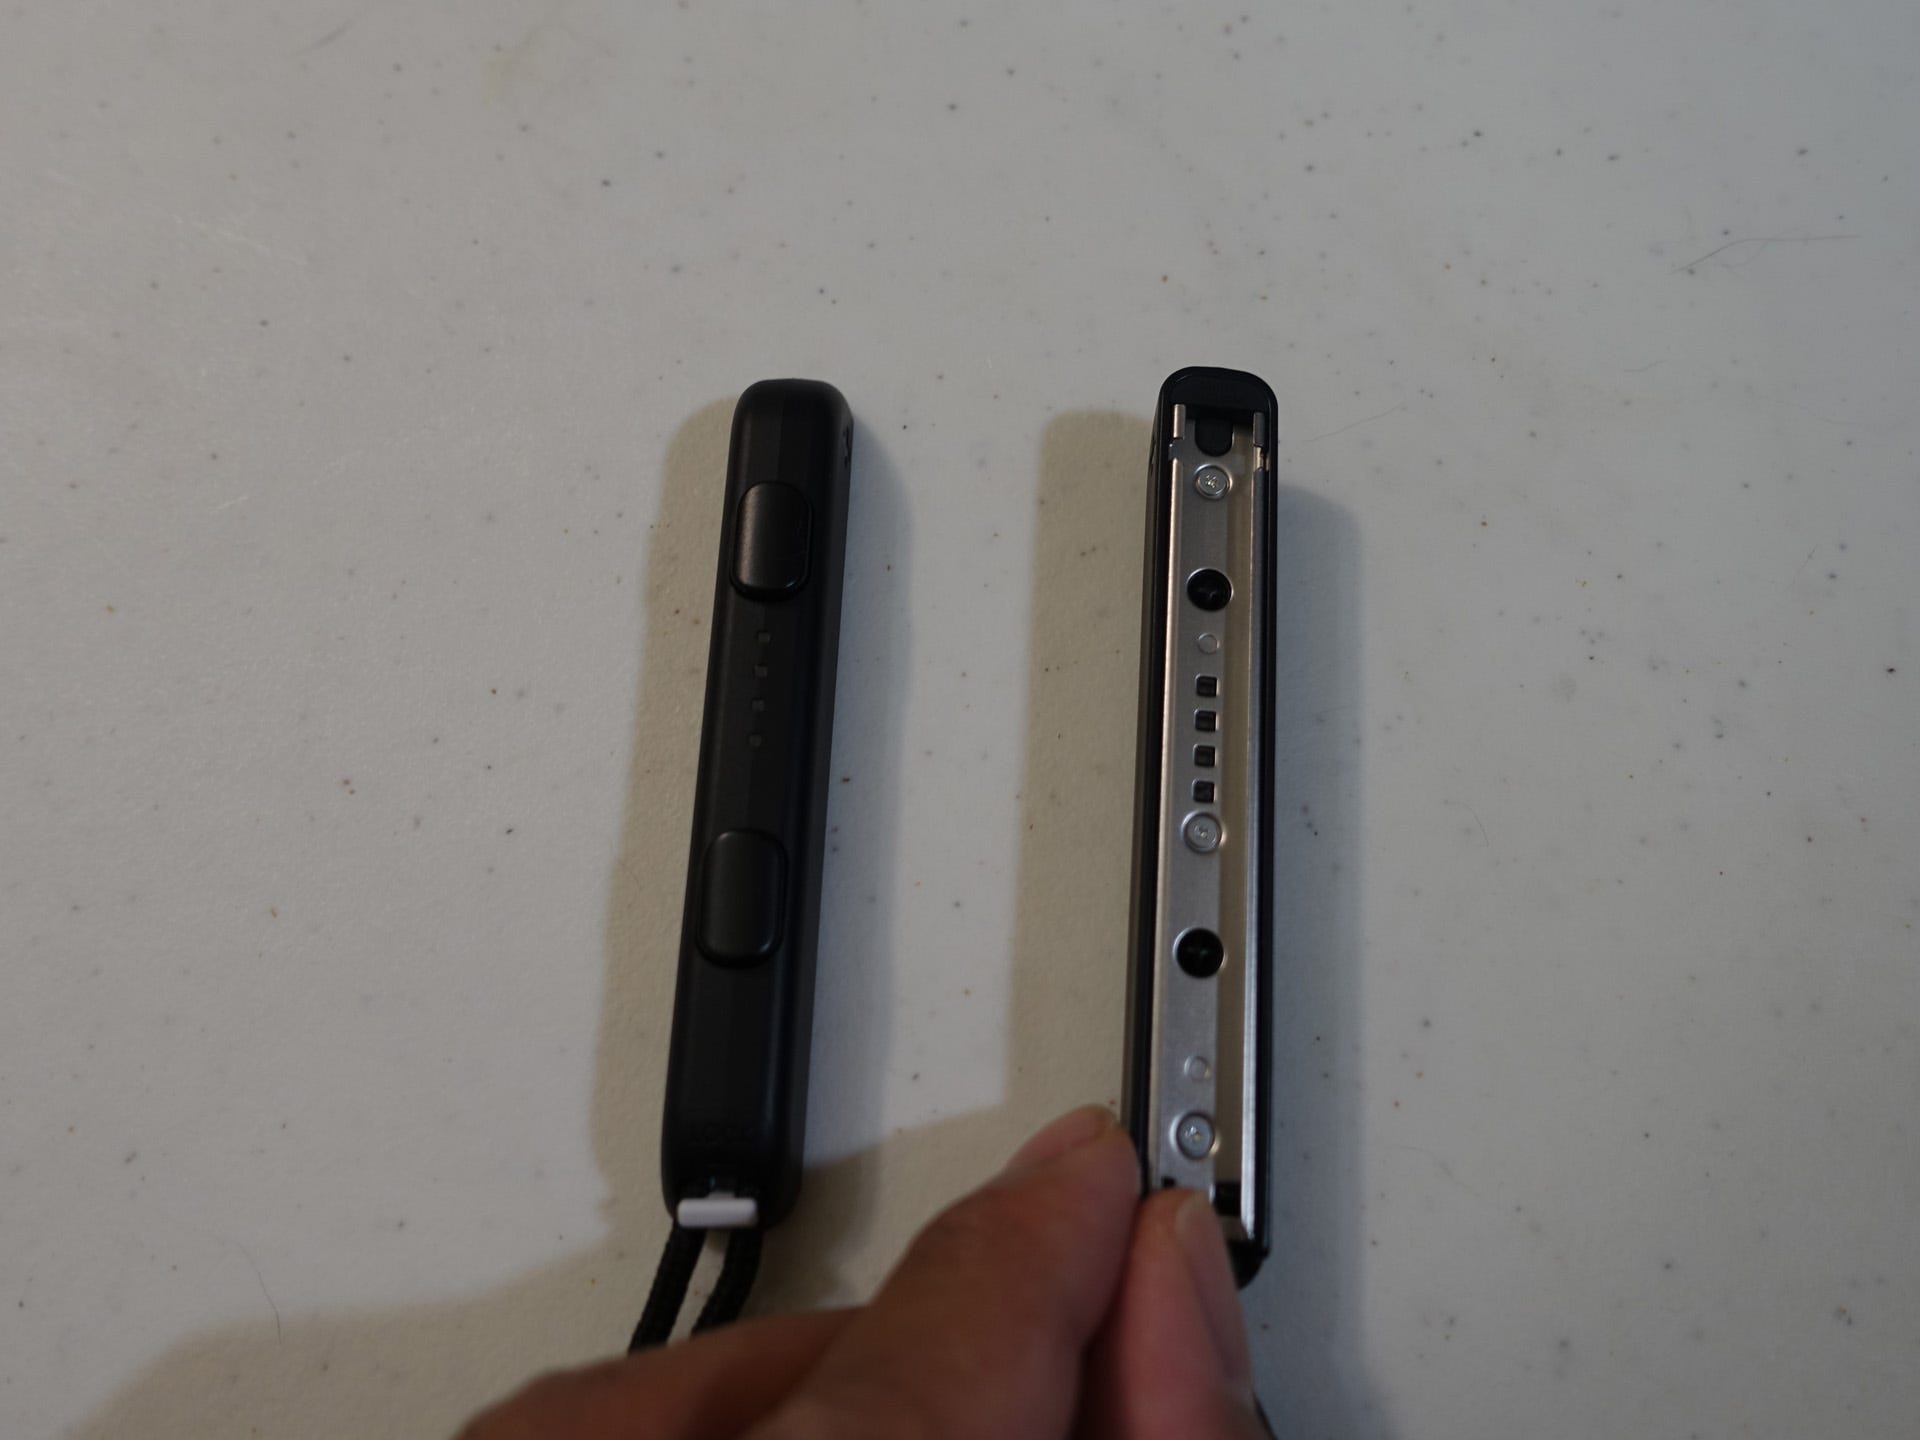
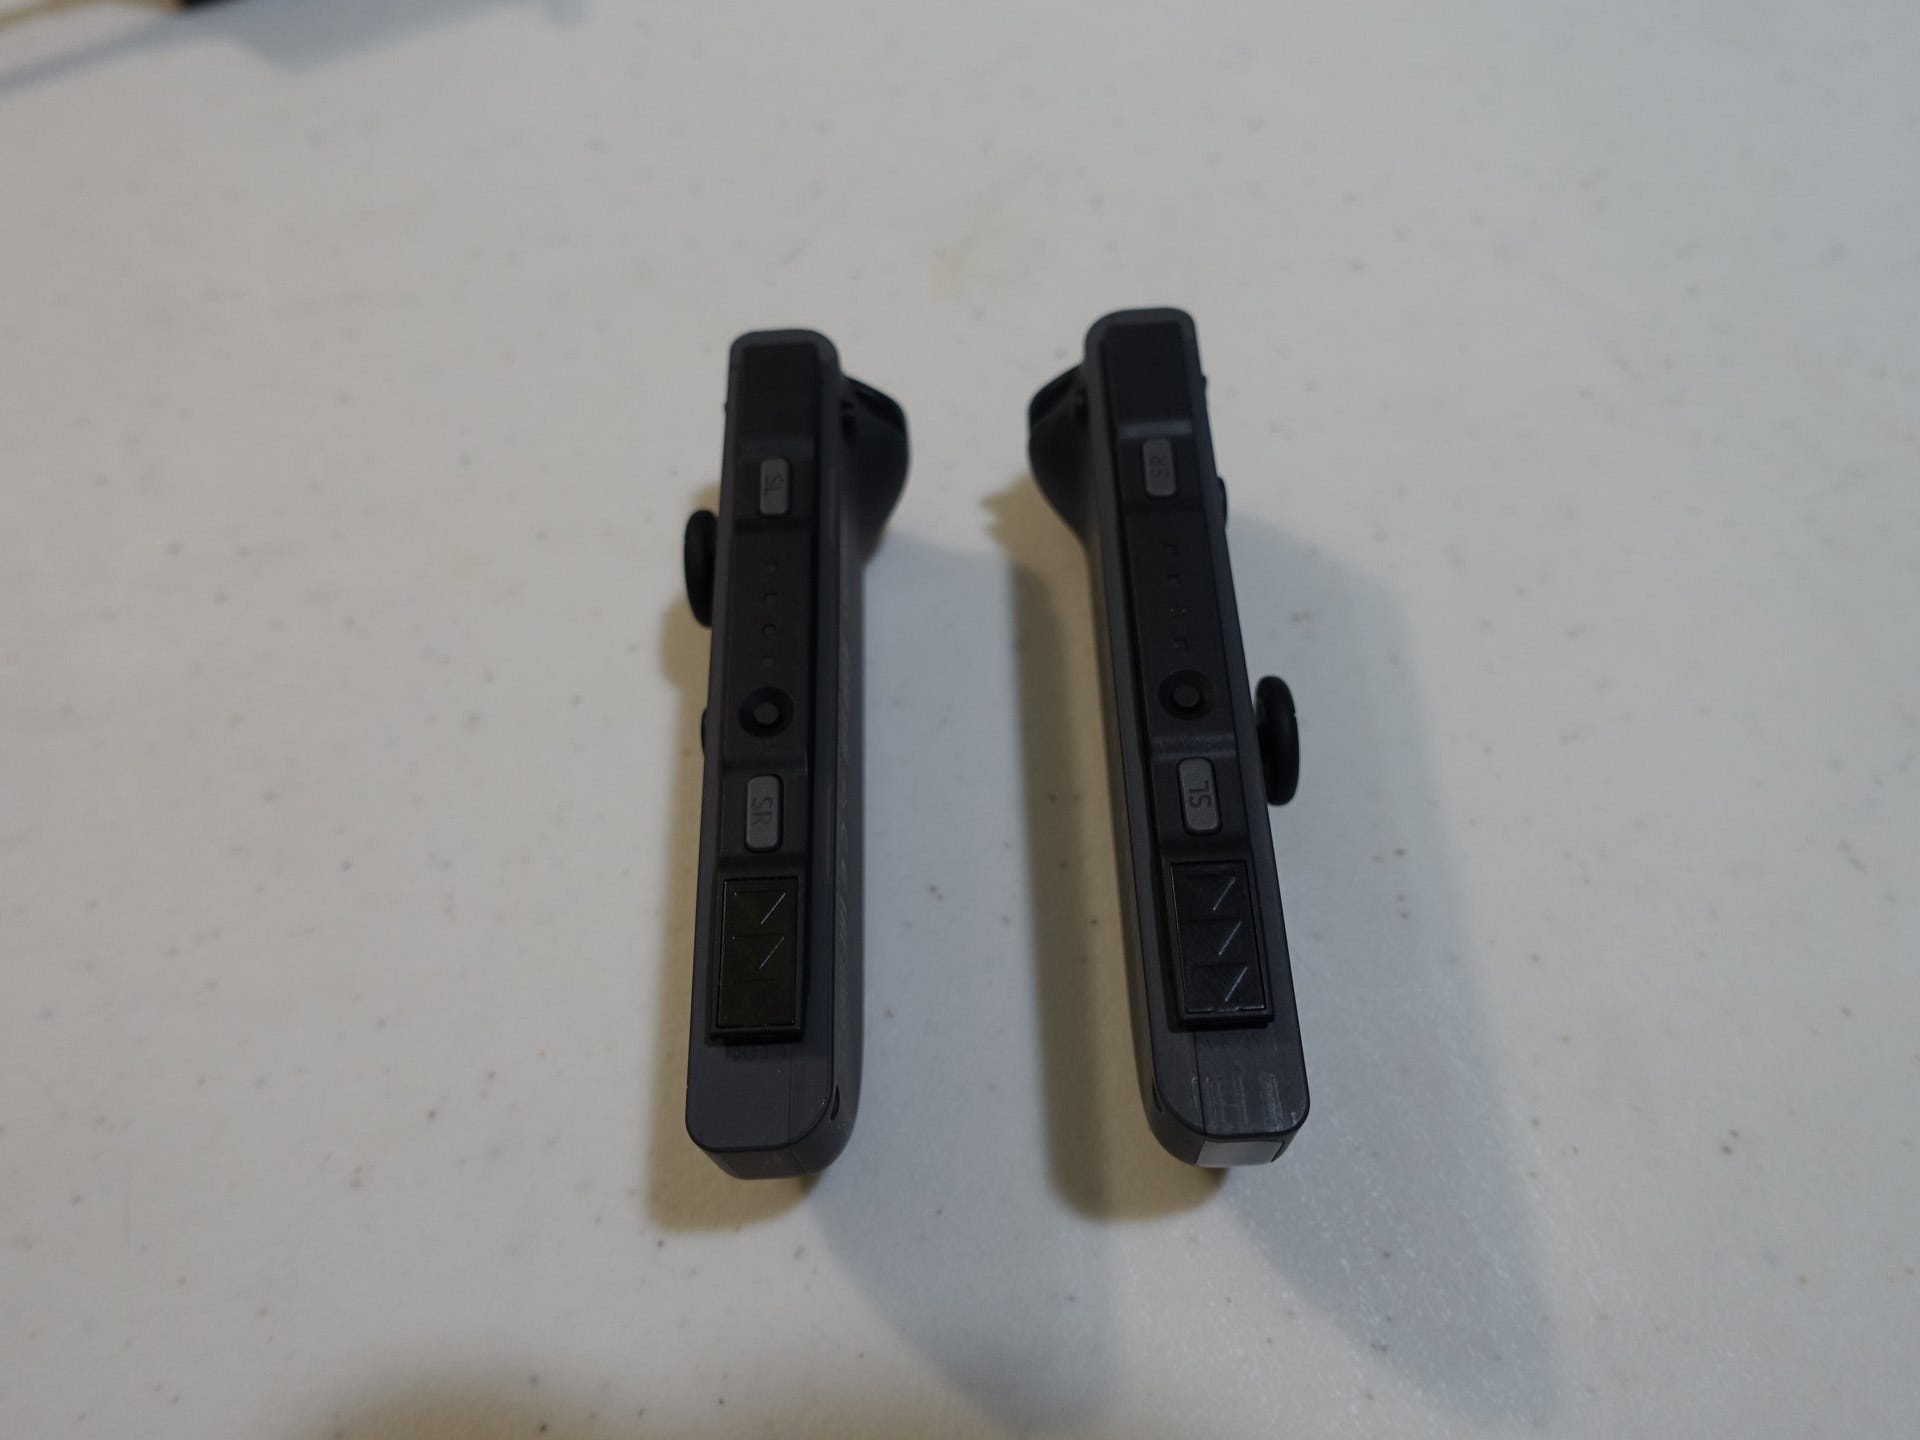
If you're playing local multiplayer where each person has a single Joy-Con, the included Joy-Con Straps fill out the controllers, making them slightly bigger. The Straps are identical; both have a plus and minus side, simply requiring you to match the symbols with your respective Joy-Con. Removing the Joy-Con Straps once attached isn't as easy as it could be. You hit the Joy-Con release button - the tiny circular buttons on the rear of each Joy-Con, near the shoulder buttons - and depress the white Lock switch at the bottom of each Strap. The connection is a bit snug and I already tore a nail trying to detach one.
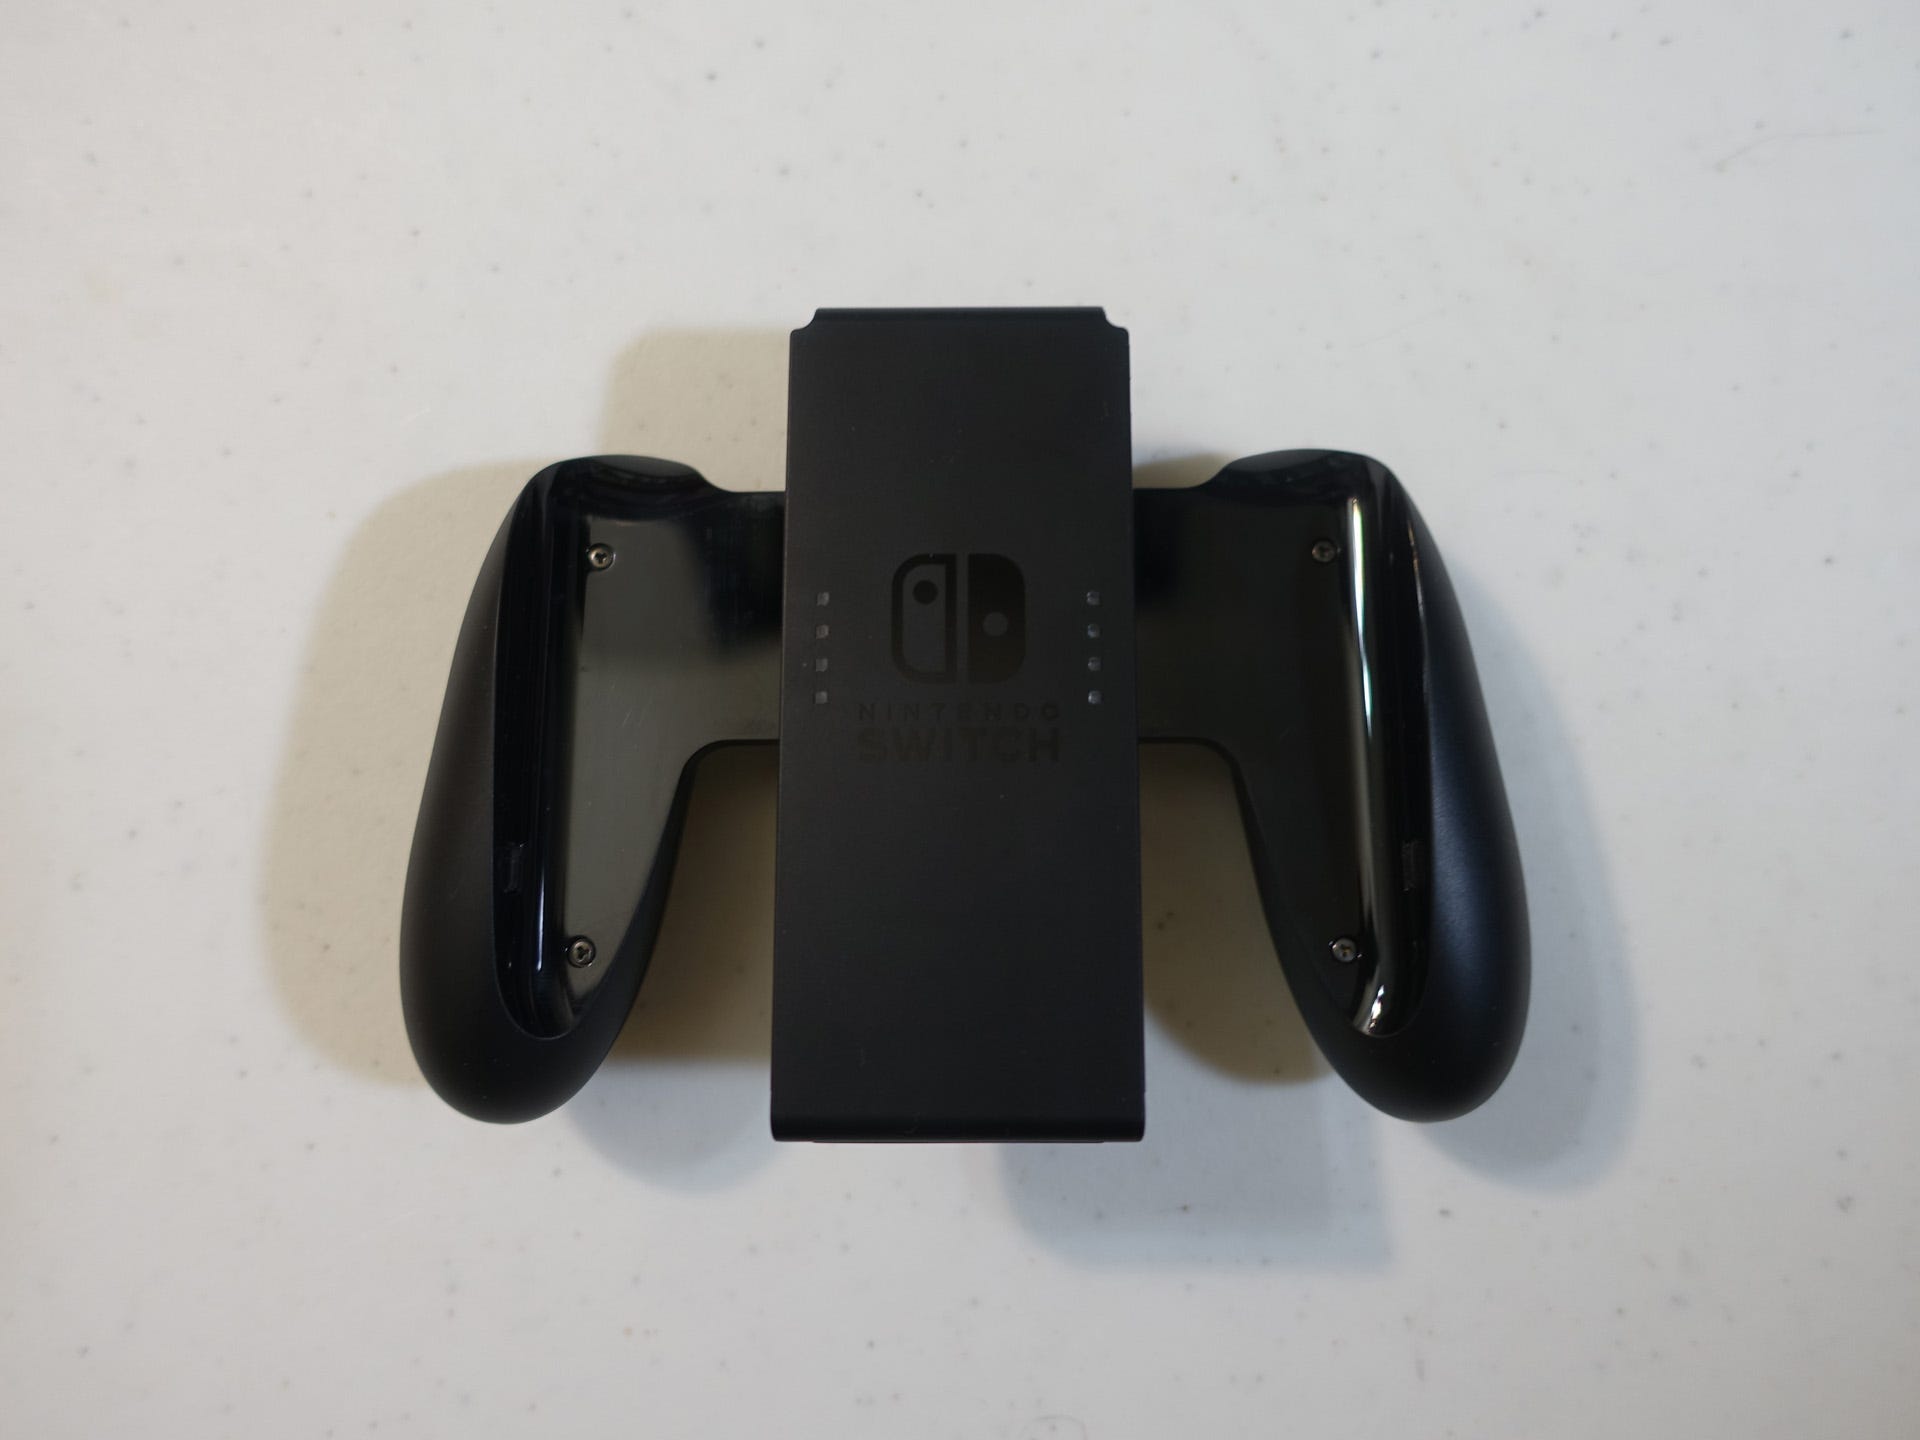
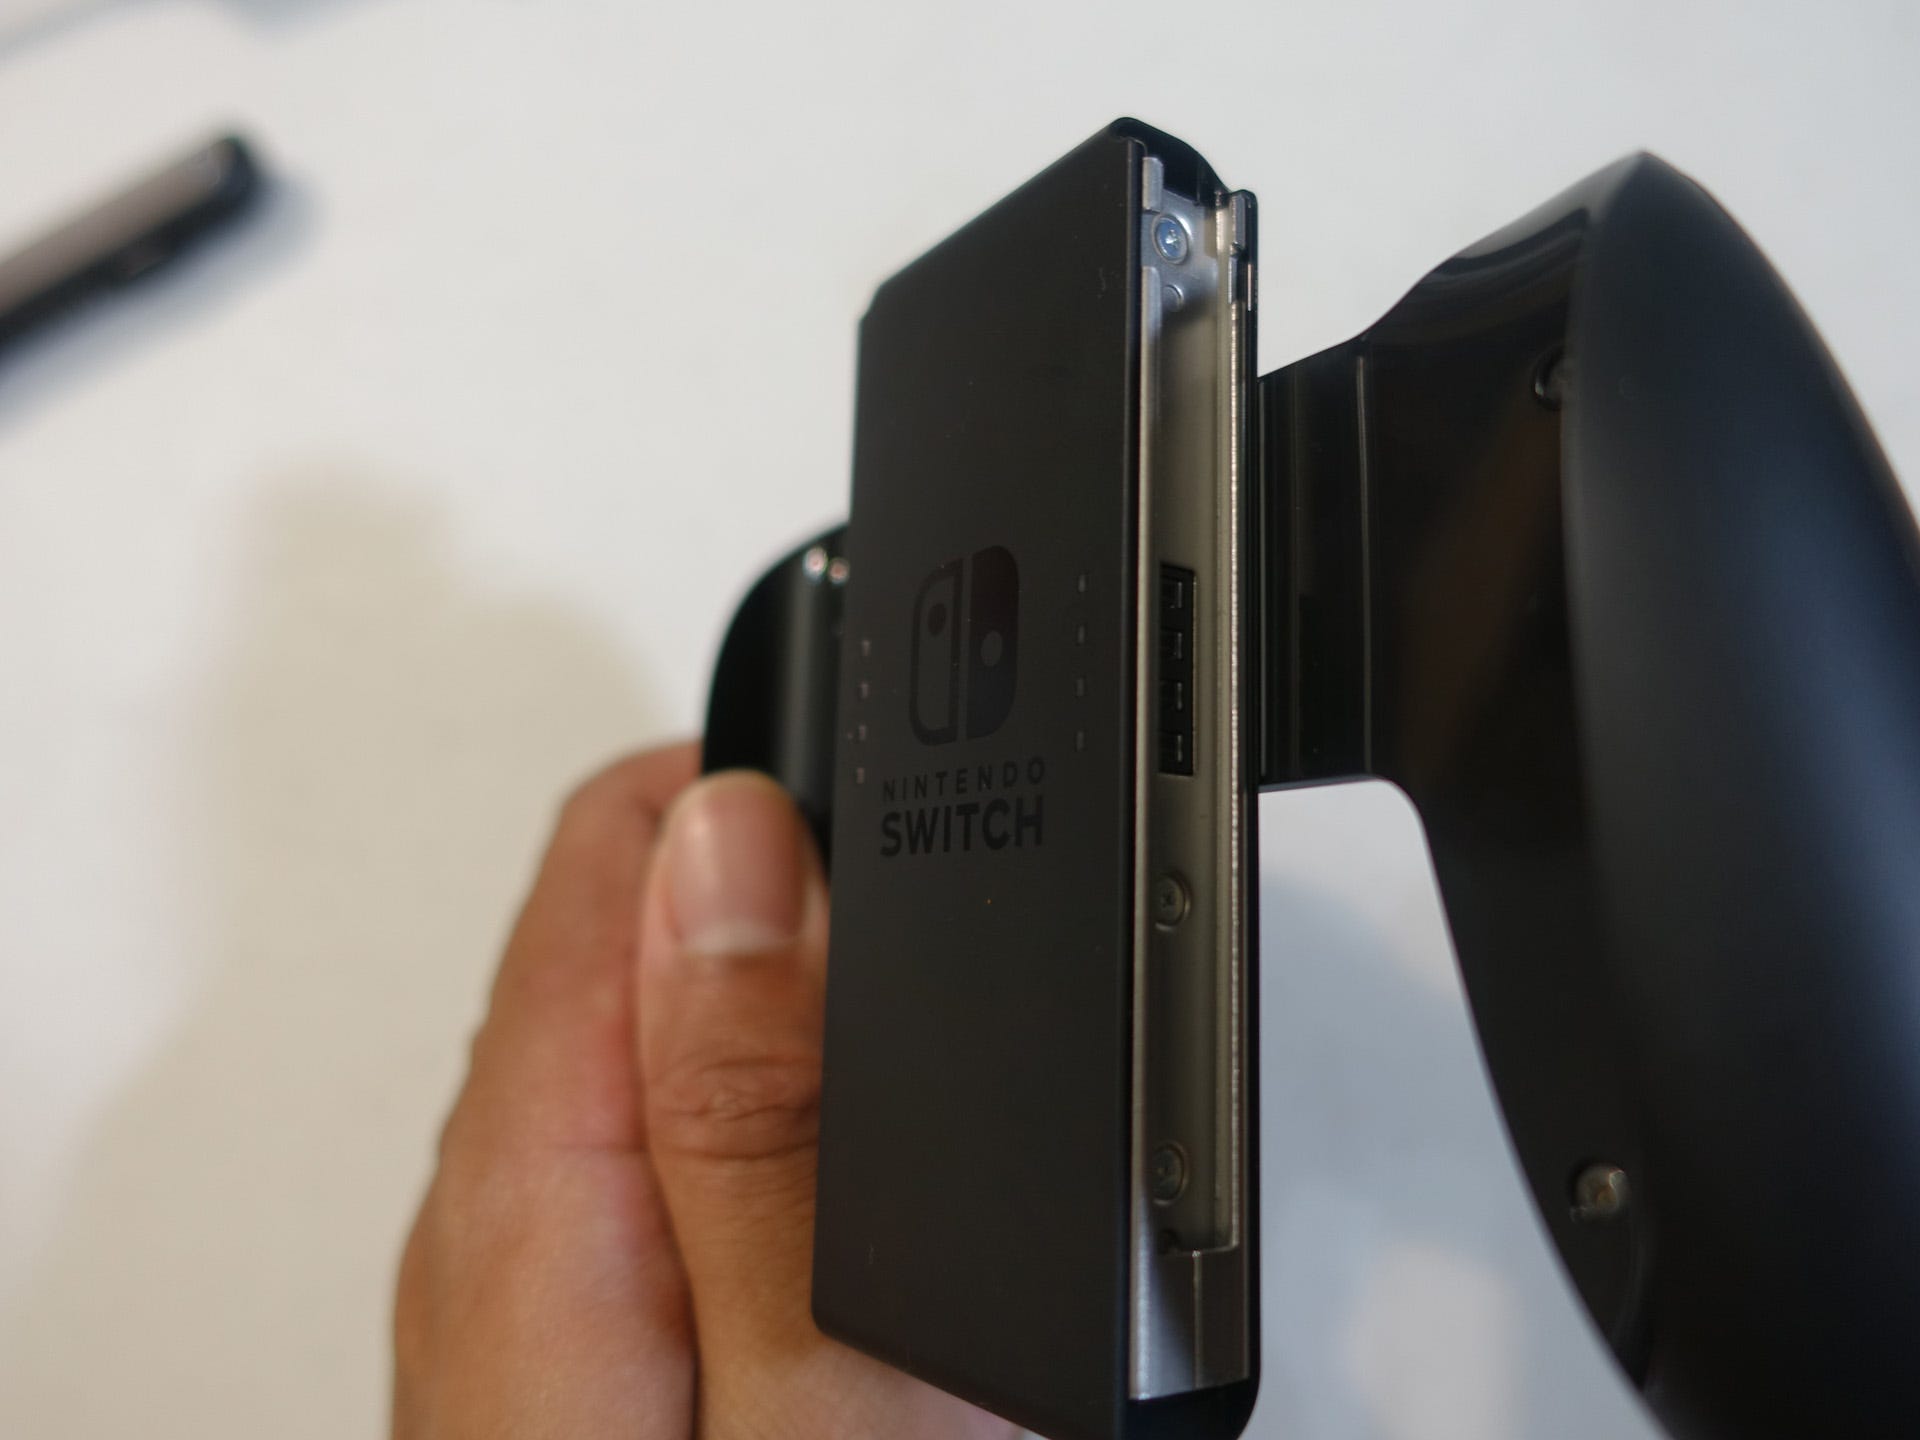

The Joy-Con Grip is simply a plastic and metal shell. The Joy-Cons slide into the shell to work like a normal controller. You don't need to use the Grip; the Joy-Cons work the same regardless of if they're attached to the Switch, the Grip, or if you're holding them free hand. It's just there to provide a comforting sense of familiarity.
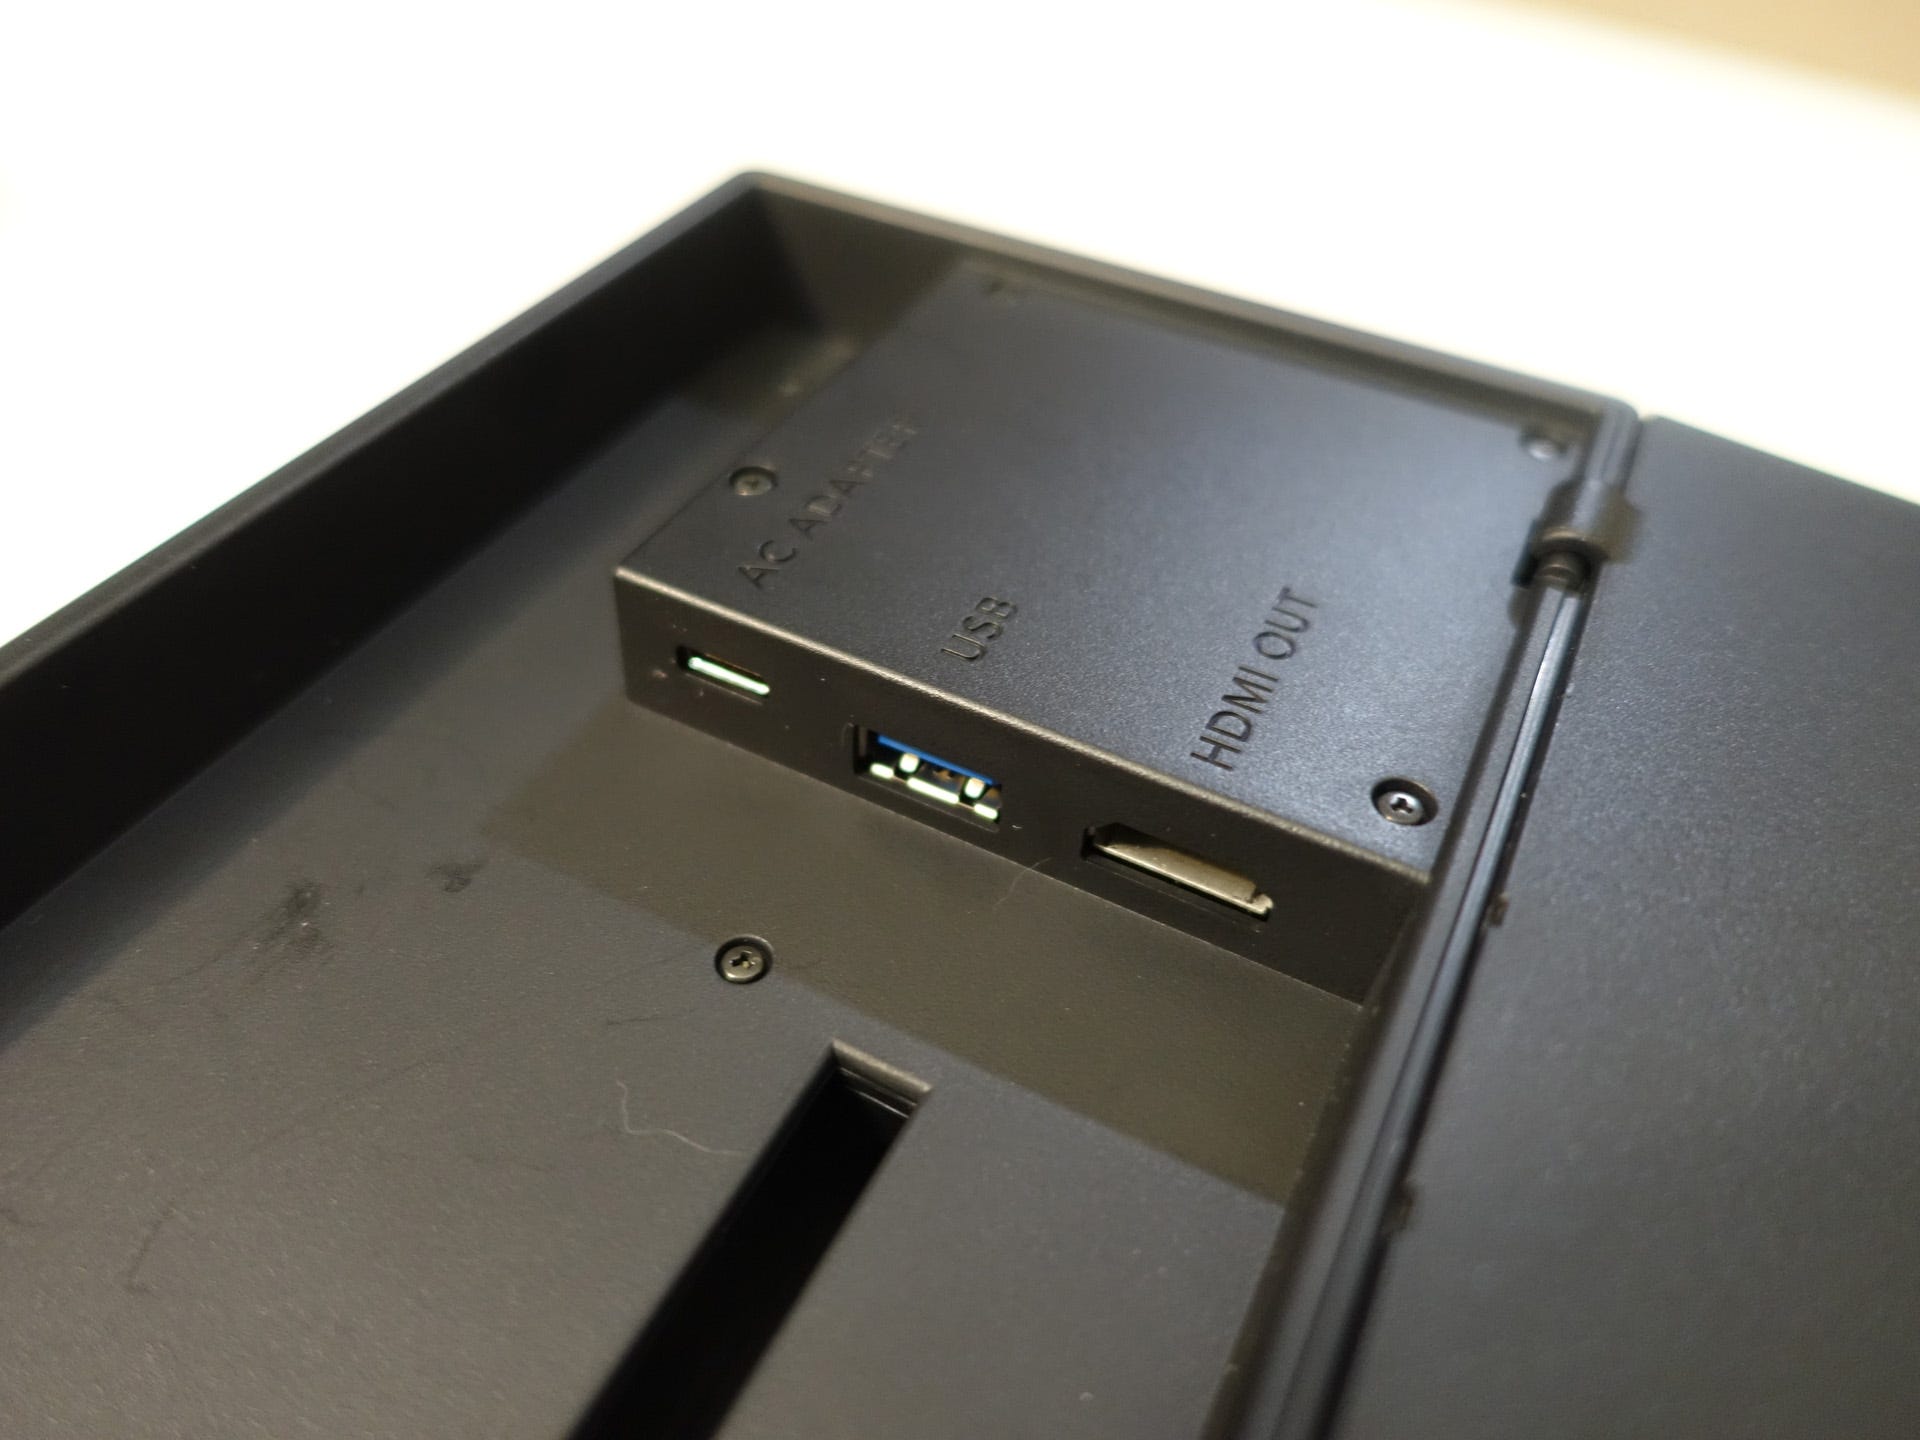
The Switch Dock is up next, feeling a bit flimsy to be truthful. It's mostly a plastic shell. It has a power LED on the front, a groove for the Switch console, and two older USB ports on the rear. A fold-out compartment on the rear holds the female USB-C AC Adapter port, a standard USB port for a Pro Controller or Charging Grip, and HDMI out.
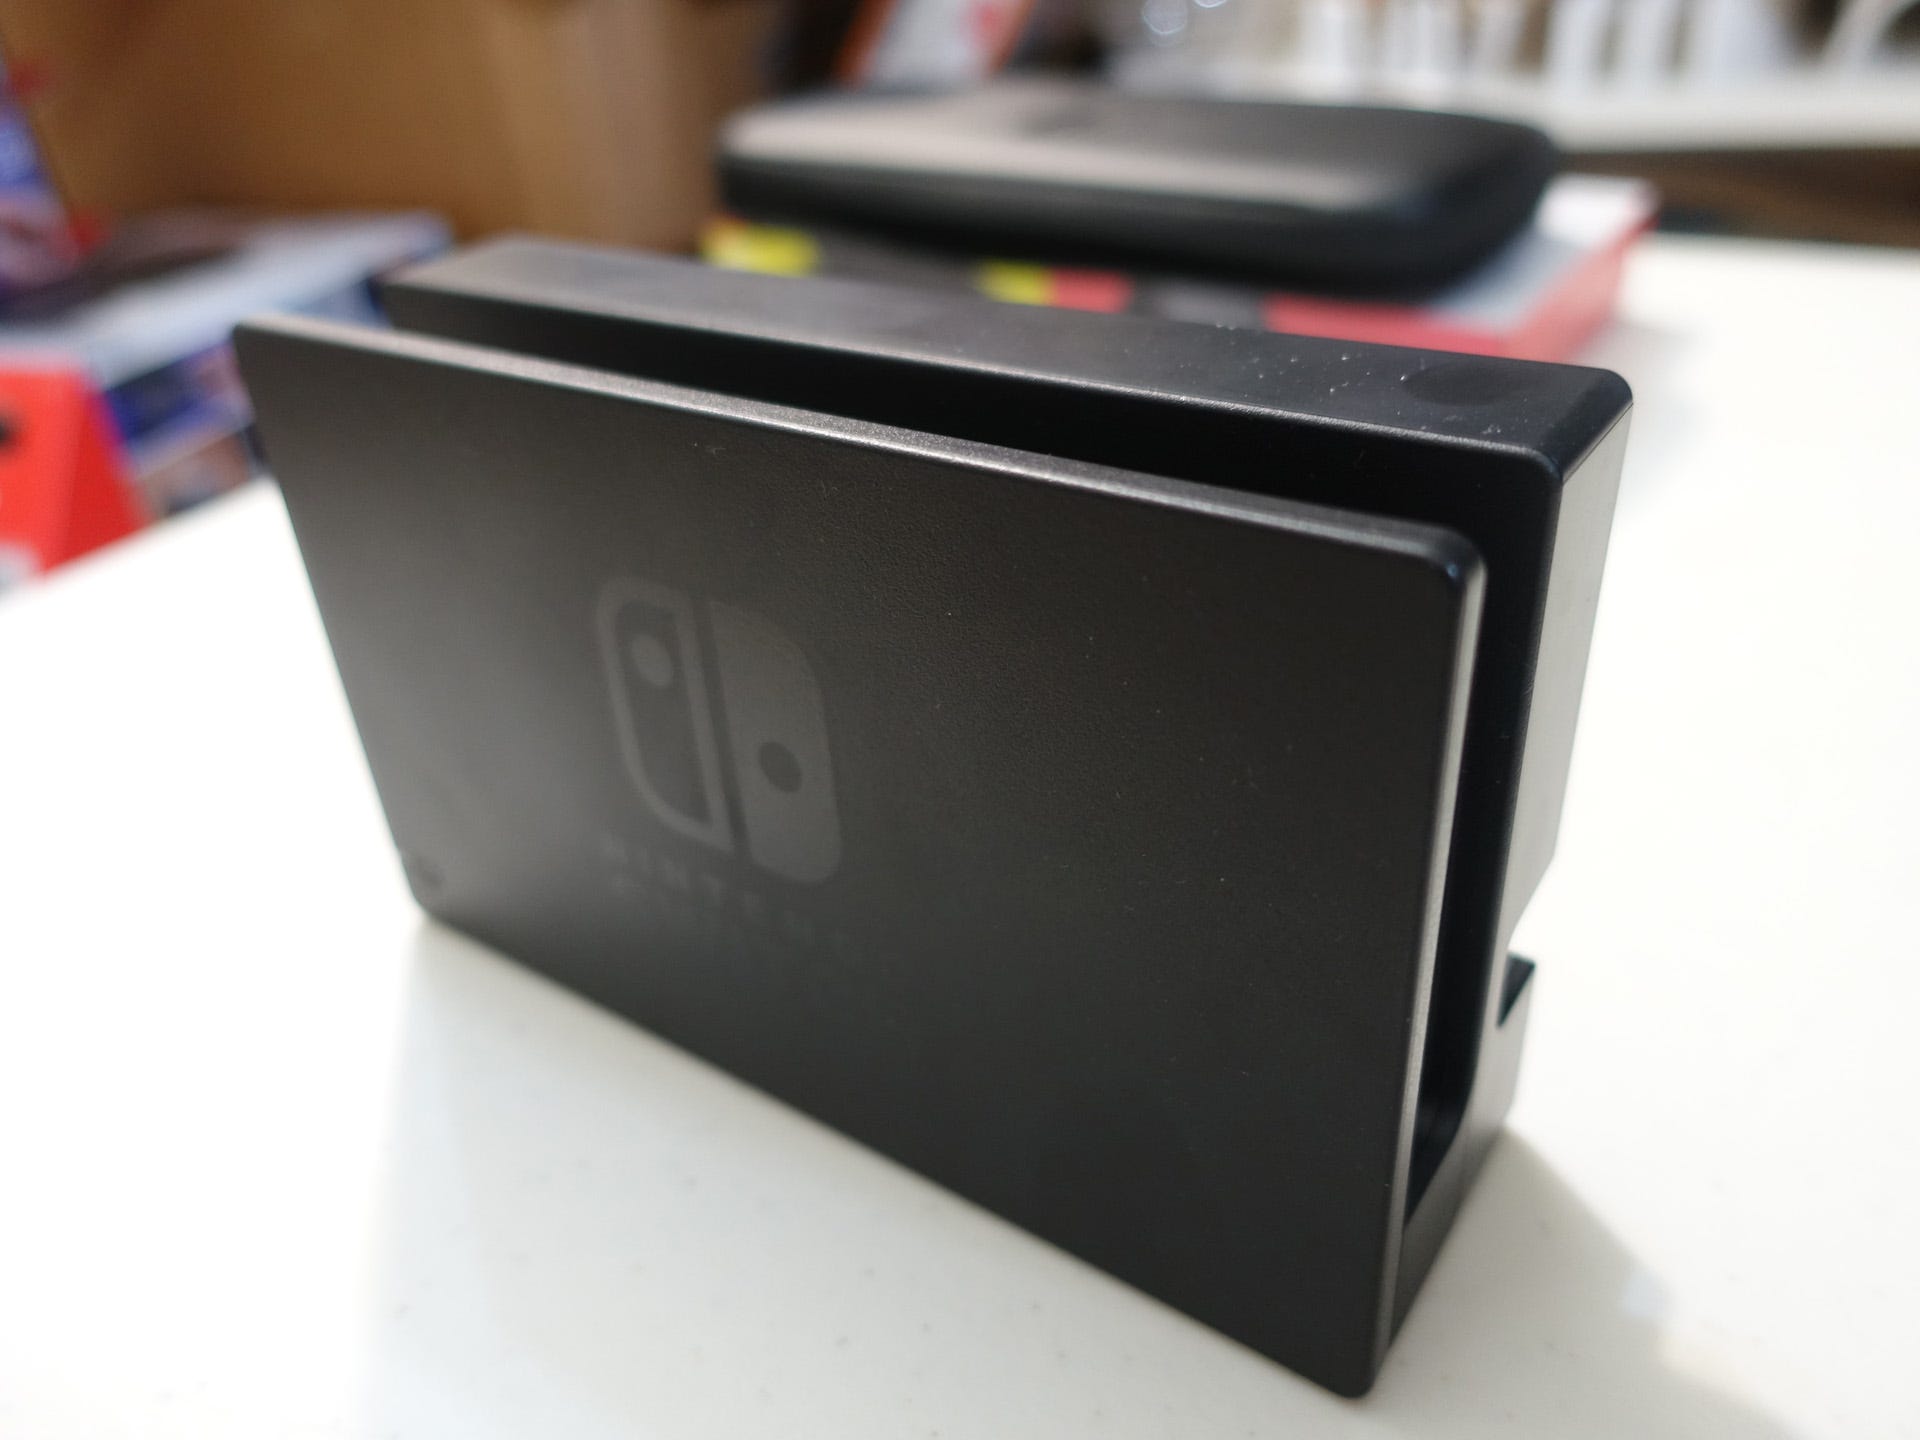
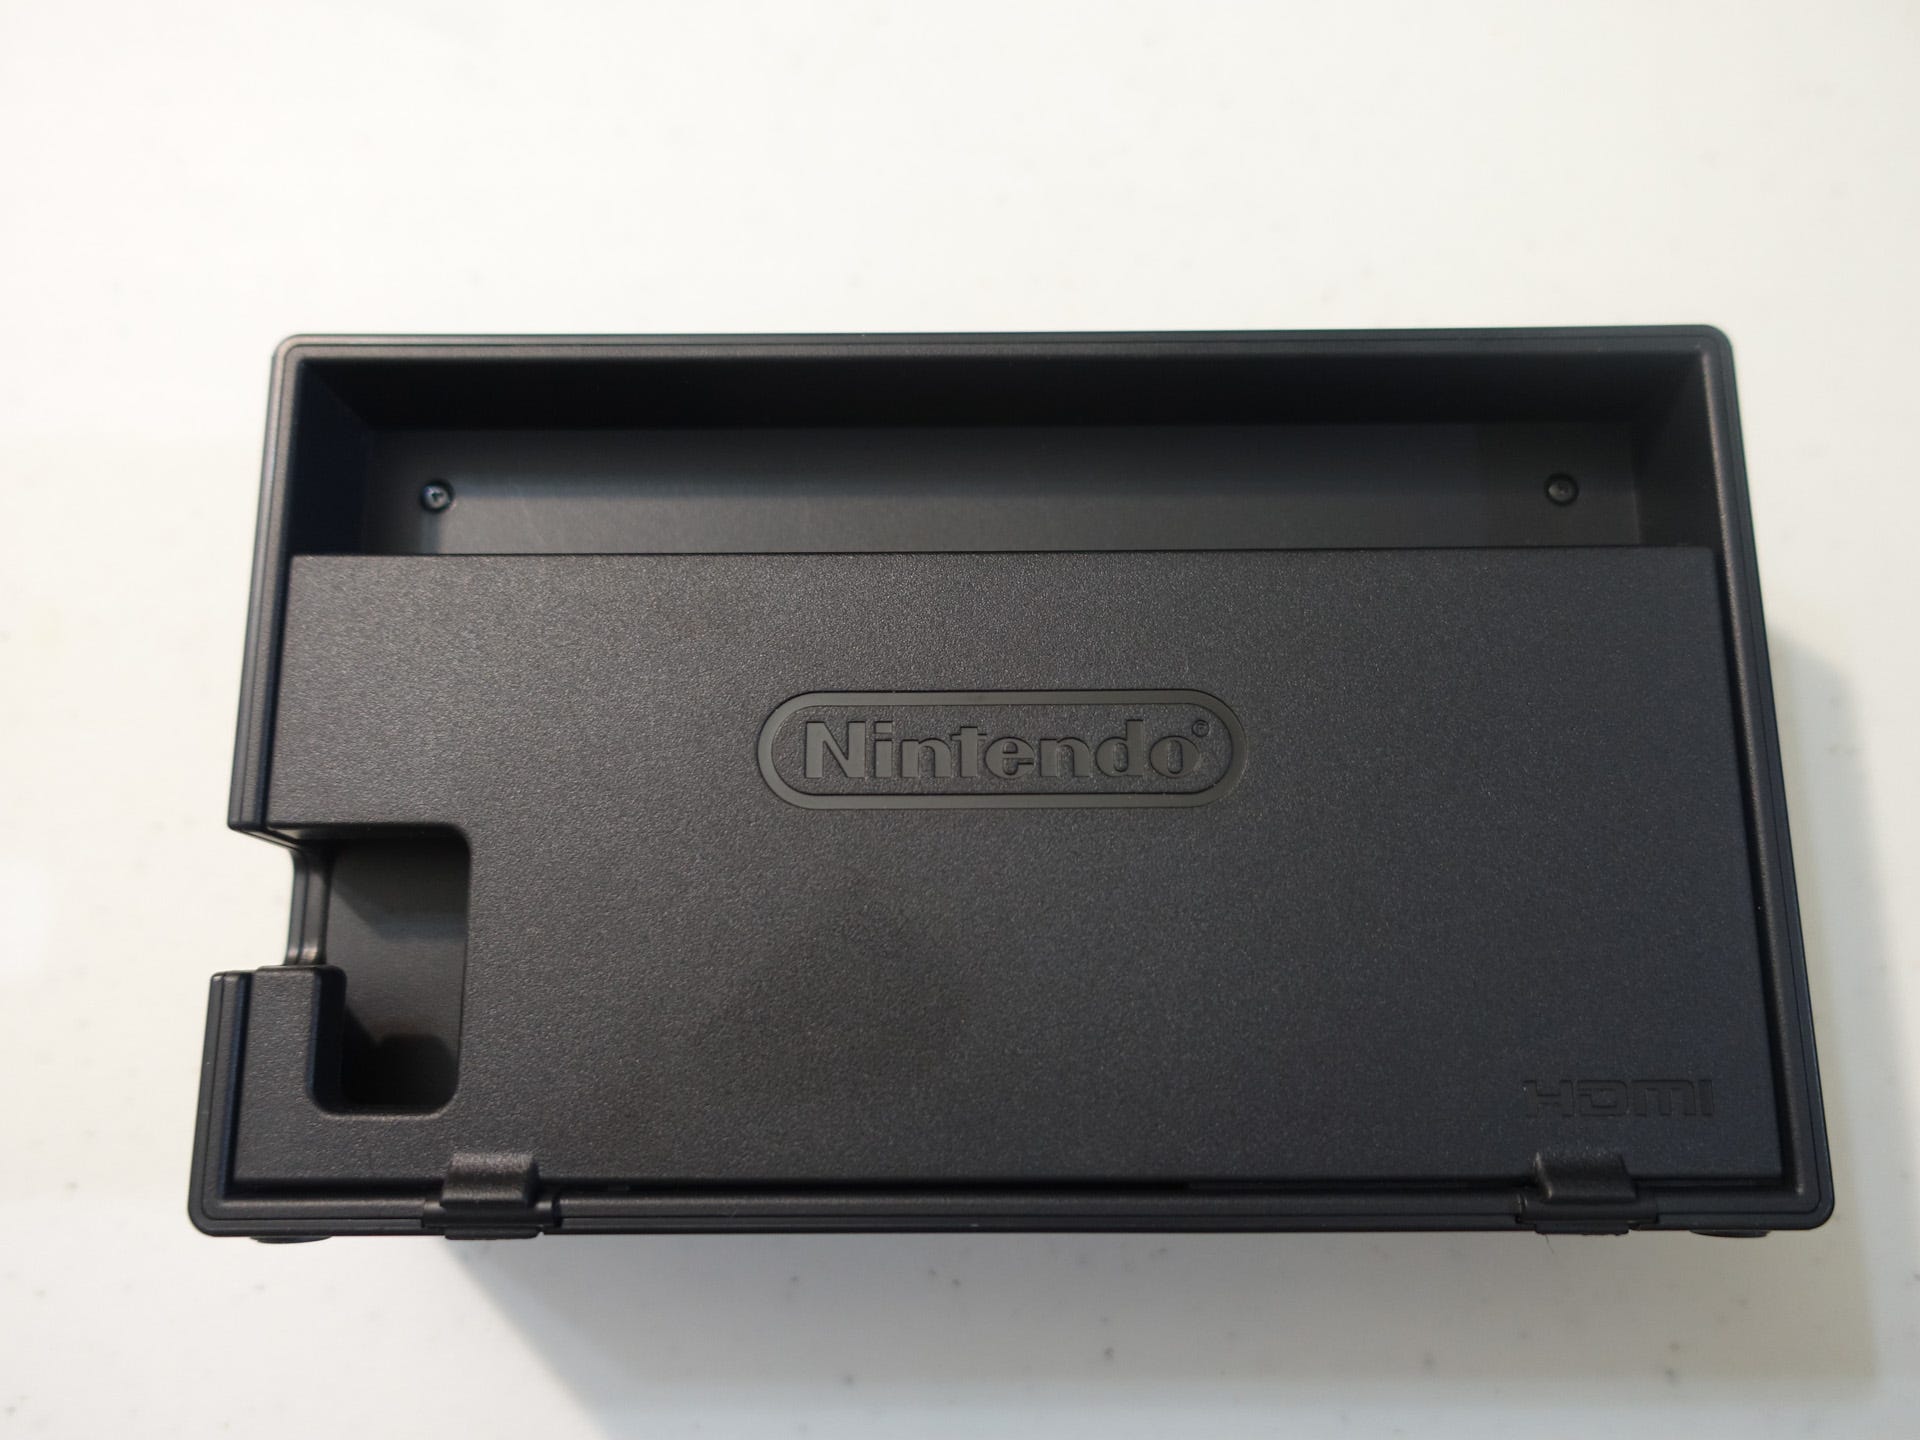
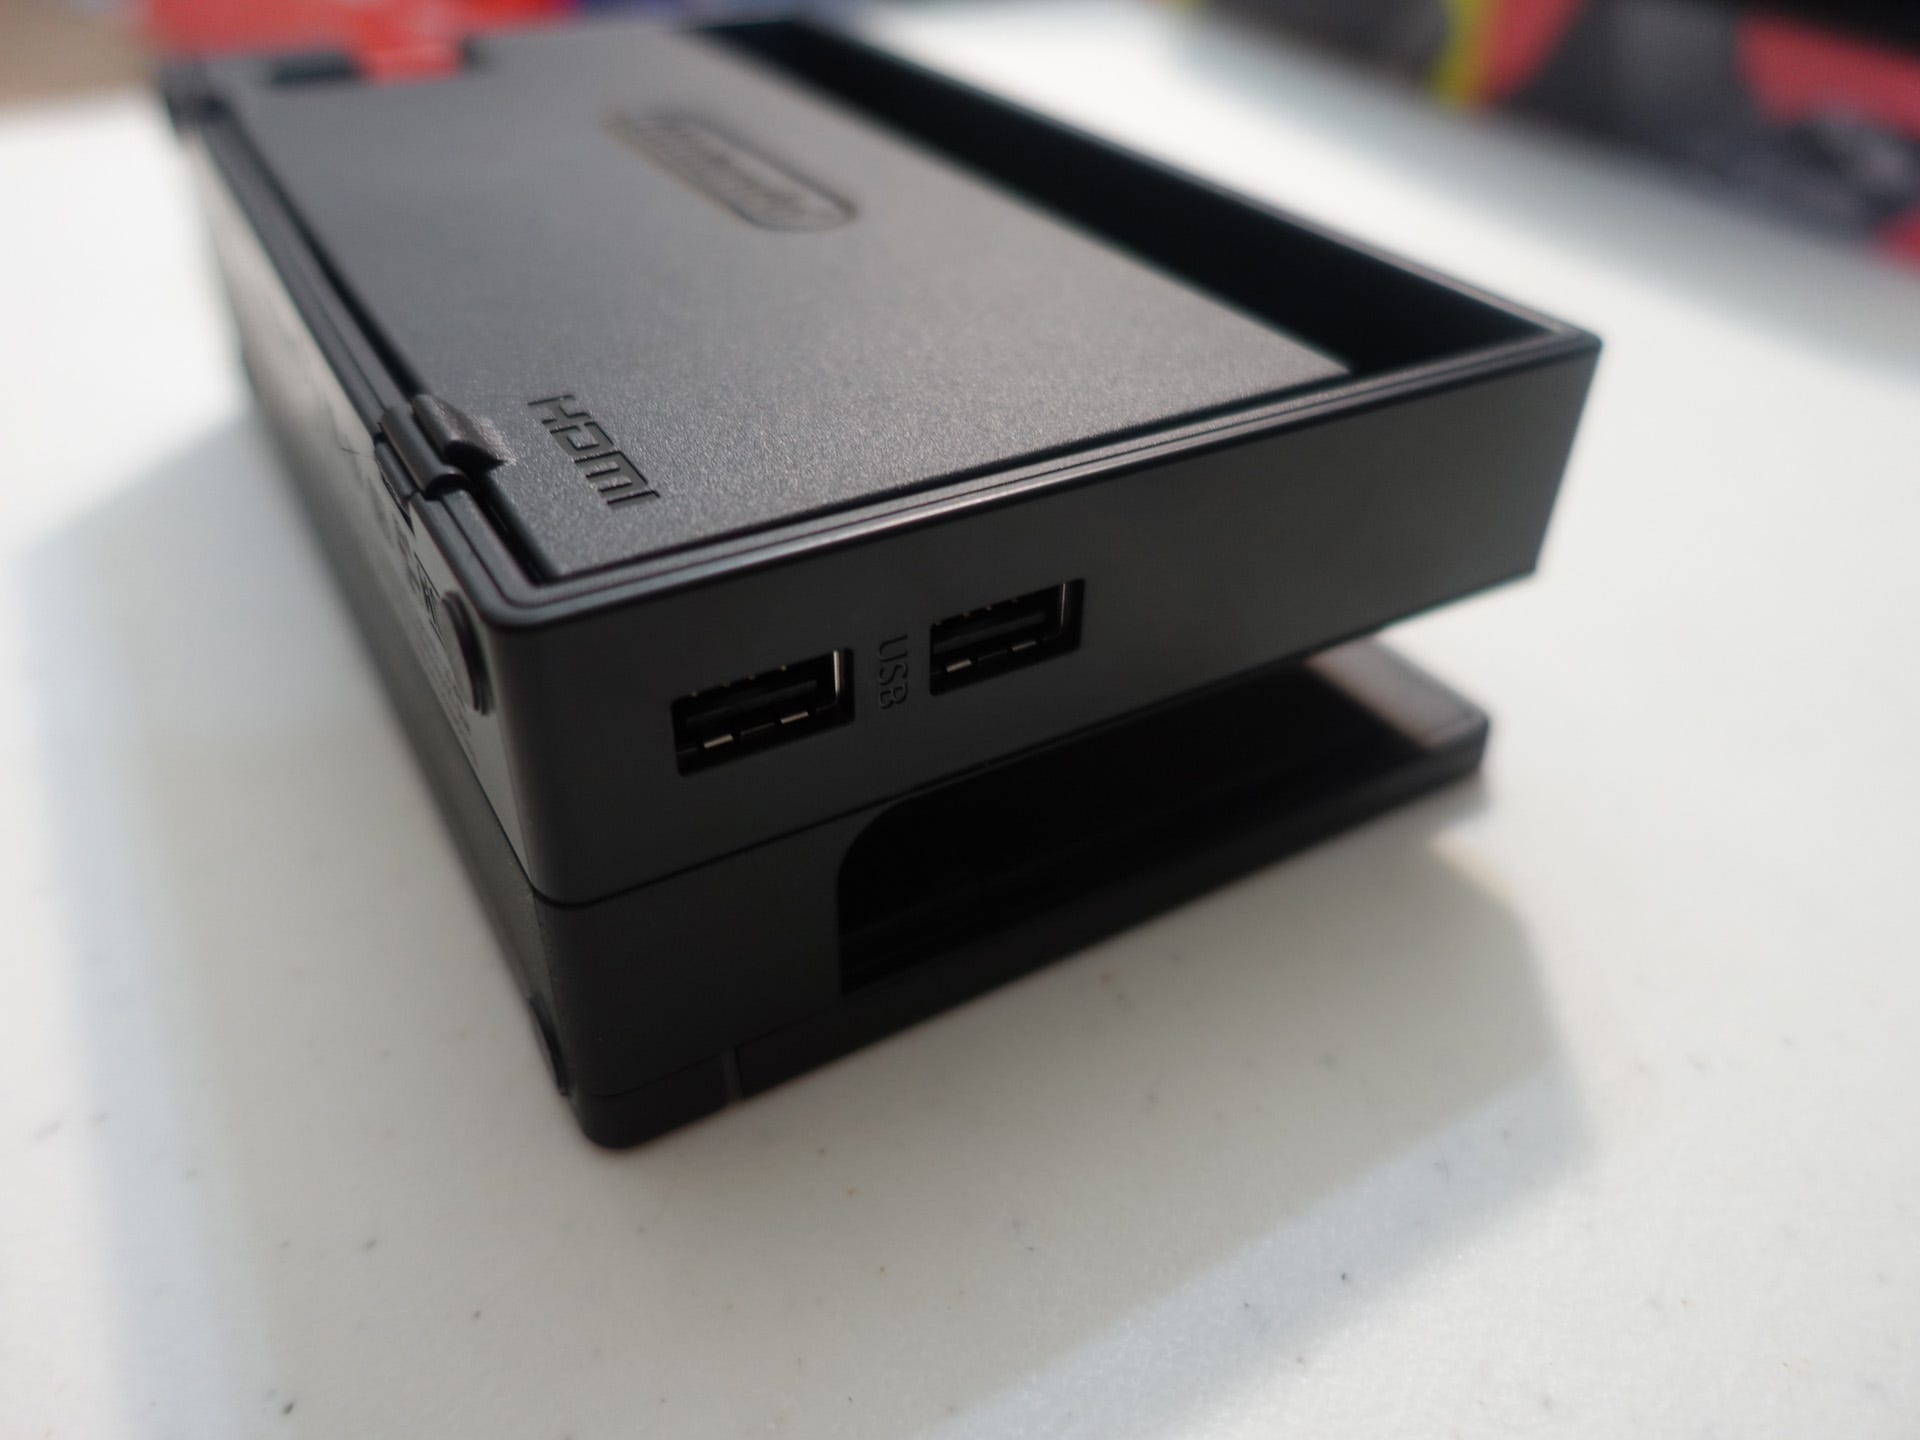
Surprisingly, the Switch Dock doesn't hold onto the system. The docking works great; slide the system into the Dock and it switches over to TV mode seamlessly. But in comparison to the firm and satisfying docking of the Joy-Cons onto the Switch, the Switch just sits there in the Dock. Jostle and tilt the Dock and the Switch can easily fall right out of it. If you have kids or pets, I'd say it's probably best to keep the Dock behind something.
The Switch AC Adapter has a USB-C male plug on one side and a mid-size power plug in vertical configuration, so it should fit fine in most full powerstrips. You cannot separate the USB cable for the plug itself; if you want something that lets you switch between USB and wall power, you need to go third-party.
Switching On The Operating System
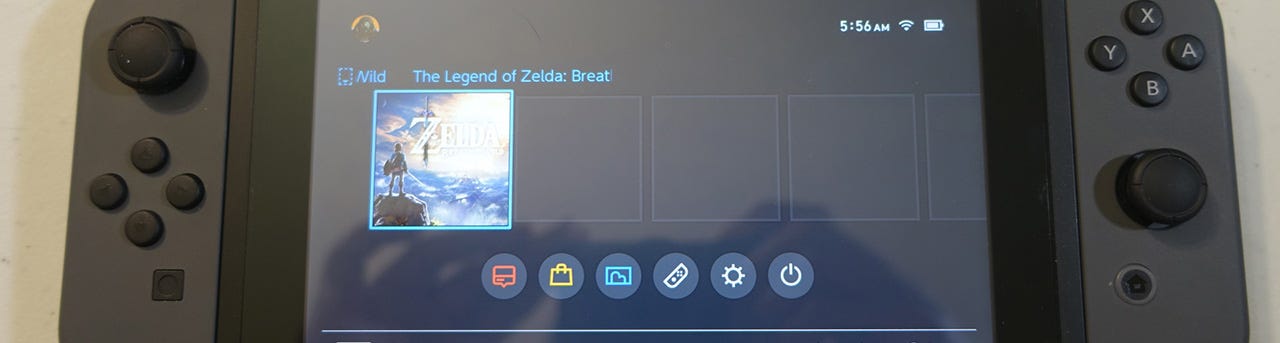
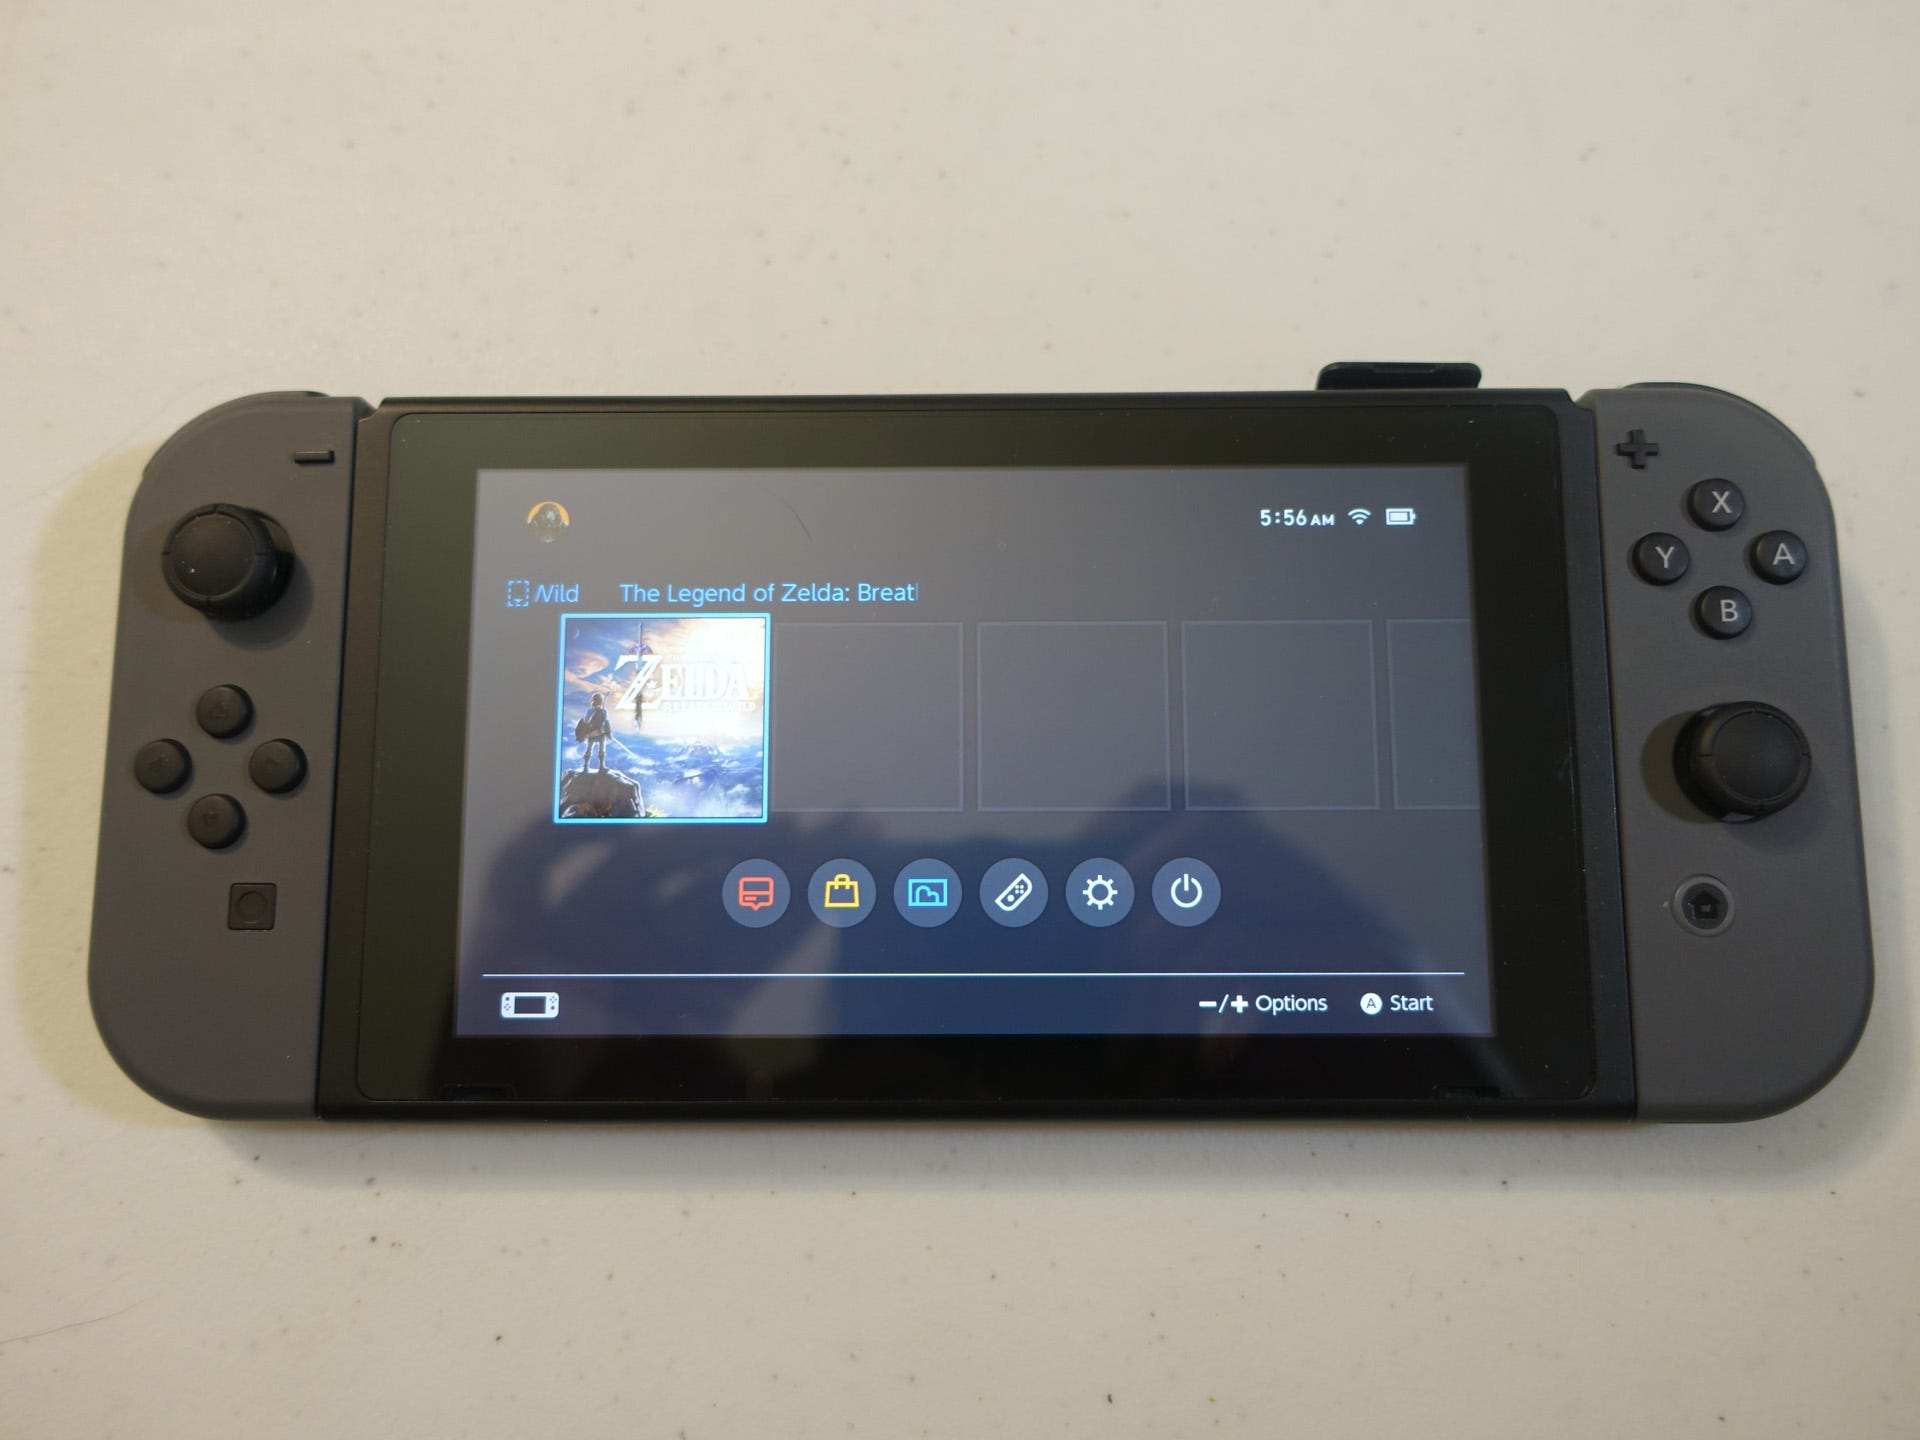
Once you've done the basic setup, which requires you to create a user and connect to the internet, you'll be taken to the Switch Home screen. Here's where the magic happens and it remains the same whether you're in portable or TV mode. We'll start on the top of the screen and work our way down.
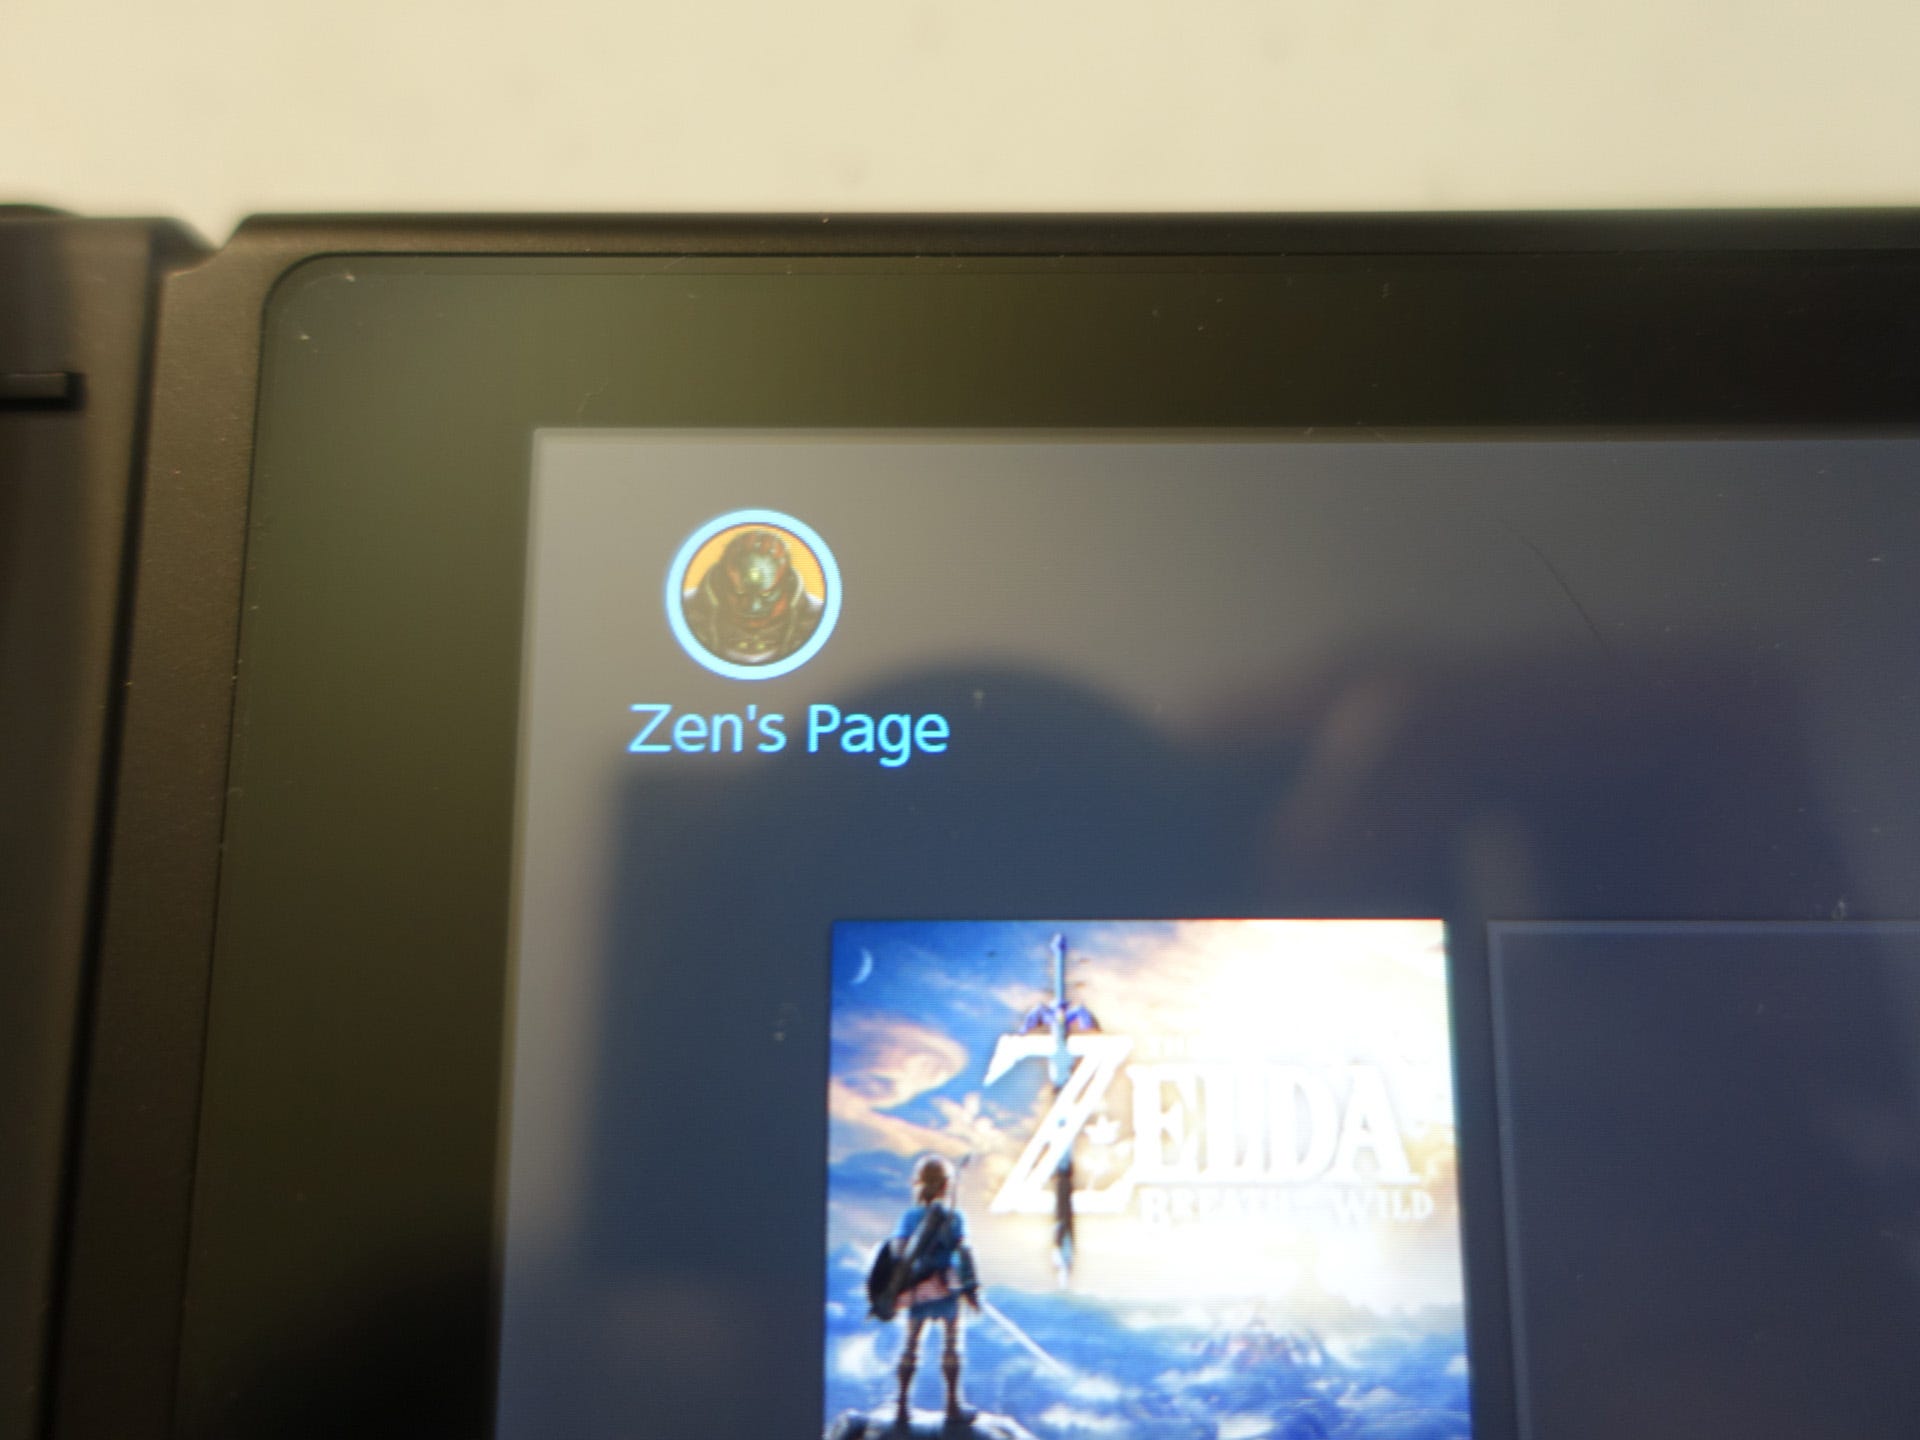
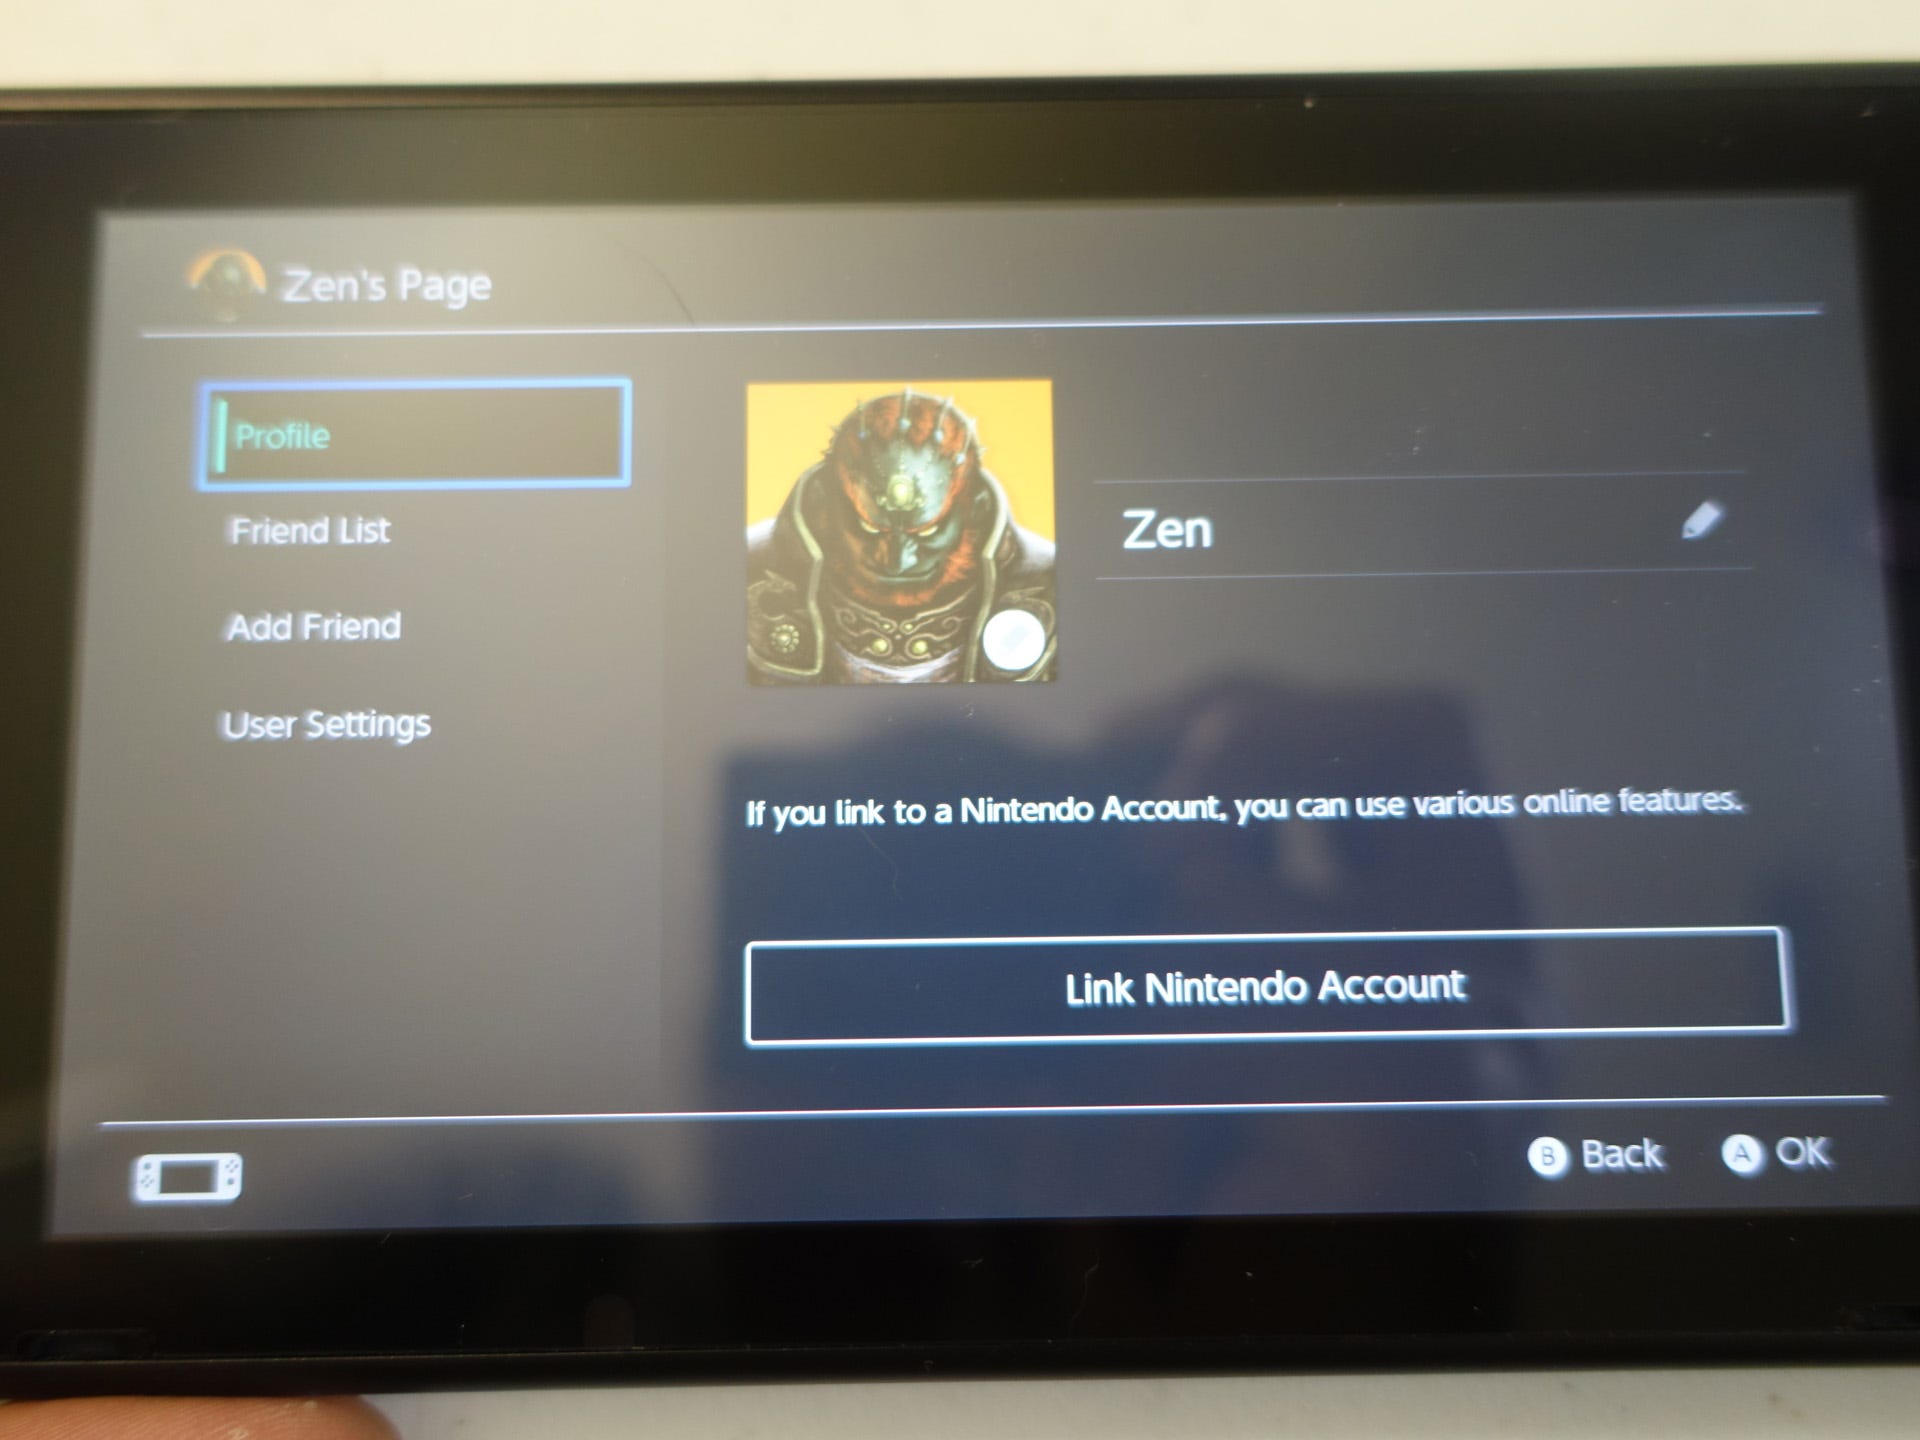
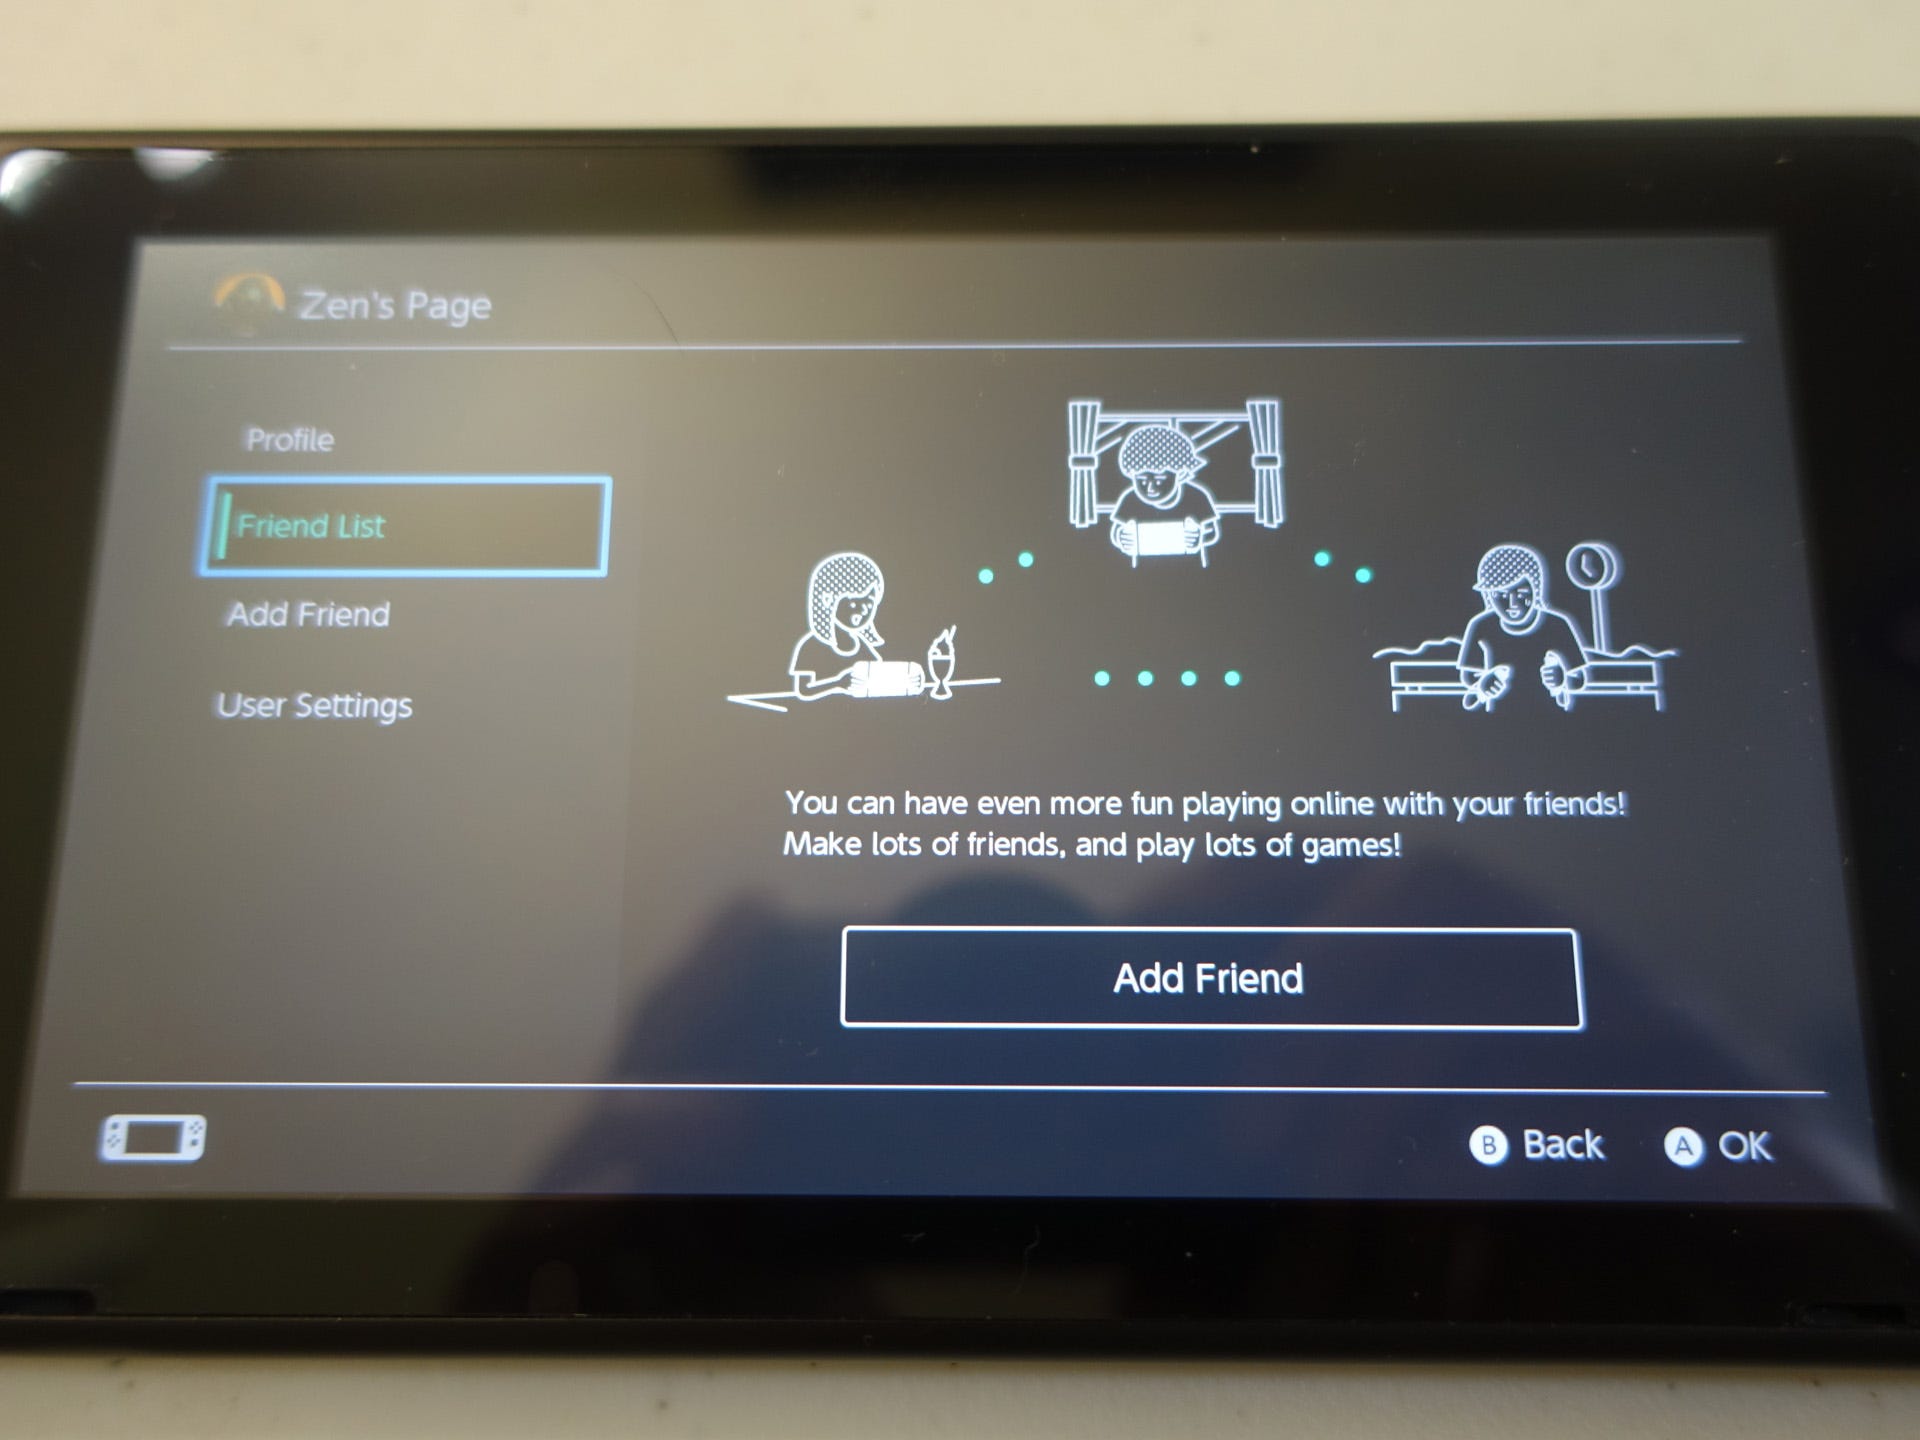
In the top left is the User icon, showing the current user on the system. Each Switch can hold up to 8 users on a single system. Clicking on the user icon takes you to the current user's page. Here you can link a Nintendo Account to the user, check the friends list, add friends, and edit the user's nickname and icon. The nickname and user icons can be changed at any time.
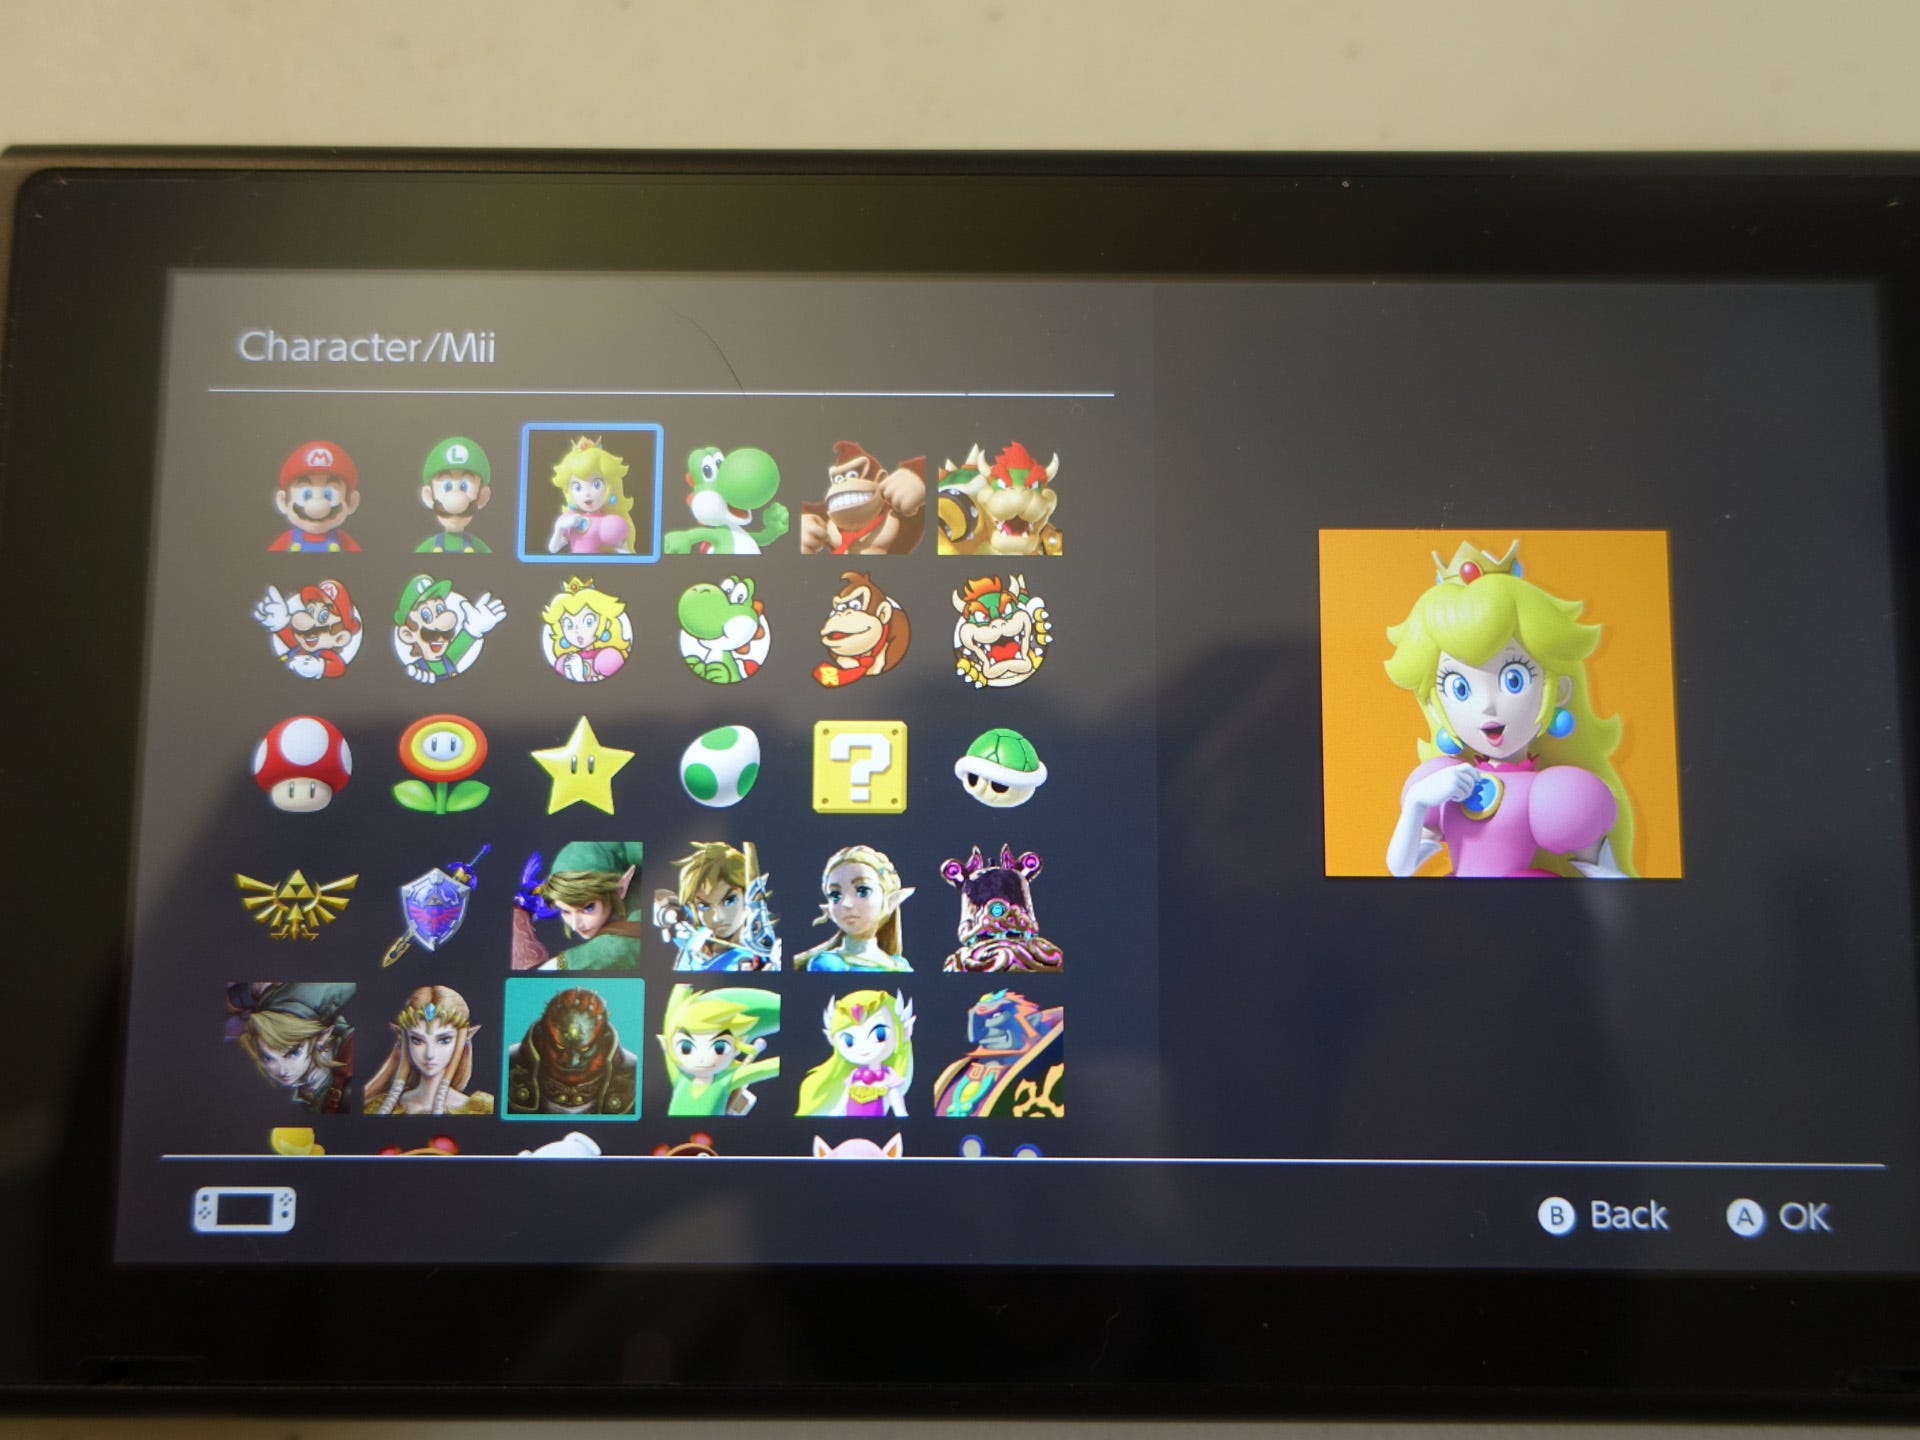
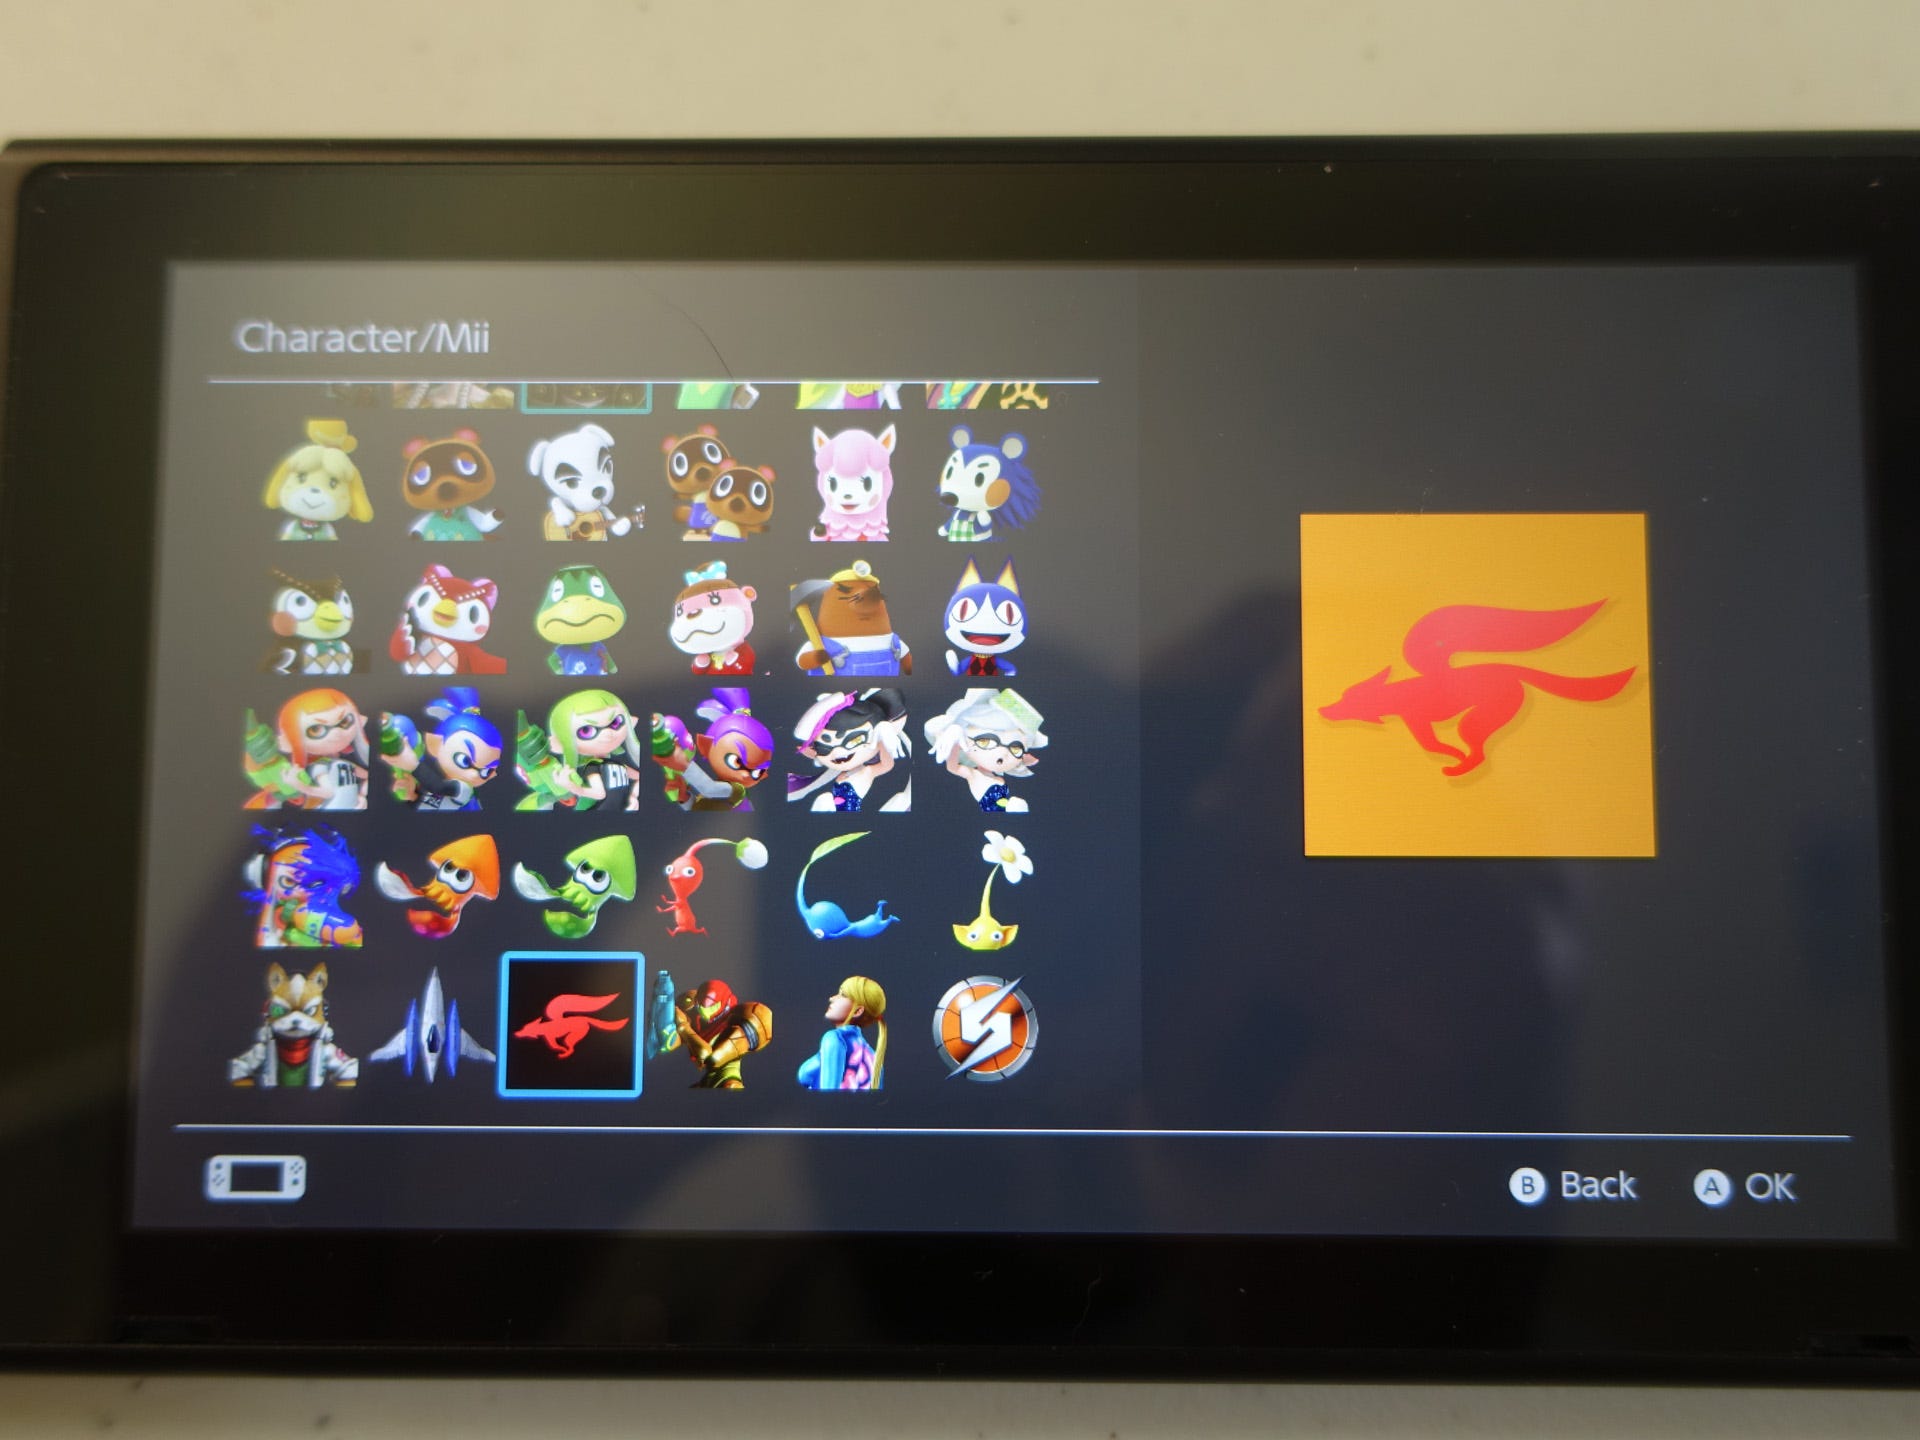
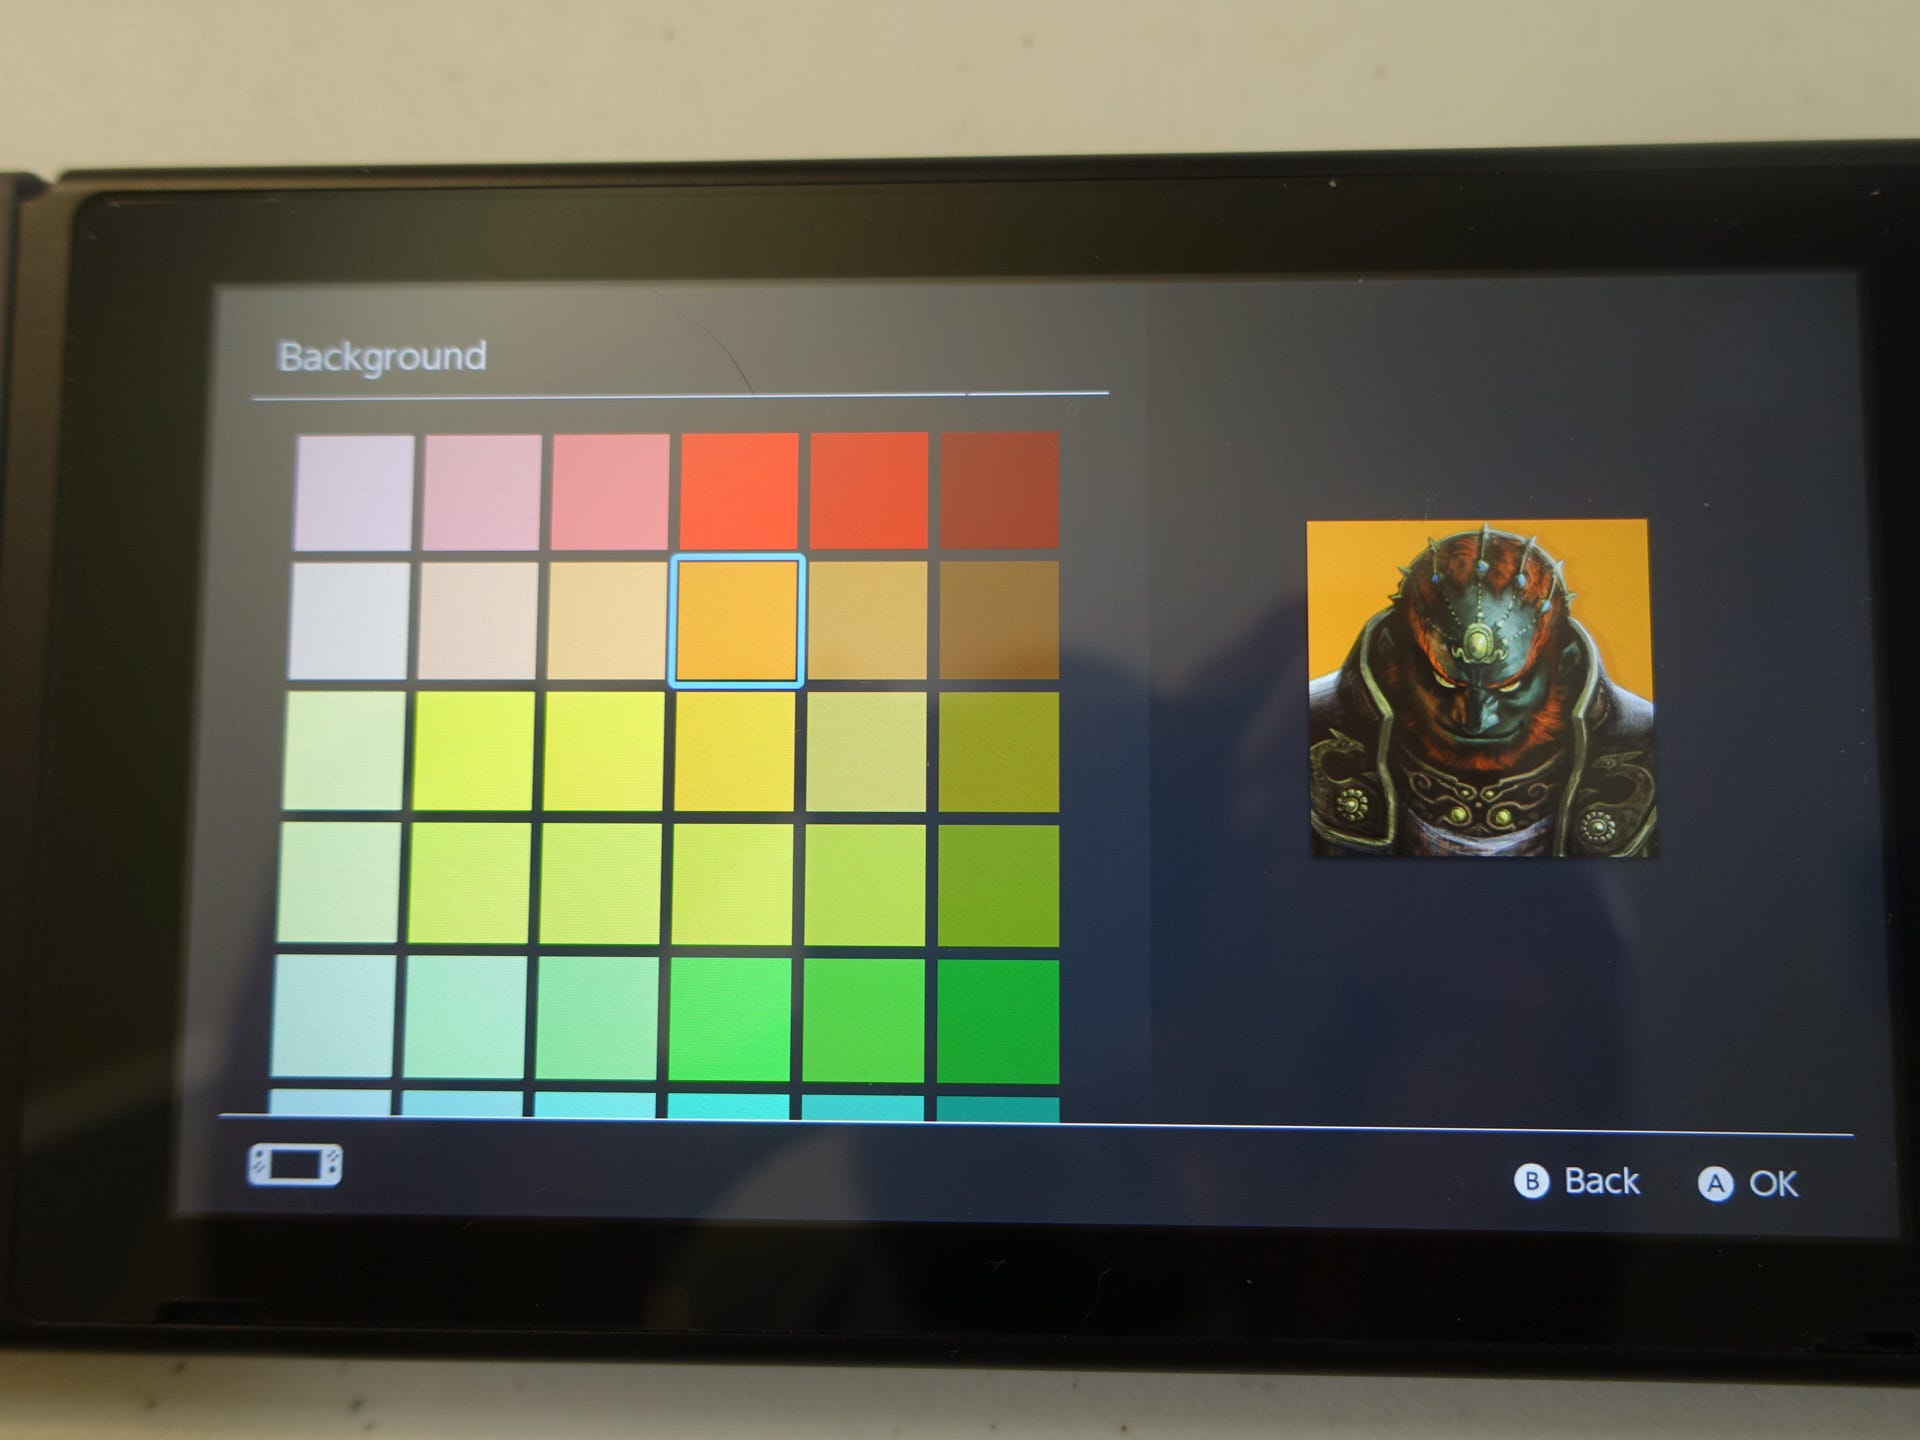
For the user icon itself, you're given the choice of a number of Nintendo characters or the ability to create a Mii. There's currently no way to add more user icons, though there's the possibility that Nintendo will add more in the future. You can also choose a background for your character or Mii, from a list of preset colors.
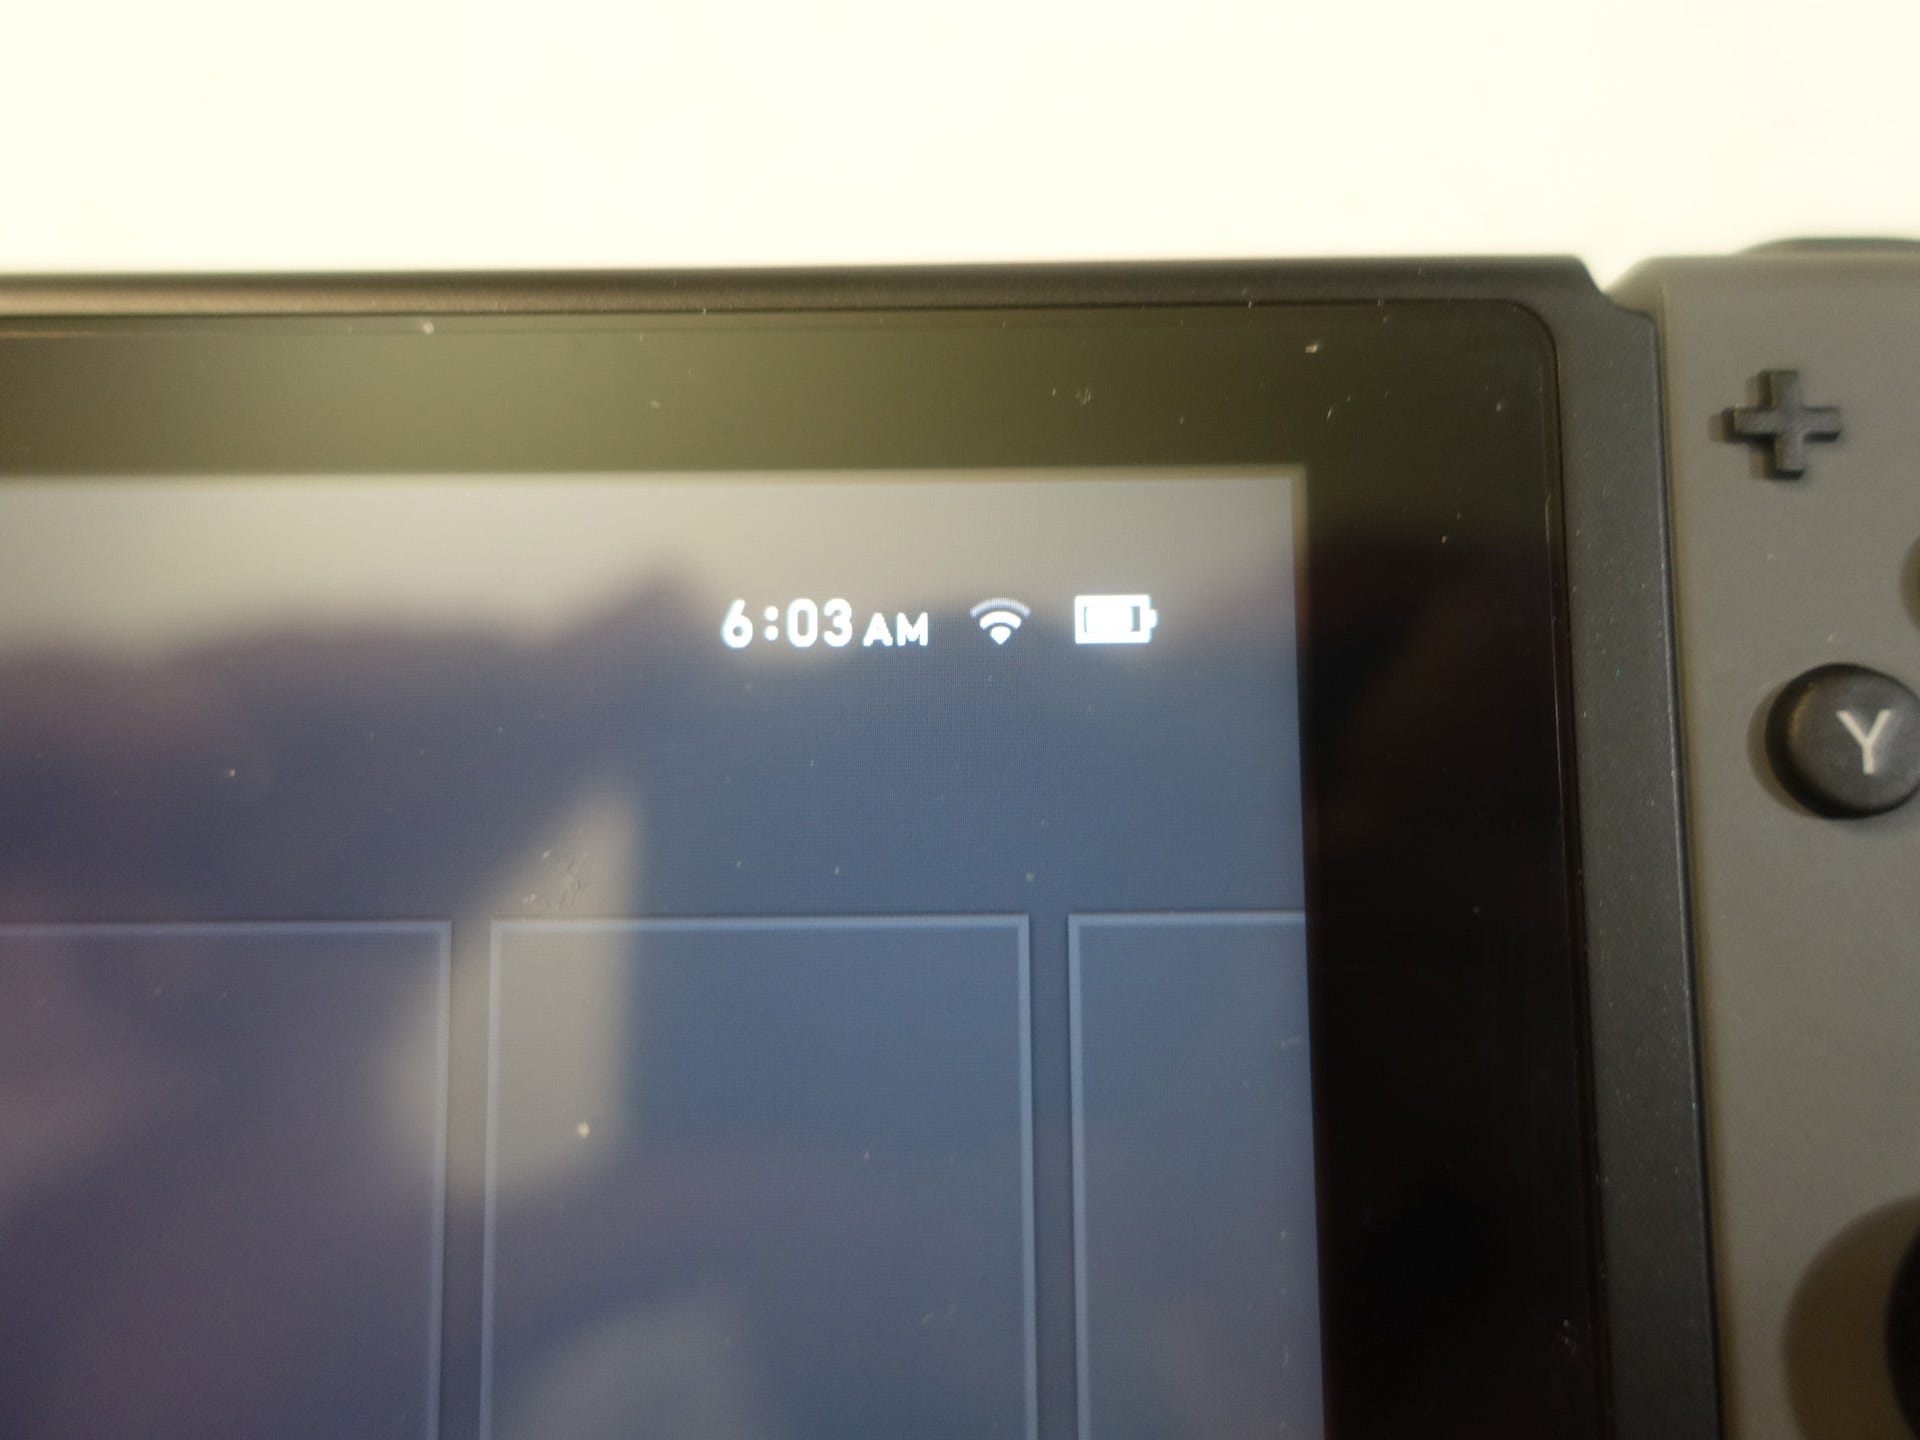
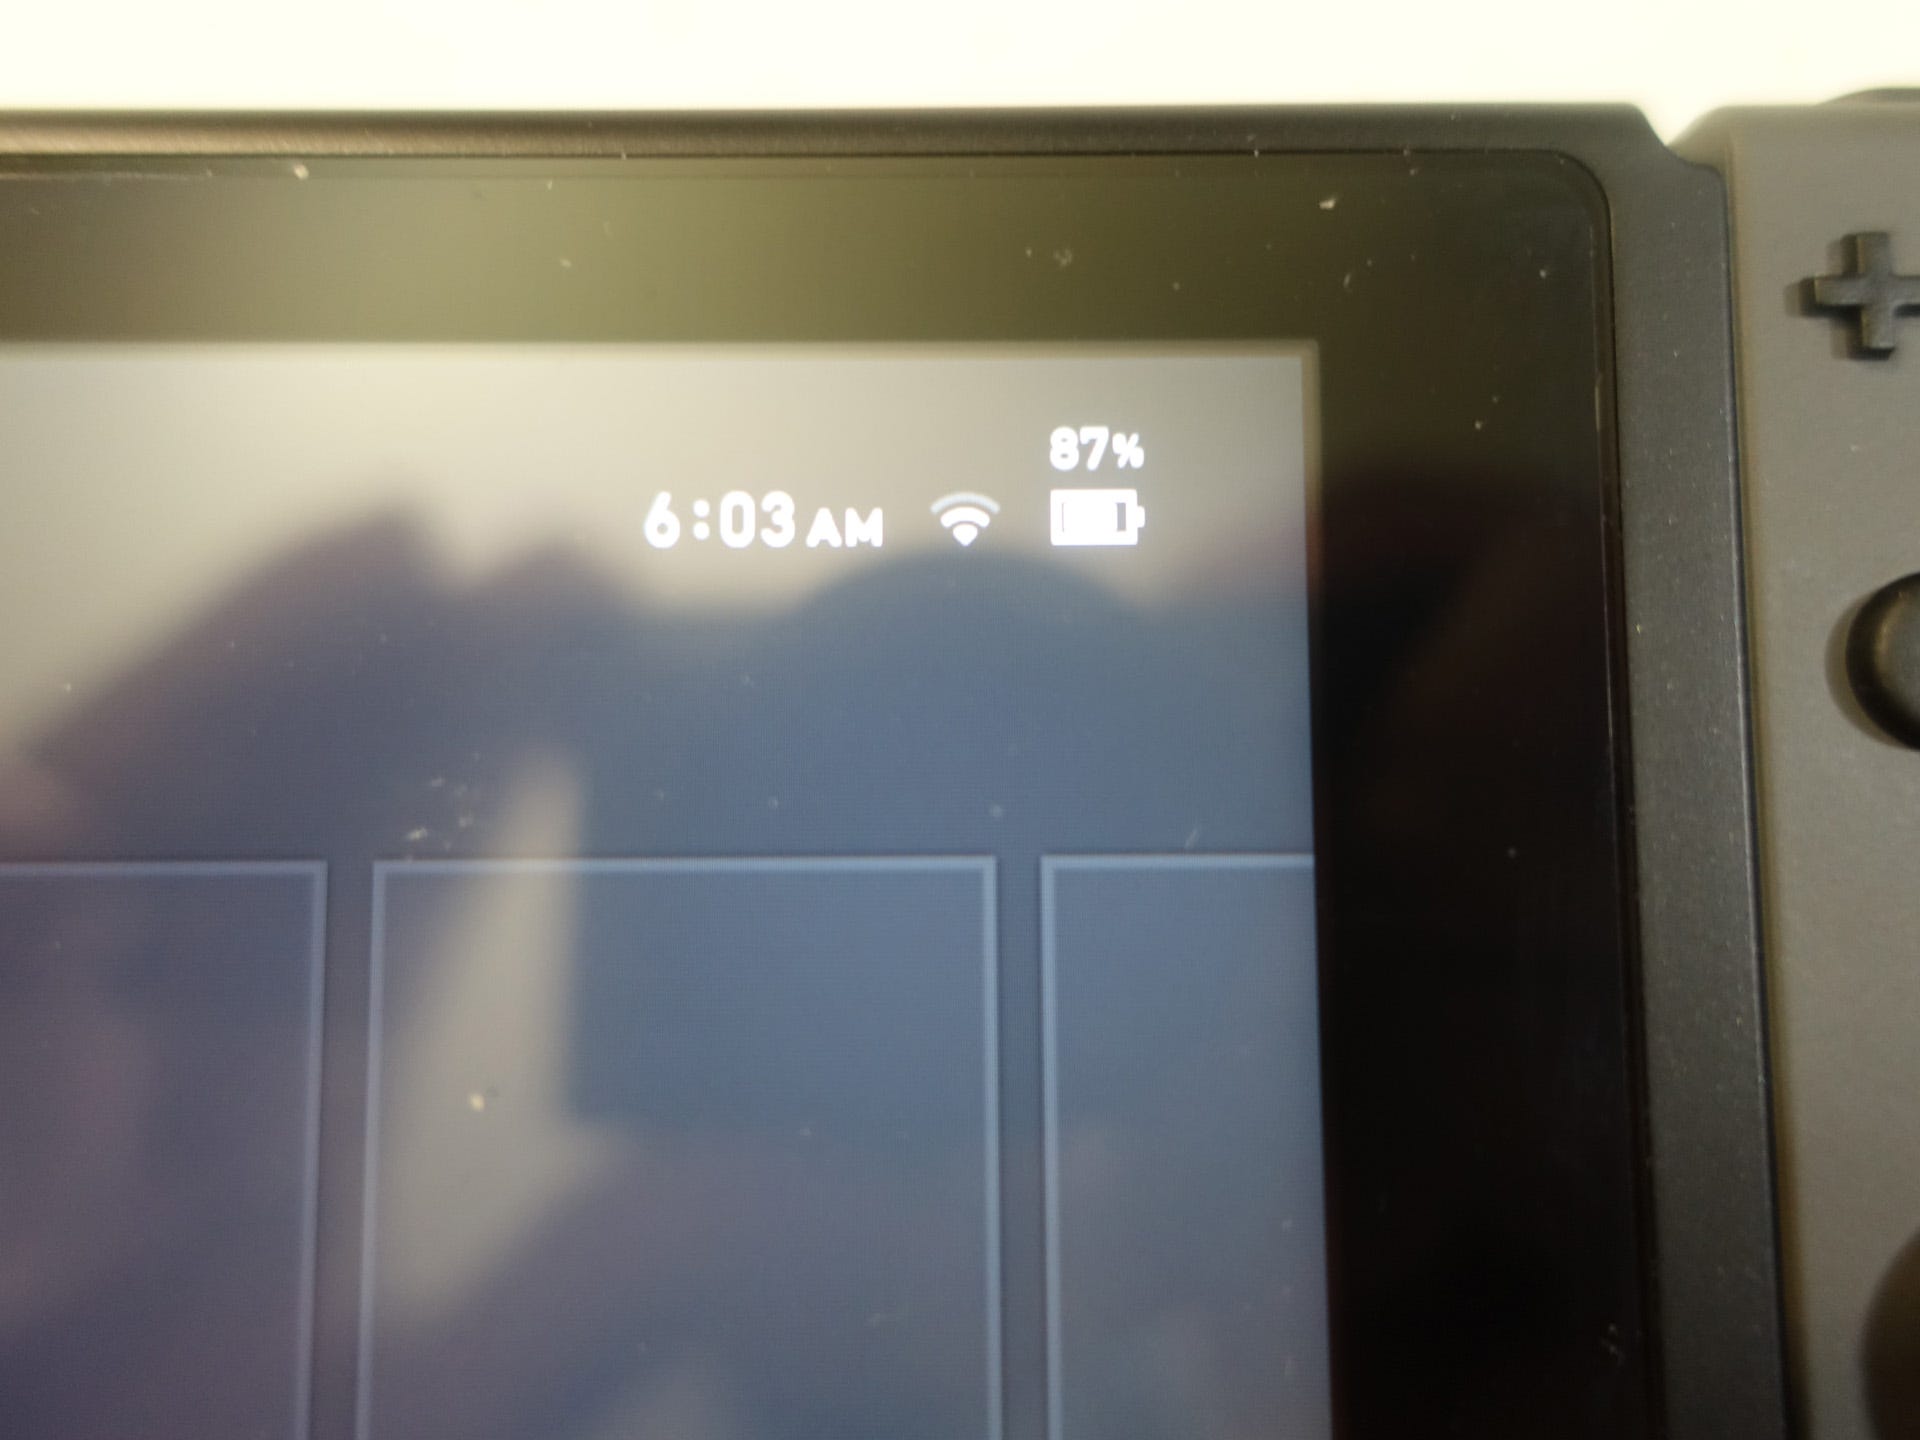
In the top right is the current time, WiFi connection status, and system battery life. Tapping on the battery life icon on the touchscreen will give you the exact percentage. It's worth noting that when the Nintendo Switch fully loses power, it automatically drops into Sleep Mode. That means you won't lose whatever you're in the middle of, even when your system dies.
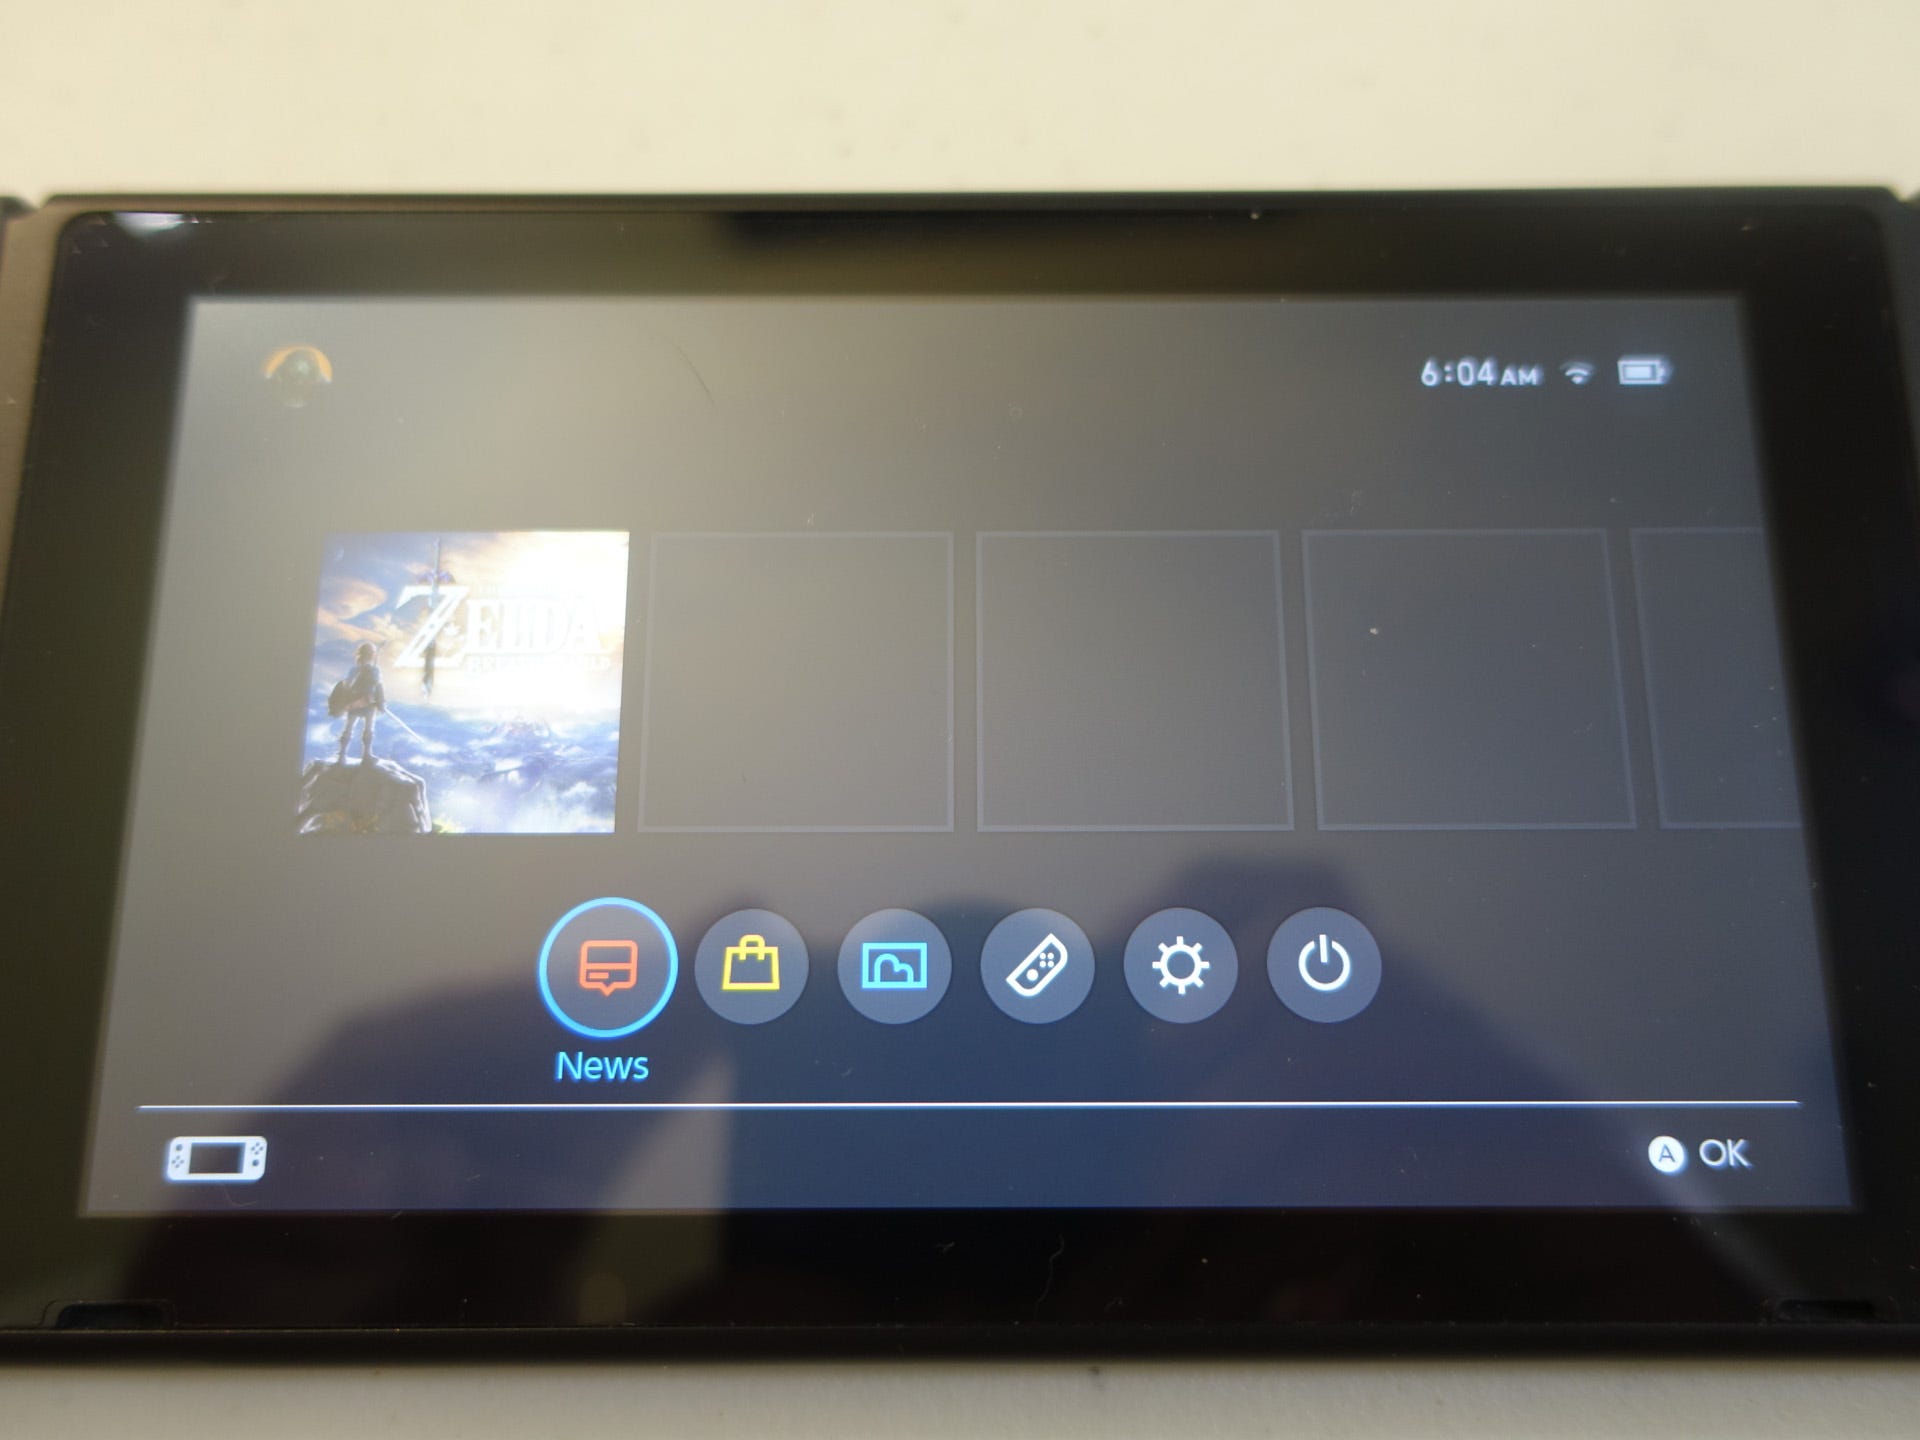
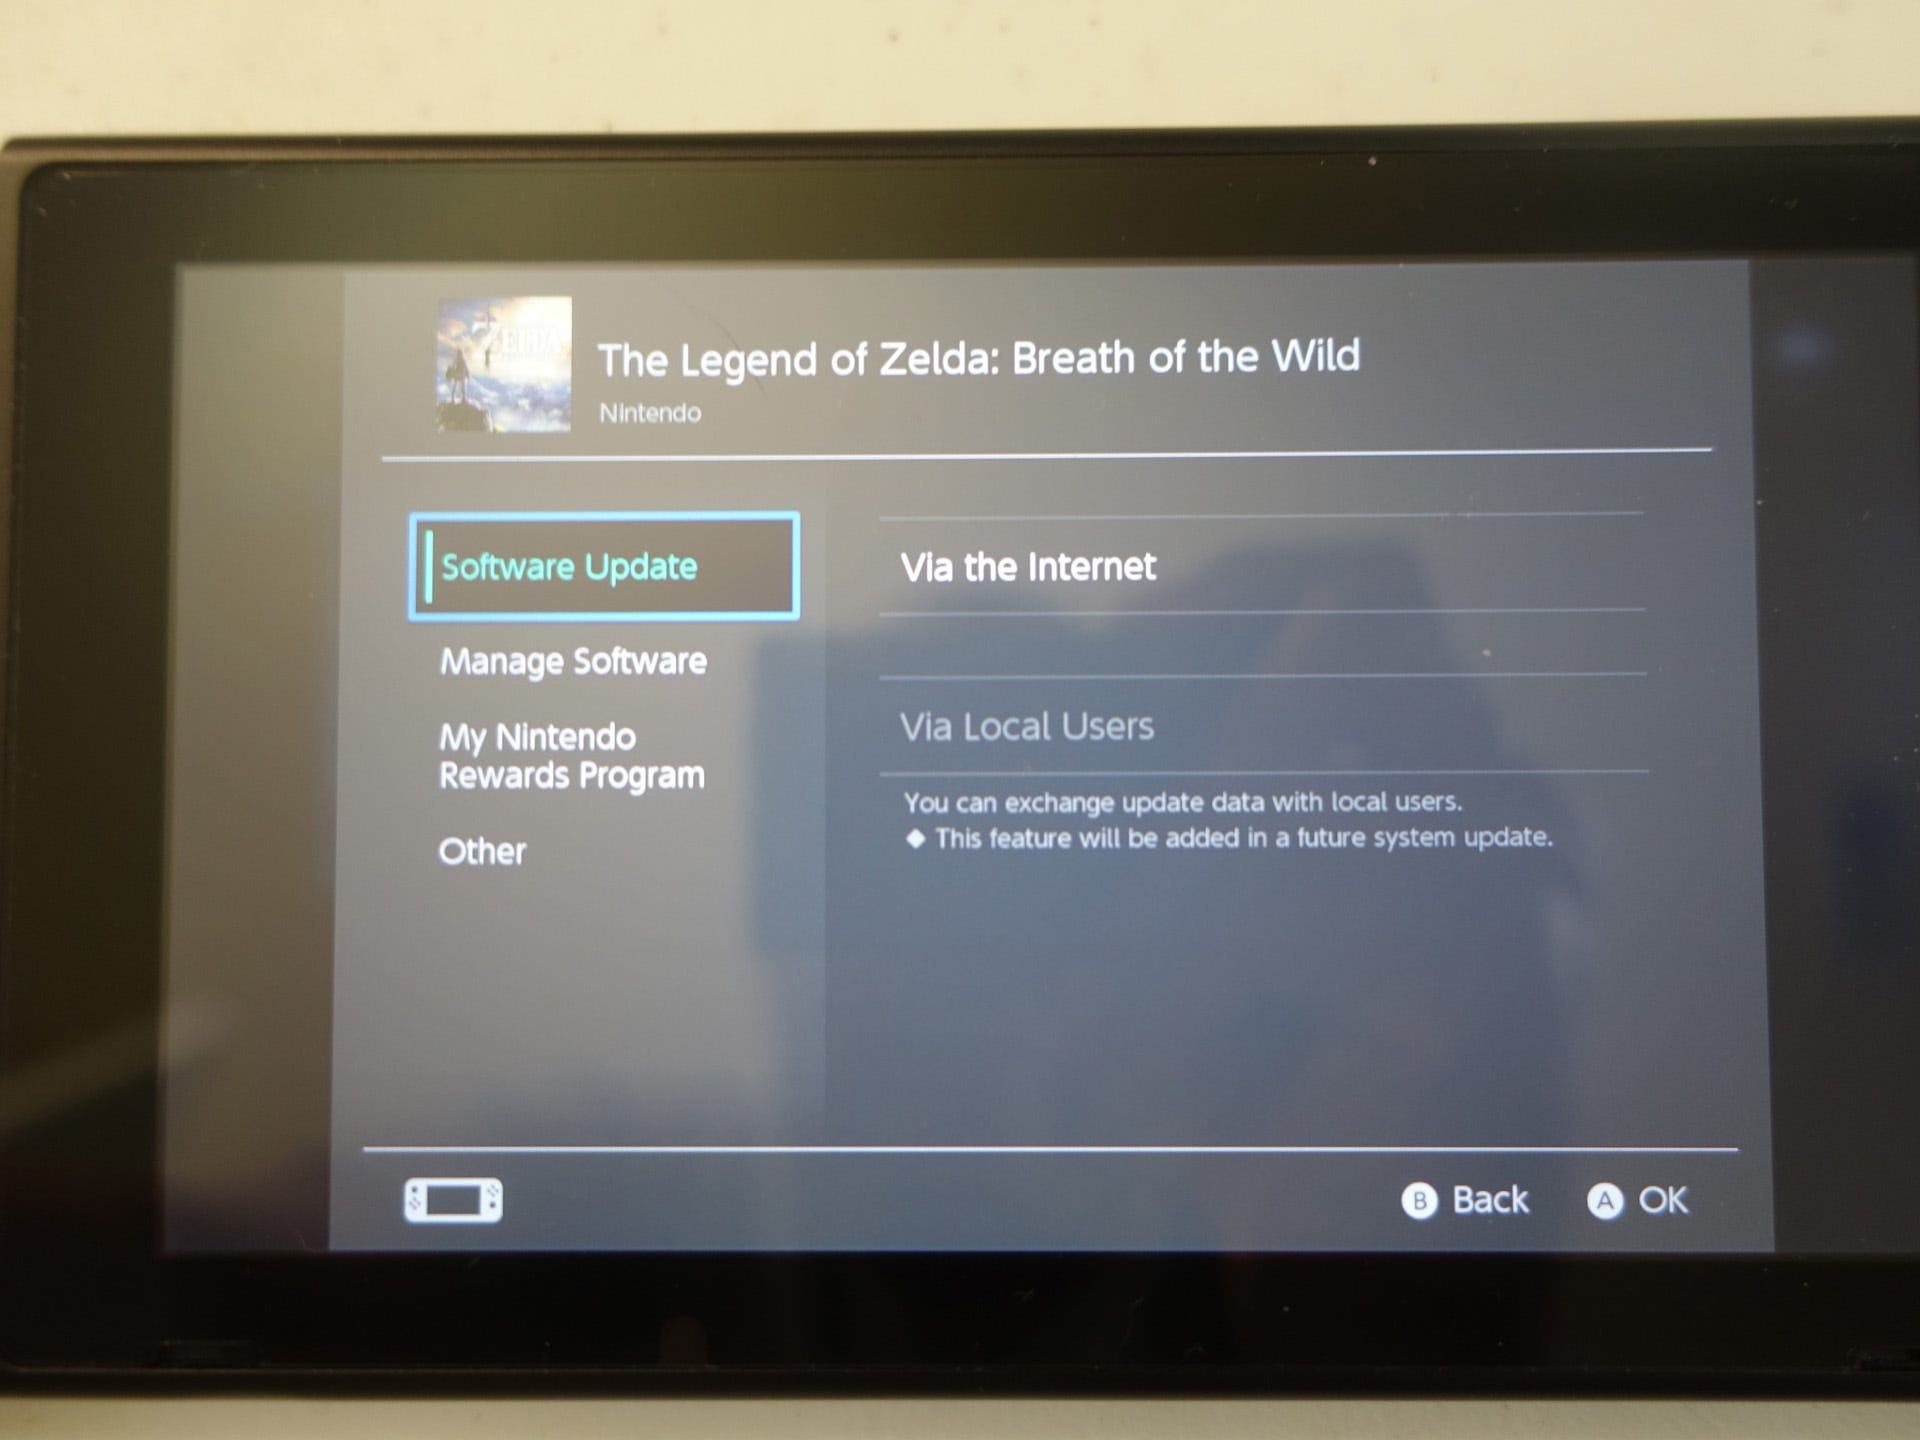
The blank spaces in the middle of the screen are the current games you have. Since I only have Legend of Zelda: Breath of the Wild, that's the only game on my Home screen. Pressing the Plus or Minus buttons of the Joy-Cons takes you to game options, which include Software Updates, Software Deletion, My Nintendo Rewards, and Other. Nintendo says that Software Updates can be done either via the internet or using update data from another local user, but that feature isn't live on the current operating system.
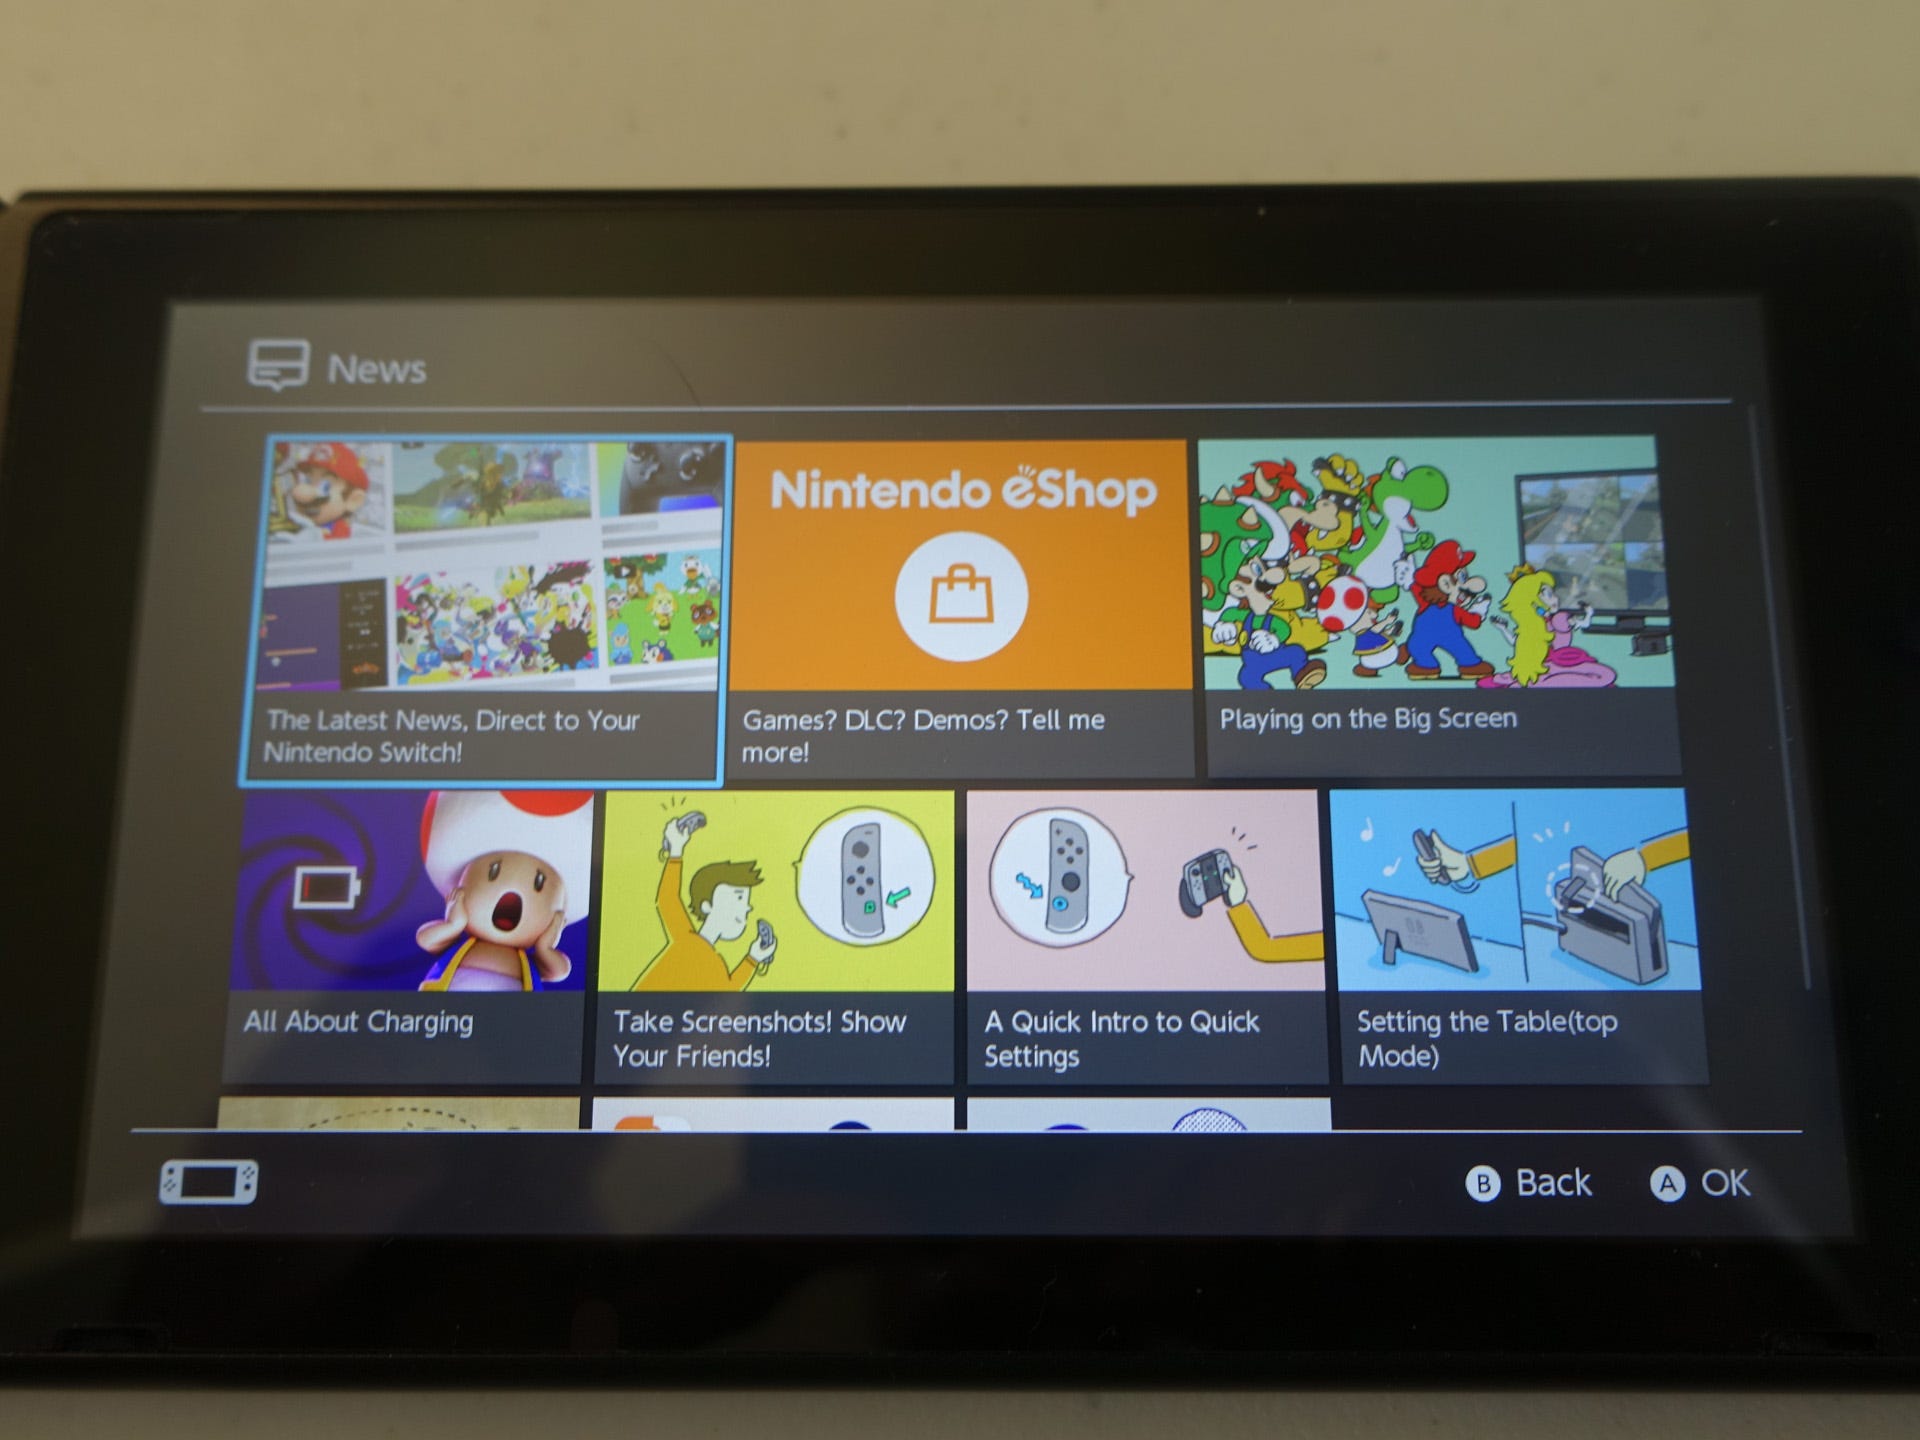

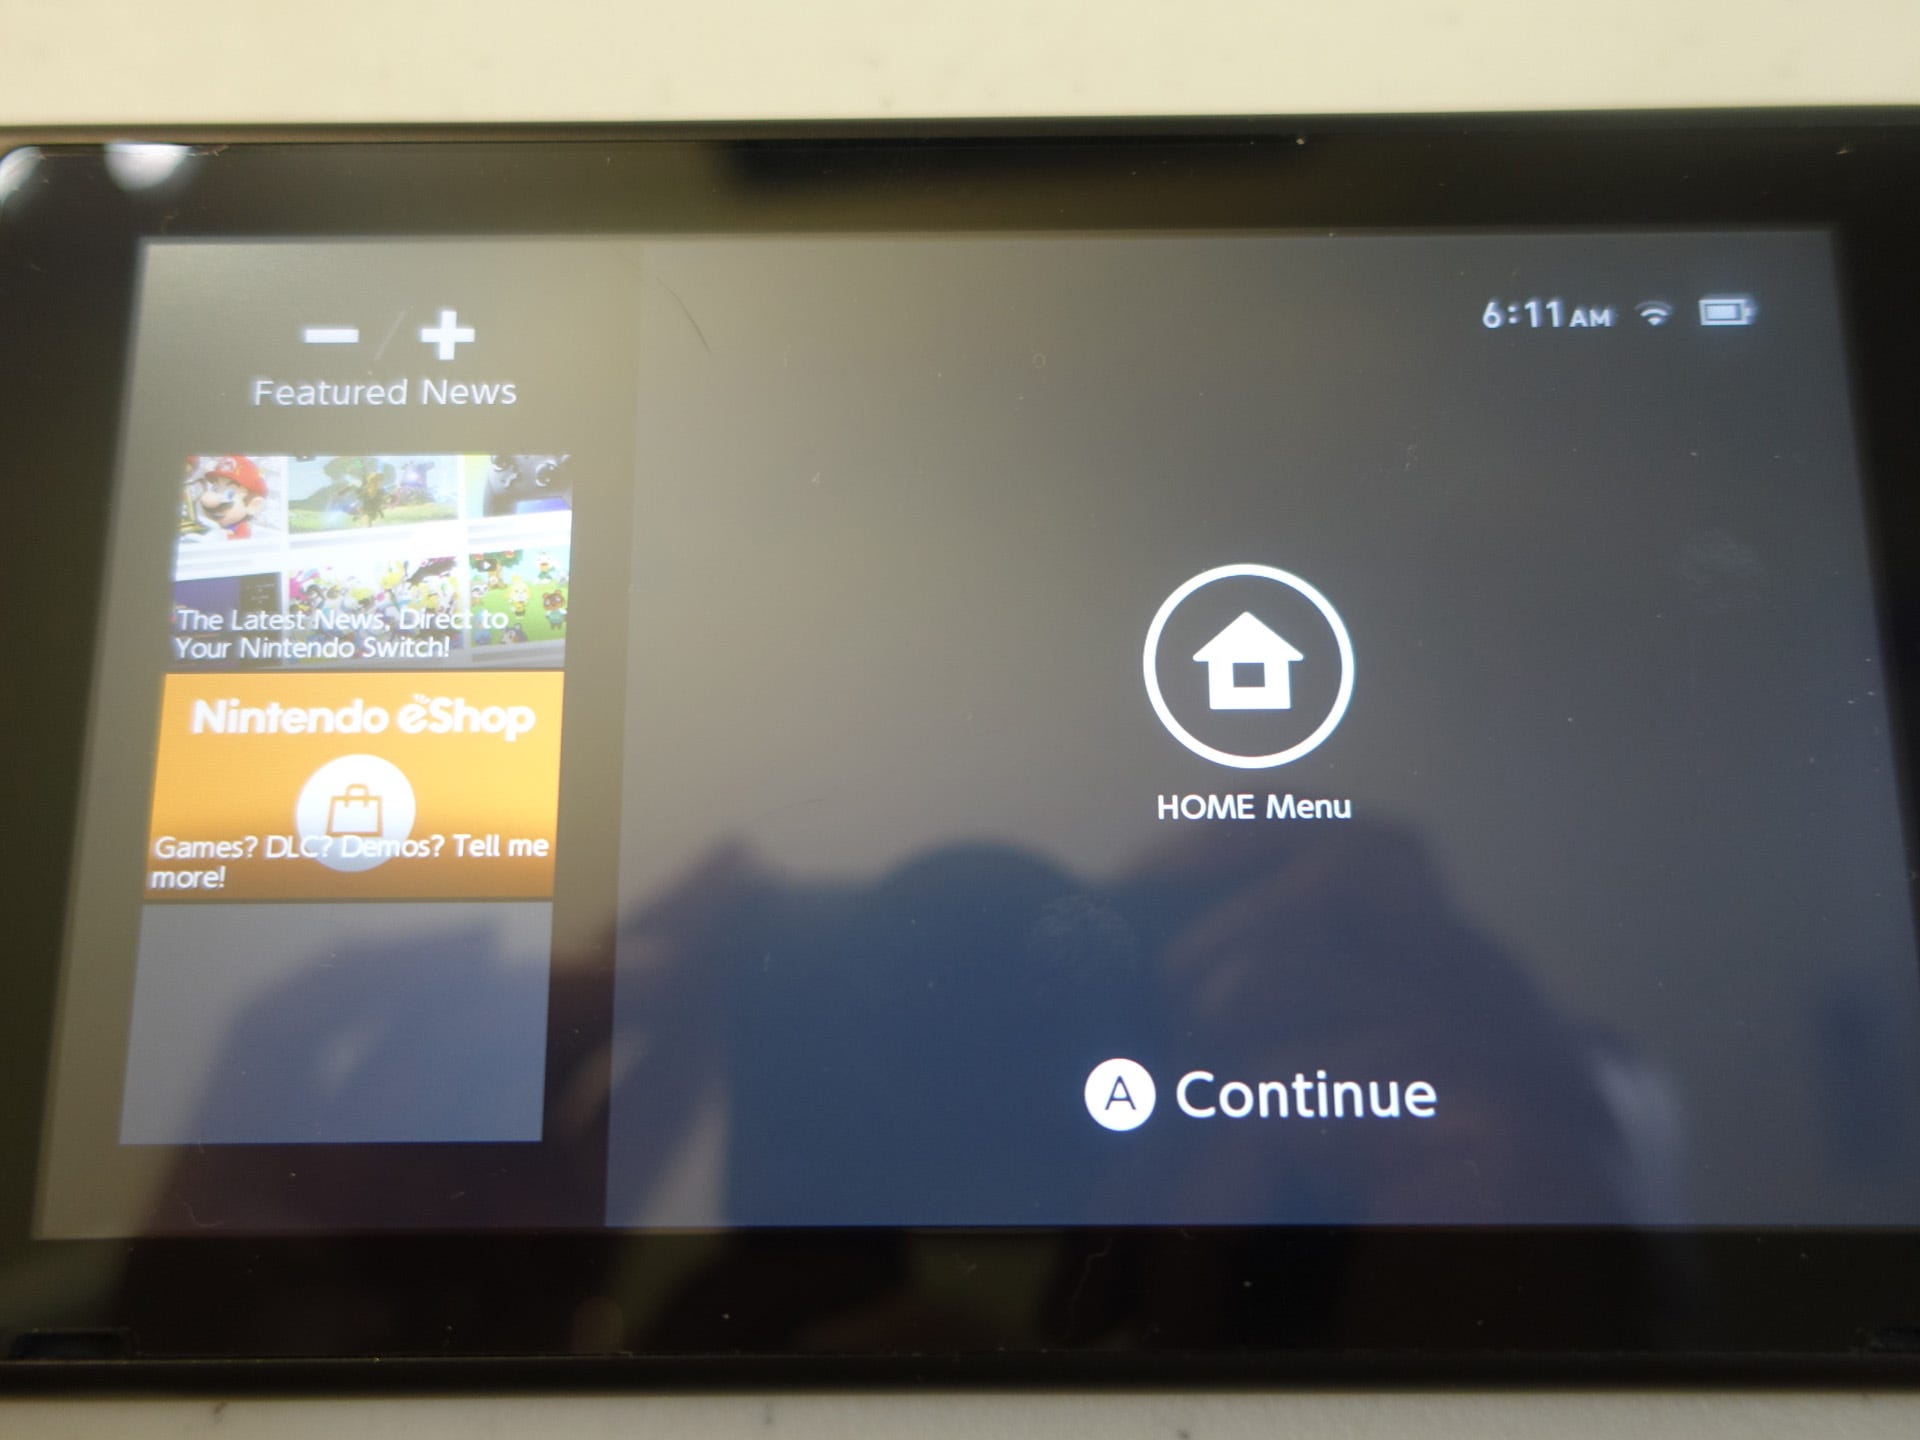
Under the game slots are the system menu icons. The first is News, a place for Nintendo to keep you up to date on all the things they want to sell you. News also appears on the left-hand side of the Sleep Mode lockscreen. Next, the eShop, which doesn't work at all; it requires an update that won't be live until just before launch according to Nintendo.
This near-launch update will include all of the online features: the Nintendo eShop, Nintendo Accounts, online play, image sharing, and WiFi hotspot authentication. The latter is important, as you can connect to an open or password-protected WiFi hotspot right now, but a sign-in protected spot at your local Starbucks or McDonald's doesn't work, because the Switch lacks a web browser. The update will add a built-in web applet, allowing Switch users to sign-in to these WiFi hotspots or accept any terms of use.
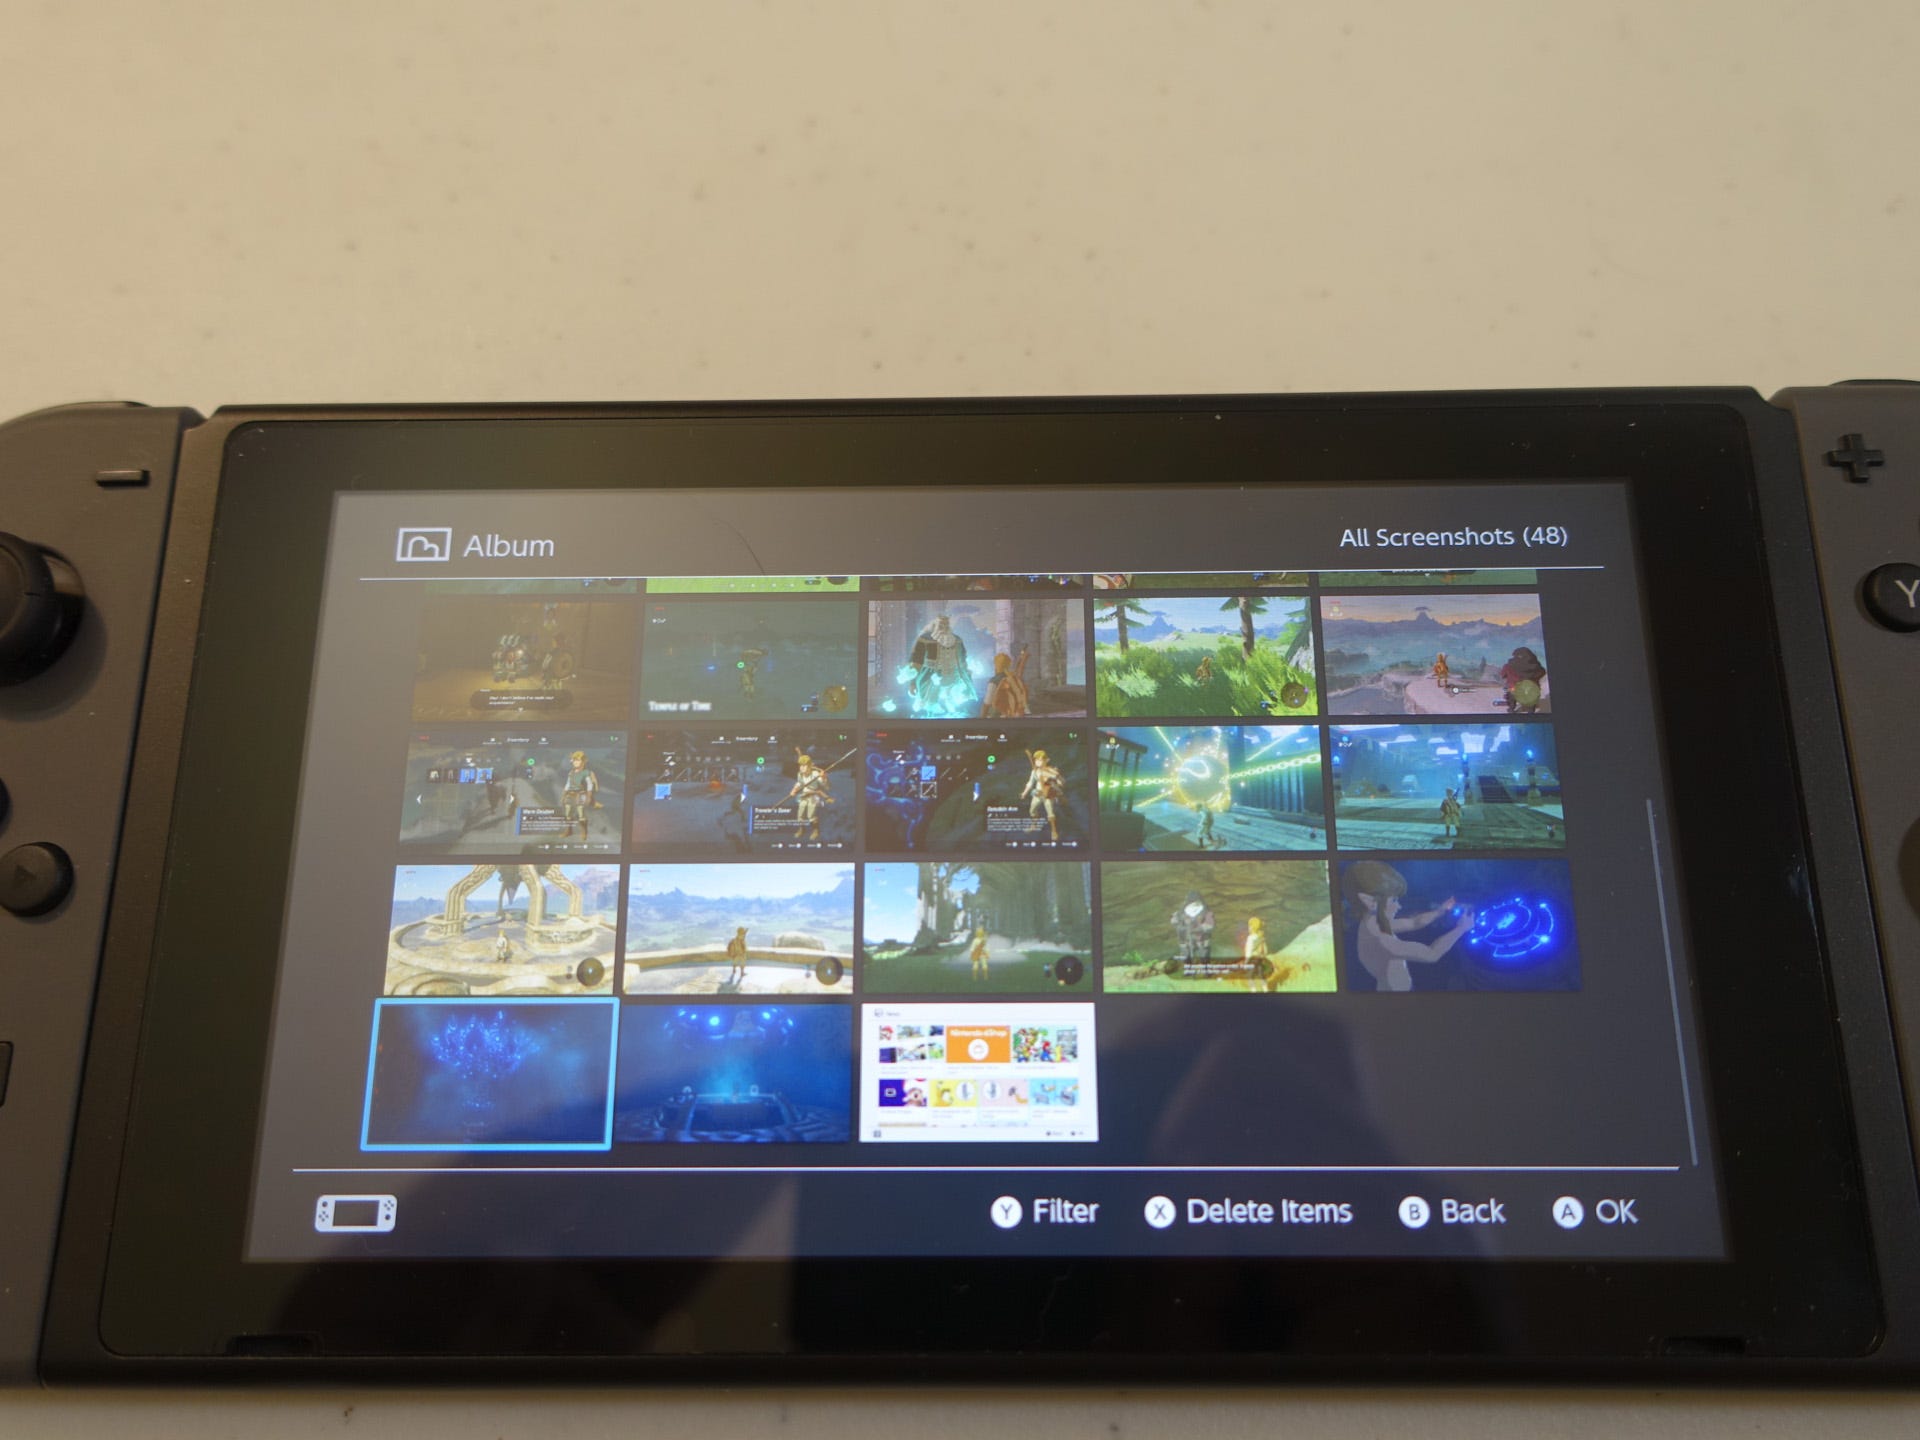
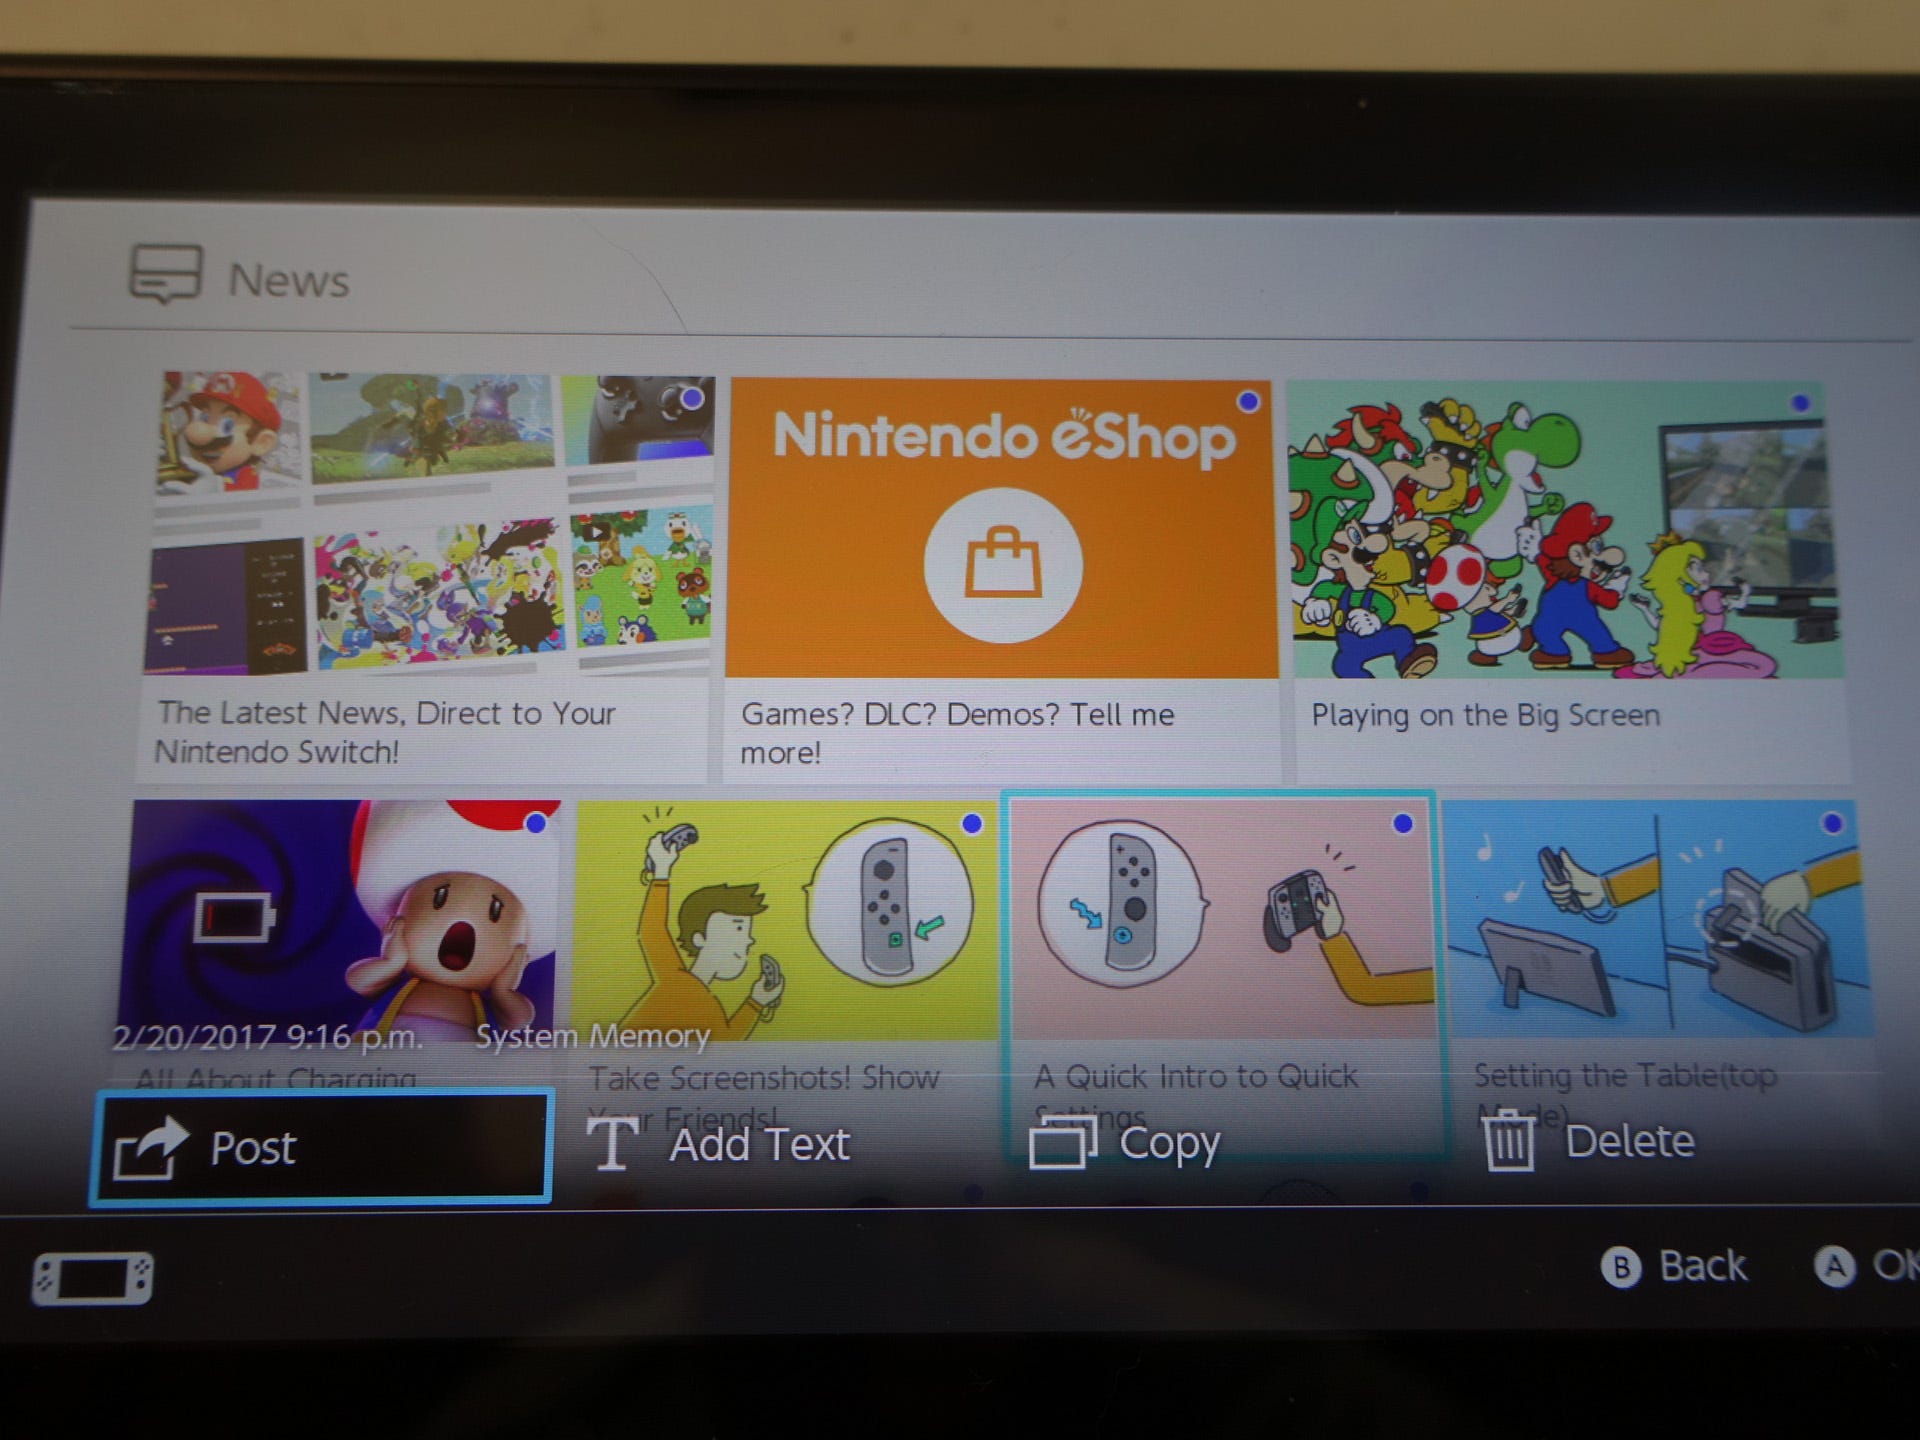
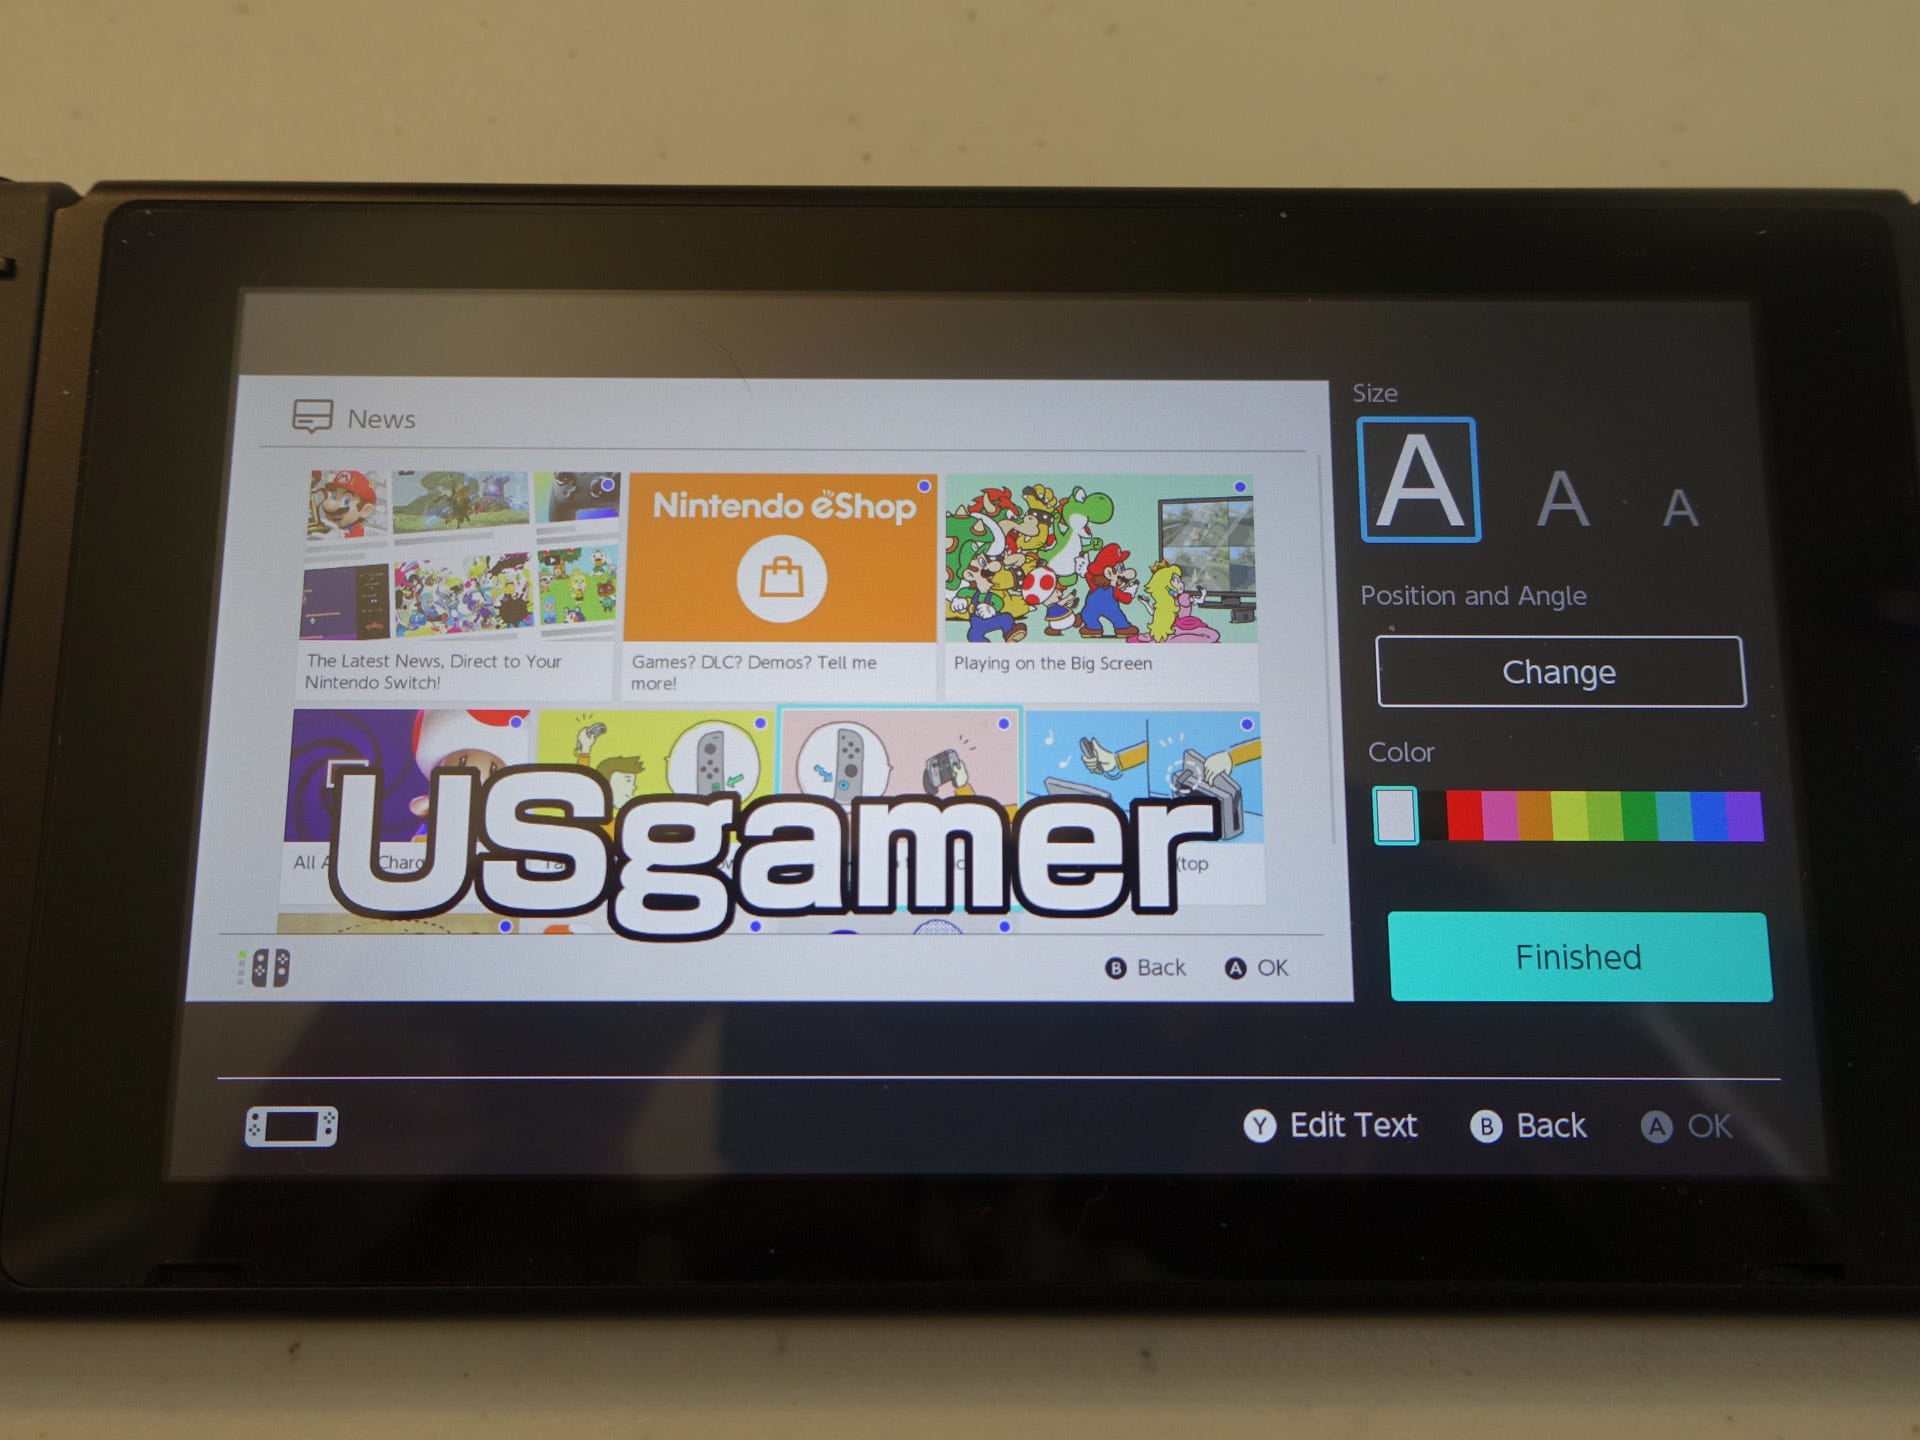
Next up is Album, which shows all of the screenshots you've taken with the Capture button. Currently, you can delete screenshots and edit them. There are options for sharing them, but they're currently not working for reasons listed above. You can add simple colored text to your pictures, which seems to be the extent of the editing features. Screenshots can be copied to a microSD card as well.
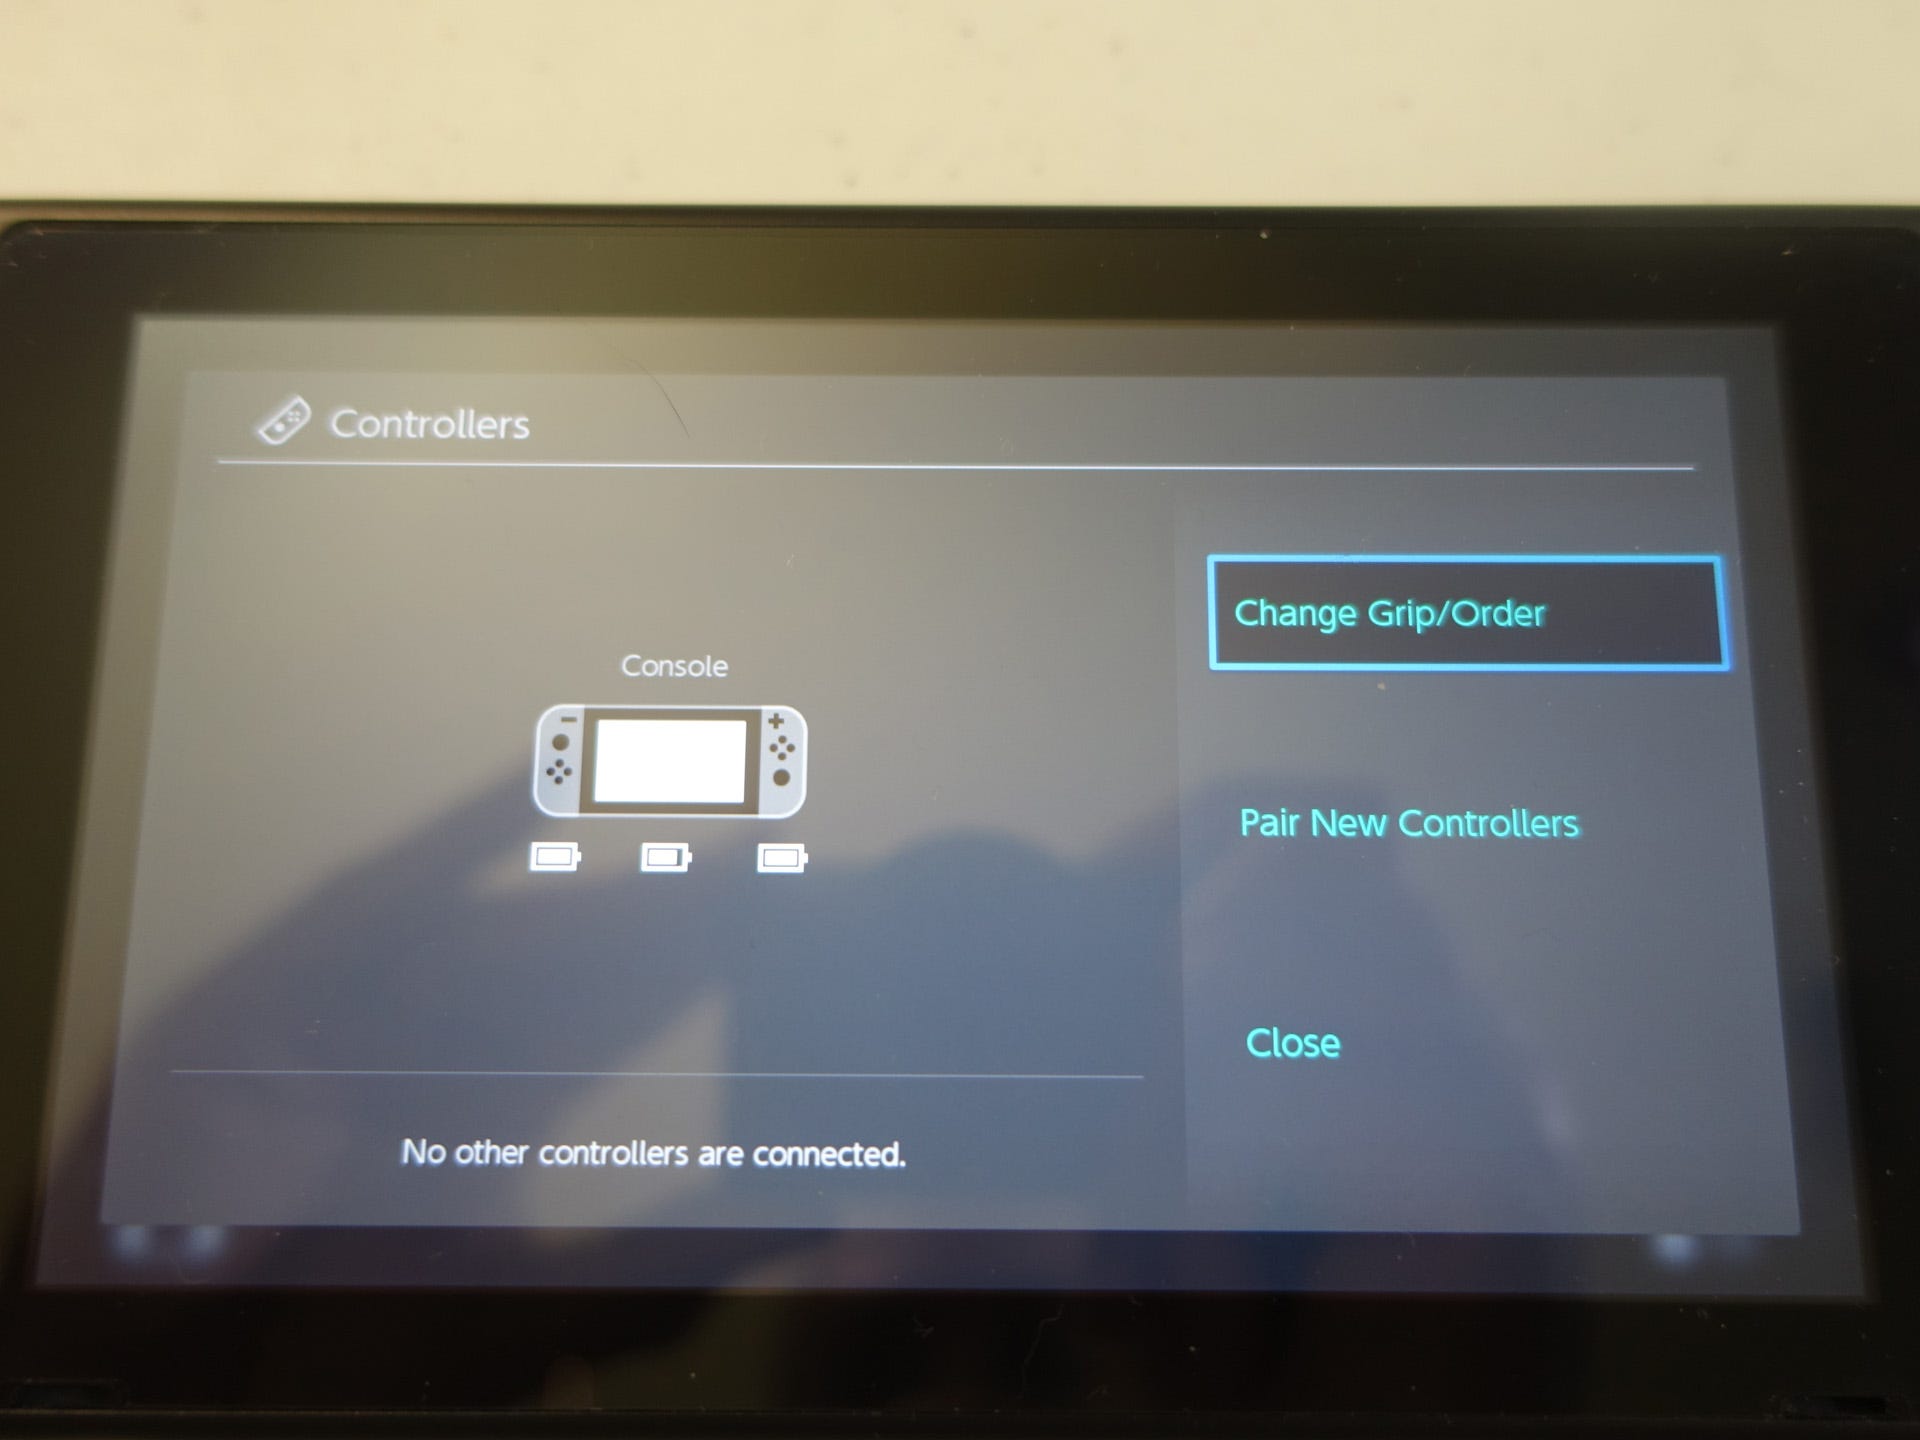
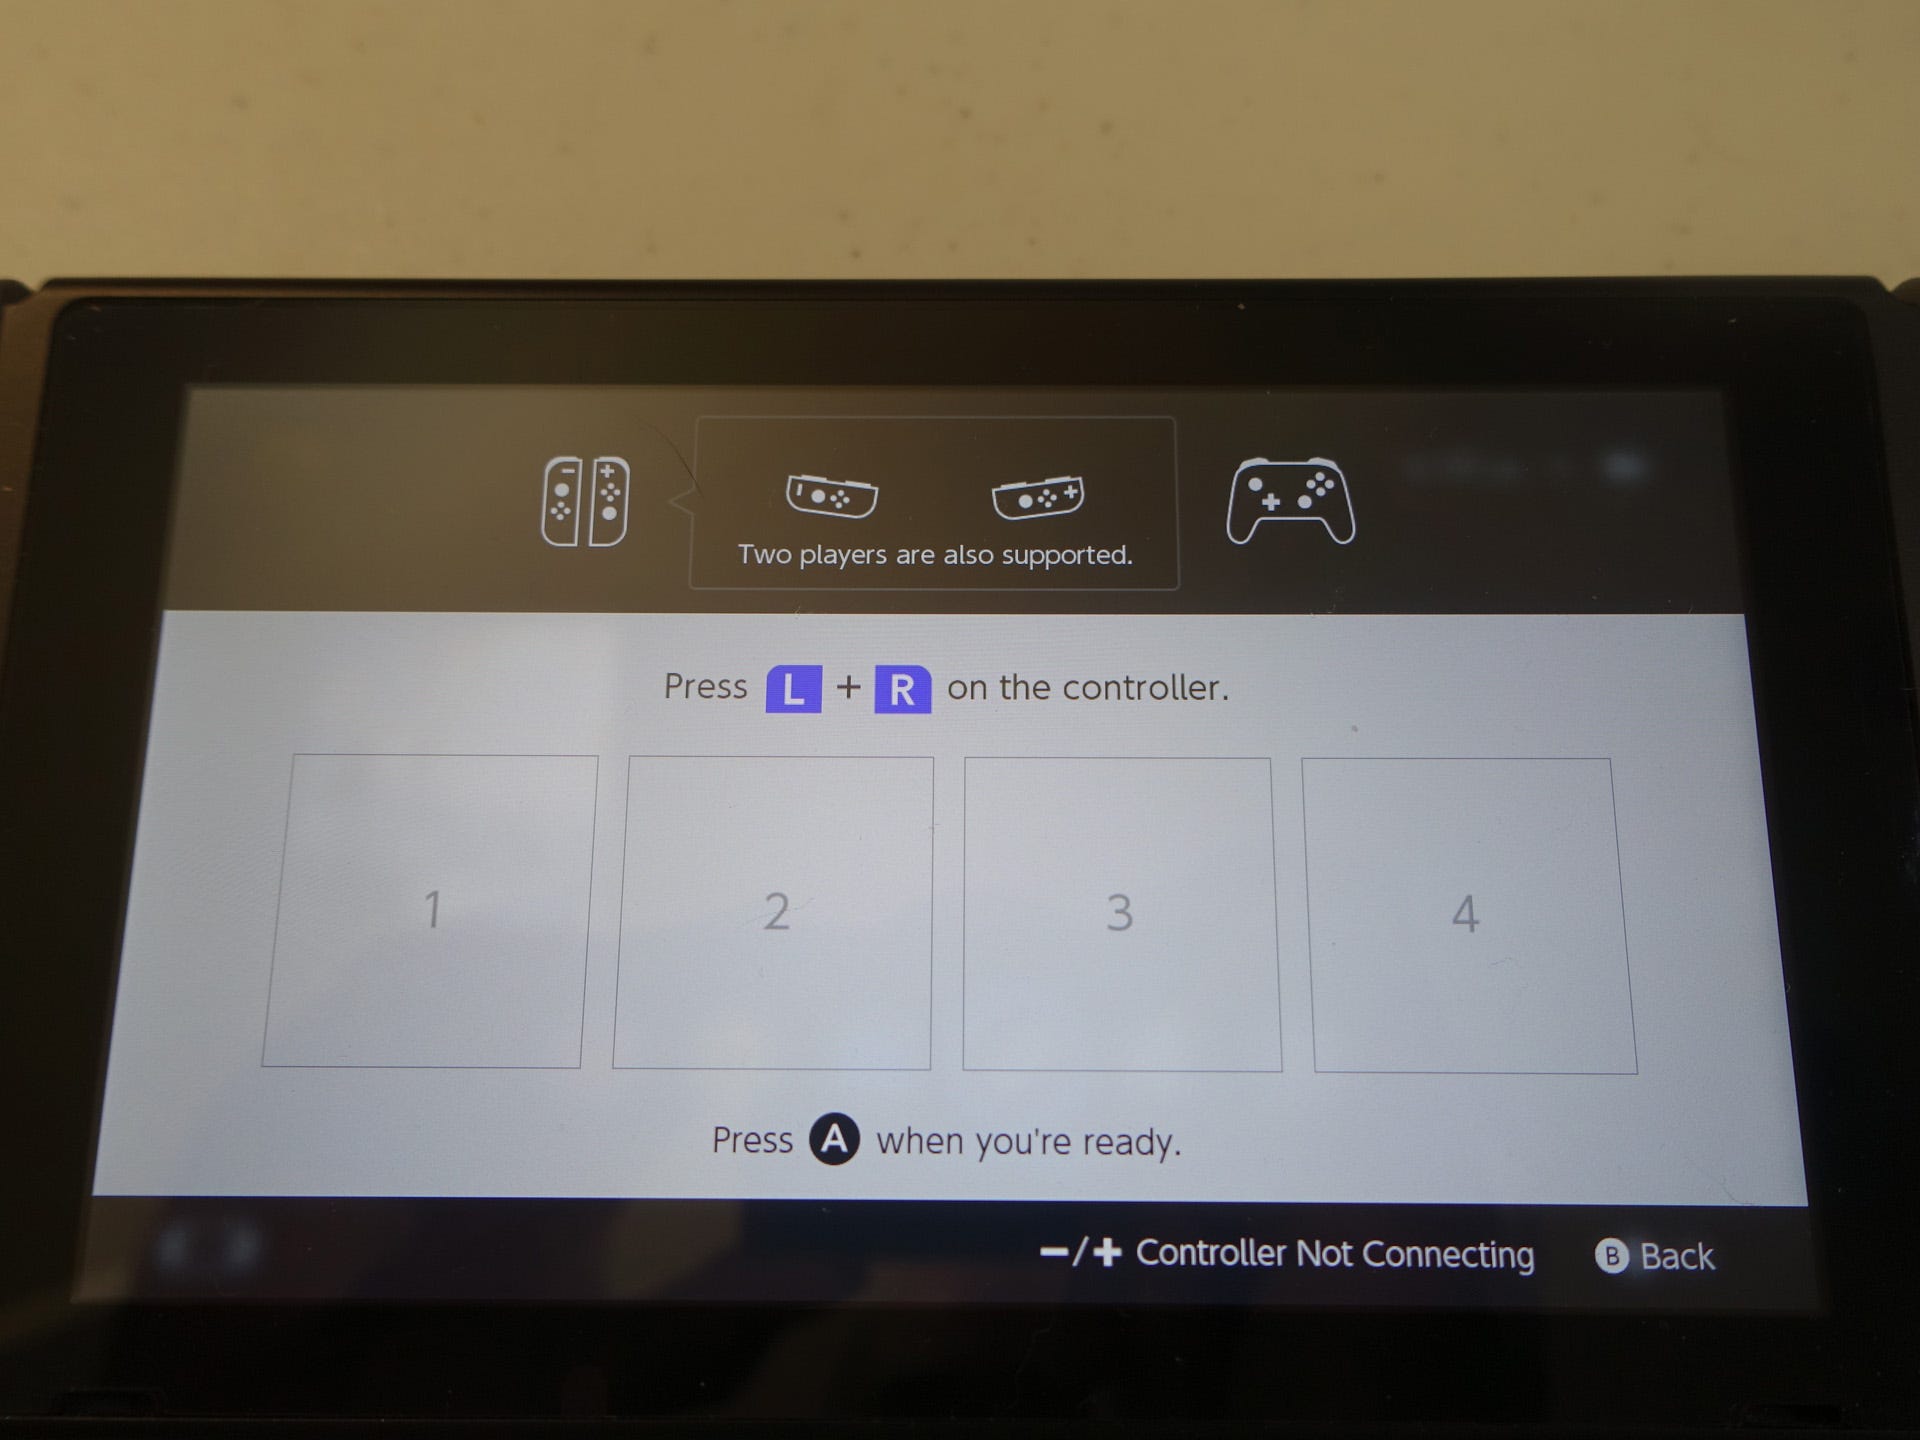
The Controllers menu item shows you the charge status of your system and Joy-Cons, and allows you to pair more controllers. That can come in the form of more Joy-Cons or the Pro Controller.
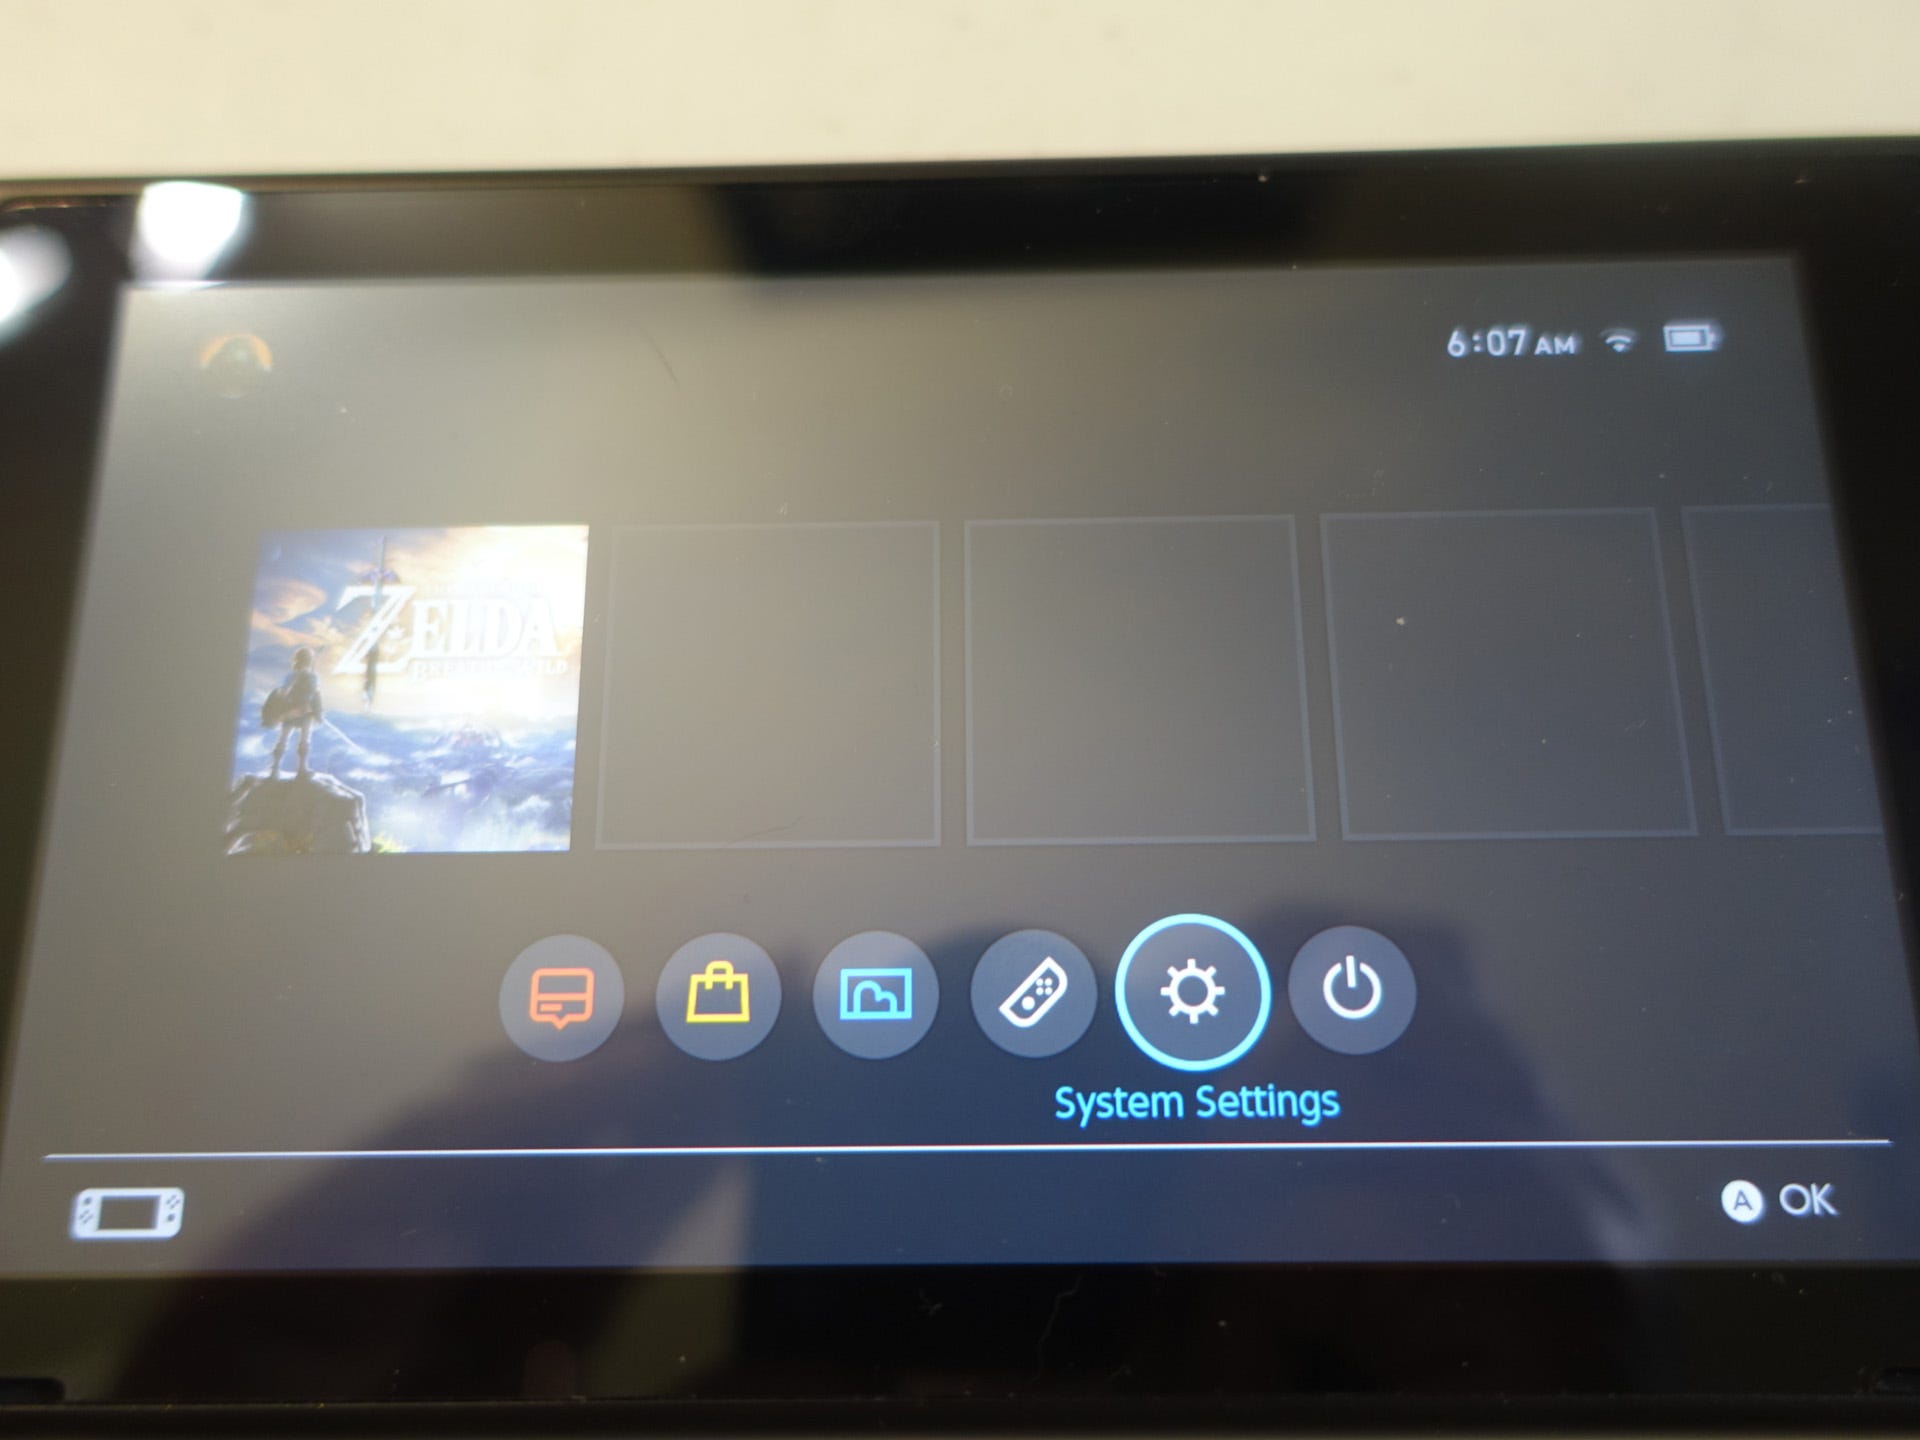
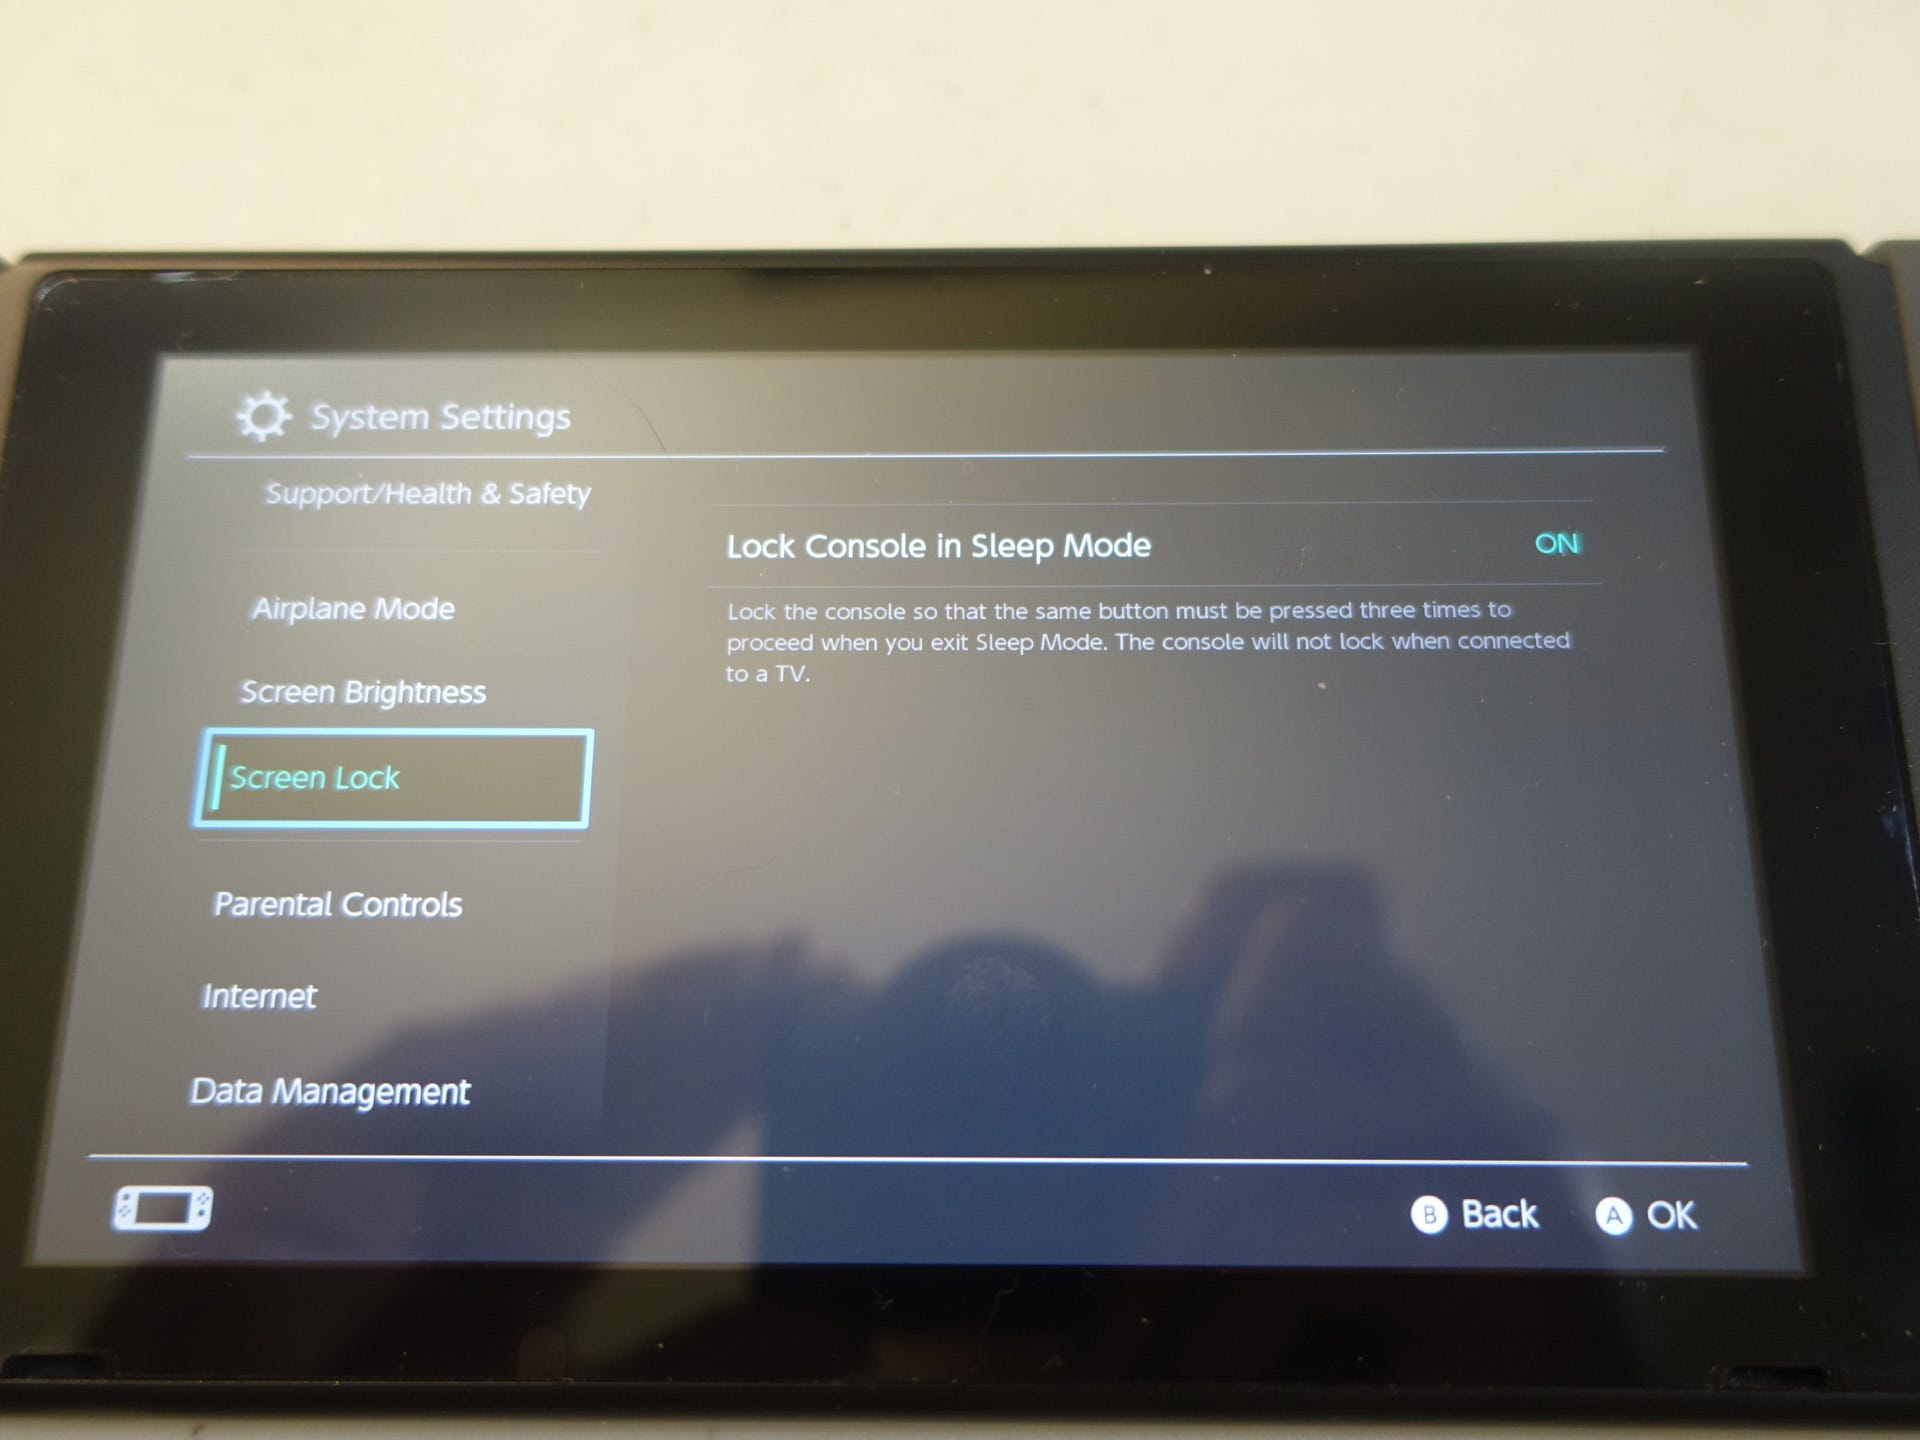
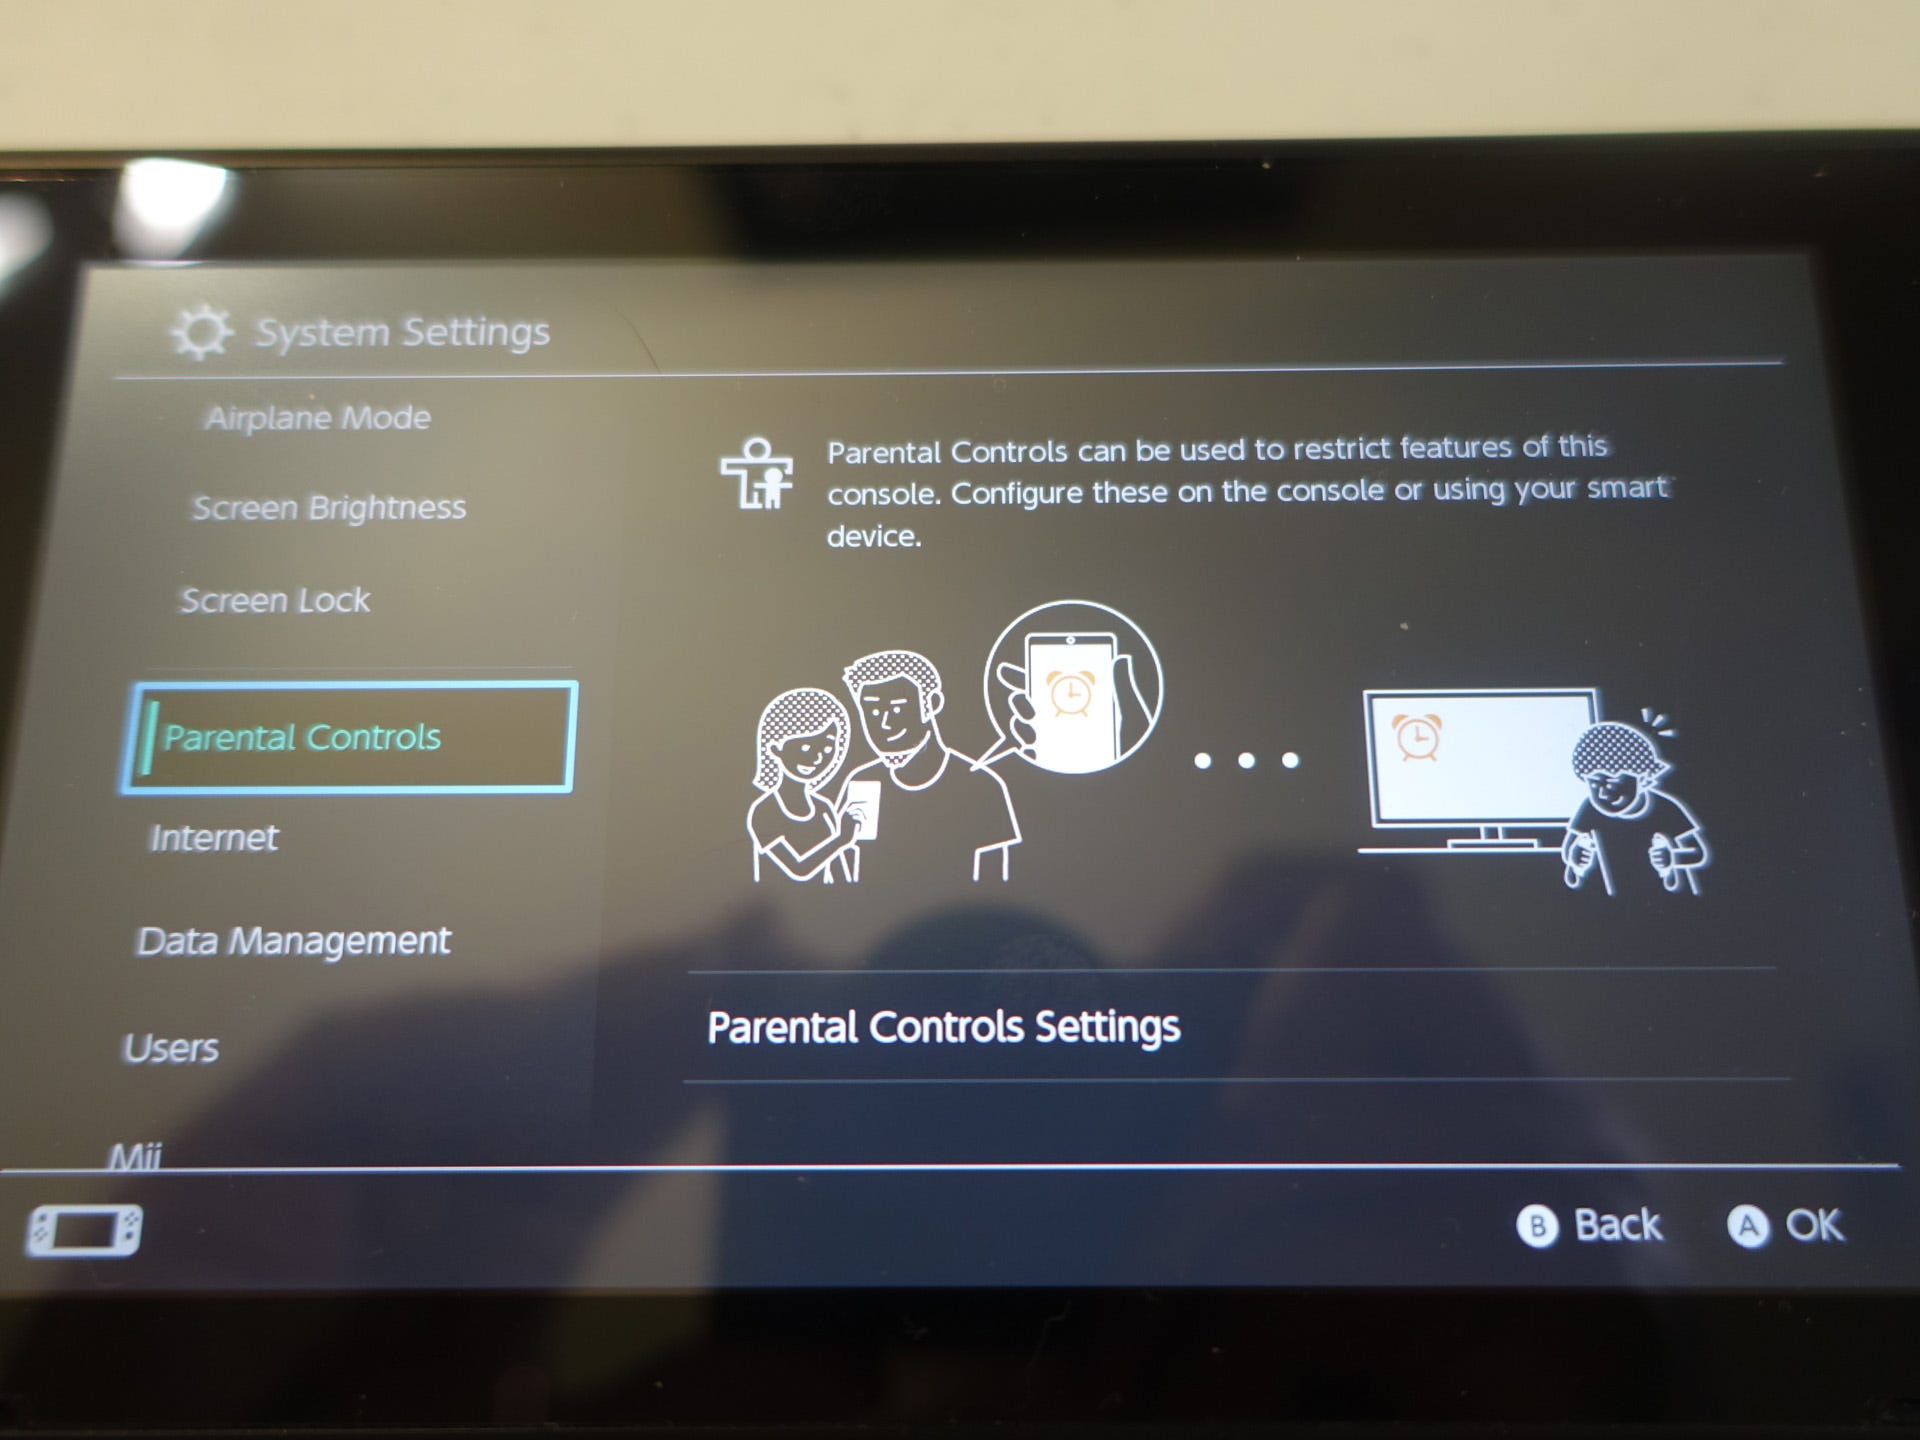
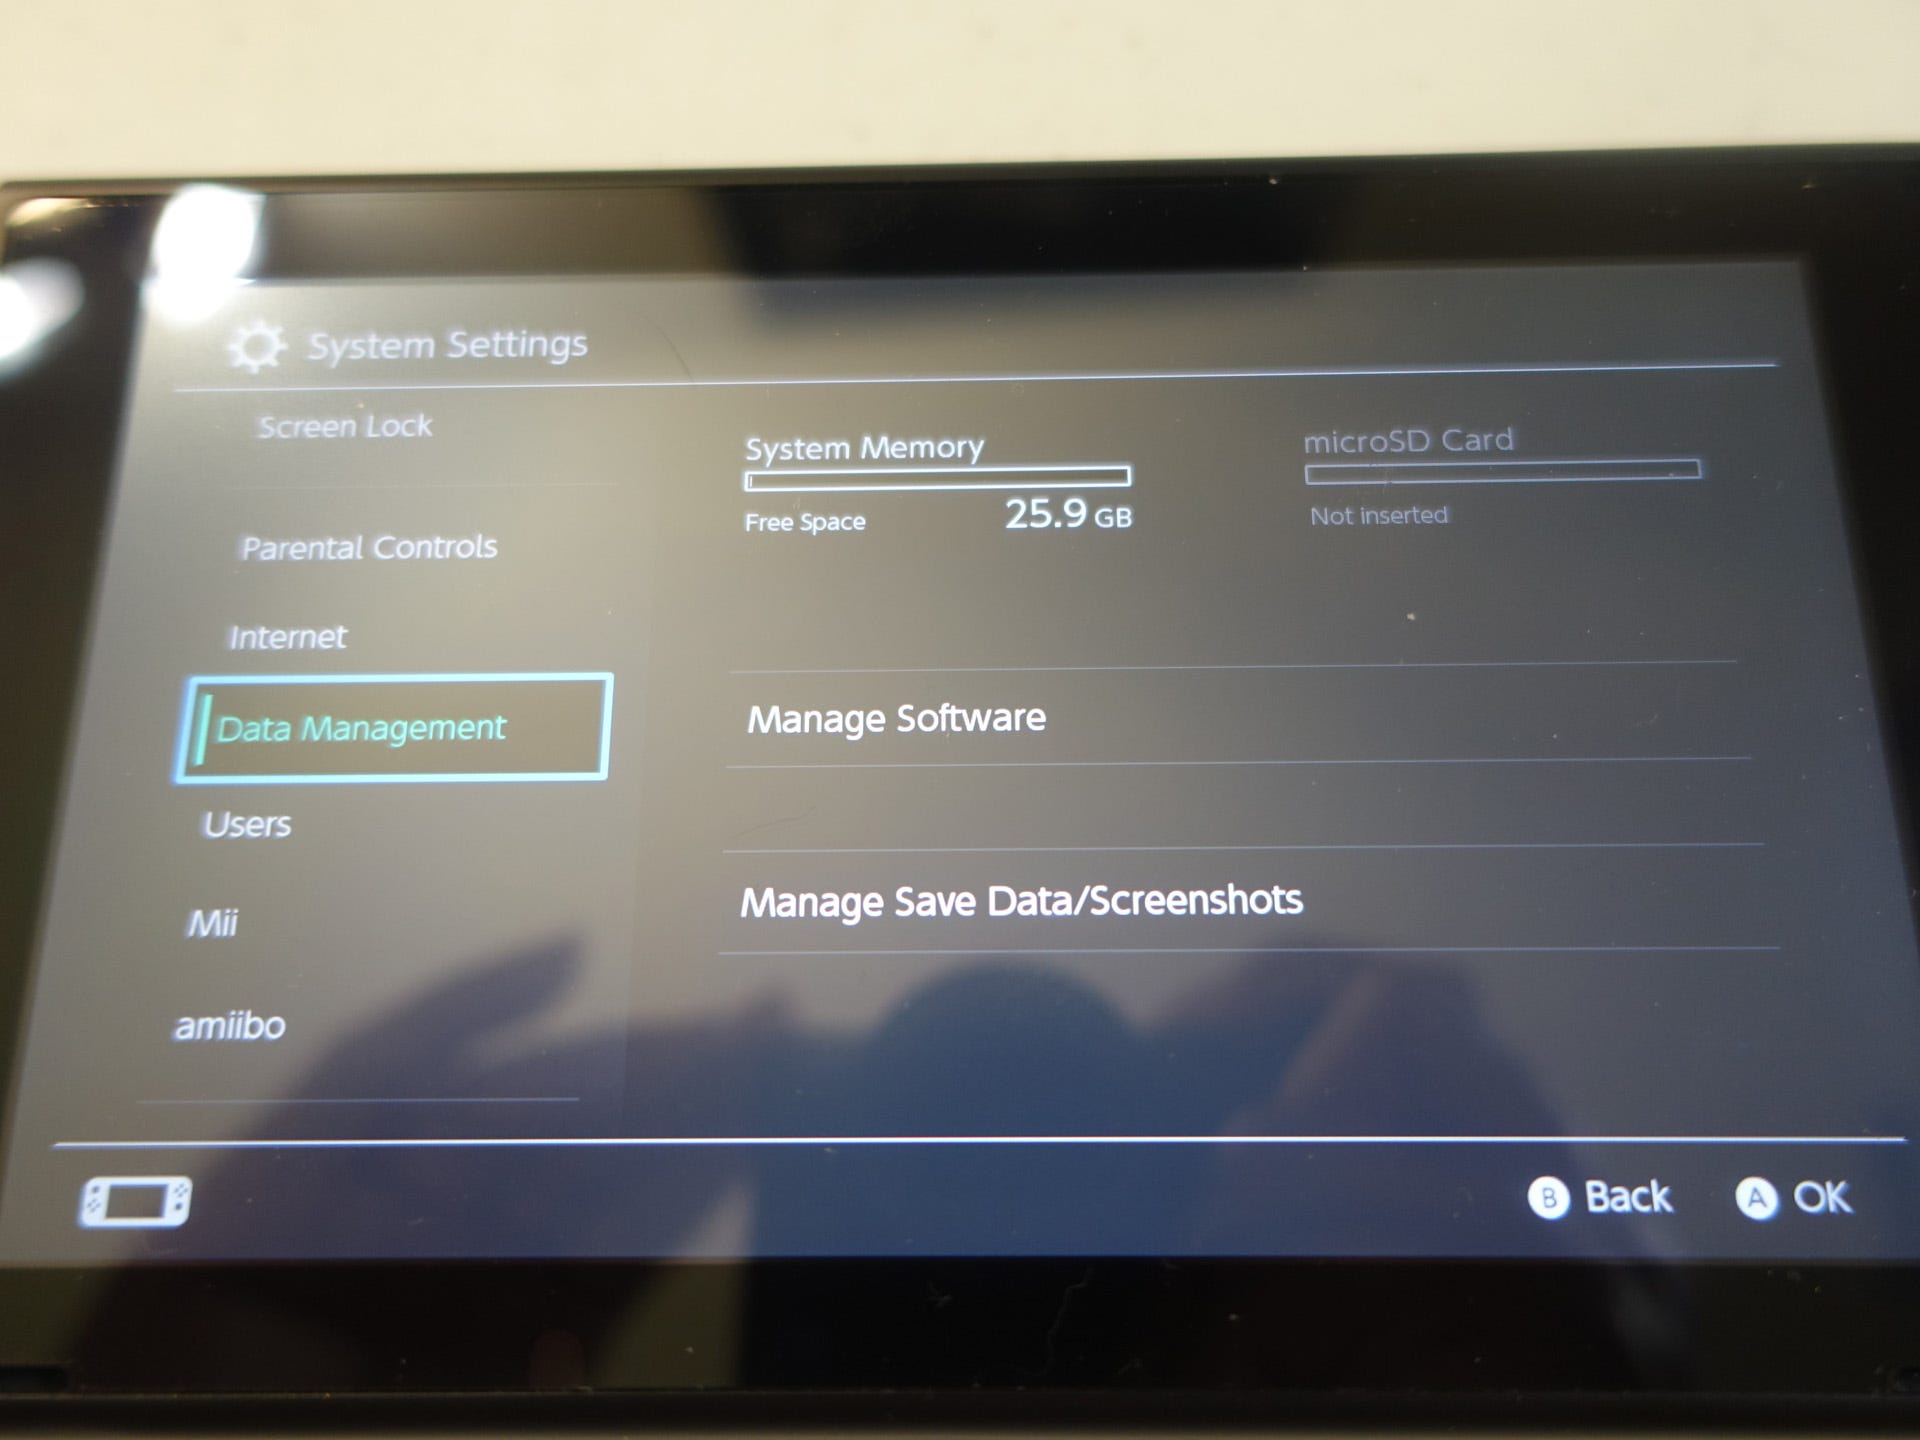
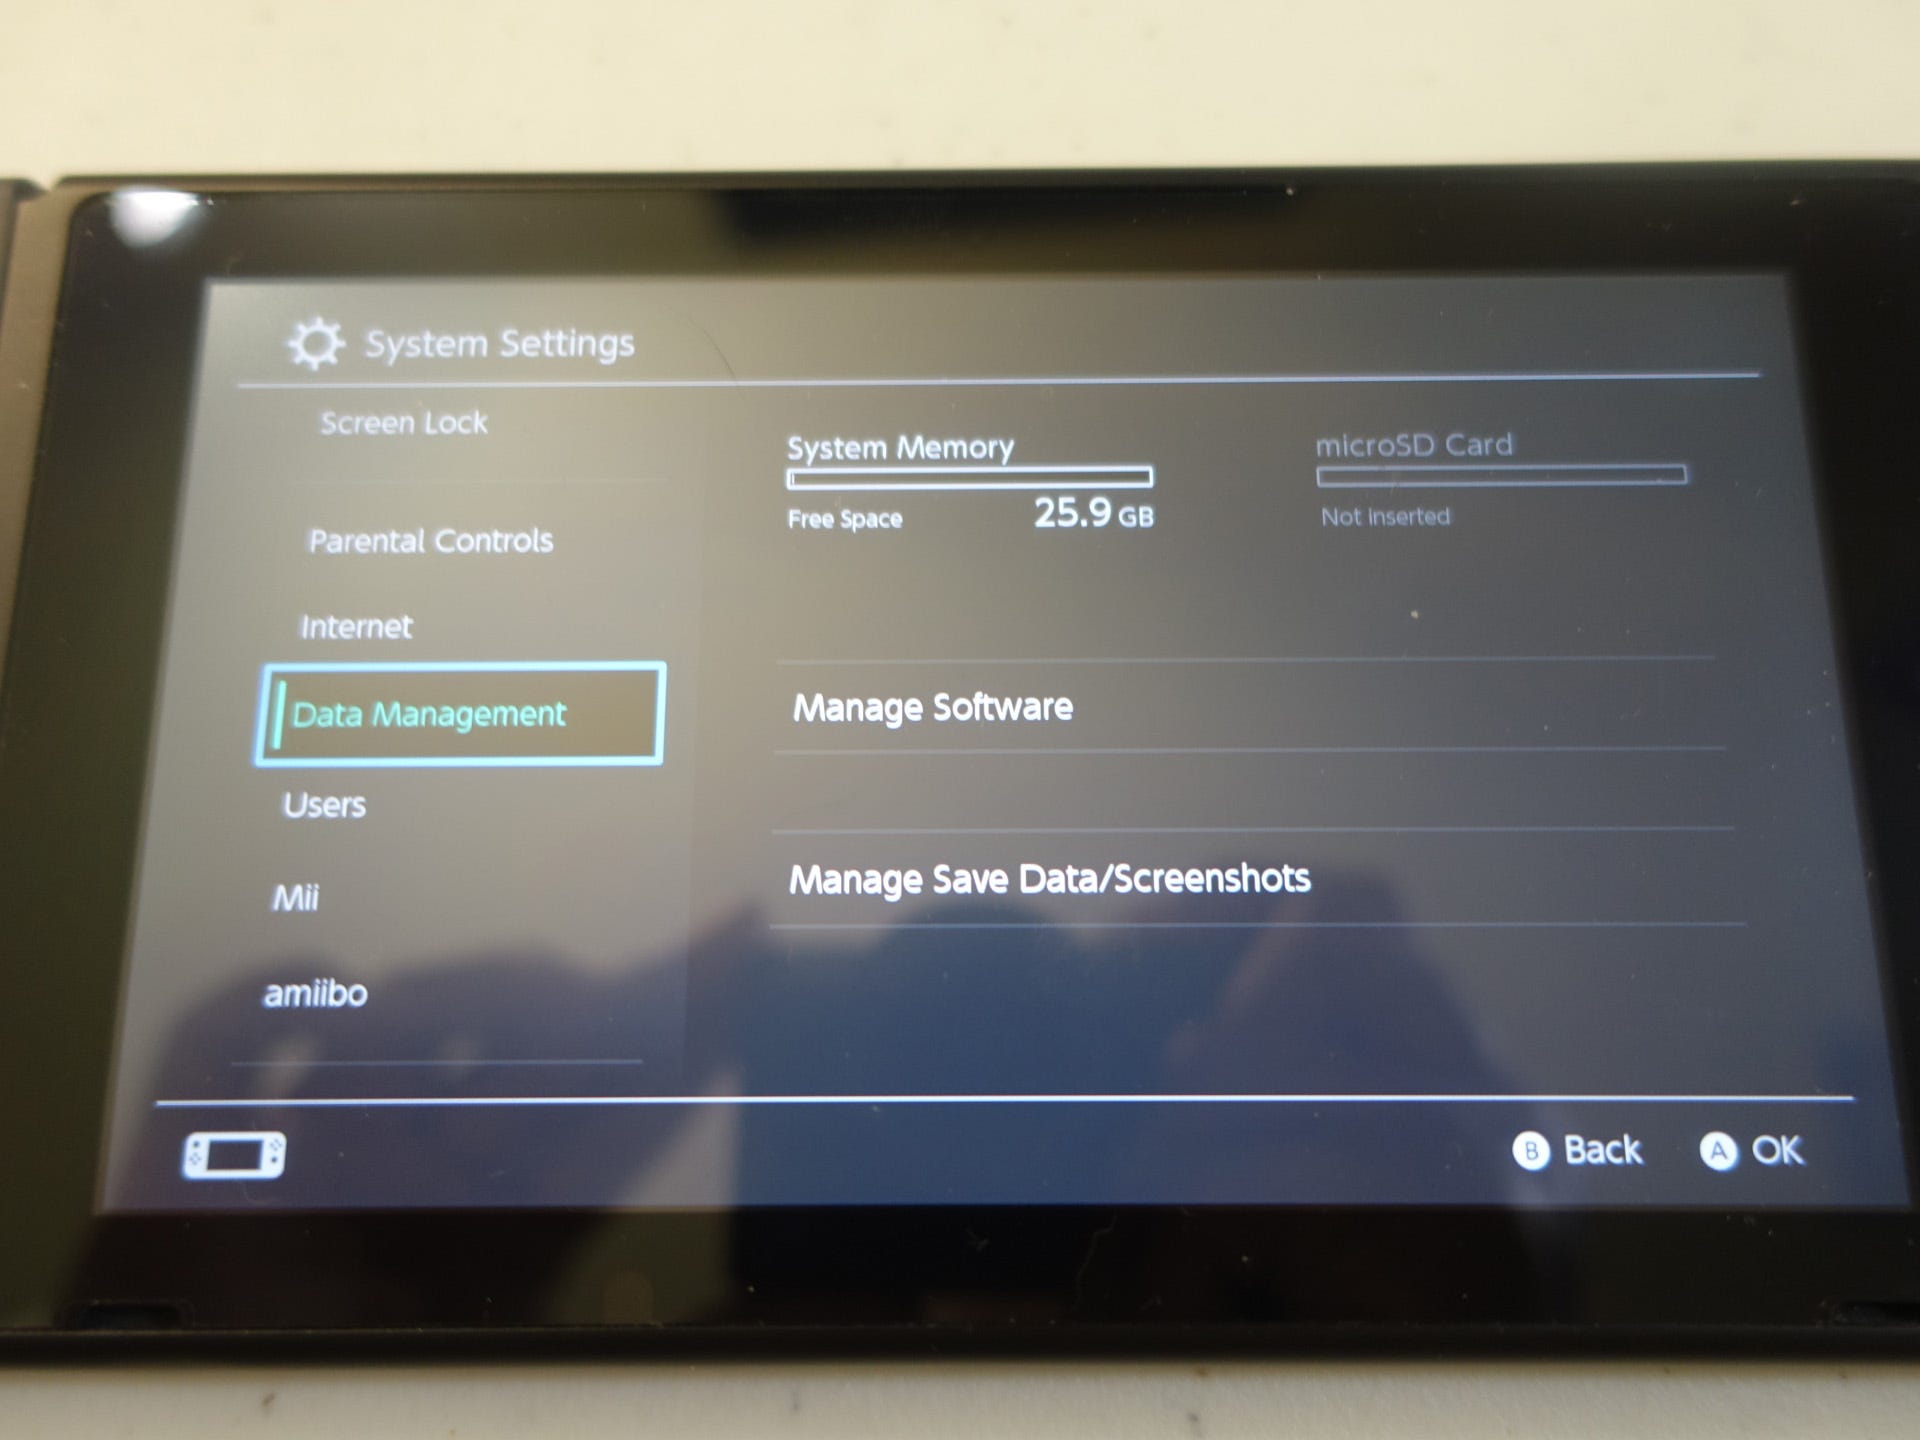
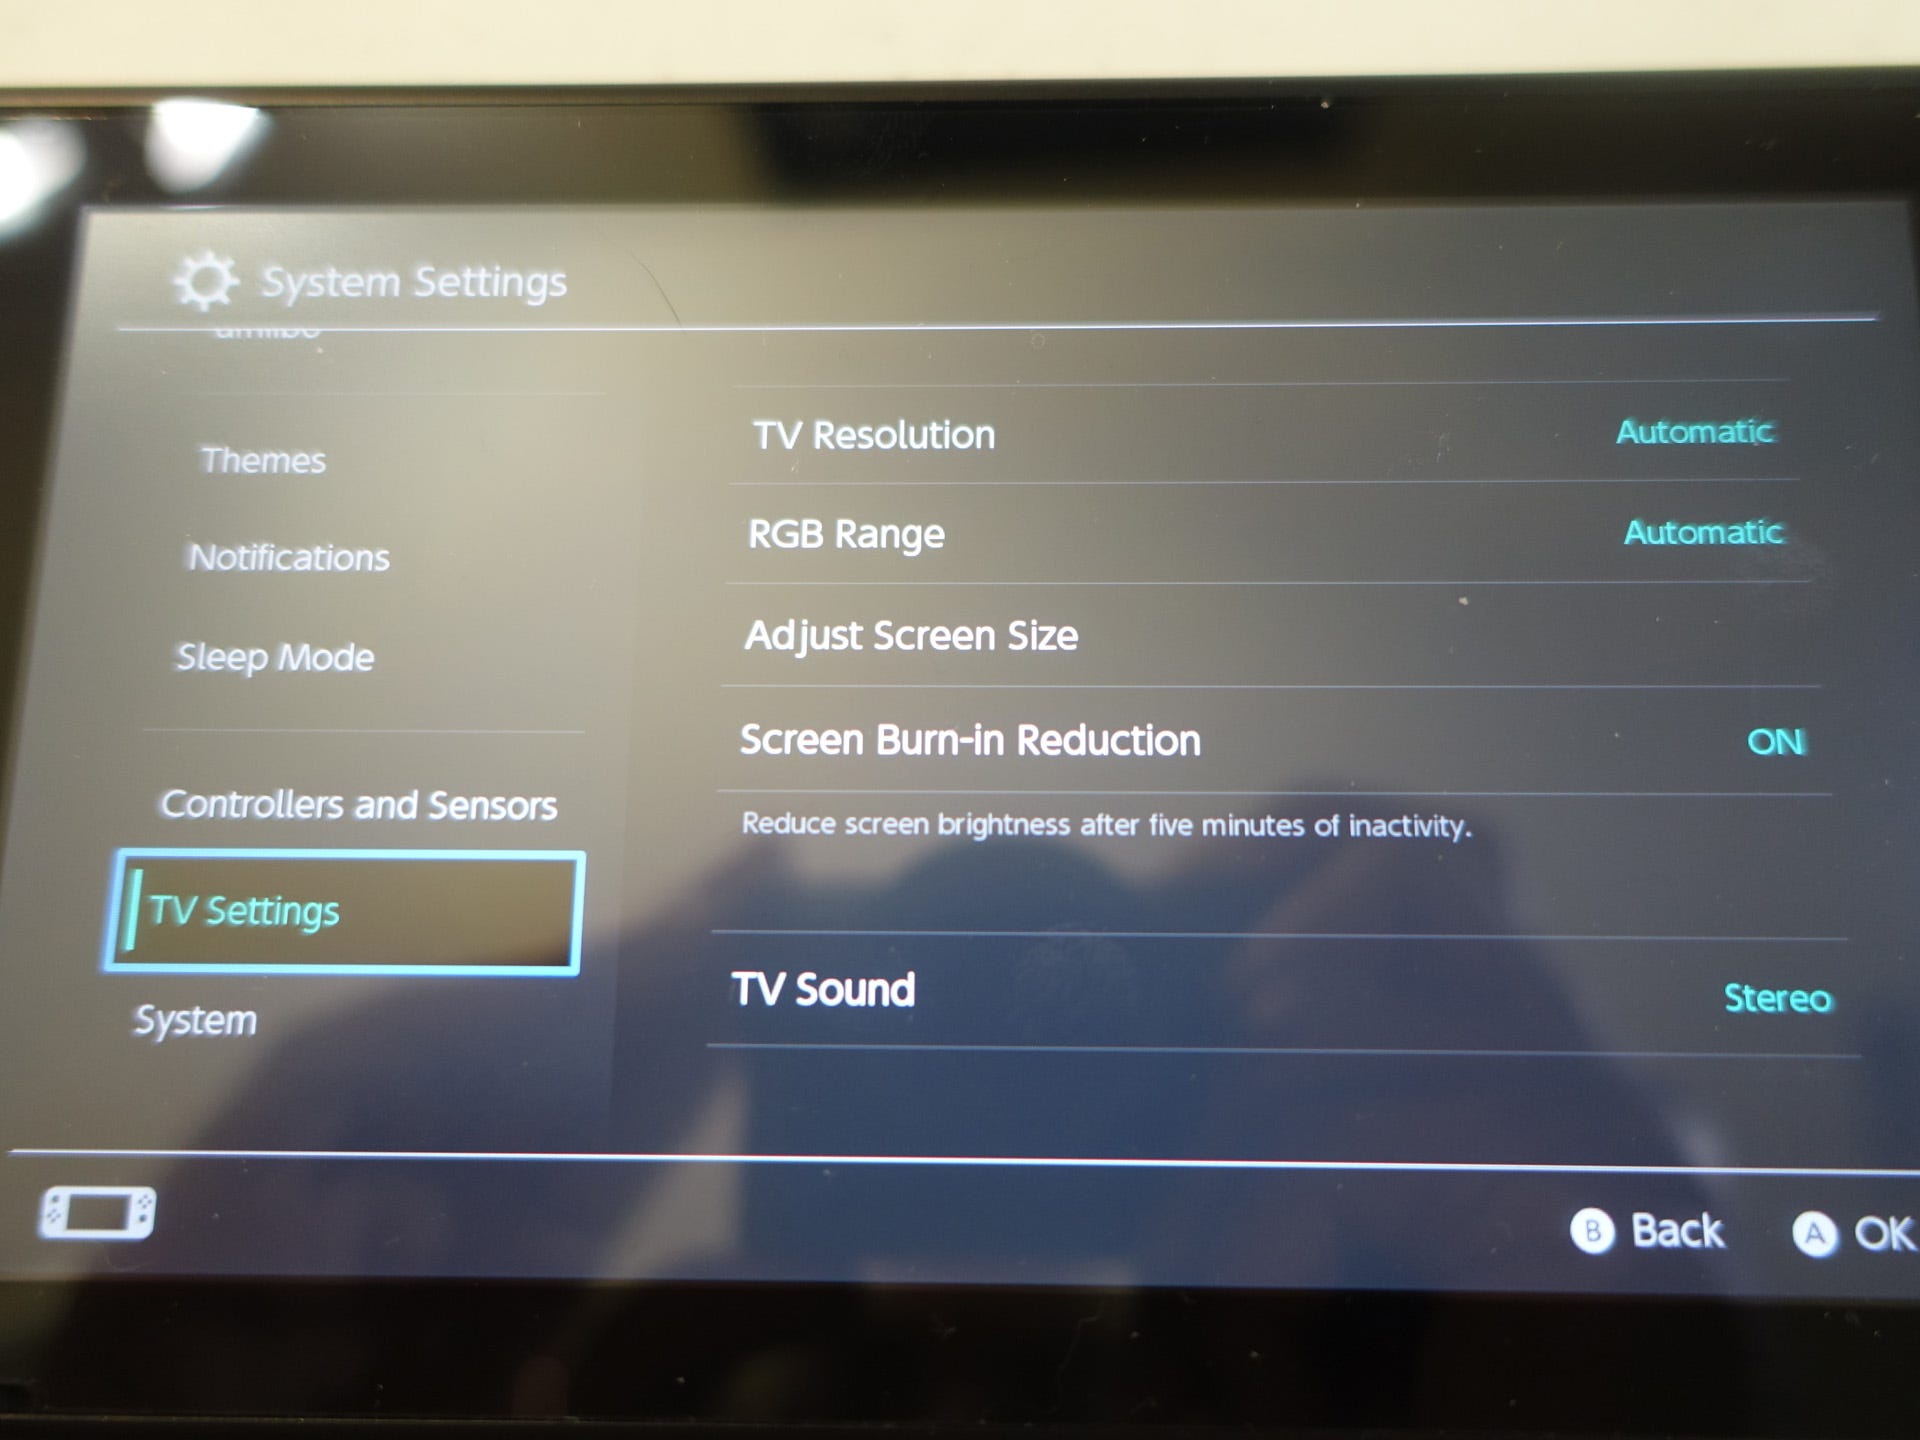
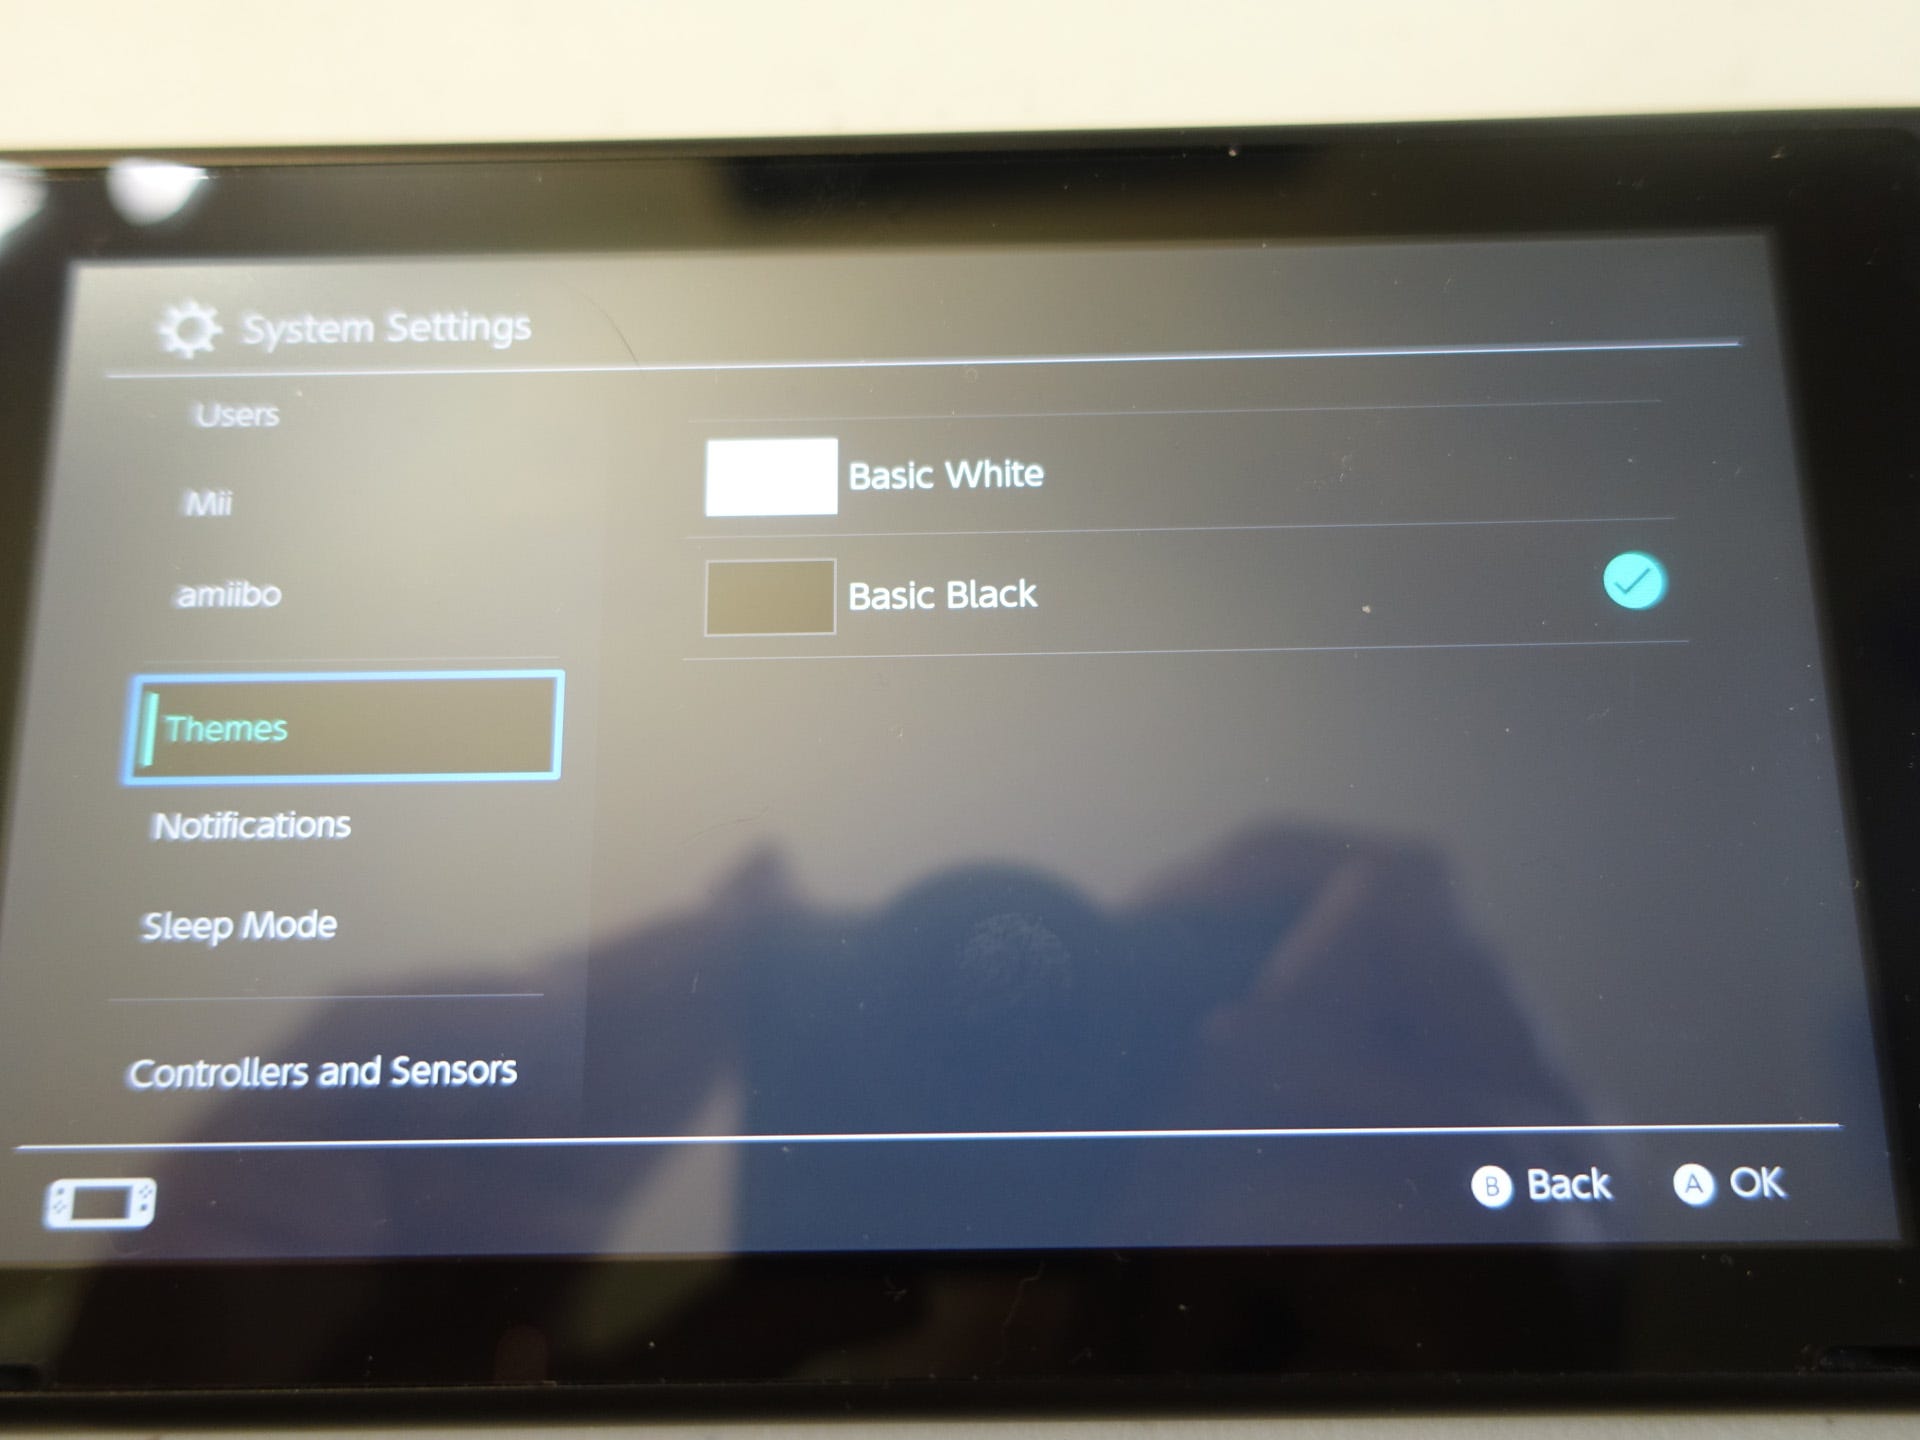
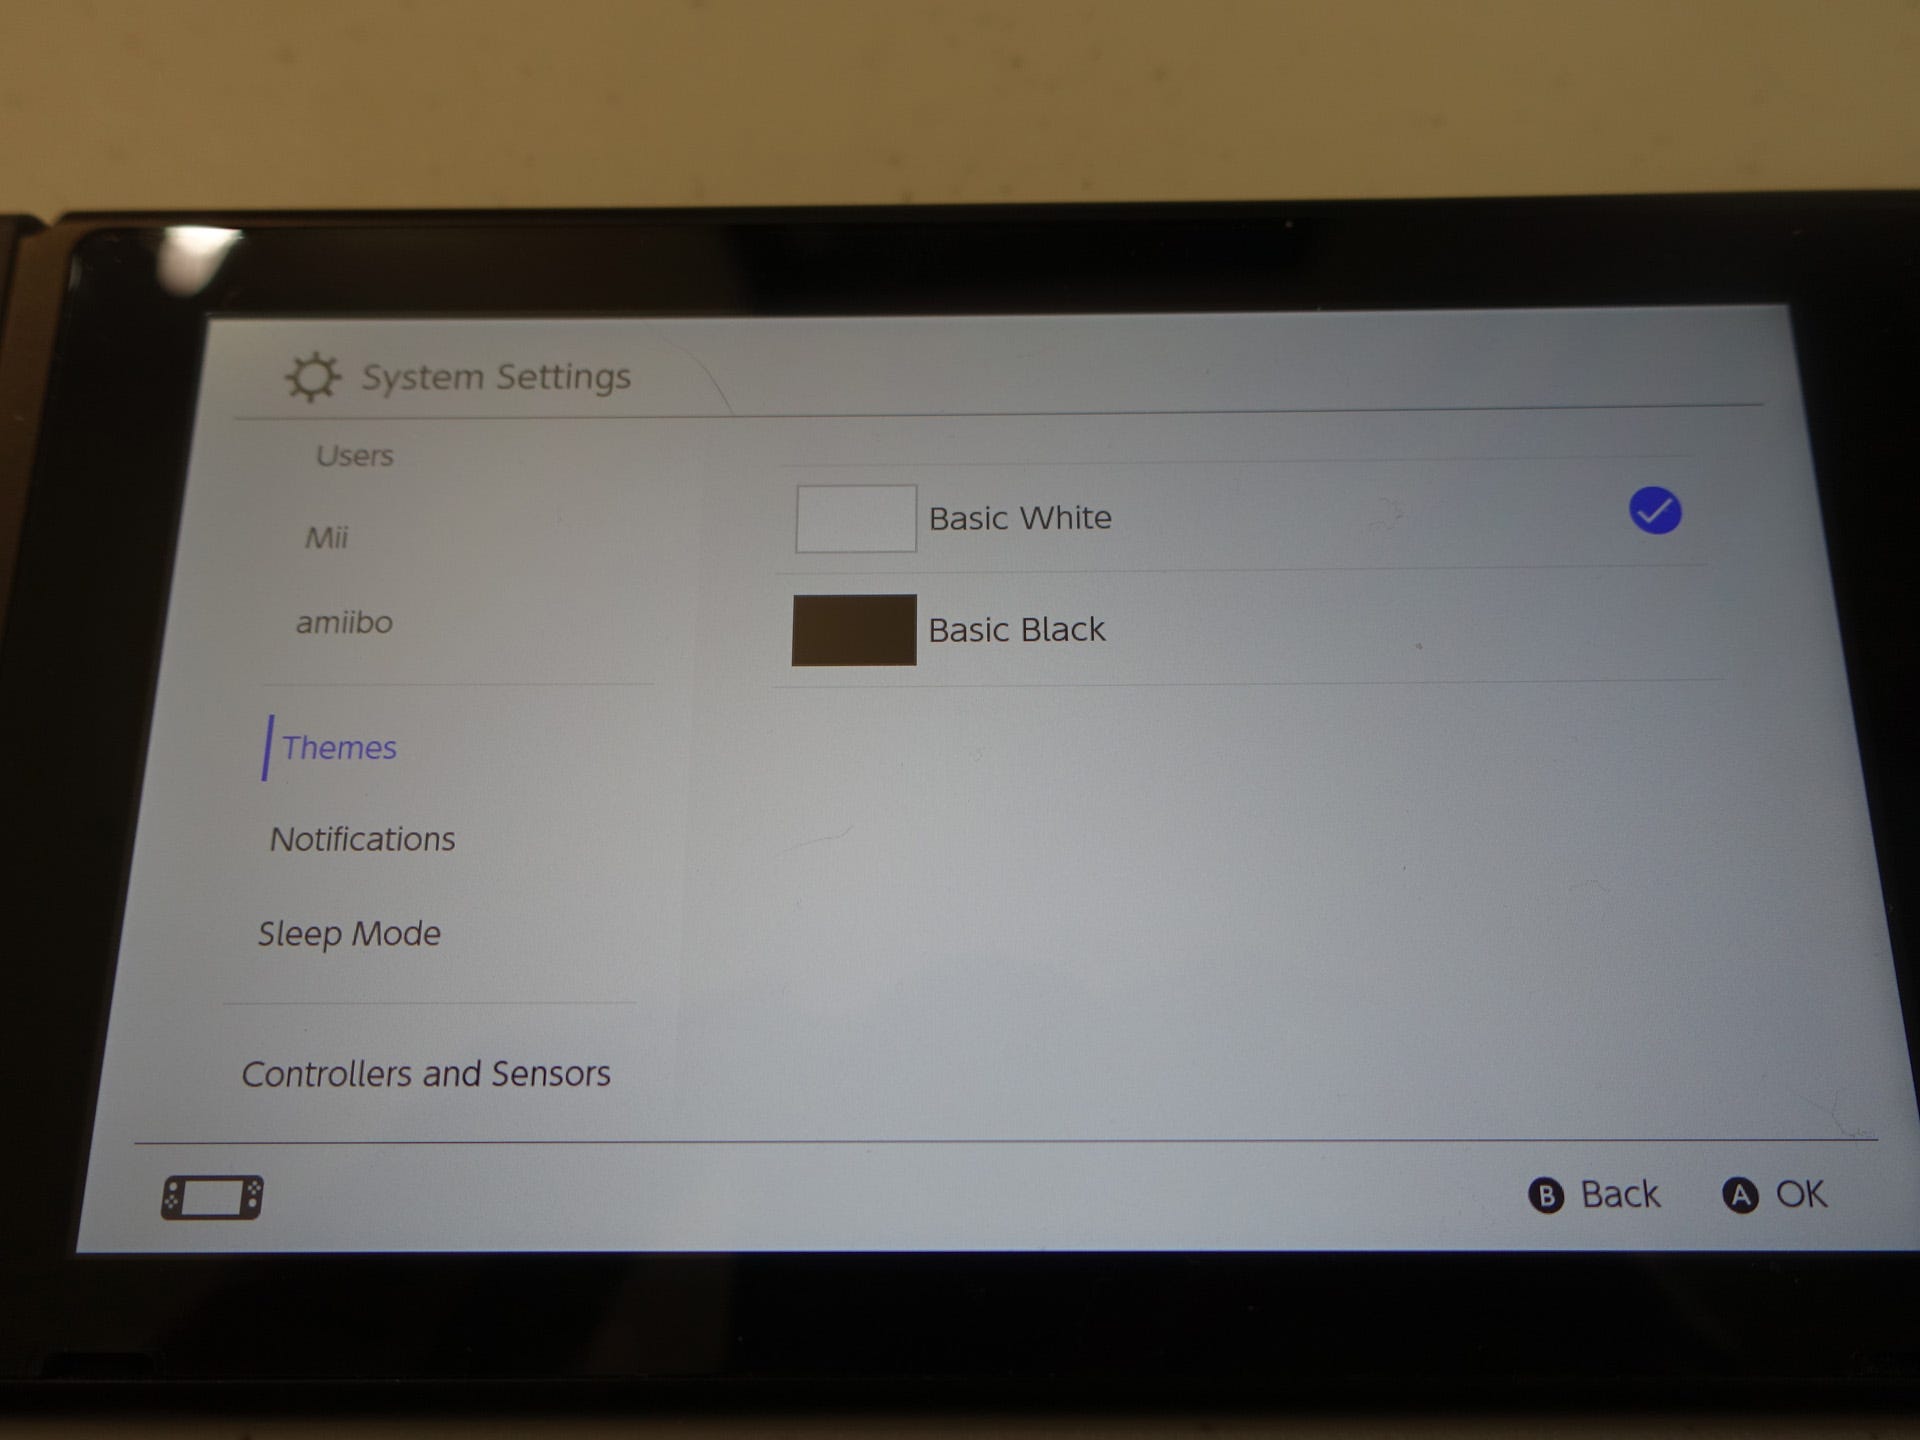
Then there's System Settings. From here you can set screen brightness, setup up your wireless internet connection, turn on airplane mode, setup the parental controls, change the screen brightness, manage system and microSD card data, edit the users, make new Miis, register any Amiibo, change the system theme (all screenshots done with Basic Black), change notifications, edit your auto-sleep preferences, change TV display settings, system update, and edit your date, time, and region.
Back on the Home screen, the bottom left of the screen shows the current status of your Joy-Cons, whether they're docked, one is disconnected, or if they're both free. There's an actual visual UI flourish and audible click when a Joy-Con is attached to the Switch. Kinda cool.
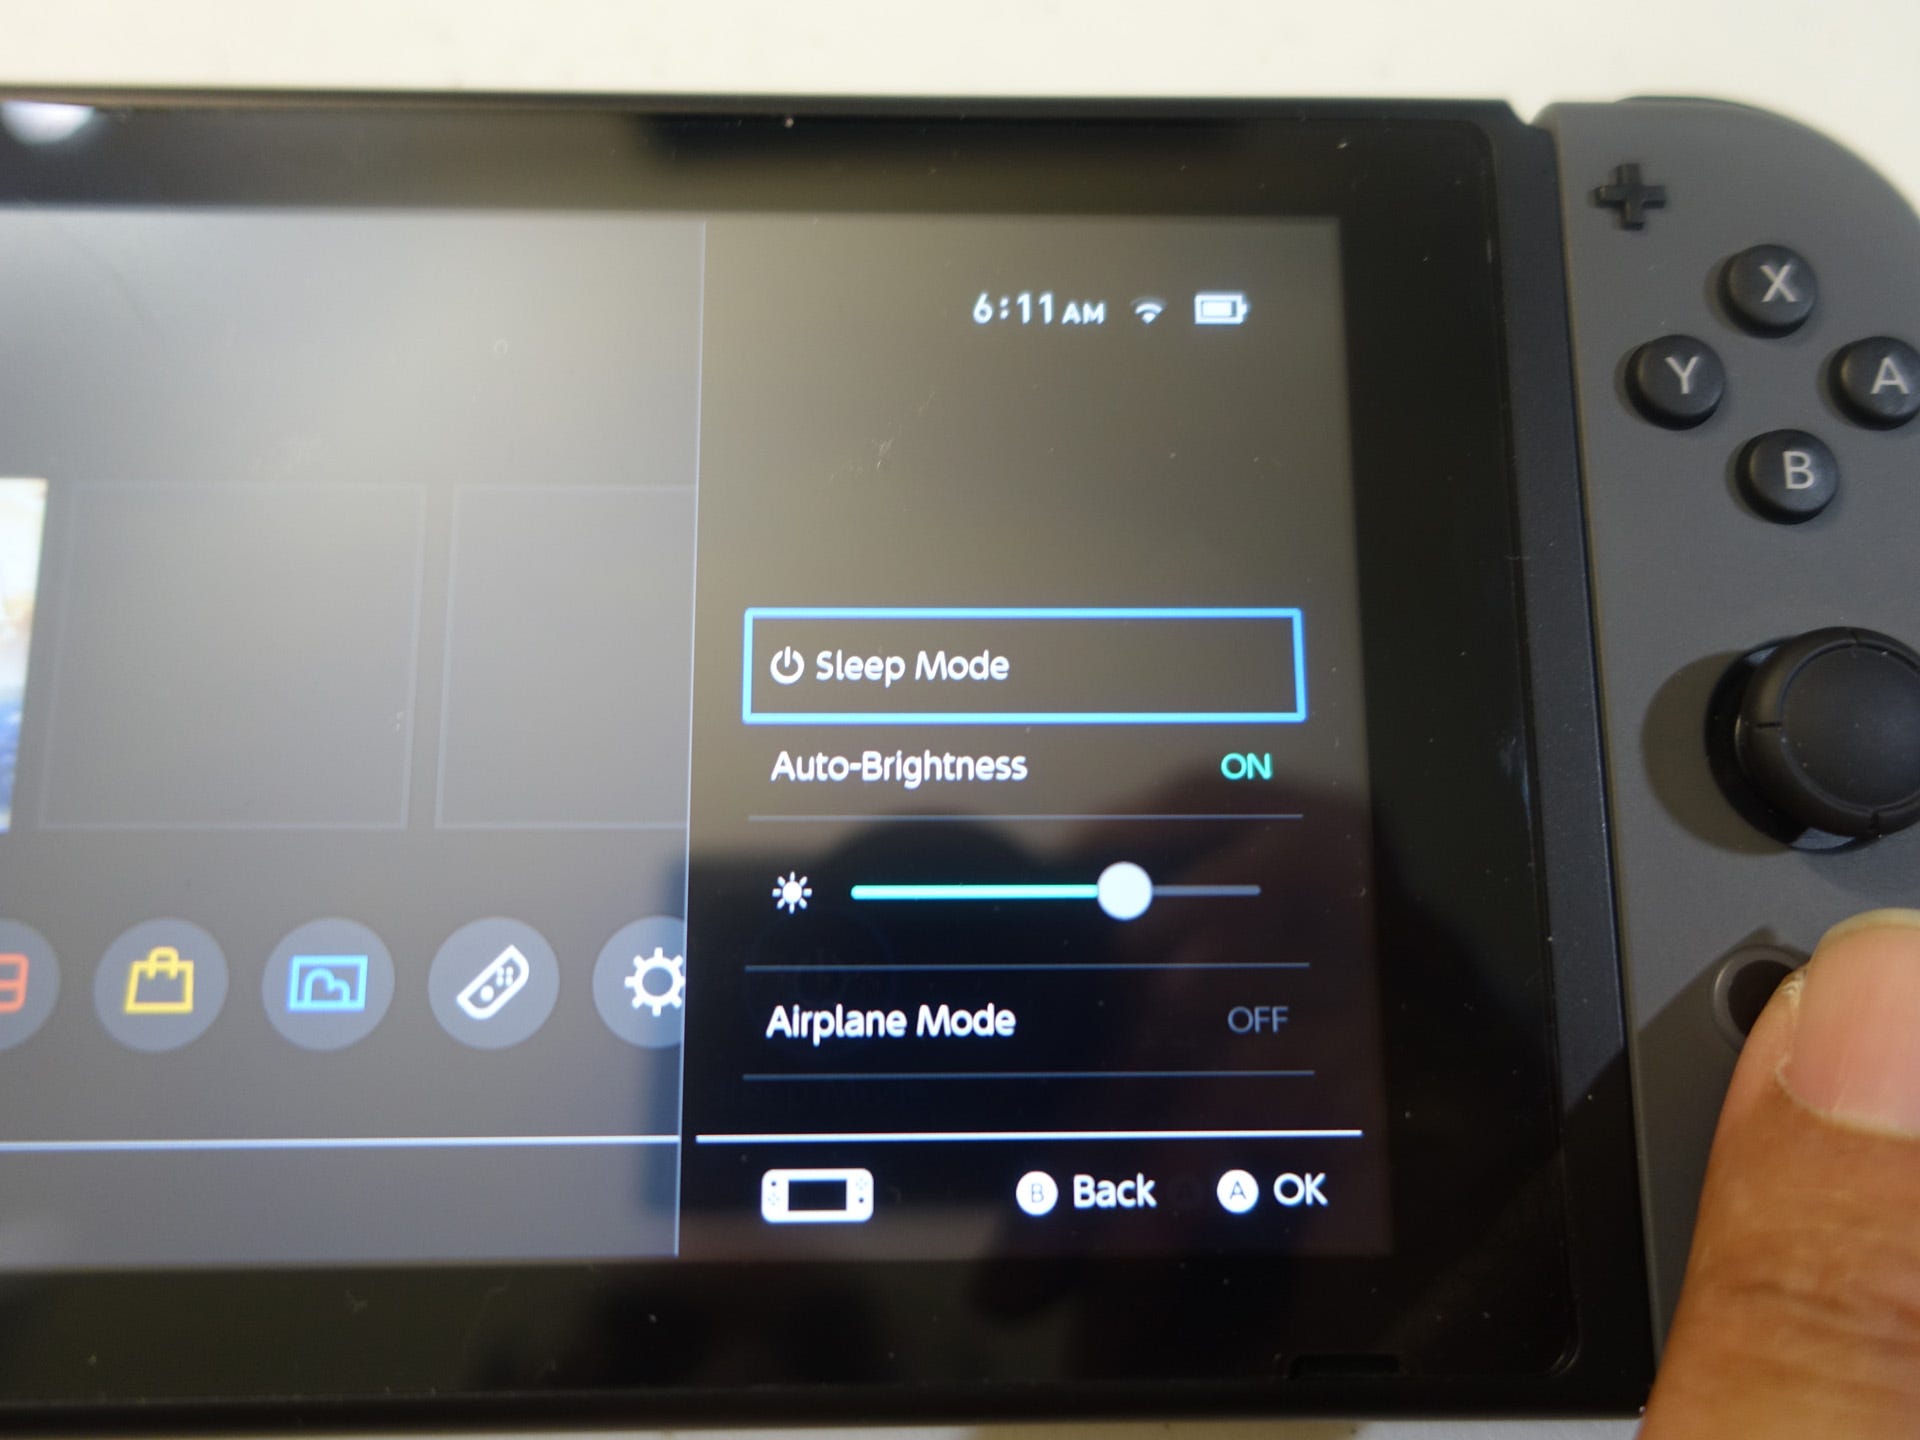
Finally, if you hold down the Home button anywhere, you'll see the Quick Launch menu slide into place from the right side of your screen. From here you can Sleep the system, turn on Airplane mode, or change the brightness.

Let's Get Physical (Games)
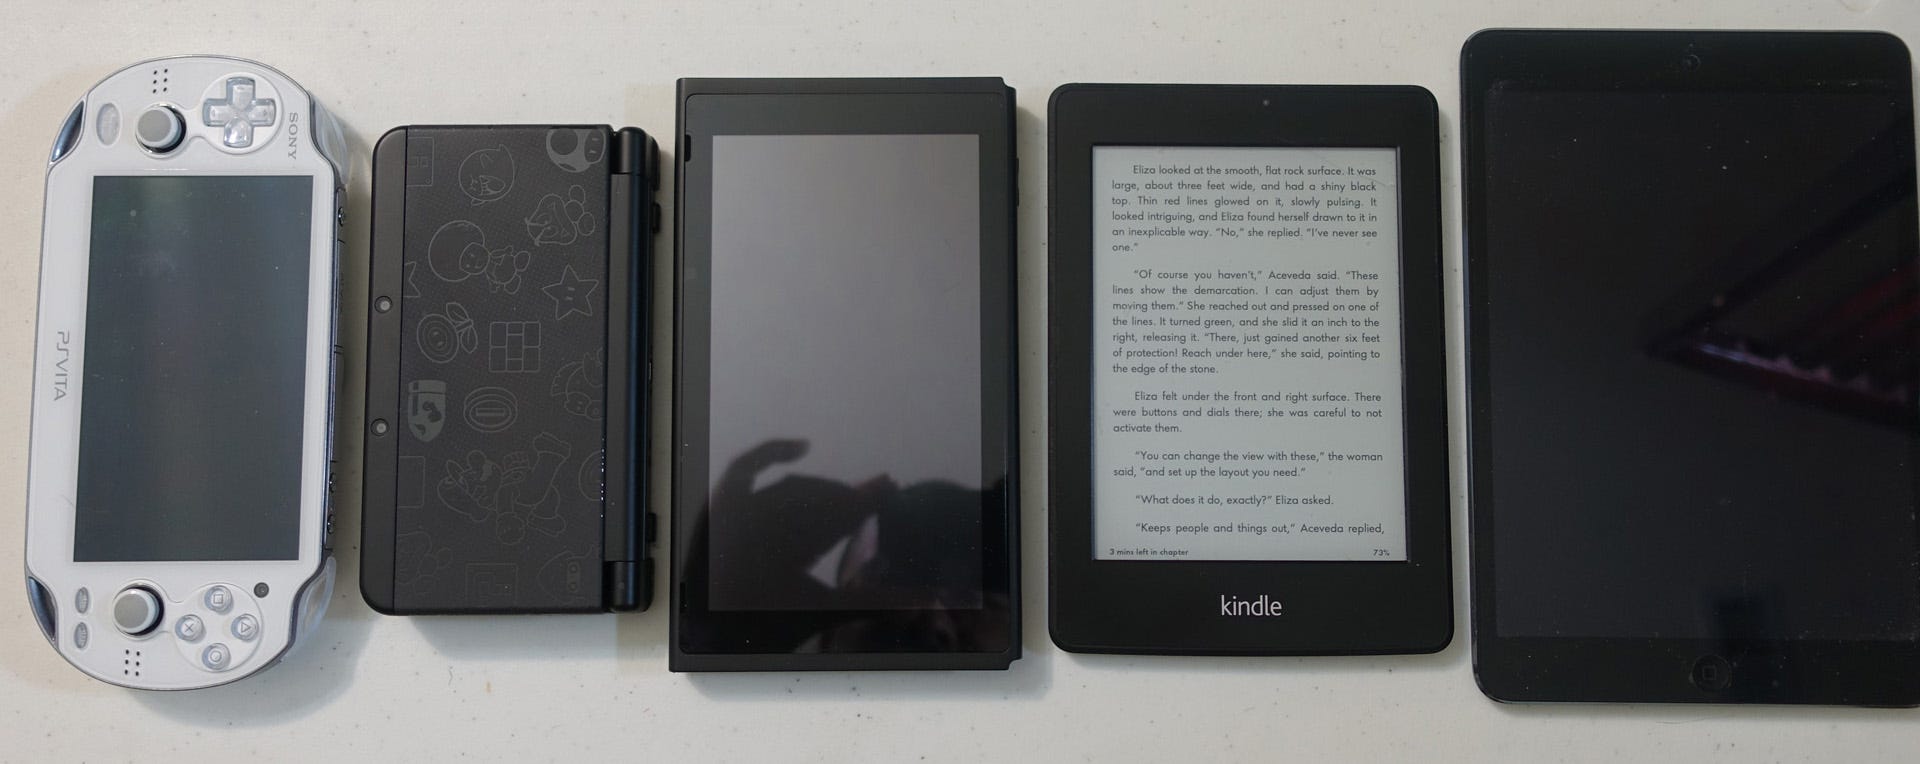
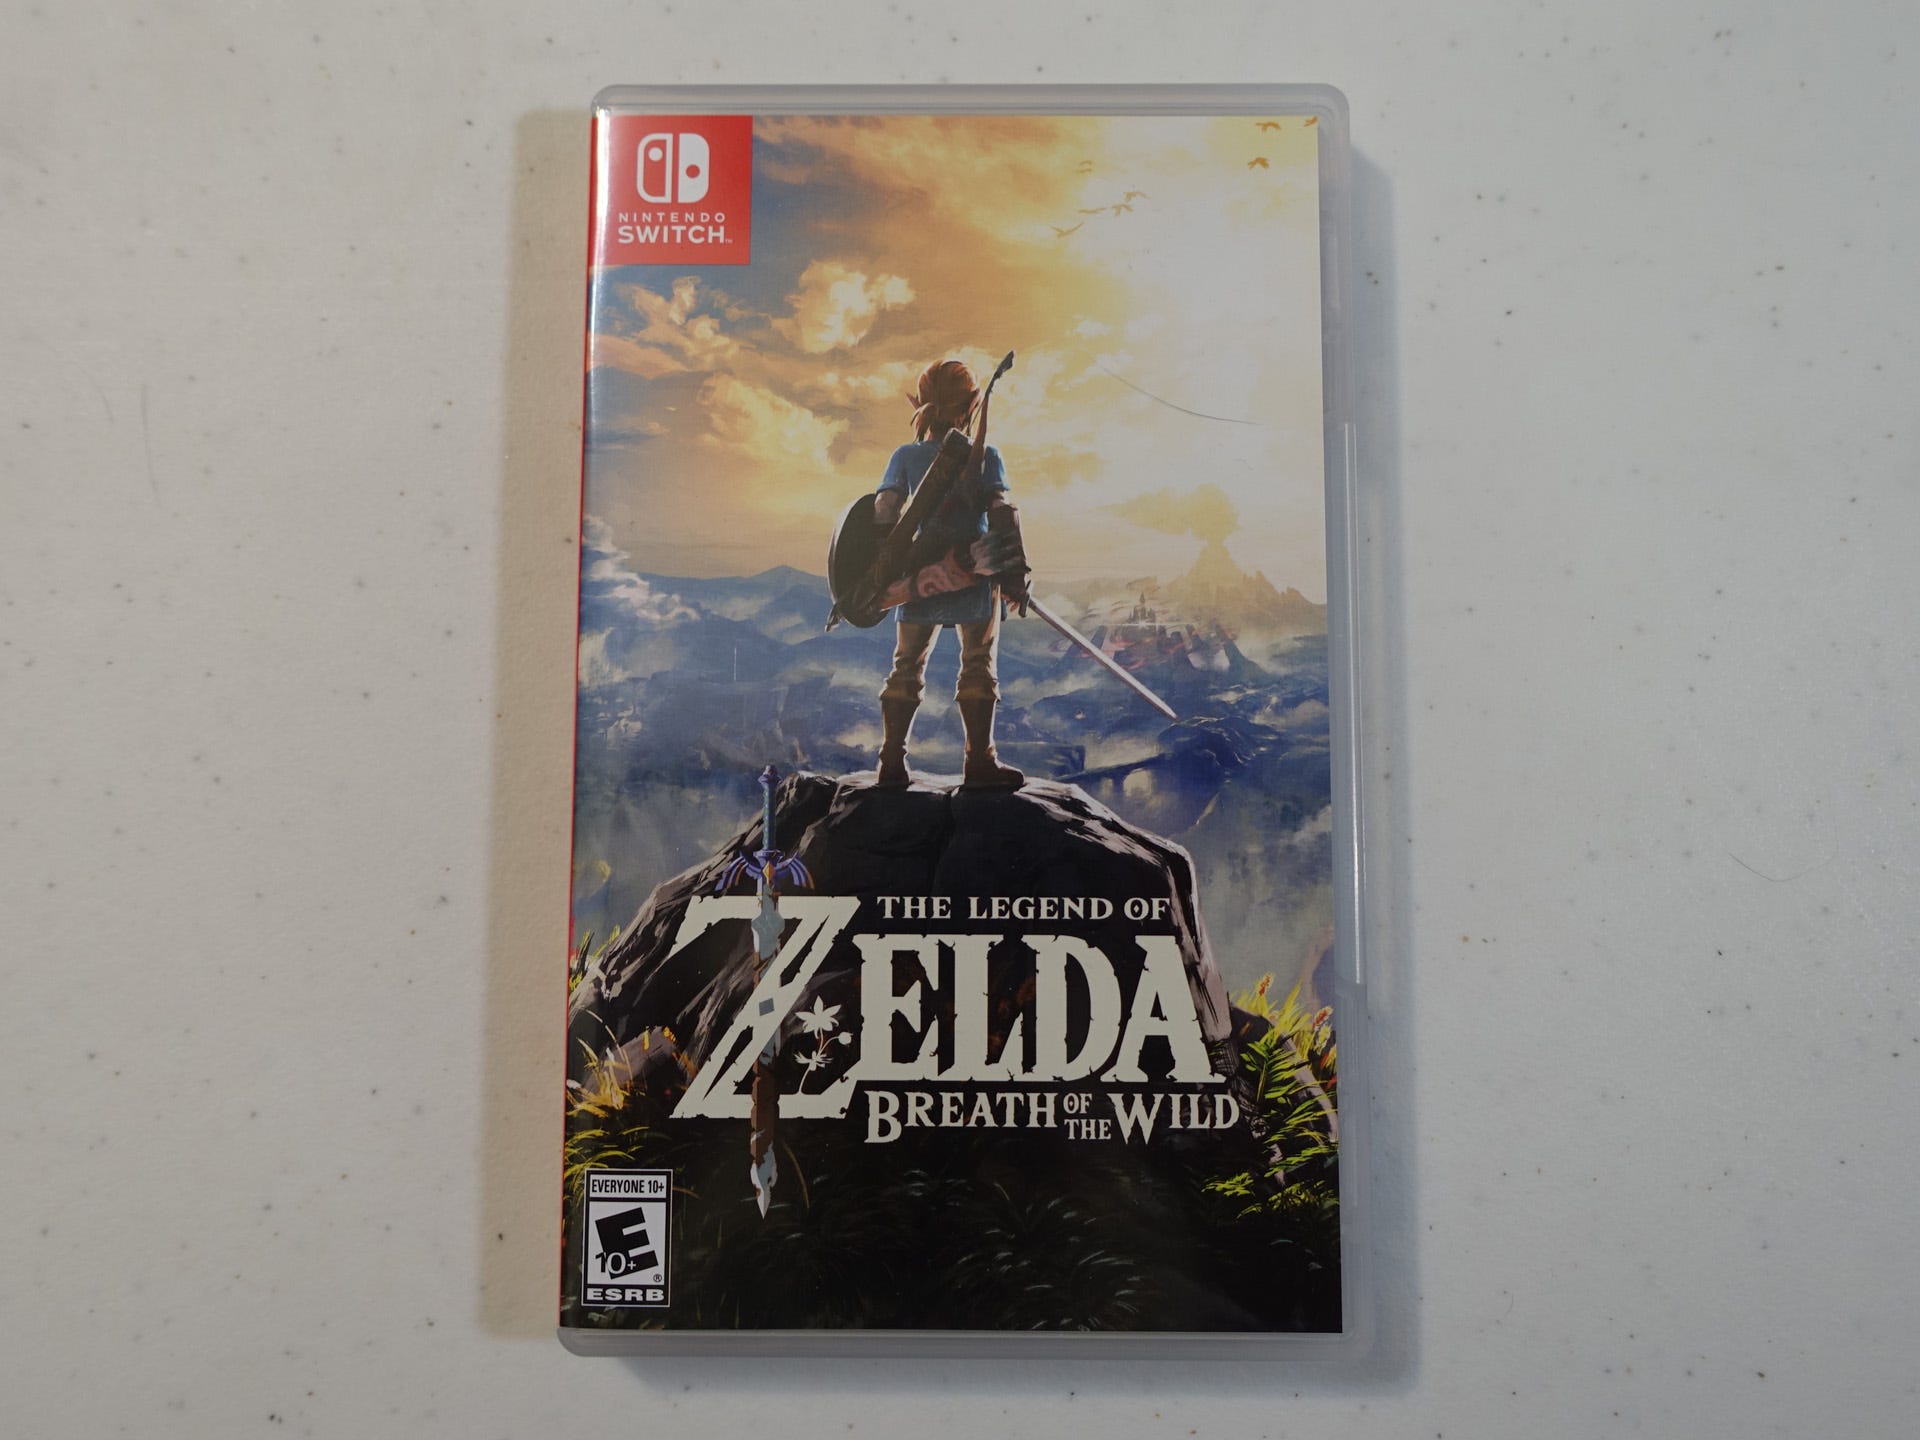
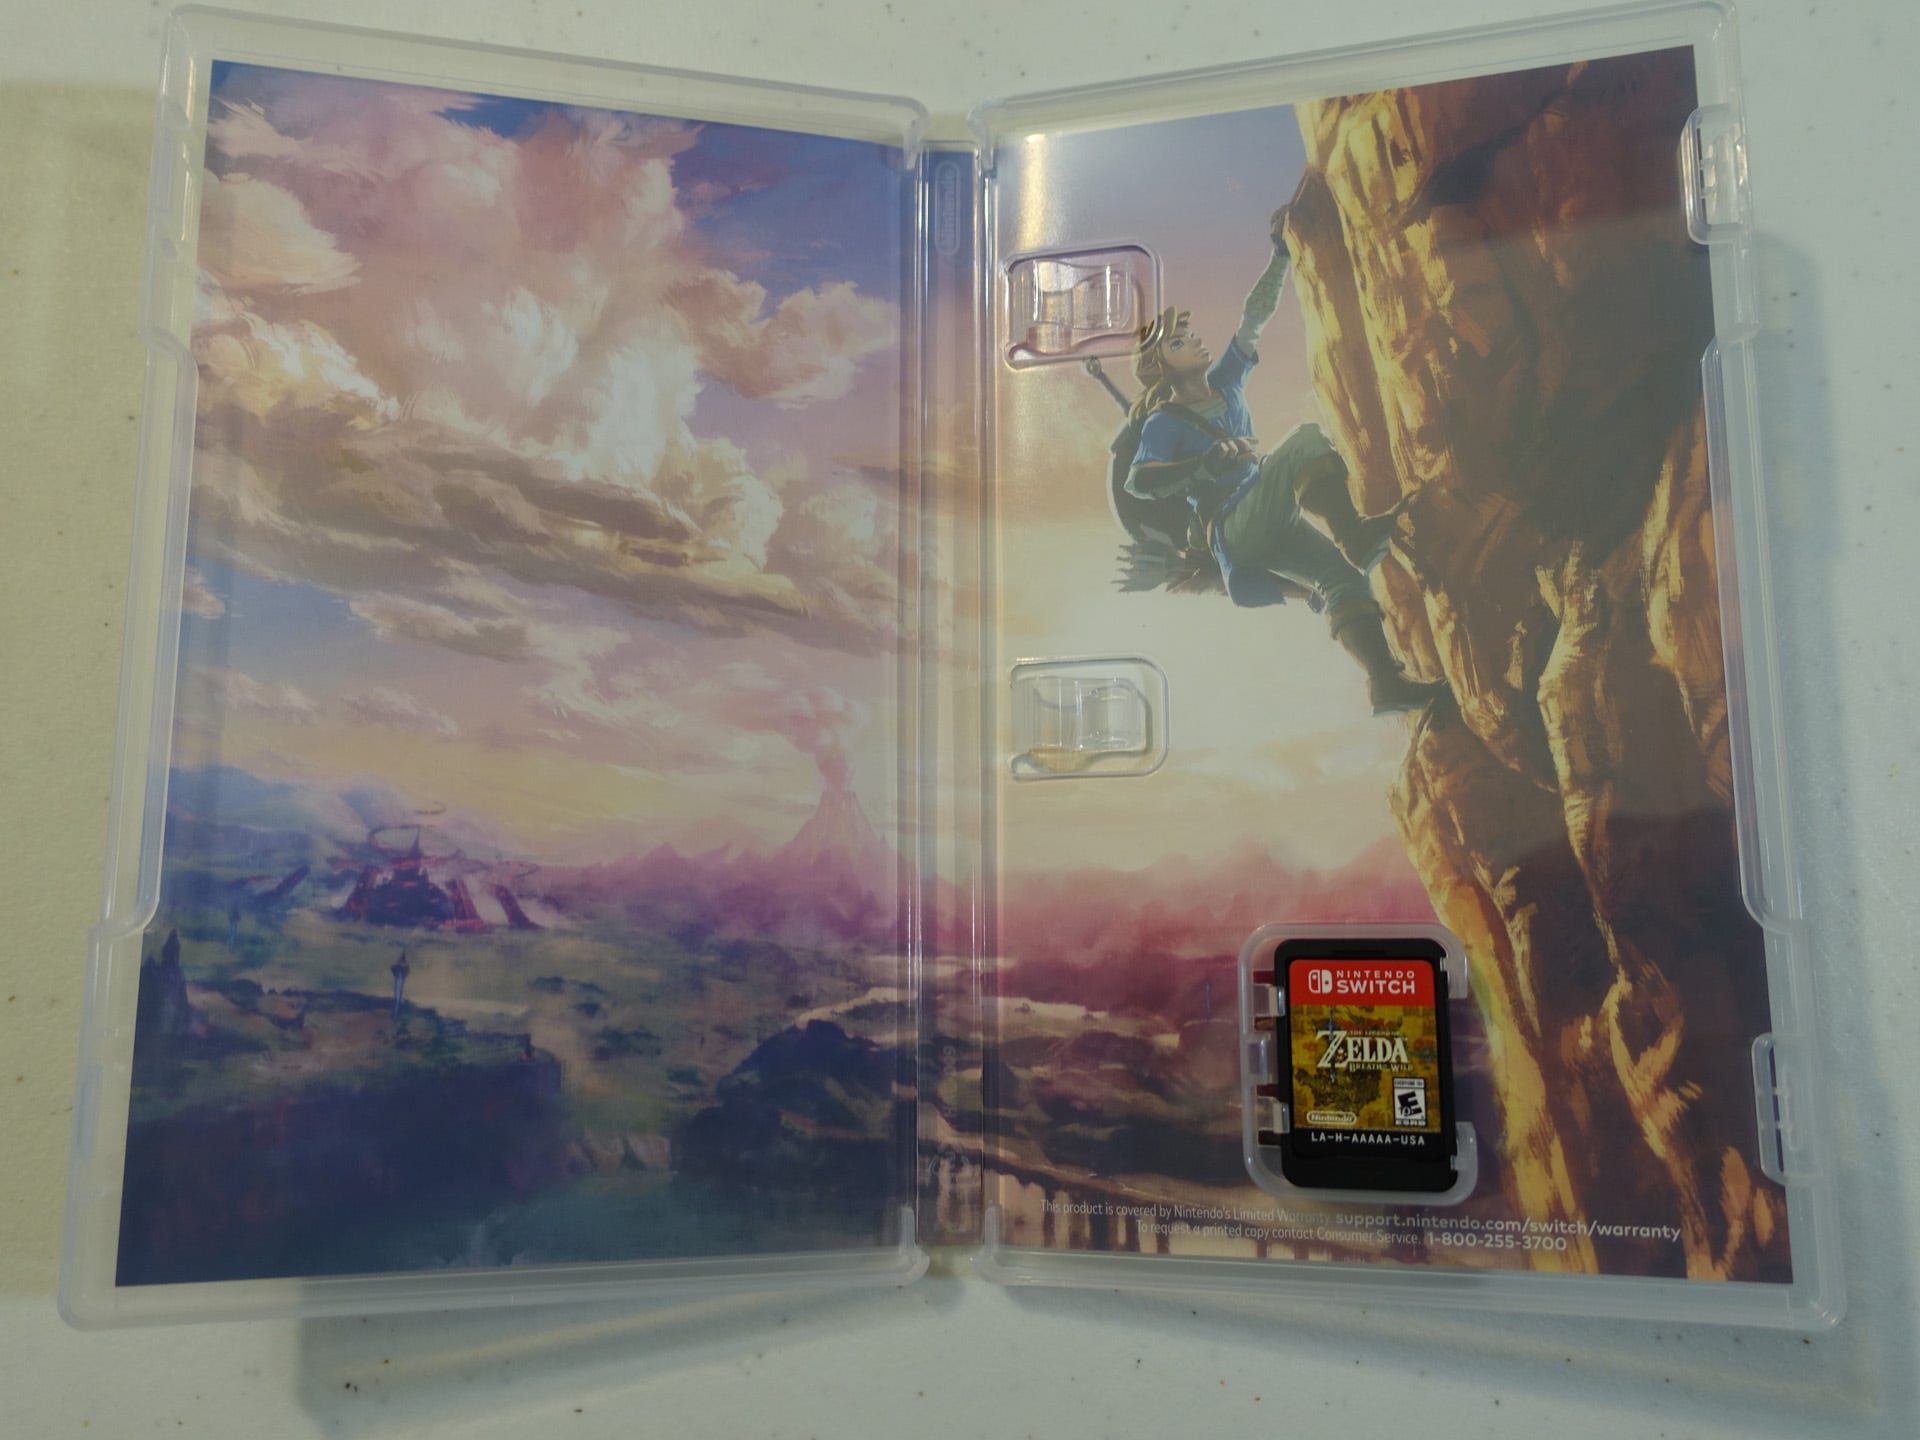
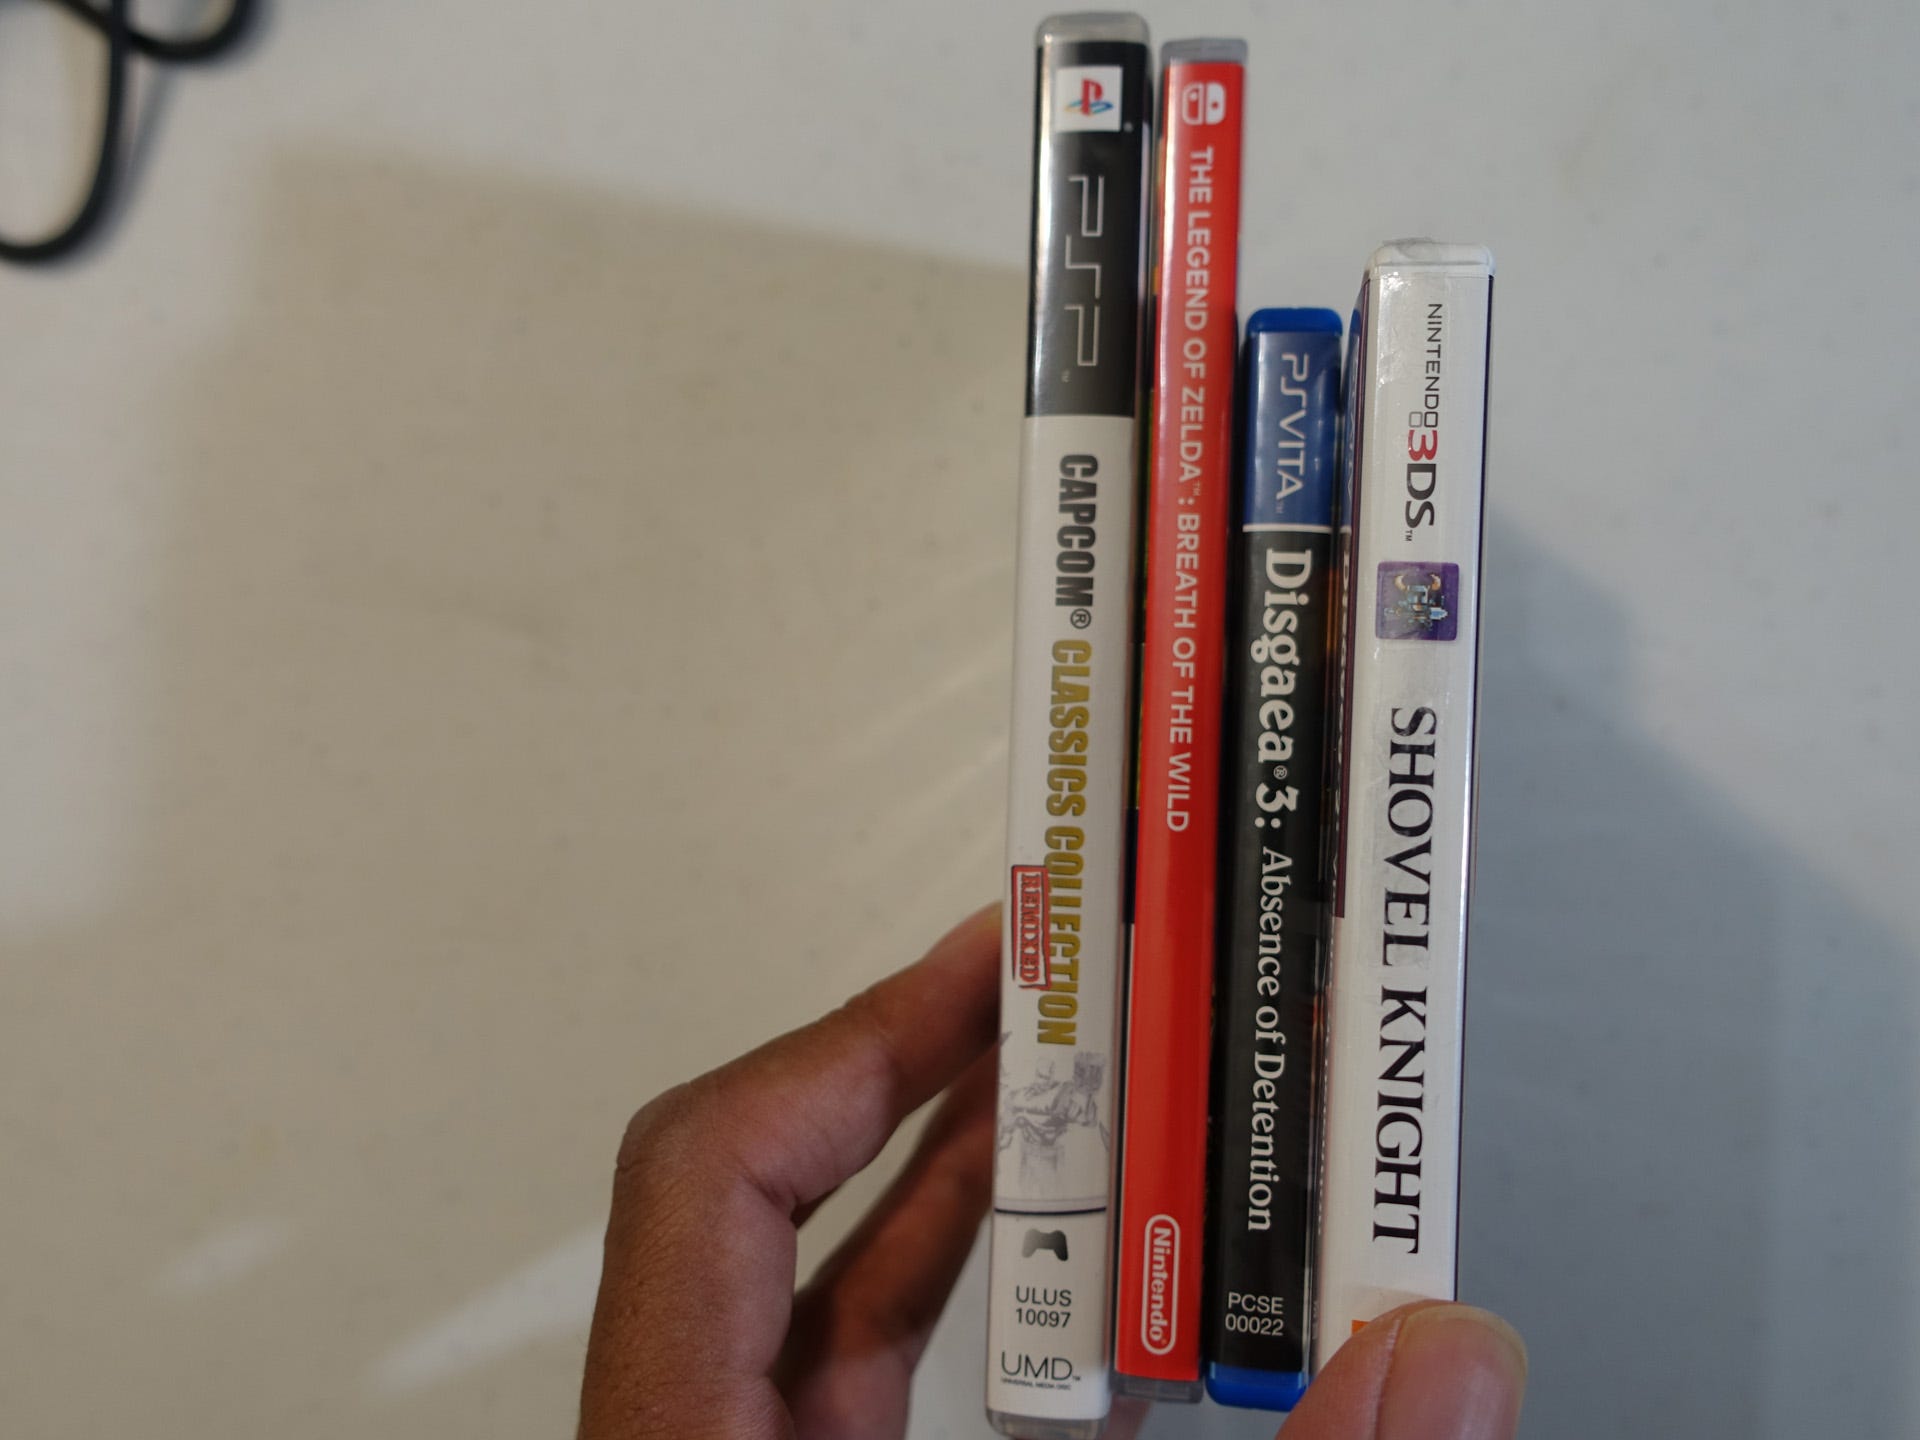
With the Switch hardware and software behind us, it's time to move onto another type of software. The Switch games themselves! We only have one game right now, The Legend of Zelda: Breath of the Wild, but that should give you can idea of what physical Switch games look like. The cases are around the same size as the old PSP boxes, but slightly shorter and thinner on the spine. Inside, there's a lot of wasted space, with no manual and only a single tiny game card.

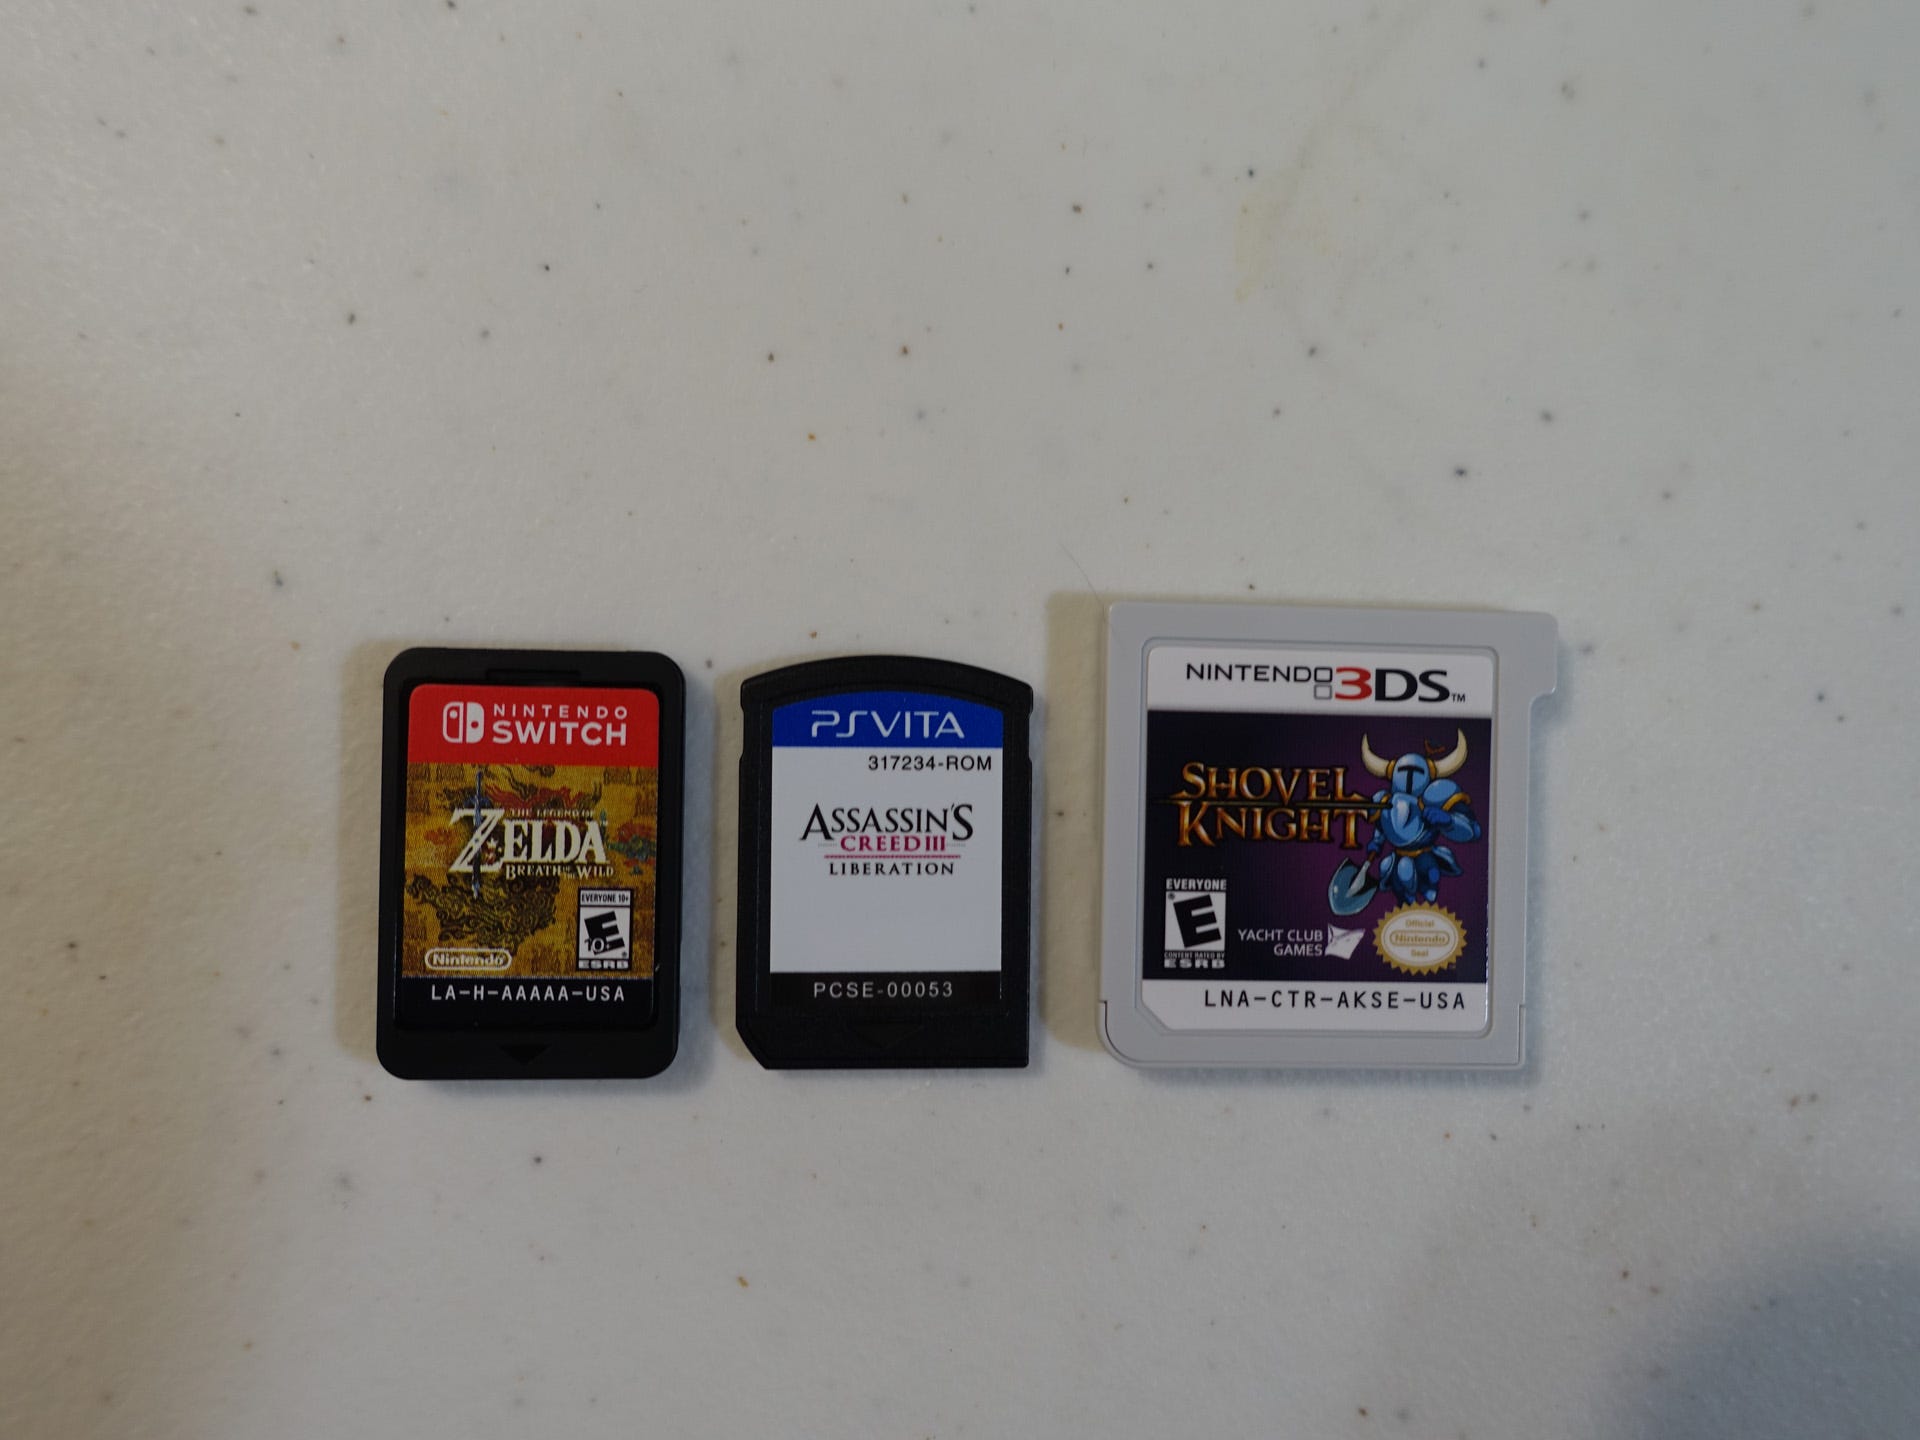
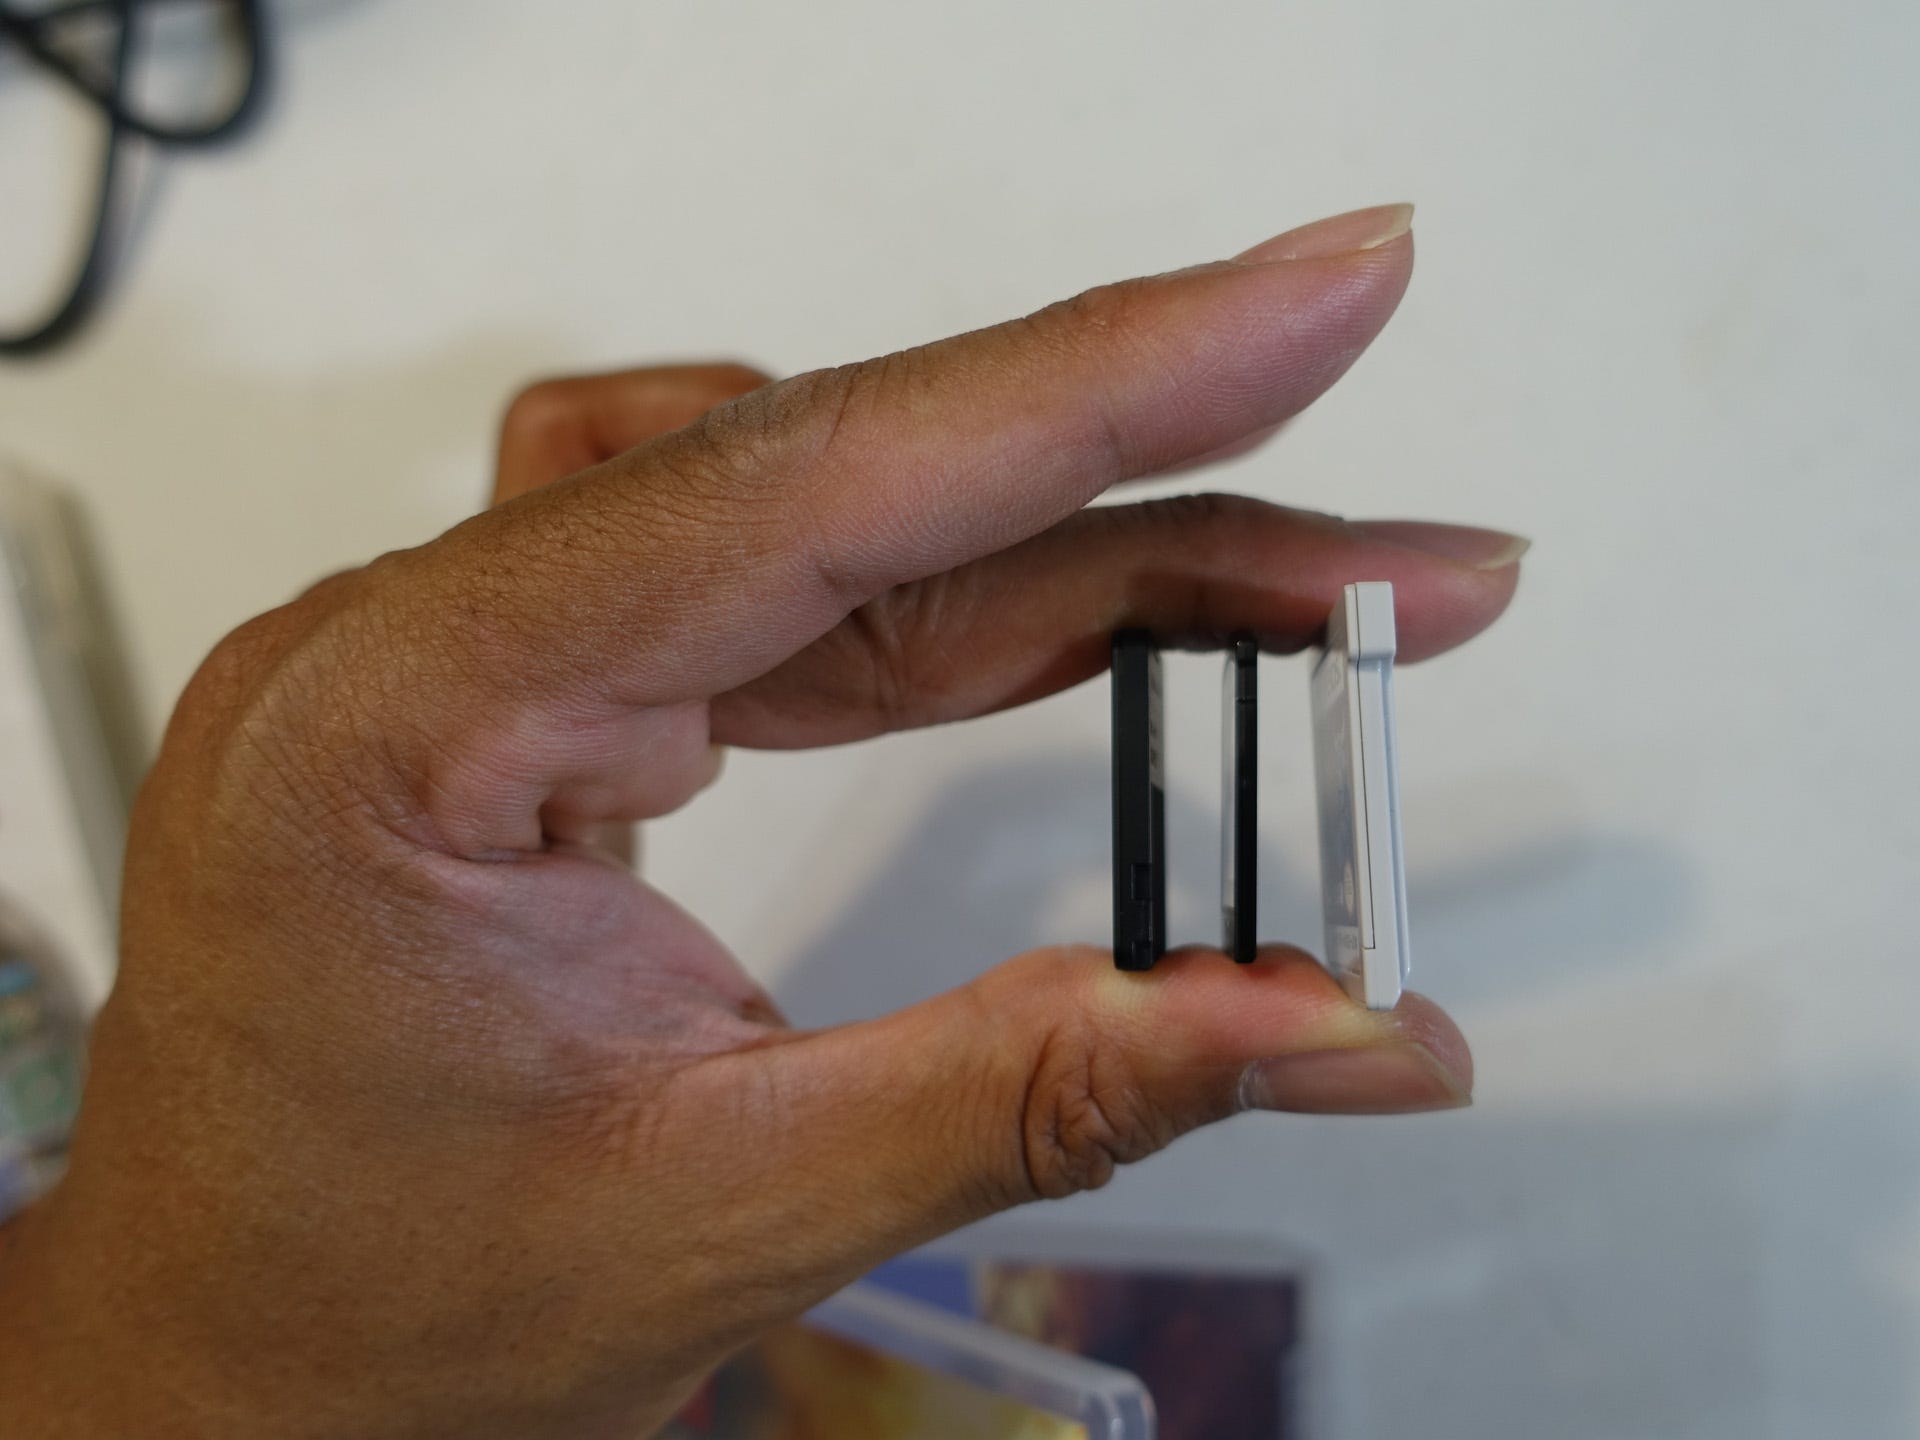
The Game Cards themselves are roughly the size of PlayStation Vita games, but they're almost as thick as 3DS games. Either way, they're pretty small and sliding right in the top of your Switch.
Accessorize Yourself
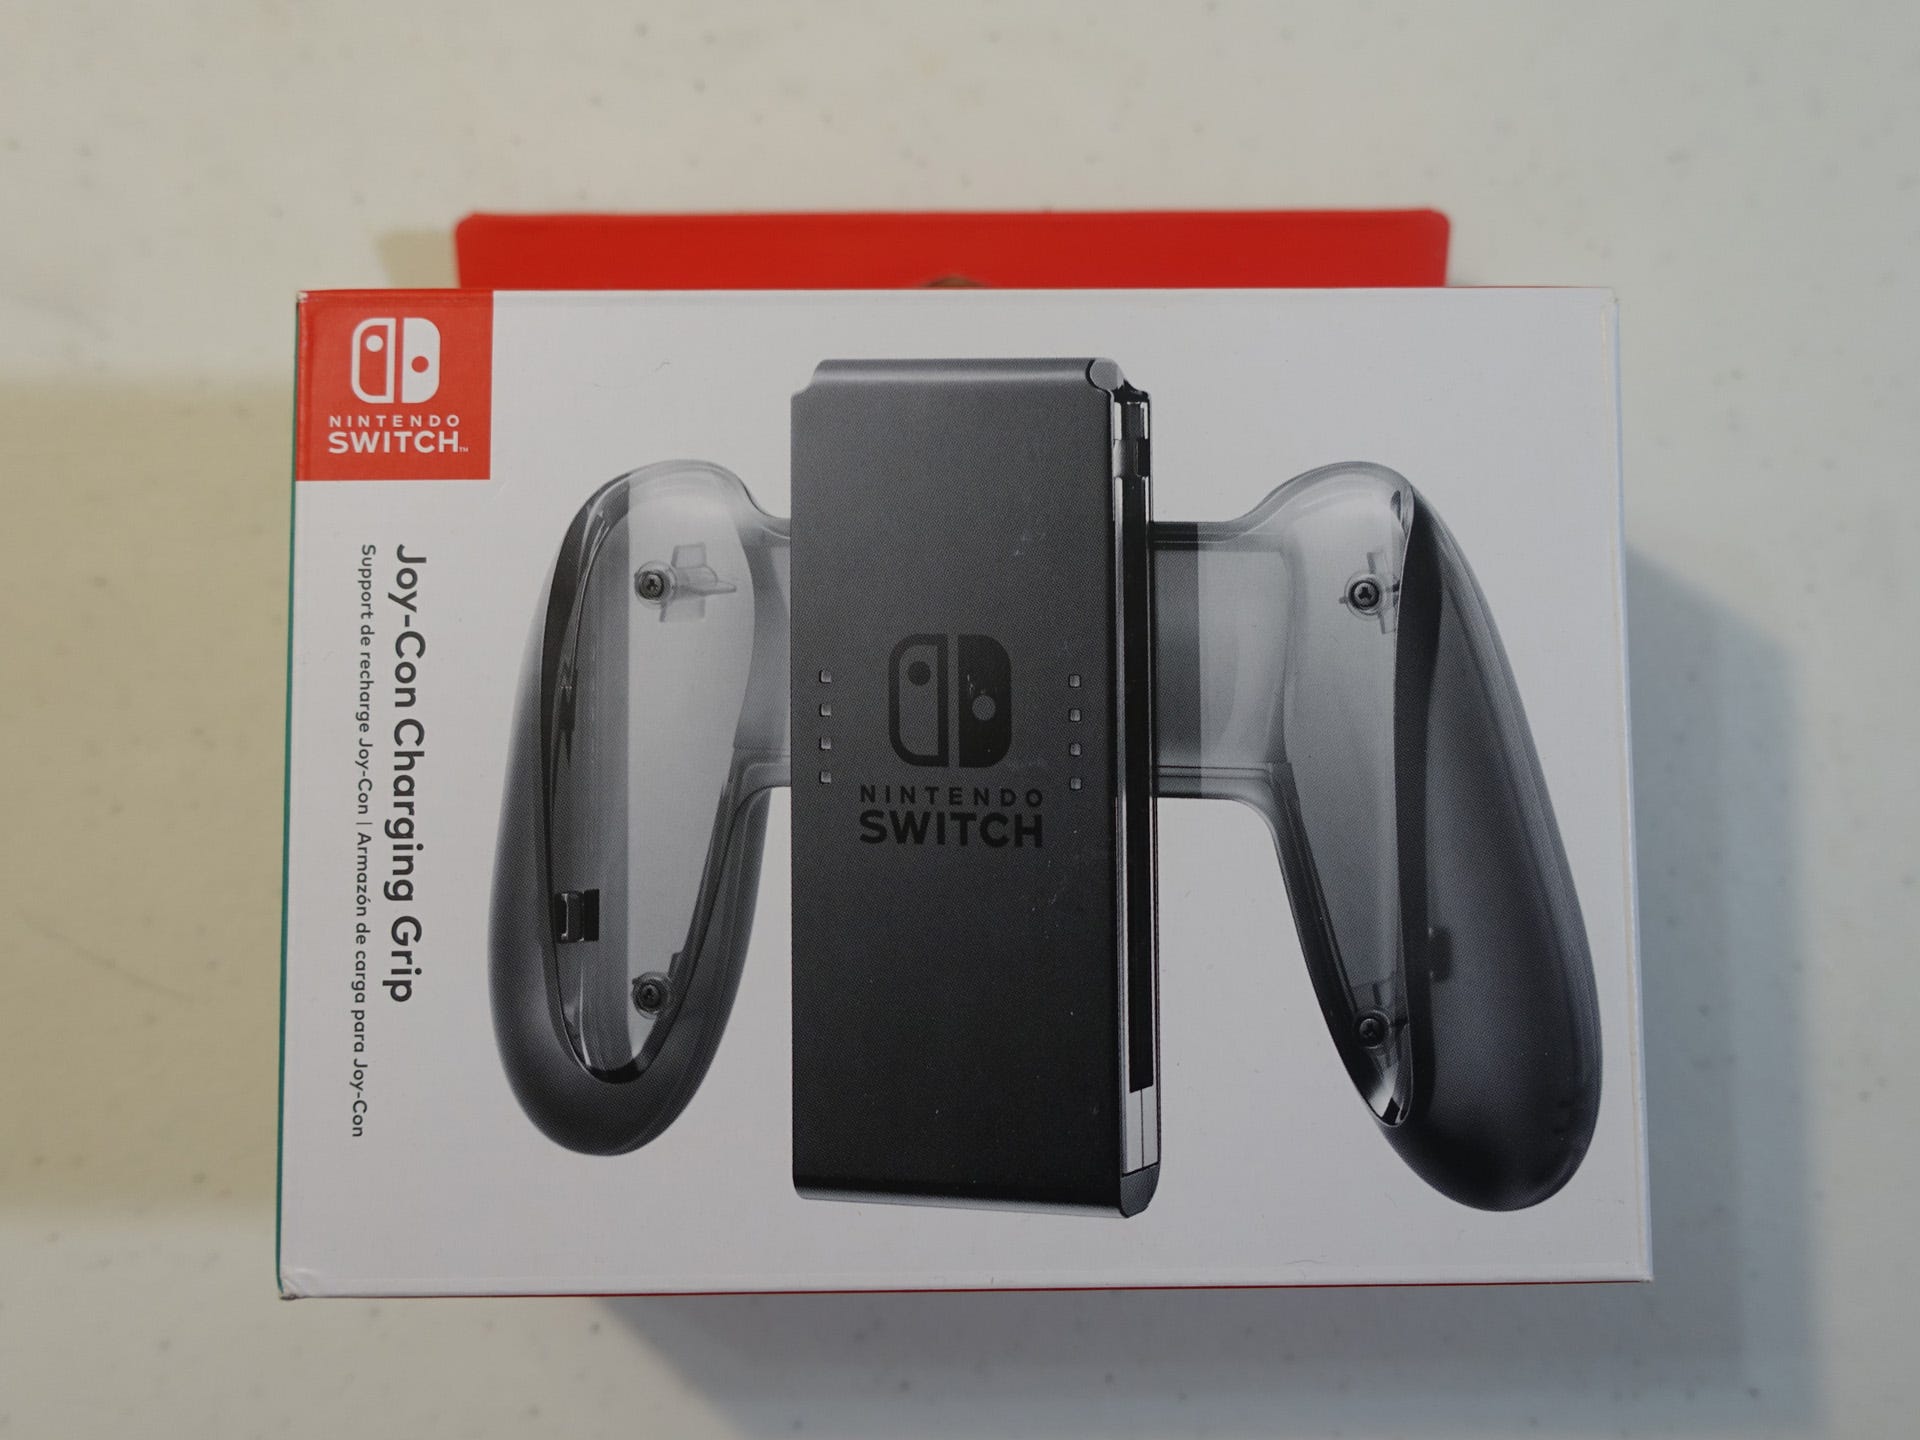
Joy-Con Charging Grip ($29.99)
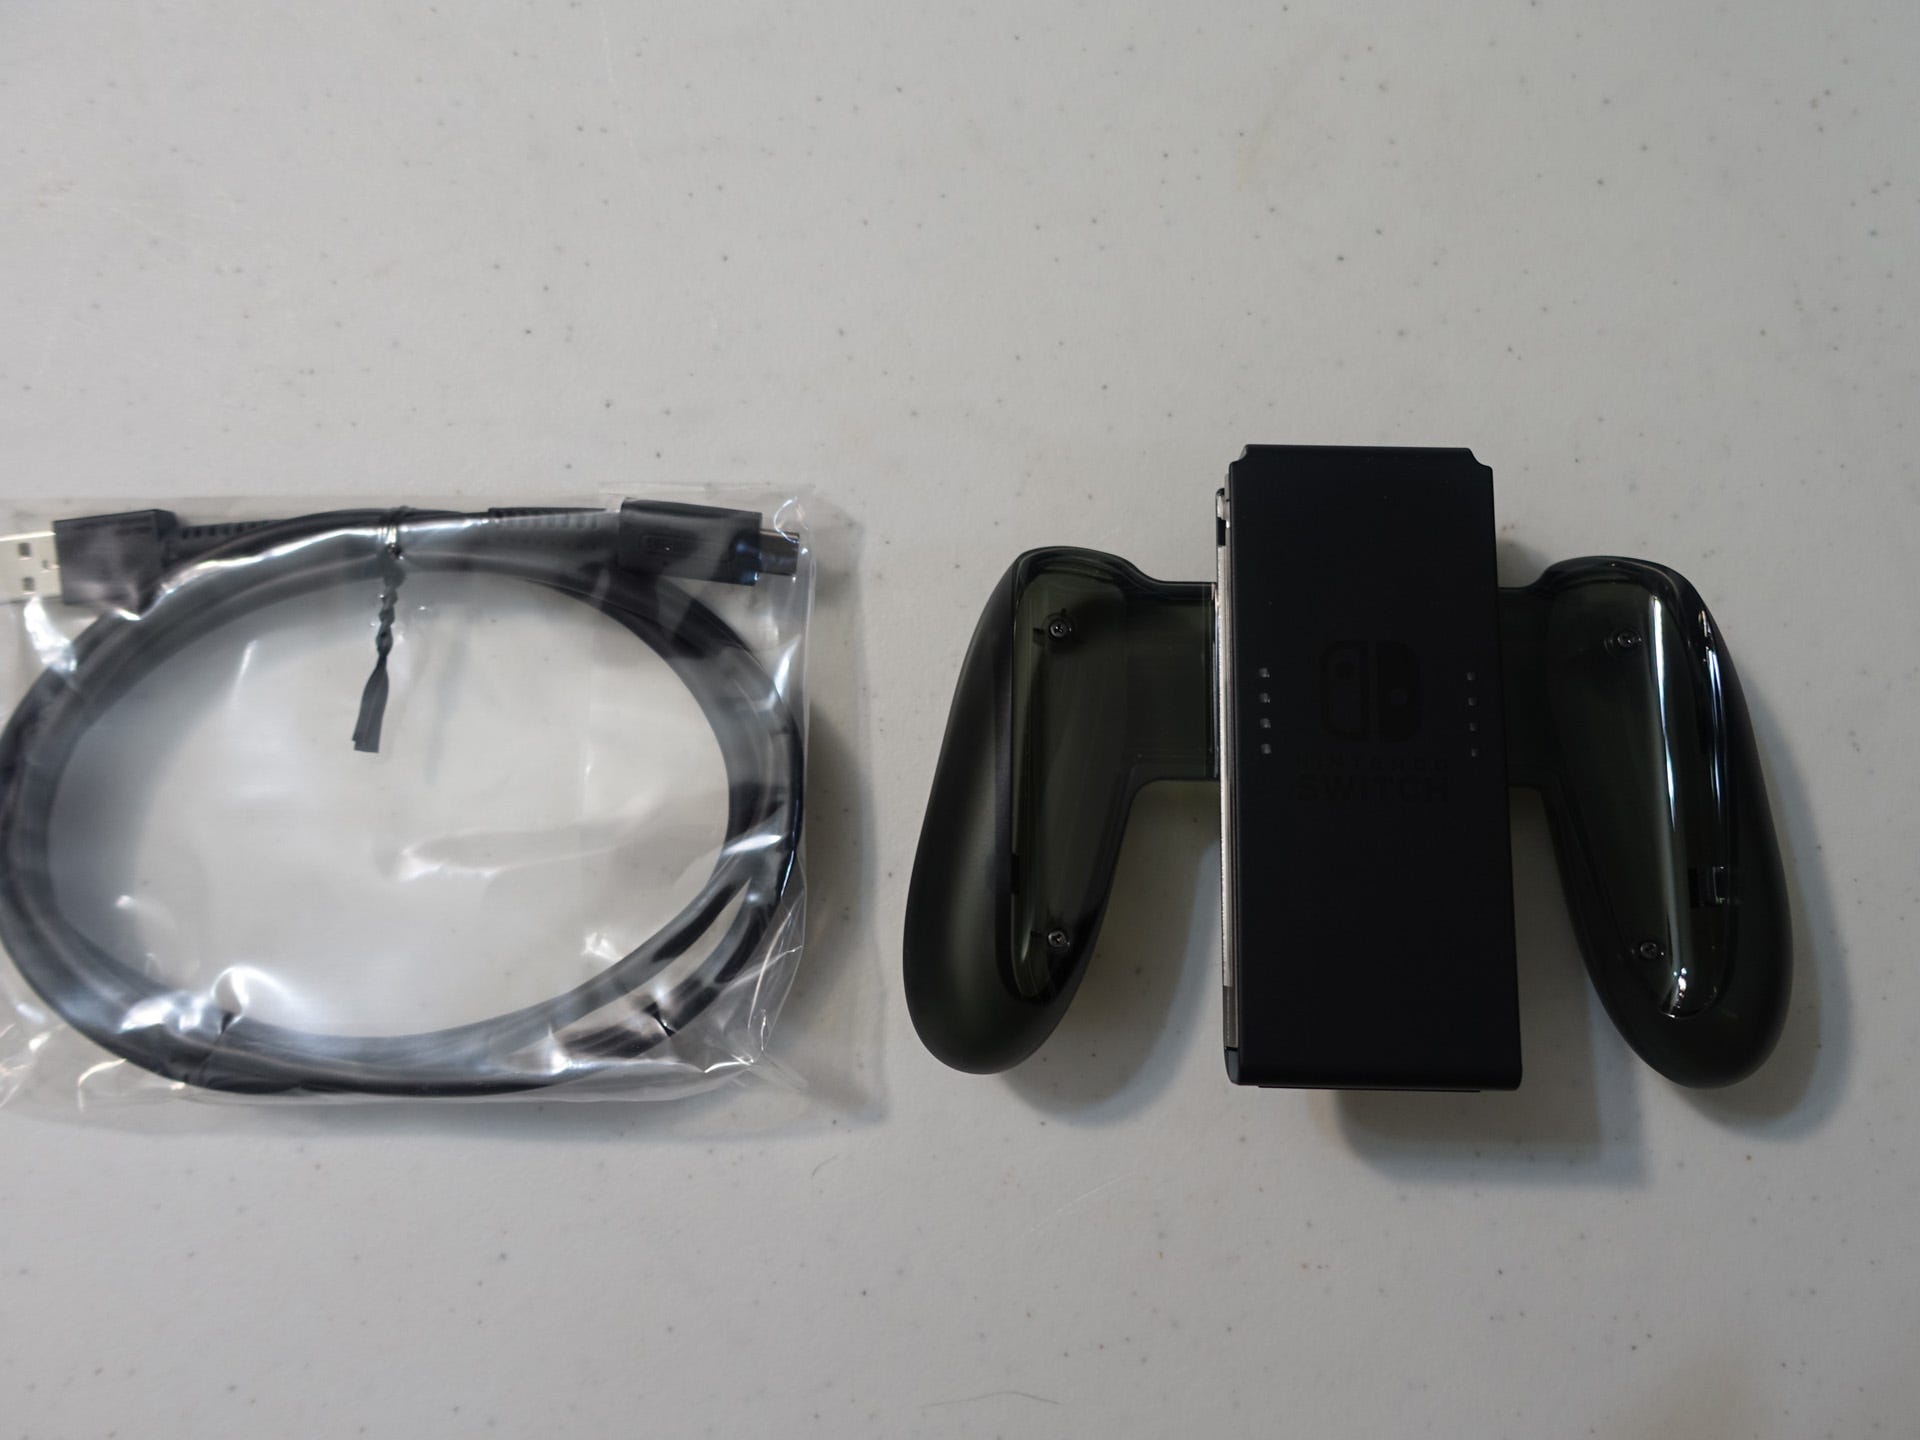
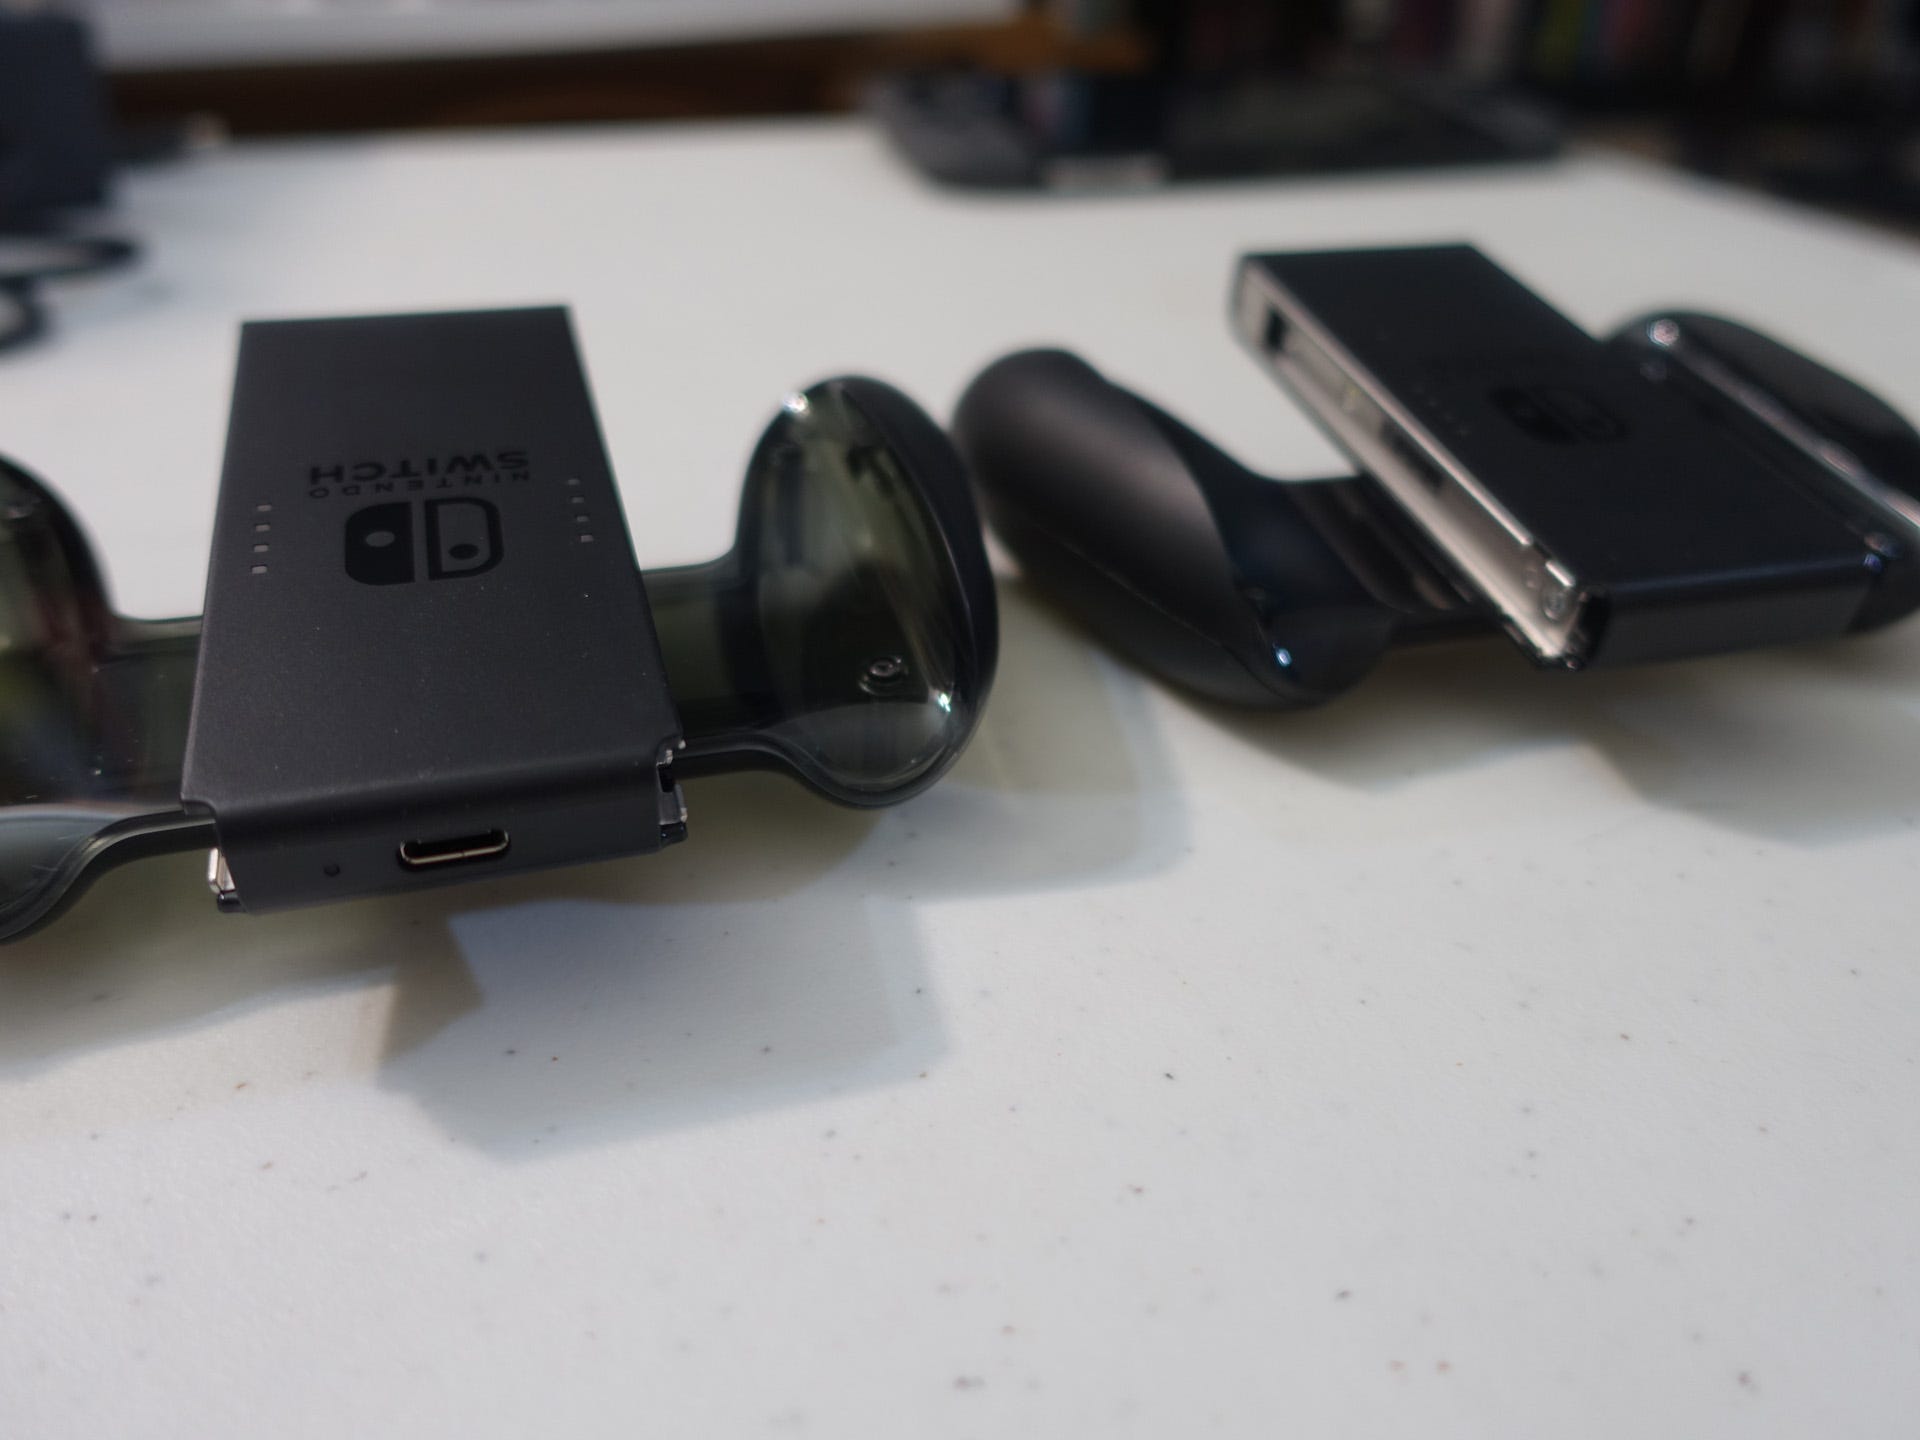
While the Joy-Con Grip included with the Switch mimics a normal controller, it does not charge the Joy-Cons. It's just a piece of plastic, no battery or anything. The only way to charge the Joy-Cons is to dock them with the Switch, or buy the Joy-Con Charging Grip. It's essentially a Grip with a USB-C slot on the top. It comes with a USB-C male to USB 2.0 cable, letting you plug into a USB slot on the Switch Dock for charging.
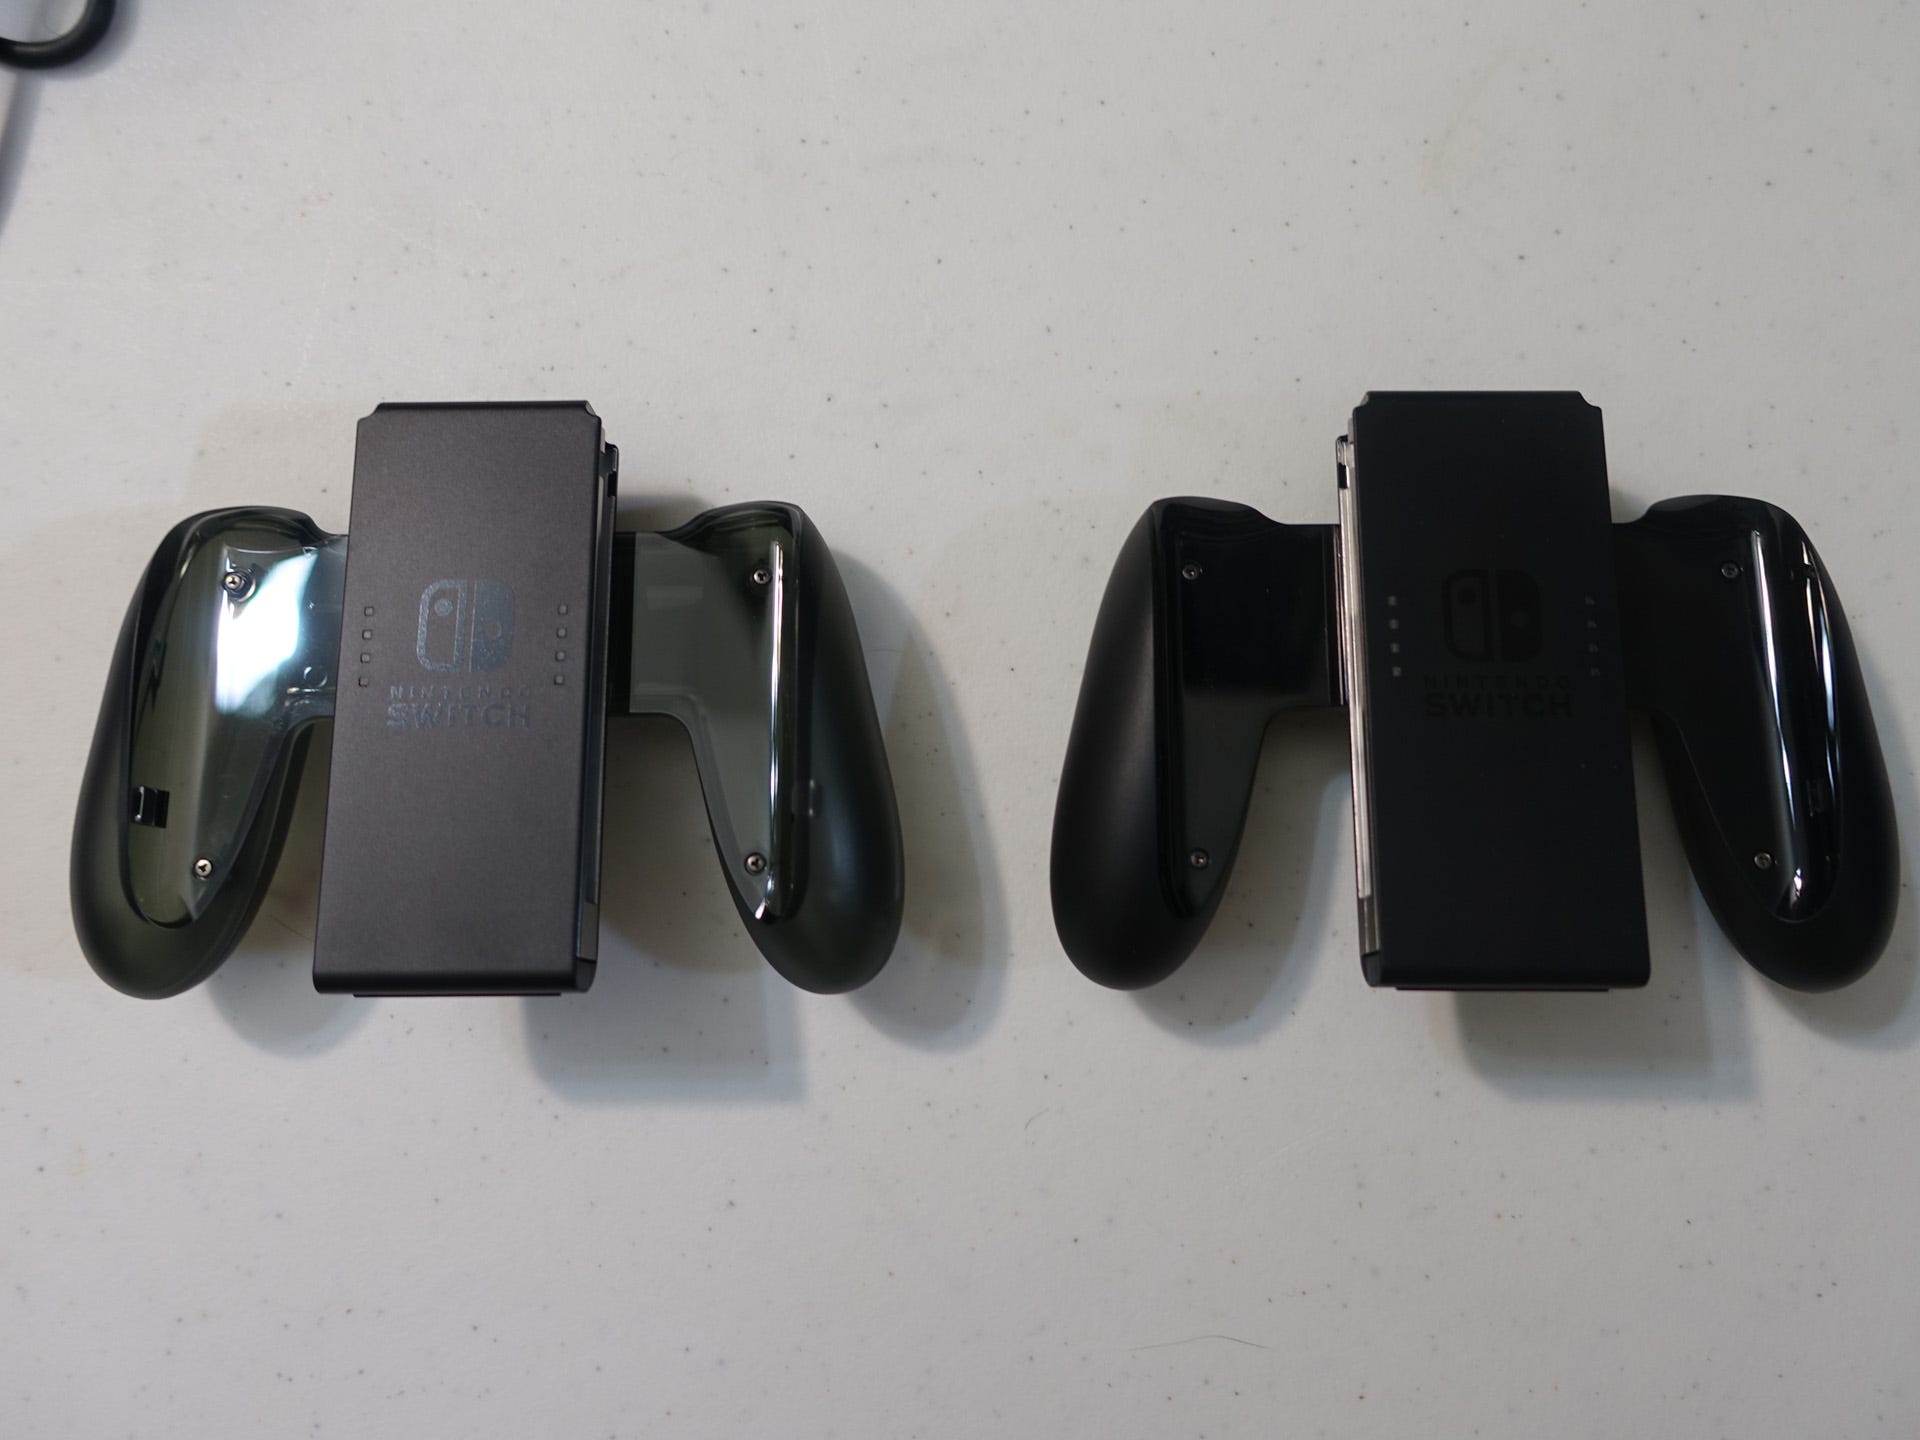
You can tell the difference between the Grip and the Charging Grip by looking for the translucent plastic handles of the Charging Grip. And the USB-C port on the top, of course.
Honestly, the Joy-Con battery life has yet to be an issue during my time with the system. Perhaps if I had more than one pair of Joy-Cons, this would be more useful.
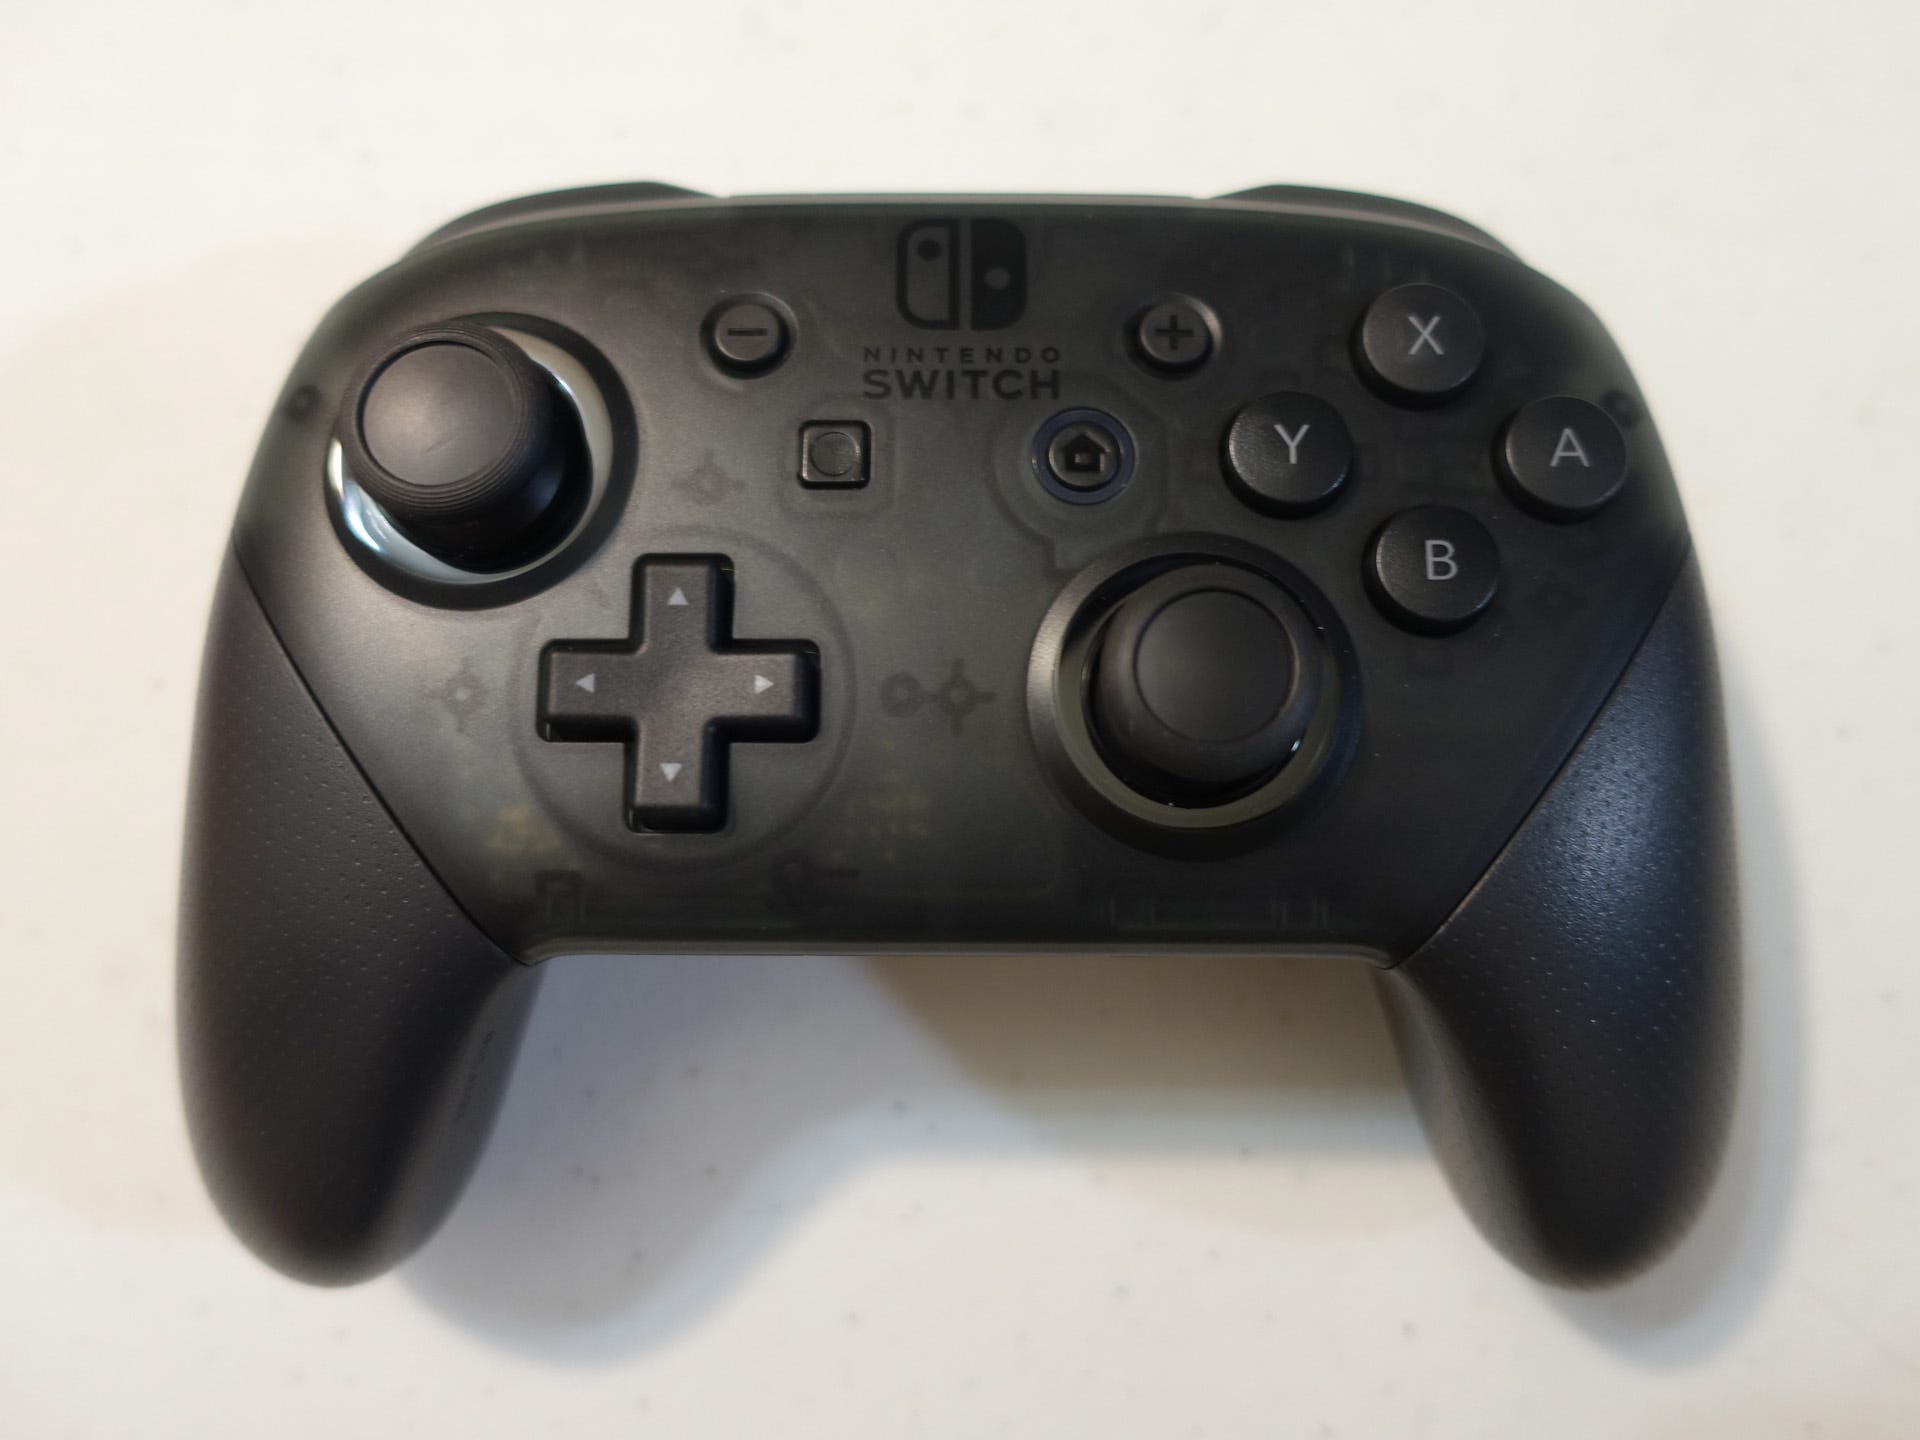
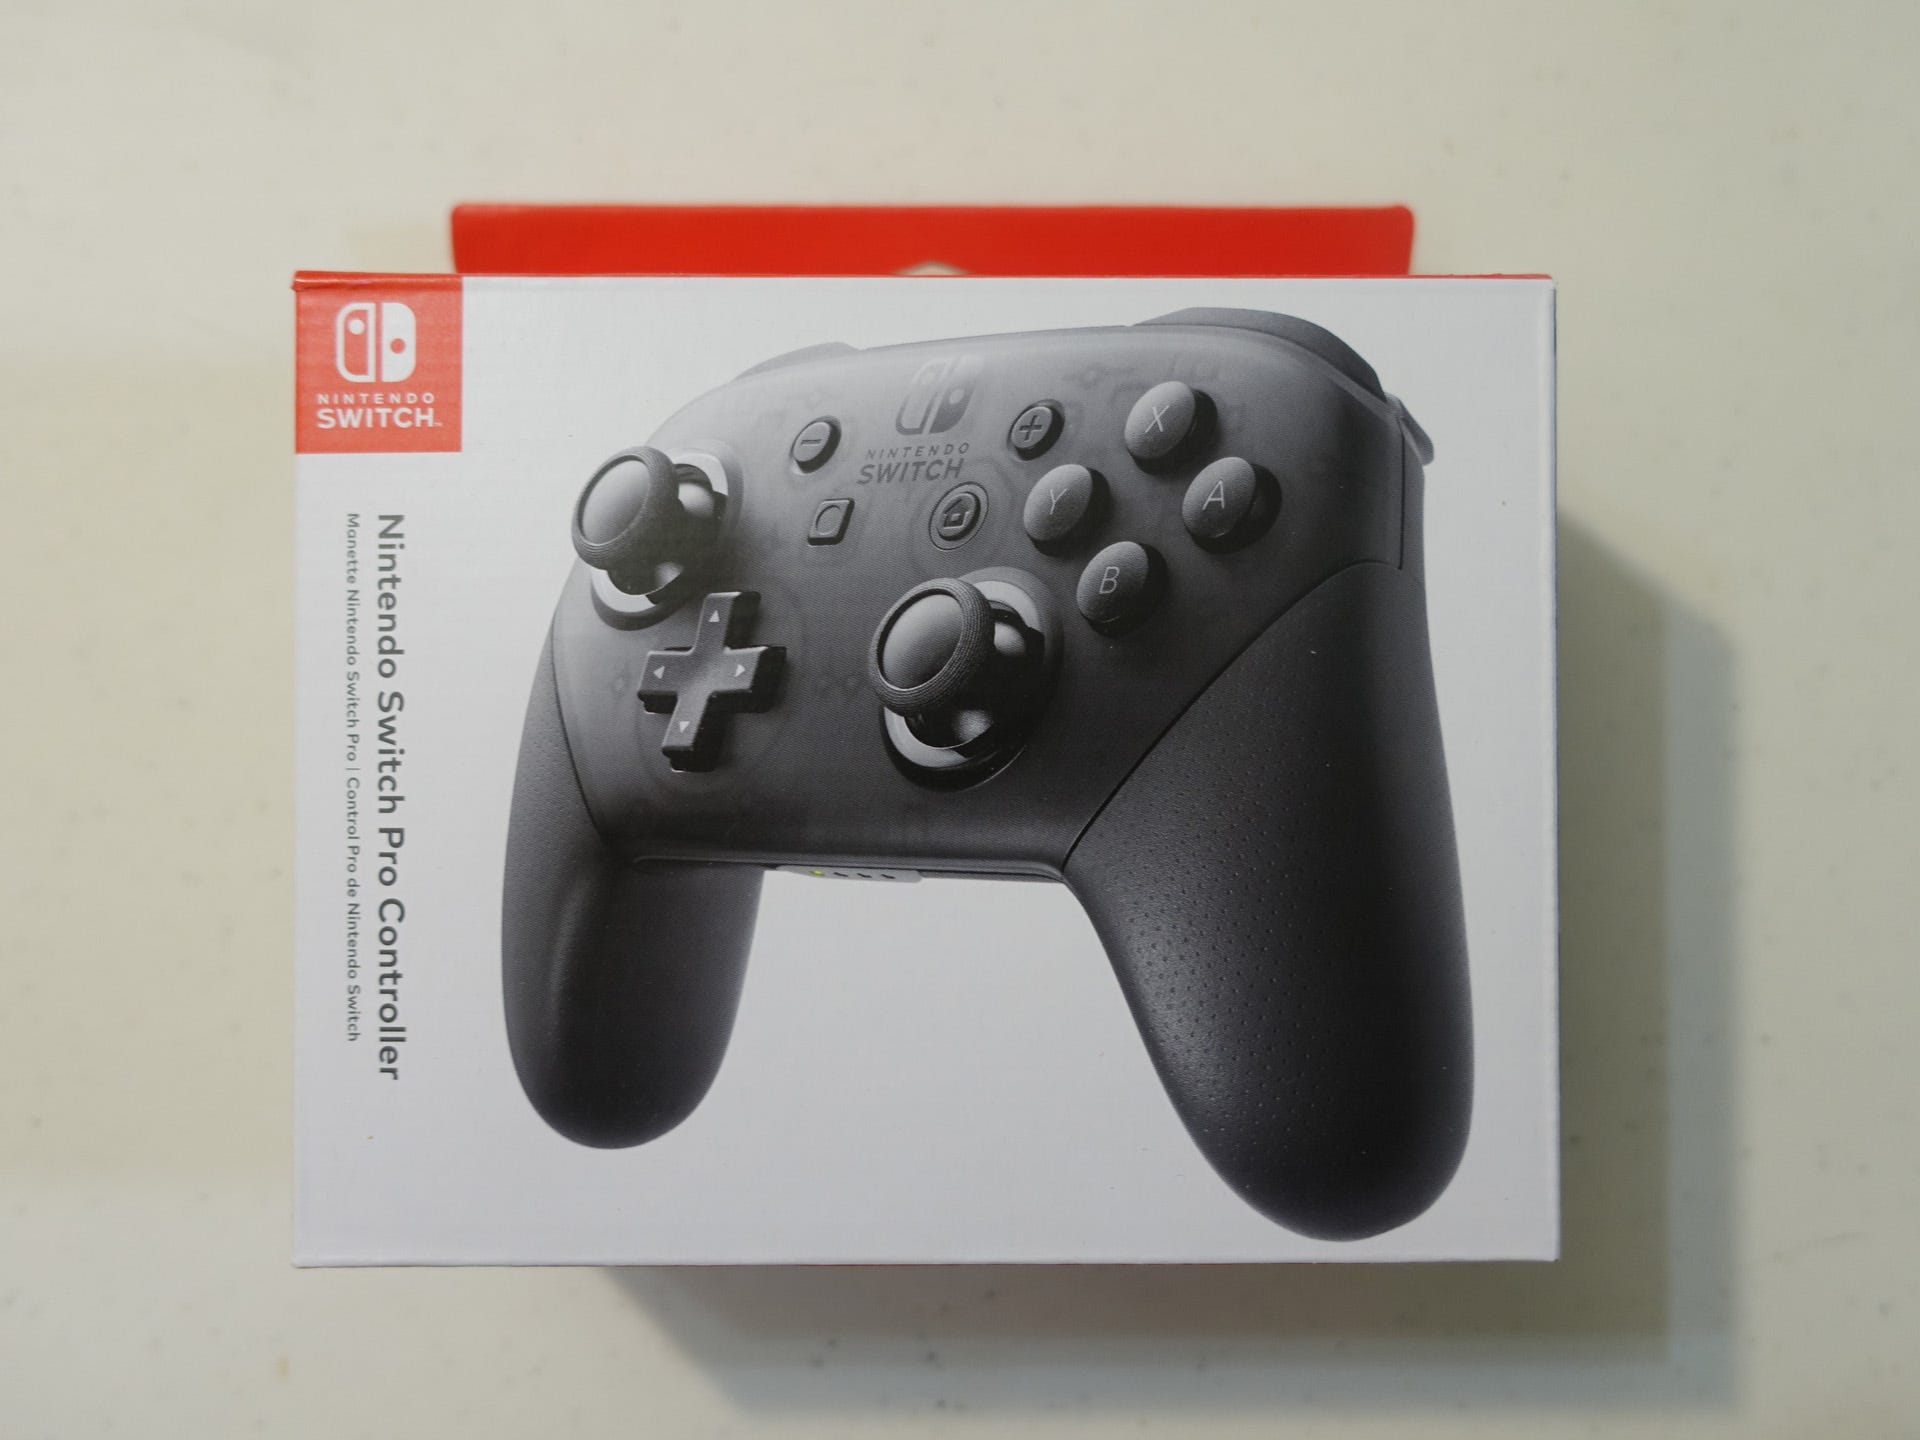
Pro Controller ($69.99)
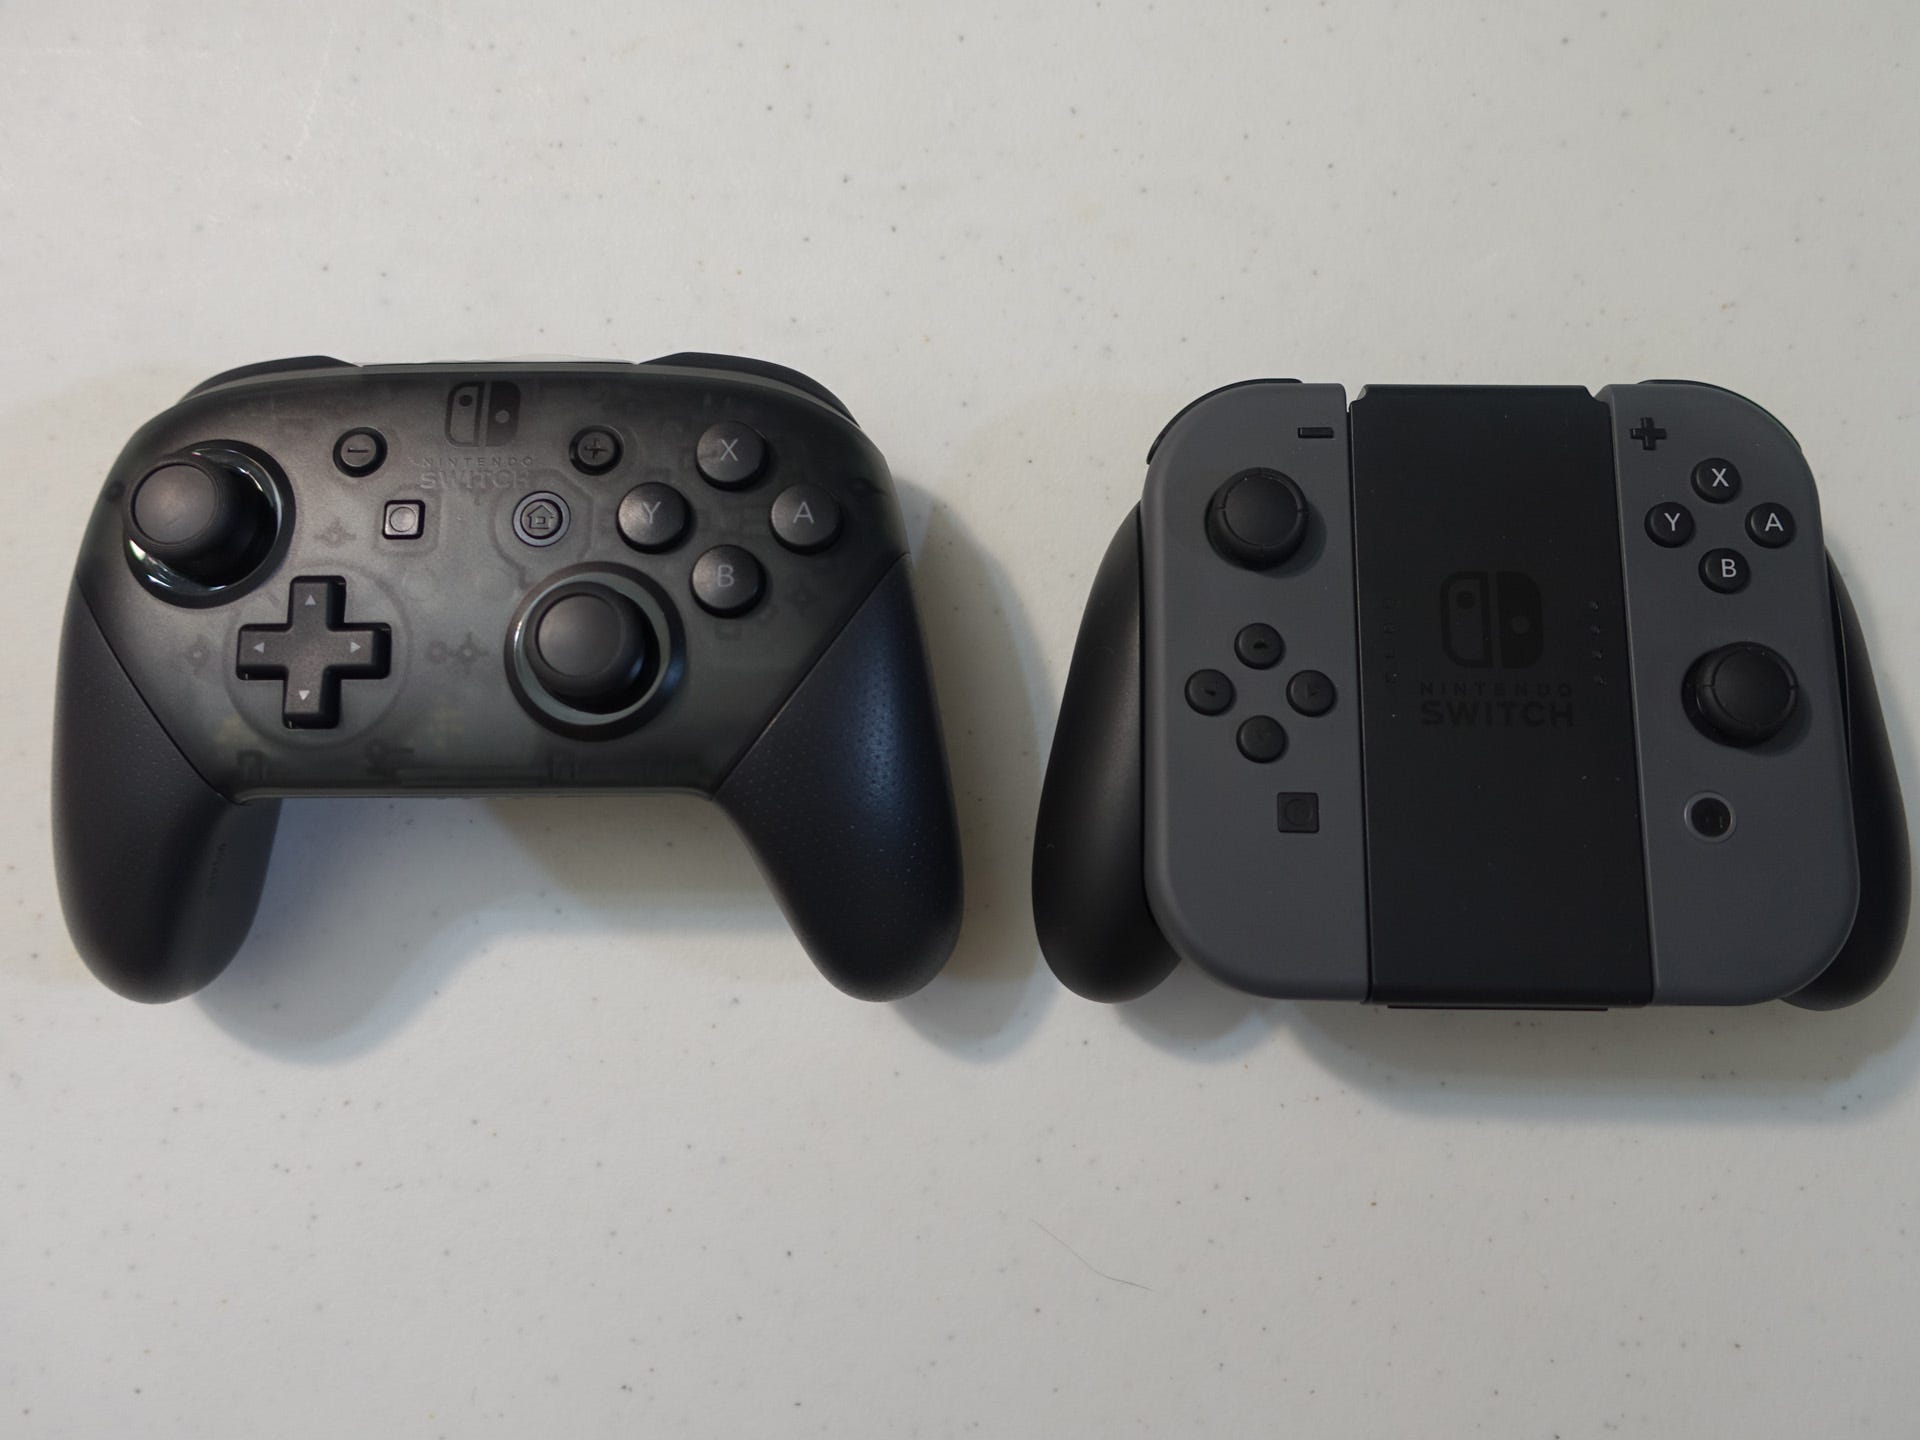
This is a hefty, solid controller! If you don't want to get by with the Joy-Cons or either Grip, the Pro Controller is the answer for you. This controller feels as premium as the Switch itself. Compared to the Joy-Cons, taller, bigger analog sticks, soft-touch handles, bigger buttons, and a real D-pad add up to a great controller for home Switch play. The Pro Controller comes with a USB-C male to USB 2.0 cable for charging it in the Switch dock.
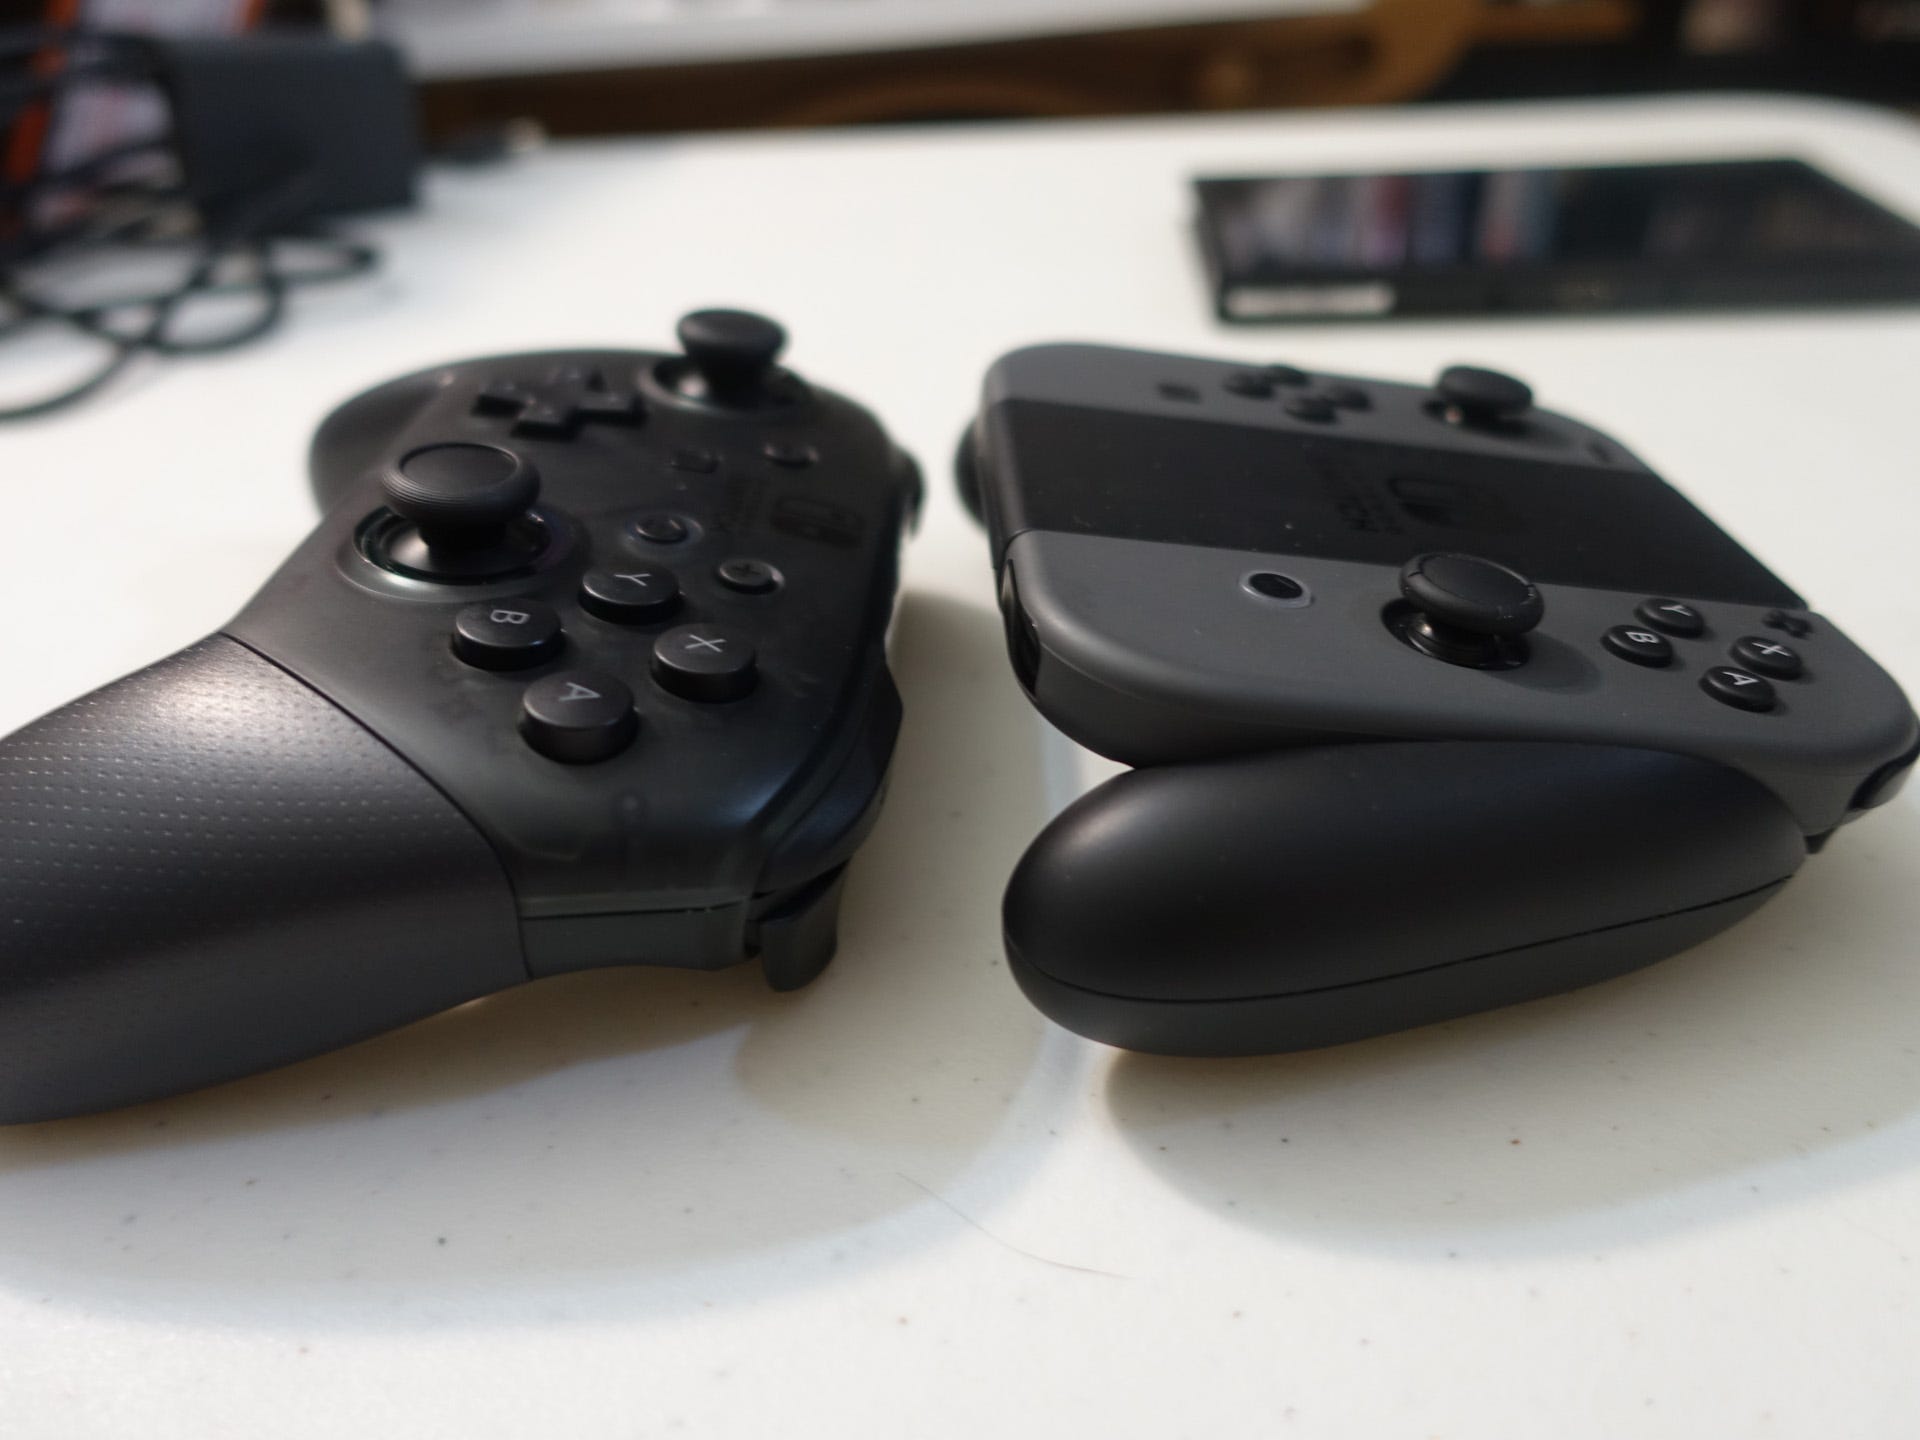
Honestly, if it wasn't for the price tag, this would be high on my list of accessories to buy for the Switch.
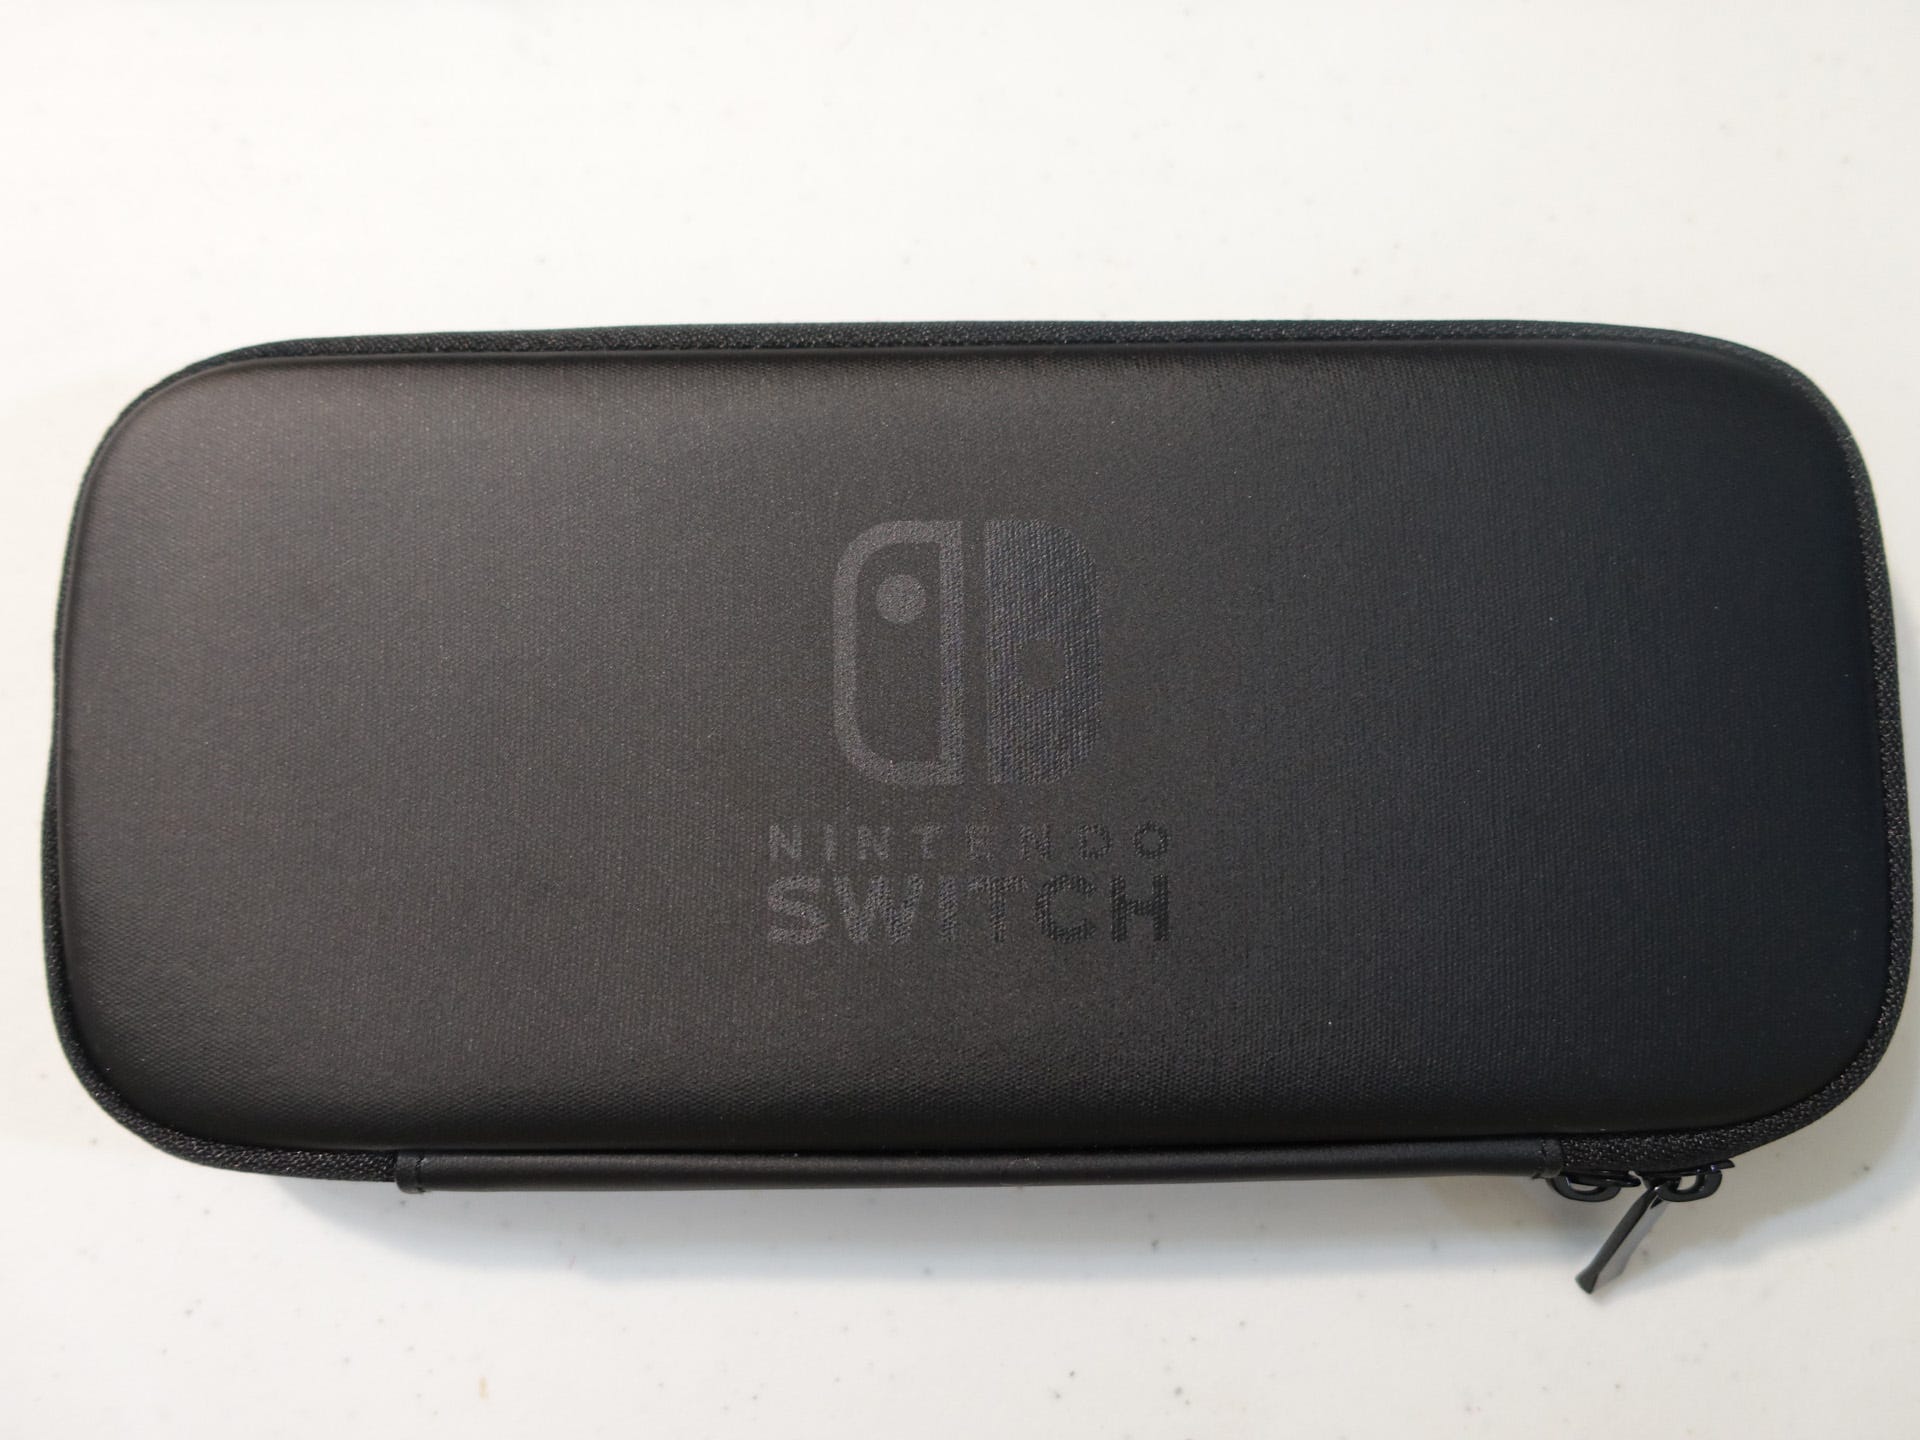
Carrying Case & Screen Protector ($19.99)
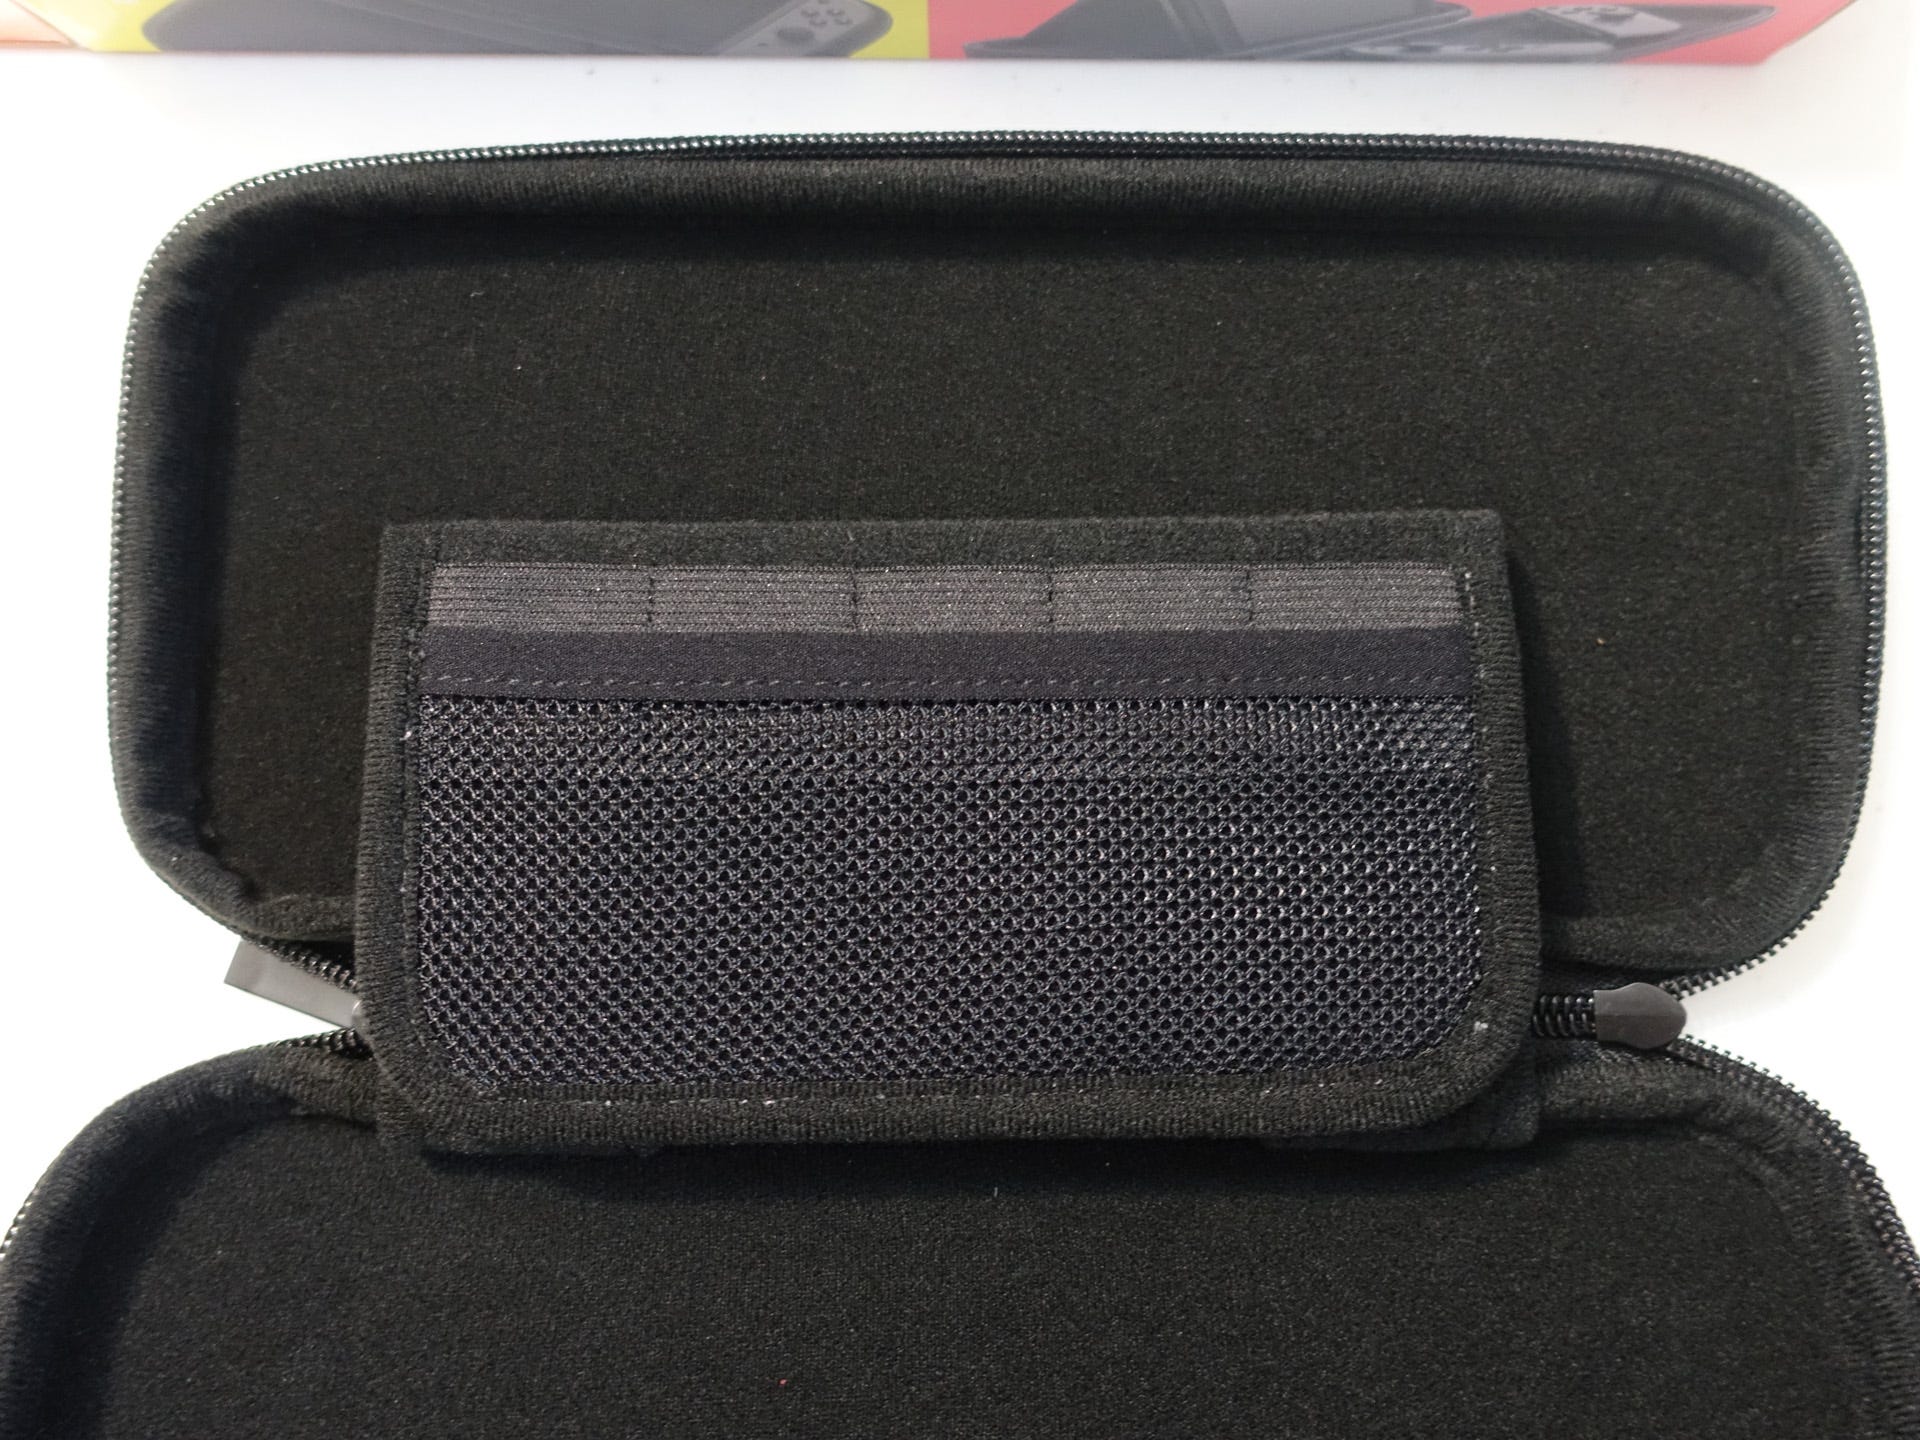
This is the unsung hero of the Switch accessory family! I'm afraid of dropping the Switch when I'm out-and-about. The Carrying Case is the answer for that. The soft case is built to house the Switch with attached Joy-Cons. It also contains an fold-out insert to hold up to five games snugly in place and a few more in a mesh pocket.
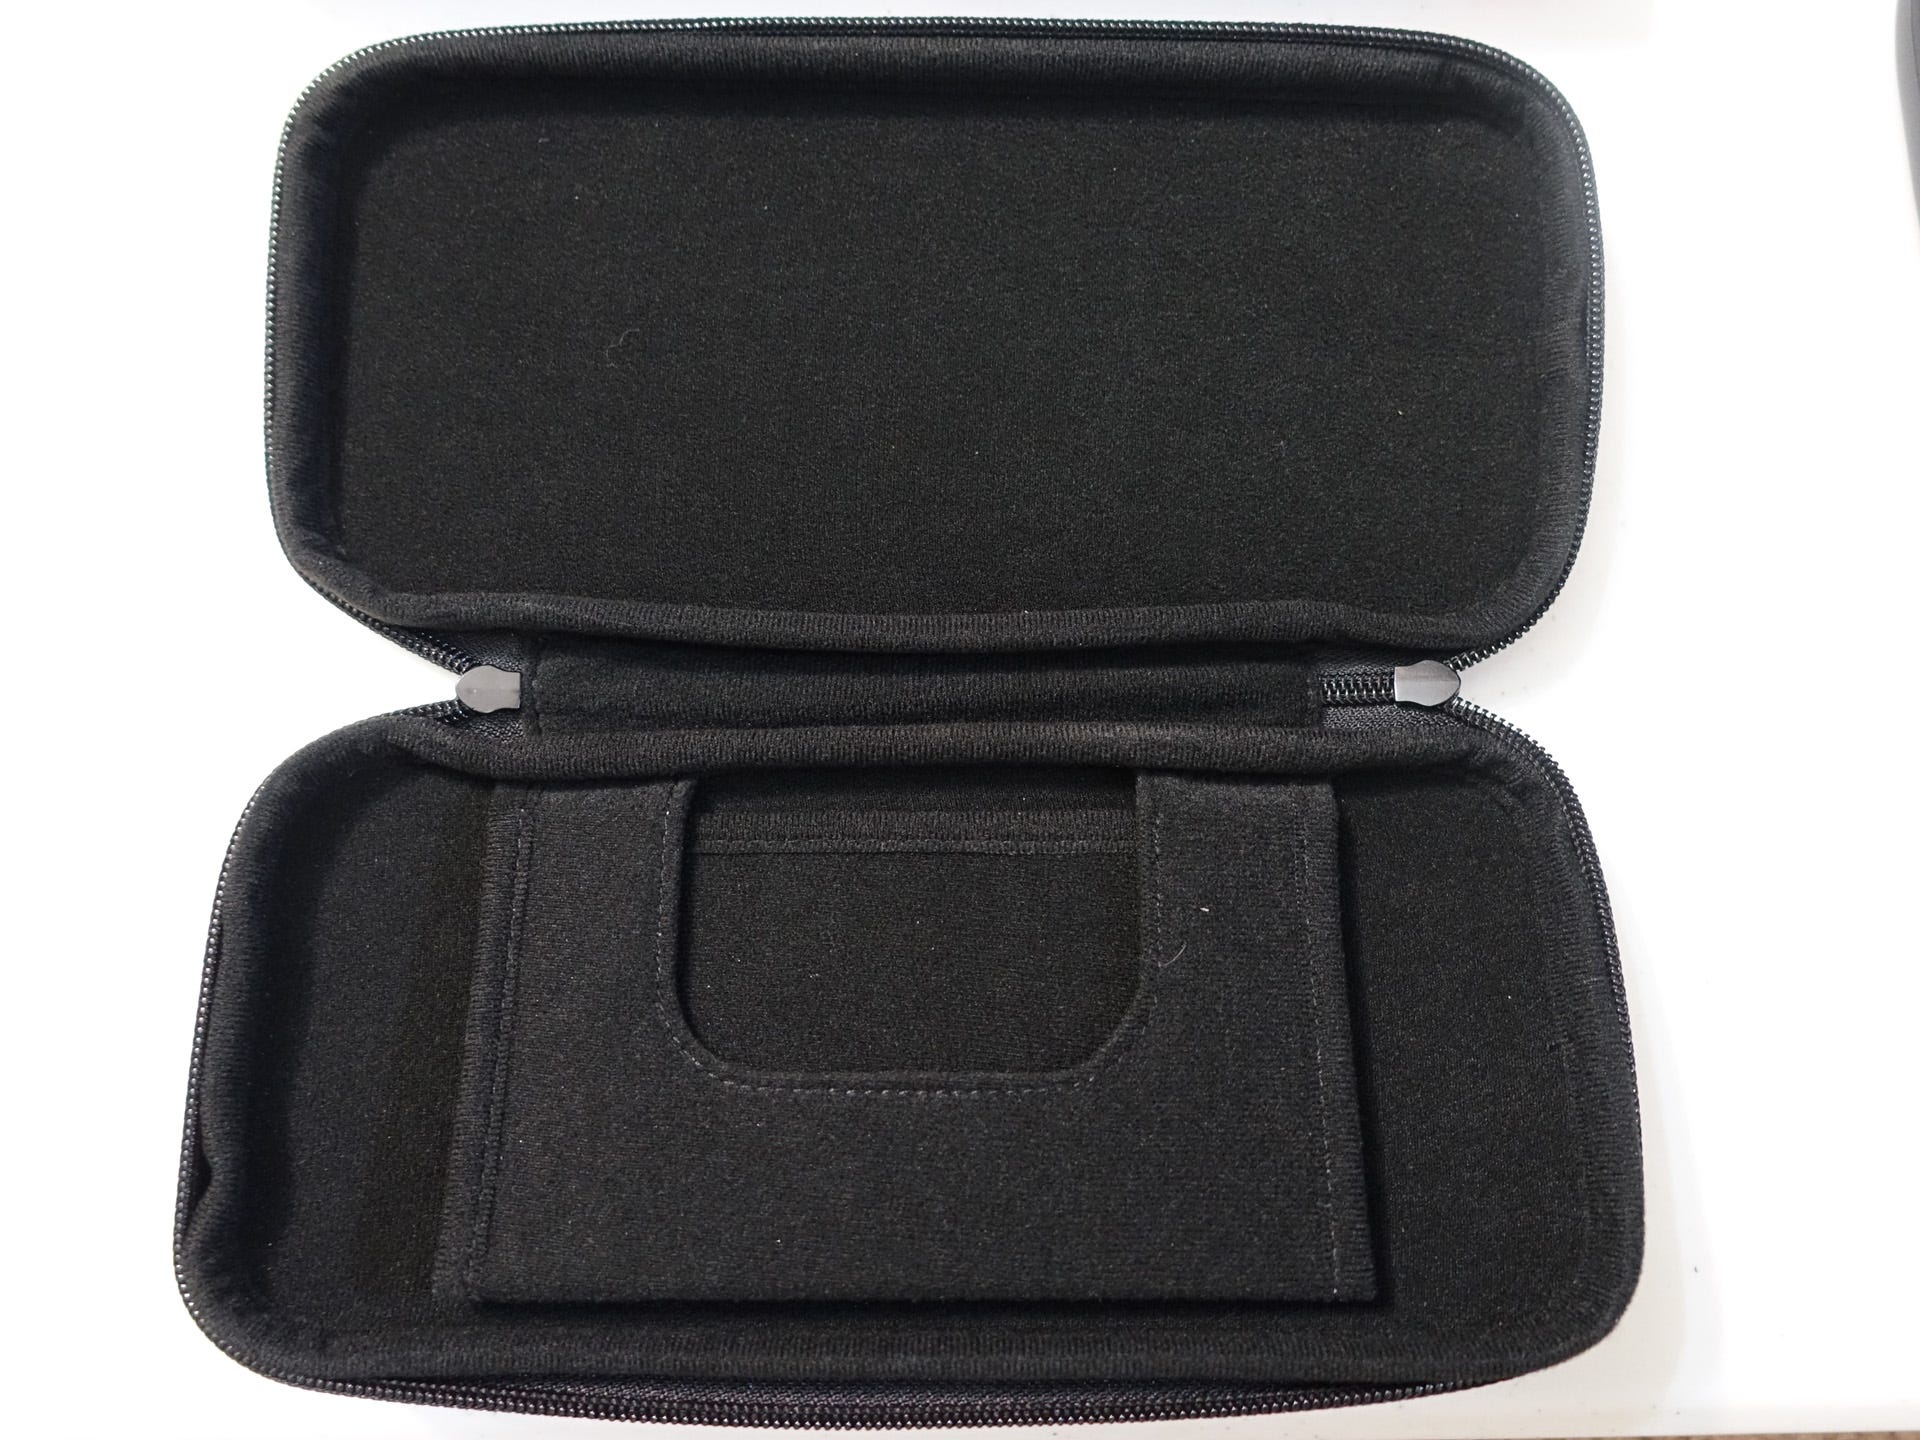
More importantly, the Carrying Case comes with a screen protector. No third-party nonsense. You get a screen protector sized correctly for the Switch, keeping your screen nice and unscratched in the future. I worried about not having one of these early on, but seeing that Nintendo has thought ahead swells my heart three sizes. Literally the second thing I did after unboxing the system was putting the screen protector on.
So that's everything you need to know about the Switch, from the box to your hands. USgamer's full review of the system will be coming on March 1 at 9am ET/6am PT. And tomorrow, we'll have a preview up for The Legend of Zelda: Breath of the Wild. Look forward to it!