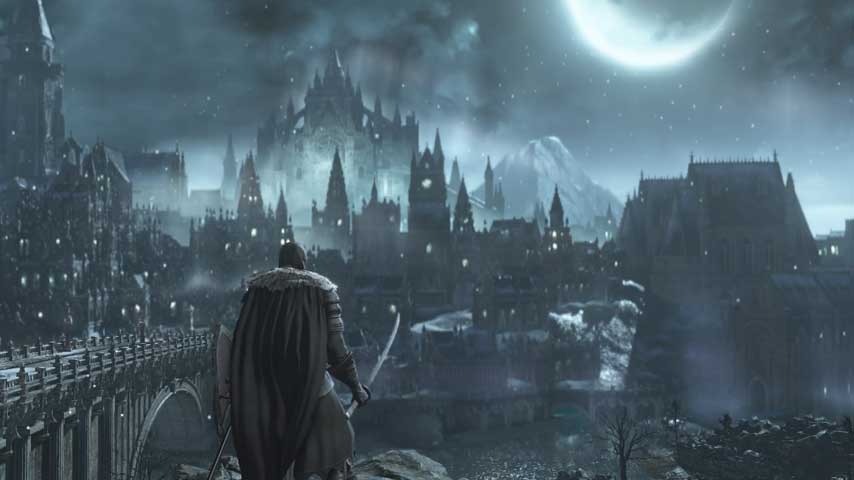
Dark Souls 3: Church of Yorshka to Distant Manor
The next boss arena is very close to the Church of Yorshka bonfire, but there's a long-ish crawl before we can get to it.

Dark Souls 3: Church of Yorshka to Distant Manor
Inside the Church of Yorshka, take the stairs down (the other set seem to go nowhere) and approach the cliff edge cautiously; there are two slaves in this area who appear suddenly from near-invisible clouds. One is behind a tombstone between you and the item glow ahead, and another charges and attacks from your right as you approach the item glow. It’s a Fading Soul.
There’s another Fading Soul ahead but of more concern is the red-eyed corvian. Deal with him as you would any corvian, being wary of his increased health and damage output. When he’s down you can collect a Homeward Bone and, from behind the large tombstone, an Undead Bone Shard.
Go back towards the church but keep an eye on the right wall when you approach for a path leading downwards. Stop at the bottom of the stairs; there’s an invisible slave directly ahead. See the eyes? Hear the wheezing? Around the corner to the left are three dogs. They’re guarding a Rusted Gold Coin and some Kukris.
Take the opposite path and head down some more stairs. It’s dark as balls down here. If you have a torch it’s a big help, but so is just not being silly. This area would be terrifying if the huge pack of invisible slaves weren’t so stupid. Most of them can’t find you even after you plonk an arrow into them, and if you funnel them up the stairs or throw a good area of effect spell into the middle of them you’ll have a much easier time of it even without a bow. Make sure you shoot every pair of eyes you see and keep hunting and killing until you can’t hear any more breathing and you’ll be fine – check the rafters before exploring the lower area, as there are several lurking up here including a slave mage who fires soul darts at you.
When all the enemies are dead you can collect a Blue Bug Pellet from one side of the room, then climb a ladder to reach the rafters. Walk across the beams to collect a Shriving Stone, then cross to an area where you can drop down to a loft below. There’s a chest here with the Yorshka’s Spear.
Drop down and head through the door (the upper path goes the same way, but you take damage falling down. Very odd) and take out the two invisible slaves on the stairs. Turn around and observe the alcoves ahead. There’s an invisible slave in the second one, and an illusory wall hiding a Crystal Lizard in the second. It drops Twinkling Titanite.
Past the alcoves are four invisible slaves and, of all things, an invisible corvian shaman. It will cause most of the invisible slaves to attack if (when) it gets off a scream, so be wary. If only three charge at you, there’s one more waiting to your right as you approach the open area with the tree in it. The item here is a Blood Gem.
After collecting the gem turn around but don’t head back. See the broken railings near by? Look down and spot some sort of intensely horrible spidery, crabby beast in the water below; let’s call it a crawler. Cheese it with our blessing, or just ping it once to convince it to head for the stairs; fighting in deep water is the pits.
You’ll meet more crawlers later, and they’re not as bad as they look; let one charge and get off its dodgy attack on your shield, then bash it a few times. Be more wary if the scuttle slowly at you, as it means they’re likely to use a poison spit when they’re in range.
When the crawler is dead you can collect a Ring of Sacrifice from where it was lying, and some Green Blossom from under the bridge. As you venture further out into the water here, you’ll be surprised by an old and terrifying friend. Hug the left wall and roll, you can reach some Green Blossom and continue on to hide in a sewer. Your pal vanishes when you enter this tunnel.
You can cheese him here, if you fancy it. Simply venture out into the water until he drops down from the bridge, then roll away like a judo master to the safety of the tunnel. Get as many shots in him as you can before he fades, then simply rinse and repeat. You’ll receive the Pontiff’s Right Eye ring for your efforts.
With the wolf beast down (or not, if you're especially brave) we can explore the other side of the lake. There’s a Soul of a Nameless Traveller visible on the opposite bank, and if you venture further into the watery area beyond, you’ll find the Great Heal spell among a few crawlers.
Return to the sewer tunnel, but continue past it so we can activate the nearest bonfire. Continue along the left wall past the tunnel and eventually you’ll arrive on dry ground along a dam. Go straight through the door to activate the Distant Manor bonfire.
Continue via Distant Manor to Pontiff Sulyvahn.
Back to Dark Souls 3 guide and walkthrough.