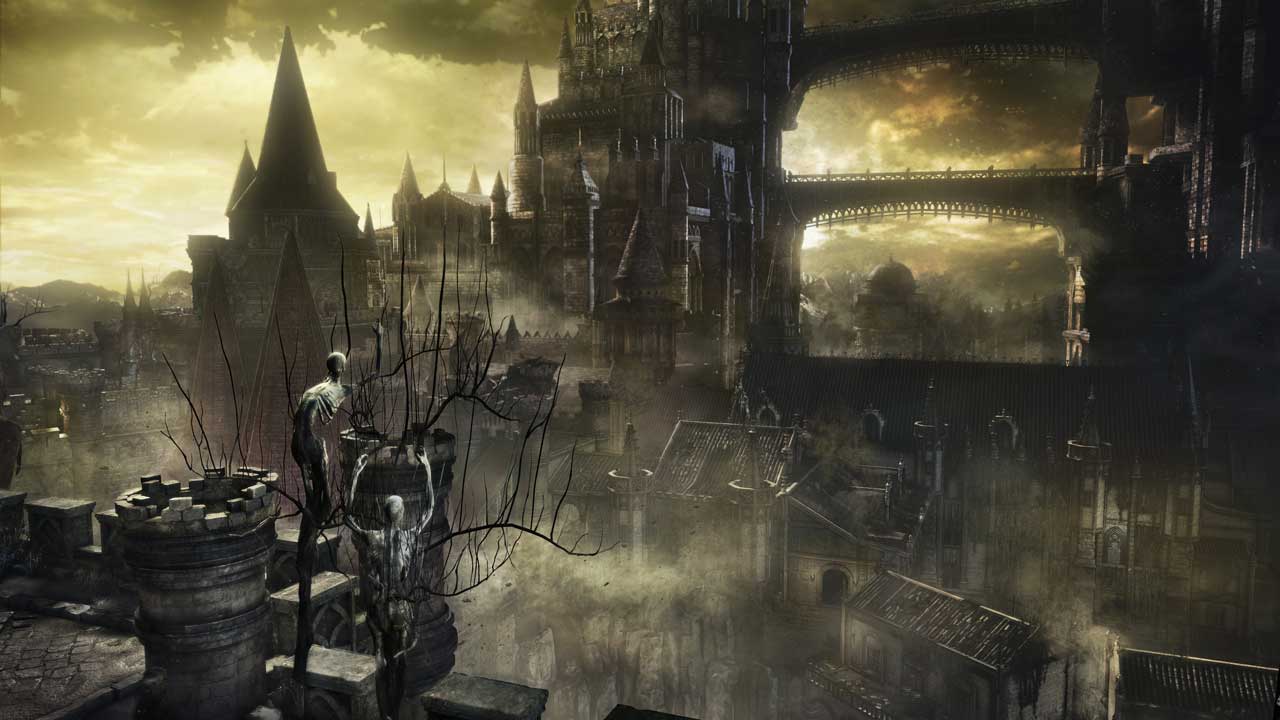
Dark Souls 3: High Wall of Lothric to Tower on the Wall
The true Dark Souls starts here, as Souls players like to say at the entrance to every new location.

Dark Souls 3: High Wall of Lothric to Tower on the Wall
There’s only one path forward, so take it; open the doors. Once outside, immediately head down to kindle and activate the High Wall of Lothric bonfire.
From here there are two paths – one with a dragon on it (left with the door from Firelink Shrine at your back) and one without. The main path forward is the left one, with the dragon, but if you go right first you can grab a very useful item. Skip down to the next heading if you can't be bothered.
First look for a little gap in the walls of this circular area, on the opposite side from the dragon. If you pass through this you’ll aggro a crossbowman you can dispatch, saving you trouble down below. Don't fall off the edge! If you make some noise on the ledge you may pull one dog from below, which is also helpful. Take the stairs down and try to aggro the second dog so you can deal with it alone before advancing.
Most of the grunts here are passives; they’ll only attack if you damage them, even if you kill one of them. That said, if you’ve upset the locals and an overseer enemy gets off an alarm, they’ll all attack – and nearby hostile grunts who would otherwise wait to ambush you will also join the fun. All in all, at a measly 36 souls each, it’s best to leave them alone. They’re harmless.
The real worry is the two tall enemies patrolling here; one from the tower ahead, and another on the stairs to the left of the path. These guys hit much harder and take a lot more of a beating than the grunts you’ve met so far. Be wary when you first approach one. Depending on where you engage, you may attract the attention of the other. Make sure you don't get trapped between them.
Once the two tall guys are down, head down those stairs on the left to battle an ordinary grunt (he tries to ambush you by sitting still) and grab the Soul of a Deserted Corpse. The gate here doesn’t open from this side, so just make a mental note, then head back up and continue on along the path to the little tower.
This next area is nasty. Among the passives is a crossbowman you want to put down fast – but be very careful, because one of the passives is actually a snake beast, something like Iudex Gundyr. If you run up and start flailing your sword it will aggro and begin to transform, and you only have bare moments to prepare for its attack.
One tactic is to rush in and kill the crossbowman, then immediately retreat before the snake beast can attack you. With luck, you’ll be able to sneak back up and backstab it to kick off the engagement – but watch out for its attacks if it’s already aggro’d on you, as they will hit you through the stones along the edge of the stairs as you ascend. The monster does not like to leave the tower top so if things go badly you can always flee and wait for it to lose interest in you, then give it a smack from behind. If it is lured all the way down the stairs, it may get stuck going back up - which is fantastic for cheesing.
These weird enemies usually drop a Titanite Shard the first time you beat one, but the bad news is they respawn. When (if!) the tower top is clear you’ll be able to collect a Longbow and 12 Standard Arrows. Head back in the other direction now – don’t forget to rest at the bonfire to refill your Estus Flasks!
Path to the dragon
From the bonfire, head towards the grey dragon. It won't attack, but that doesn't mean you're safe. If you wait a few moments after advancing onto this path, an overseer will patrol towards you; if you've aggro'd or killed any of the passives, and he gets off an alarm, all the passives here will attack.
The safest way forward is to move up to attack the grunt on the right while carefully avoiding the passives, then retreat back to the stairs. The overseer will advance and set off the alarm, but only one grunt will answer his call. Battle them both at the stairs for an easy win. Collect a Soul of a Deserted Corpse when it's safe. One other grunt usually comes out onto this path as you approach the dragon's head.
Pass into the dark room down the short stairs and immediately head left to kill the grunt seated on the floor. Circle the room in a clockwise direction to loot two firebombs and spot a shield grunt waiting to ambush you from behind some crates.
Don’t take the ladder down the trapdoor in the middle of the room just yet; go back outside and look for a short flight of stairs near the dragon’s head. Climb up and dispatch the overseer, then look for another set of stairs leading further up. A grunt will ambush you at the top, which you’ll likely spot in advance, but watch out for his buddy, a grunt lying down to try and trick you. Up here you can collect the Binoculars, which you can use to look around in first-person view. Go back down to the dragon’s level and walk to the far side of it, dropping down to a lower level accessible under its wing. Pass through the window to grab two Gold Pine Resin.
Take the ladder down. Don’t miss the Soul of a Deserted Corpse as you pass through the rooms beneath. When you emerge outside, you’ll face a shield grunt; watch out for his crossbowman friend a little further along the path, but don't worry about the pack of baddies beyond him.
Make sure you have lots of health now. Climb the stairs very, very cautiously and do not go all the way to the top; you’ll see why in a minute.
There are two paths to bypass the dragon: upper and lower. We recommend taking the lower path first, then returning to clear the upper area after the next bonfire.
Getting past the dragon is pretty easy. You can’t tell from the actual fire breath where the danger zone is, and it’s much smaller than it seems. Look for the flames that persist on the ground after the breath passes. On the lower path, these are harmless. Equip the East-West shield for added fire resistance in case you time your run wrong, then edge right to the border of the flames, wait for the breath to pass, and sprint. You’ll be safe from the fire as soon as you climb the stairs at the other end.
Don't hesitate here: quickly but quietly (run, don't sprint) advance forward and immediately U-turn to head back towards the tower the dragon is sitting on. If you're lucky, you won't aggro the knight who patrols out of the opposite doorway. You can avoid fighting the knight while you kill two grunts and collect a Soul of a Deserted Corpse.
If you want to engage the knight, be aware that he's a lot tougher than the grunts and tall guys you've met so far. However you get past him, proceed through the open doorway into the tower interior, watching out for the thief on the left. These guys can throw knives and attack rapidly with daggers.
Three firebombs are sitting on a narrow beam here; before you risk life and limb collecting them, take the exit anti-clockwise of the entrance you used and climb to the top of the tower to activate a the Tower on the Wall bonfire.
You can grab a Titanite Shard in the corner of this area. There’s a fine view of the dragon up here, but sniping is strongly discouraged. Seriously. If you’ve got a big stock of souls by this point, you might want to go back and spend them at Firelink Shrine before we go onto the next part, or partake in a little optional treasure hunting below the next image.
Continue via Tower on the Wall to Voldt of the Boreal.
Optional treasure hunting
There are two things we want to do between High Wall of Lothric and Tower on the Wall: kill a Mimic and chase off the dragon. We recommend killing the Mimic first, because when the dragon leaves you'll have to deal with all the enemies it normally puts down for you every time you venture into this area.
Kill the Mimic
To get to the Mimic while the dragon is in place, you'll need to brave its breath. On this path, the flames on the ground aren't just decorations; they deal damage. Time it right and sprint for the safety of the tower door beneath the dragon; if you can't survive this, you'll need to chase off the dragon first.
Take the stairs down and observe the chest. It's a Mimic. Hear it breathing? If you try to open it or attack it a few times, and it turns hostile, revealing its true nature. This laughing, kicking jerk moves faster than you’d believe, and will follow you tenaciously. You'll soon learn to attack every chest before opening it - preferably from a distance.
If you can survive the dragon's fire breath pretty well, aggro the Mimic and dash out down the stairs so it takes a ton of damage. If it survives, battle it down below or run for the ladder in the previous tower to get out of its reach and pepper it with arrows and firebombs.
If that doesn't work out for you, climb the ladder in the Mimic's room and open the gate back to the bonfire in case you need a quick getaway. Aggro the Mimic with an arrow, then cheese it. Unfortunately it's quite smart; if you stand too close to the opposite ledge, it will realise it can jump over to you; give it a whack mid-jump to knick it down if you can, but it’s best not to let this happen by staying at the other end of the platform, near the ladder and the gate. The Mimic will move out of your crosshairs when you aim at it, and tries to keep under cover, but there’s a hole in the floor you can often shoot through to hit it when it’s holding still.
When you take the Mimic down, it drops a Deep Battle Axe.
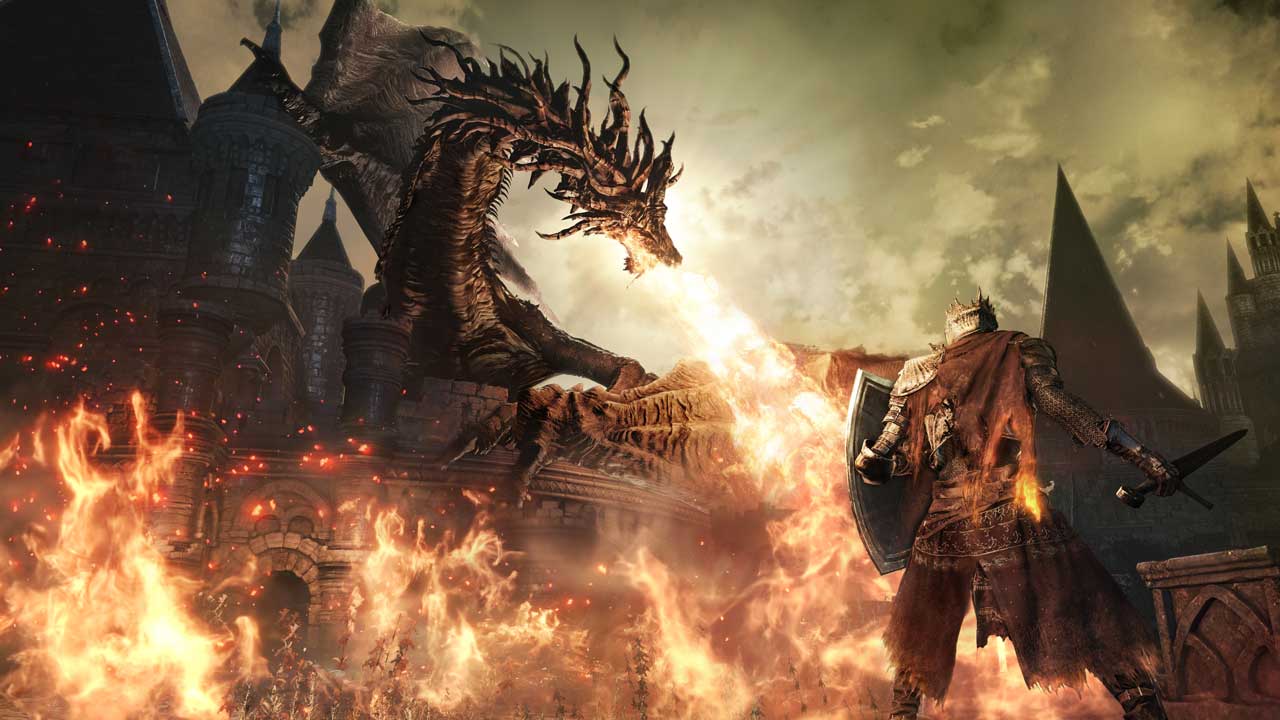
Chase off the dragon
This is only possible if you have a bow. Climb part way up the stairs to the upper path and drop down to the wooden platform on the side. Hide behind the little tower to be safe from the dragon's breath. Between bursts of fire, pop out and ping the dragon in the closest part of its wing.
You can’t kill it, but it will eventually fly away, and you’ll score a Large Titanite Shard for your trouble. With dexterity of 19 and wooden arrows – the cheapest ones you can buy – you should do about 45 to 50 damage with each shot. The dragon will leave after about 60 arrows.
When the dragon leaves you can explore the bridge and collect the treasures there – a Large Soul of a Deserted Corpse, Claymore, Ember and any random loot dropped by the grunts and tall enemies killed by fire.
Continue via Tower on the Wall to Voldt of the Boreal.
Back to Dark Souls 3 guide and walkthrough.