Zelda Link's Awakening Final Boss - How to Beat the Nightmare Boss
Here's how to beat the Zelda Link's Awakening final boss, which goes by the name of "Nightmare."

The Legend of Zelda: Link's Awakening's final boss is nothing short a pain, comprised of six total phases. In this guide to the Zelda Link's Awakening final boss, we'll be walking you through everything you need to do to beat the final Nightmare boss, which is no small feat.
Zelda Link's Awakening Final Boss Guide
The final boss in Link's Awakening is found in the Wind Fish's Egg. It appears to Link as a sort of 'Nightmare' form, changing shapes throughout the fight. Read on for the different phases and forms of the Link's Awakening final boss.
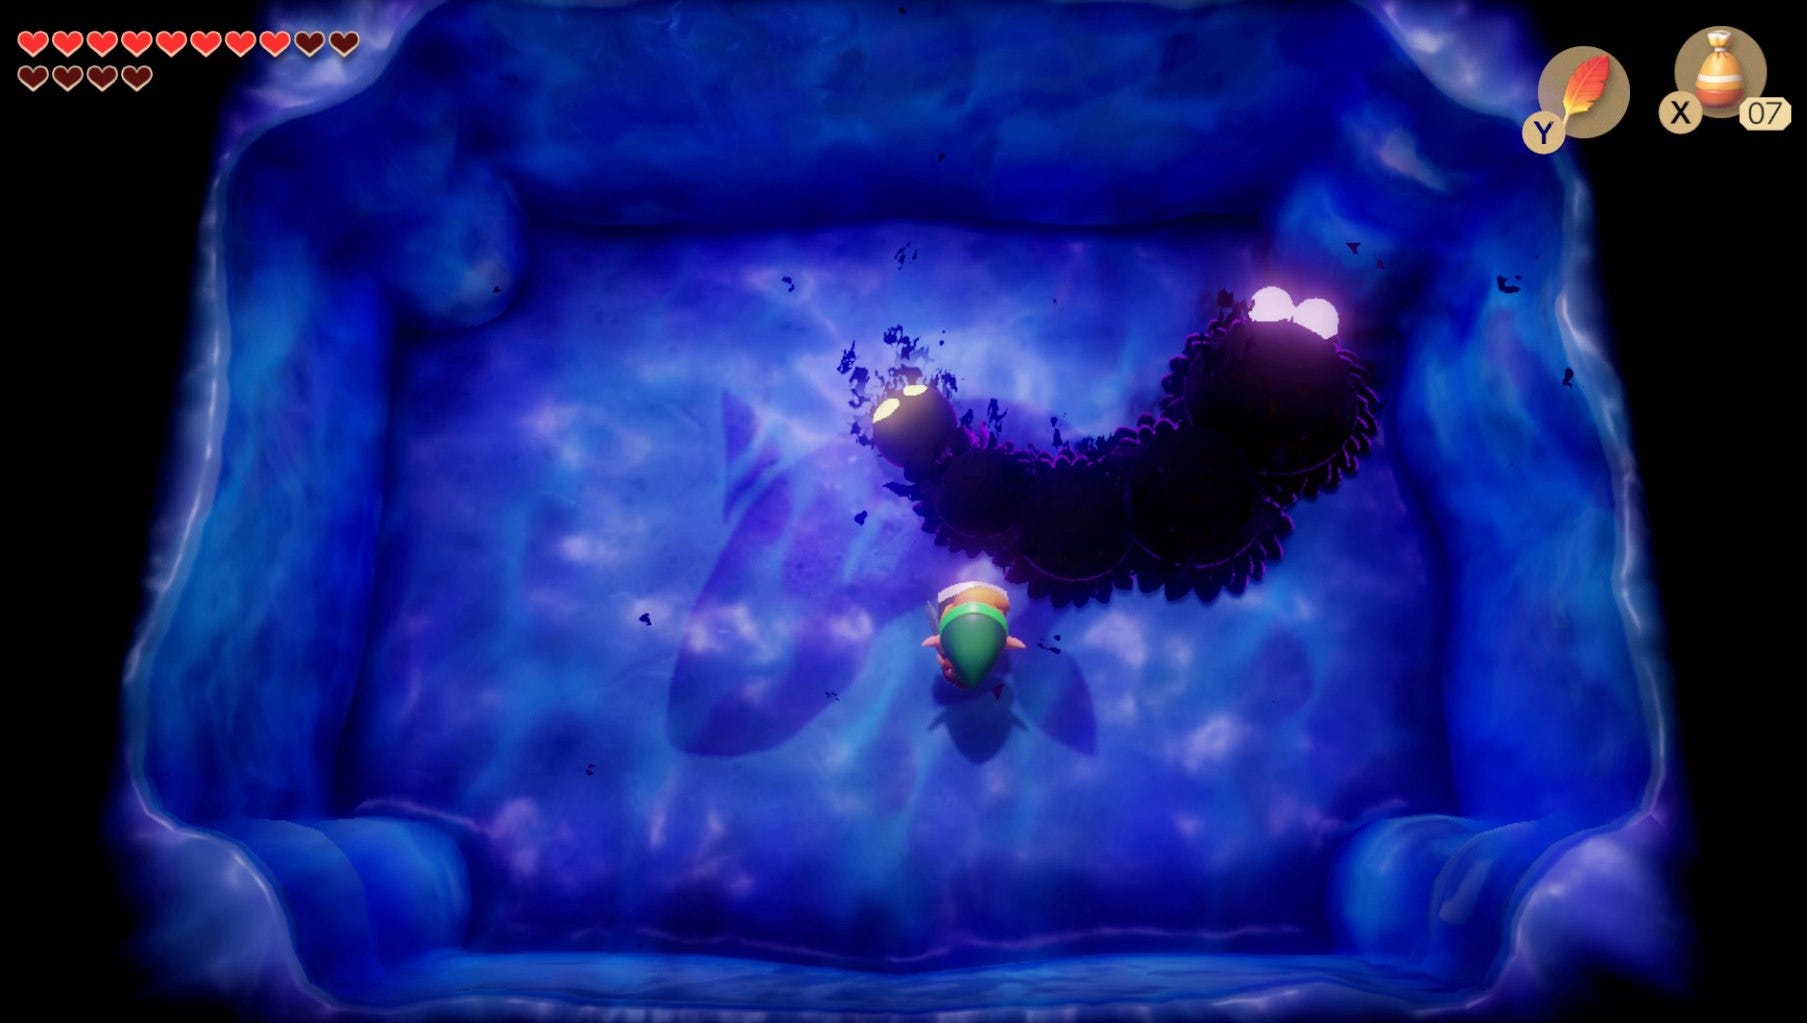
Phase One
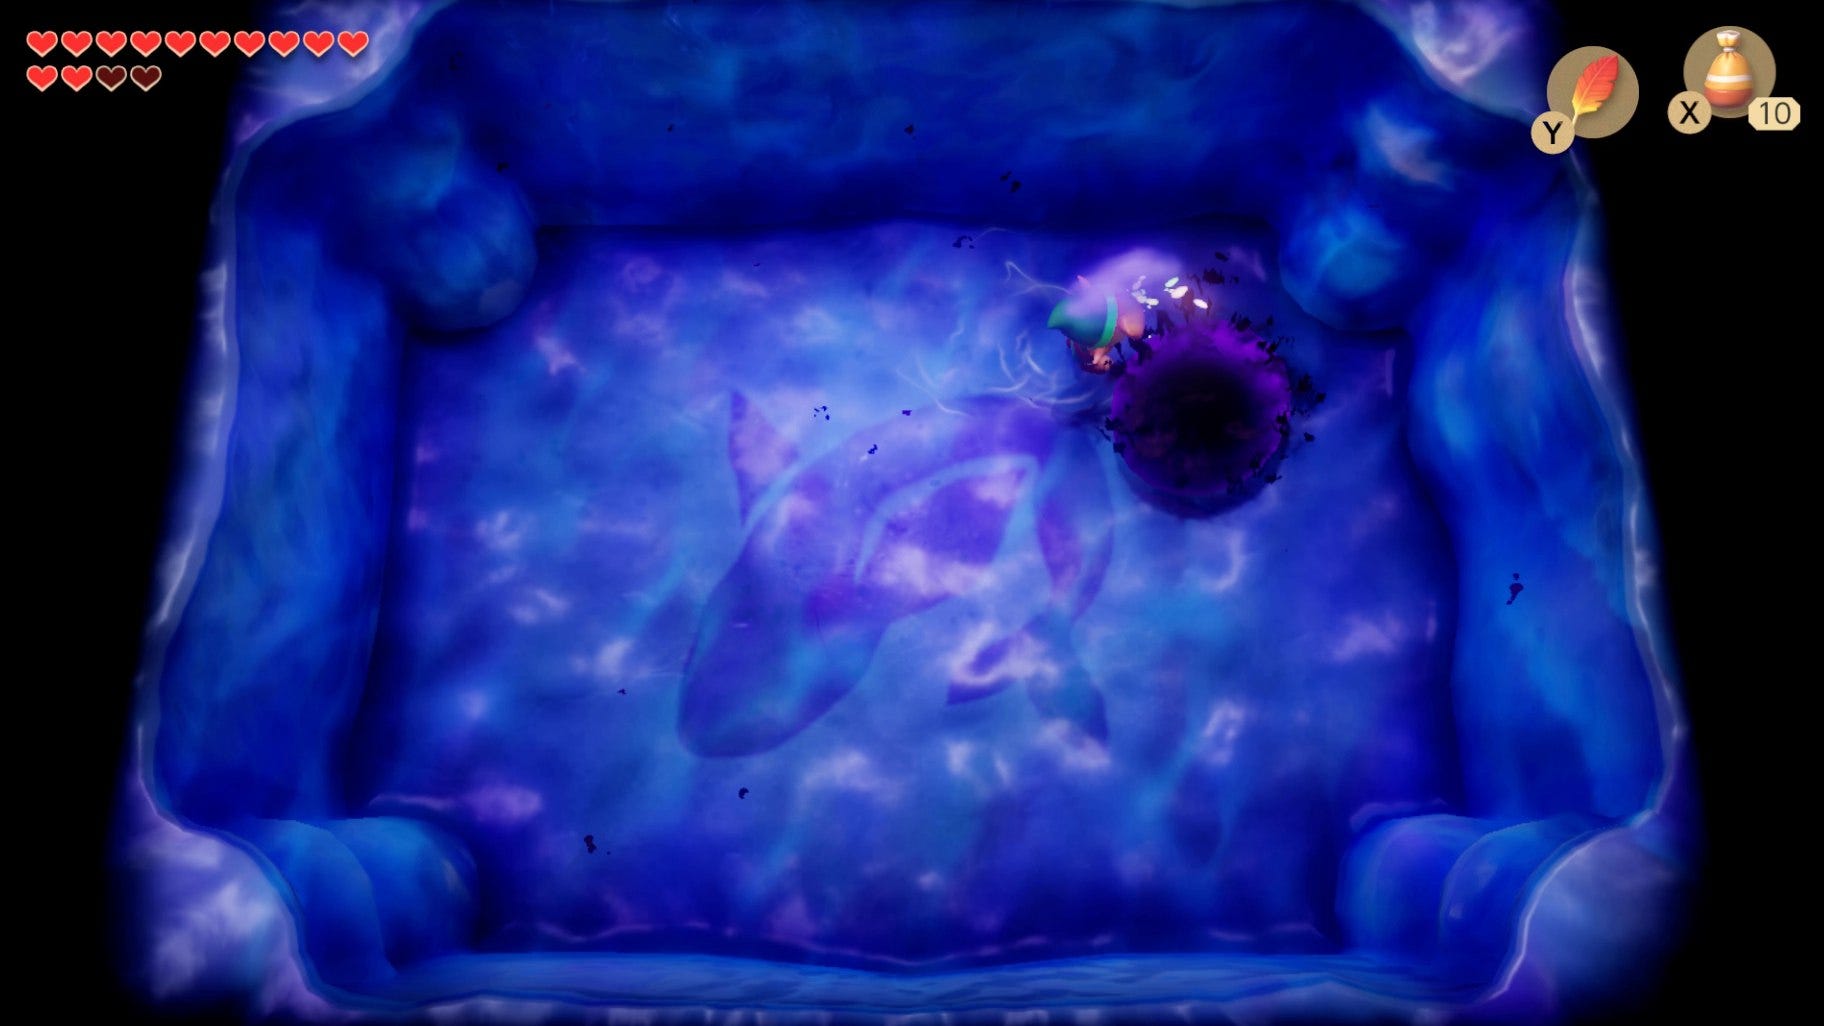
In this first phase, things start off relatively simple. The boss takes the form of a bouncing ball, that bounces towards Link three times before disappearing and reappearing in another area of the room.
Wait until the boss is stationary, either when it first spawns or when it finishes its three jumps, and then douse it with some magic powder. You only need to do this three times for this first phase to be over with.
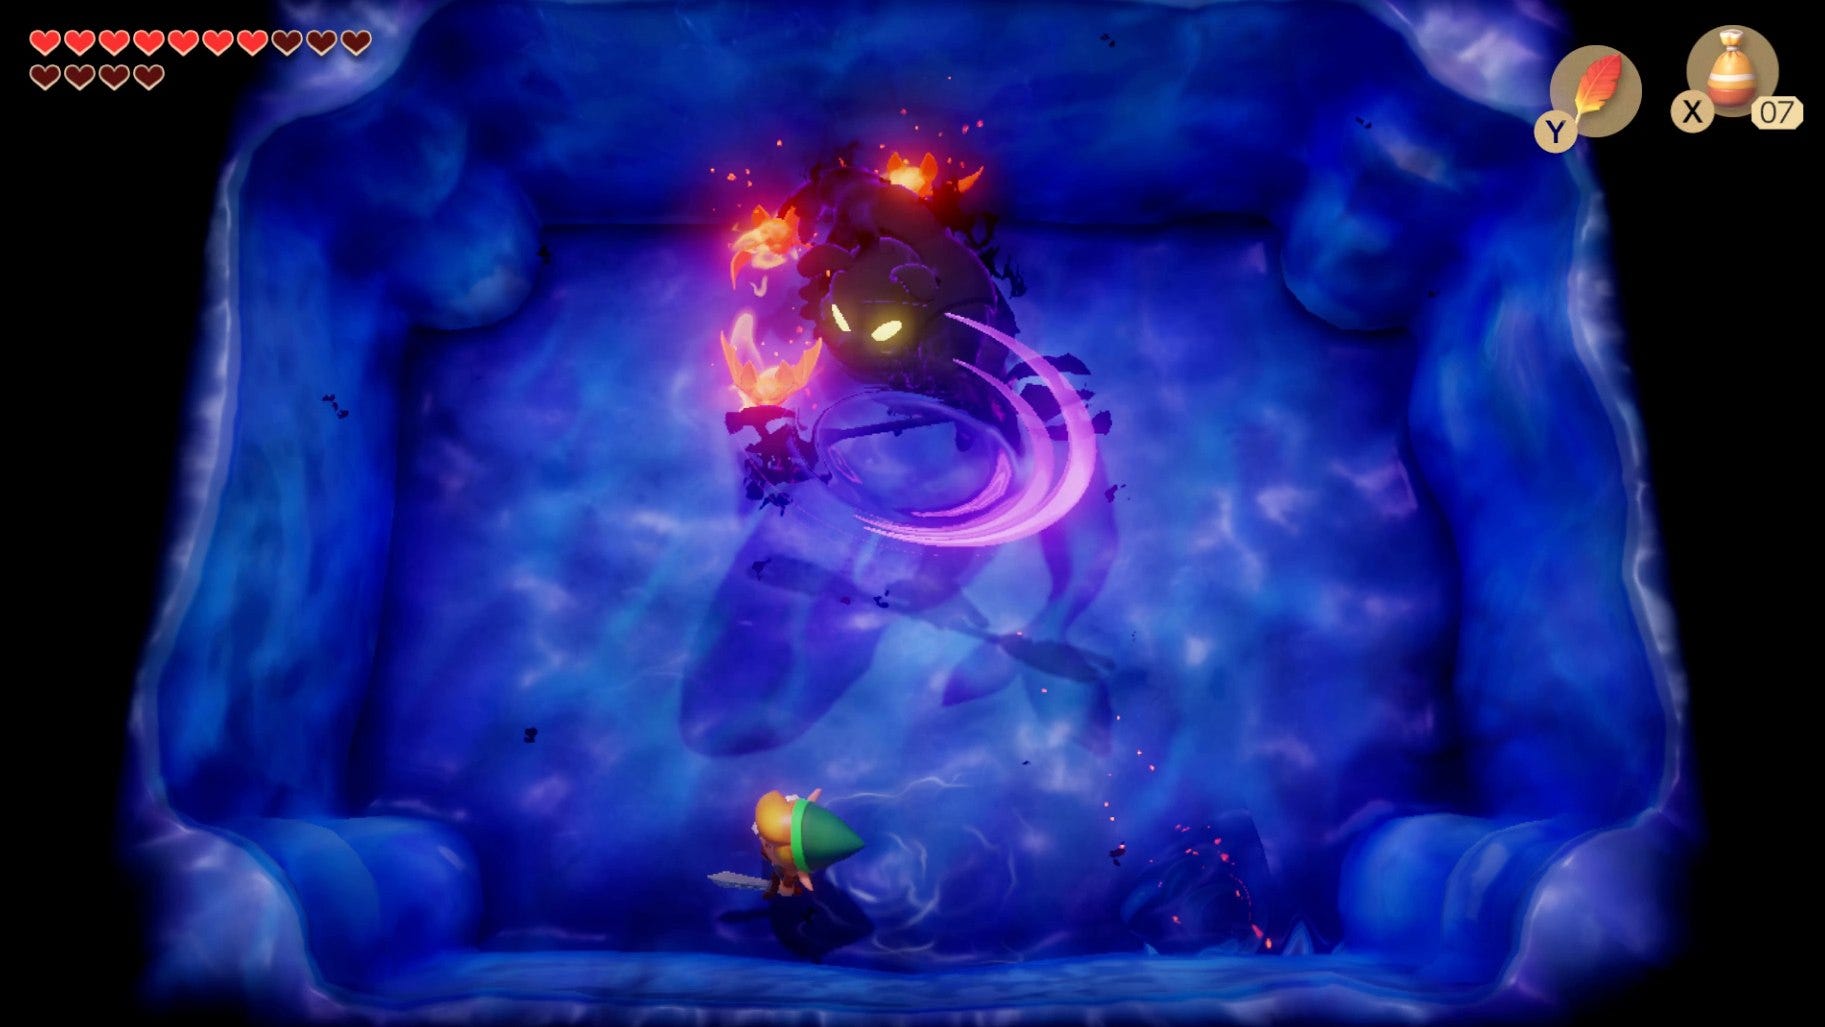
Phase Two
For the second phase of the final boss fight, Link needs to employ his sword. The boss takes the form of a wizard of sorts, that sends orbs of fire in the direction of Link, before disappearing and respawning on the opposite side of the room.
When the boss spawns, face it head on. If the orb it fires is a fiery orange, you need to time a sword attack so that you deflect the orb and send it back at the boss. But if the orb is blue, you need to jump and vault over the projectile since you can't deflect the orb if it's blue. Simply do this four times, and the second phase will be over with.
Phase Three
Phase three of the boss is a familiar sight. All you need to do with the phantom Moldorm is hit its tail a total of five times. Make sure to raise your shield in between striking out at the boss with your sword, because the boss moves increasingly quickly every time you strike its tail.
Phase Four
Now this might be the toughest phase of the final boss. Now a huge Moblin, the boss spins its spear to summon six flaming bats, all of which shoot out at Link. Make sure to strafe back and forth around the boss while the bats are gunning for you.
After the bats are gone, the boss will throw the spinning spear at Link. It'll hover there in the air for roughly five seconds. During this time, you need to dodge the spinning spear, most likely with a jump, and then hold down L to sprint towards the boss with Link's sword out, ramming into it to cause damage.
This is a battle of attrition, because in harming the boss this way, Link also takes damage. So time your hits carefully, and back off after hitting the boss once, and you'll be able to make it through this fourth phase with roughly five hits on the boss.
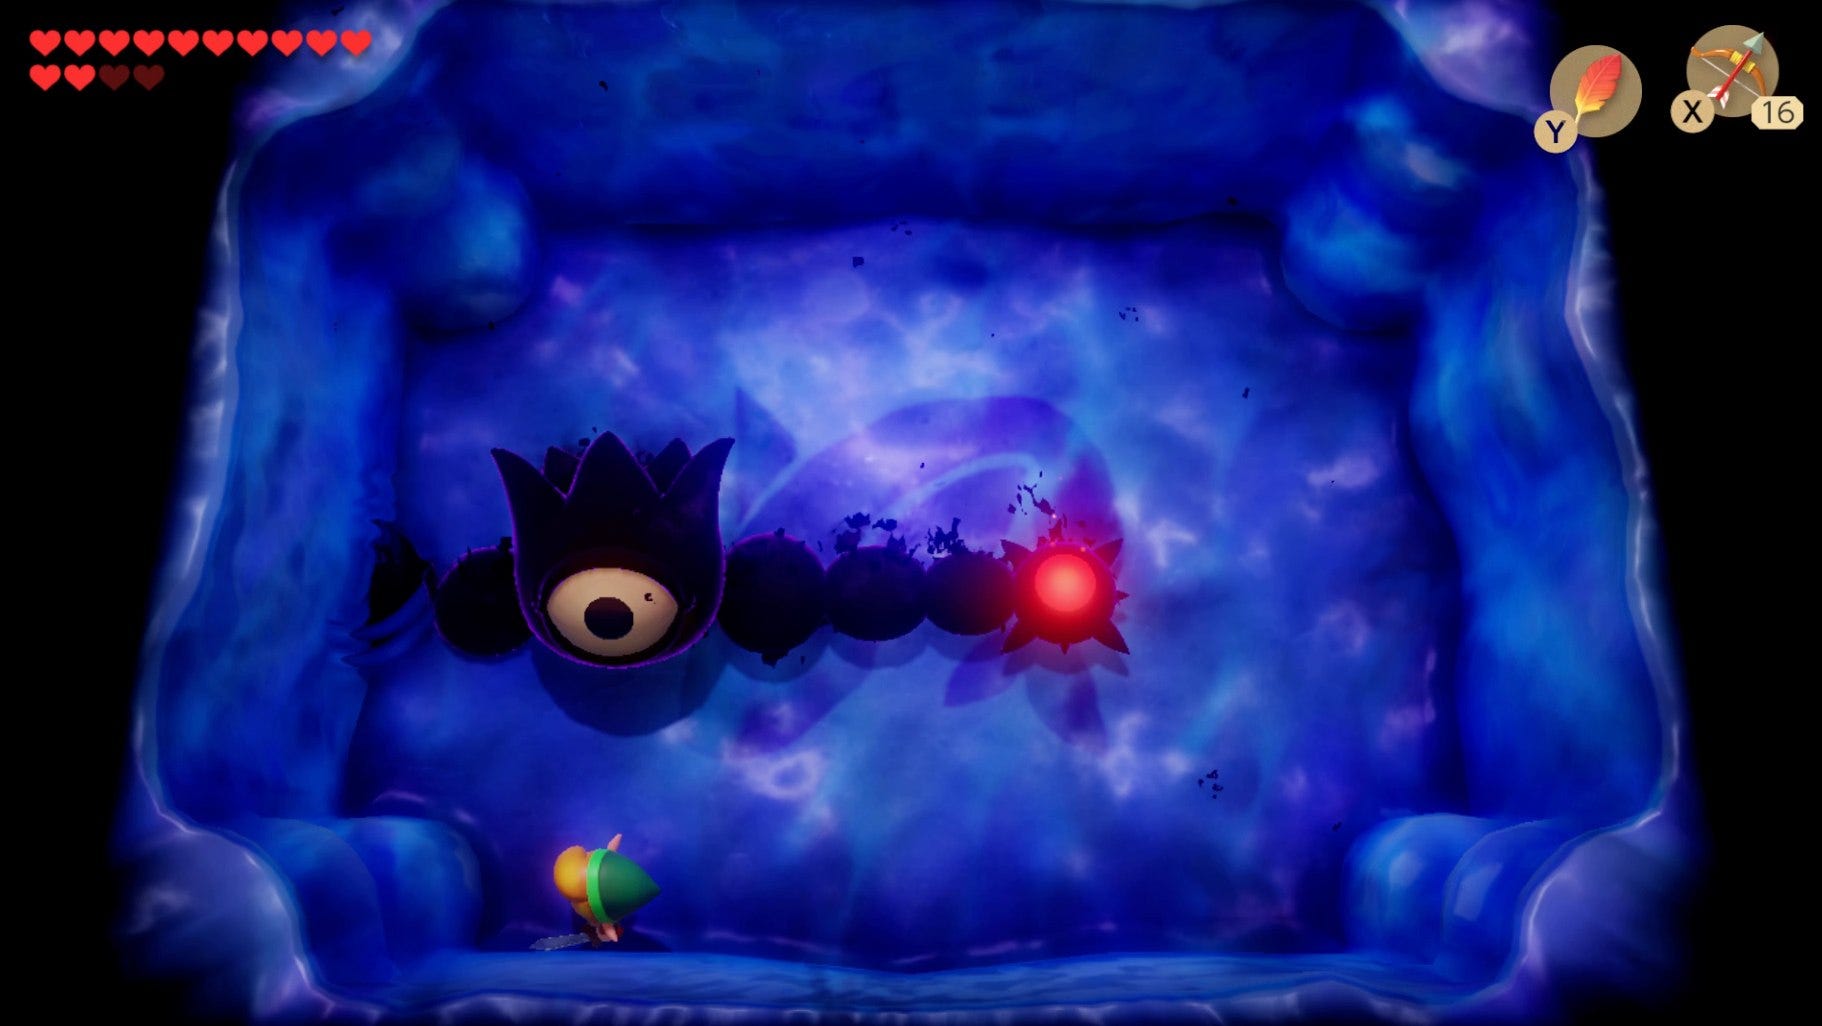
Phase Five
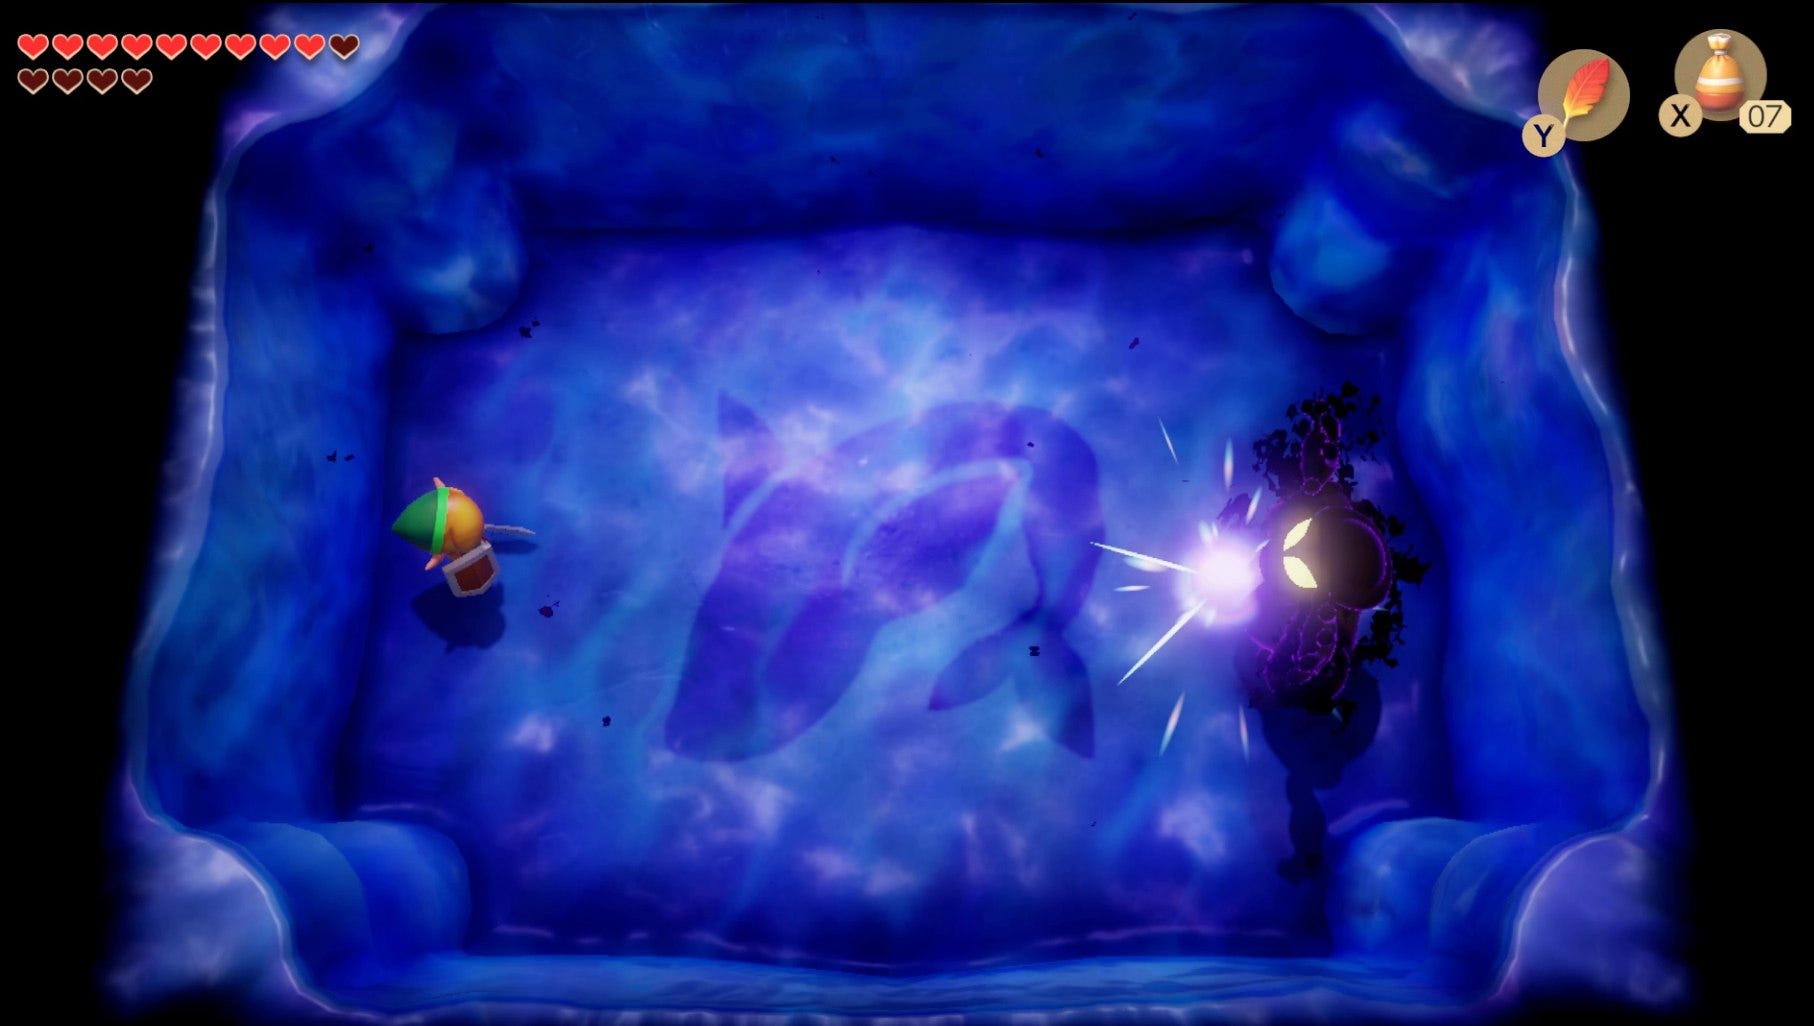
For phase five of the final boss, you'll want to equip the bow and arrows to Link. The boss takes the form of a worm, that will spawn, shoot after Link where he's standing, and then despawn to do the process all over again.
All you need to do is face the boss as soon as it spawns, and shoot an arrow directly at its face as it's coming towards Link. You'll have to stay on your toes for this fifth phase as the boss is pretty quick, but it'll only take five hits for this phase to be over with.

Phase Six
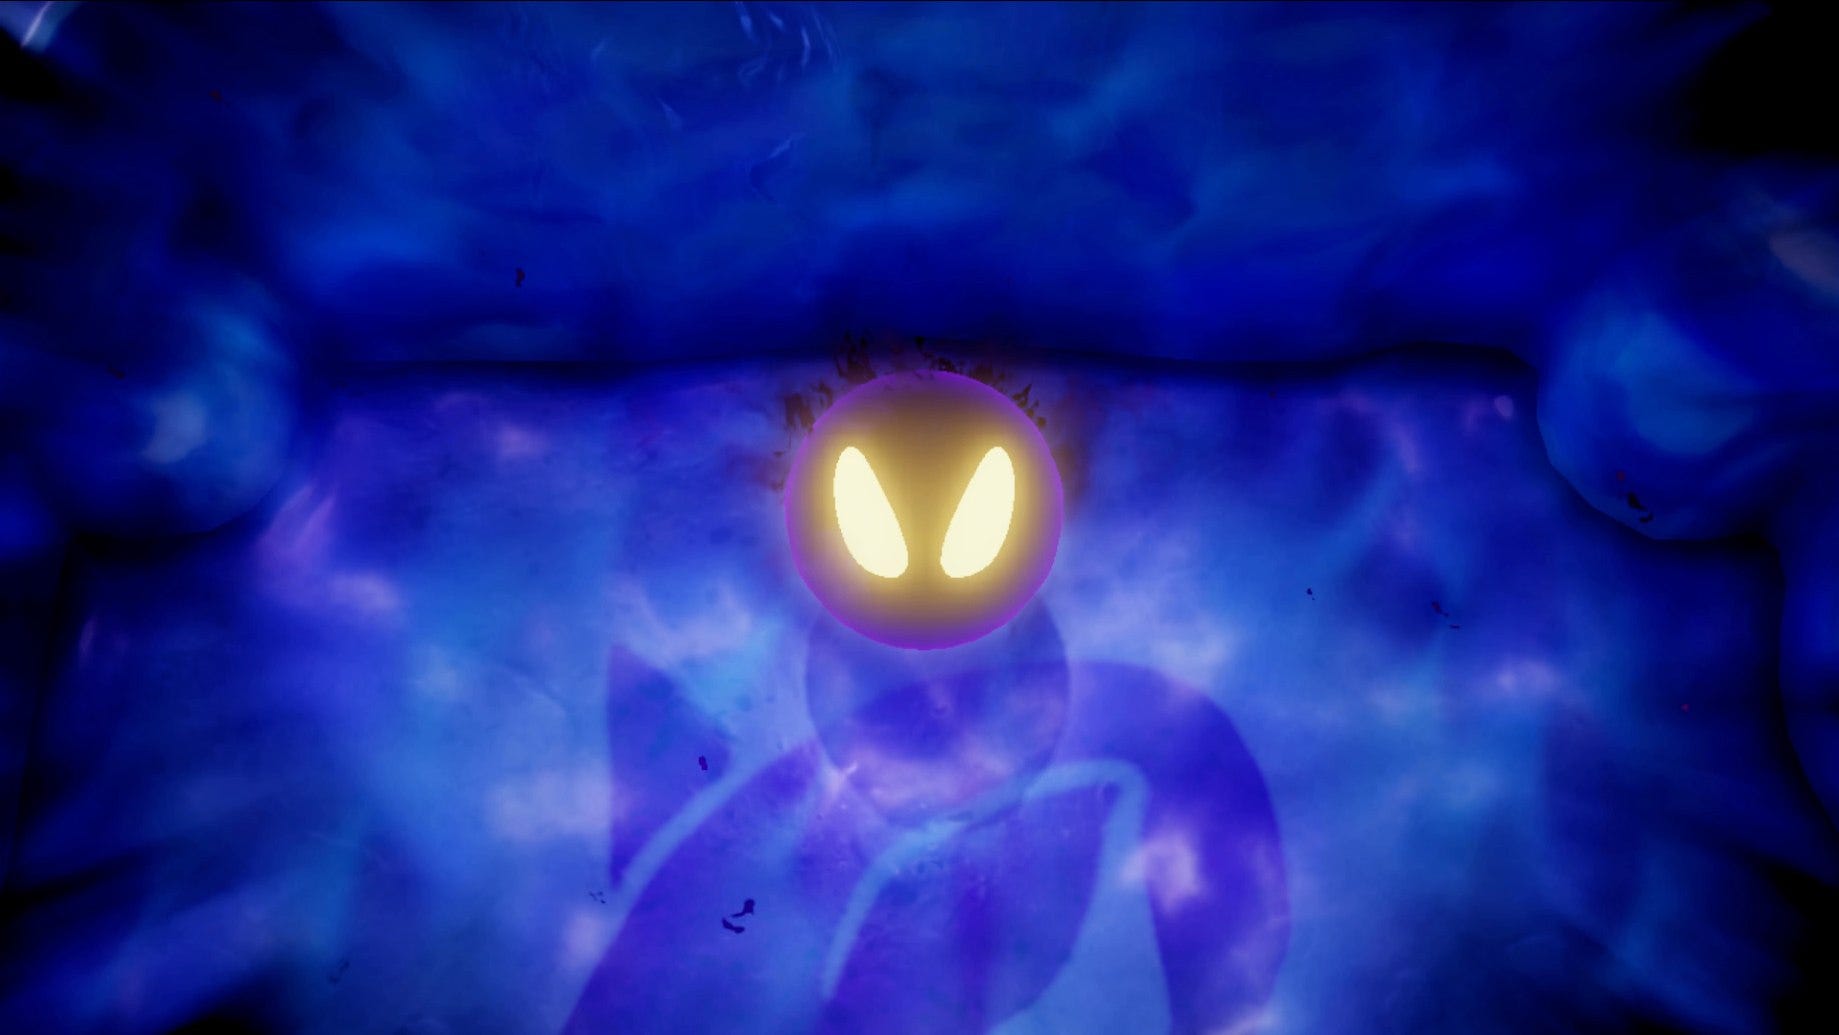
Now Link is at the sixth and final phase of the final boss. In this phase, the boss spawns two outstretched arms, which start sweeping around it in opposite directions. You need to jump over these outstretched arms, but you need to stay below the boss.
This is because an eye will appear on the boss periodically. When this happens, Link needs to shoot an arrow into the eye of the boss as quickly as possible, because it doesn't stay visible for long.
Every time you hit the eye with an arrow, the speed of the sweeping arms will increase. So try and stay with the boss as it moves around the room, jumping over the arms when they revolve around, and fire off an arrow into the eye of the boss whenever you get the chance.
When you're done with this phase of the boss, Link's entire journey will unfortunately draw to a close. It's been one hell of an adventure and you'll see a charmingly animated cutscene play out to end the game.
If it's more Link's Awakening coverage you're after, then USG has you sorted. You can head over to our additional guides on the game, including our Link's Awakening Dream Shrine guide for how to get the Ocarina, our Link's Awakening Kanalet Castle guide for how to complete the trading sequence, our Link's Awakening Slime Key guide for the locations of all the Golden Leaves for Richard, or our Link's Awakening Wind Fish Egg guide for more.