Prey Walkthrough - Opening Level, How to Find the Glue Canon, Neuromods, TranScribers
Prey, a sci-fi action horror from Arkane Studios, lets players tackle scenarios in numerous ways. This guide will walk you through the game with ideal solutions, passwords you need, and general tips.

Prey gets off to a wonderfully intriguing start, and in this Prey Walkthrough we'll take you through the opening areas as Morgan gets to grips with what's going on.
Should you need help with any other areas of Prey, feel free to head over to our Prey Walkthrough and Guide hub. There you can find entire level walkthroughs sort of like this one but obviously a bit different as they're for different areas, as well as guides that will tell you how to complete optional objectives aboard Talos 1.
Once your Morgan has woken up and somewhat reluctantly pulled themselves out of bed, head straight forward to the kitchen counter ahead of you, to collect both the expensive-looking bottle of wine, as well as 'The Method.sci' document.
There's a Glucassist in the cupboard underneath the cooker, as well as a Skyking Pomegranate and a Cold Mountain Green Tea in the fridge. Next, head over to the workstation in the corner of the room to collect the Used Plastic Tubing and Burnt Circuit Board, afterwards heading to the computer and reading Morgan's emails for some story intrigue.
Go to the door and interact with the Suit in order to put it in, and then head out into the corridor, turning left and heading forwards to speak to Patricia Varma. Keep on speaking to her if you want to arouse some suspicion, but otherwise head round the corner and interact with the keypad inside the elevator to head up to the roof.
Once Morgan is out of the helicopter, head into the building and interact with the elevator, heading down to meet Alex Yu for the first time. After talking to Alex, head through into the Testing Room just down the hall to your right, and here you'll find yourself presented with a series of tests posed to you by Dr. Bellamy. As Alex already stated, there's no 'wrong' way to approach these tests, so just follow Bellamy between rooms, completing each test however you see fit.
Well, that was quite the conclusion to the tests. Once Morgan has risen from the bed again, head forwards to the kitchen to collect the Kings & Way Sparkling Wine on the side, as well as the exact same items as before both under the stove and within the fridge. The exact same items as before will also be found on the workstation at the other end of the room, but after collecting these Morgan should once again put the Transtar Uniform on and head into the corridor.
Head to the corpse of Patricia Varma to collect the wrench on the ground, and search her body to find some Used Plastic Tubing. Turn around, and smash through the fish tank in the wall at the other end of the corridor to escape, turning left as soon as you're through to collect two bottles of Kings & Way Sparkling Wine. Continue heading in this direction to pick up some Frayed Wire, turning left again after this to collect three more bottles of Kings & Way Sparkling Wine on a shelf.
Now head back to where you first jumped through the fish tank, and continue on down the corridor in the other direction, collecting some Used Plastic Tubing and Frayed Wire when you reach the turning right. Take the turning right and head down into the section with the computer that looks into Morgan's apartment, interacting with the computer for some interesting story elements.
Should you want to go into the Simulation Debriefing Room and undertake the task of unlocking the safe there, head over to our guide on how to unlock the safe, but otherwise continue down the corridor to the door with the warning light next to it. Head through the door with the 'exit' sign above it to find yourself in a room with the (fake) helicopter, going through the door just underneath the large 'Transtar' sign.
Collect the Spare Parts to the right of you as soon as you head through this door, and afterwards head into the room that was to the right of Alex when you first met him, which was previously locked. You can reset the 'scene' from the computer in here, which shows Morgan just how set up you were, but otherwise collect the Medkit next to the door, before heading through the door itself into the next area.
Once you've heard January speak in this next room, smash through the glass window with the Mimic behind it, bludgeoning it to death with the wrench. Come back out of this room and head directly to the other side of the dark room, collecting a Burnt Circuit Board that's been left on a tabletop there. Interact with the computer in the room for some further story information, and head to the far door in the room, picking up Marco Simmon's 'TranScribe' item to your right just before you exit the room.
Head up the stairs and onto the walkway, but when you see a set of double glass doors ahead of Morgan, take the walkway leading off to the left. Head all the way to the end of here to kill a disguised Mimic, as well as searching the corpse of Grete Mikkelsen to find an Apple, which can replenish some of Morgan's health. Smash through the glass at the far end of this section to collect two lots of Used Plastic Tubing, as well as some Frayed Wire, but afterwards retreat back down the walkway, going through the double glass doors.
Witness the untimely demise of Johan Gravilovic, and listen to what January has to say, as they reveal some pretty key story info for Prey in this segment. Search the body of Johan as soon as the doors open to find a few useful items, and afterwards search the locker to the left of Morgan to find an Expired Plasma Bag, picking up the Medkit next to the door before you exit out of the room.
There are a few Mimics in this next area, all of which are disguised as a variety of objects. If you continue forward and head into the first area on your right, you should find a Mimic there disguised as a chair, lying on the ground. From here, turn into the room to the left of Morgan and collect the keycard on the desk, checking the trash can for a few more items. Jump up in the right hand corner of the main room to reach a vent path that you can crawl through, picking up some Used Plastic Tubing as you make your way round the corner.
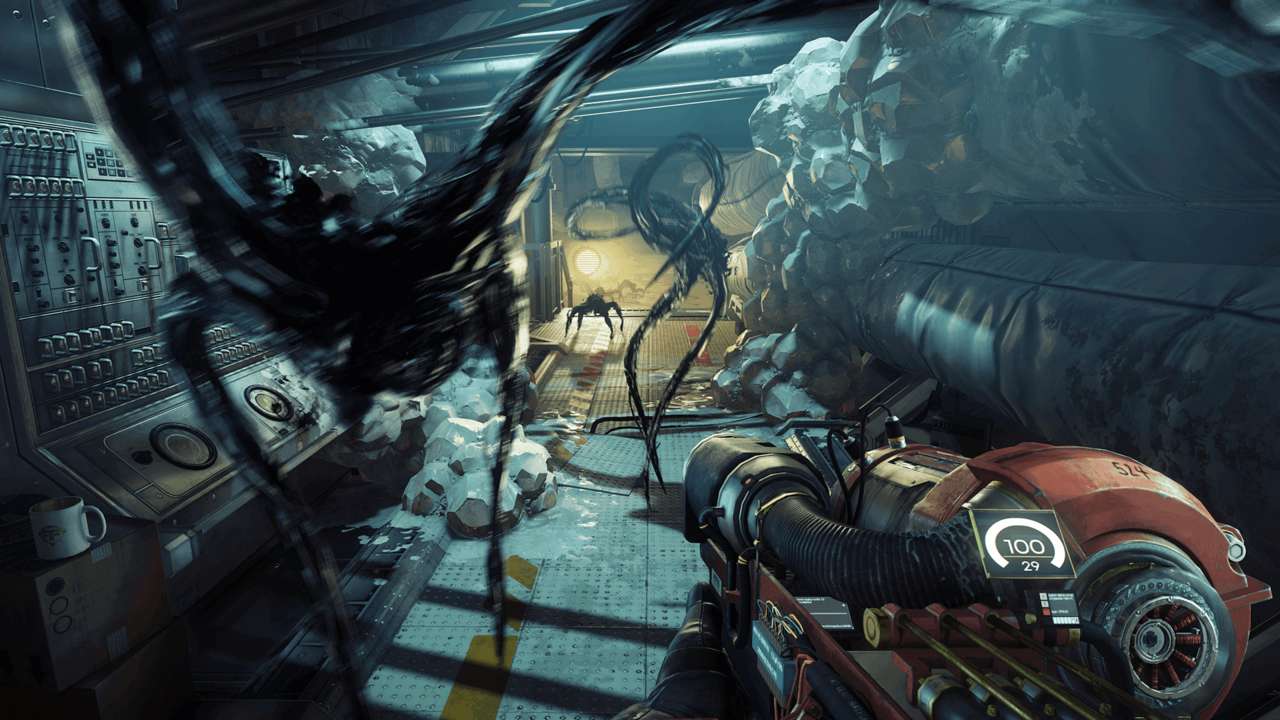
Drop down into the next area to catch a glimpse of a Phantom for the first time, that you can attack through the glass should you wish. Head round the corner in this area and kill the Mimic frozen from the Gloo Cannon, afterwards picking up the weapon itself on the ground next to the corpse. Search the corpse of Veer Singh to collect some useful ammunition, but don't forget to pick up the Gloo Cannon ammo all around the corpse on the ground.
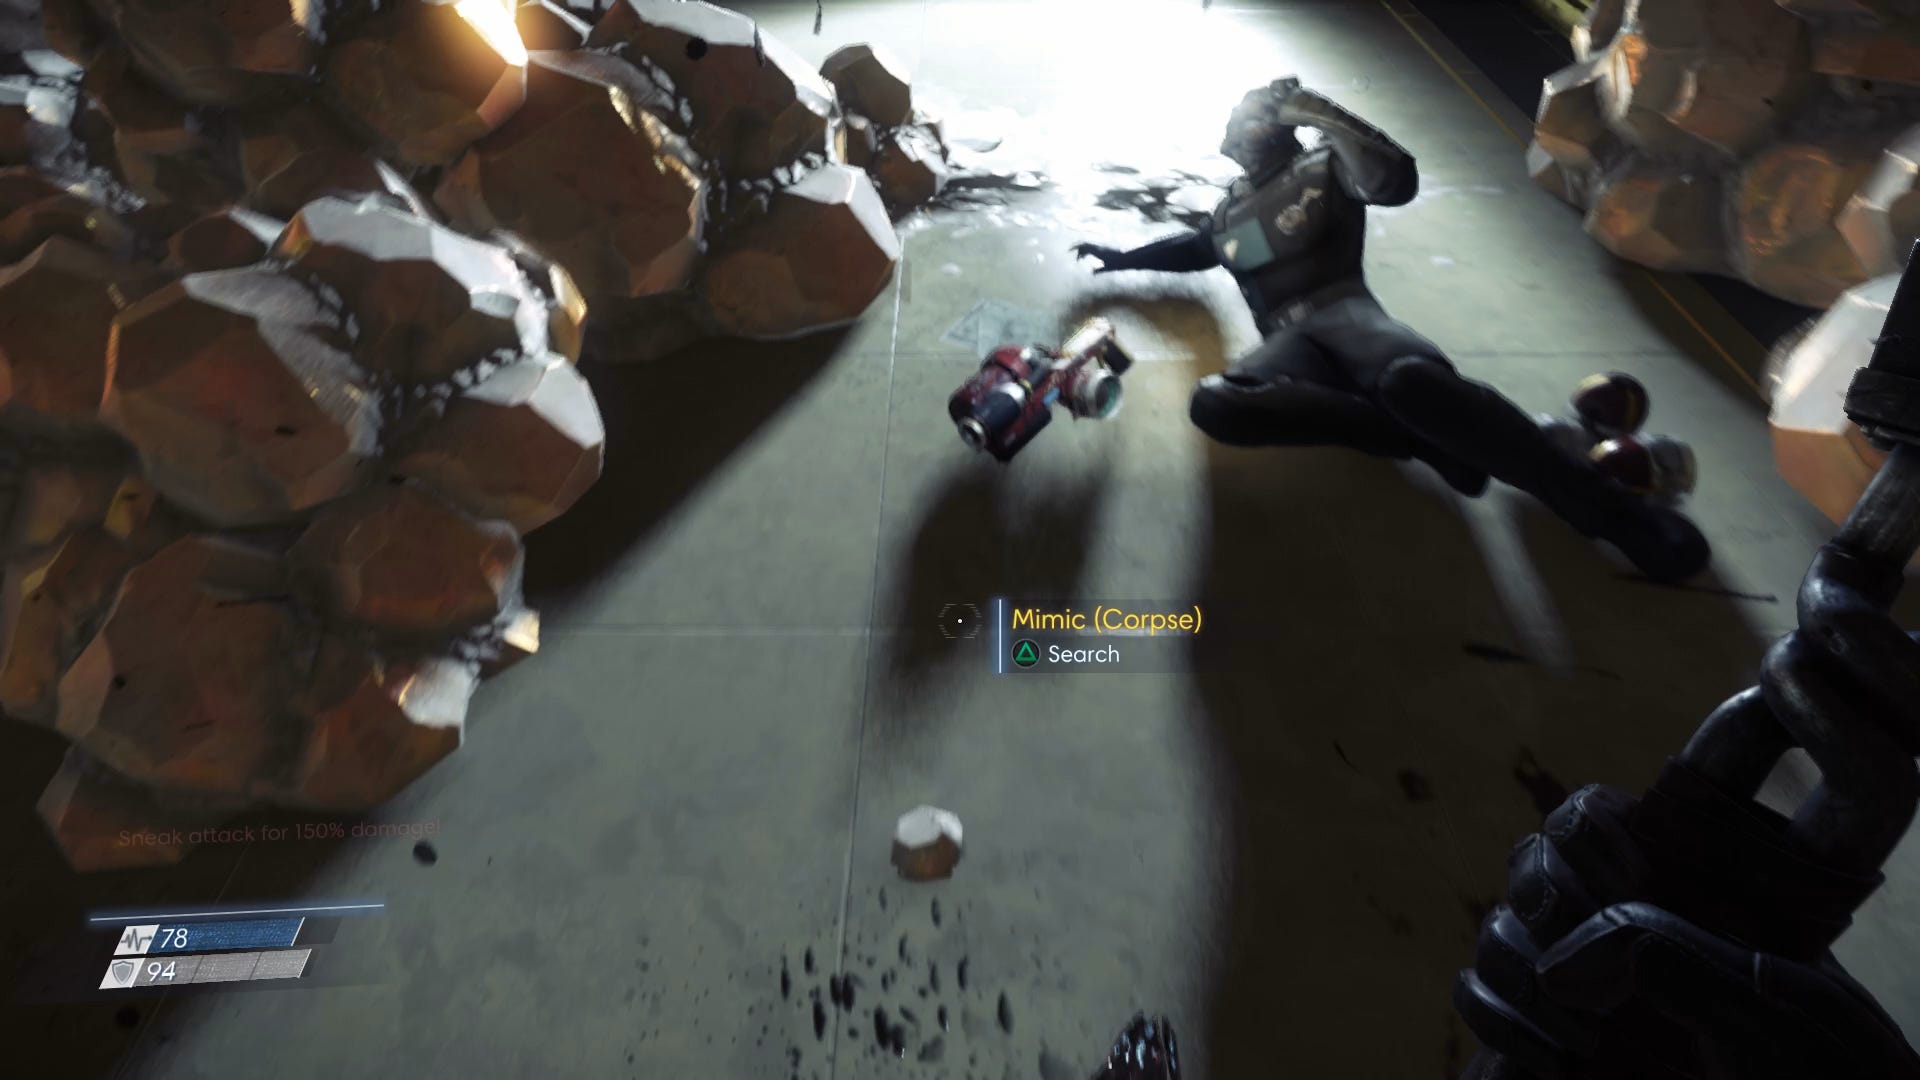
To the left, after the block of frozen glue, will be a fallen cabinet that Morgan can proceed upwards, searching the corpse at the top to collect a valuable Suit Repair Kit. Prepare for a fight once you drop down off the end of this ceiling and into the main foyer, as there are a number of Mimics all disguised as objects waiting for Morgan here. Make sure to utilise yuor Gloo Cannon when facing them, as once they're frozen solid you can smash them apart with the wrench.
Once Morgan has disposed of all the Mimics in this large room, head into the Conference Room to the left of this area to collect Robert Gage's TranScribe item, as well as defeating a few more Mimics. Now head to the area of the foyer where the Neuromod is waiting for you, but continue on past here to the Restrooms, where you can fend off a few more Mimics that will provide you with some valuable 9mm bullets.
Head back to the pedestal to collect your first Neuromod, and put it to use in whichever skill category you see fit. After you've done this, turn right and head to the large metal door, in order to proceed to the Lobby area.
We have a variety of other guides on Prey here at USgamer, such as a guide on upgrades and gear in the game, as well as a guide with all the codes to every safe featured.
Next up in our walkthrough of Prey, we have a guide on how to survive the lobby area of Talos 1.