The Division Incursion: Falcon Lost Challenge mode guide
Survive 15 waves of enemies and score some great loot with this detailed guide to Falcon Lost.
The Division Incursion: Falcon Lost Challenge mode guide
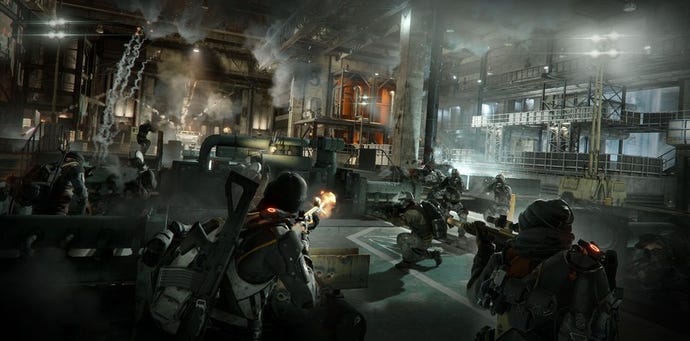
The Division's first Incursion Falcon Lost went live this week, and played on Challenge difficulty it's as tough as hell.
Enemies can one-shot you as you take on level 34 elites capable of destroying the best of players. What you need is a guide. We have one for you right here.
There's a full video showing all the action above, and here's the strategies you need to employ below.
Before your start
- Firstly, it's recommended you have one marksman build, two assault builds and a support.
- Everyone needs to have a good healing skill equipped: Support Station with the immuniser mod, First Aid with the defibrillator mod.
- You second skill should be about managing the sheer number of enemies. Go with Flame and Shock Turrets, as well as Sticky Bomb with the flashbang mod. Pulse is always good for extra damage. If you're using Turrets you'll want to change to Sticky Bomb later in the assault when the hackers come out, so keep that in mind.
The basics
- Falcon Lost pits you against waves of enemies. Your goal is to take out the Armoured Personnel Carrier (APC). The only way to damage it is to plant bombs on the back of it.
- You will fight through 15 waves of enemies. One specific enemy - with a diamond above his head - will have the bomb you need. When it drops on the floor you'll see a yellow beam, similar to a high-end drop.
- You'll have to hit the APC with four bombs in total and expect them during waves 4, 8, 11 and 15. Before you can plant the bombs you'll need to disable two turrets.
- Bombs can only be planted by the person who picks them up. Have one player as the bomb pick up, that way you know who's responsible for attaching it to the APC.
The Division: Falcon Lost walkthrough
- Drop down into the sewer and you'll meet the level 34 elites. Get used to it, this is how tough they're going to be. Once they're down, you meet the flying drones for the first time. Hit them with your flashbangs, which will slow them down/freeze them. Shoot the s**t out of them.
- Once you go up the ladder and through the door the mission proper begins. Make sure you use that restock crate.
- Jump out of the window as a team and head to the right, as noted in the image below.
- From this right-hand corner you'll be rushed by a wave of shotgun dudes. This is the best spot to tackle them from. Drop your support stations and turrets here at your feet.
- Rushers will come from the left and the right. So use Pulse to keep on top of them. Take out the majority by teaming up on enemies with your other players.
- Once the majority of that wave is dealt with, head to the trench in the middle of the map.
- The Trench is where you're going to remain for the rest of the fight. The bridges above will protect you from the APC's mortar strike. There are ammo boxes here and it's easier to take out enemies when they move down into the trench.
- Keep Support Stations on the ground here so you can revive yourself and not have to rely on team members who will be too busy shooting enemies.
- Keep Pulsing and look out for the rushers (the guys with lightning bolts above their heads) as they will run down at you. They should be your priority kills, before standing near the stairs to take down the enemies on the balconies.
- At wave three expect flying drones to appear. Use the flashbangs on them again, as you did earlier. Throw them at the bridge and the radius will catch the drones.
- At wave four you'll get your first enemy with the bomb. Kill him and take out the majority of enemies before picking it up. Don't take too long as another wave will approach. In short, take down the snipers and rushers first.
- At this stage you need to split your team into two. One group heads left, the other right, as seen in the map below, to deal with the turrets.
- Once you disable the turrets you get around ten seconds. Your designated player should sprint to the APC and attach the bomb. Everyone runs back to the trench.
- After the bombs go off the APC will start pumping our mortar fire. Stay down in the turret and you'll avoid it.
- You now have to repeat this process during waves 8, 11 and 15. Enemies will increase in number and get tougher, but your tactics should remain the same.
- Remember: kill the rushers as a priority. Revive your teammates at all times.
- At wave 10 change turrets to flashbangs. Wave 10 adds hackers who will turn your turrets against you.
- Wave 15 is tricky as the enemies won't stop spawning. In this case just clear out the enemies that cause the most problems - rushers, snipers, medics, hackers. Once those are down, all of your team should run left to disable the left-hand turret only.
- From that room head to the APC to plant the last bomb and get your asses back down in the trench. Once it blows the remaining enemies will be wiped out too.
- That's it! Collect the loot and do some celebratory star-jumps. Well done!
Looking for some help with Falcon Lost? Use the TheDivisionThe100 to find like-minded players in your timezone.
