Zelda Breath of the Wild Champions’ Ballad Shrines - How to beat Yowaka Ita, Rohta Chigah, Ruvo Korbah Shrines
This is our guide on how to get started with the Zelda Breath of the Wild Champions' Ballad DLC pack.

The Champions' Ballad is the second DLC pack for Zelda Breath of the Wild, and it features a bunch of new Shrines for you to tackle. In our guide to the Zelda Breath of the Wild Champions' Ballad Shrines, we'll be walking you through how to conquer every new Shrine, including the Yowaka Ita, Collected Soul Shrine, Rohta Chigah, Stop to Start Shrine, the Ruvo Korbah, A Major Test of Strength Shrine, and the Estu Korima, Path of Light Shrine.
Zelda Breath of the Wild Champions’ Ballad Shrines
Once Link has placed the Sheikah Slate back in the very same slot that he retrieved it in on the Great Plateau, a new voice will reach out to Link, and tell him to pick up the new weapon to his right. Pick up the One-Hit Obliterator, and you’ll find that your life force is drained to merely a quarter of one heart. You can’t recover any health while you’re undertaking this part of The Champions’ Ballad quest, so one hit from an enemy and Link will instantly perish.

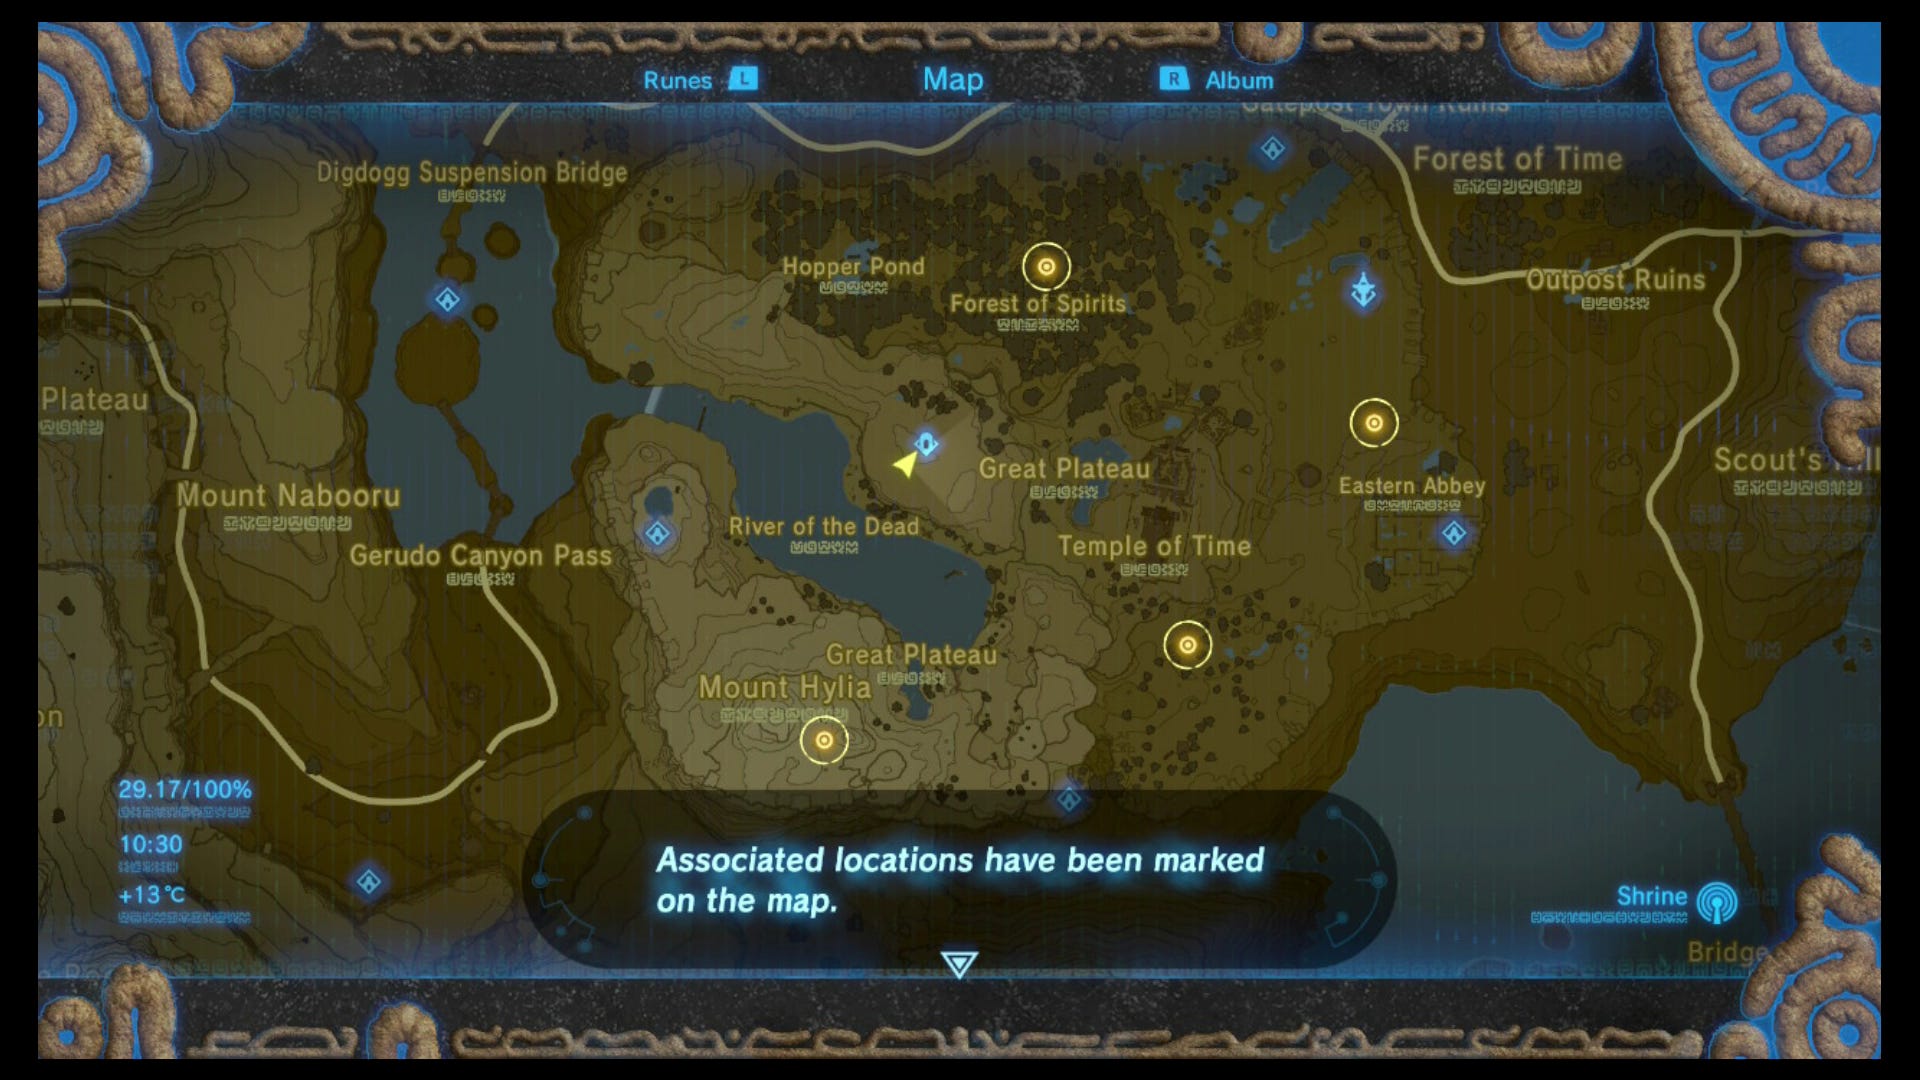
You’ll now be tasked with taking down four camps of Bokoblins on The Great Plateau, and we’ll begin with the one north and slightly to the east of the Shrine of Resurrection. At this camp, you’ll want to approach stealthily, taking out all the Bokoblins you can with the most powerful bow you possess, and make sure to get the one that’s stood on top of the fallen tree, as he can sound a horn and have reinforcements arrive.
A stealthy approach is all well and good, but if you do need to fight up close and personal with the Bokoblins, make sure to utilise your arrows and bomb runes, great for knocking over any powerful enemies. Bear in mind that the One-Hit Obliterator does exactly what it says on the tin, so whenever you see a quick opening in a combat encounter with any enemy, make sure to strike them down swiftly with the unique weapon.
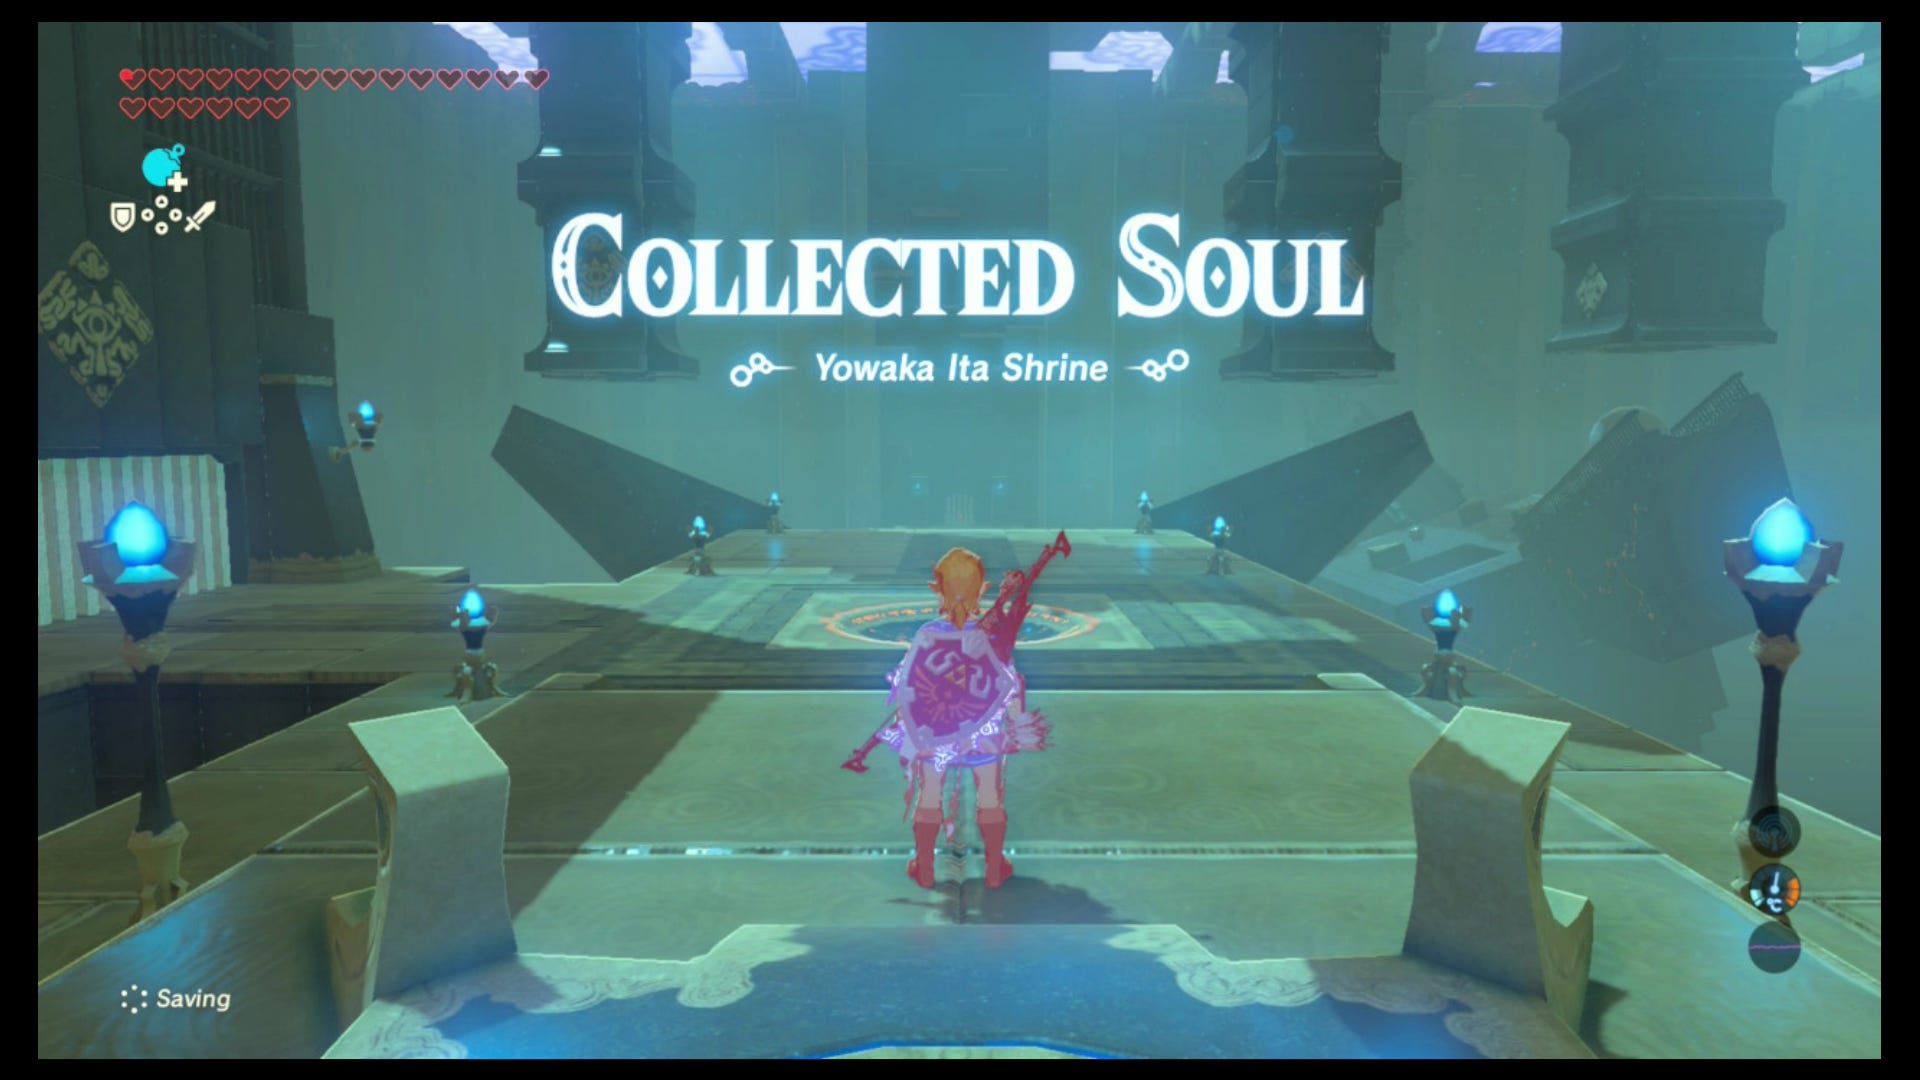
How to Beat Yowaka Ita, Collected Soul Shrine Guide
Once you’ve cleared out the camp of Bokoblins, a brand new Shrine will appear out of the ground, named the Yowakita Ita/Collected Soul Shrine. To beat this challenge, you’ll have to carefully navigate your way to the lower level, taking care to avoid all the small rocks rolling by, as a hit from one of them will instantly kill Link.
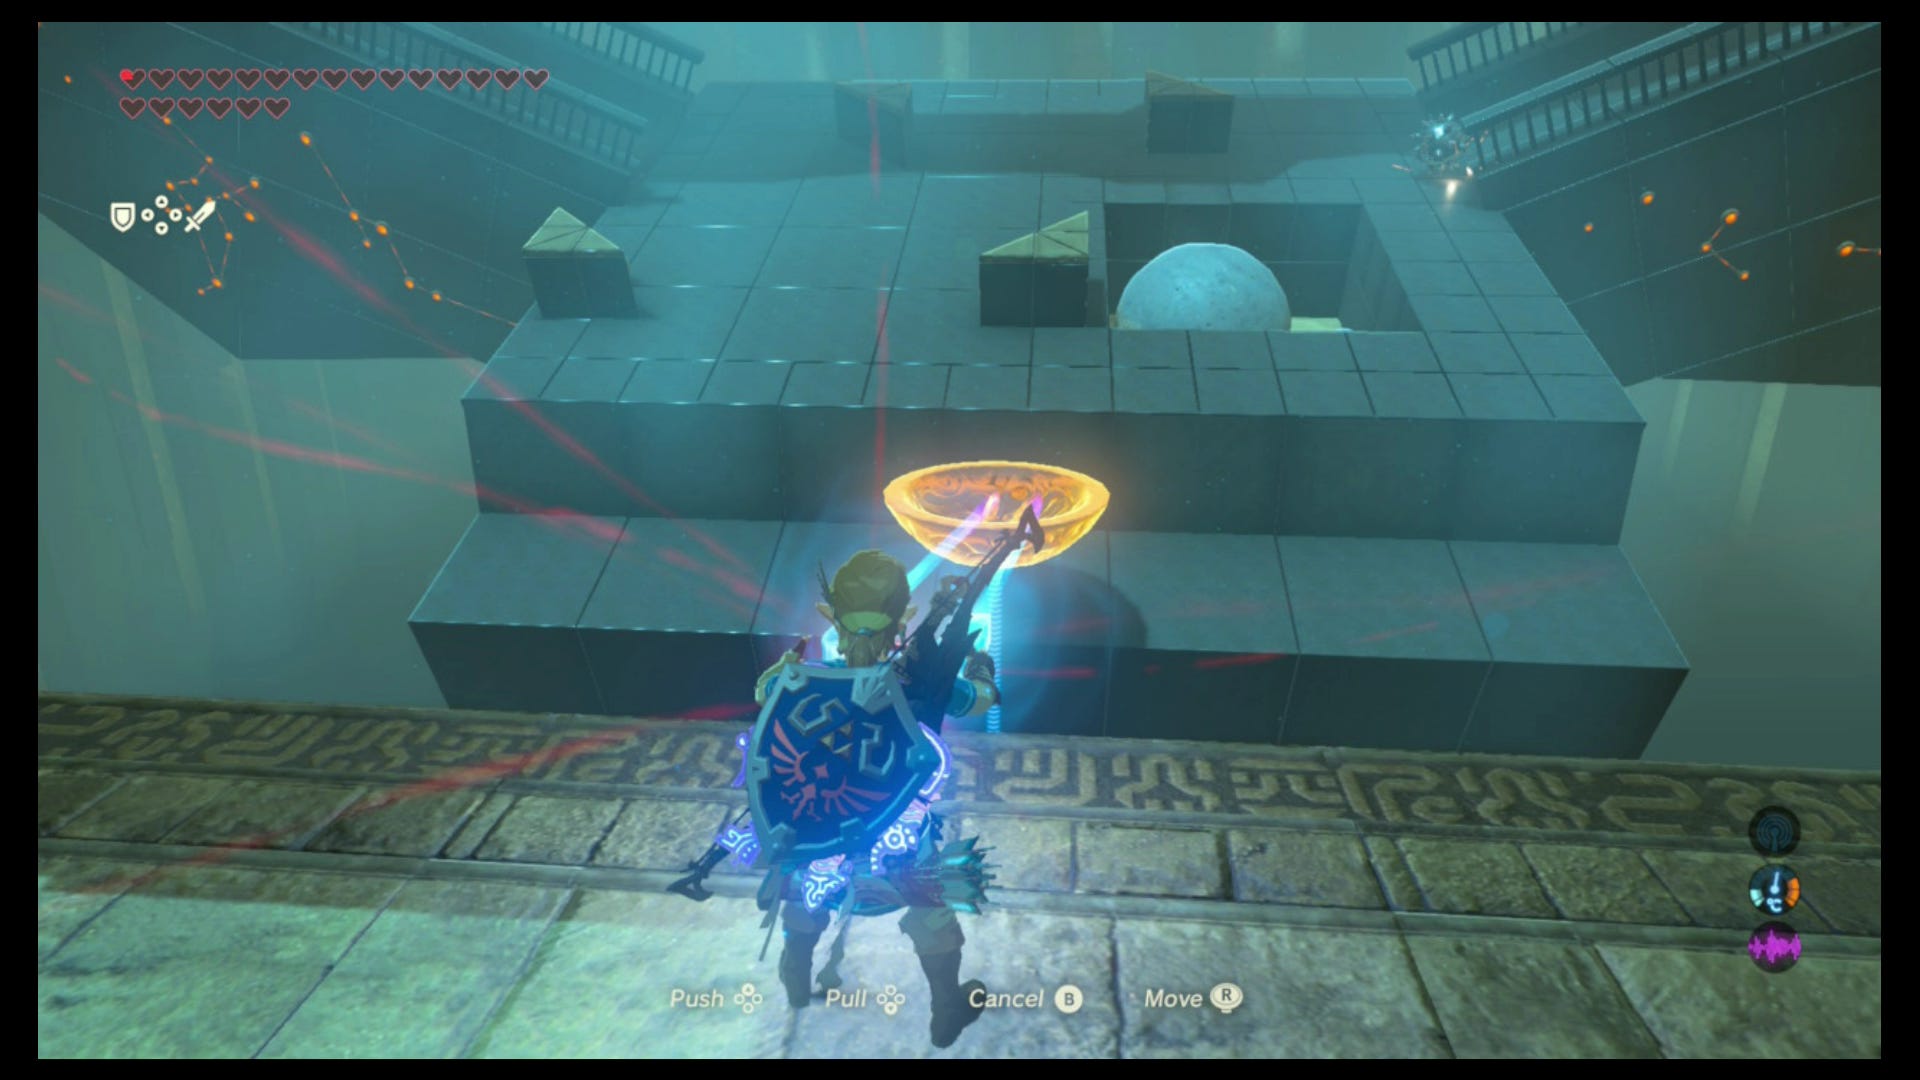
When you reach the lower level, with all the rocks falling downwards on your right, you want to pick up the large bowl with the Magnesis rune, and hold it out across the gap to where the rocks are falling. You have two options here: either retrieve the large Sheikah orb to open the gate nearest you, and collect the Phrenic Bow within the chest there, or collect the smaller Sheikah orb to complete the Shrine and obtain a Spirit Orb.
Either way, you’ll need to eventually catch the smaller Sheikah orb in the bowl, and then gently bring it back over to solid ground where Link’s standing, taking care not to rock the bowl and letting the orb fall out. When the bowl is on solid ground, run over to it and pick up the orb, and now make your way back to the entrance of the Shrine, avoiding all the rocks rolling downhill as you go(we’d recommend sticking to the right side of the pathway).
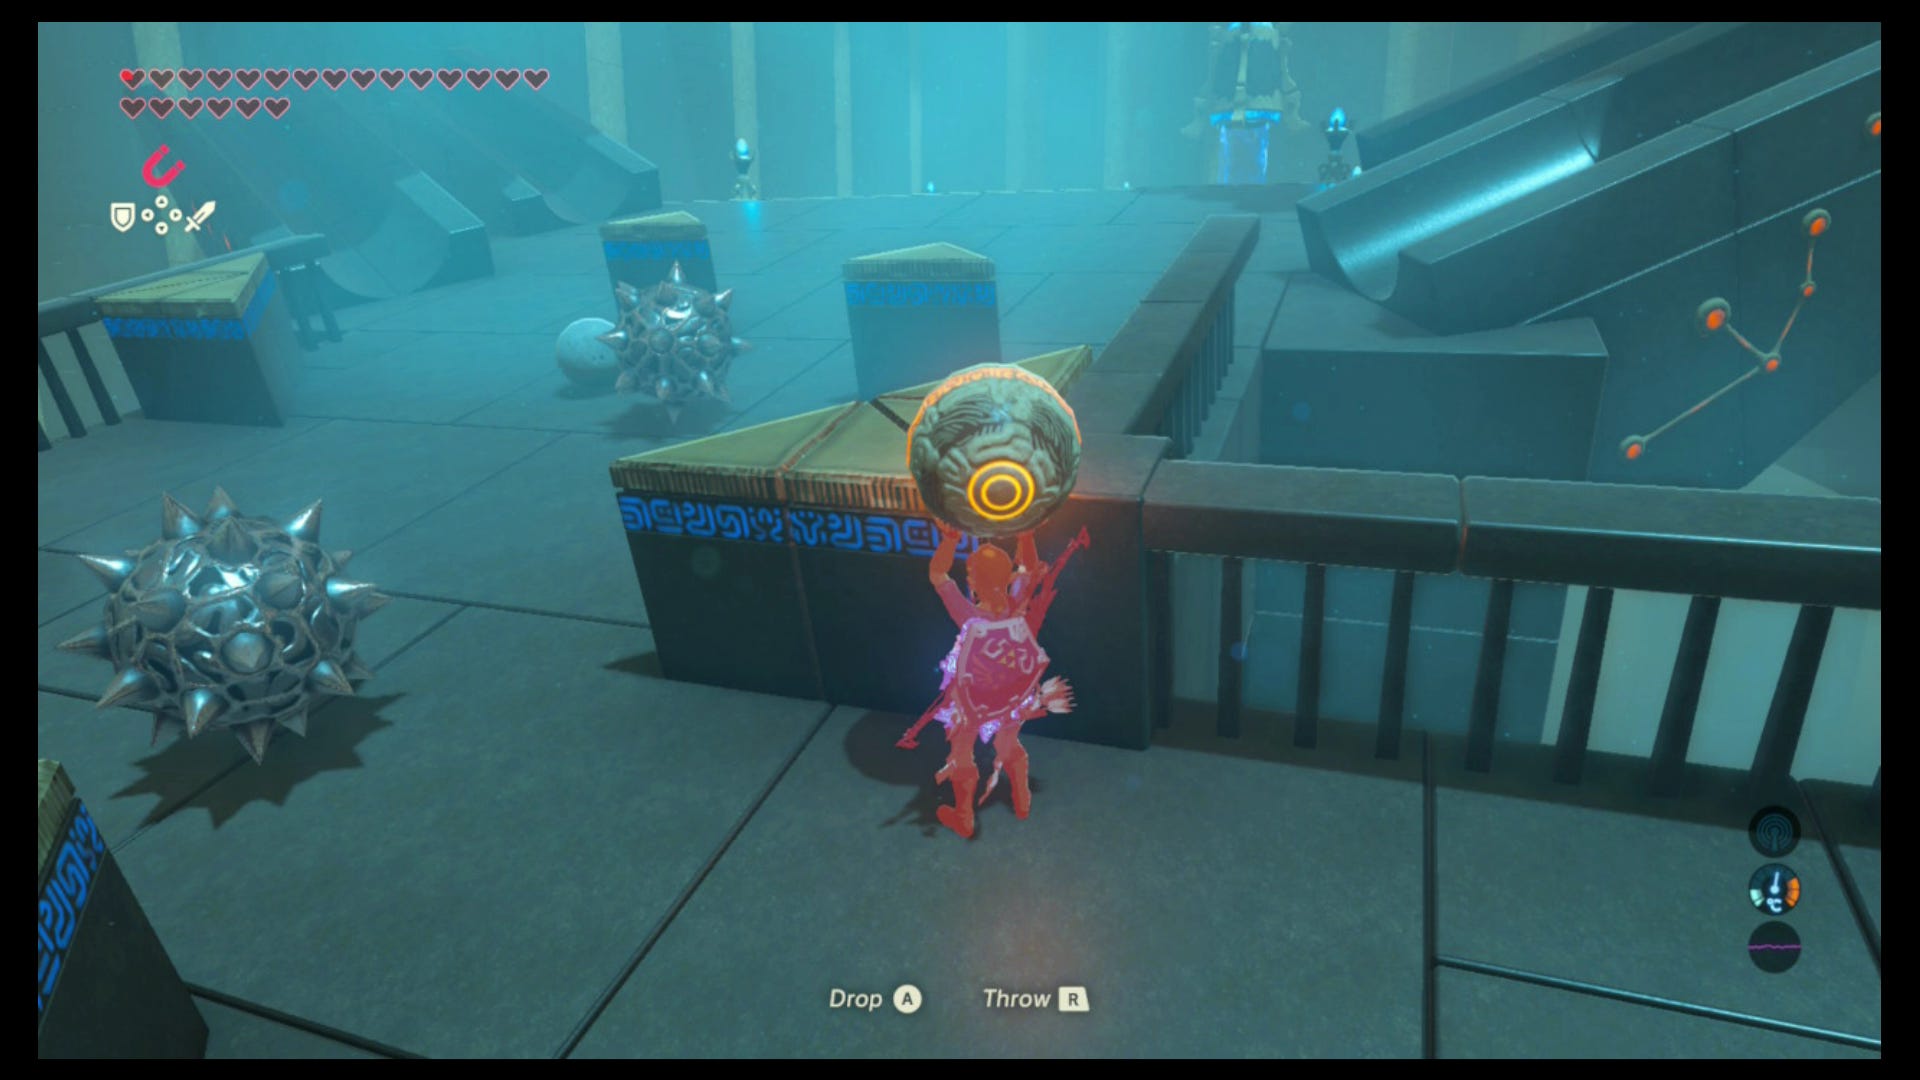
Once you’re past the obstacle course with the rocks, simply deposit the Sheikah orb into the hole in the ground, which will unlock the nearby gate, allowing you to collect the Spirit Orb and complete the Collected Soul Shrine.
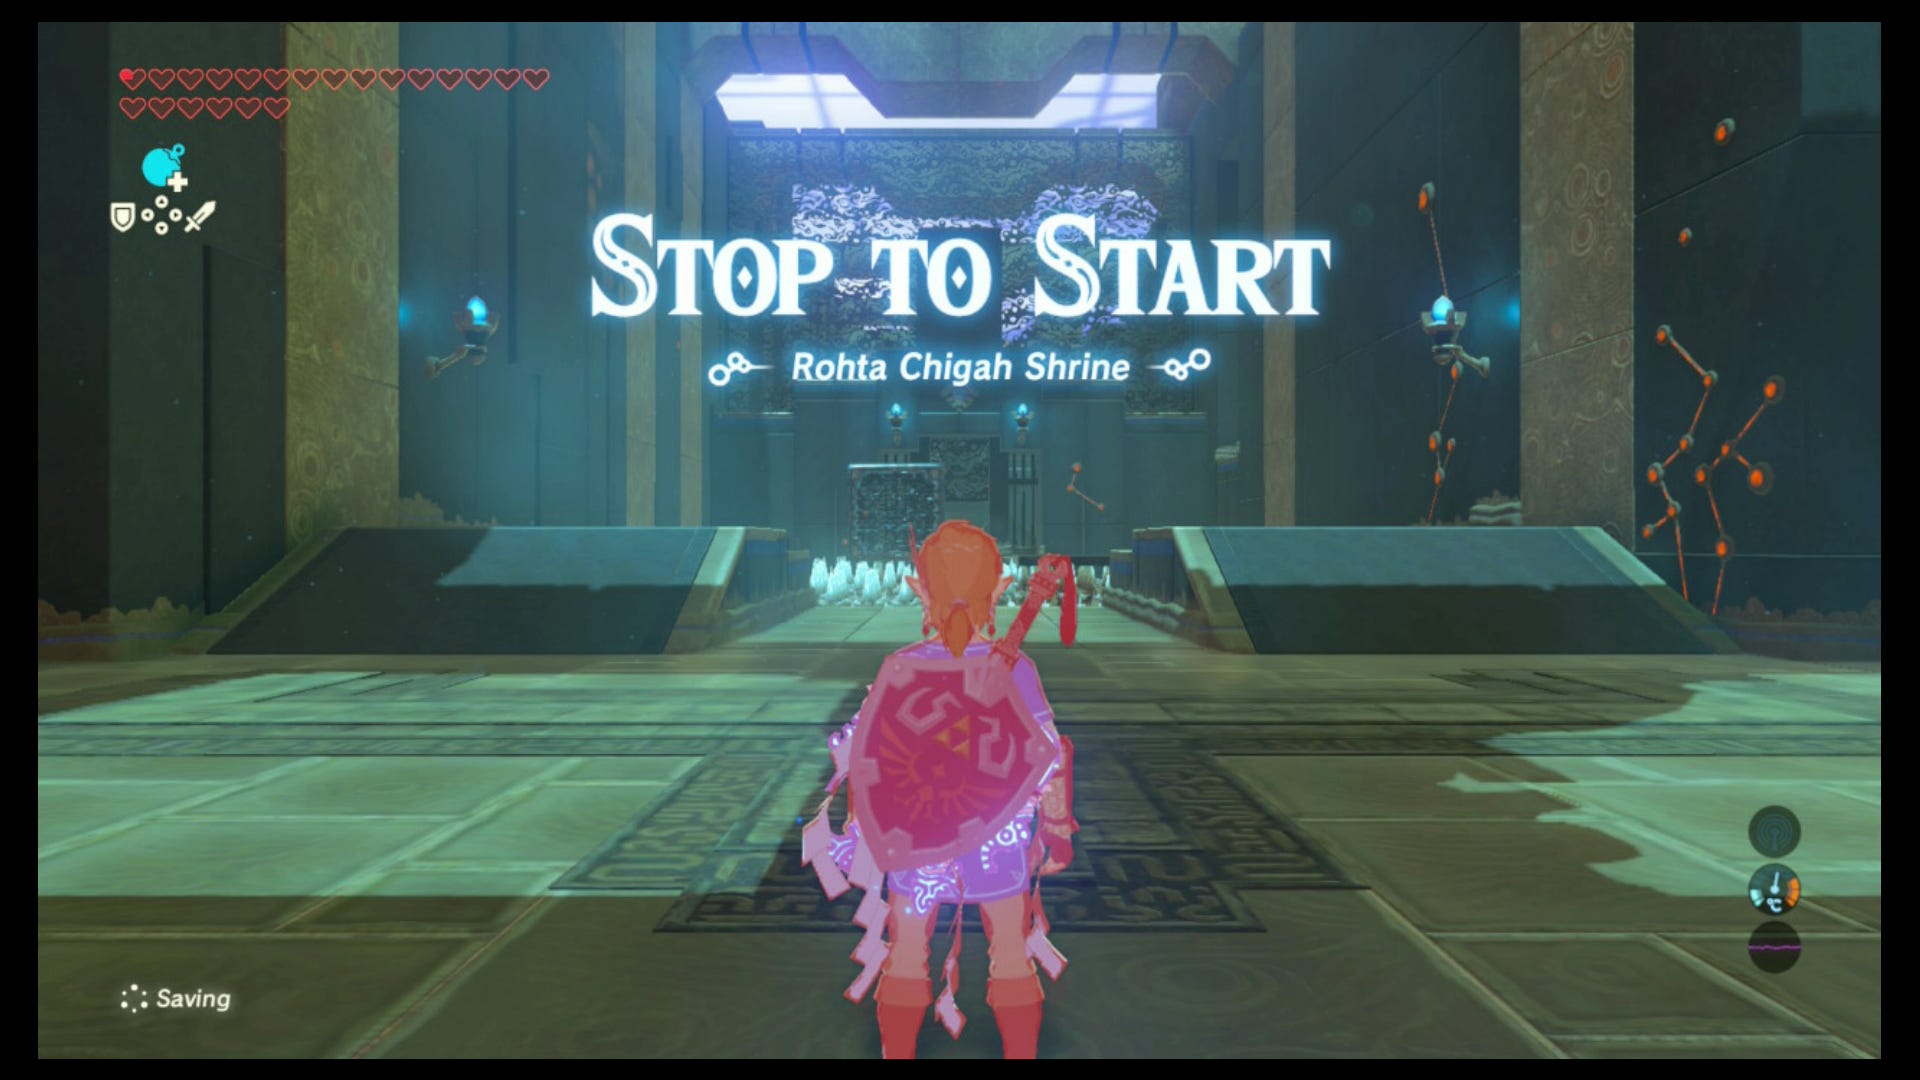
How to Beat Rohta Chigah, Stop to Start Shrine Guide
You’ll uncover the Rohta Chigah Shrine after you’ve successfully taken down the Lizalfos to the south east of The Great Plateau Tower. This Shrine is quite a tricky one to complete, and you’ll need to utilise your Magnesis rune once again to guide Link safely through.
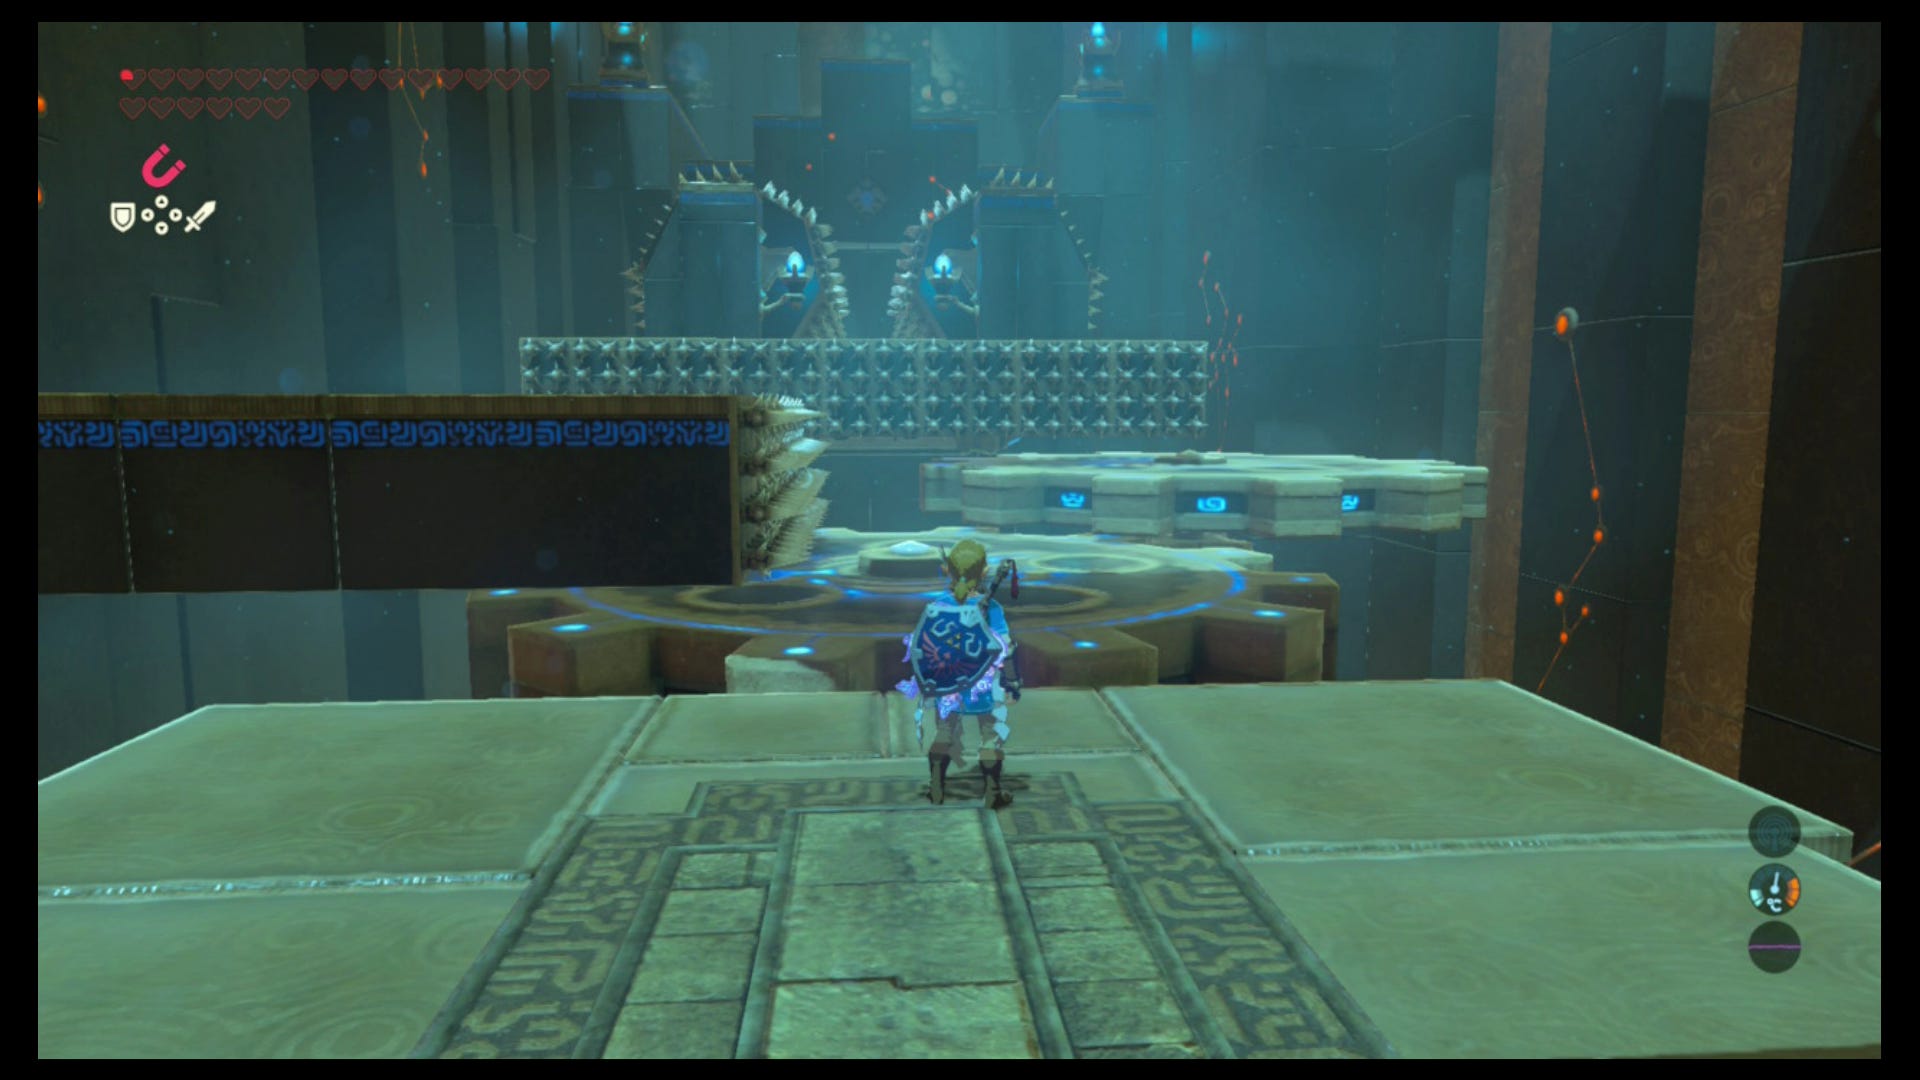
First of all, when you’re facing the spikes in the ground, look to your left to see a platform that you can move with the Magnesis rune. Move this to form a pathway to the long platform going over the spikes on the right. When you’re on the long platform, simply move the first, smaller platform once again using the Magnesis rune to form a path leading to the doorway at the end.
In the second section of the Shrine, you’ll have to very carefully (and quickly) make your way across a series of moving platforms, taking care not to let Link get sucked into the spikes that are waiting for him at every turn. You don’t necessarily have to run through this section, but you do always have to be moving in the opposite direction to the way the platform you’re stood on is moving. Since every platform will be moving in the direction of the spike traps in the area, you’ll need to always move against the flow.
With the third task for the Rohta Chigah Shrine, you’ll have to stop any one of the swinging balls with the Stasis rune, and then time your glide perfectly to the platform at the other end of the area. One false move and Link is done for, and remember that if you fall to any one of these tasks in the Stop to Start Shrine, you’ll have to start all the way from the beginning again.

For the final part of the Shrine, you’ll have to paraglide down to where the button on the ground is, and step on it to activate the final challenge. In this section, Link will have to literally run for his life against a wall of spikes that are hot on his heels, while also navigating his way around rows of spikes that move in from either side. We should note that the spikes will always move when you’re at least a few meters away from them, so don’t worry about any of them suddenly moving in and catching Link from the side. There’s one part where you’ll have to climb up the block of spikes to your right, but apart from that, this area is fairly straightforward.
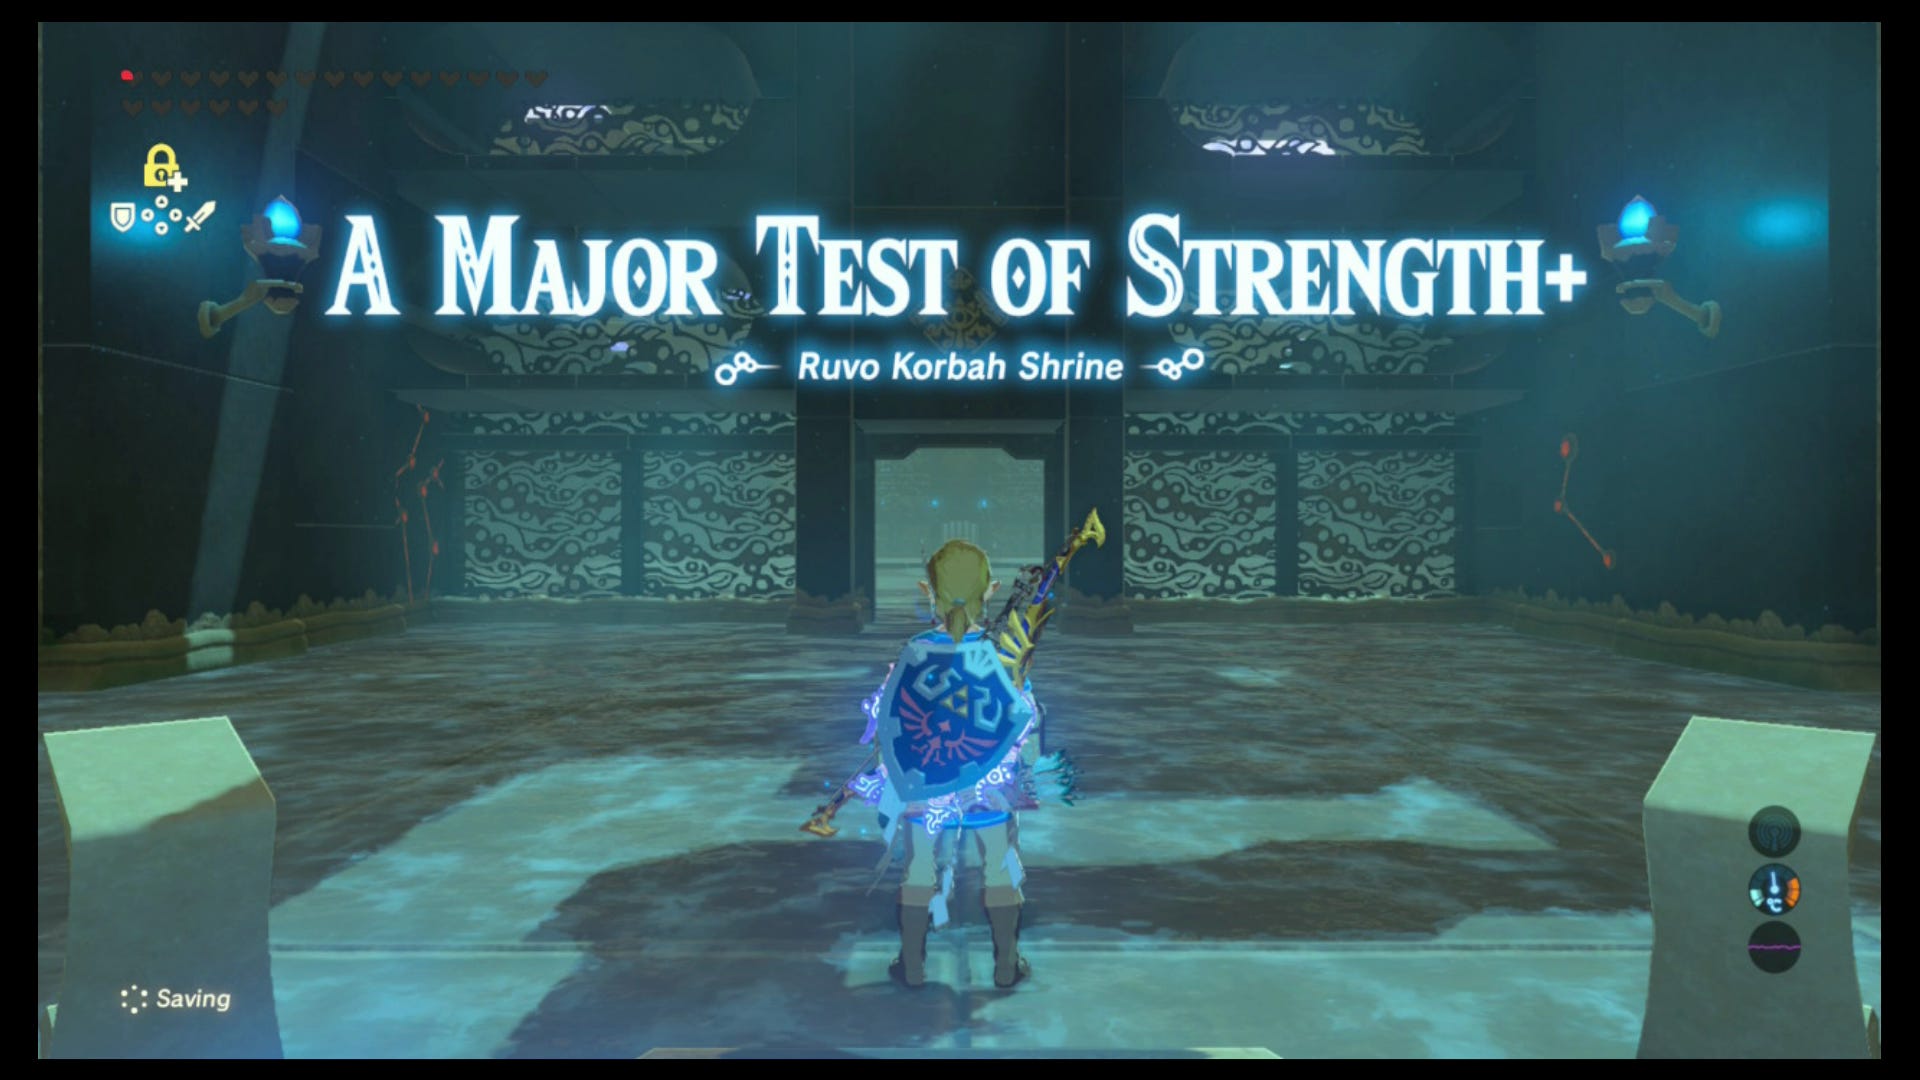
How to Beat Ruvo Korbah, A Major Test of Strength Shrine
Gaining access to the Ruvo Korbah Shrine, located just south of the Temple of Time, is actually a fairly easy job. Make sure you’ve got a decent bow equipped, as well as some standard/fire/electric arrows, and pick off the Lizalfos and Bokoblins from afar. When the massive Moblin gets involved, remember to shoot it in the head to stun it, and then run up to it and quickly finish it off with the One-Hit Obliterator.
As for the Ruvo Korbah Shrine itself, this is one massive gauntlet of combat against Link, so equip your best shield, and venture forth. This Shrine is fairly self explanatory, you’ll have to firstly take out the Guardian, followed by stepping on a plate to reveal the lower area of the Shrine, and then defeat every Guardian on your way to obtaining the Spirit Orb at the end.
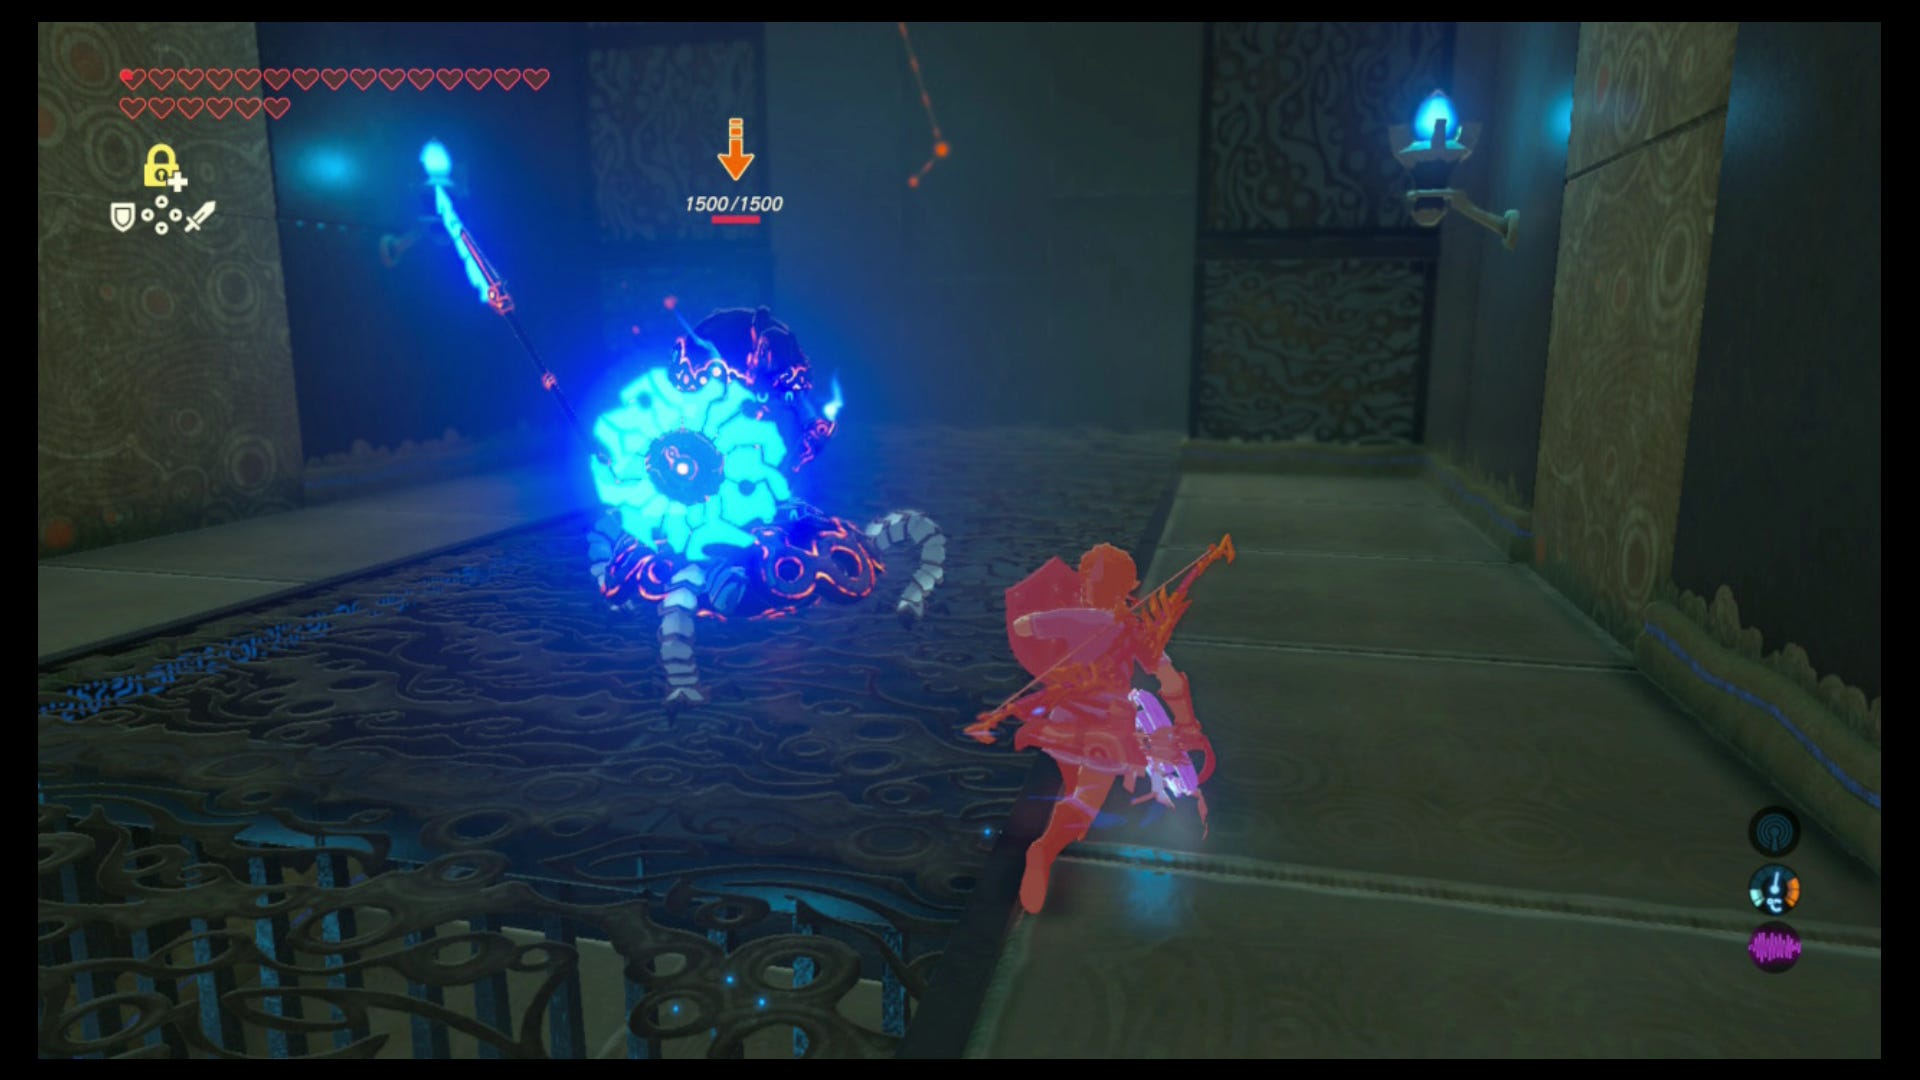
It’s the combat itself that’s the problem, since Link can’t take a single hit, and there will be multiple occasions where you’ll have to fend off multiple Guardians. It’s essential that you use cover to your advantage while in the Ruva Korbah Shrine, shielding yourself from incoming Guardian projectiles, and making sure to have your shield up at all times while advancing towards a Guardian, closing in for the kill with the One-Hit Obliterator.
The final area after you’ve obtained the Small Key is the hardest of all, as you’re faced with four Guardians at once. Use arrows to take out the two weaker Guardians while hiding behind cover, and then time a run so that you can take out the Guardian on the left with a single hit, before running into cover and advancing on the final, central Guardian. Once you’ve taken out all the Guardians in this area, the Spirit Orb is yours to claim.
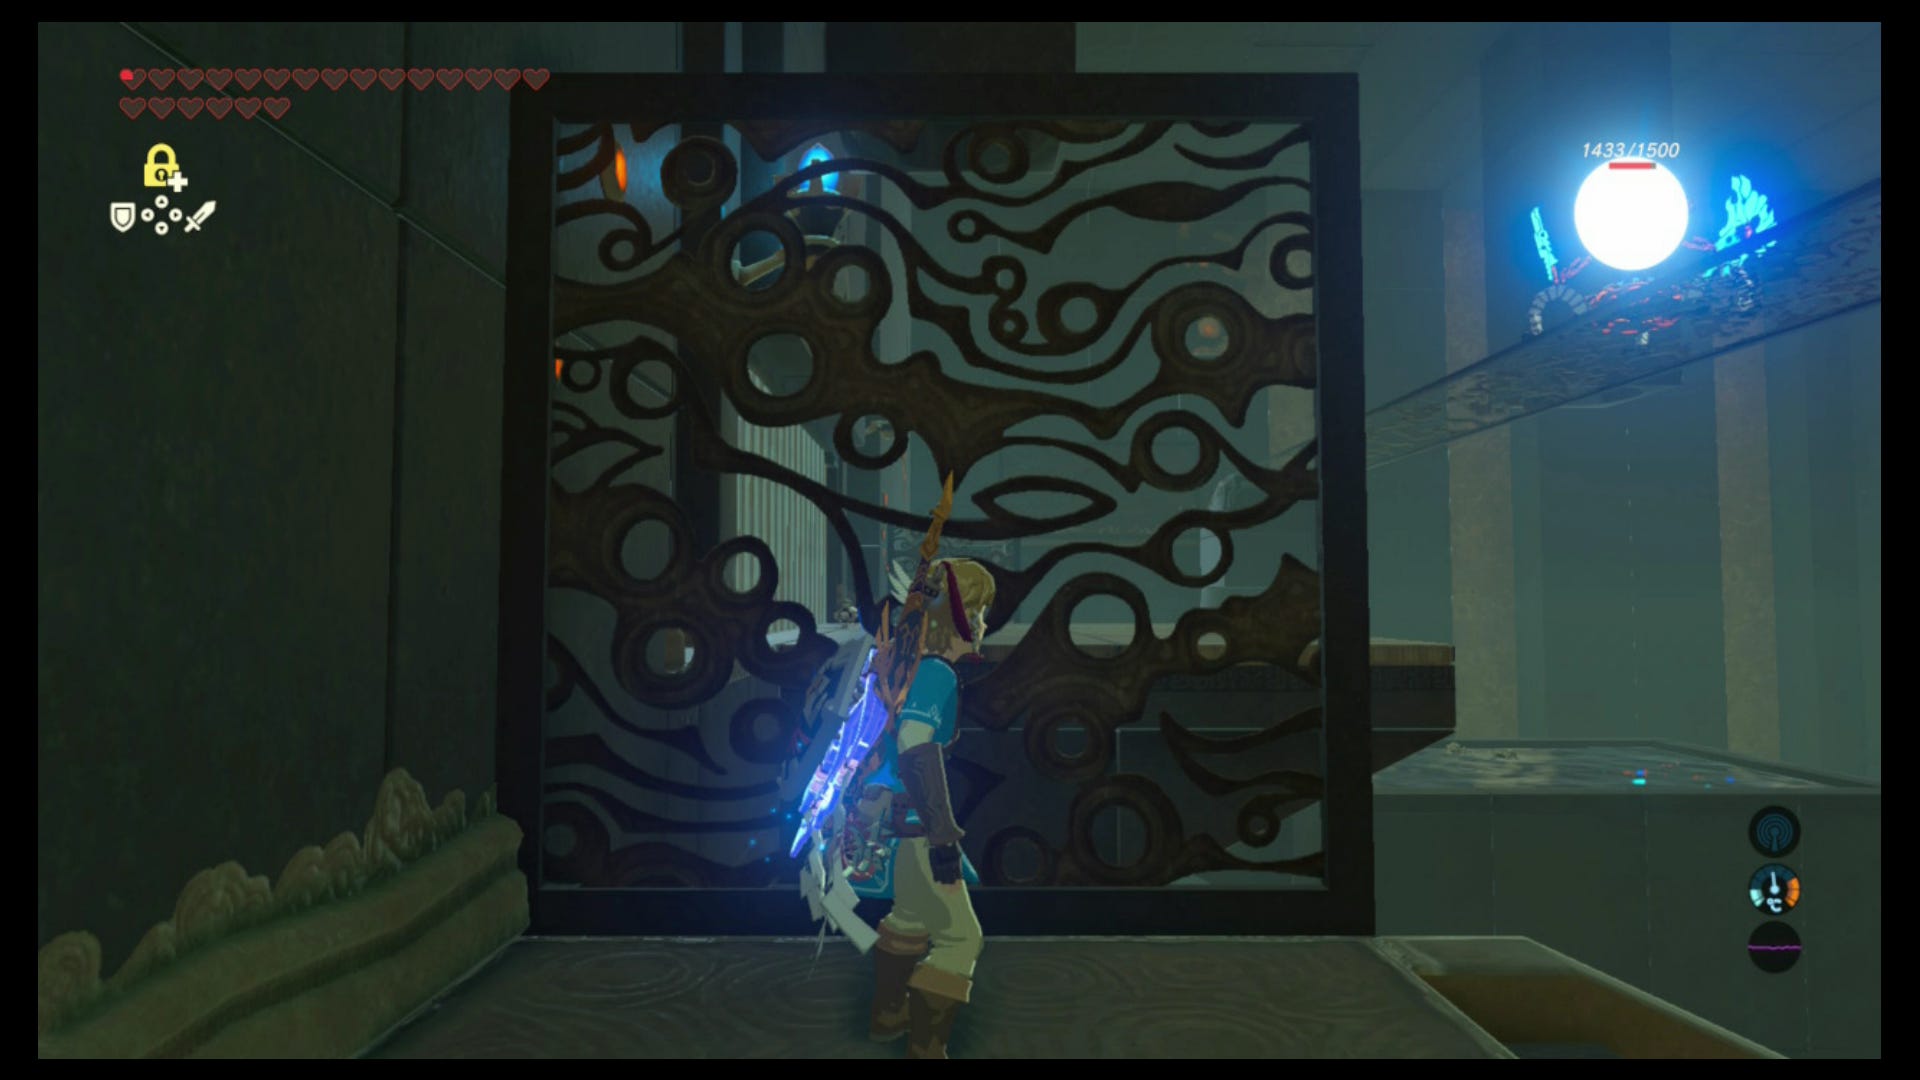
How to Beat Estu Korima, Path of Light Shrine
This final Shrine, located in the mountain peak of The Great Plateau, is a hard one to even uncover. You’ll have to fight your way through Moblins, Bokoblins, Wizzrobes, and Keese just to uncover the Estu Korima Shrine. As always, try to pick off each enemy from afar with a powerful bow, and if any of them get too close, you could always freeze them with an Ice arrow and run in for the kill.
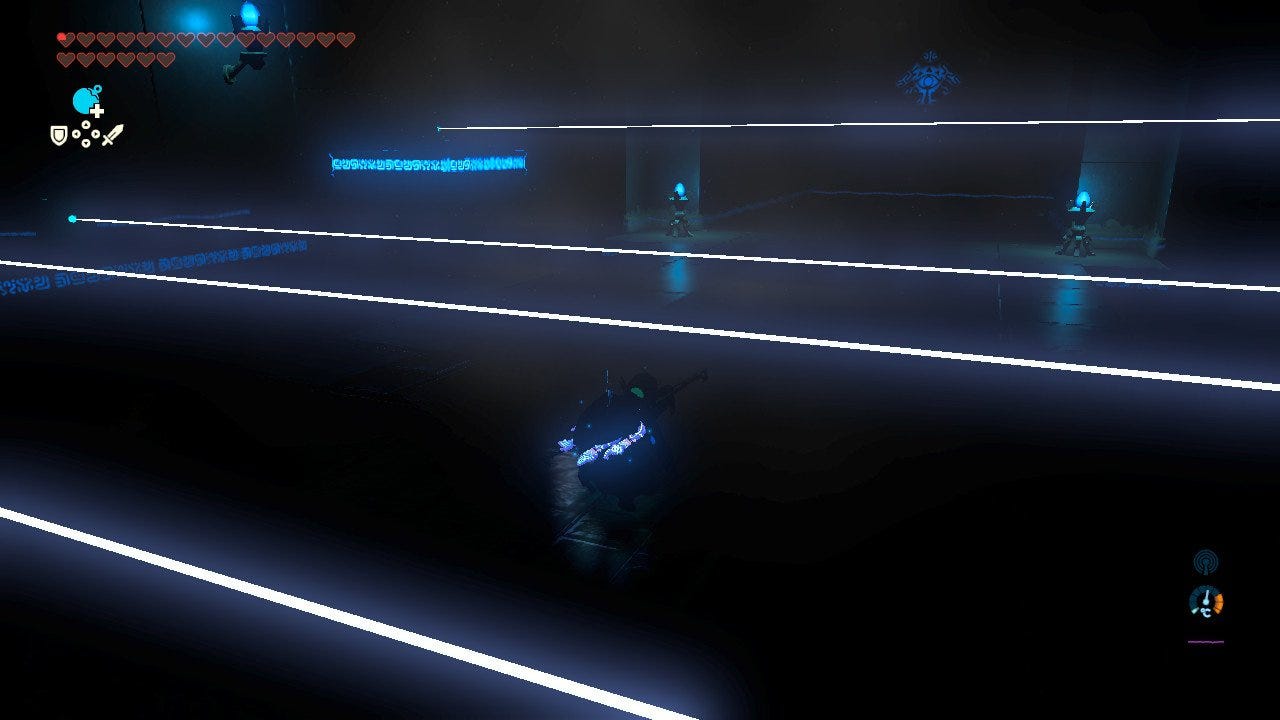
In the Estu Korima/Path of Light Shrine itself, you'll have to carefull navigate your way around various traps, with only the light of the nearby torches to guide yourself. Firstly, make your way in between the laser beams, then duck down and weave under the next set, and then wait until the final, moving laser is above Link and then run underneath it.
Next up, you'll have to spot the patterns of the flames spurting from the floor, and make your way through the traps. You can spot when a flame is about to activate by the sparks that the traps give off momentarily before shooting up, so use this to study the patterns of the traps, and then race through them.
Finally, Link will be attacked by three lesser Guardians, but you can take them out swiftly using arrows, and then simply follow their wreckages to reach the end of the area. From here, it's just a short run to the end of the Etsu Korima Shrine, and the Spirit Orb that awaits Link.
This brings to a close our guide on how to take down all the Shrines in the Champions’ Ballad DLC Pack 2 quest, but make sure to keep an eye on on our guides for the expansion, as we'll be updating them over the coming week.