Destiny 2 PC: here's everything the settings menu has to offer


Destiny 2 on PC offers players a wide range of customisable graphics, rendering, gameplay, and accessibility options.
The PC version of Destiny 2, which only just went live worldwide, includes multiple settings menus. Much like the impressive beta, this launch build includes many essential PC features.
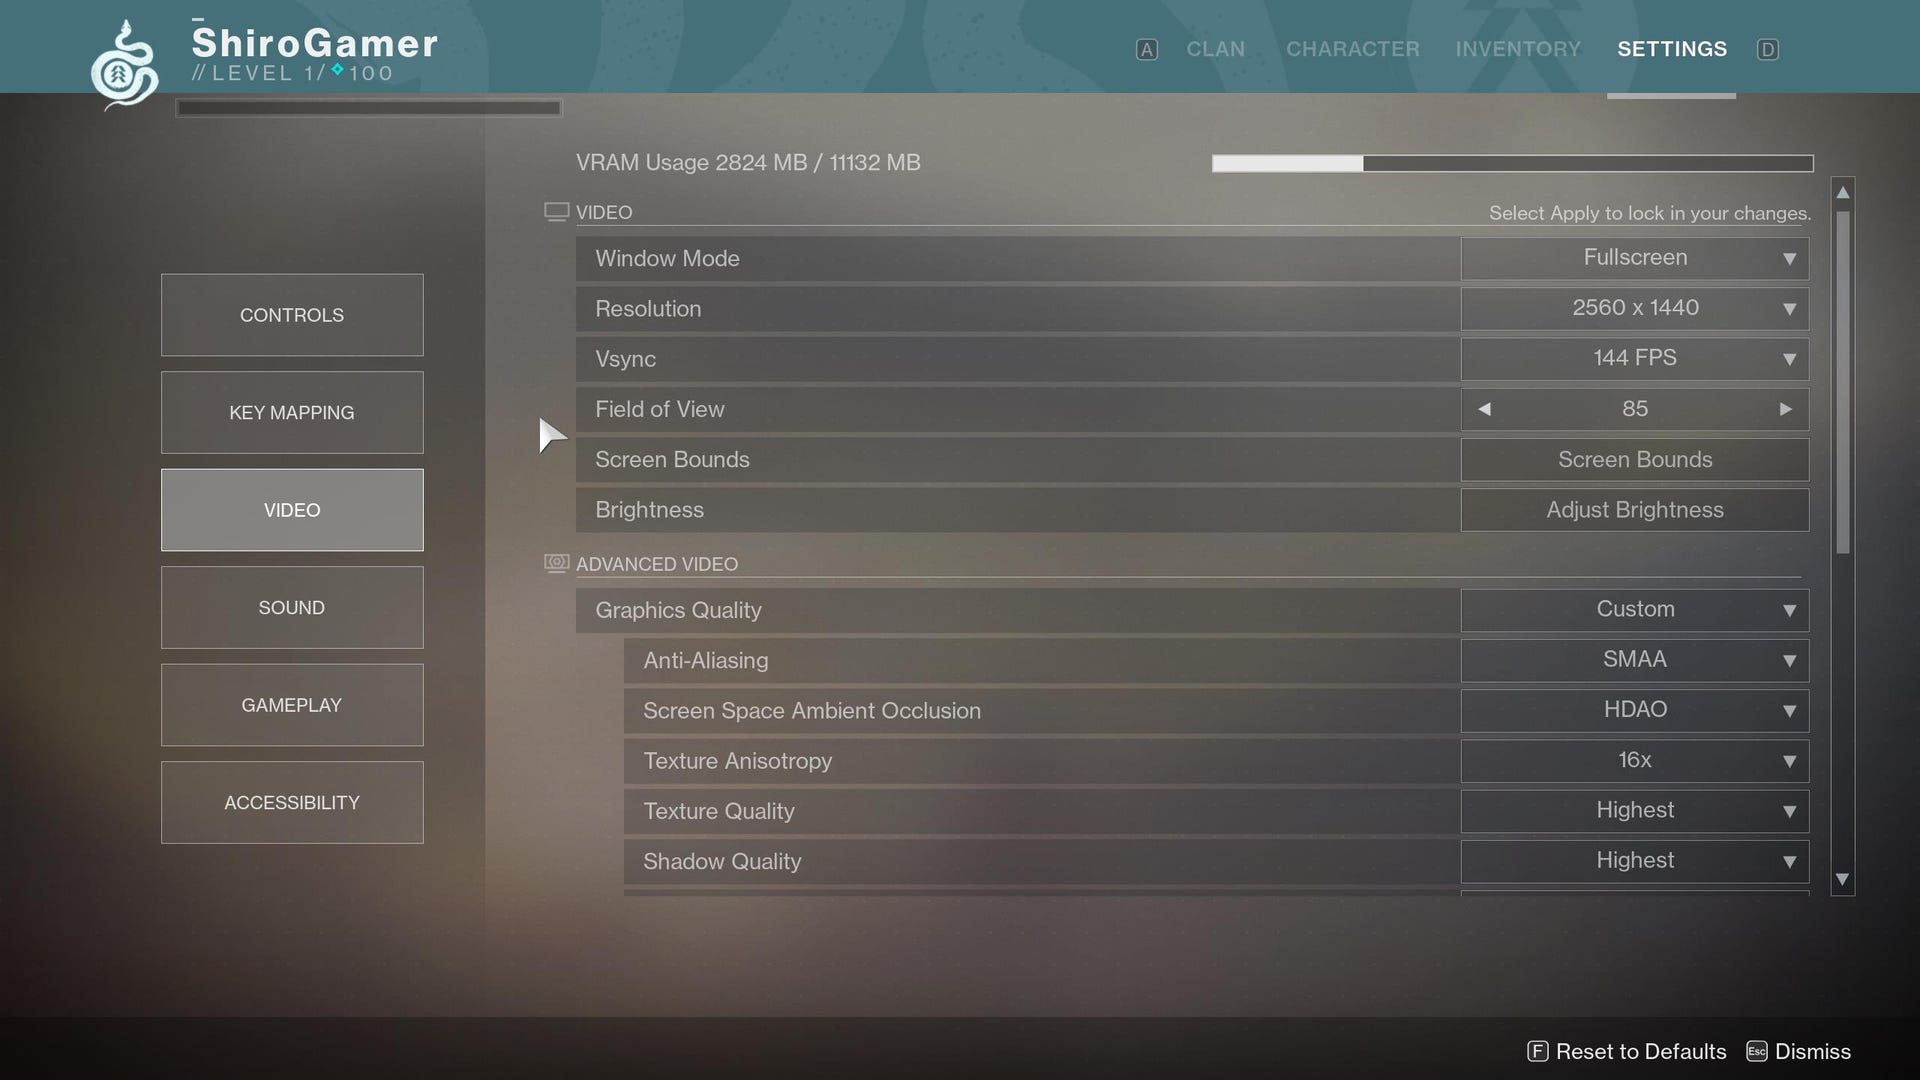
You won't have access to all options when you first launch the game, though. What you will have is the ability to set a resolution, the type of window mode (Fullscreen, Windowed, Borderlesss Windowed, Windowed Fullscreen), screen bounds, and game brightness.
As you take control after the opening cut-scenes finish, you'll be given access to the full options menu. Just hit escape and go to Settings. Starting off with the good stuff under Video, you have three separate sections: Video, Advanced Video, and Additional Video - crucially, this is where you can turn Vsync on or off, and set a field of view to your liking.
These are your graphics options:
- Anti-aliasing
- Ambient Occlusion
- Texture Anisotropy (AF)
- Texture Quality
- Shadow Quality
- Depth of Field
- Environmental Detail Distance
- Character Detail Distance
- Foliage Detail Distance
- Foliage Shadow Distance
- Light Shafts
- Motion Blur
- Wind Impulse
- High Dynamic Range (HDR)
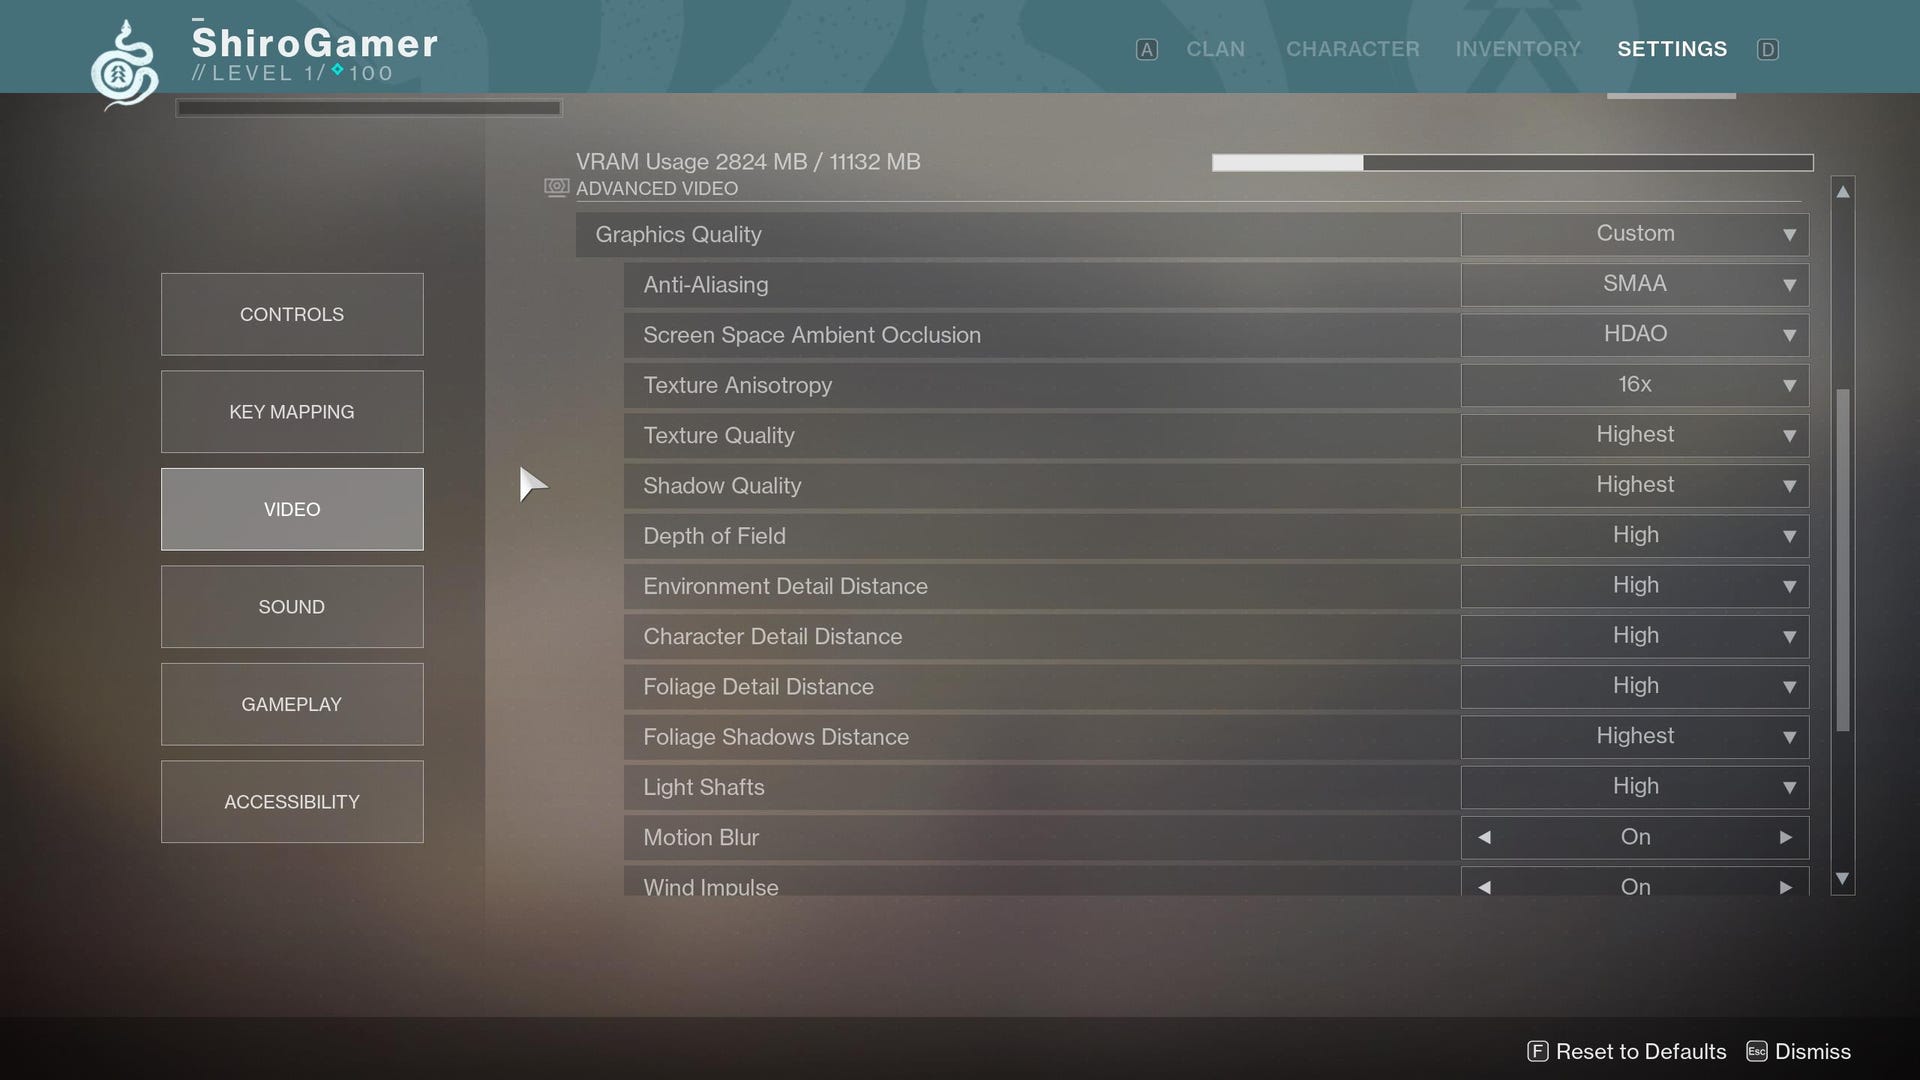
You'll notice that HDR is a feature in the final release, unlike the beta. For AA, the MSAA option will no longer be available. Instead, you'll be choosing between FXAA, and SMAA.
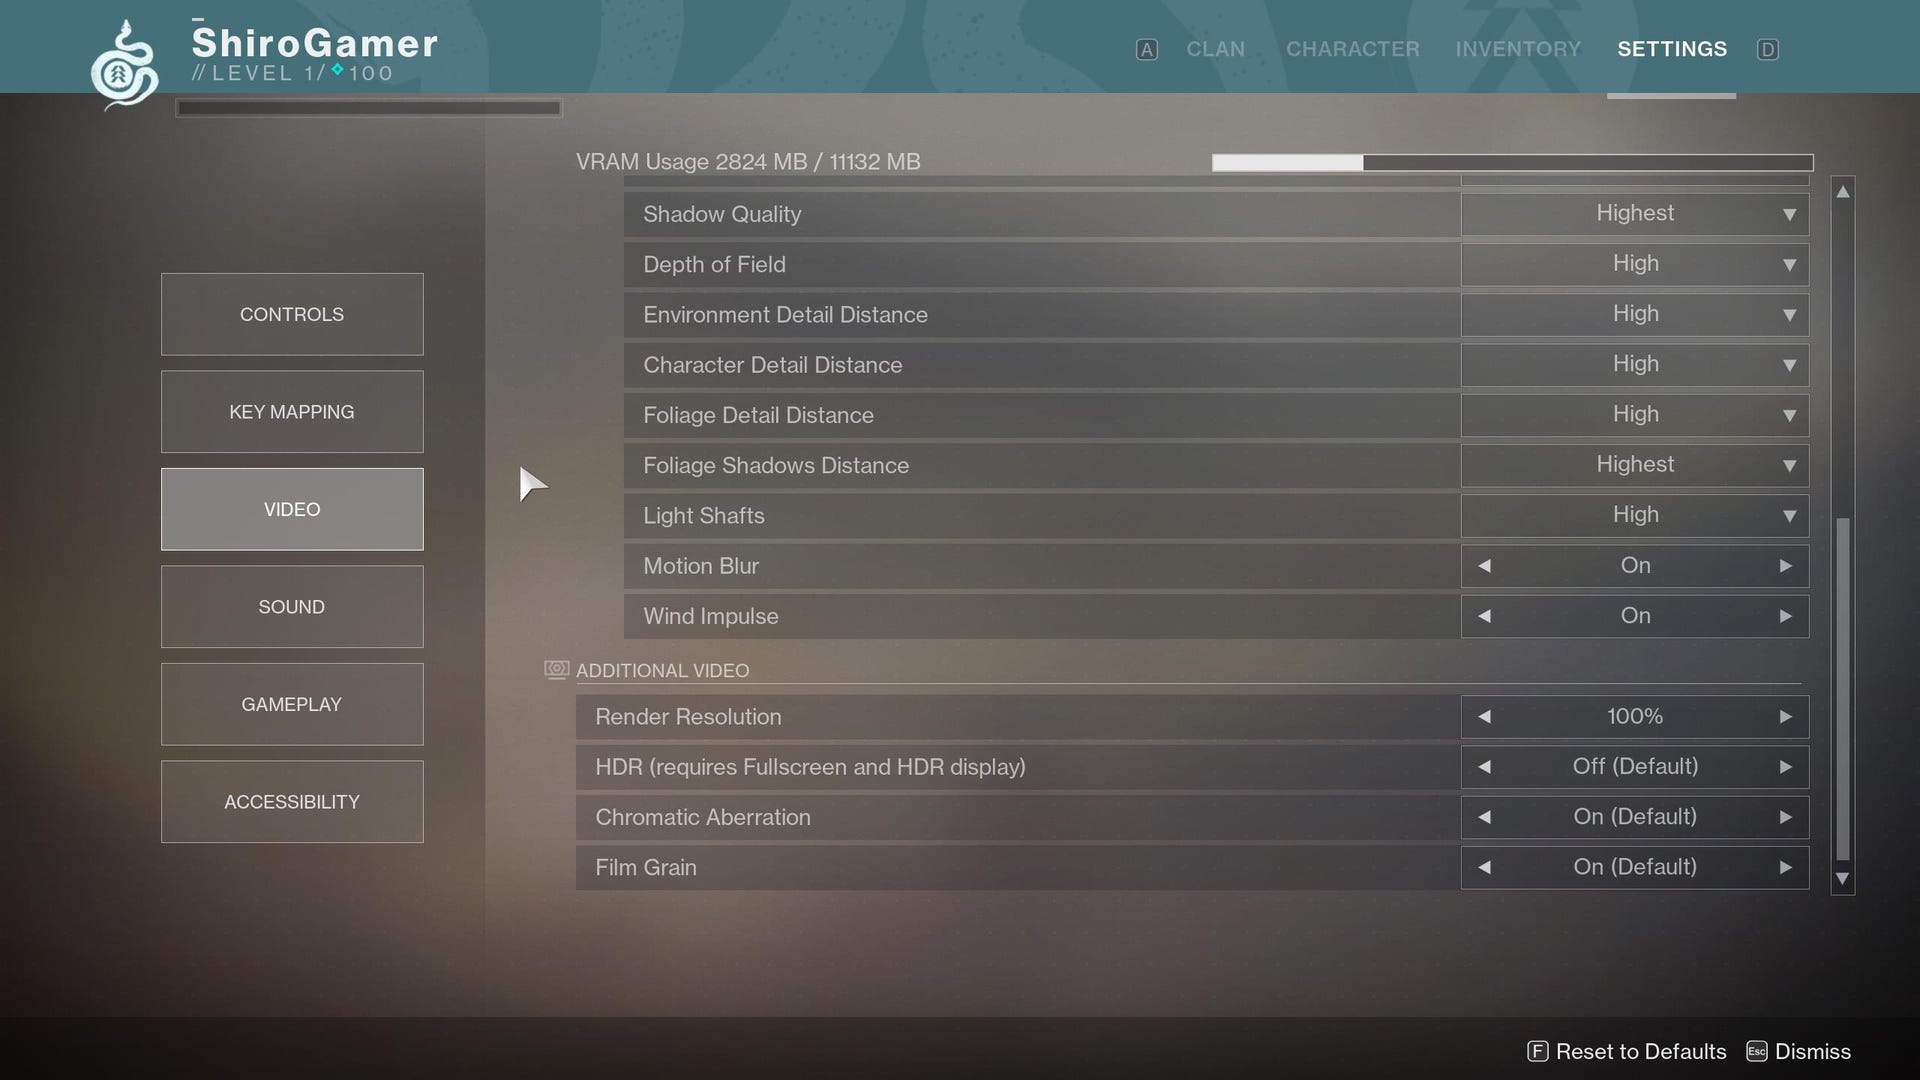
Under Additional Video, you'll see an option for supersampling, set to 100% by default. Going over that will result in a sharper, but more taxing image downsampled to your native resolution. Going below that will upscale the resolution from whatever value you set to your native resolution, helpful when running on old hardware.
Chromatic Aberration, and Film Grain can also be toggled on or off from the same menu.
The Controls menu is where you can adjust sensitivity for your mouse, and controller separately, turn aim assist on or off, vibration, and a few others controls-based options.

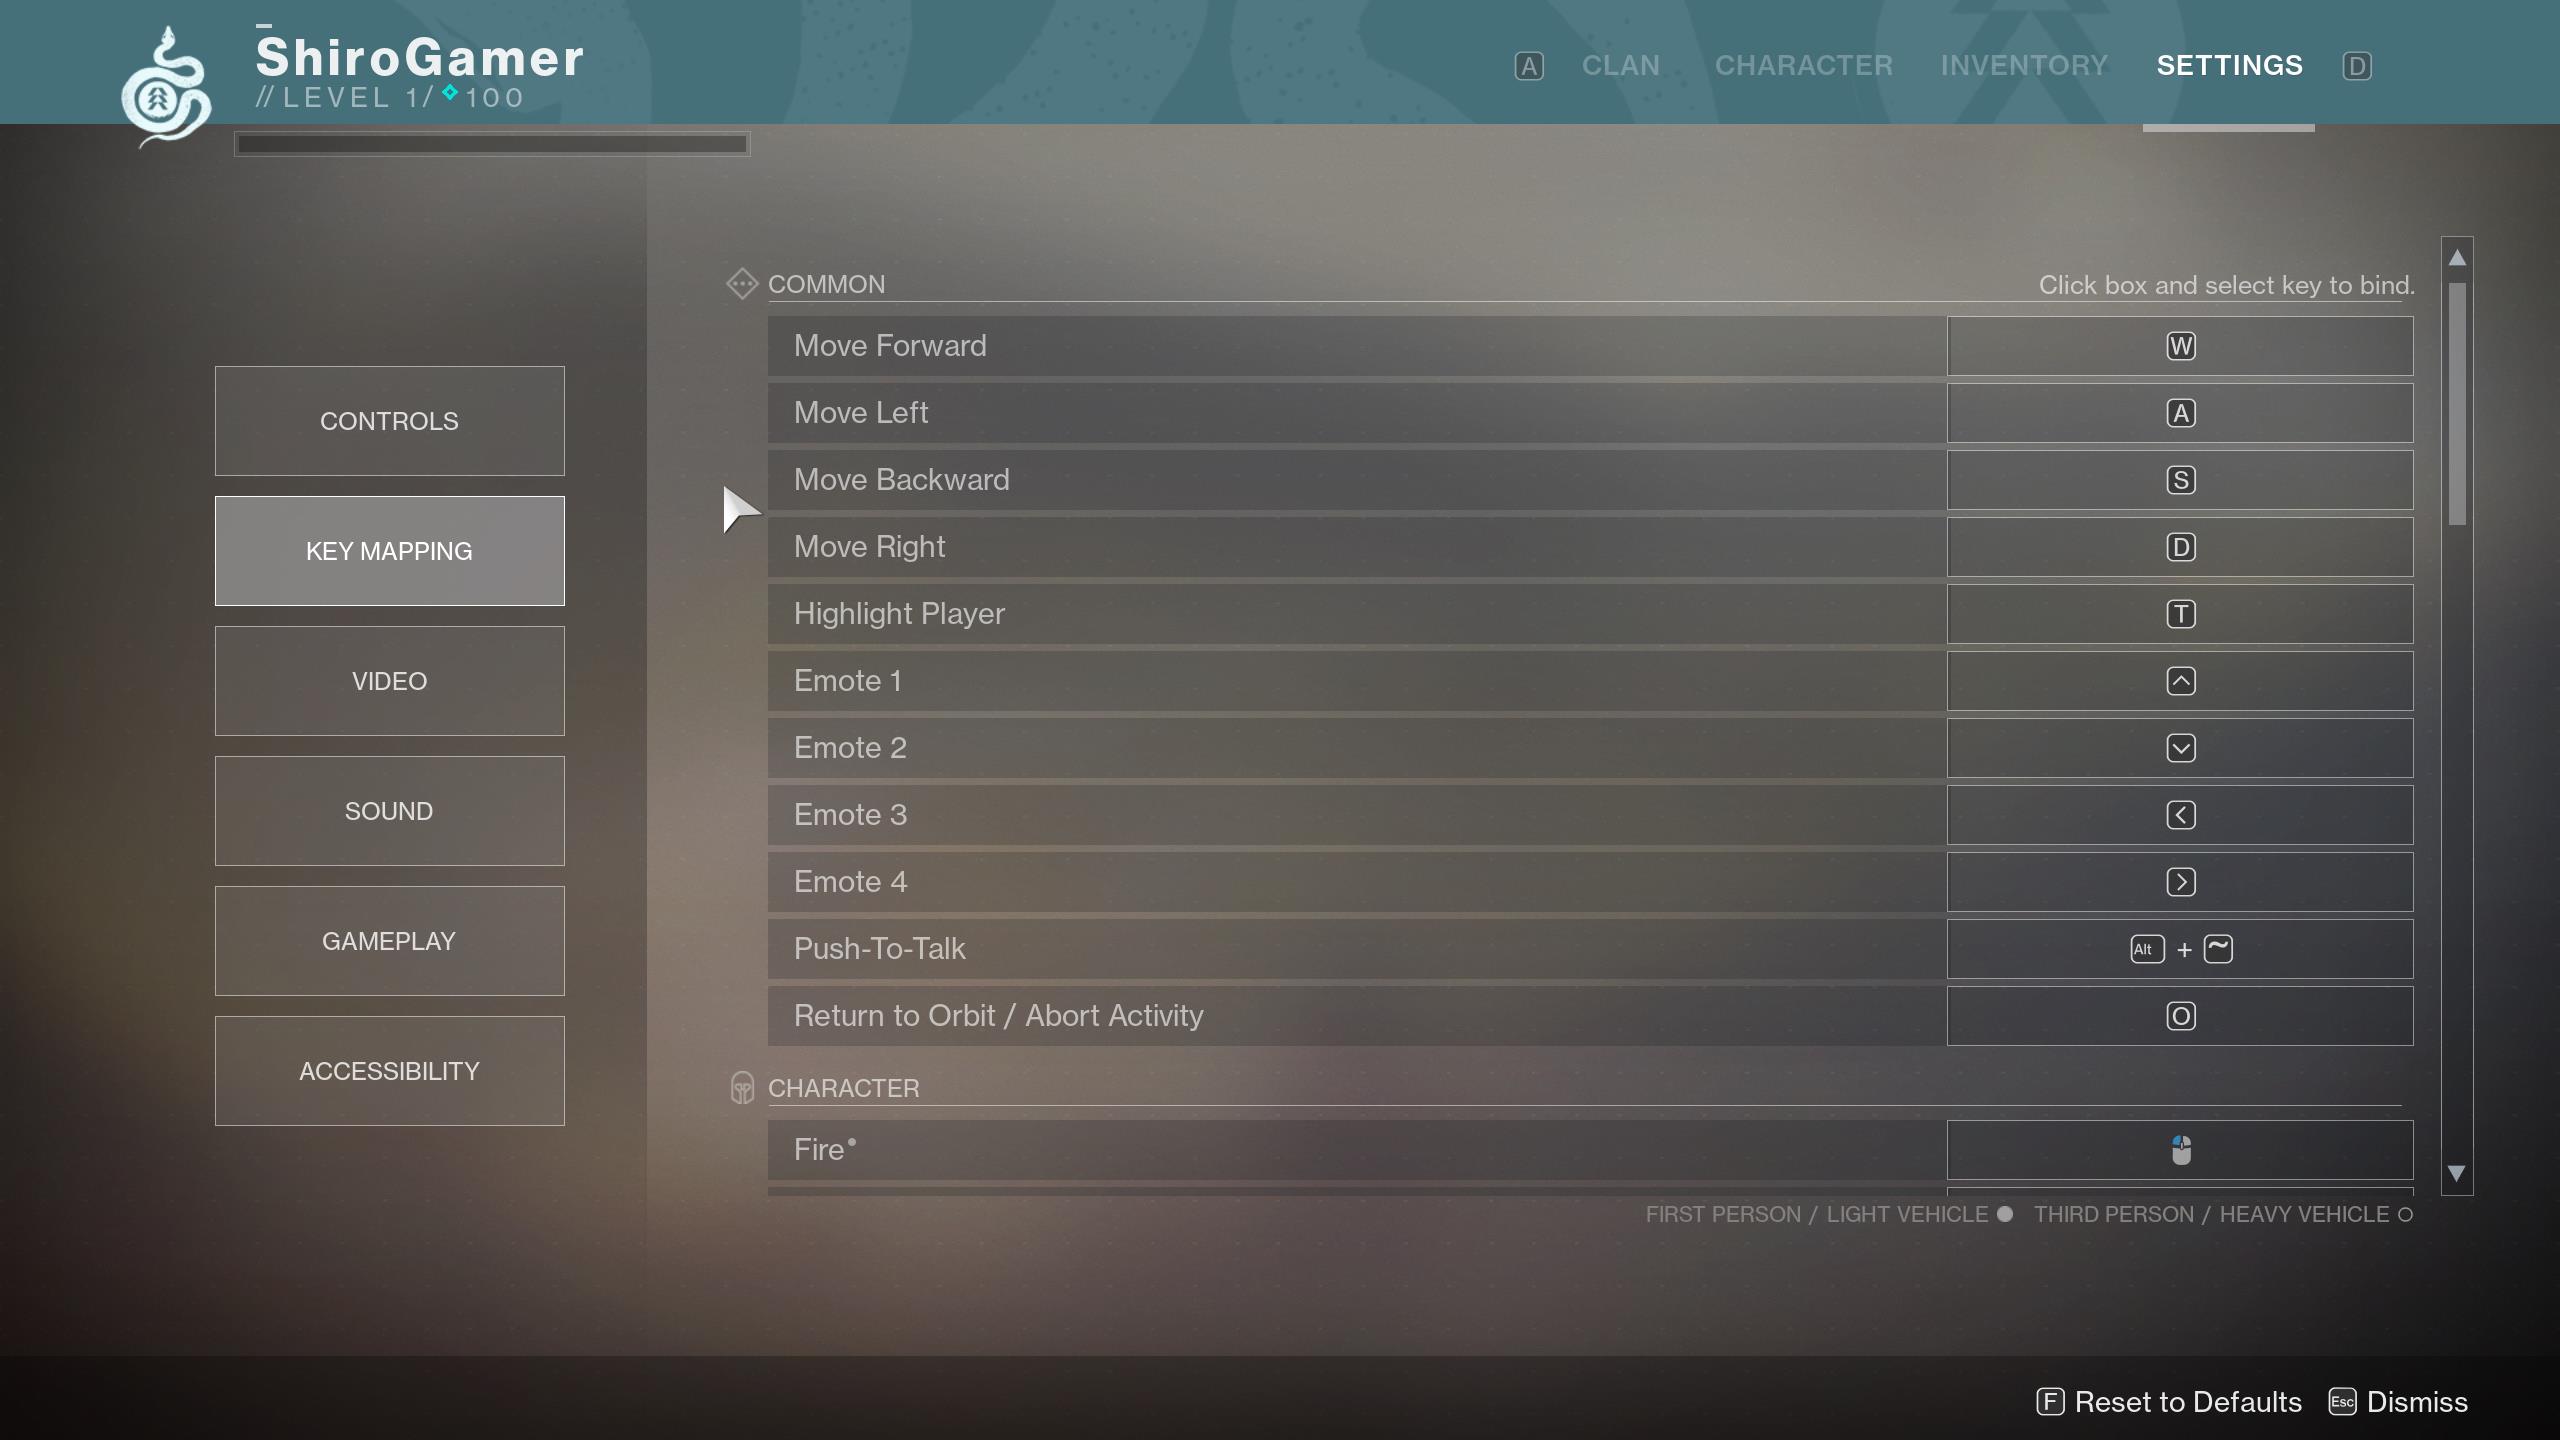
The aptly-named Key Mapping menu is where you do all your key bindings, with the ability to switch between toggle and hold for ADSing and sprinting.
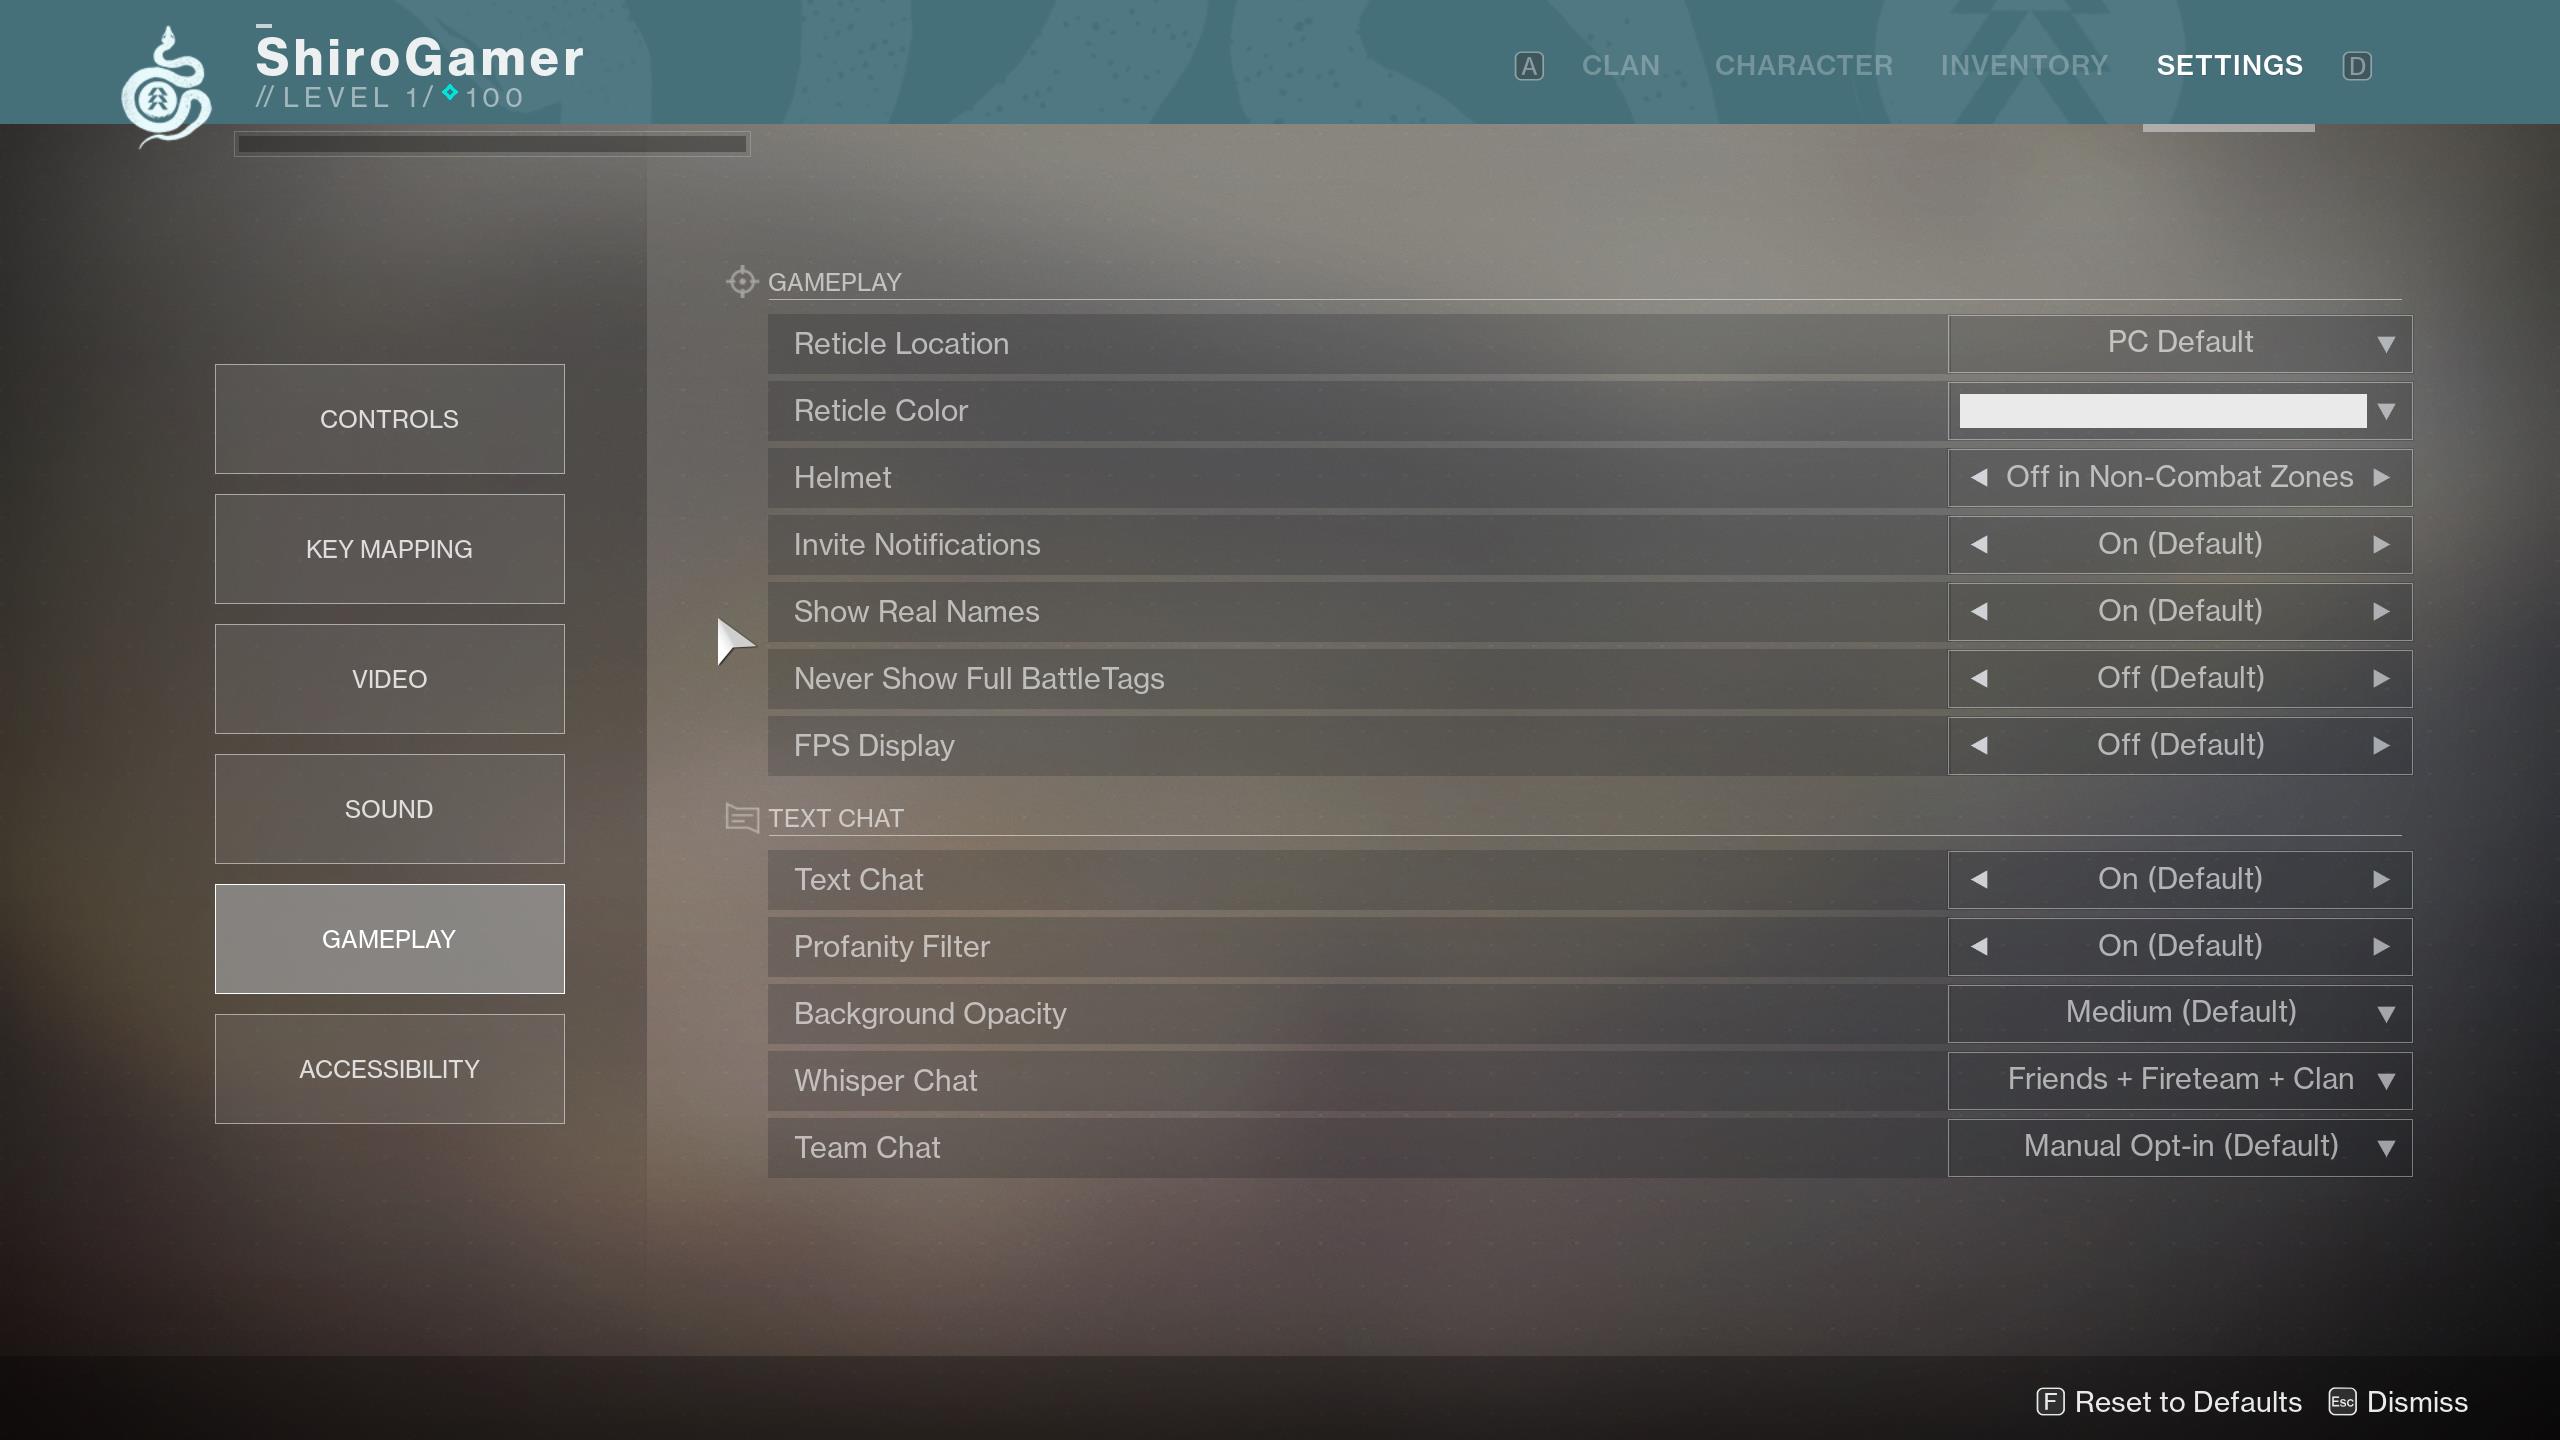
The Gameplay menu covers the reticle location and colour, the ability to turn on an in-game frame-rate counter, and a few other UI preferences such as helmet on / off. This is also where you can turn off text chat, though you shouldn't worry about MMO-style spam messages.
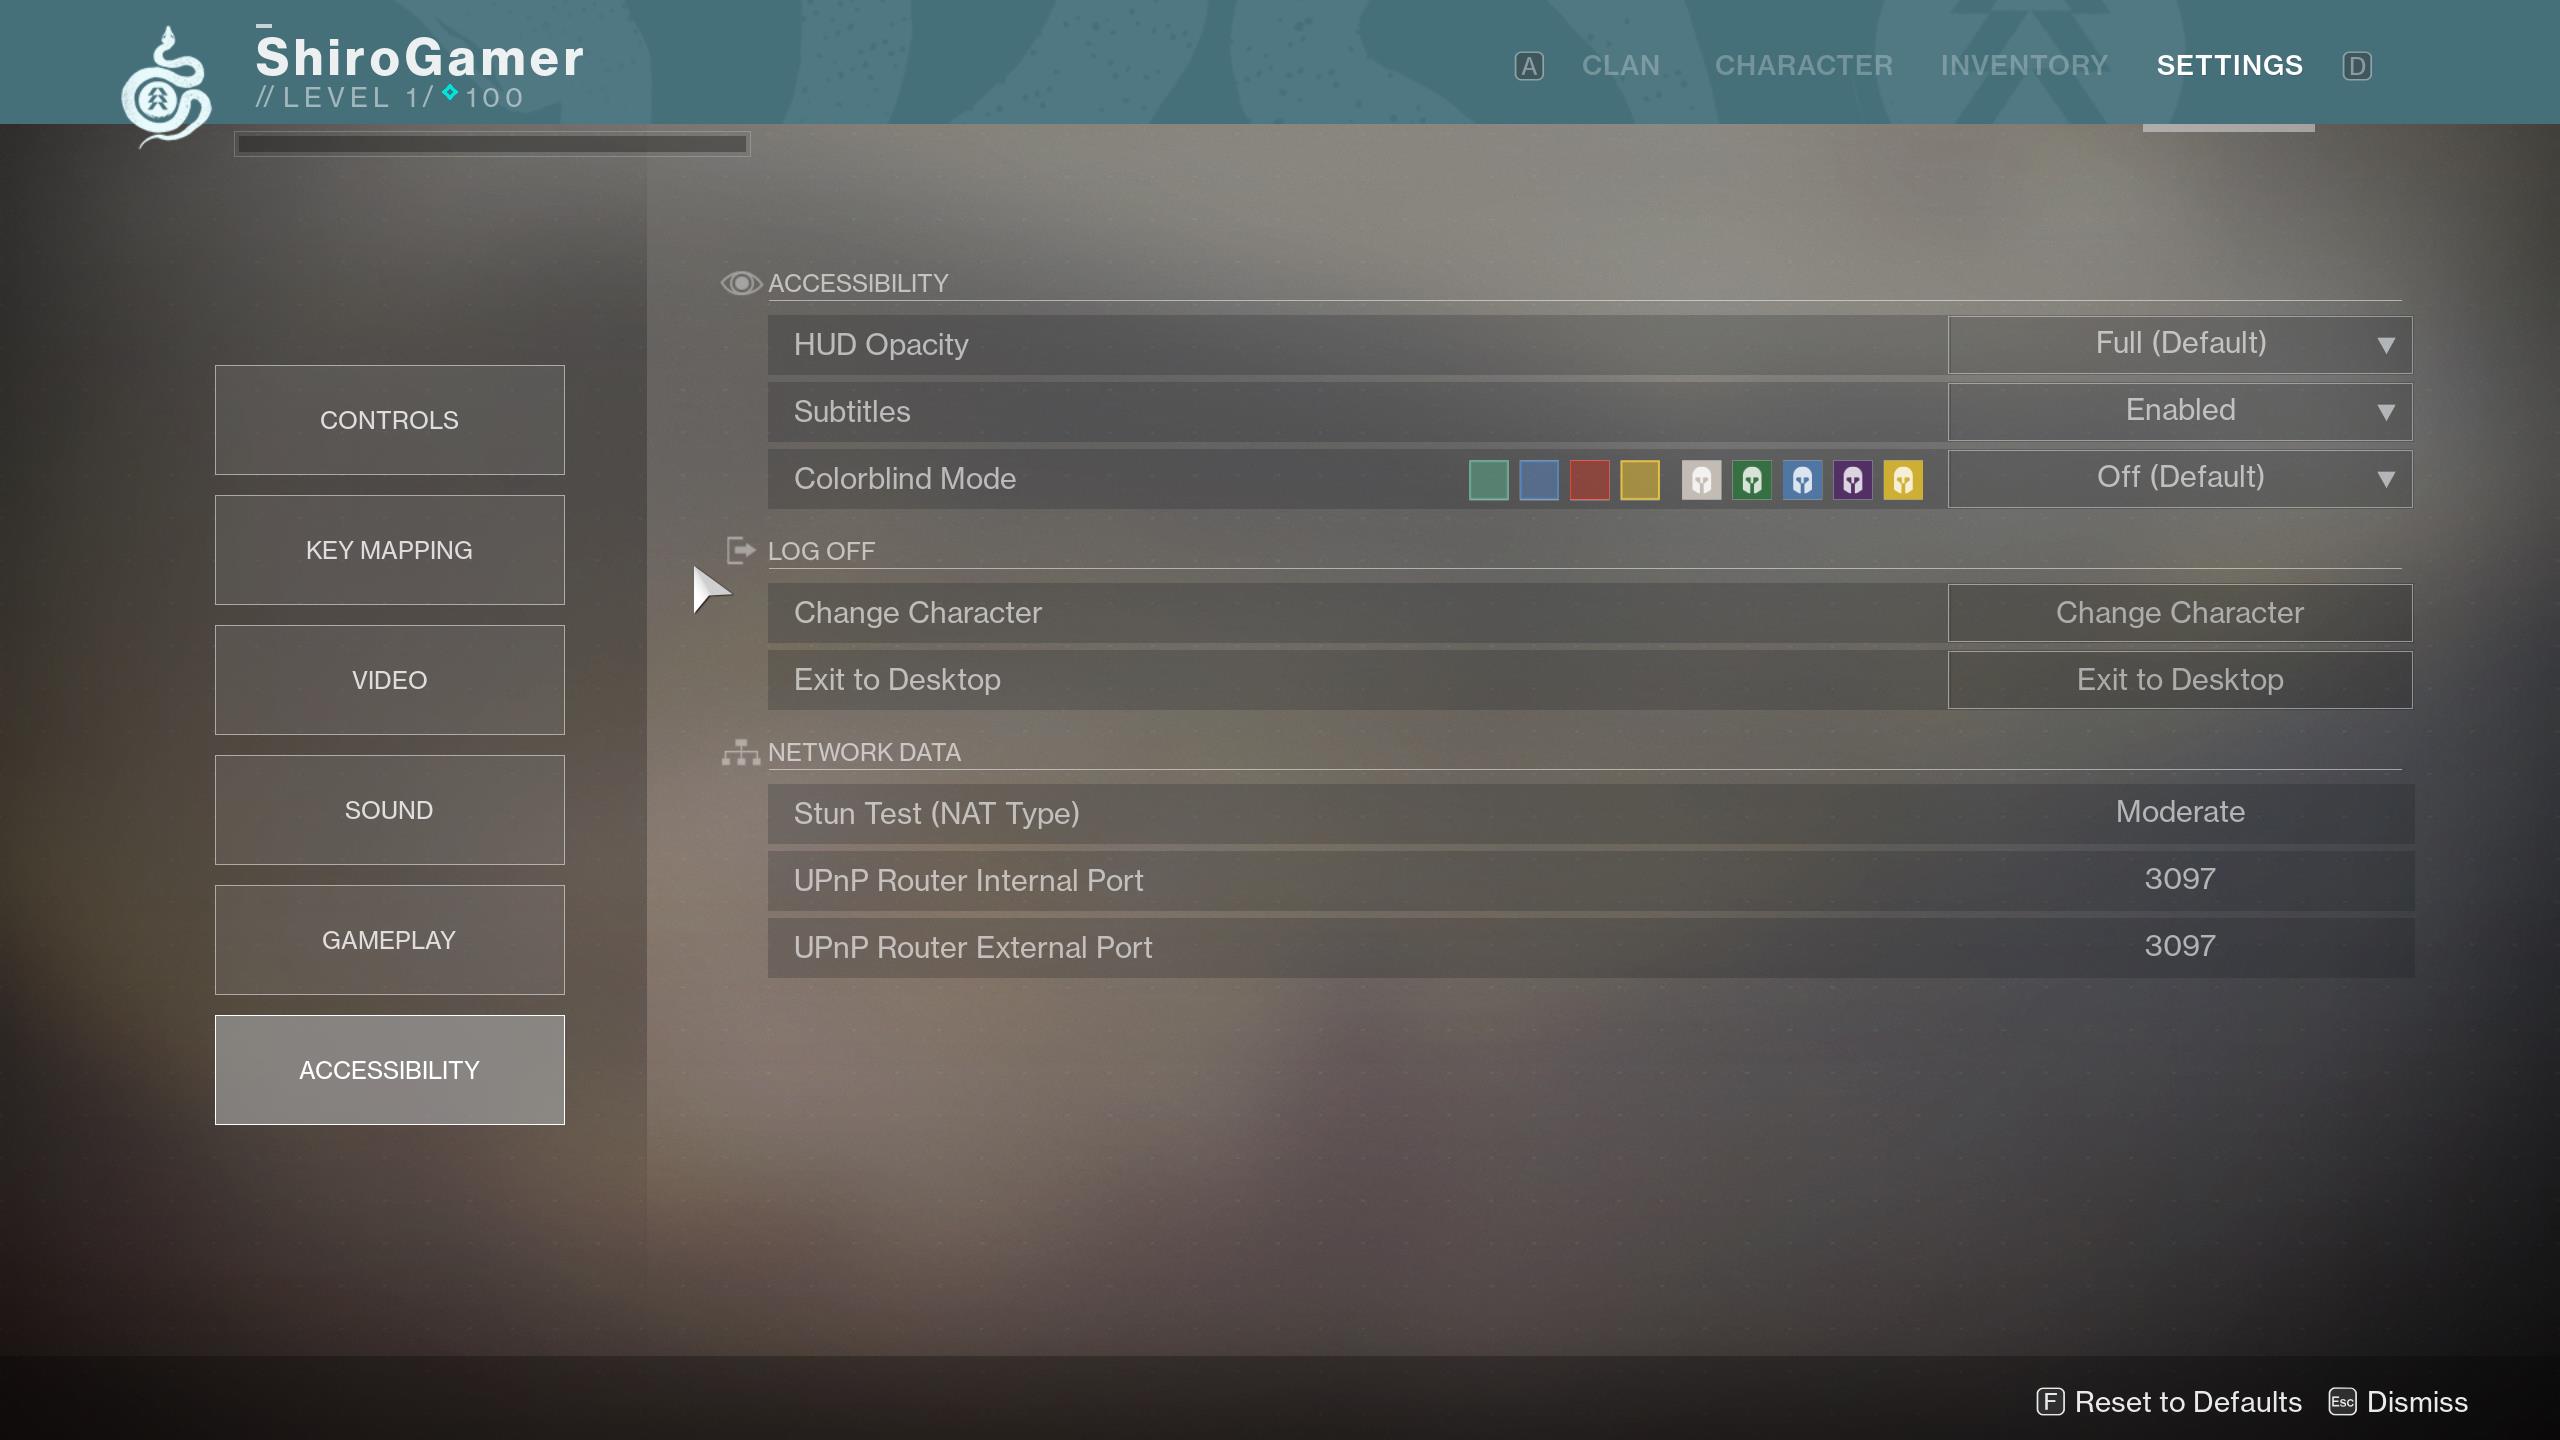
Finally, the Accessibility menu controls the colourblind mode, HUD opacity, and subtitles.
For more on the PC version of Destiny 2, be sure to check out the system requirements. You should definitely keep note of app incompatibilities if you don't want to see things breaking. For gameplay-related questions, the mega Destiny 2 guide is always here for you.