Zelda Link's Awakening Key Dungeon Walkthrough - How to Beat the Key Dungeon
Here's how to beat the Key Dungeon in The Legend of Zelda: Link's Awakening on Nintendo Switch.

The Key Dungeon is the third chronological dungeon in The Legend of Zelda: Link's Awakening, and it can be pretty tricky to navigate your way through. But with this Zelda Link's Awakening Key Dungeon guide, we'll be walking you through the whole of the dungeon as easily as possible, including how you can get the sprint ability, how to take down the tricky final boss, and more.
Zelda Link's Awakening Key Dungeon Guide
The Key Dungeon in Link's Awakening is actually pretty tricky, and can involve a fair bit of backtracking. Start off by picking up a vase, and throwing it at the door in front of you to unlock it.

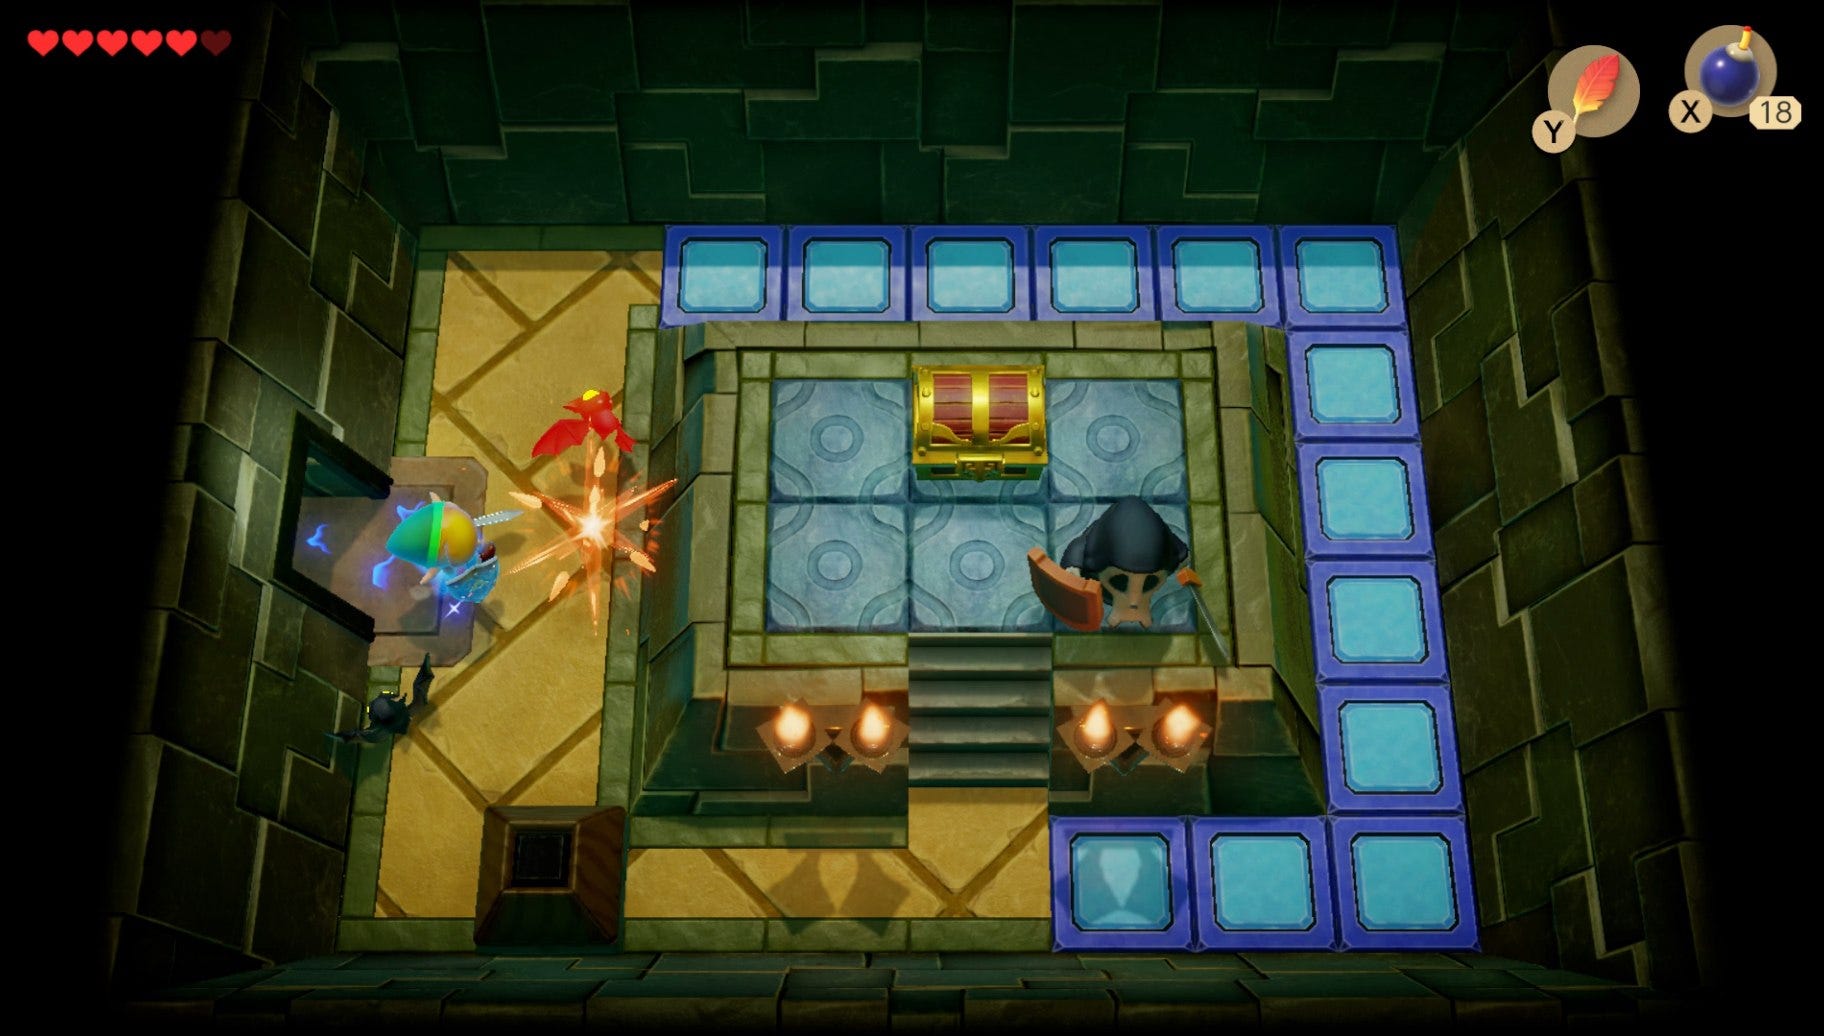
In the next room, slay the skeletal Stalfos with a shield, and deal with the red Gel enemy and bouncing bomb enemies in the room. This will cause a chest to descend from above, which contains a small key. Take the key and proceed through the doorway near the top right of the area.
Kill the four green Gels that appear in this next room, but ignore the chest that spawns afterwards—it's only containing another green Gel that'll jump out at you. Now head through the door on your right, and you'll be in a room with a bat and another Stalfos. Deal with them both, and open the chest in the room to obtain a map of the Key Dungeon.
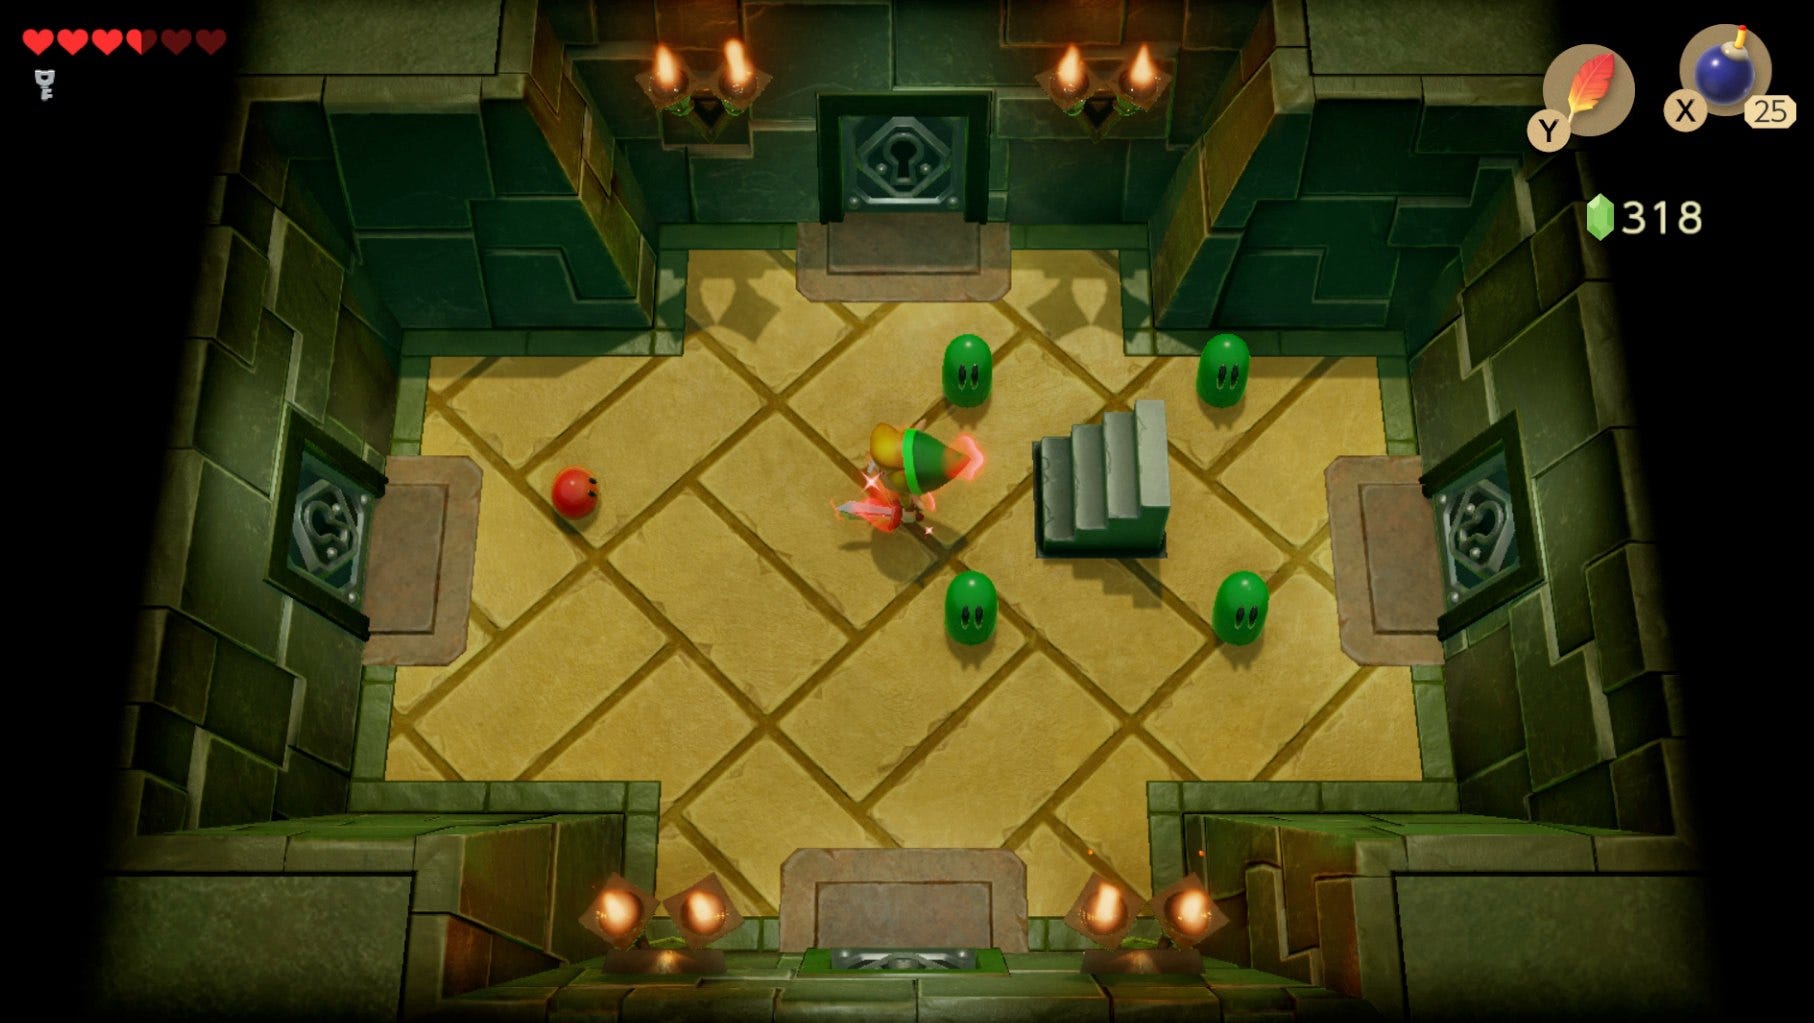
Head back to the previous room with the four green Gels, and head upwards through the doorway. Kill the two skeletons in the next room, and continue pressing upwards, where you'll come to a room with a chest, orange and blue tiles, and four green Gels. Ignoring the chest and tiles for now, kill the Gels and head down the stairs.
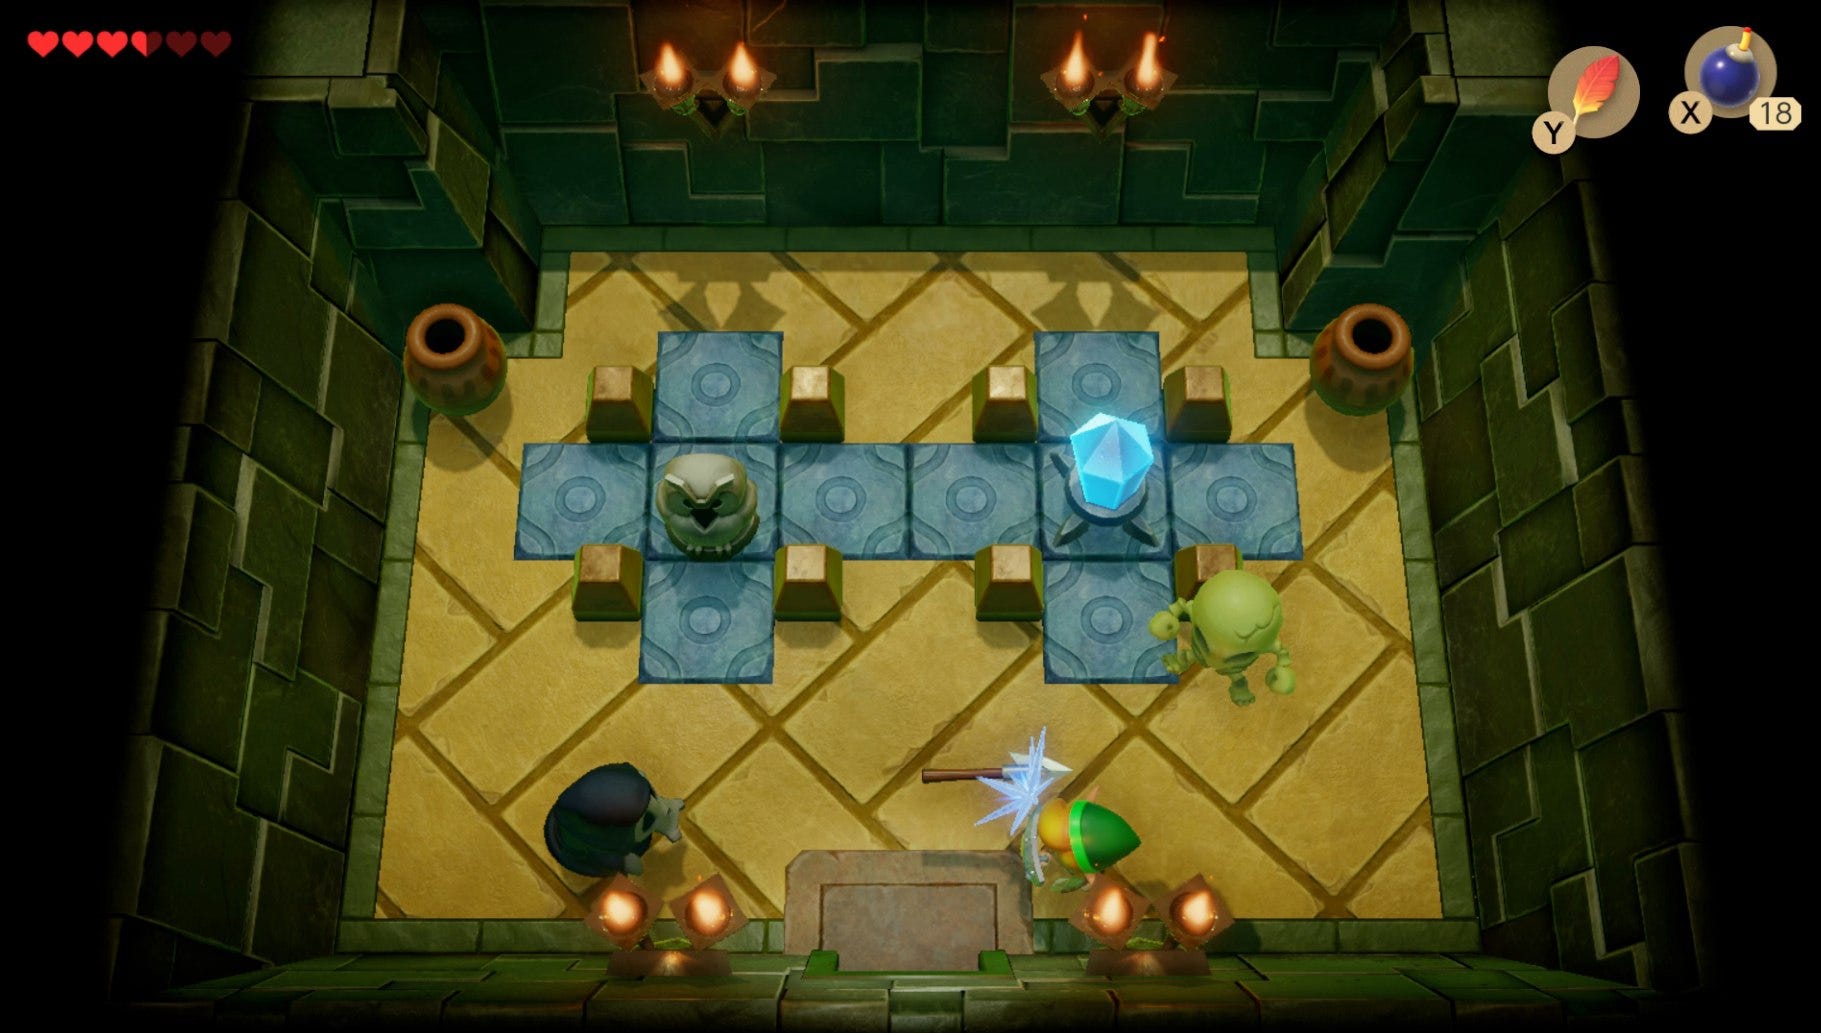
In the underground section of the Key Dungeon. Use your small key to unlock the door to the top of the area. In this room, you can kill a Stalfos and a skeleton to obtain another key. While you're in this room, hit the crystal once, and then head back through the door and up the stairs, to open the chest to obtain a stone beak for an owl statue.
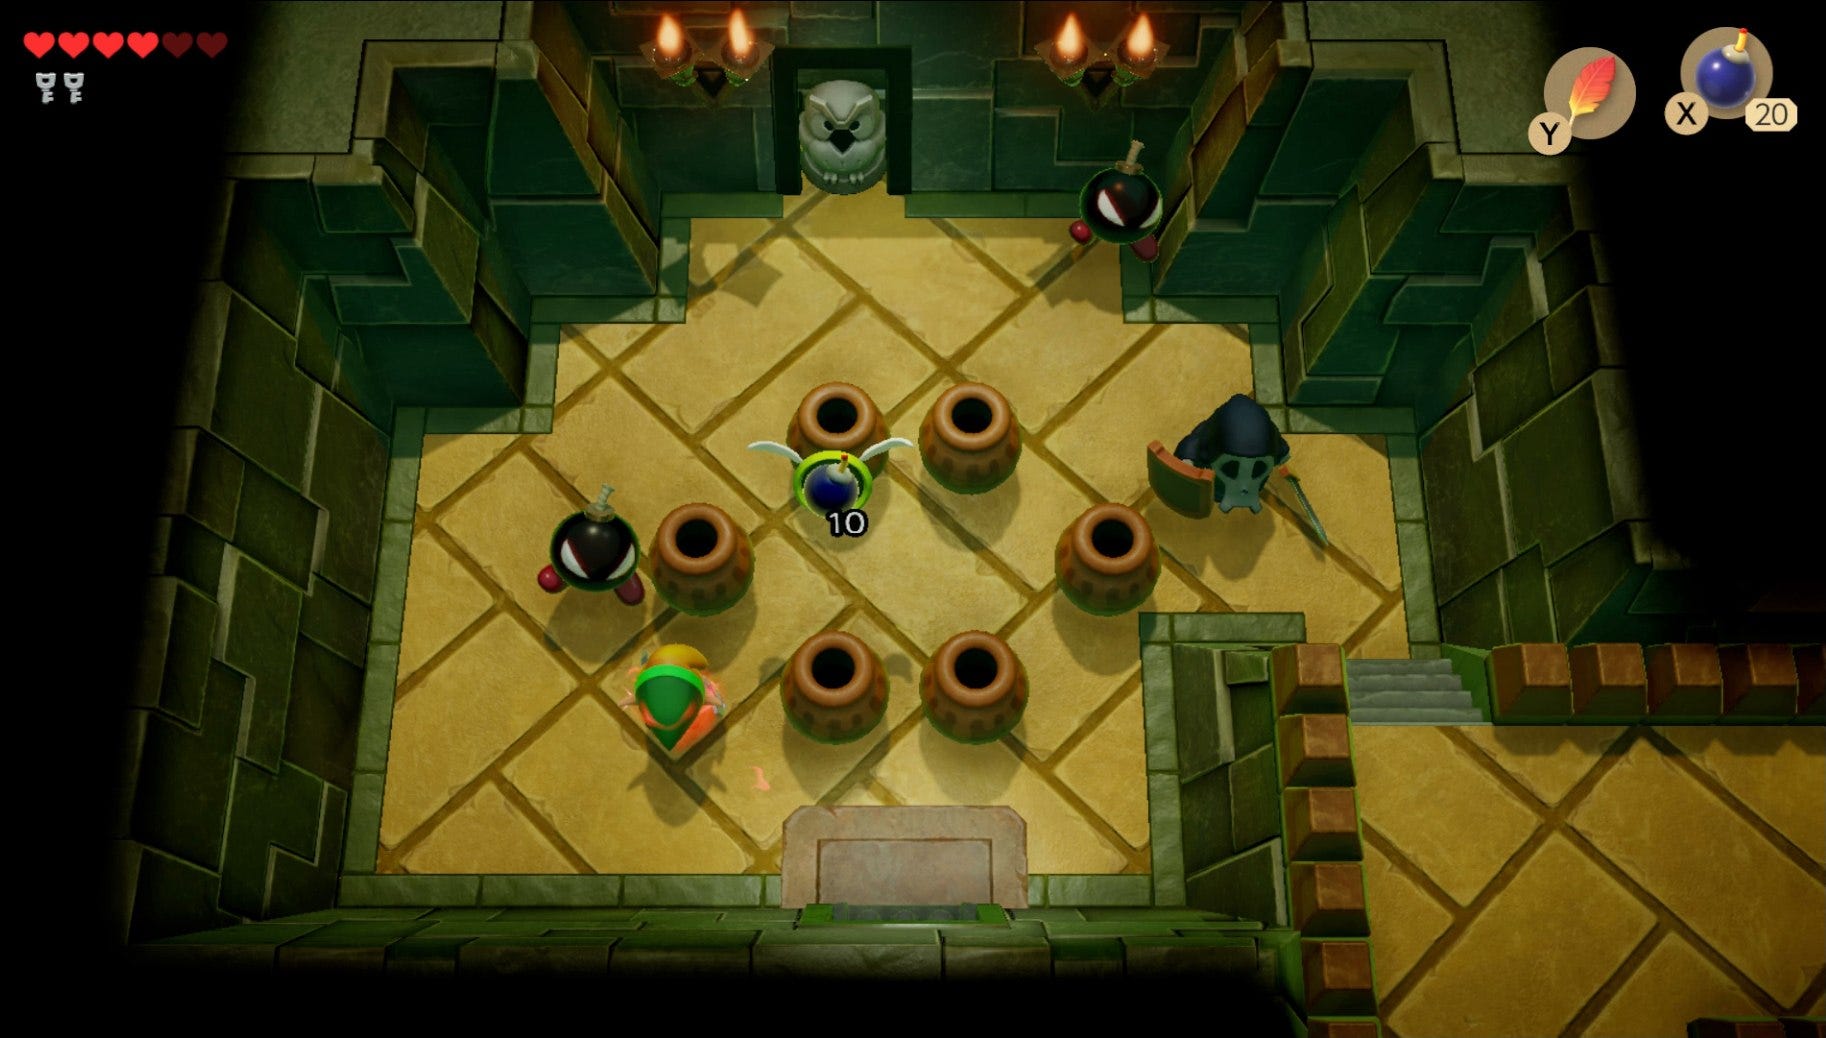
Now head back down the stairs, and take the doorway at the bottom of the screen. In this room, you need to kill a Stalfos with a shield, but also an enemy that moves away from you whenever you get too close to it. The bow and arrow works a treat here, but if you don't have those items yet, you can place a bomb on the directional tiles on the floor so that it reaches the enemy just as it explodes. Once all enemies are down in this room, you'll obtain another small key.
Head back into the main underground room, and use the small key to unlock the door on the left. In this room, you'll need to defeat two of the strange enemies that teleport away from you. Unfortunately there aren't any moving tiles to get a bomb close to them, but you can still pick up your bomb and throw it at them just as it explodes. Once both the enemies are gone, you'll get another small key.
Now retreat back into the main underground room, and use the small key to go through the door on the right. In this room, you'll need to defeat two bats and another one of the teleporting enemies. Once they're all dealt with, head up the set of stairs to reach a brand new area in the Key Dungeon.
In this new room, descend down the stairs in front of you, and work your way around the room clockwise, defeating all the green Gel enemies that spawn near you. Doing this will cause another small key to descend from the ceiling. Grab the key, and take the pathway up and out of the area.
In this large area, you'll need to defeat two Stalfos' with spears in front of you. Then turn left, where you'll find a swarm of red Gels ready to pounce on Link. Defeat them all, and head through the door on the left, where you'll be faced again with two of the teleporting enemies.
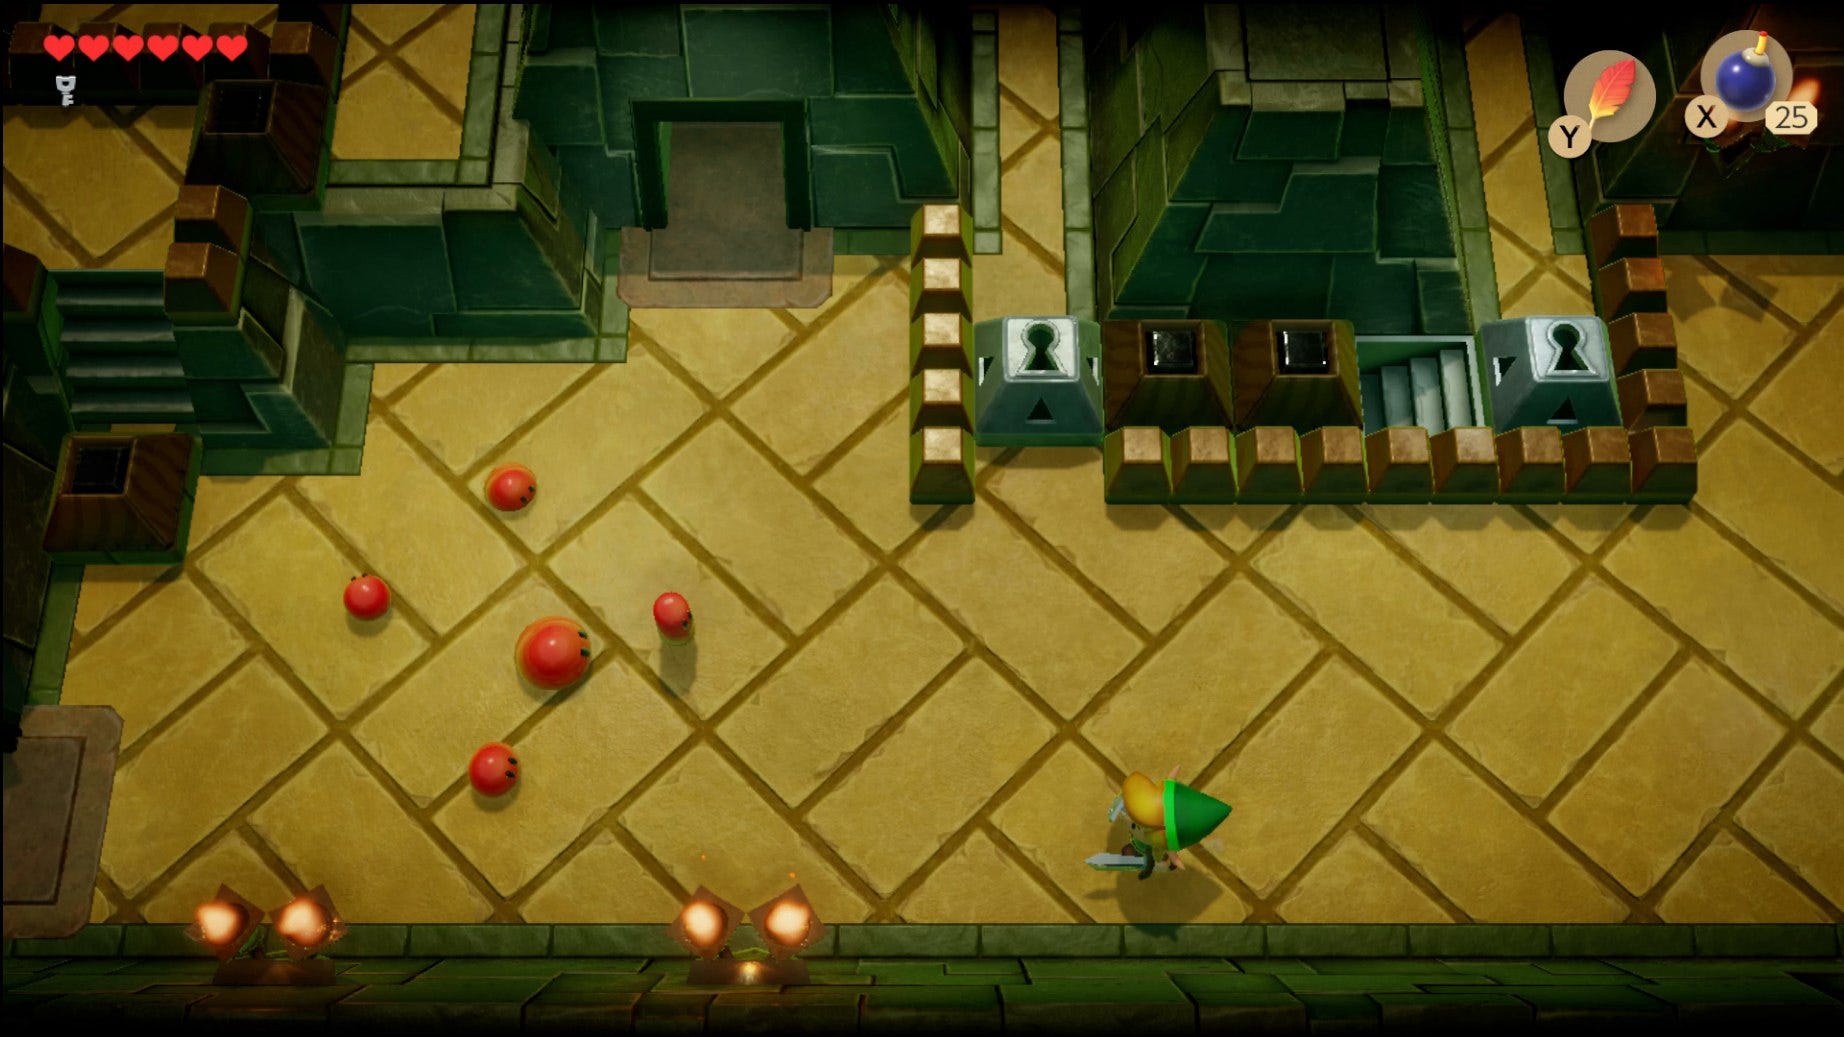
Defeat them both, by bomb or by bow, and take the small key that appears. Now take the doorway that Link fits in at the top of the room, where you'll be greeted by two red Gels and a skeleton. Defeating them all will cause a chest to spawn in the area to your right, but don't worry about getting to that now, take the door at the top of the room instead.
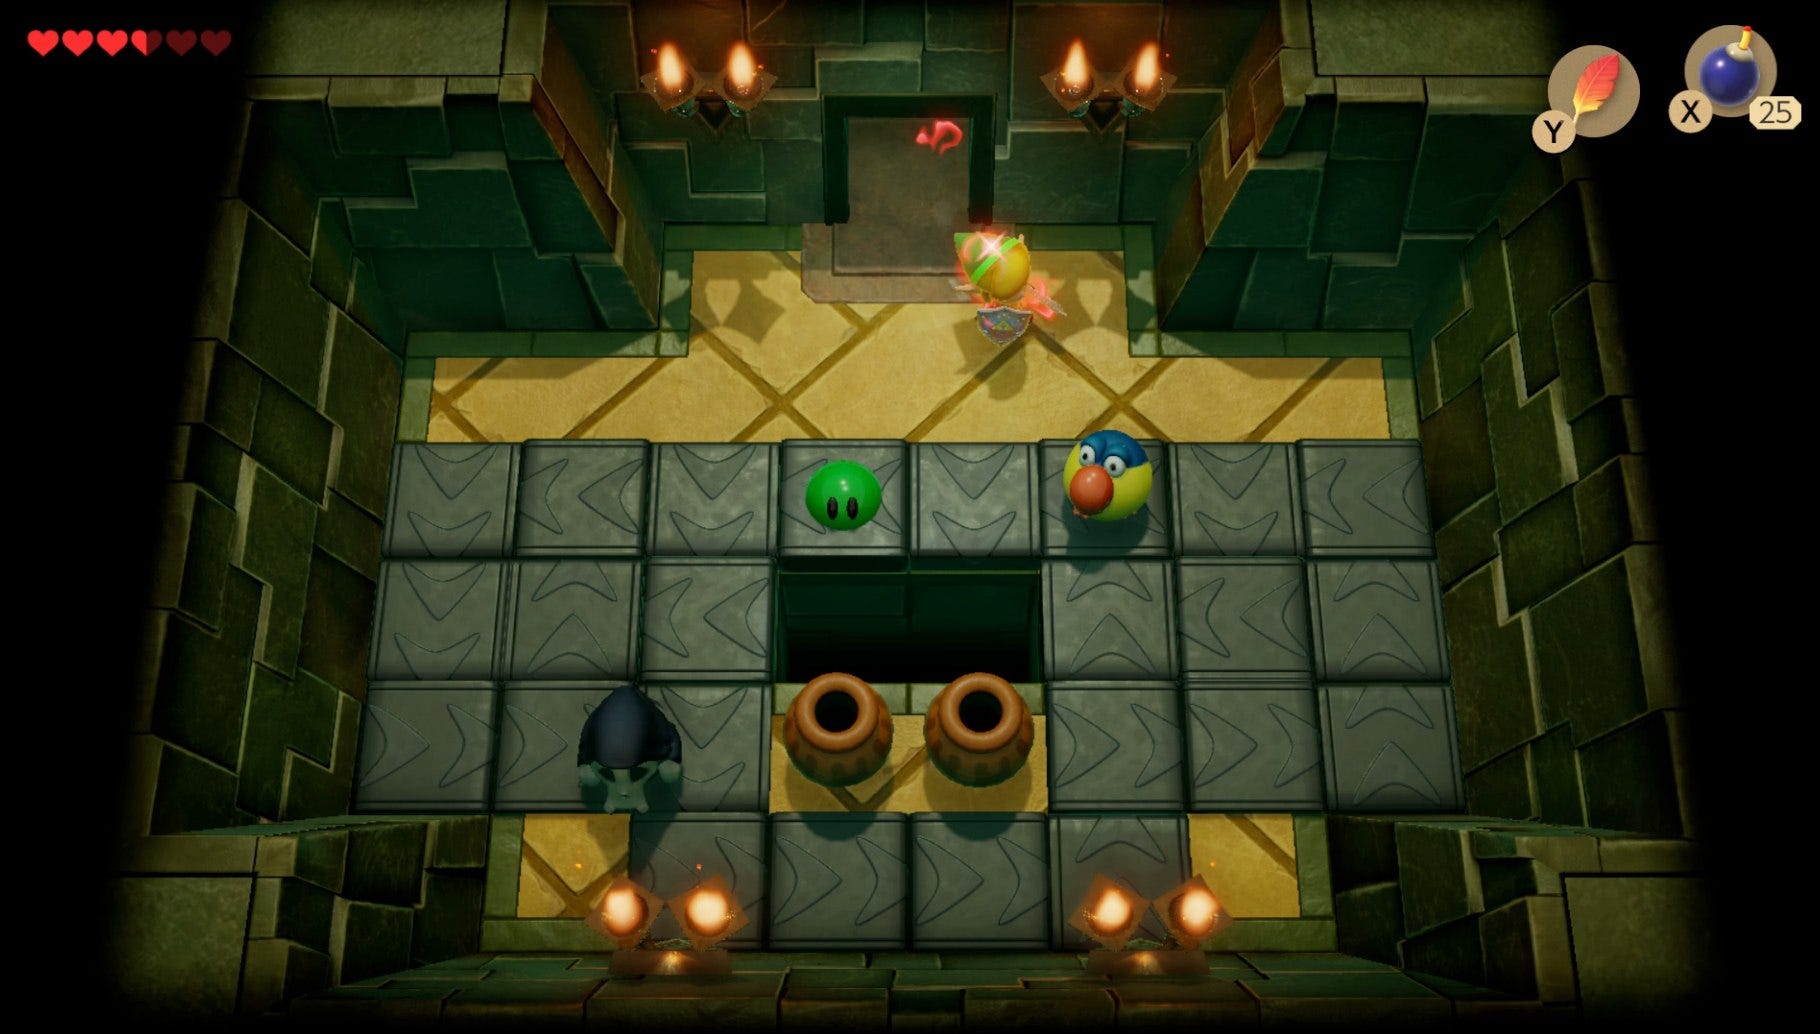
In this room at the top of the area, defeating the two roaming bombs and one Stalfos enemy. Then, use the stone beak on the owl statue on the top wall, which reveals that "to defeat the black monsters with the hard shell, feed them something explosive." You'll want to remember this for later in the Key Dungeon.
Now take the stairs on the right of the area leading upwards, and you'll find that you can reach the chest that you unlocked from the room just a minute ago. Open the chest to claim 50 Rupees, before continuing to head down, until you find yourself back in the area where the swarm of red Gels originally appeared.
Next up, make sure you've got plenty of bombs. Head through the door above Link, and you'll find two of the hard shell enemies that the stone owl statue referenced. With these two enemies, you need to place bombs in their paths, so that when they open their mouths and move forward, they eat the bomb. It should take about three bombs each to defeat both these monsters.
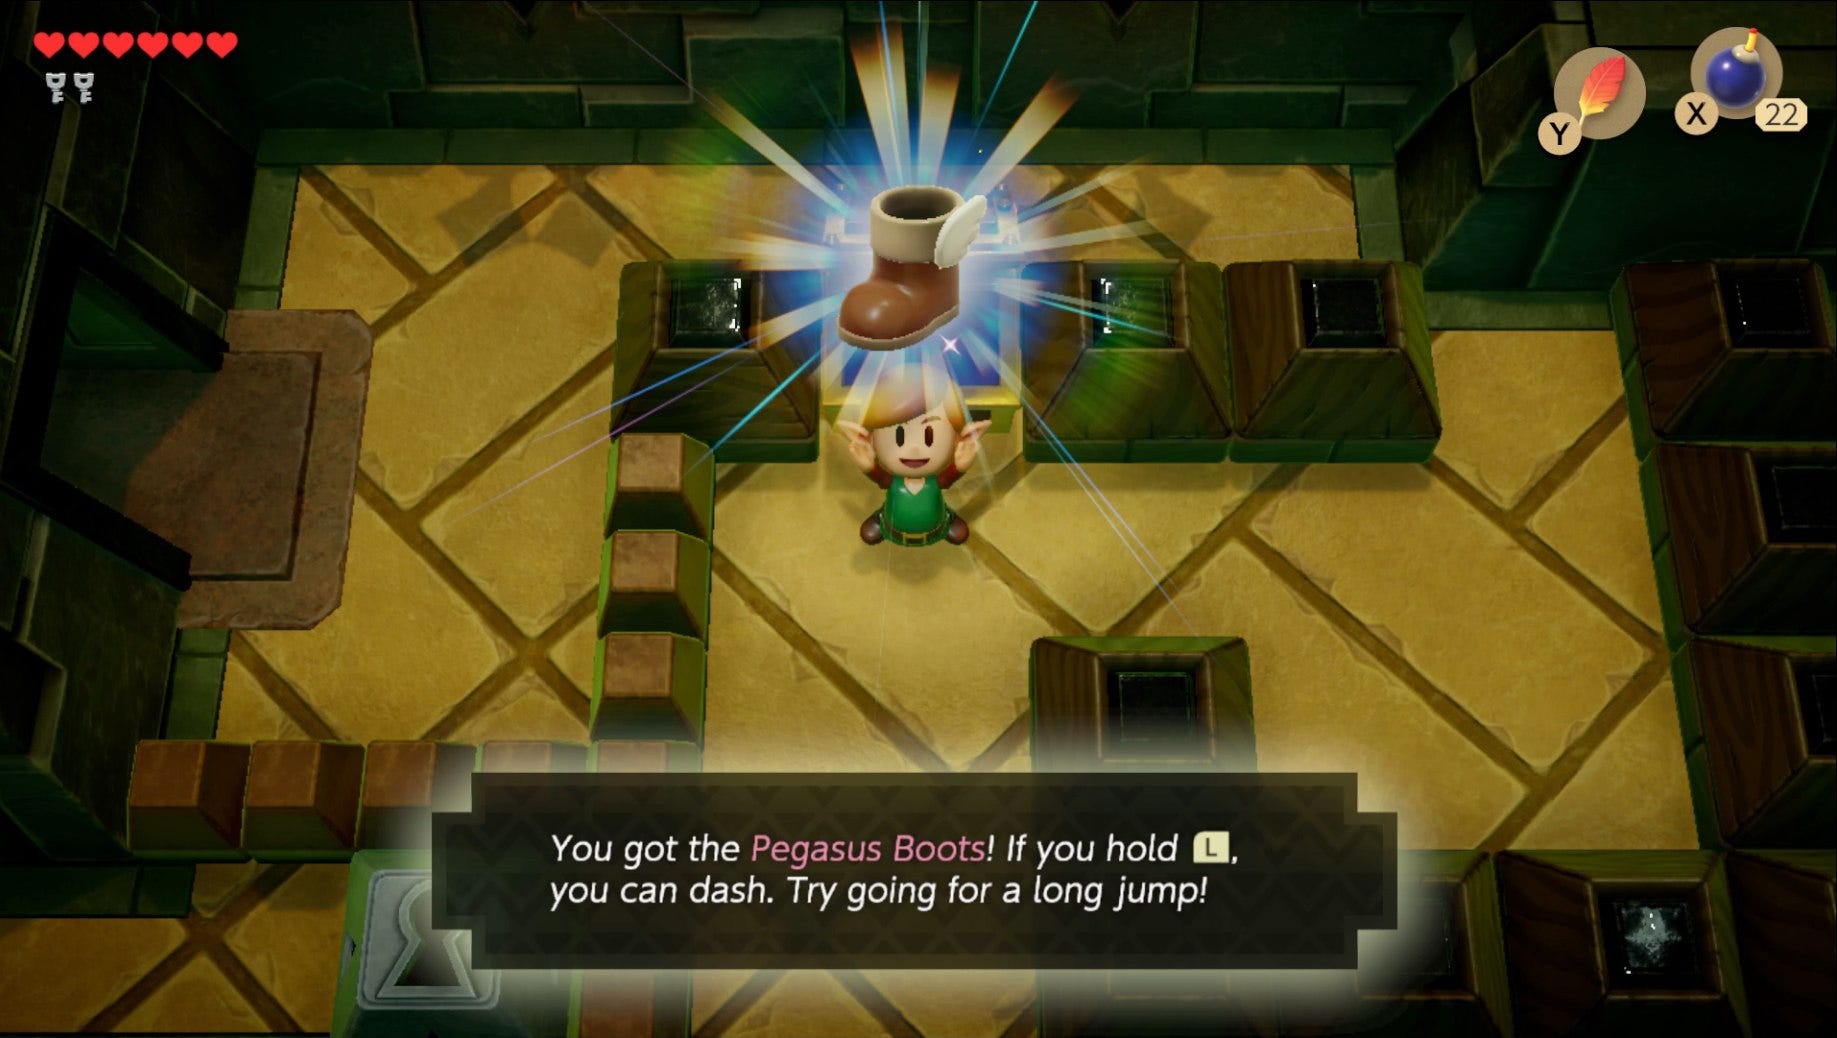
Zelda Link's Awakening Pegasus Boots
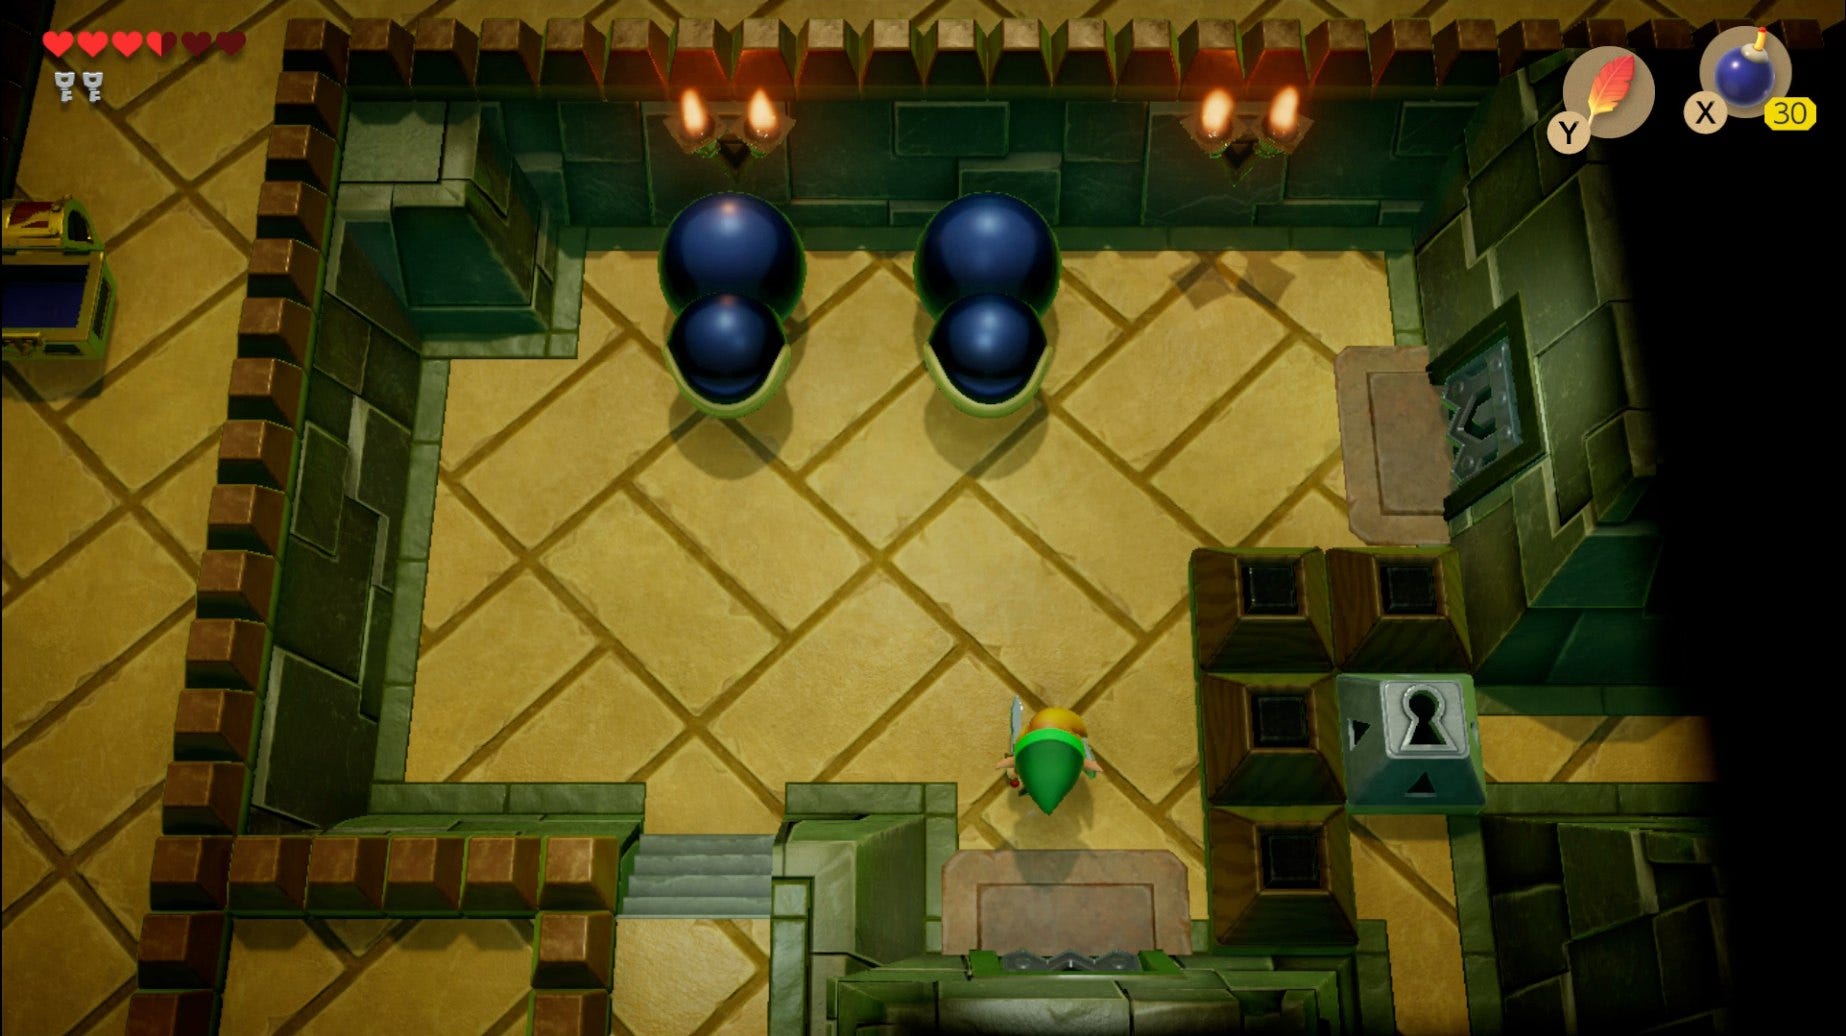
After the battle with the two bomb-related enemies is over, head through the door on your right. In this next area, you'll want to push one moveable block next to the chest to the left, and then push the other block upwards, so that you can reach the chest. Don't worry about messing this up, as you can always go through the door you just came through, and then return, as doing this resets all the blocks.
But when you do reach the chest, you can finally unlock the Pegasus Boots. These are an absolutely essential item to making it through Link's Awakening, and the boots let you hold down L to sprint forwards, with Link holding out his sword in front of him as he goes.
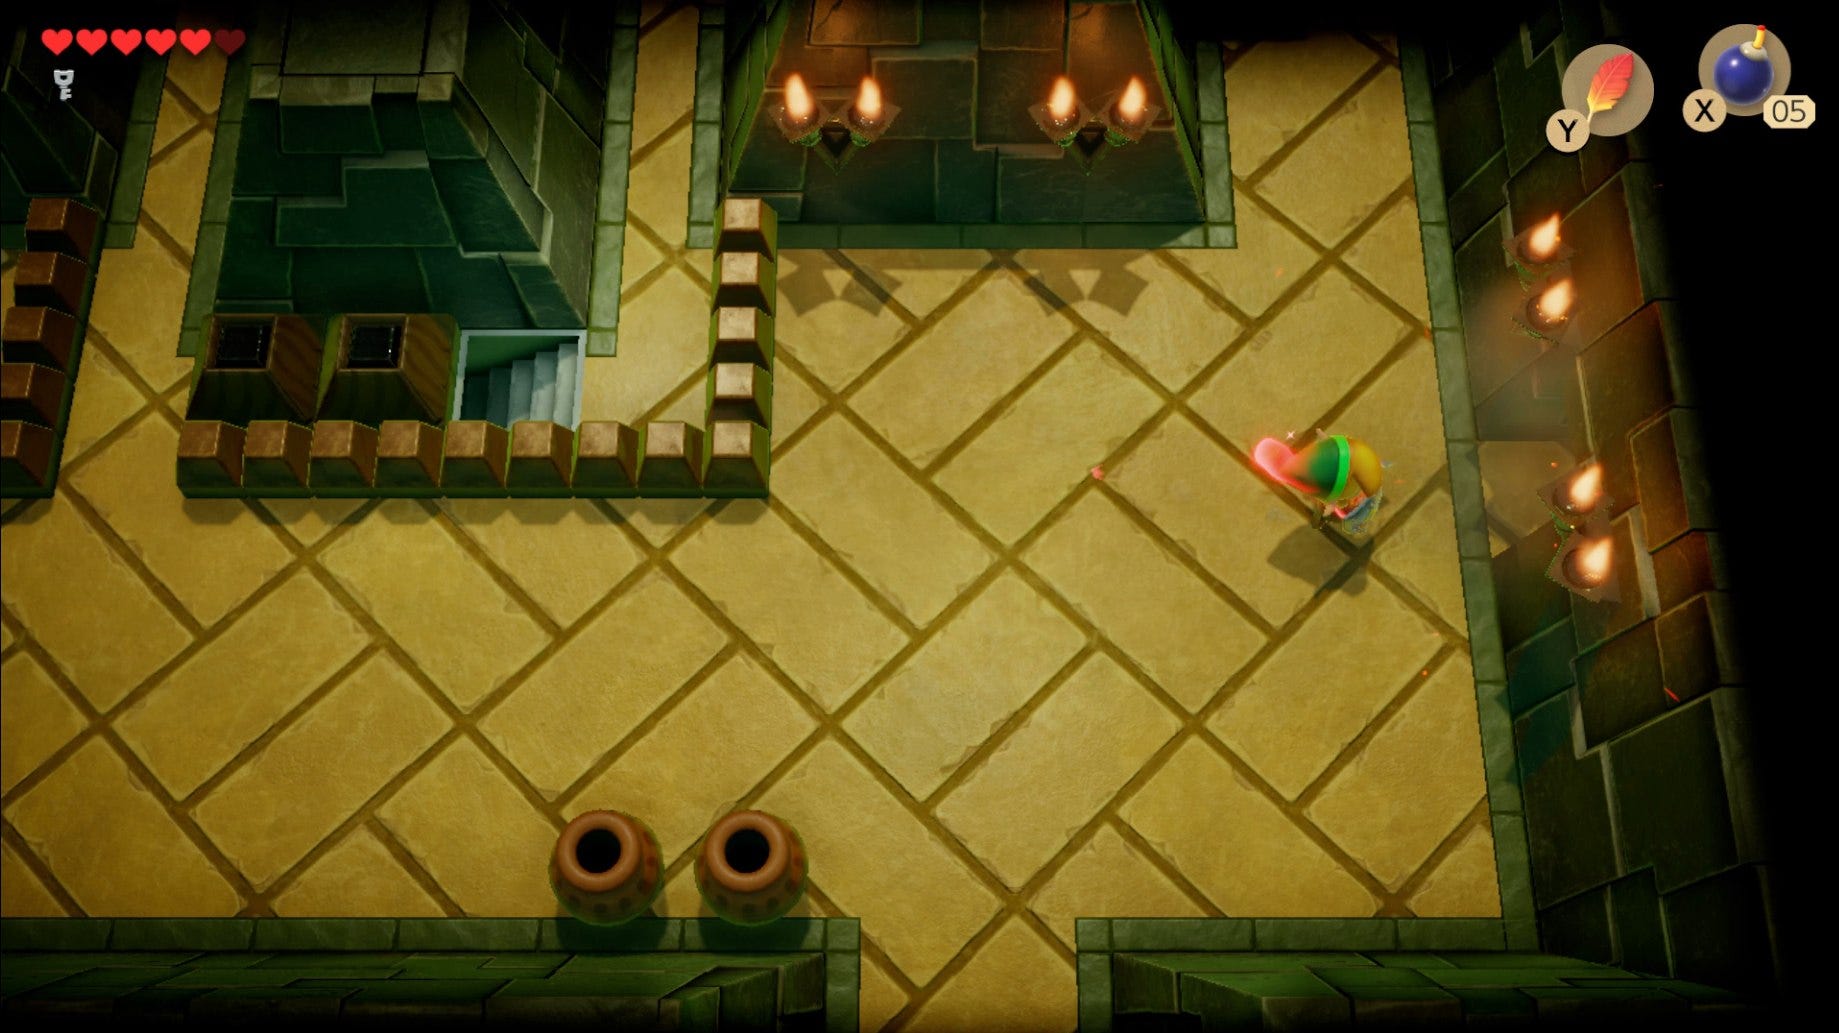
After you've acquired the Pegasus Boots, it's time to go for a short run. The small black tent, looking items at the bottom of the screen can be powered through, if you stand in front of them and charge forward by holding down L. Link will power through them, and you can then push the block located after them out of the way, in order to take a path leading downwards and off the screen.
However once you're in the area with the two Stalfos' with spears, you'll want to immediately backtrack up the path you just took. Since the block you moved has been reset, you can go into an area with two skeletons, and a stone owl statue. Defeat the skeletons, and take the doorway to the right of the owl statue.
Defeat the three moving bomb enemies to open up the doorway on the left of this room. Head through the opened doorway, and you can defeat a skeletal Stalfos with a shield. Open up the chest in this room, and you can finally retrieve the compass for the Key Dungeon, which is actually pretty essential for this dungeon.
Now go to the left of the chest, and plant a bomb next to the wall. The bomb will explode and reveal a doorway, which you can then take into an area on the left, where a few more moving bomb enemies roam. Defeat them all, and another small key will descend from above. Claim the key, and then backtrack to the larger area with the stone owl statue.
Go back to the area just below, where there were two skeletal Stalfos' throwing spears at you. There are two holders with lights on the right wall, and you need to plant a bomb between them to reveal another secret doorway.
Zelda Link's Awakening Key Dungeon Nightmare Key
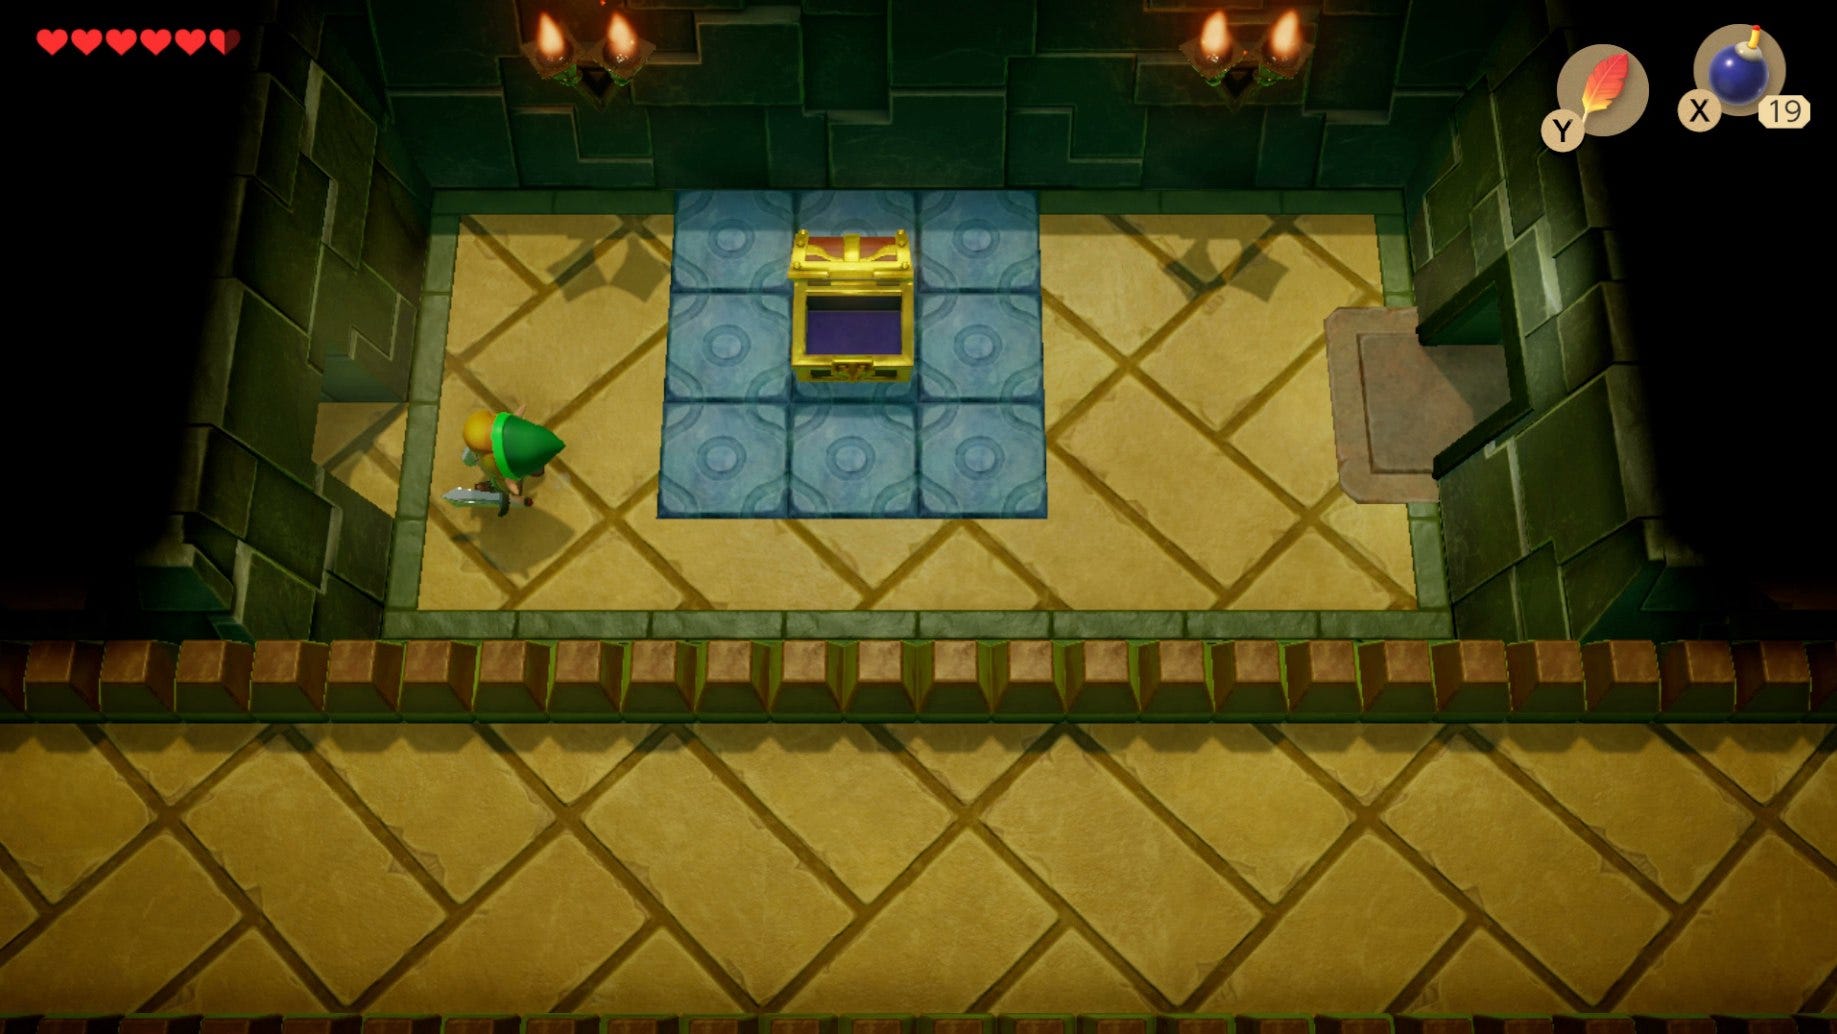
Through this secret doorway and in the next room, you need to line up a sprint coupled with a jump, that takes you directly over the huge gap in the middle of the room. Link might be a small boy, but he can make it! Head up the stairs after the jump, and you'll need to do the exact same trick to reach the chest.
Within this chest contains the Nightmare Key! Now drop down to the lower area on your left, and take the pathway down. Where the swarm of red Gels were, you can use a small key on a block in order to make it vanish. This opens up a new pathway that snakes around the center of the area, which you'll need a total of four small keys in order to navigate.
When you're past the blocks, take the stairs leading down. Come off the ladder partway down, and you'll have a big red block in front of you. You need to charge a sprint that rams into the block, causing it to crack and fall down. Walk over the block, and then sprint with a jump over a row of spikes to reach a ladder.
Take the ladder down, and ignore all the teleporting enemies in this next room. Go through the doorway on the left, and you'll be in a room full of bats, with the Nightmare door at the top of the room. Ignoring the bats, head to the top of the room and use the Nightmare Key to open the door. It's time to face the boss!
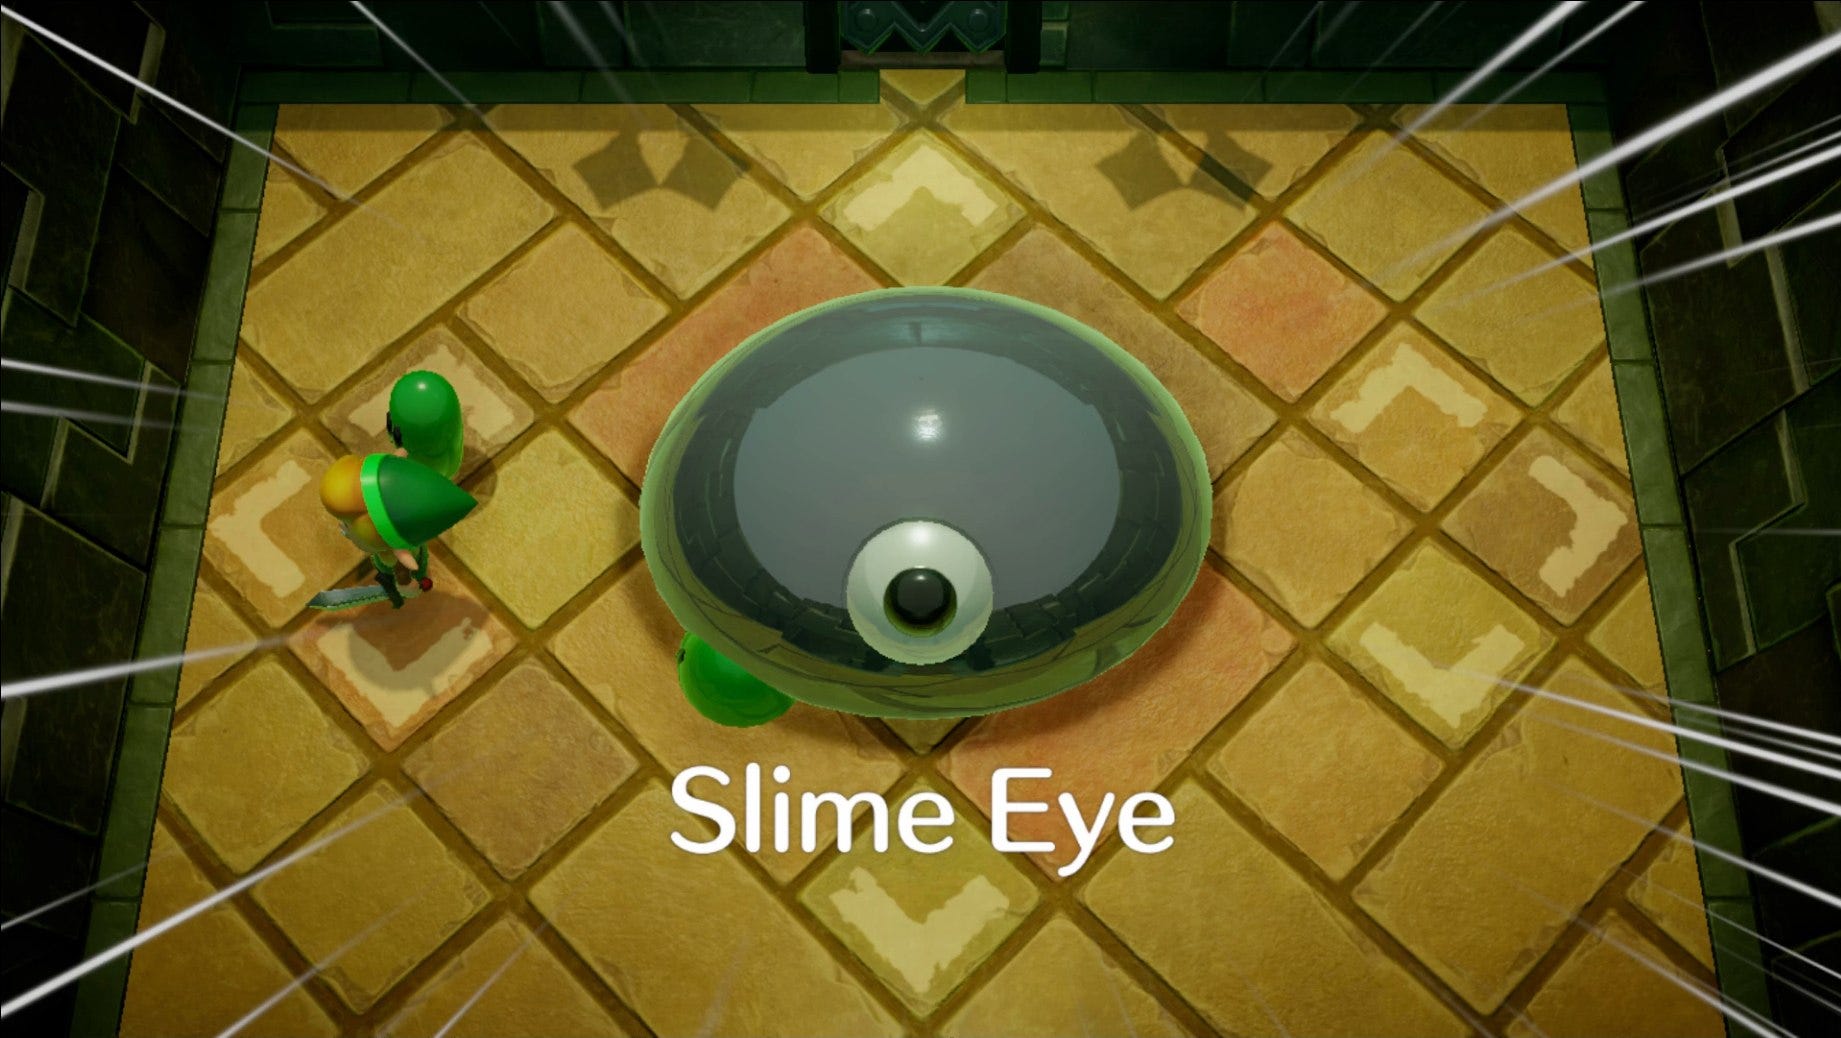
Zelda Link's Awakening Key Dungeon Boss
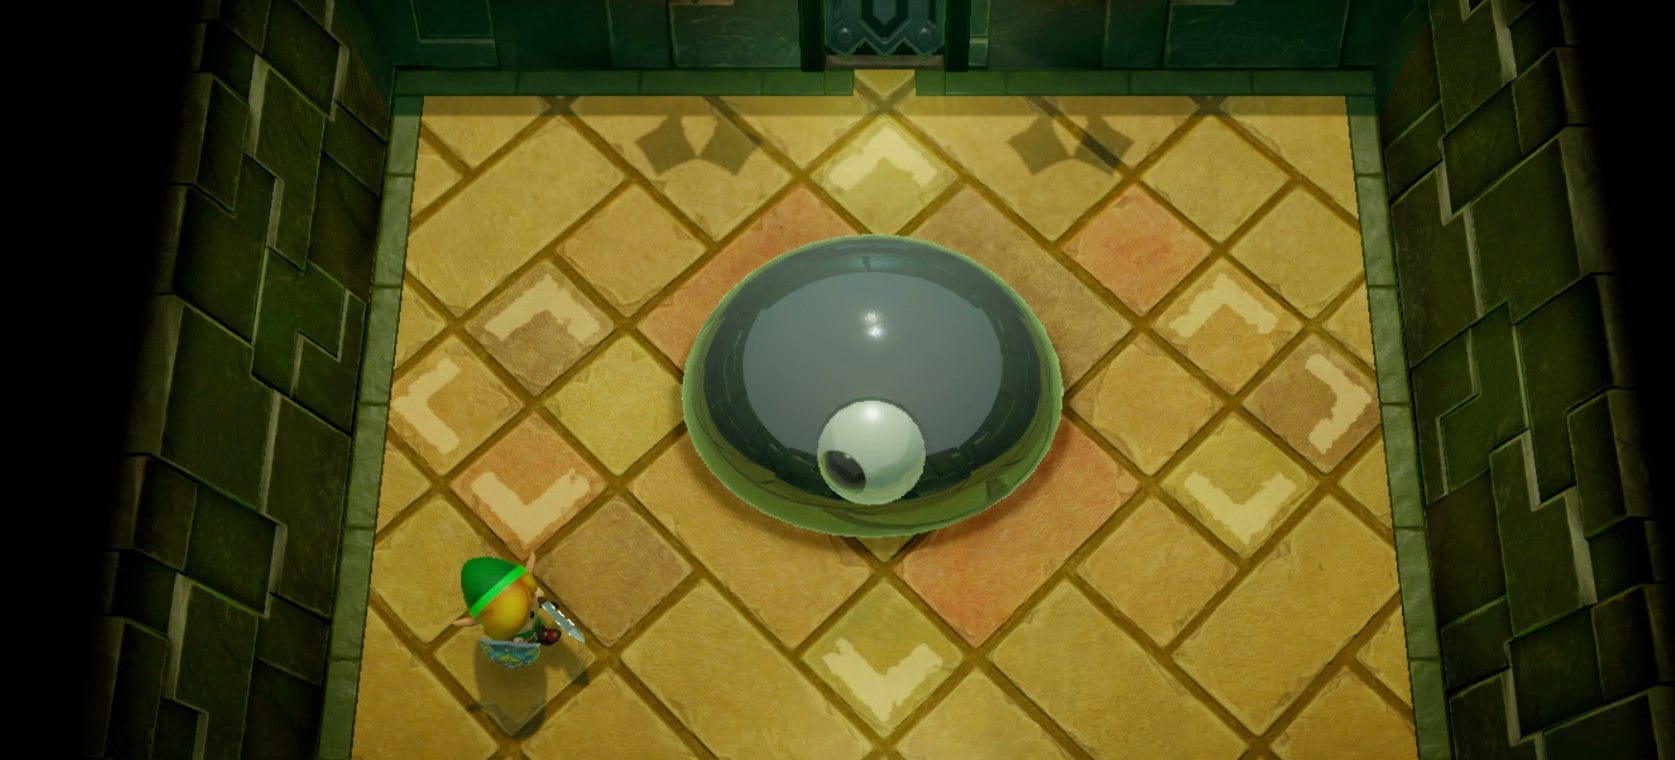
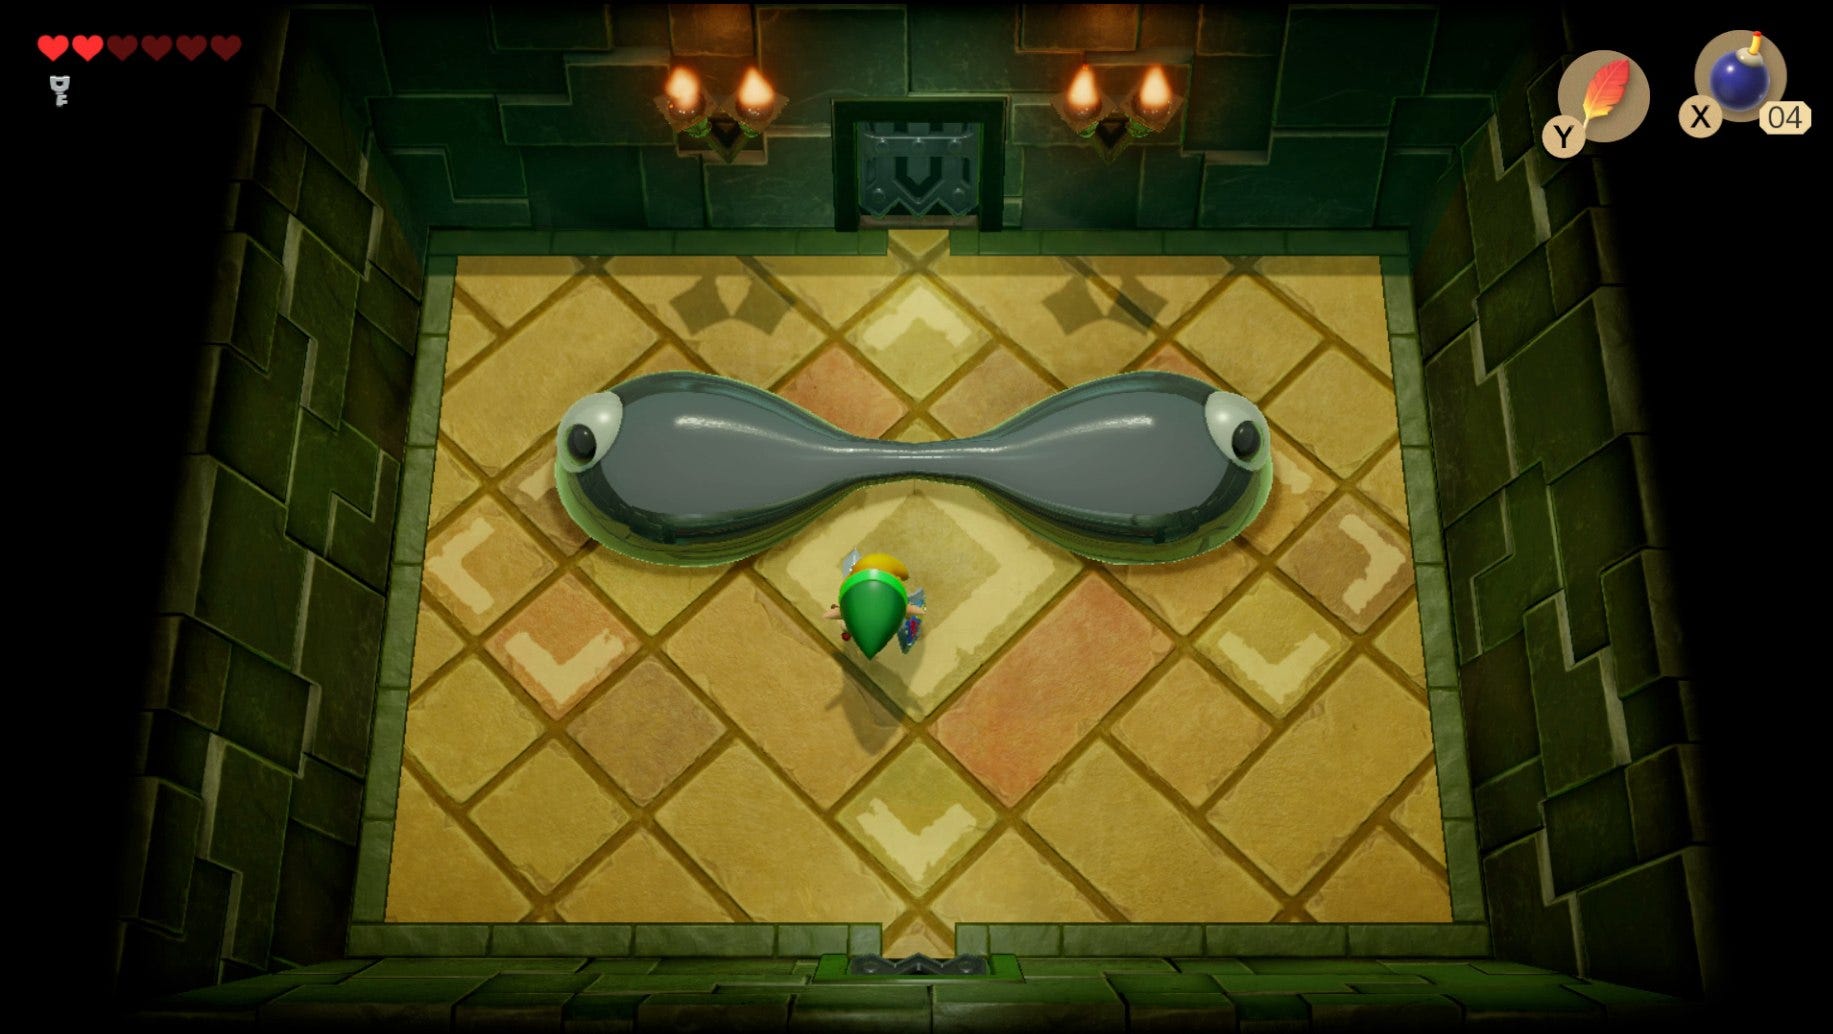
As soon as you're in the Nightmare's Lair, the boss will brag that you can never find it. Charge a sprint to run Link into any of the four walls in the room, which will cause the boss to fall down from above.
With this boss, you need to repeatedly hit it in the eye. But there's a twist: when you hit the eye, the boss will extend sideways, with two eyes appearing instead of one. When this happens, keep hitting either one of the eyes, causing the boss to stretch to near breaking point.
If you keep hitting one of the eyes on the boss and keep stretching it horizontally, you'll find that the middle of the boss is noticeably thin. As soon as this happens, you want to move to the middle of the boss, and hold down L with Link's sword pointing towards the thin section of the boss.
Keep pushing forward with the sprint, and Link's sword can actually sever the boss in two, creating two giant Gel enemies for you to fight. When this happens, you need to make sure you've got Roc's Feather bound to either Y or X on your Switch, because you're going to need to jump for this next section.
The two giant Gels will leap up into the air, trying to slam down on where Link is. You need to time your jump so that Link is in the air when the two Gels hit the ground, so that you can immediately close the gap to them, and get in a good few hits on either of them (their eyes, in particular).
Don't linger for too long with your attacks, because the boss you're not attacking will rise up into the air and try to slam down onto you. Keep moving whenever either enemy is in the air, jumping before they slam down, and you shouldn't have any trouble seeing out the final boss of the Key Dungeon. Once you're all done here, you can head up through the doorway, to claim the Sea Lily's Bell musical instrument, and come one step closer to waking the Wind Fish.
If it's more Link's Awakening coverage you're after, then USG has you sorted. You can head over to our additional guides on the game, including our Link's Awakening Dream Shrine guide for how to get the Ocarina, our Link's Awakening Kanalet Castle guide for how to complete the trading sequence, our Link's Awakening Slime Key guide for the locations of all the Golden Leaves for Richard, or our Link's Awakening Wind Fish Egg guide for more.