The Witness - The Desert Ruin Puzzle Solution
Images and solutions for every puzzle in The Witness in this complete walkthrough and puzzle guide.
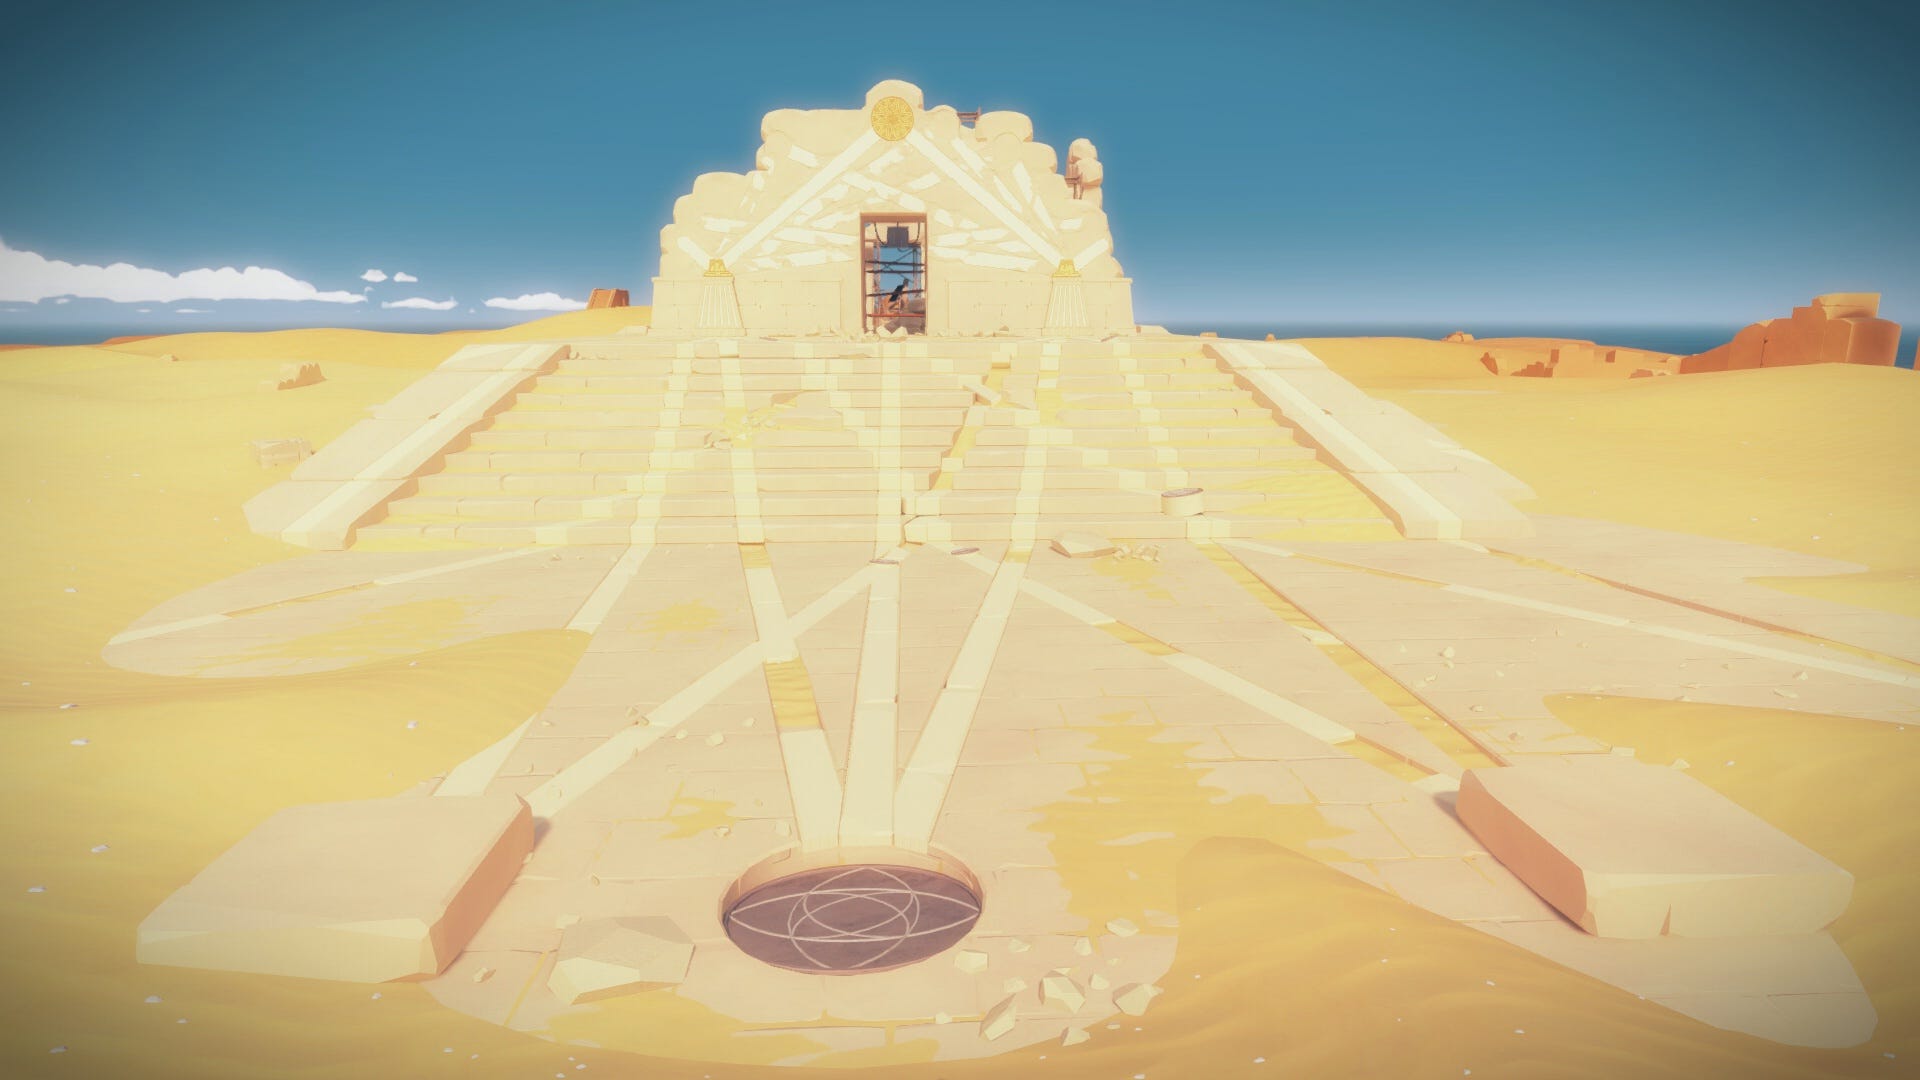
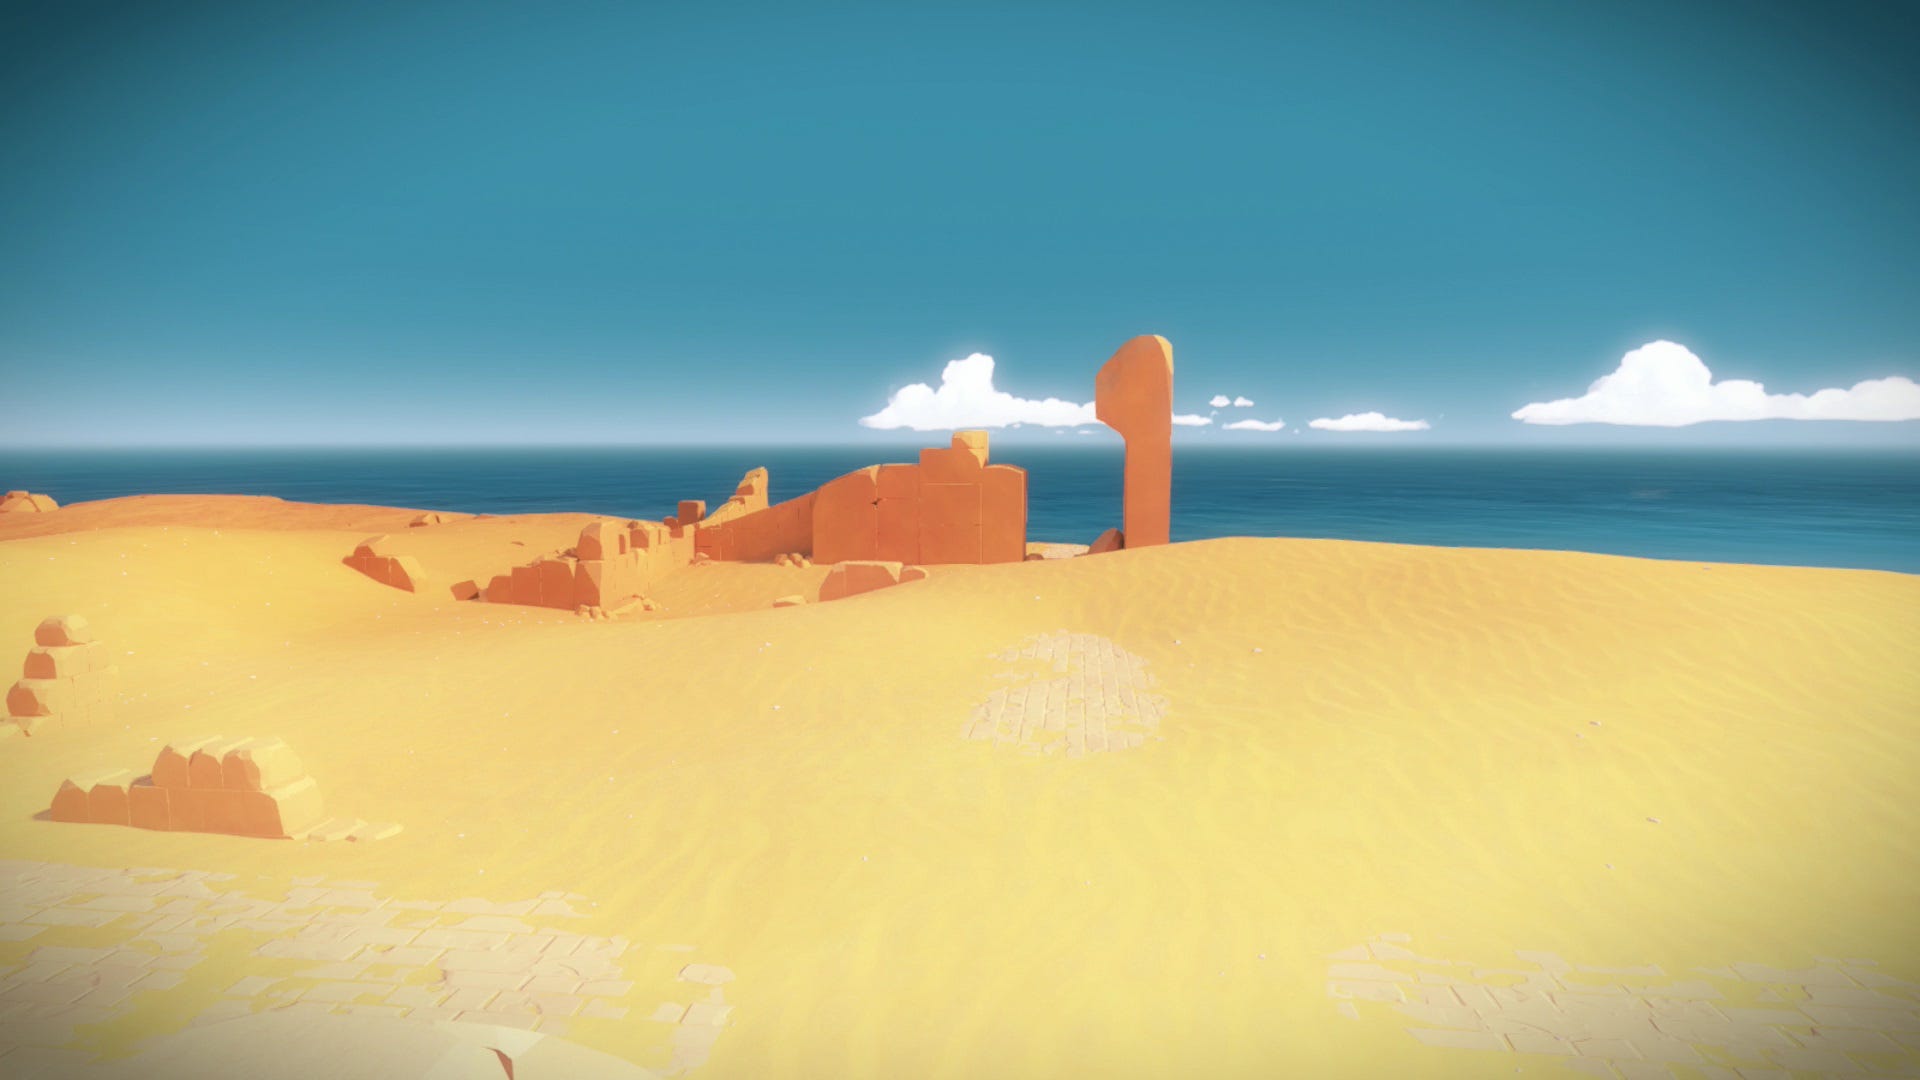
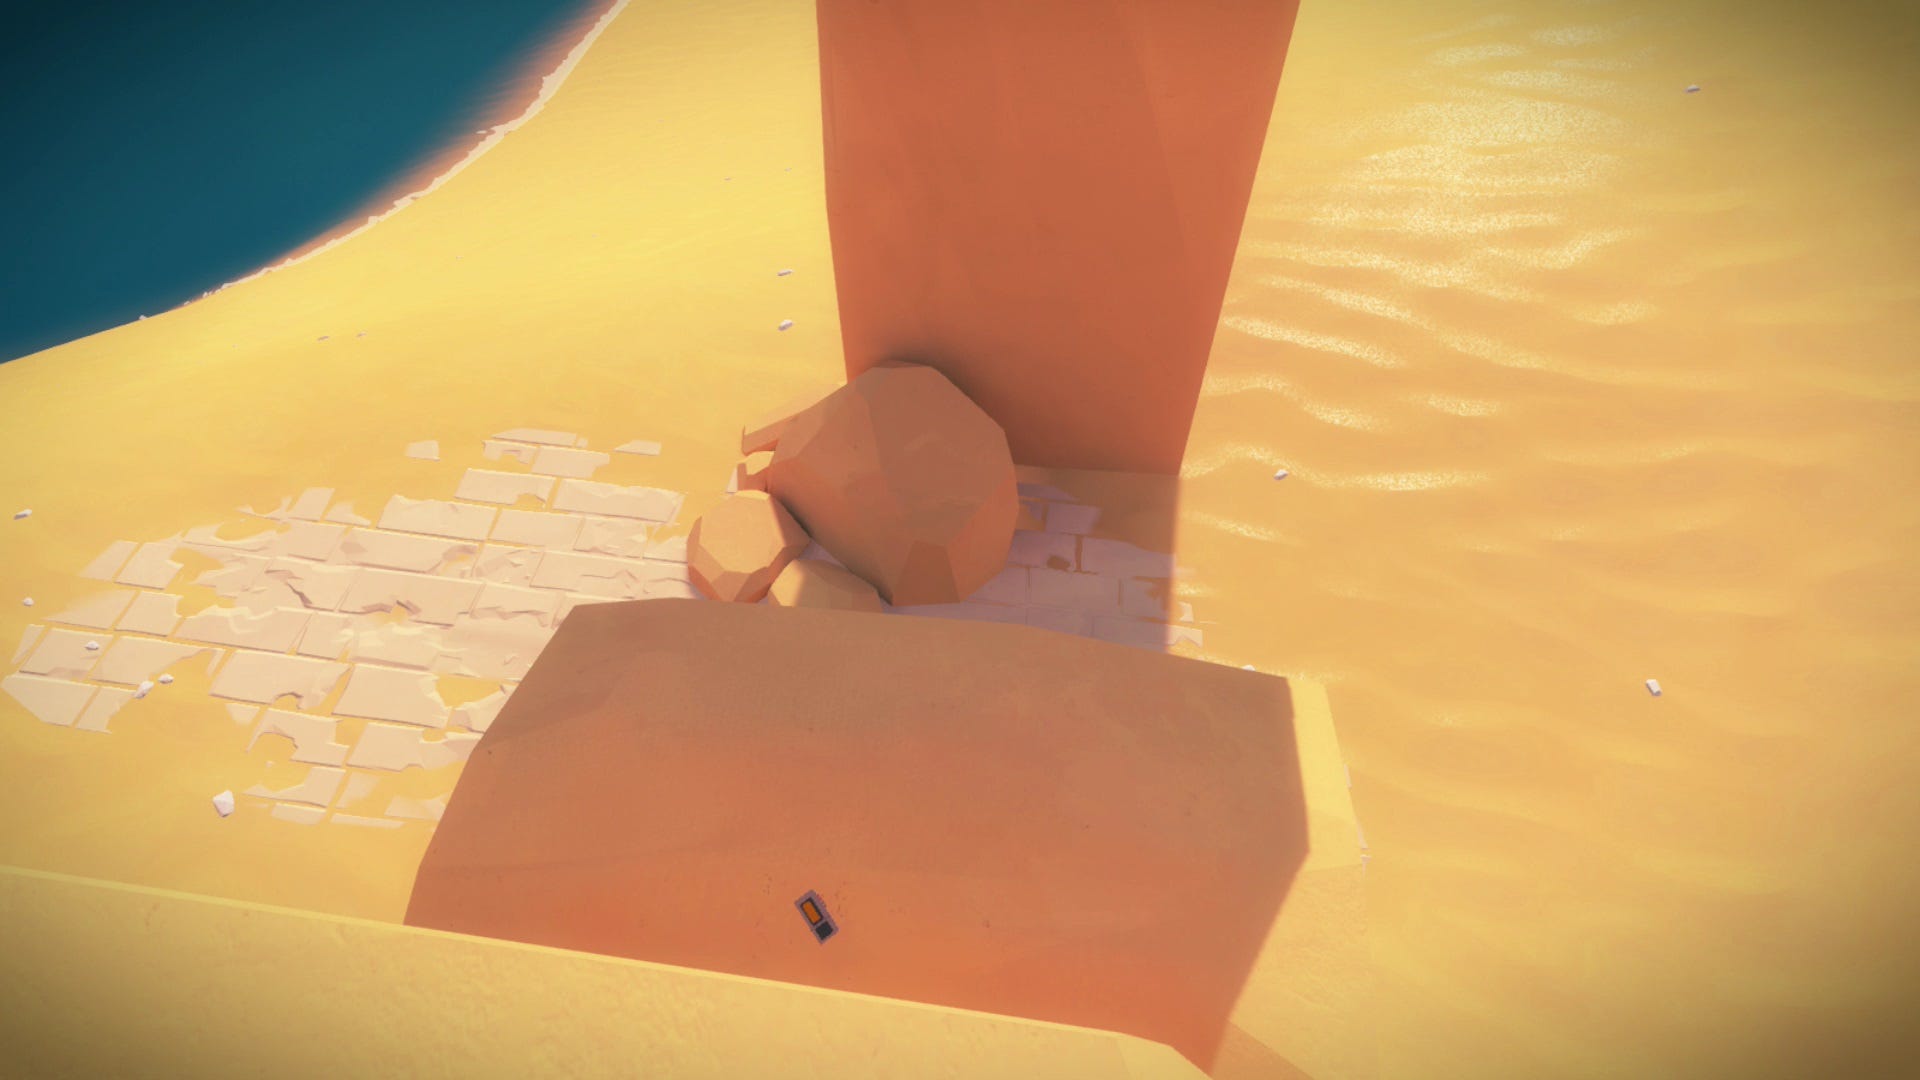
After completing the Symmetry puzzle in The Witness, the next main puzzle is the Desert Ruin. This The Witness Desert Ruin Solution Walkthrough will give you all the info you need. To locate the Desert Ruin Puzzle, start at the second section of the Symmetry Puzzle and head toward the open sand area to the right. Near the center of the desert, you’ll find a solitary desert ruin that contains quite a few puzzles within its underground layers.
The Witness The Desert Ruin Puzzle
The Desert Ruin Puzzle is all about physical orientation and lighting. The way that light reflects off of certain surfaces reveals clues for solving nearby puzzle panels. Keep this in mind while delving into the depths of the Desert Ruin, and you’ll make it through its levels in no time.
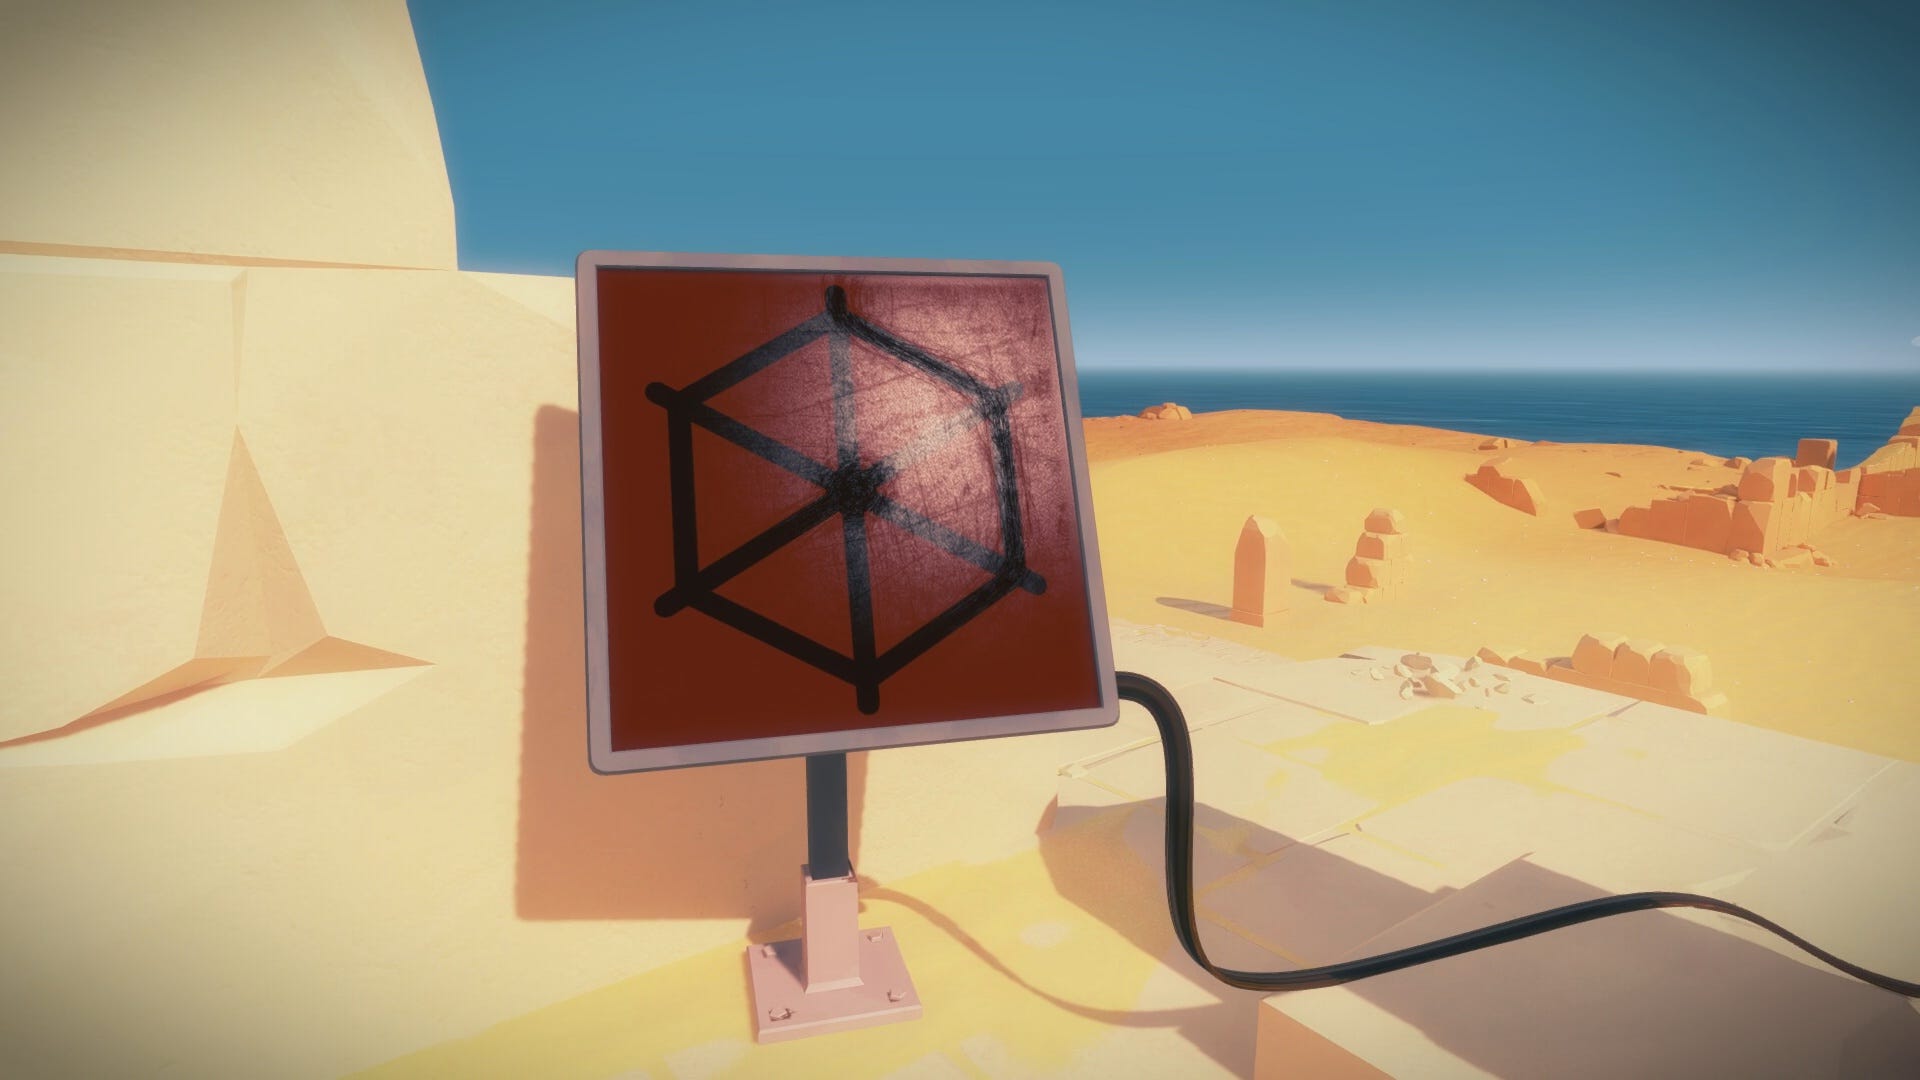
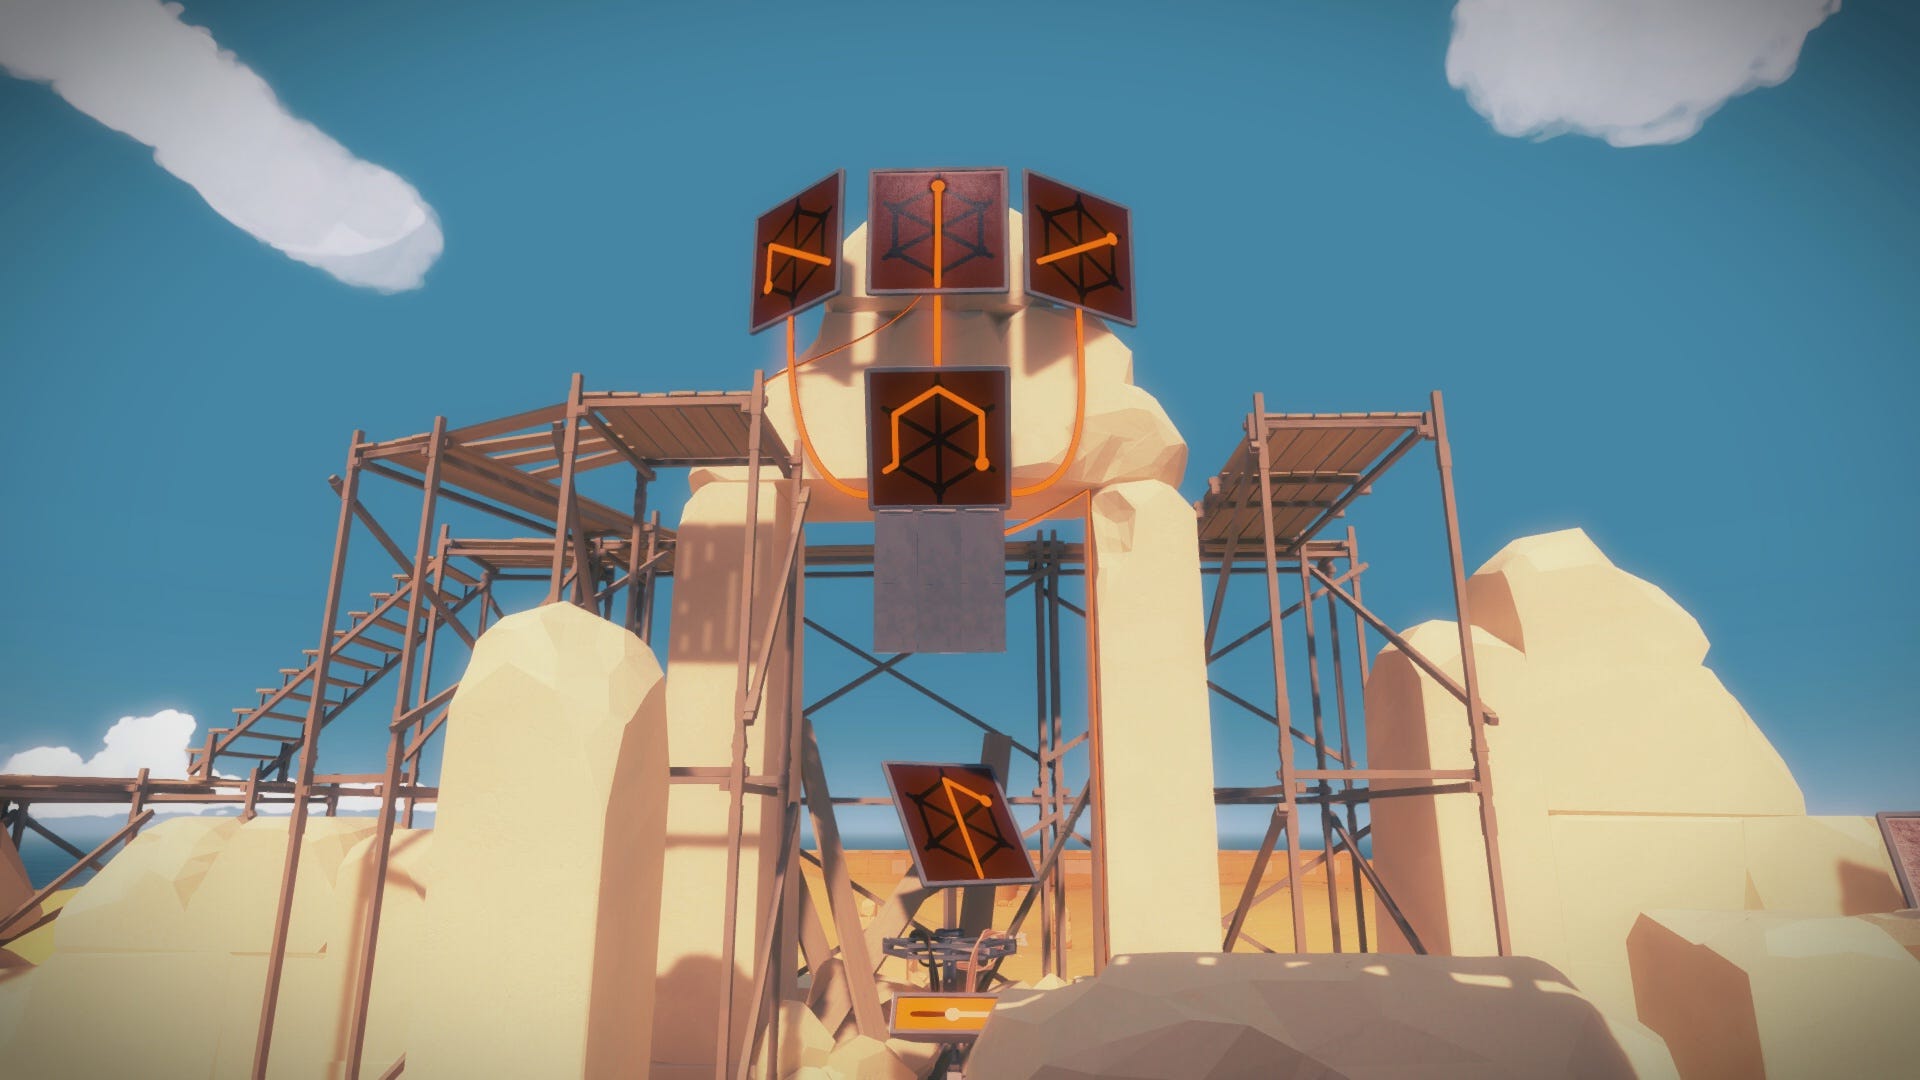
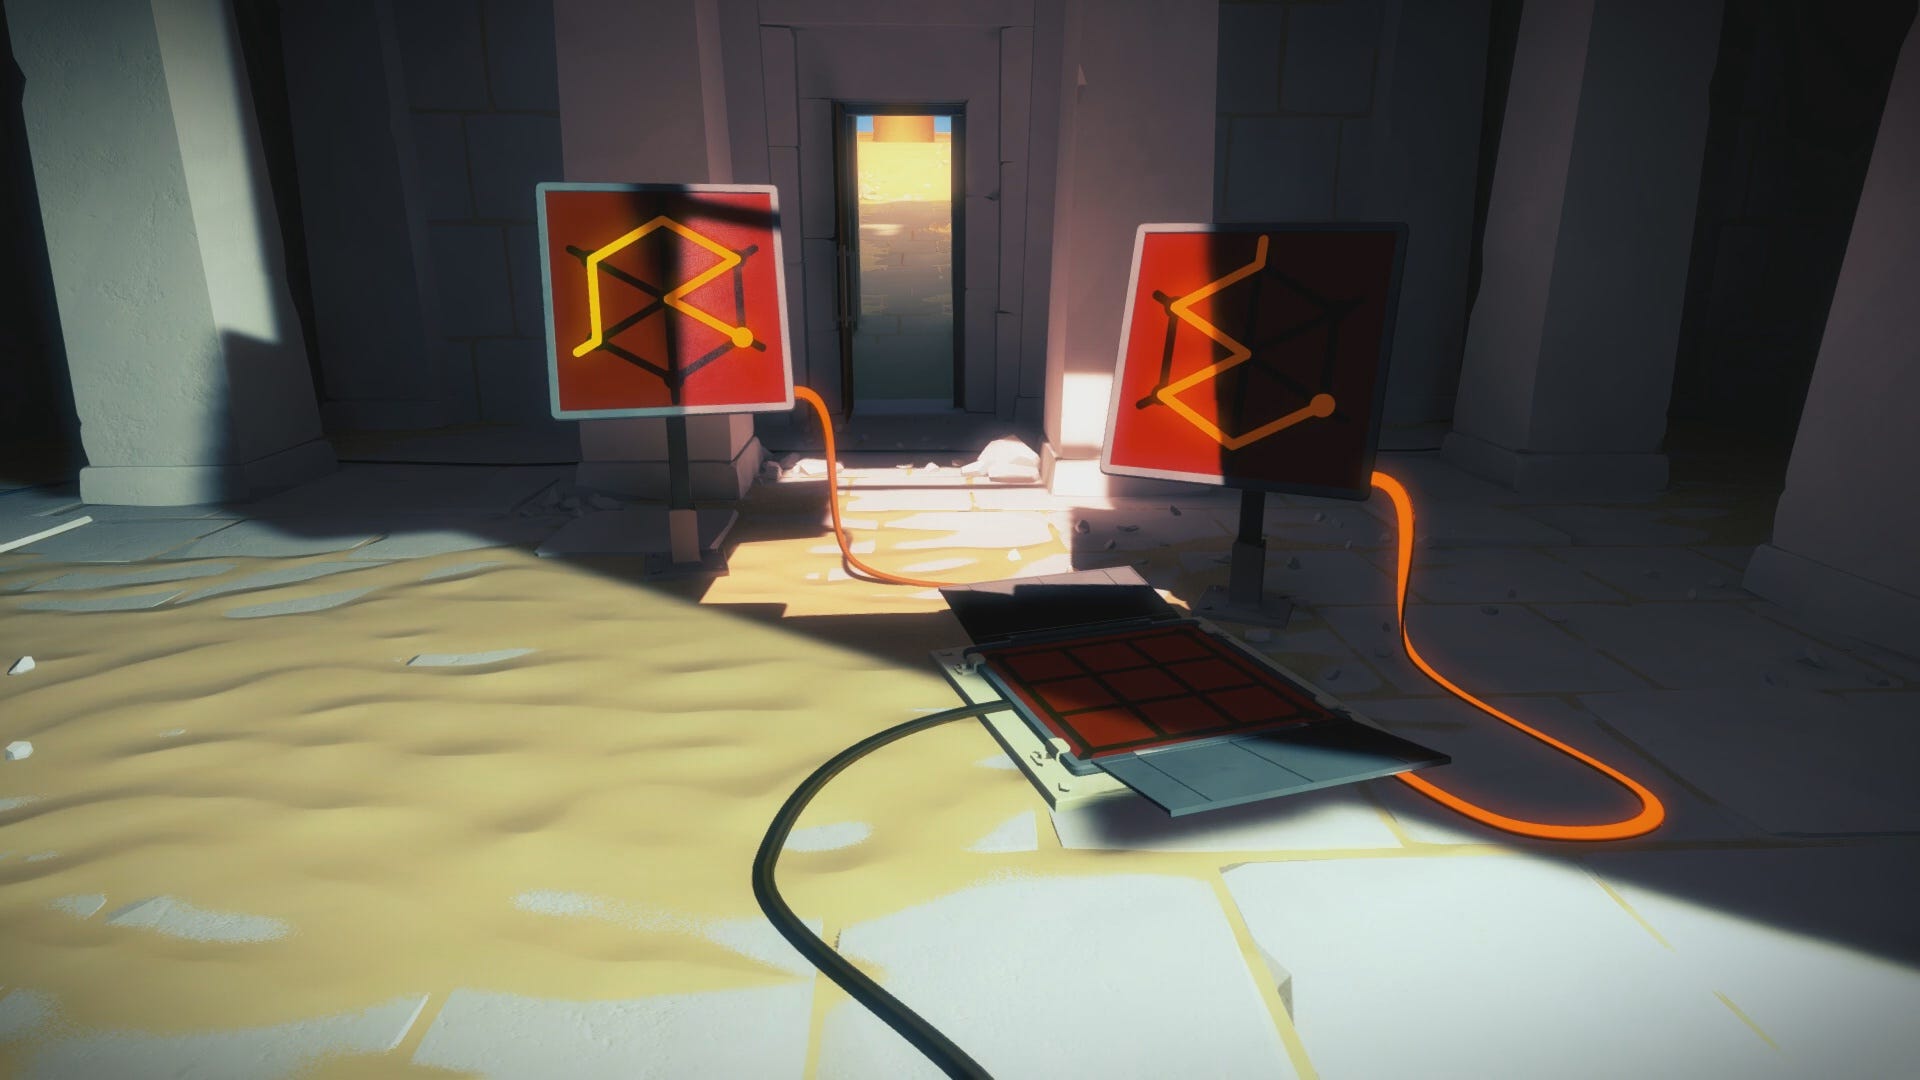
As you enter the front of the Desert Ruin, you’ll encounter several puzzle panels stationed high and low. Start with the puzzle panel on the back right corner. Depending on where you’re standing, the sunlight will make a glare on the surface of the panel, revealing scratched lines that indicate the panel’s solution.
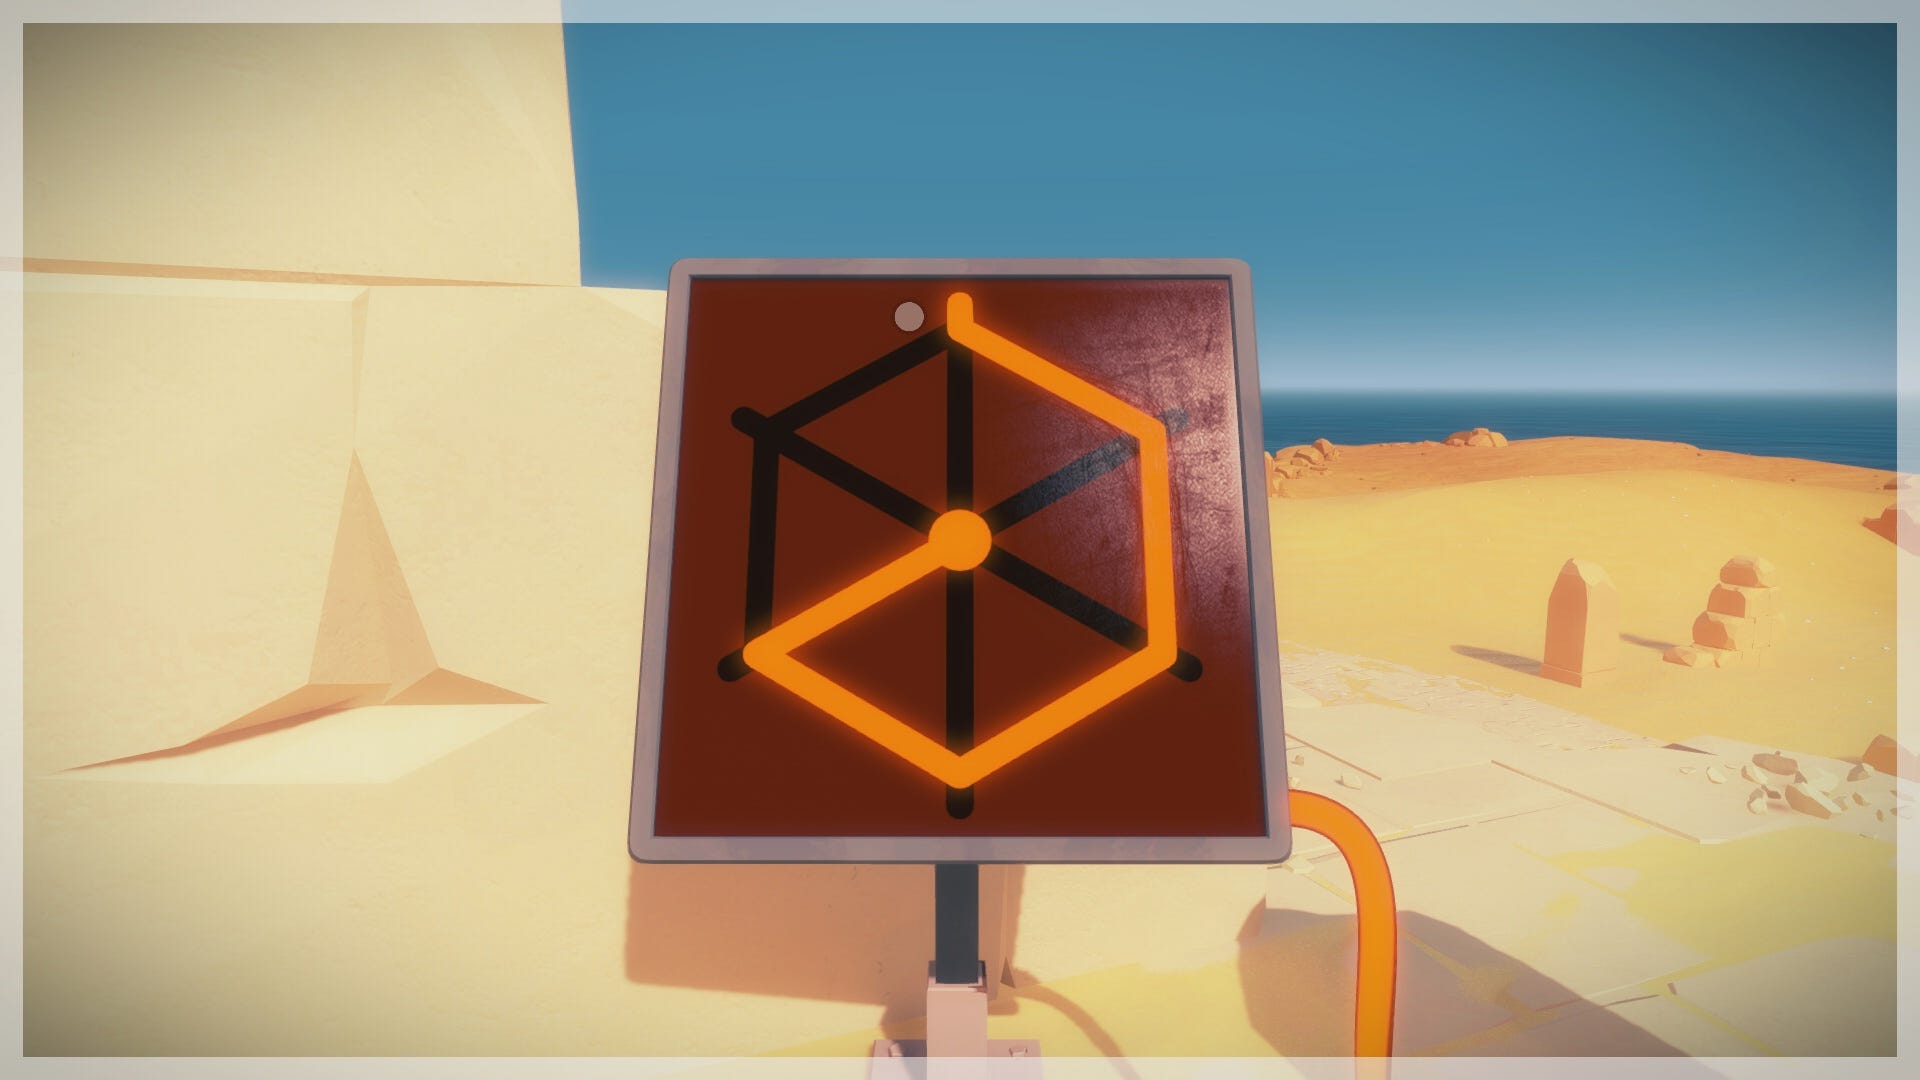
Nearly all of the other puzzles in the Desert Ruin feature a reflective clue like this one. Solve the first panel using the solution above, then follow the newly powered wire to the next panel, just in front of the first one. The same light reflecting method applies here.
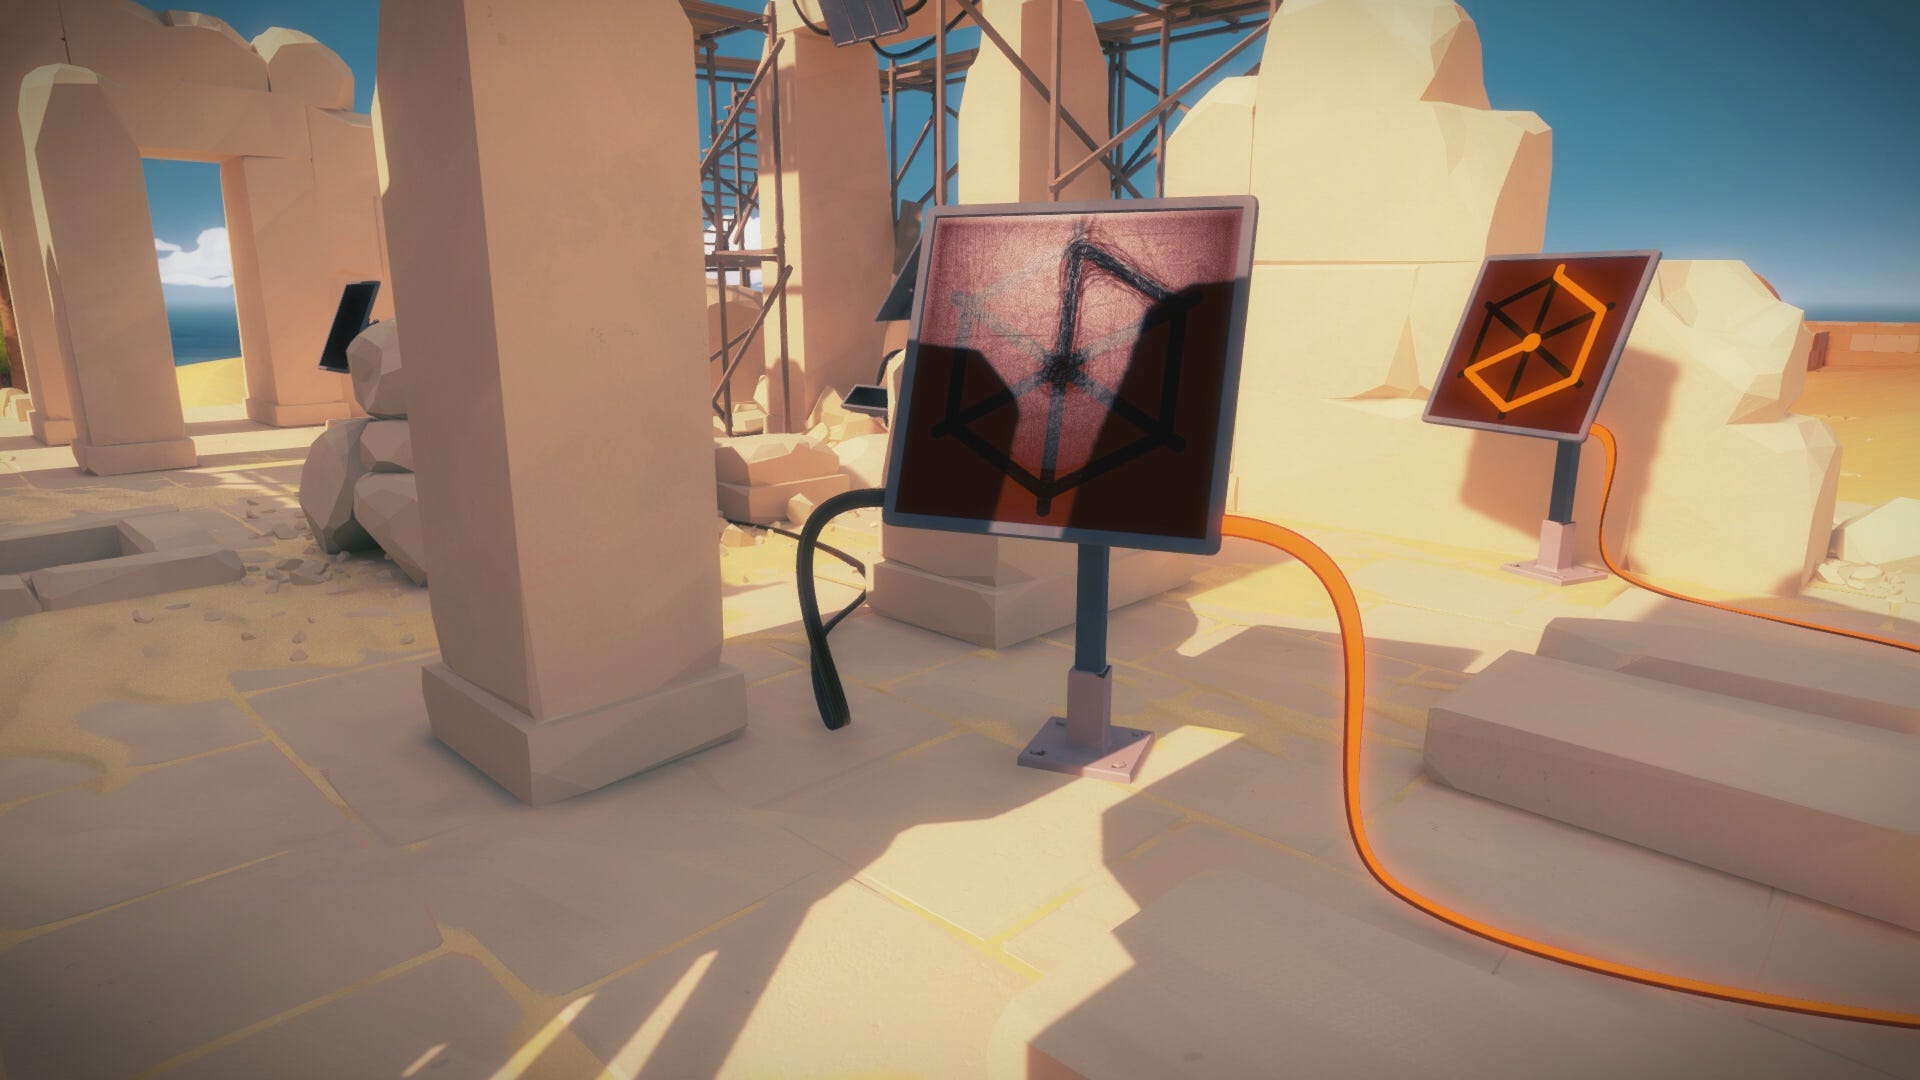
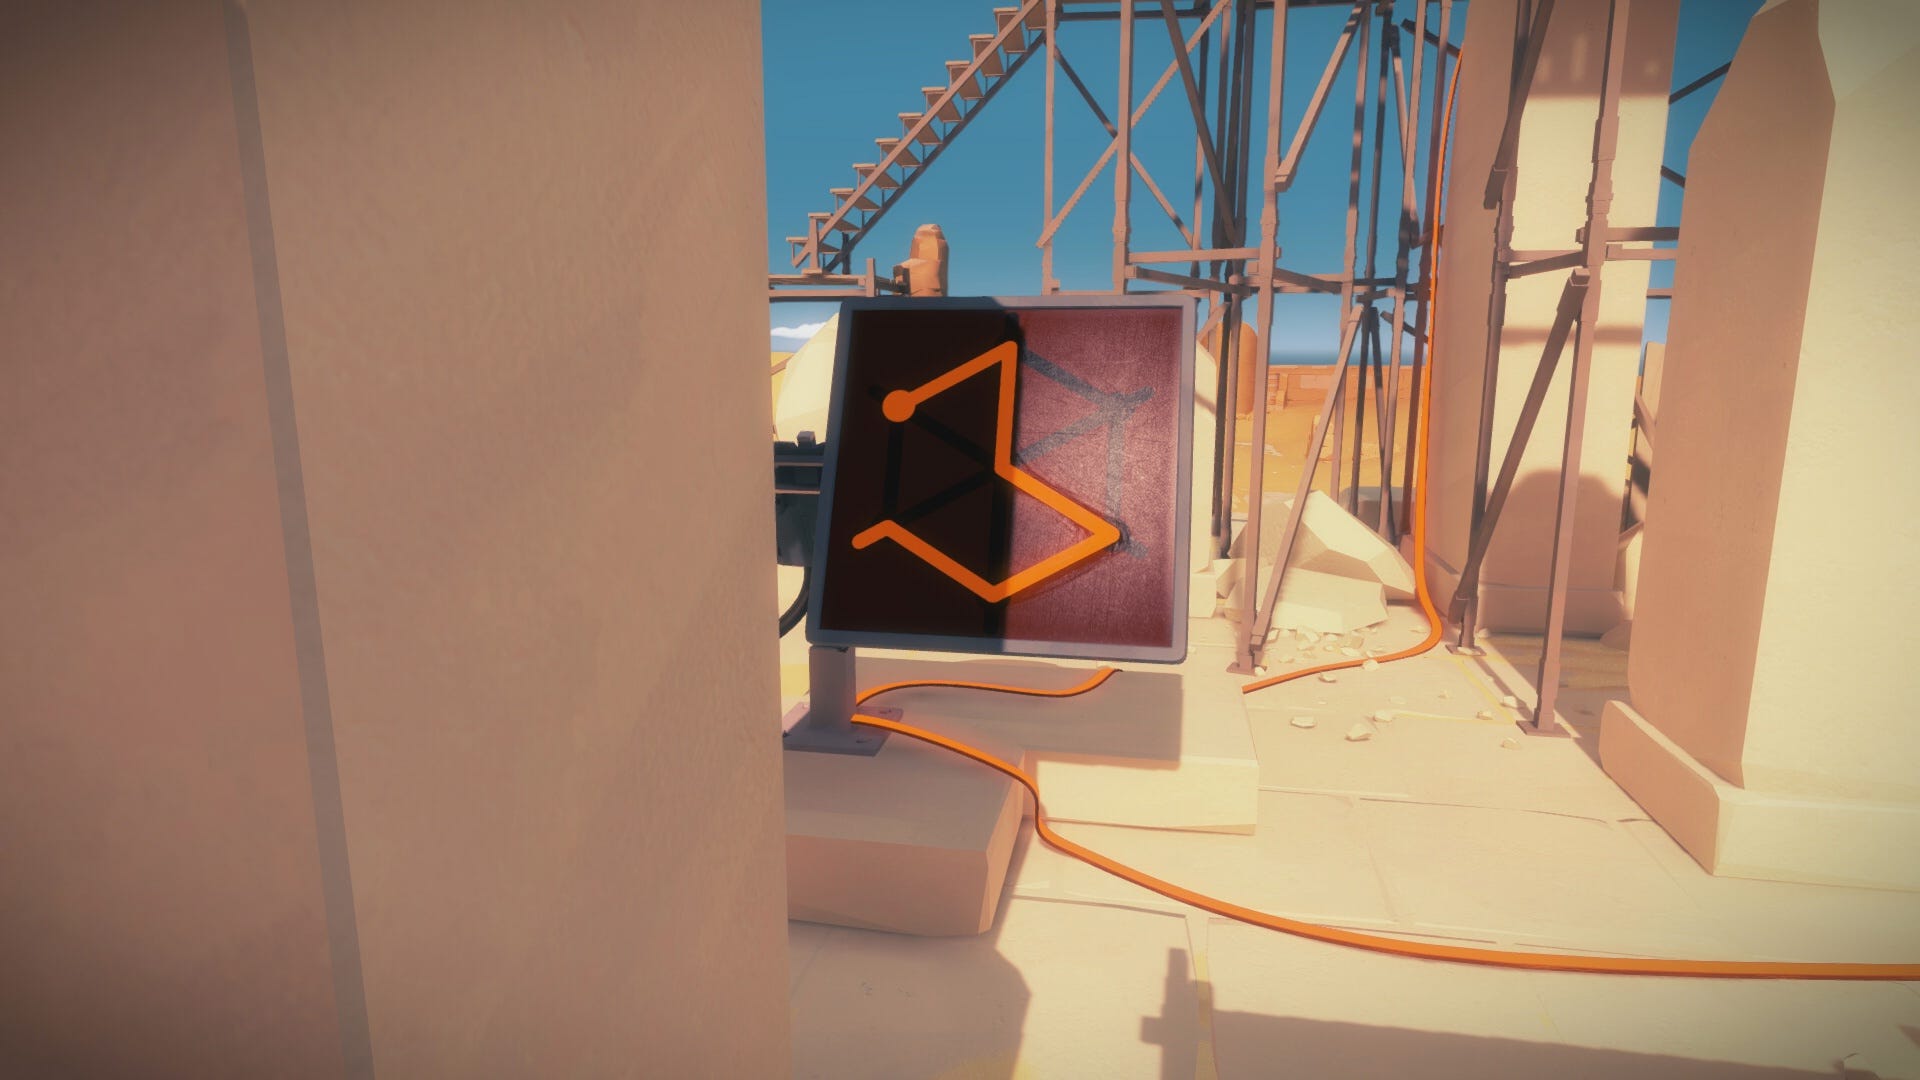
Now, follow the illuminated wire to the next puzzle panel on the far left side. Part of the reflective clue can be seen on the left edge, but the pillar is blocking the light on the panel’s right edge. To reveal the rest of the clue, move around to the back side of the panel and draw a line toward the left to activate the panel’s movement. This will shift the panel in the direction that you drew the line, causing light to shine on the other half of the puzzle.
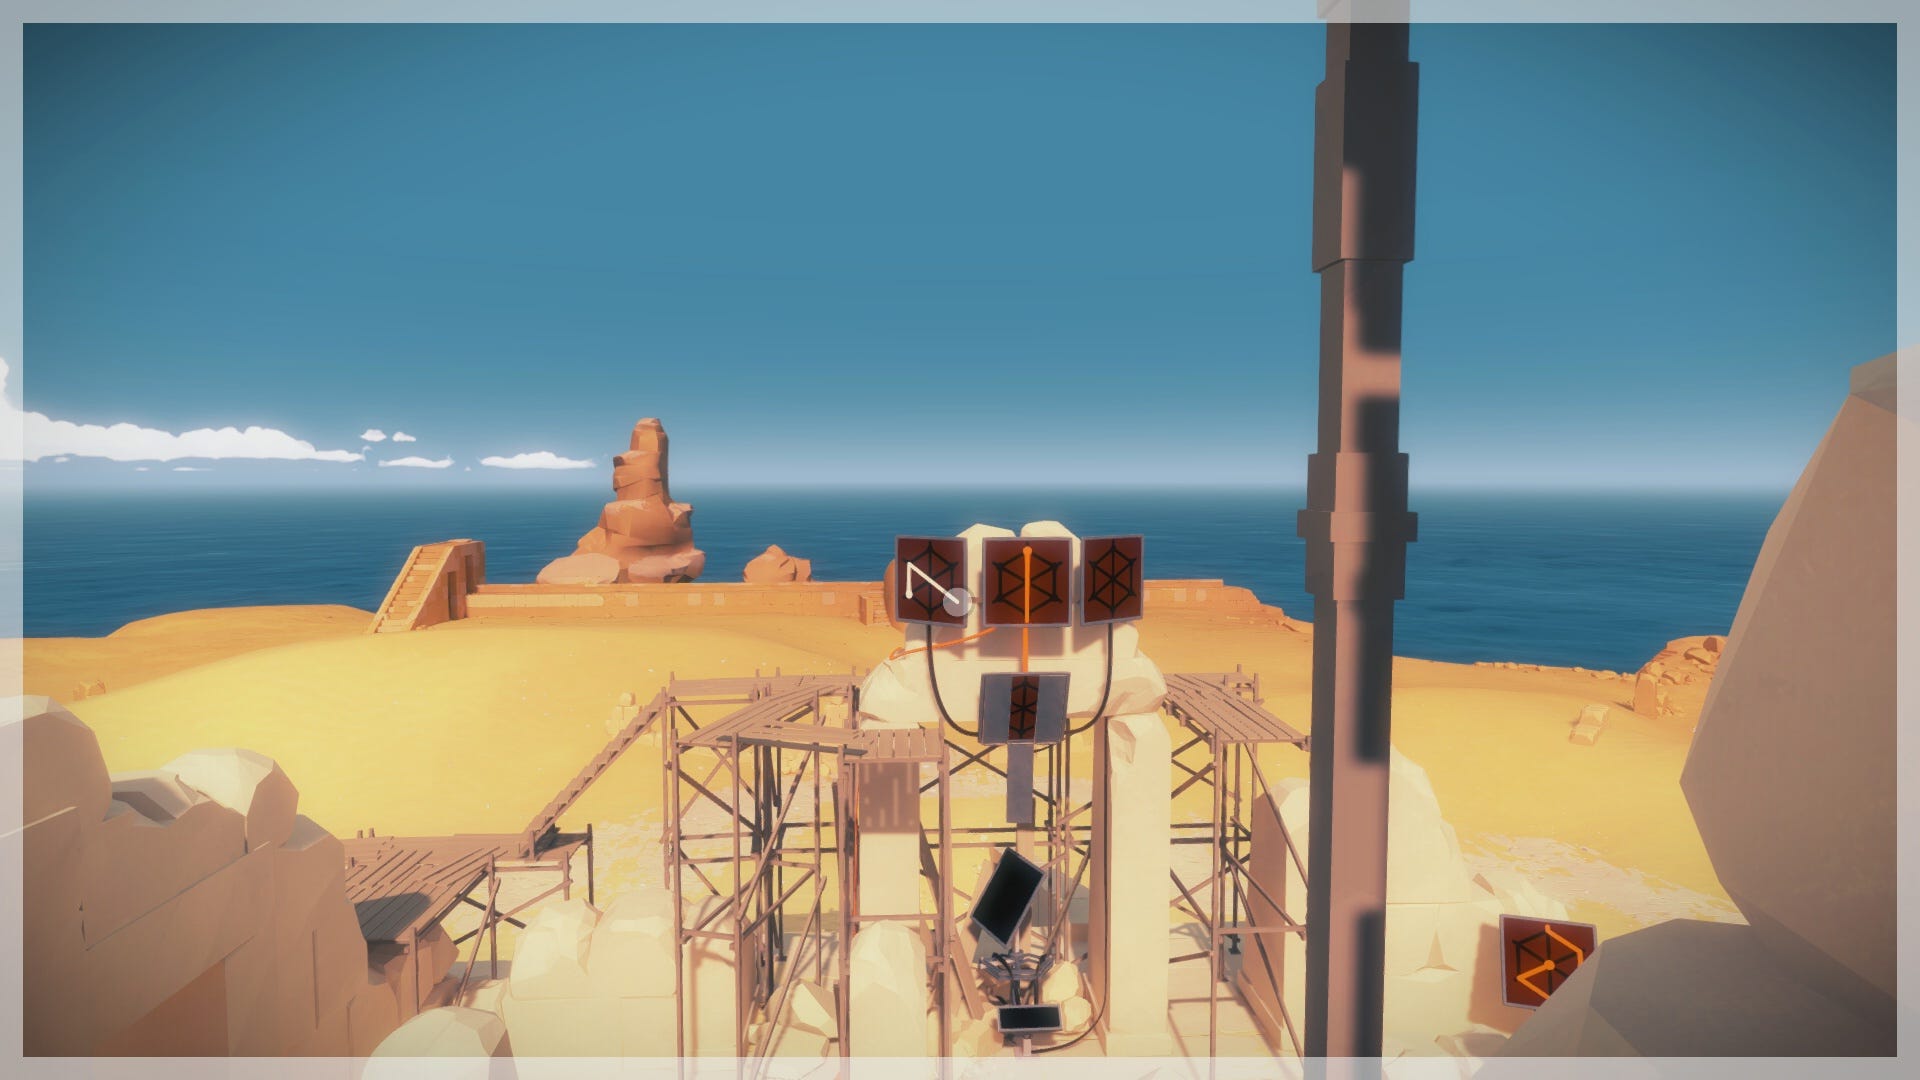
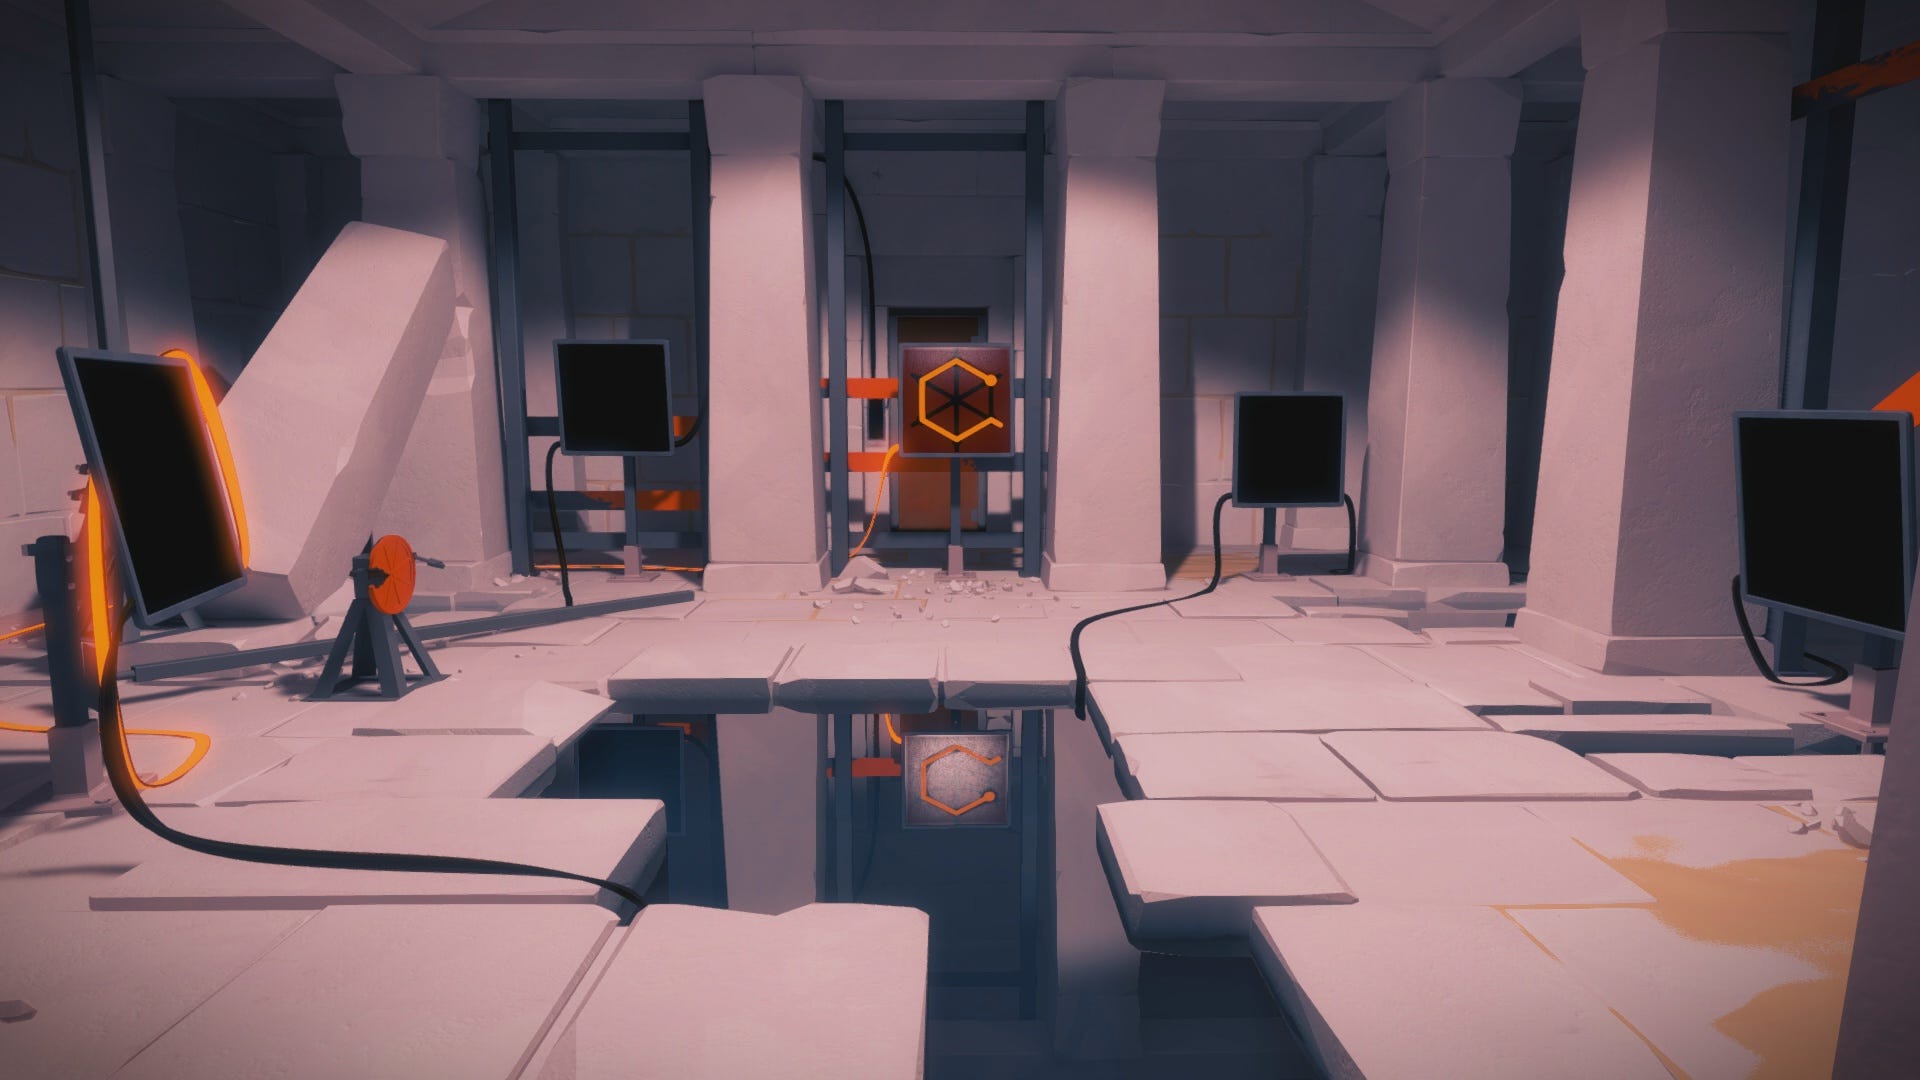
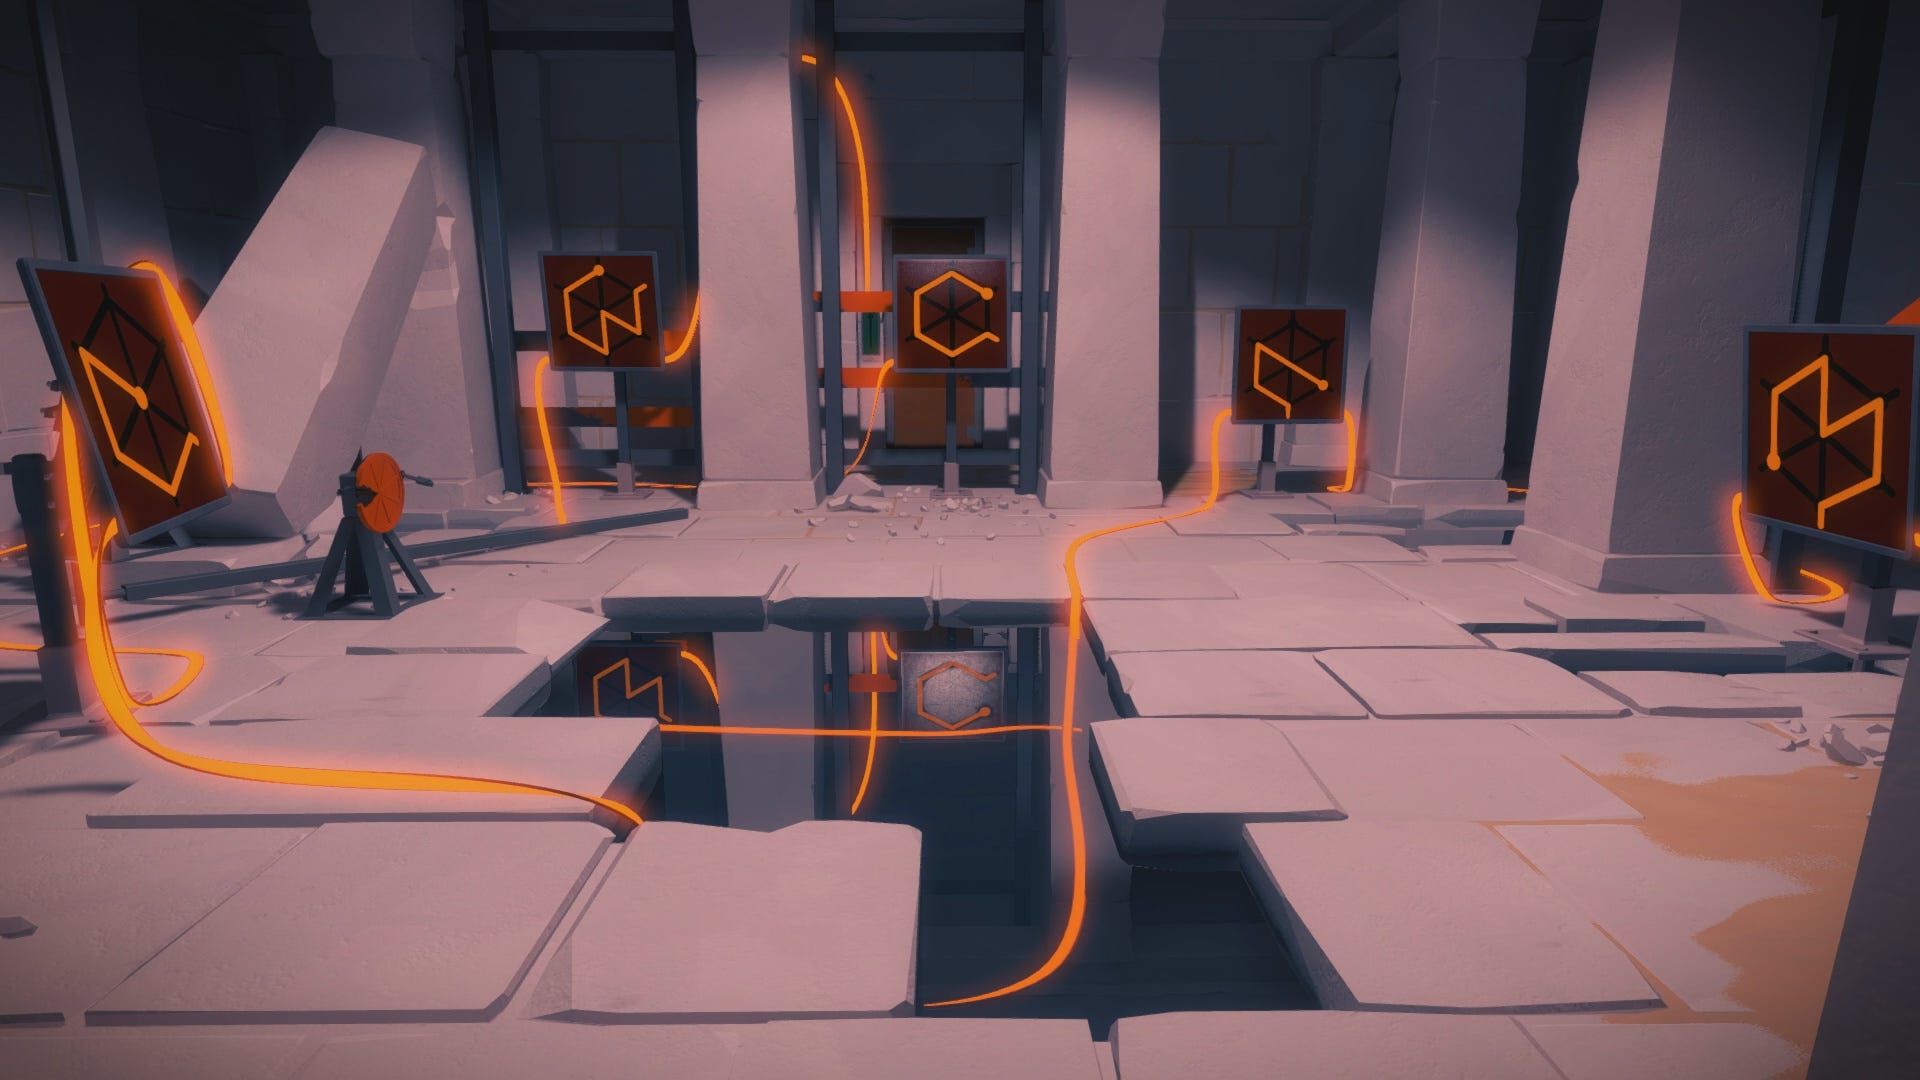
The wire now leads to three higher panels on the scaffolding above. To solve these puzzles, you can either walk up the stairs on the outer left side of the ruins to reach the top of the scaffolding, or you can go up the staircase on the front side of the ruins to view all three panels from a distance.
Keep in mind that panels can be solved from far away rather than up close. Just click on the screen from a distance to bring up your cursor to begin solving any puzzle in the environment.
Solving the three panels reveals a fourth panel just below them, and another panel below that. Unlock these five puzzles using our solution below, then head around to the back of the Desert Ruin.
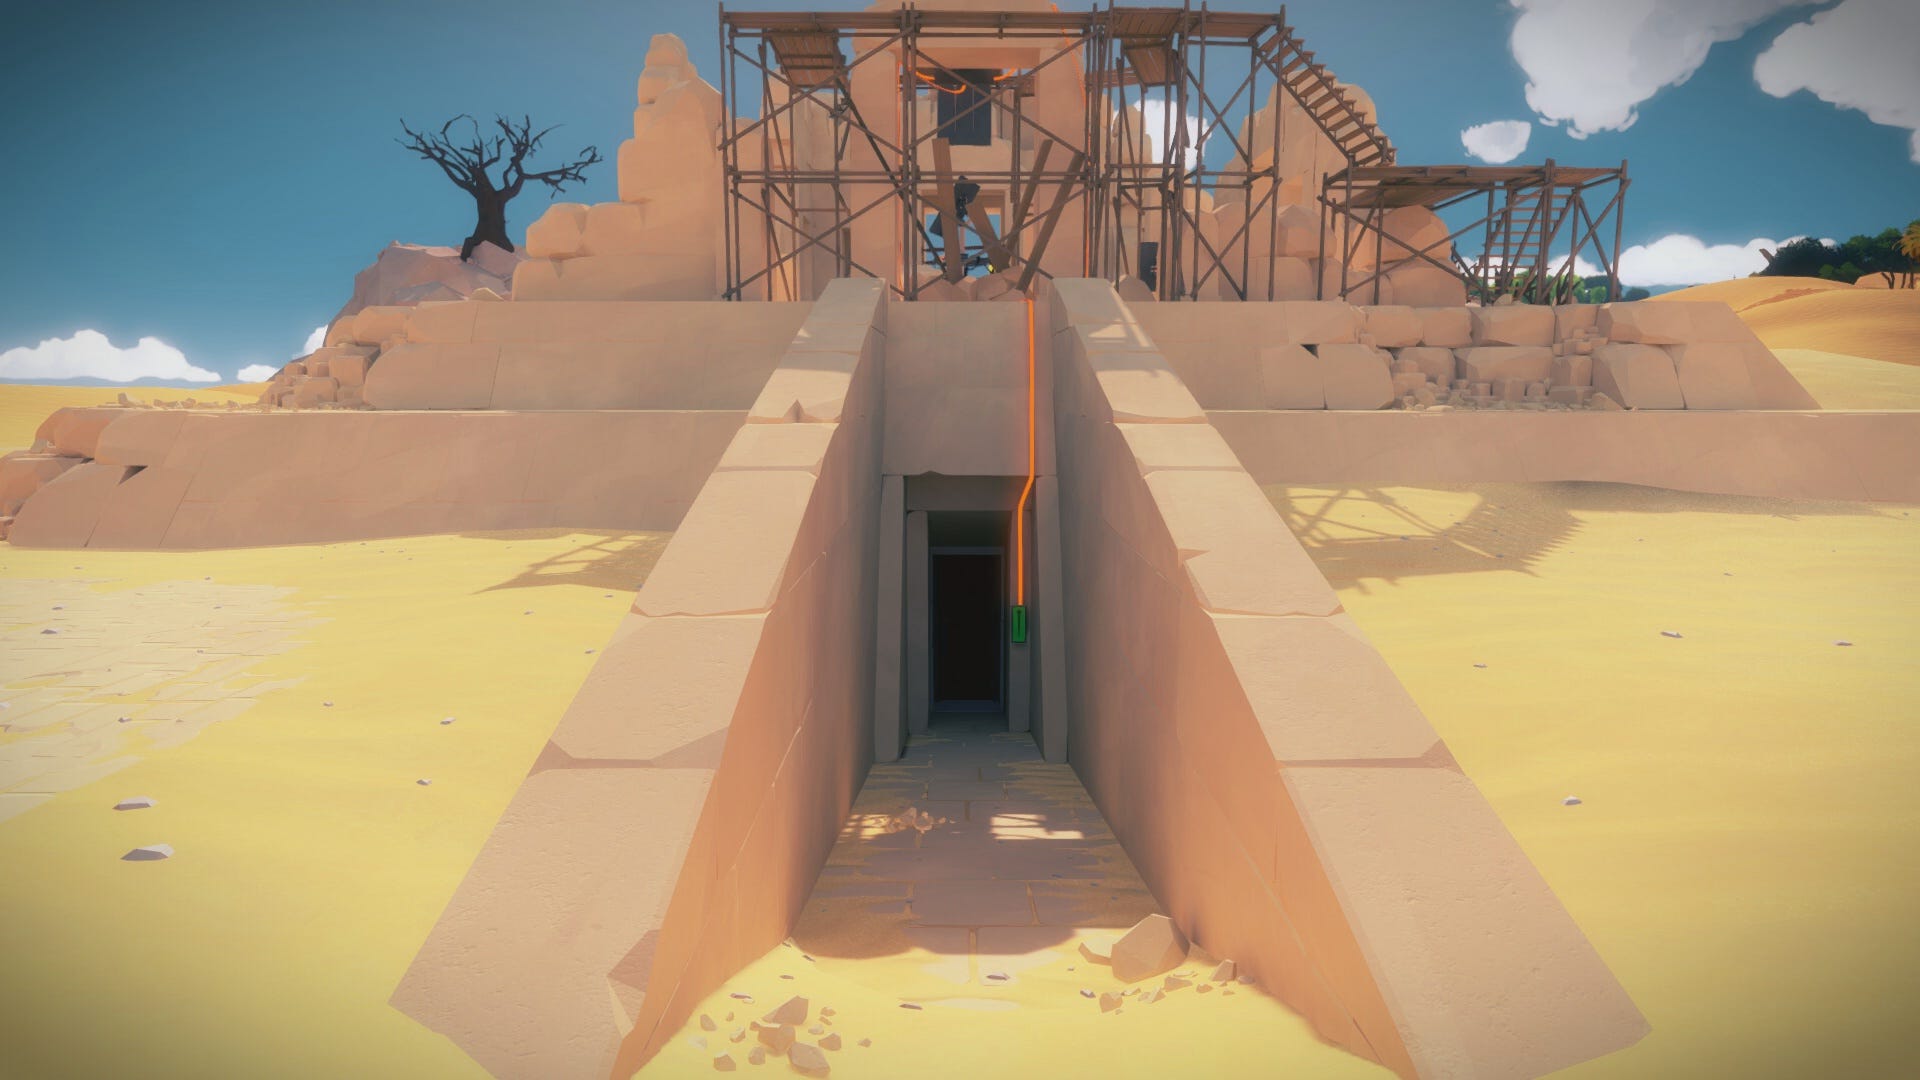
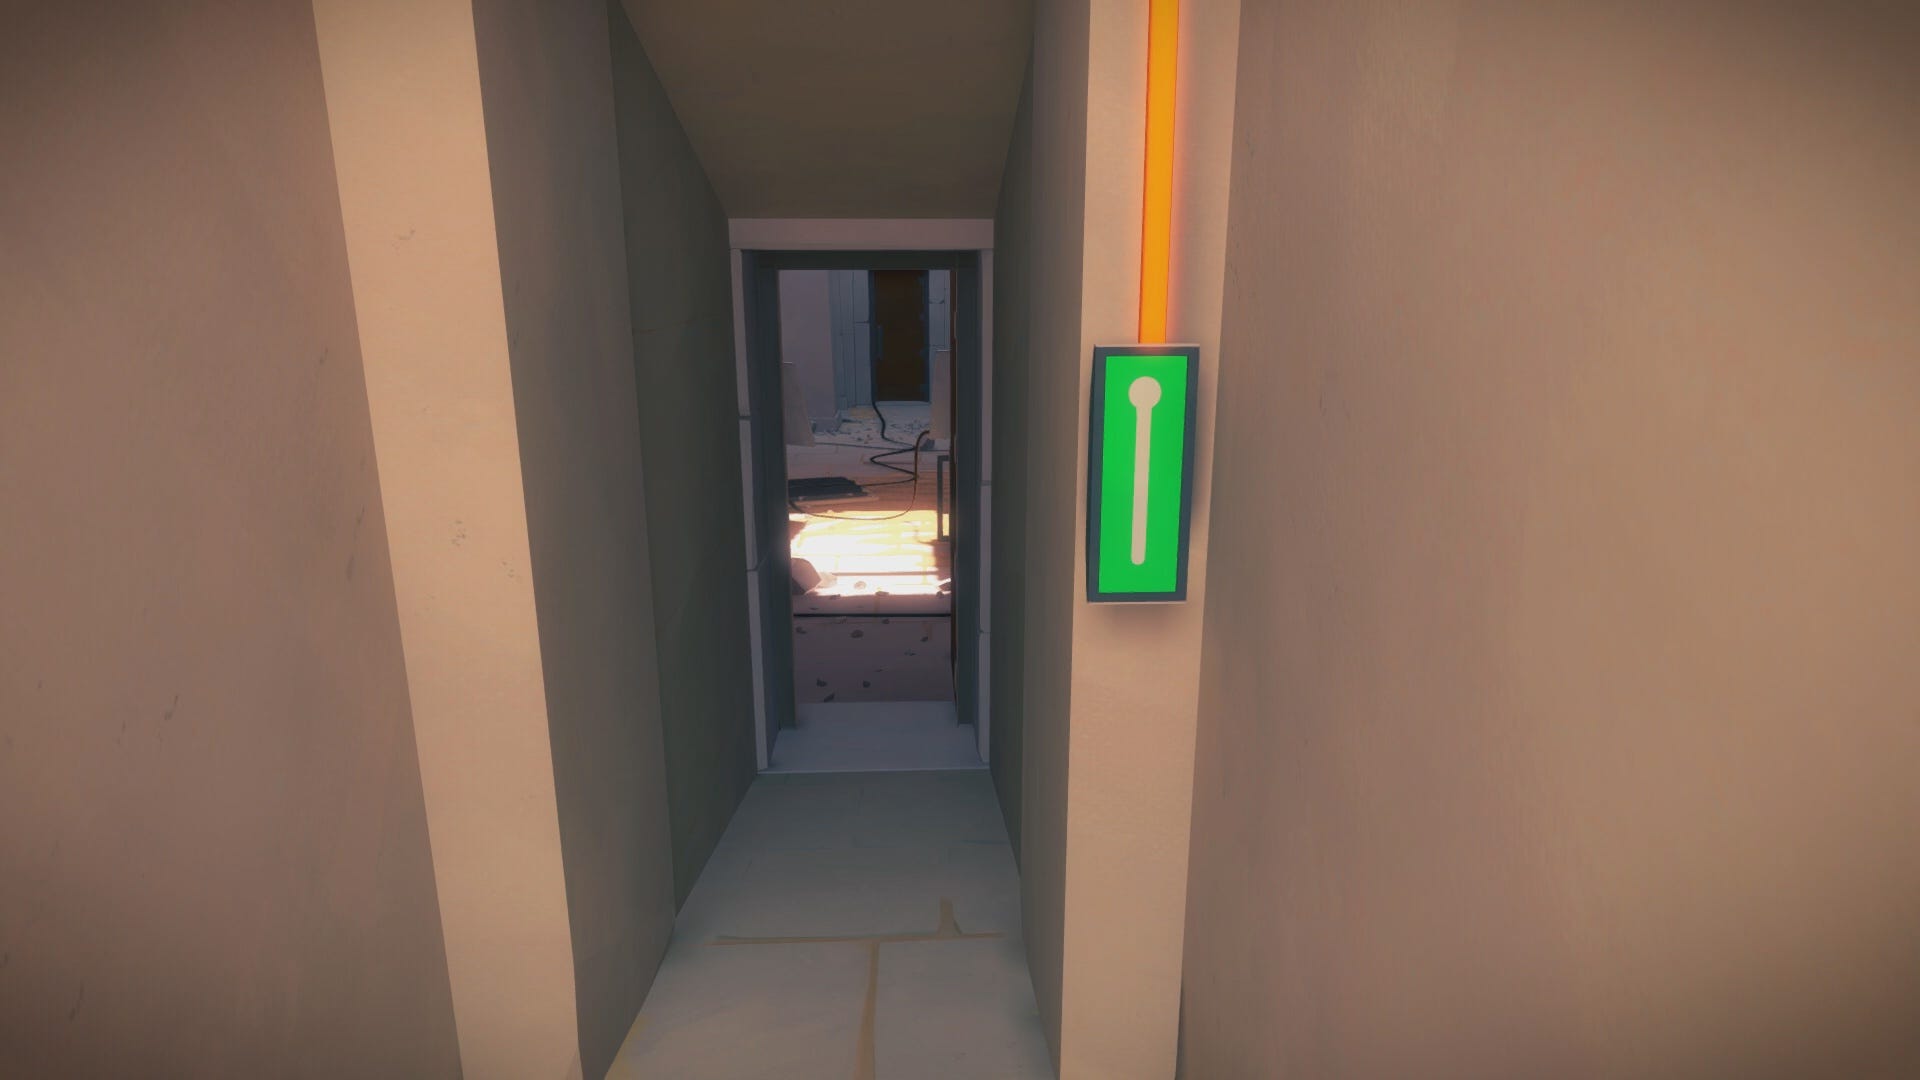
At the back side of the Desert Ruin, you’ll find a path leading underground beneath the ruins. Open the door using the line puzzle, then enter the chamber just below the hole in the floor of the first level.
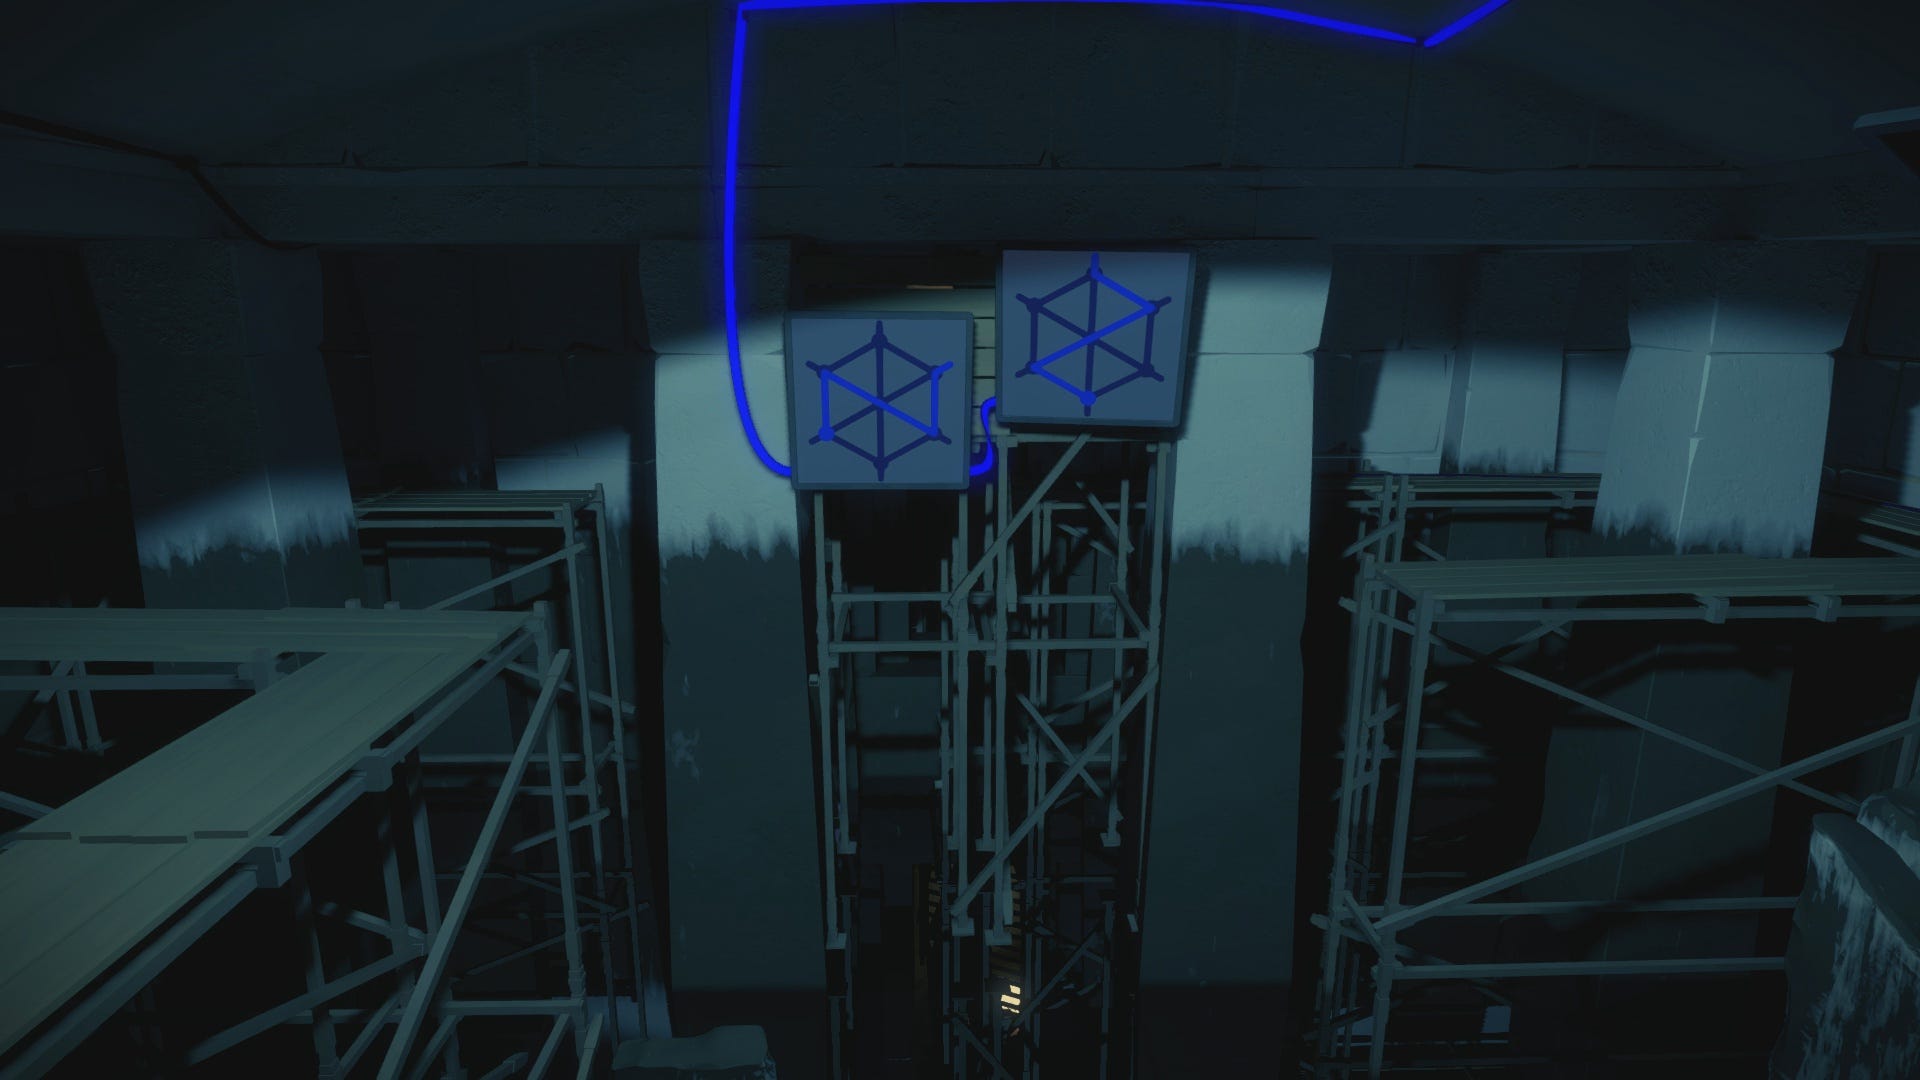
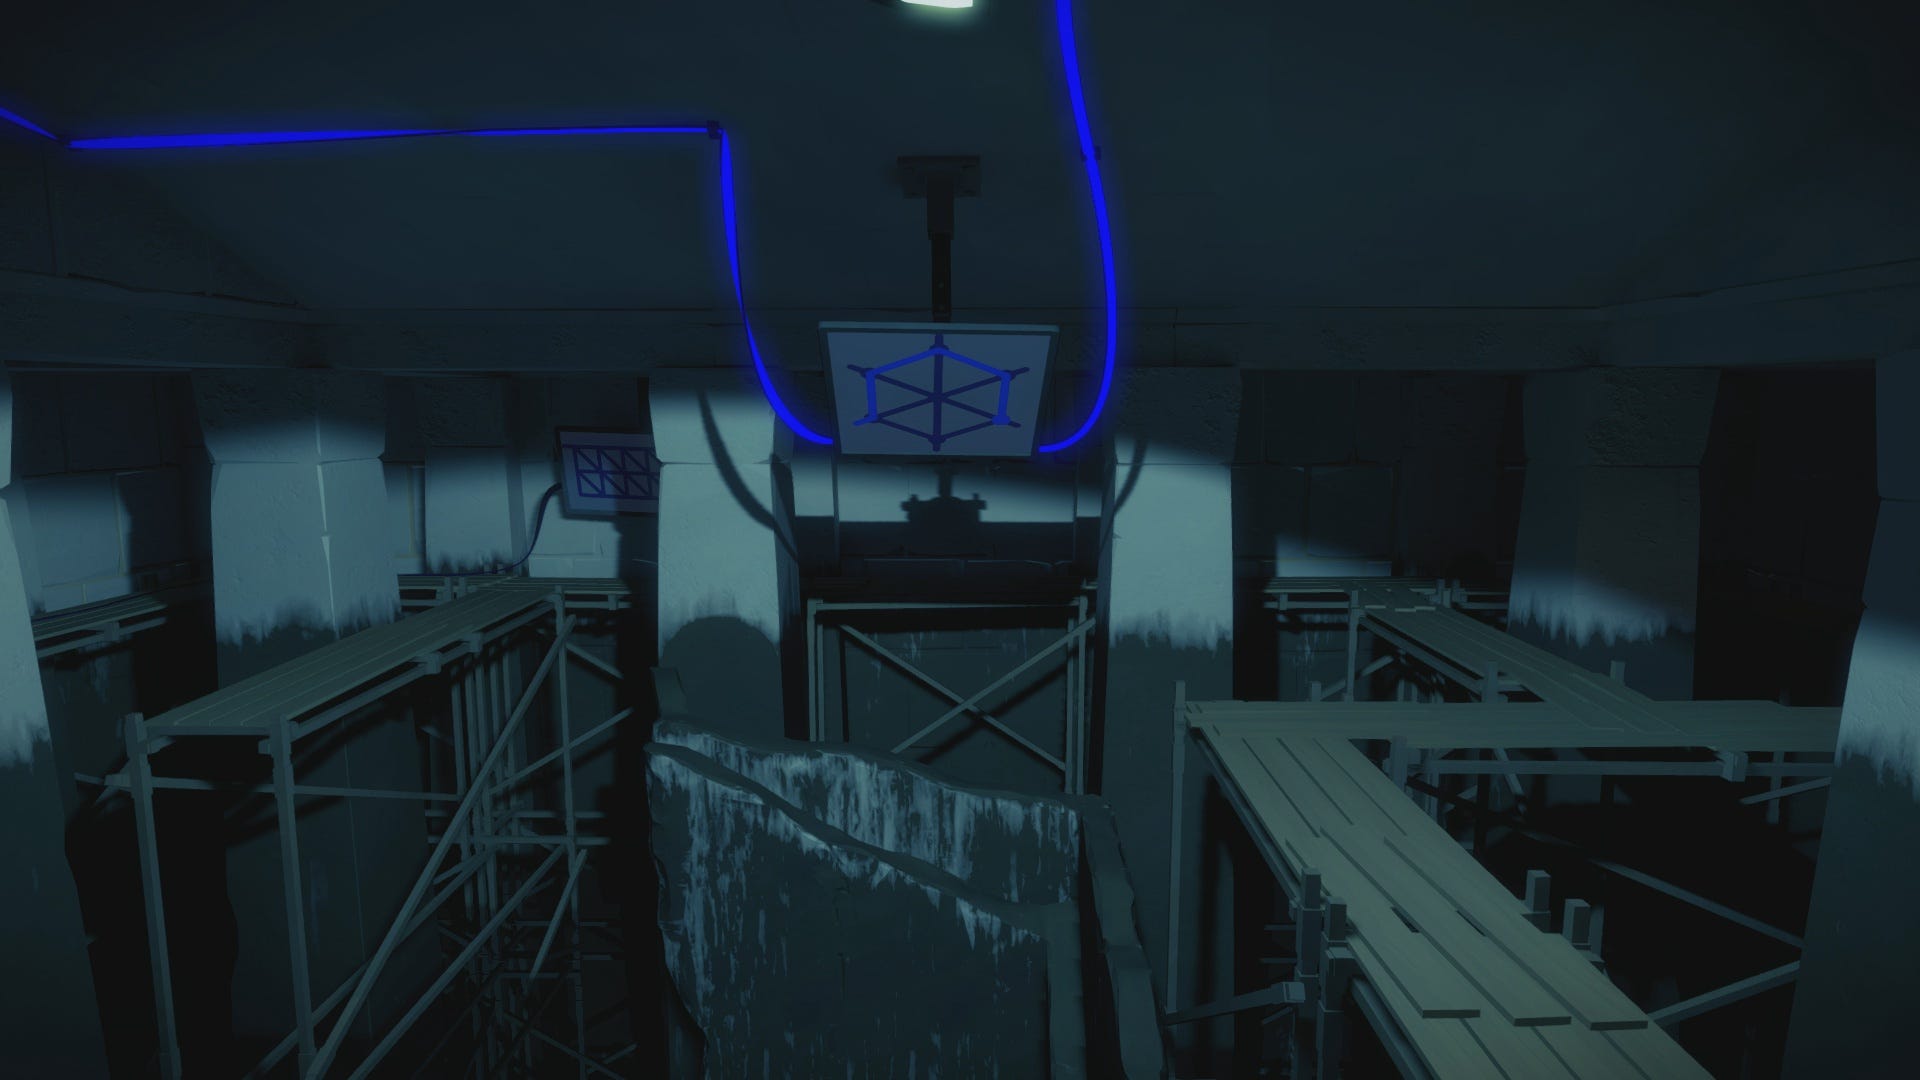
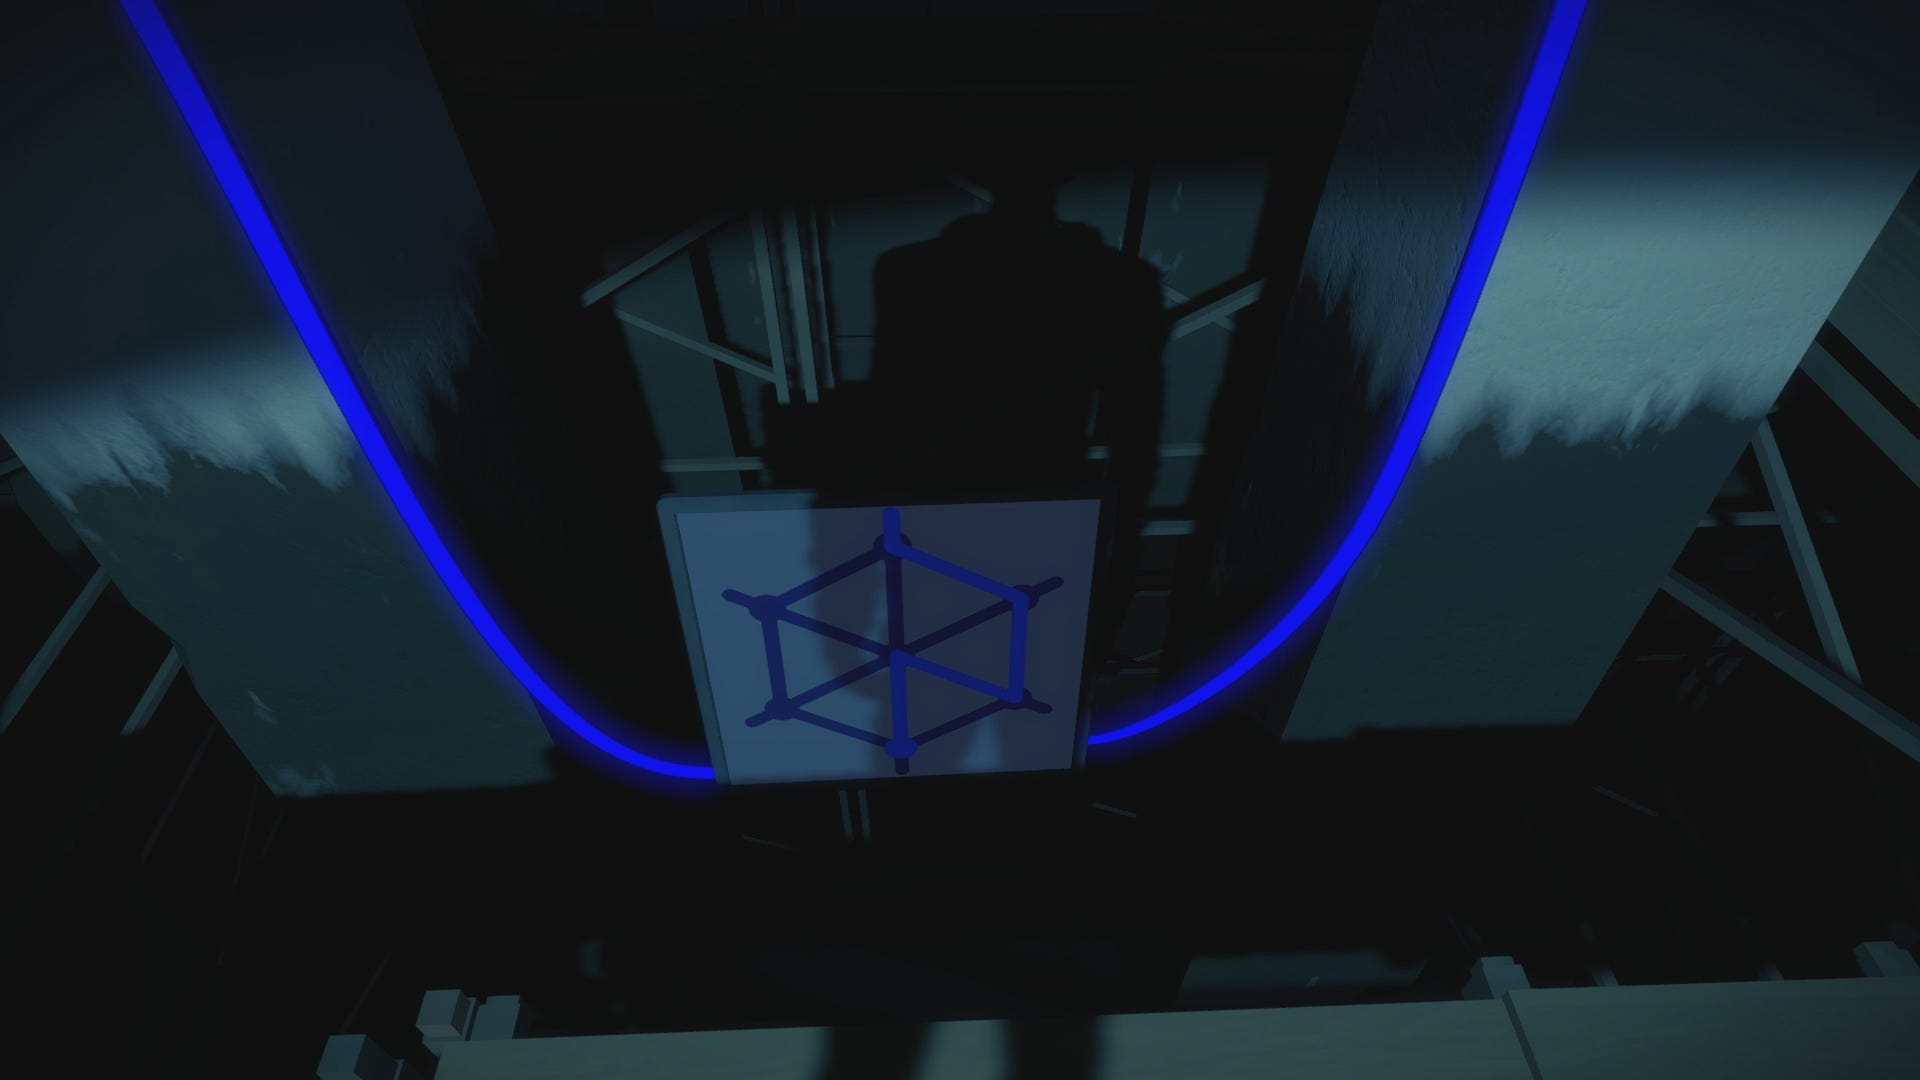
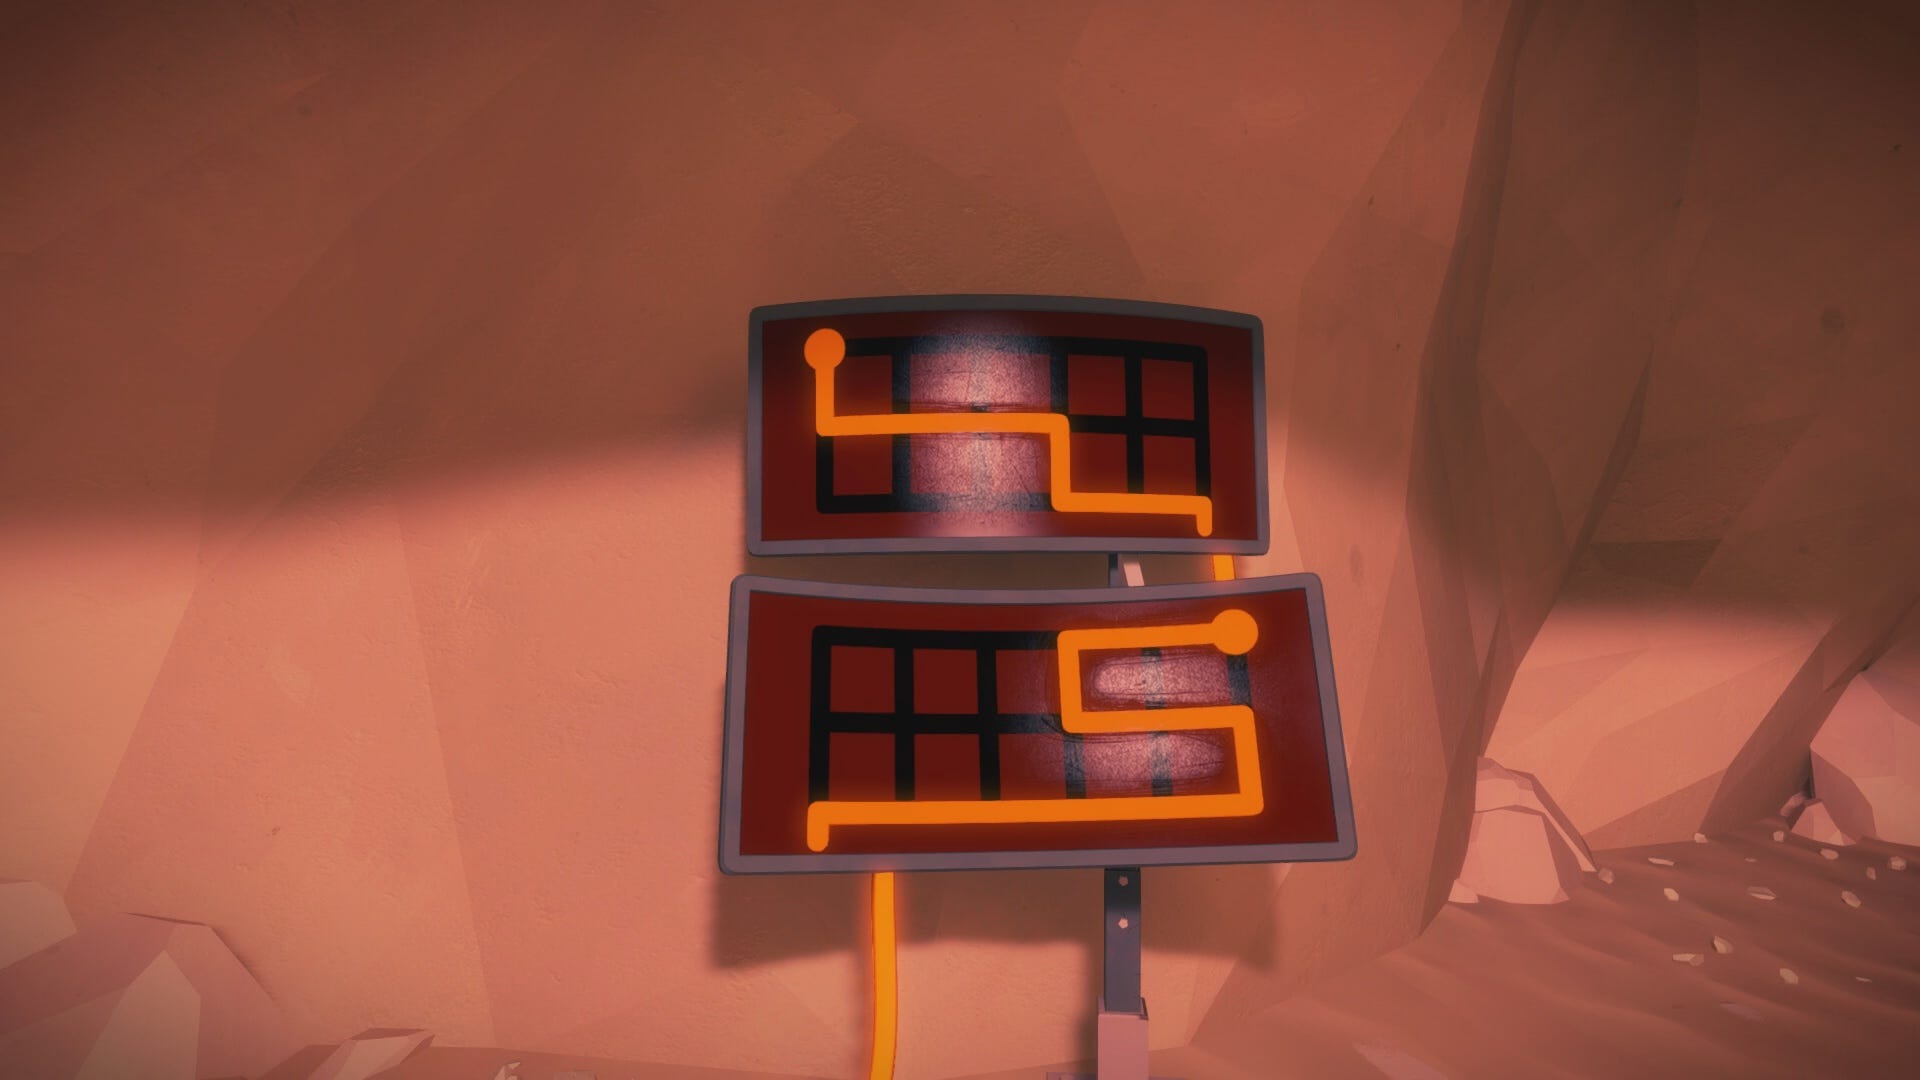
As you enter the chamber, there are two puzzle panels facing away from the door, and one closed panel on the floor. To the right, locate a monitor with a line puzzle consisting of three prongs. Drawing lines on these prongs will illuminate different lighting in the room, depending on your line drawing. Test out different lighting options to see the reflective clues on the surface of each panel.
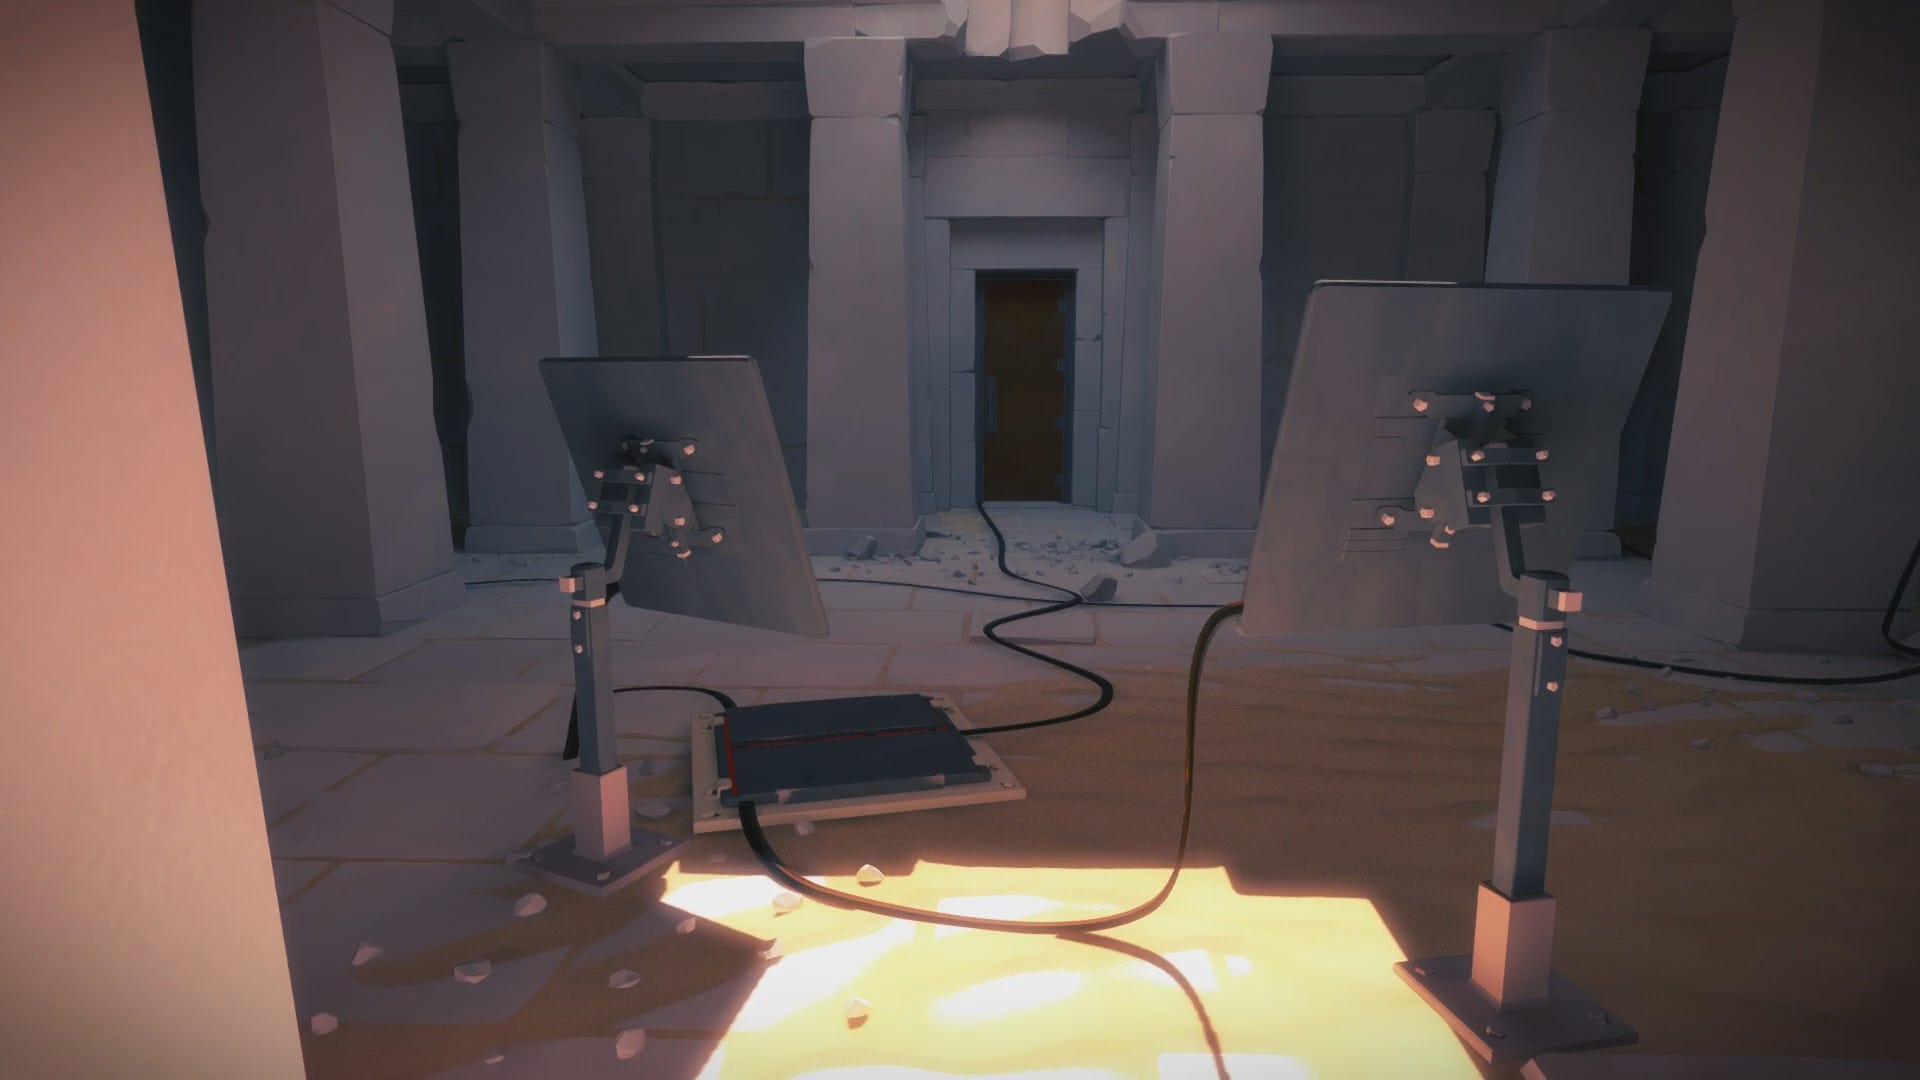

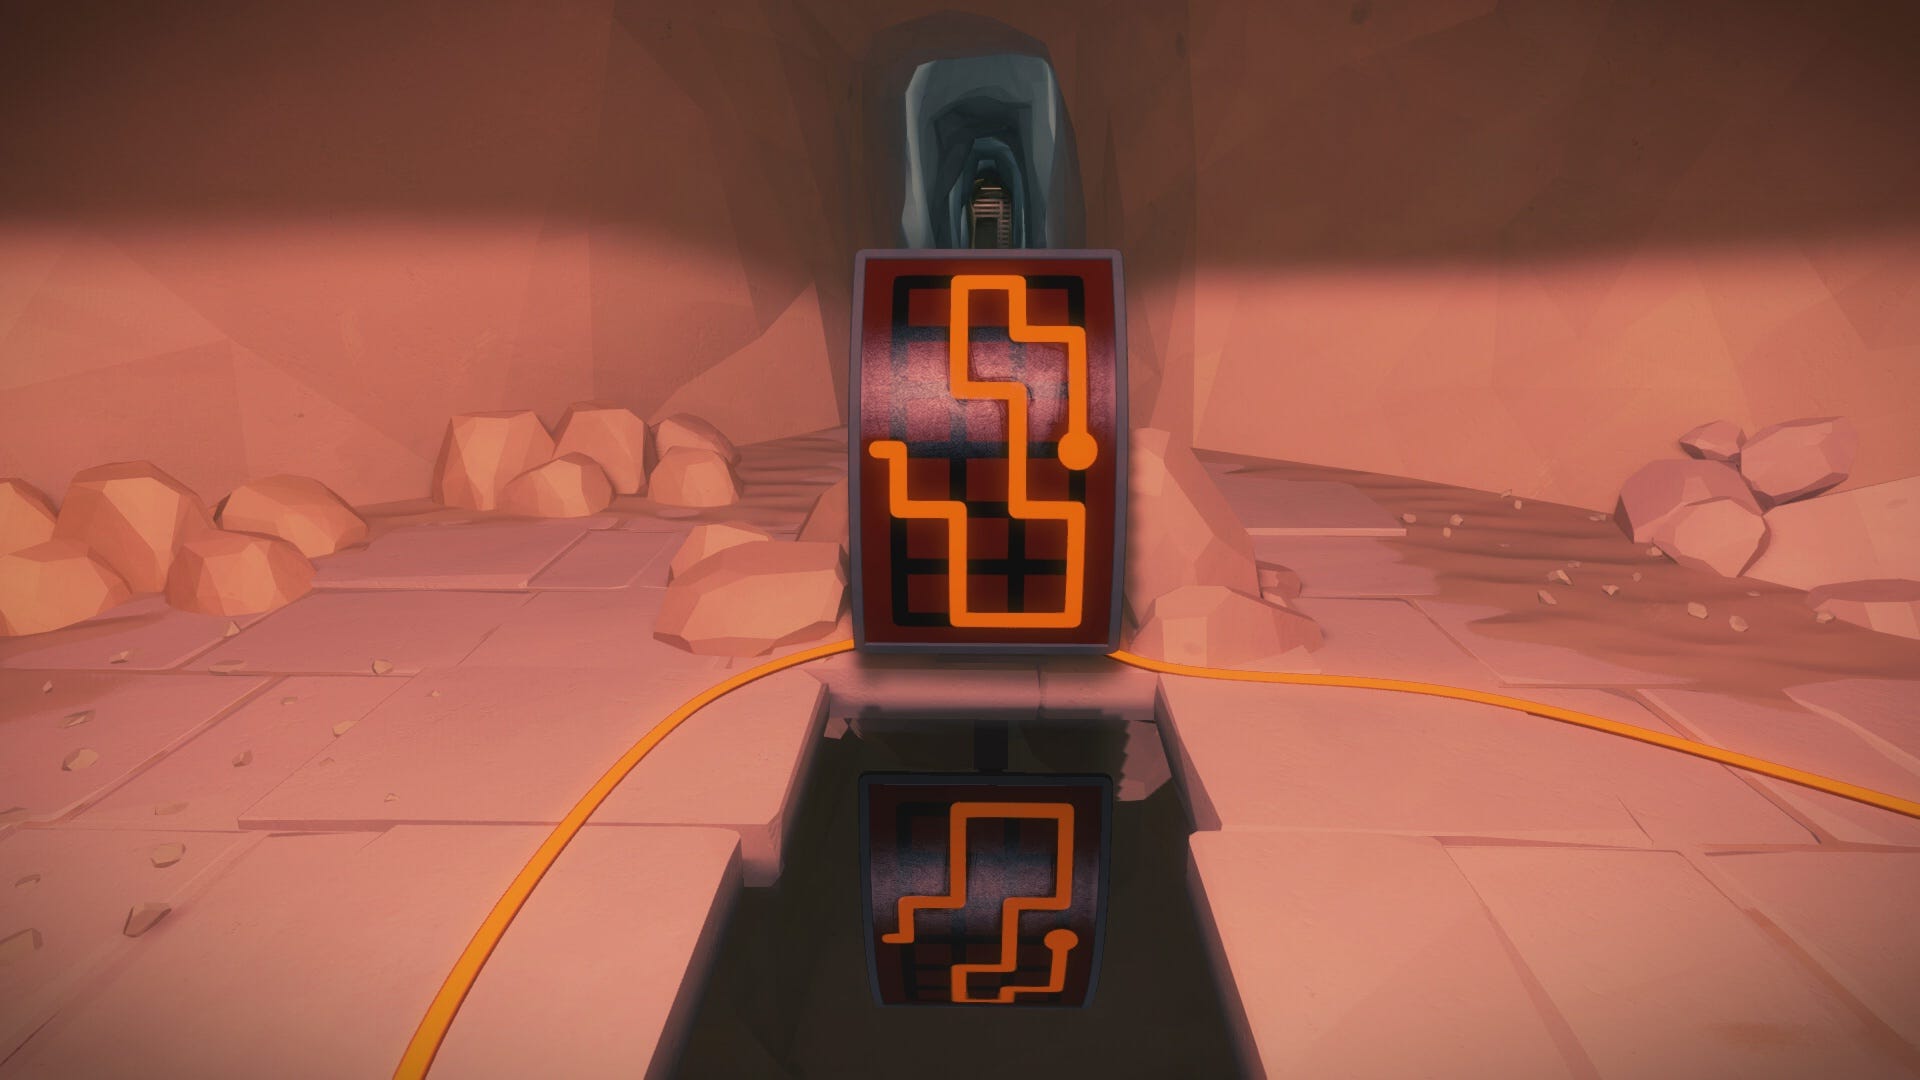
Solve the first two upright panels, and then finish the puzzle panel on the floor. Your solutions should look like the ones below. Solving these three puzzles causes the door across from the entryway to open. Enter this door and go down the dual staircases to reach the next chamber below.

In this chamber you will find five more puzzles, whose clues are mirrored on panels seen through holes in the floor. Start with the center puzzle, then proceed to the next panels by following the illuminated wire. Solving these puzzle panels involves the mirroring technique used in the Symmetry Puzzle earlier. When finished, the five puzzles should look like the ones below.
Activate the line puzzle beside the far doorway, and enter the door. Continue down the dual staircases into a water-filled room on the next level.

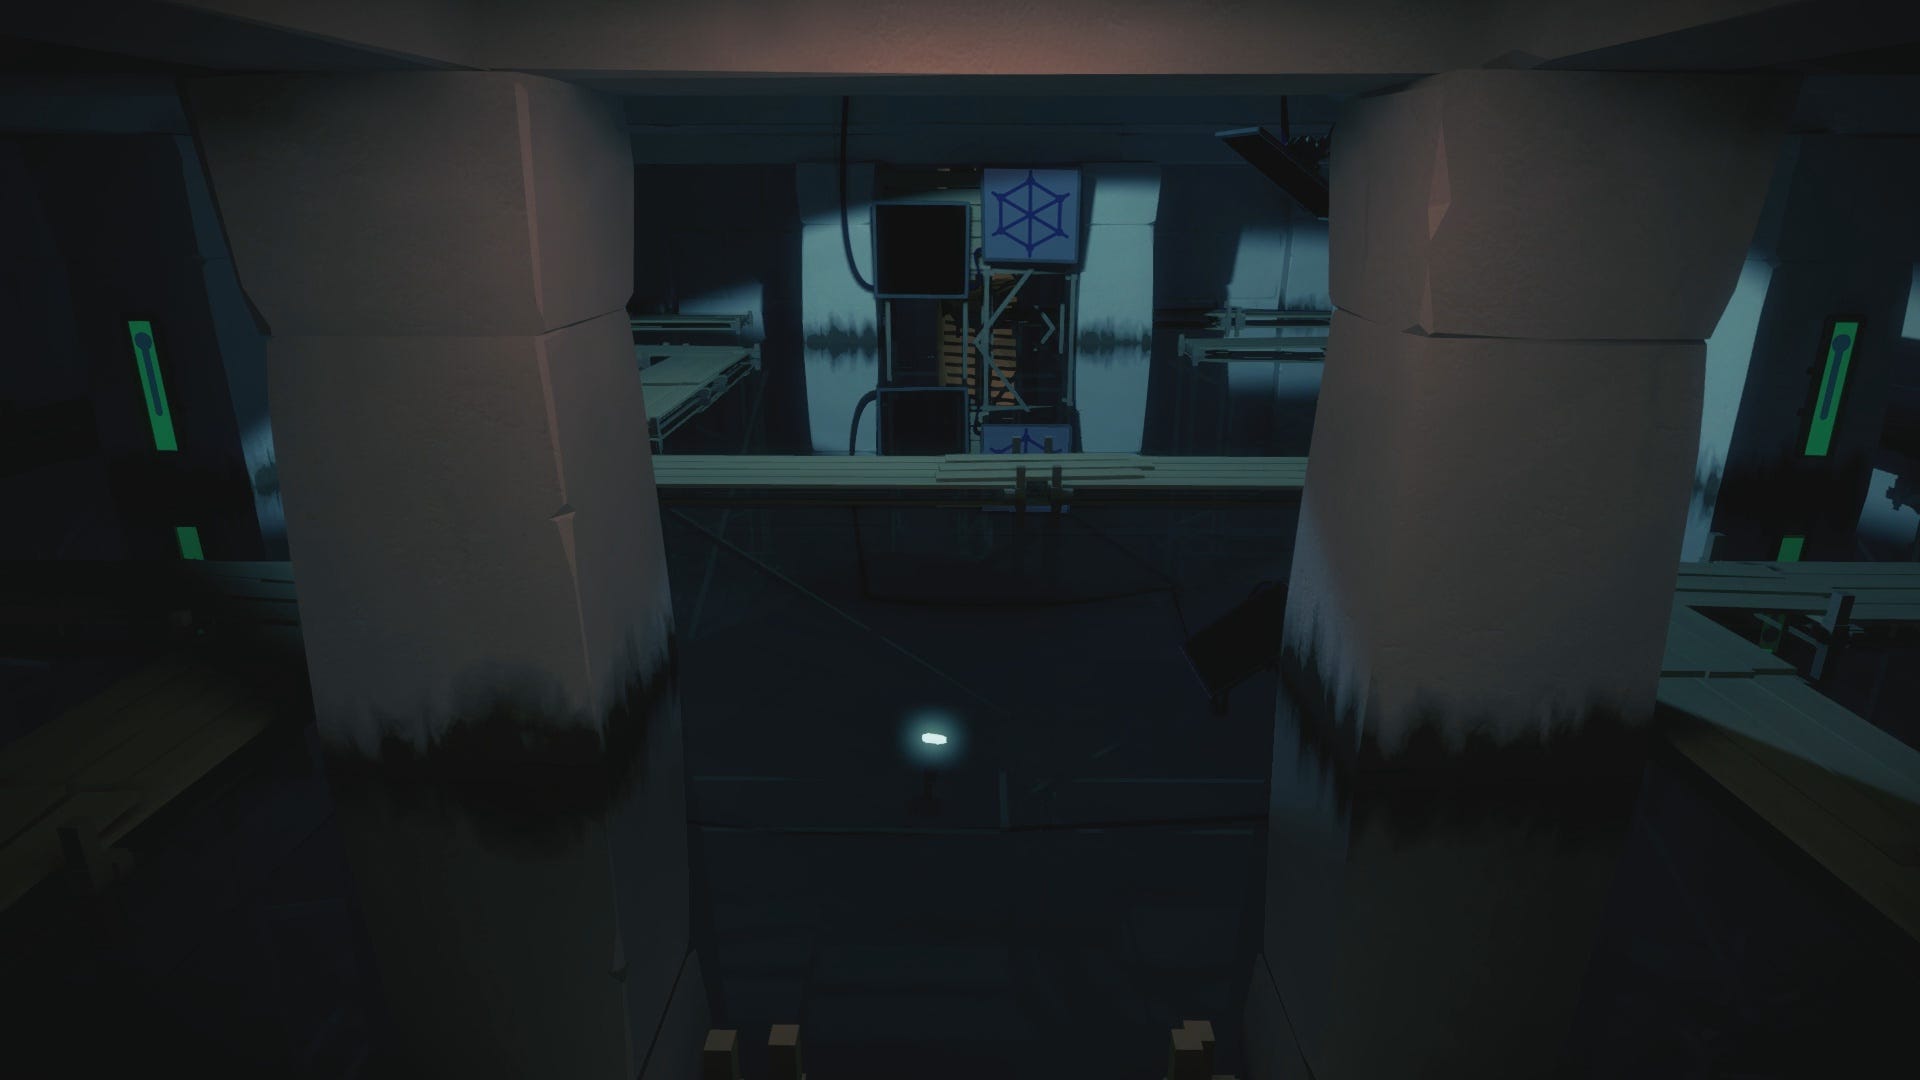
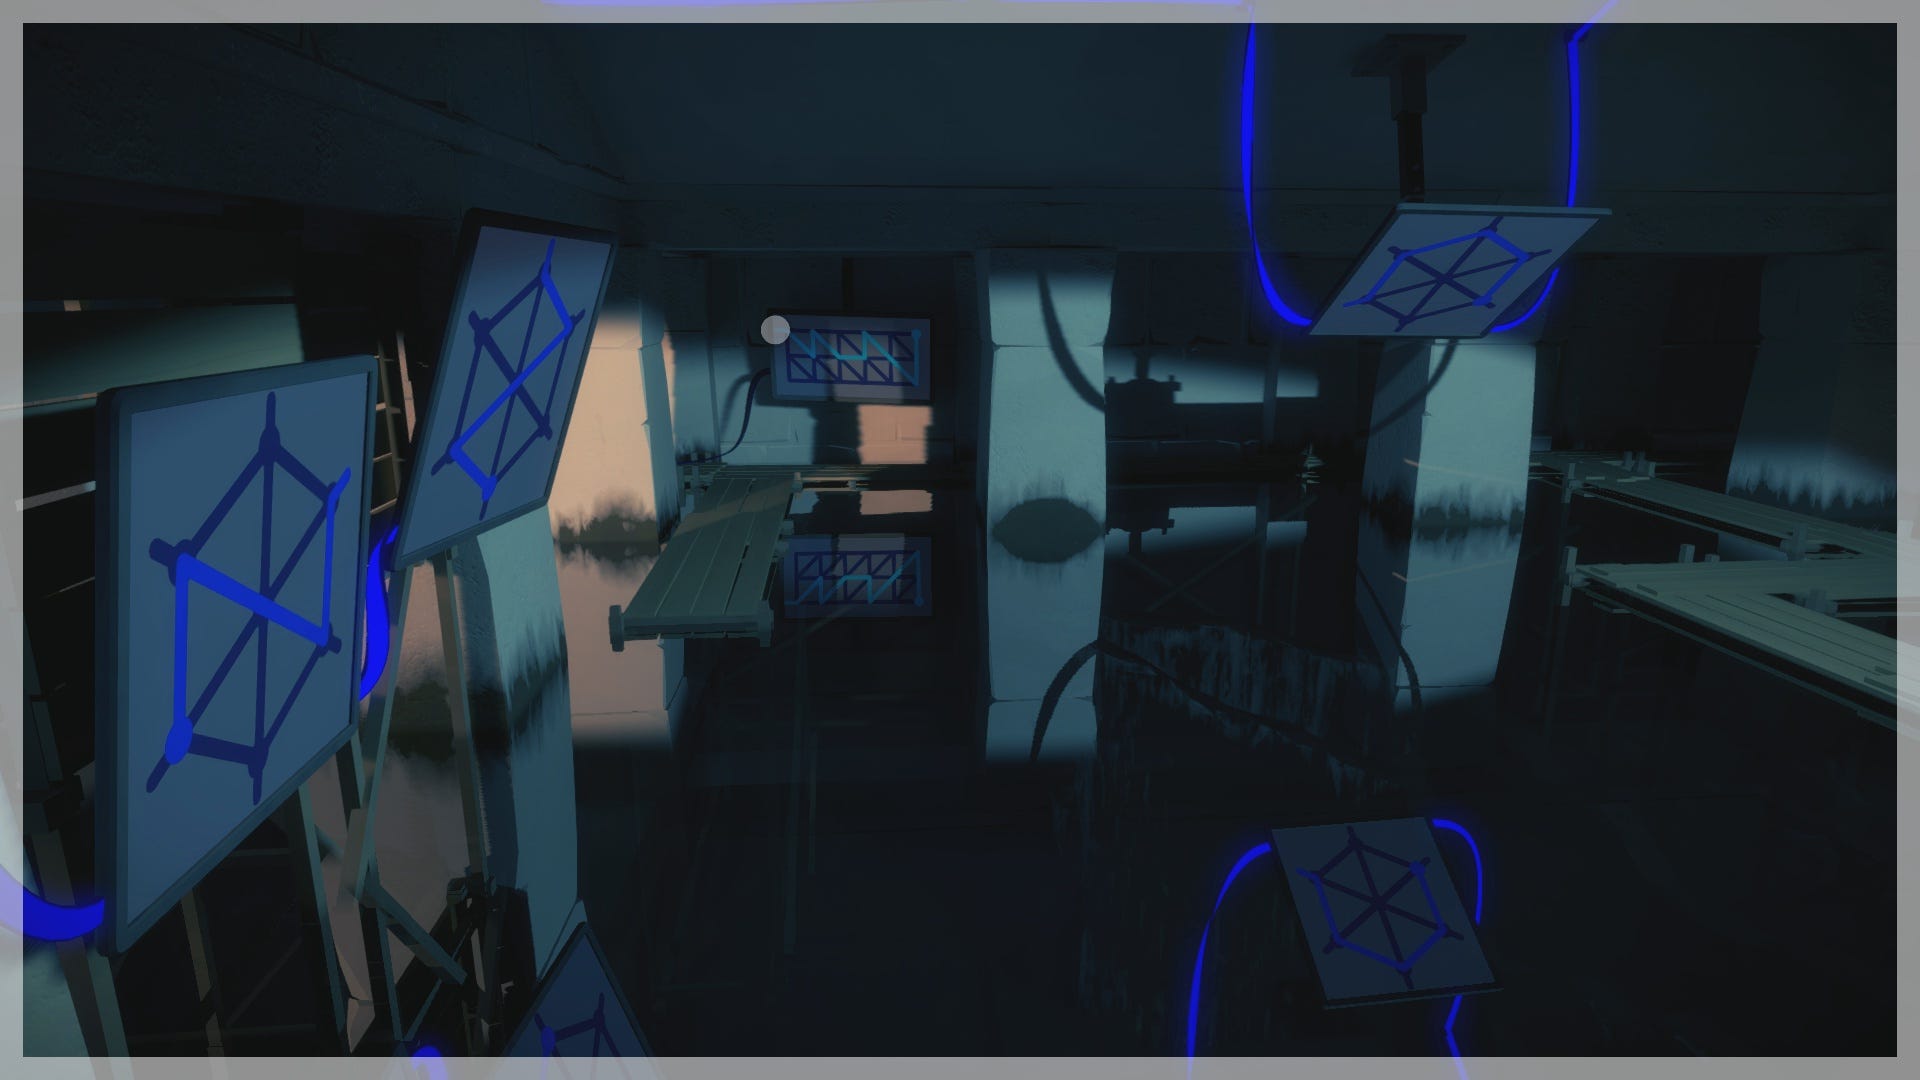
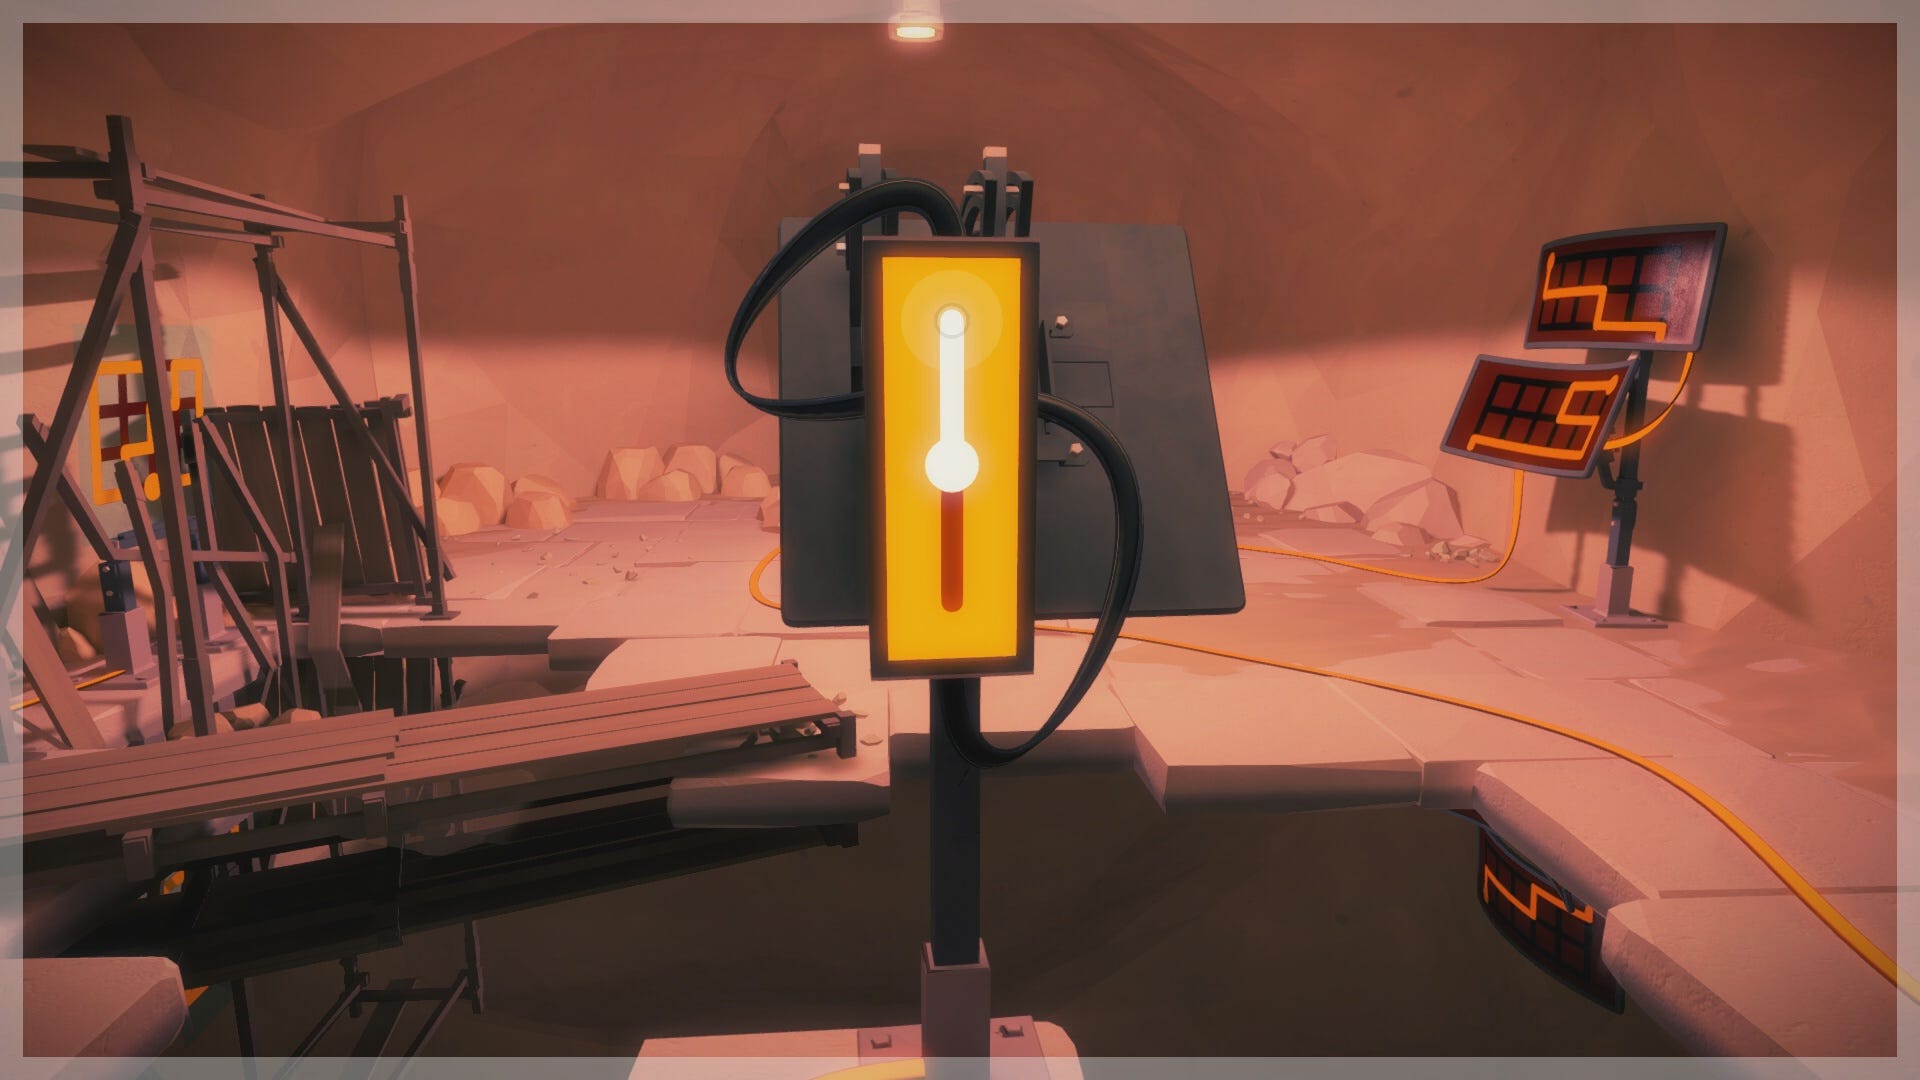
Begin by moving left along the wooden path to a pair of linear adjustment puzzles on a nearby pillar. Activate the top line to lower the water level in the room. Depending on your position, you can also see the reflection clue for the center puzzle as it lowers. Use the Symmetry technique to solve both of the center puzzles using the solution here.

Turn right and solve the puzzle hanging from the ceiling, then turn left and solve the panel across from the ceiling puzzle, near your feet.
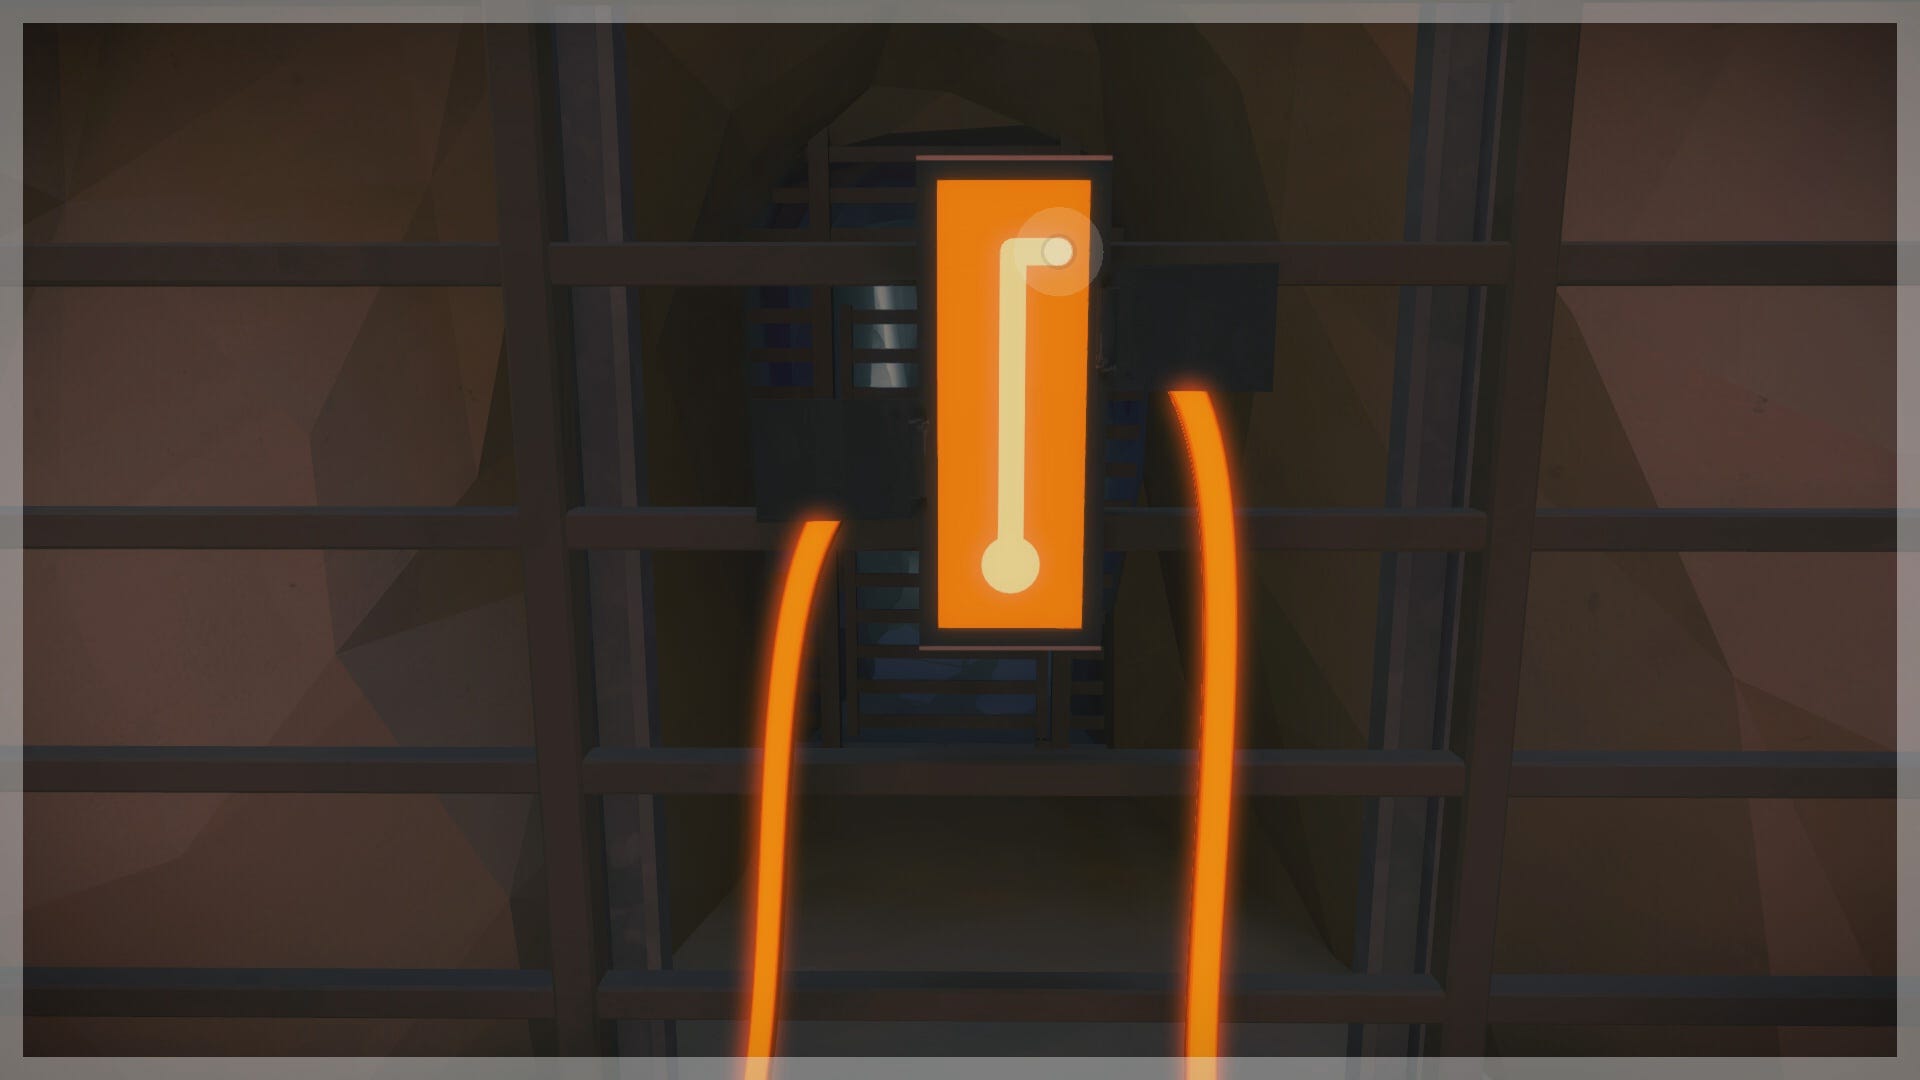
Continue along the scaffolding to the left and locate another adjustment line puzzle. Look over the edge to find a puzzle panel further below. Solve the panel, then activate the adjustment line to raise the water level once more.
Stand to the right of the adjustment line and look across the room to find a rectangular puzzle on the far wall. Use the solution shown here, then proceed through the newly opened passage by walking along the scaffolding around the room.
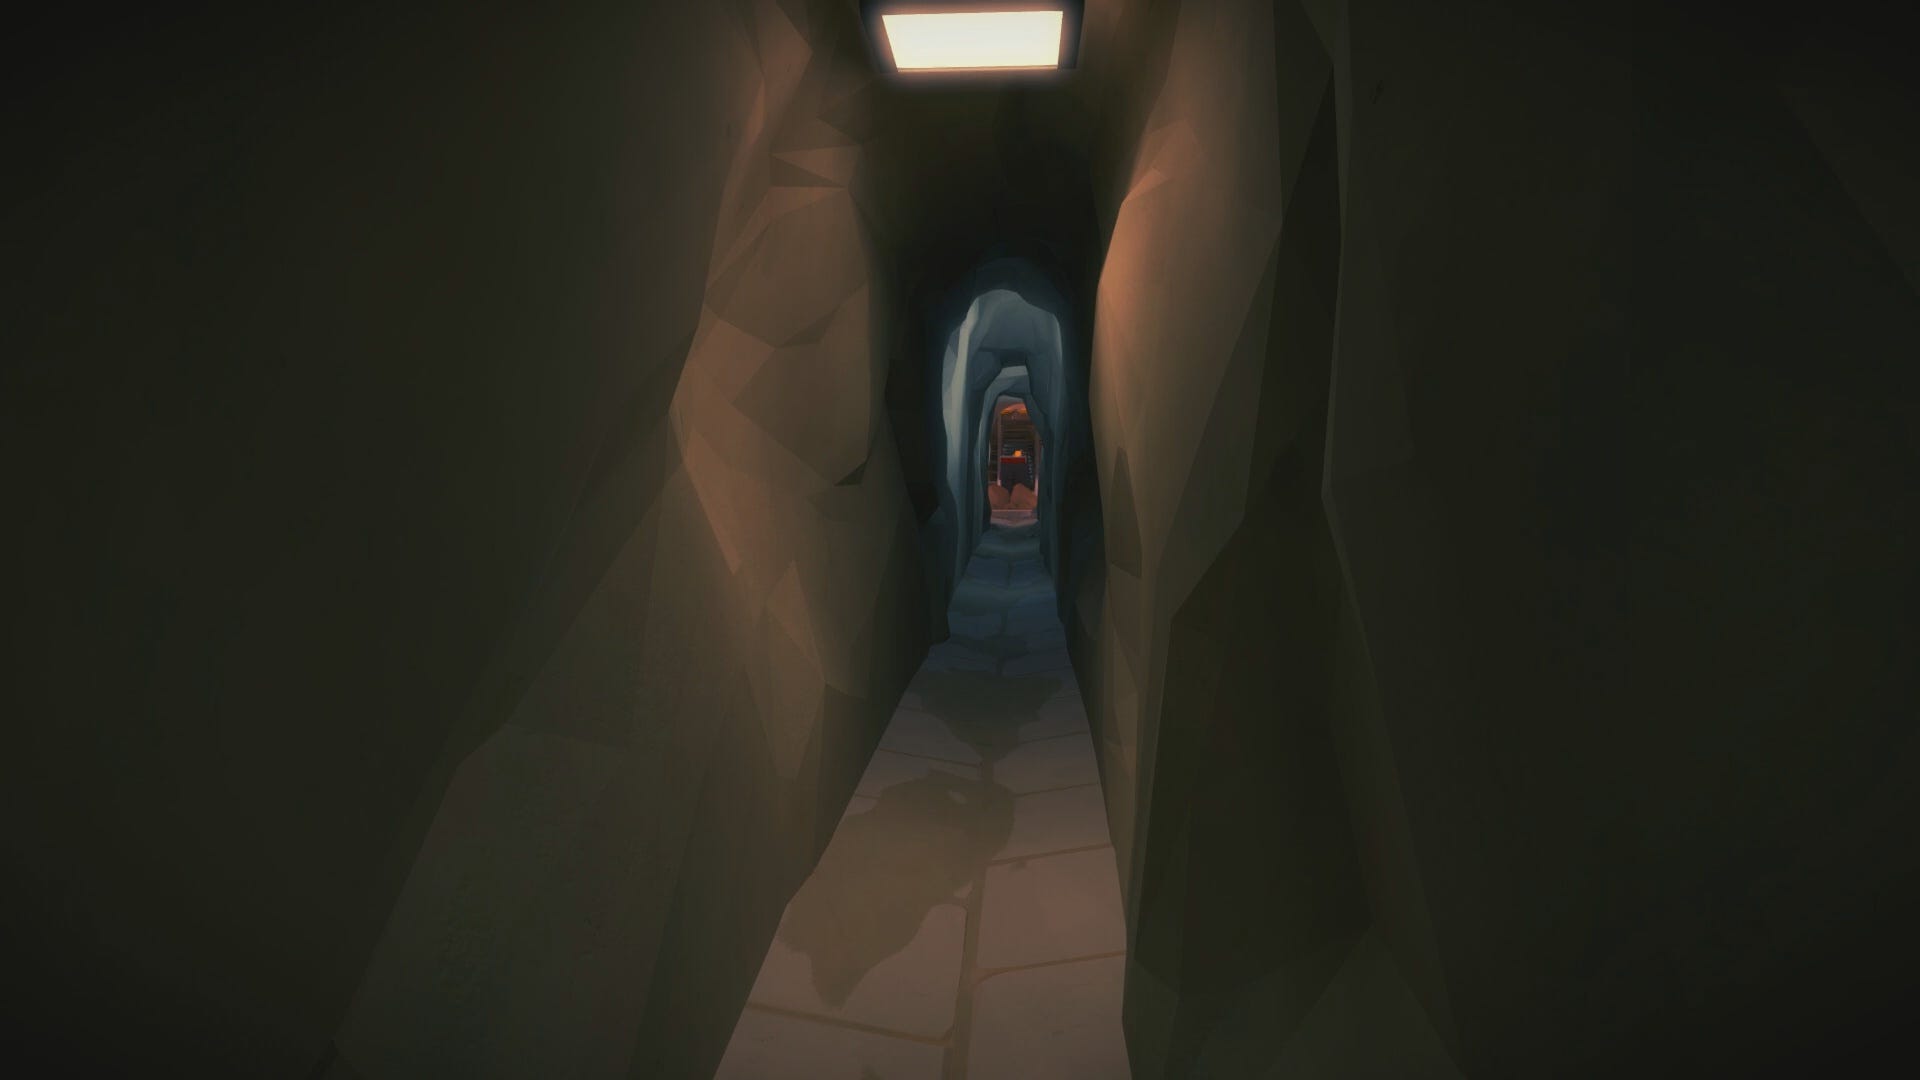
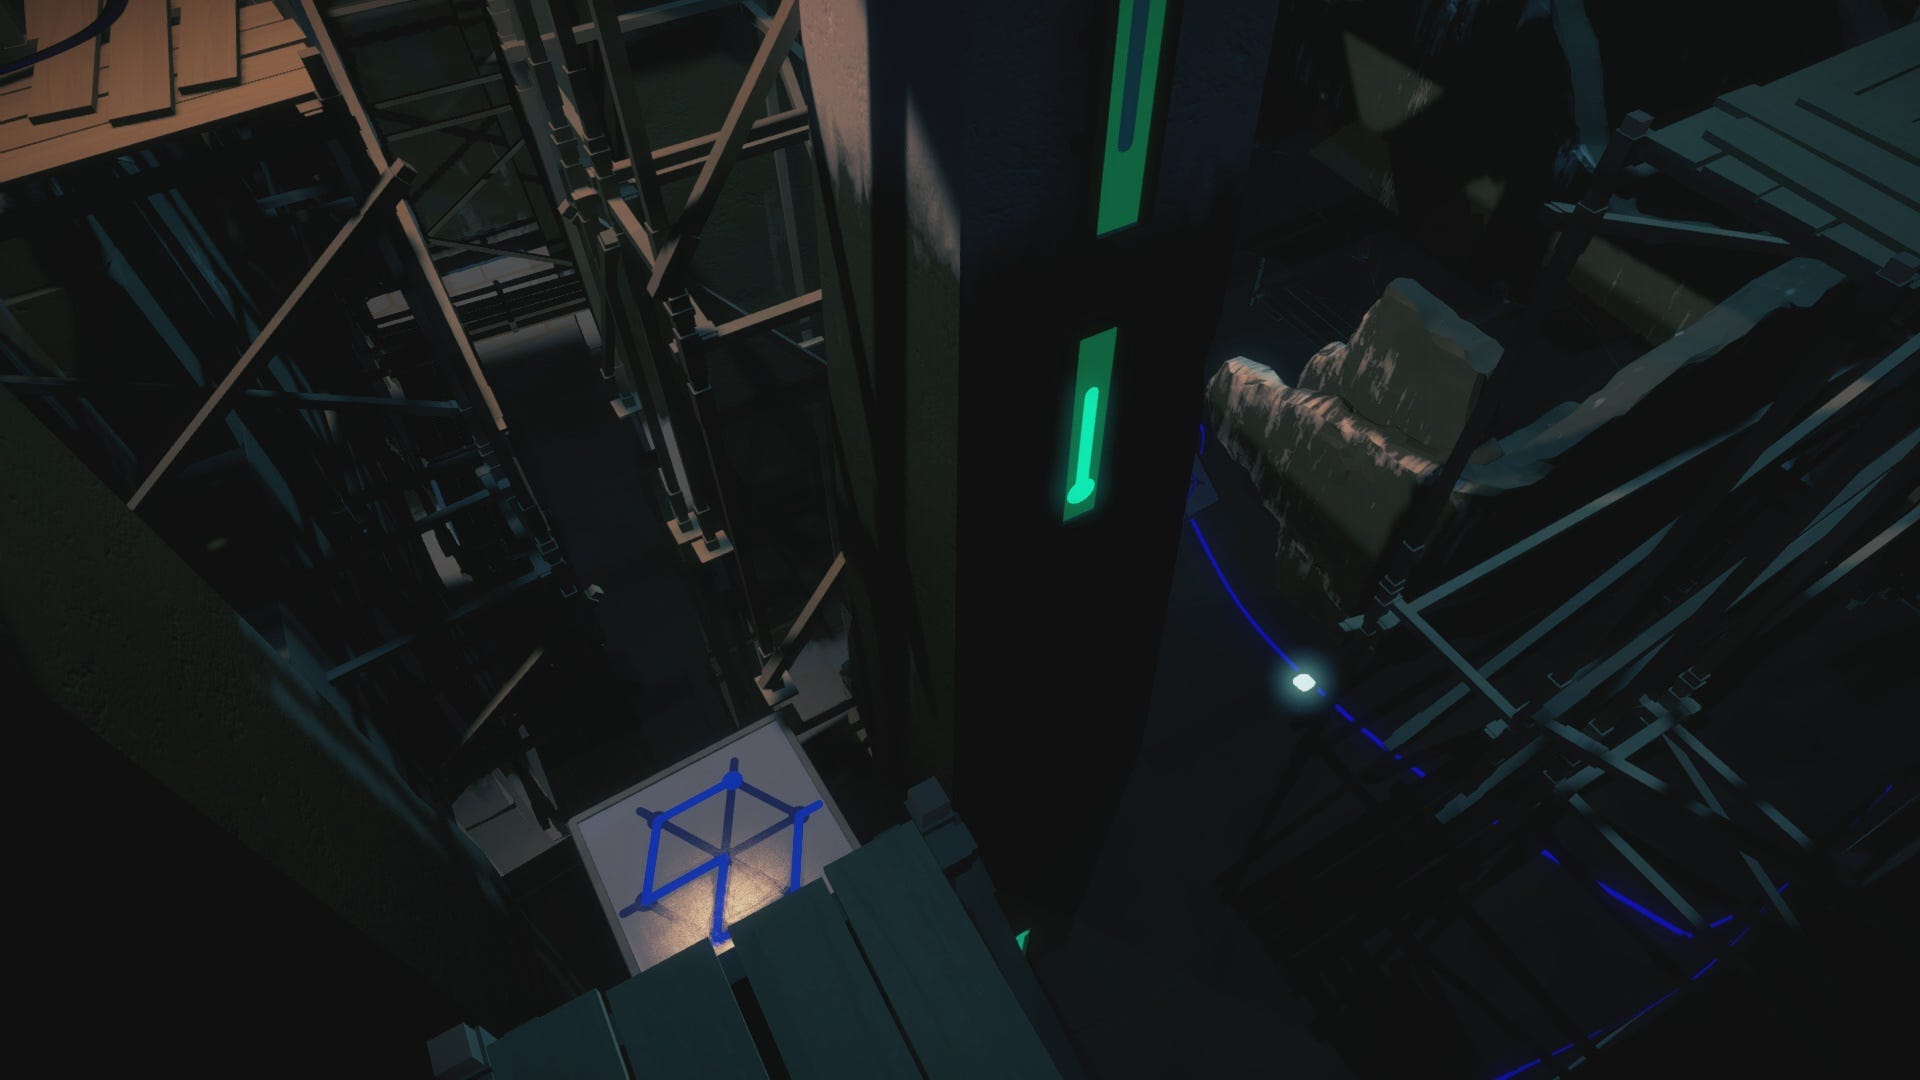
At the other end of the rocky passage, you’ll enter a smaller chamber containing five more puzzle panels, and an elevator shaft. Start with the two rectangular panels to the left of the entryway, solving them with our solution below.
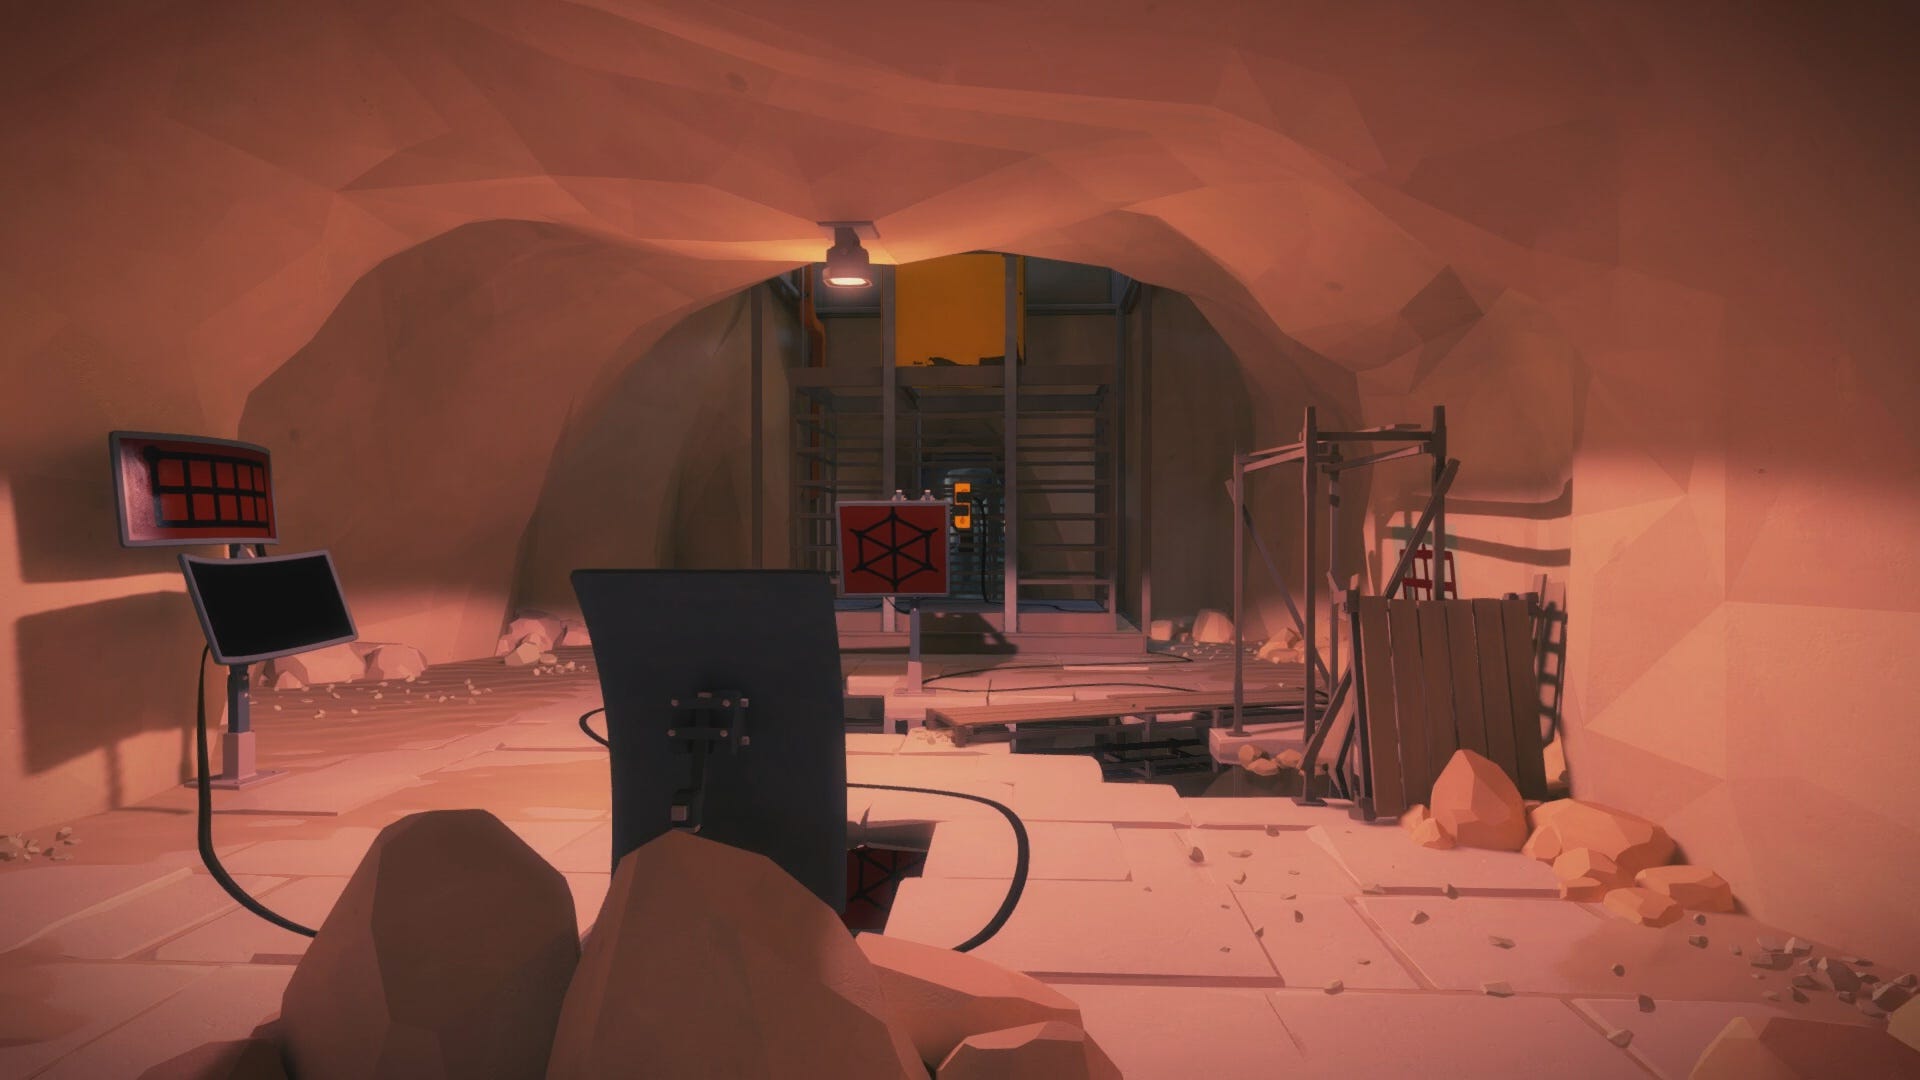
Next, solve the rectangular puzzle that faces away from the entryway. Then turn counter clockwise toward the square puzzle covered in debris.
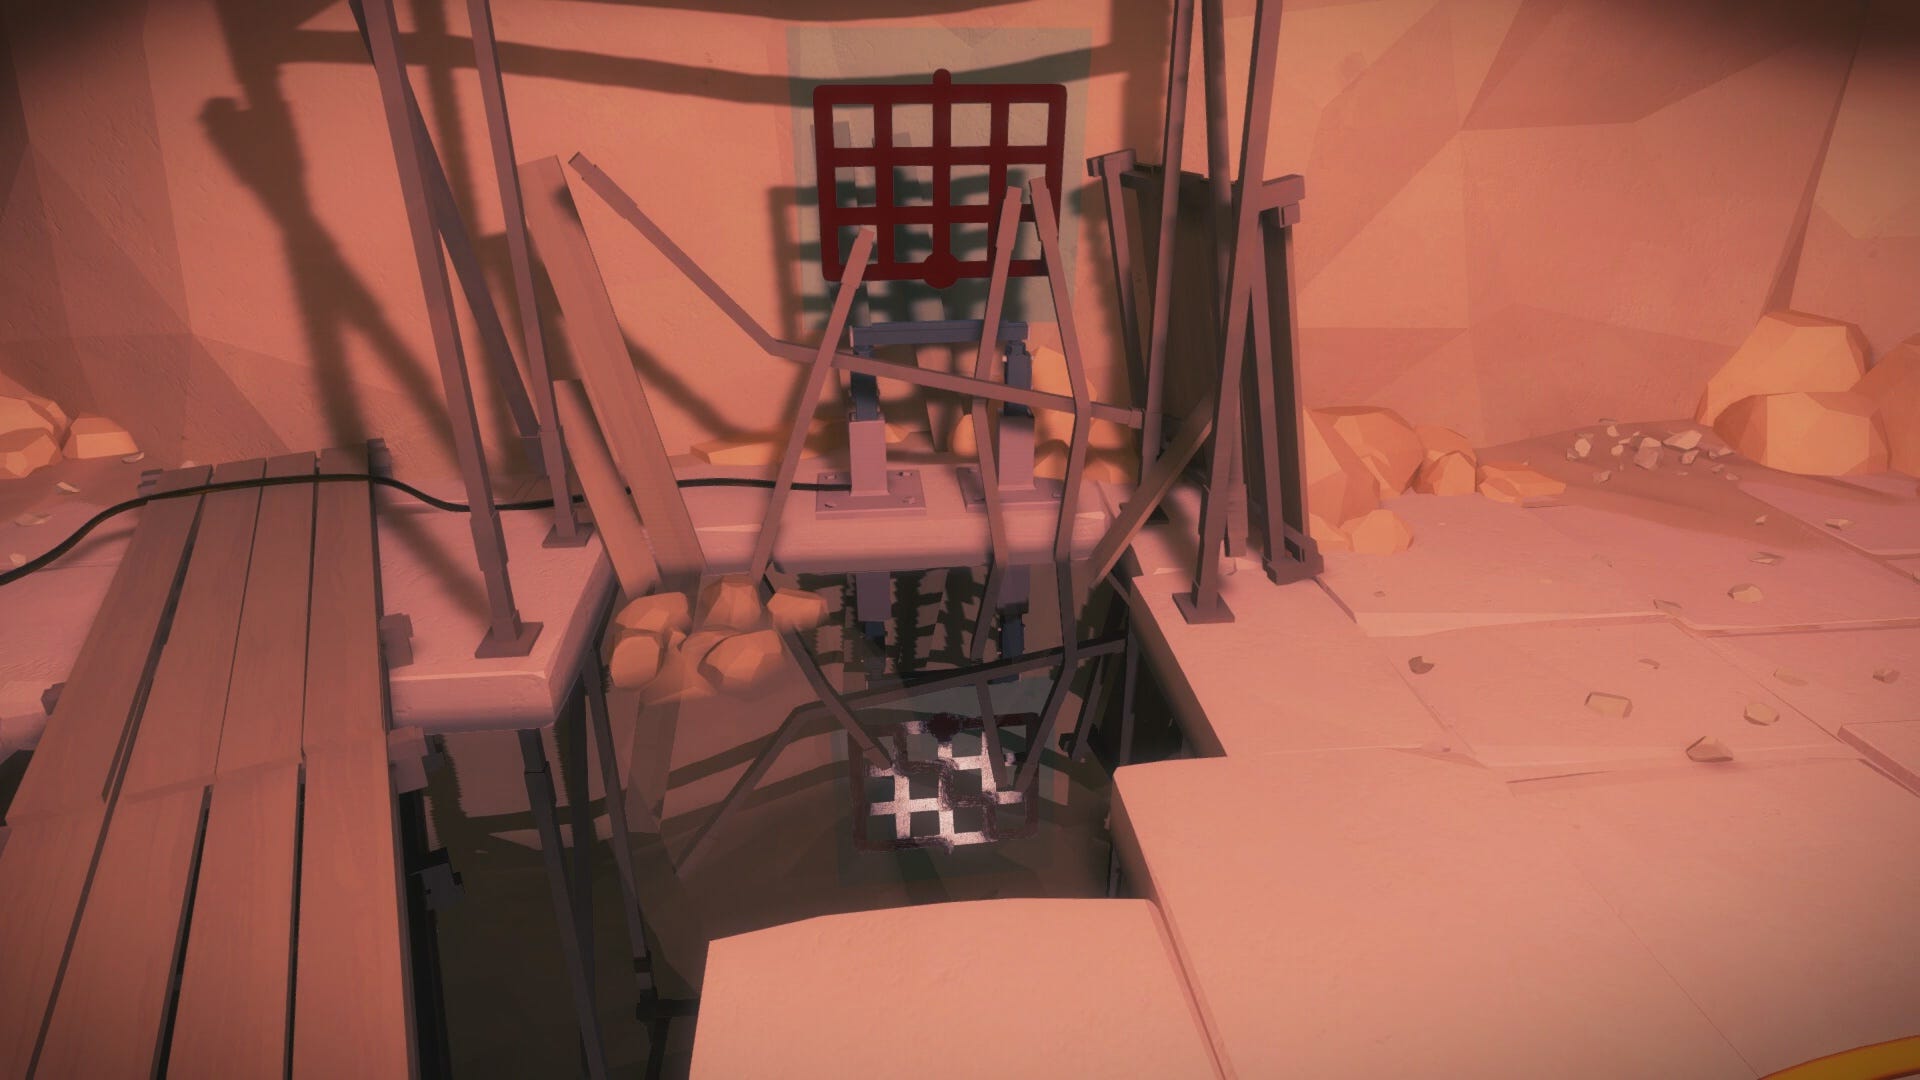
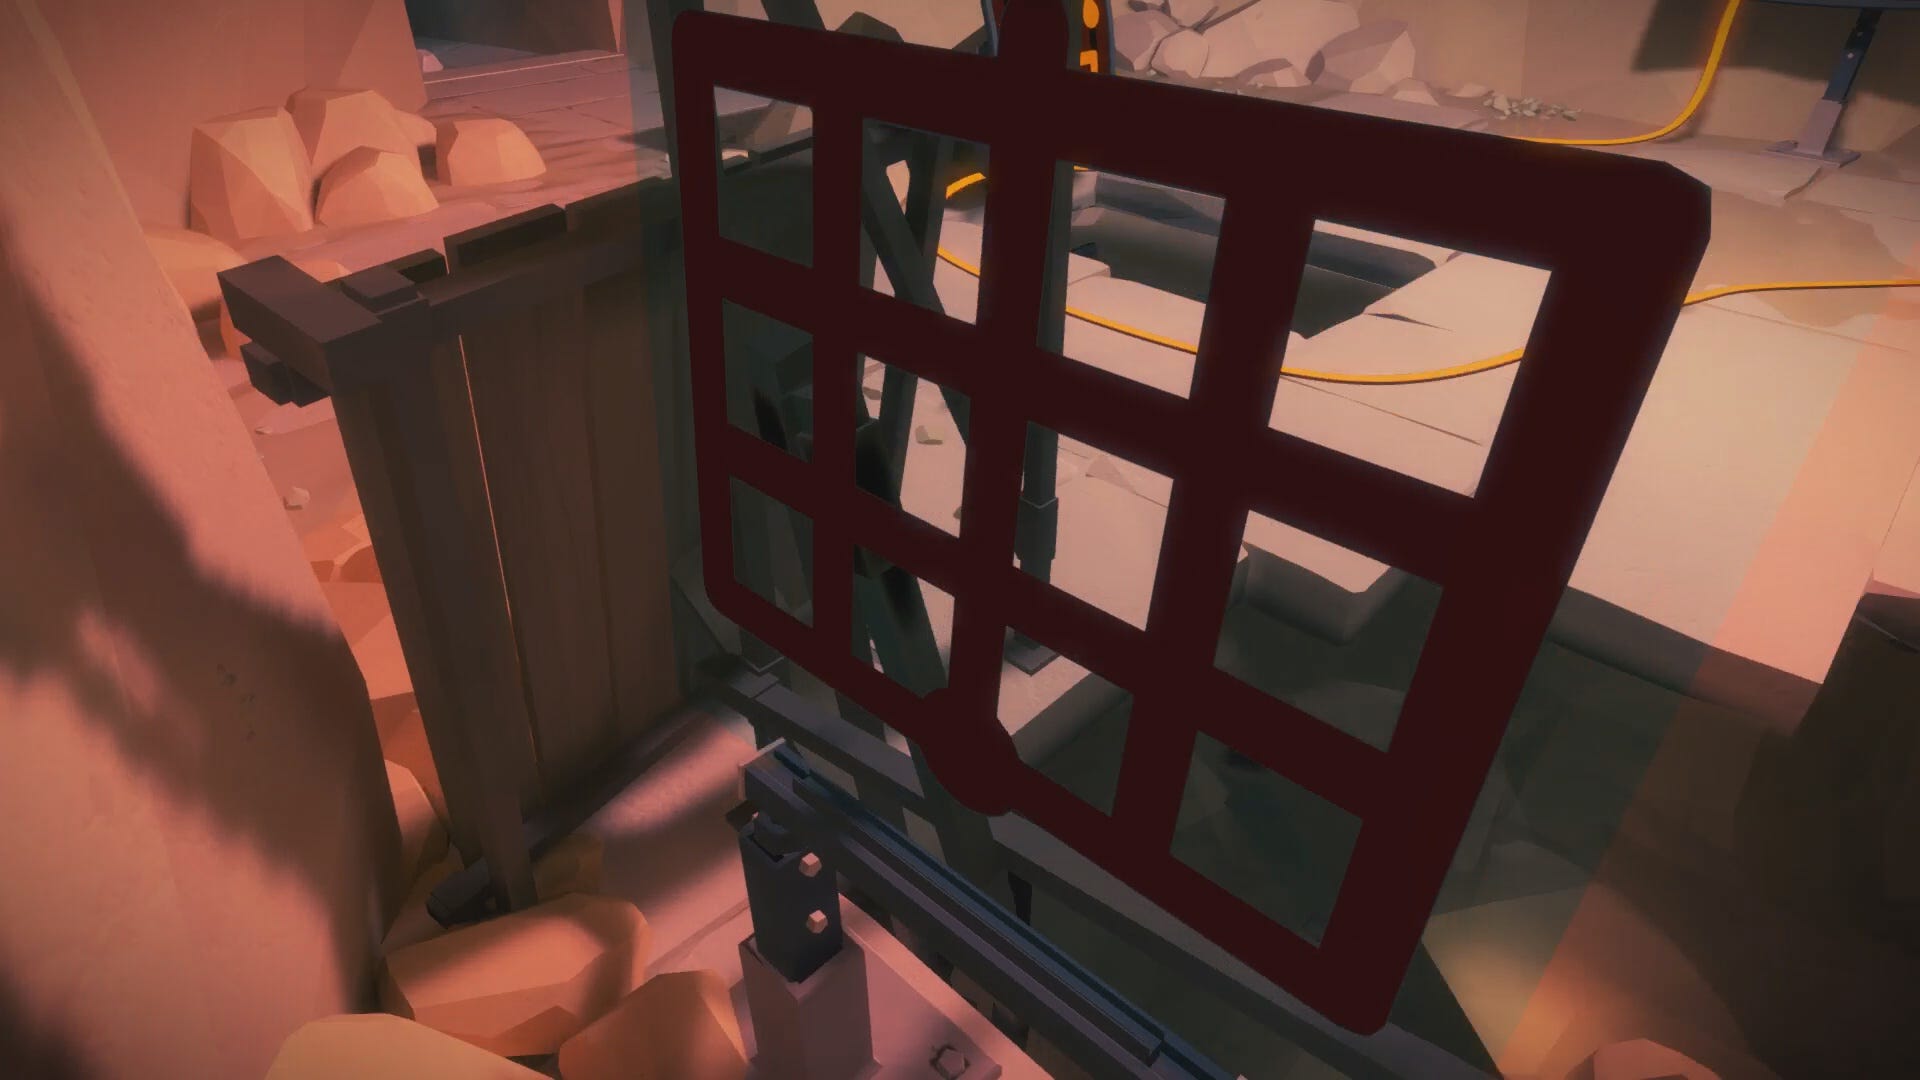
You can see the solution to the square puzzle through a reflection in the hole in the floor. However, you can’t solve the puzzle while standing in the center, as the debris blocks your pathways. Squeeze between the wall on the opposite side of the square panel, and solve the puzzle using our solution below.

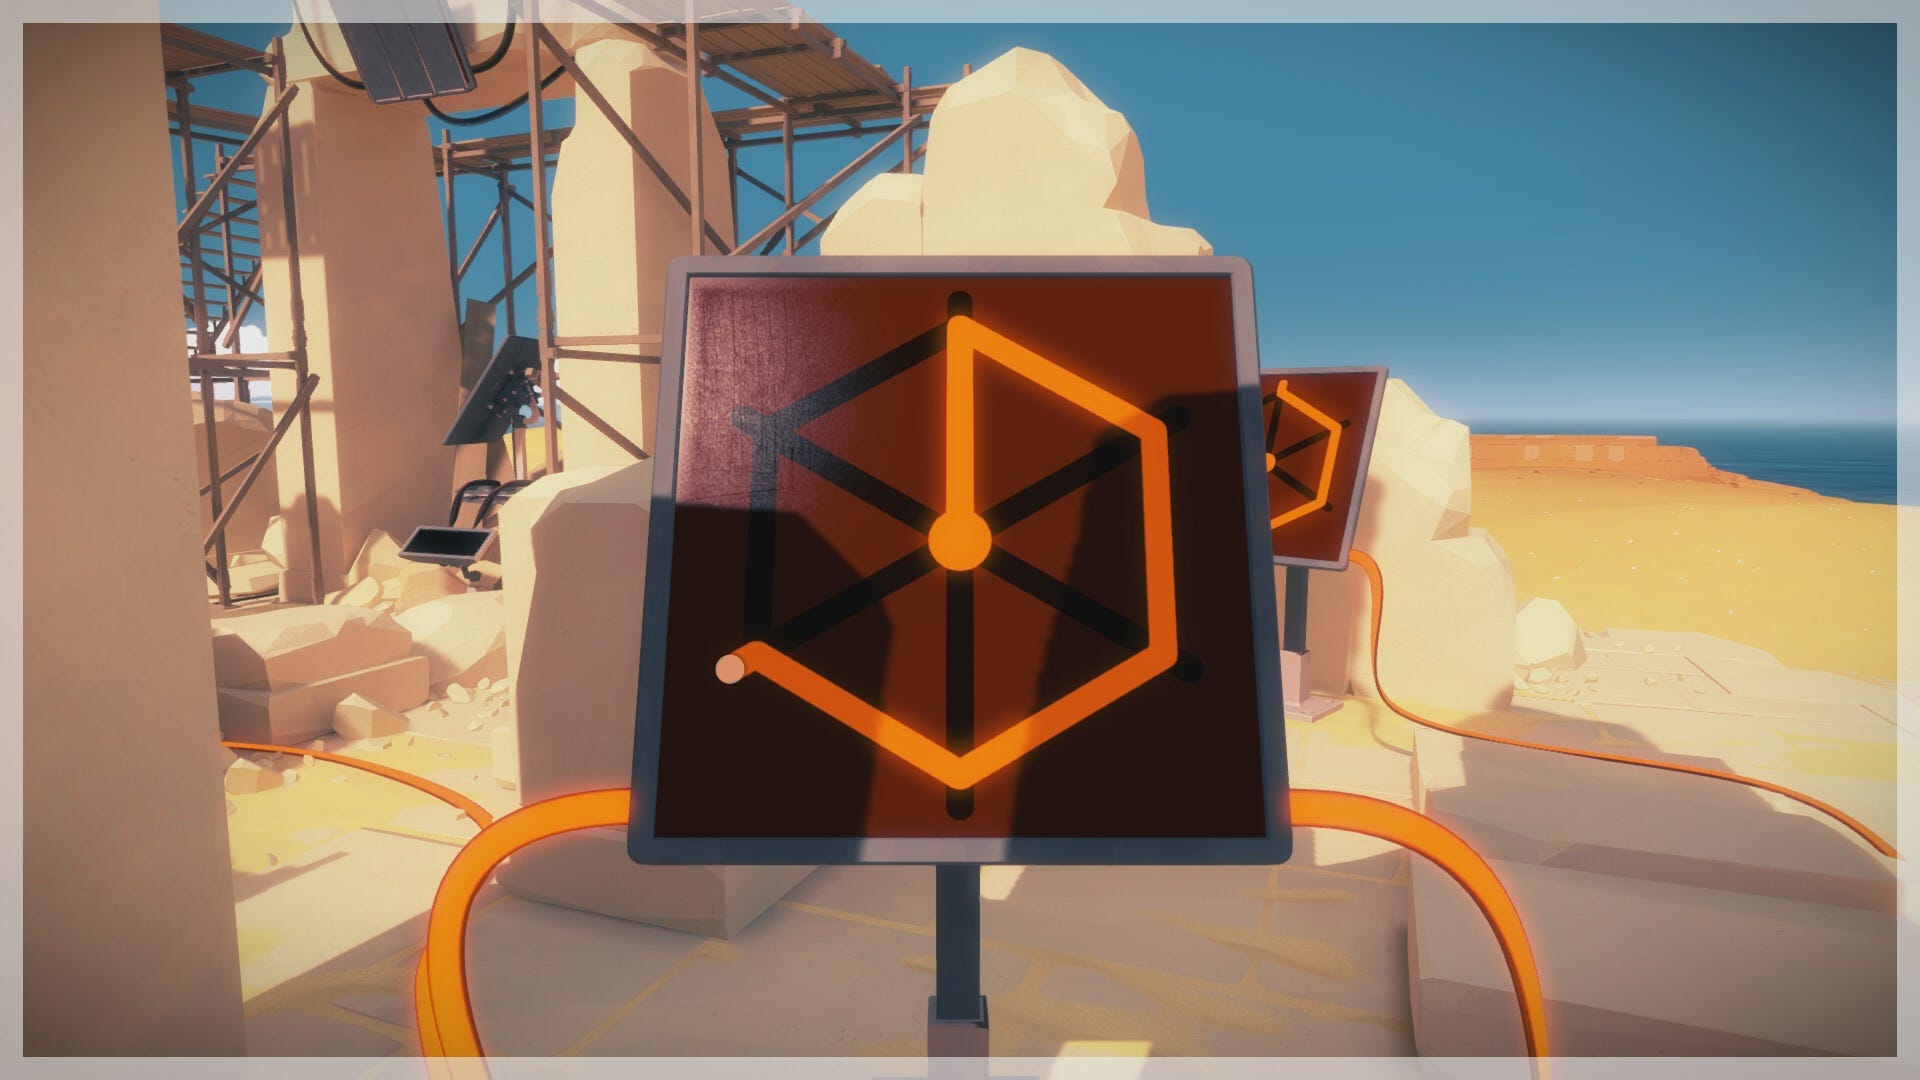
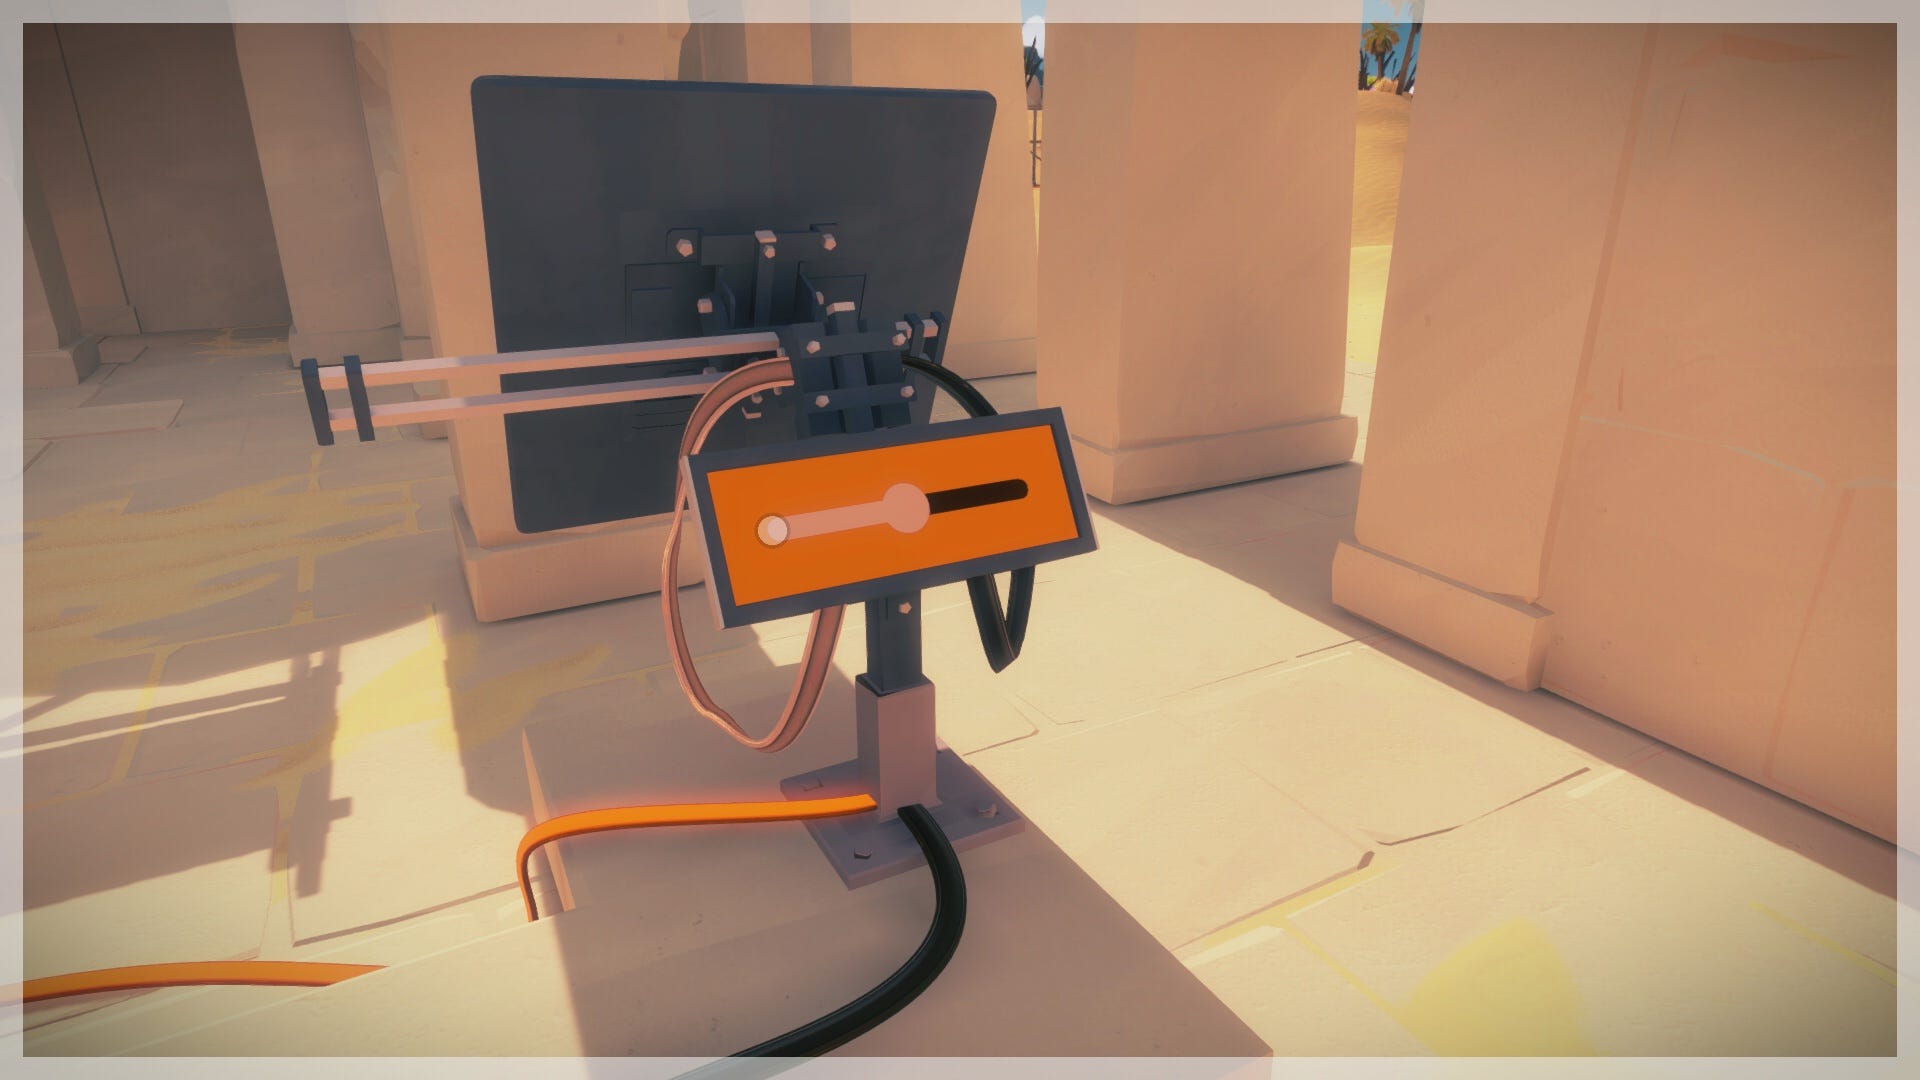
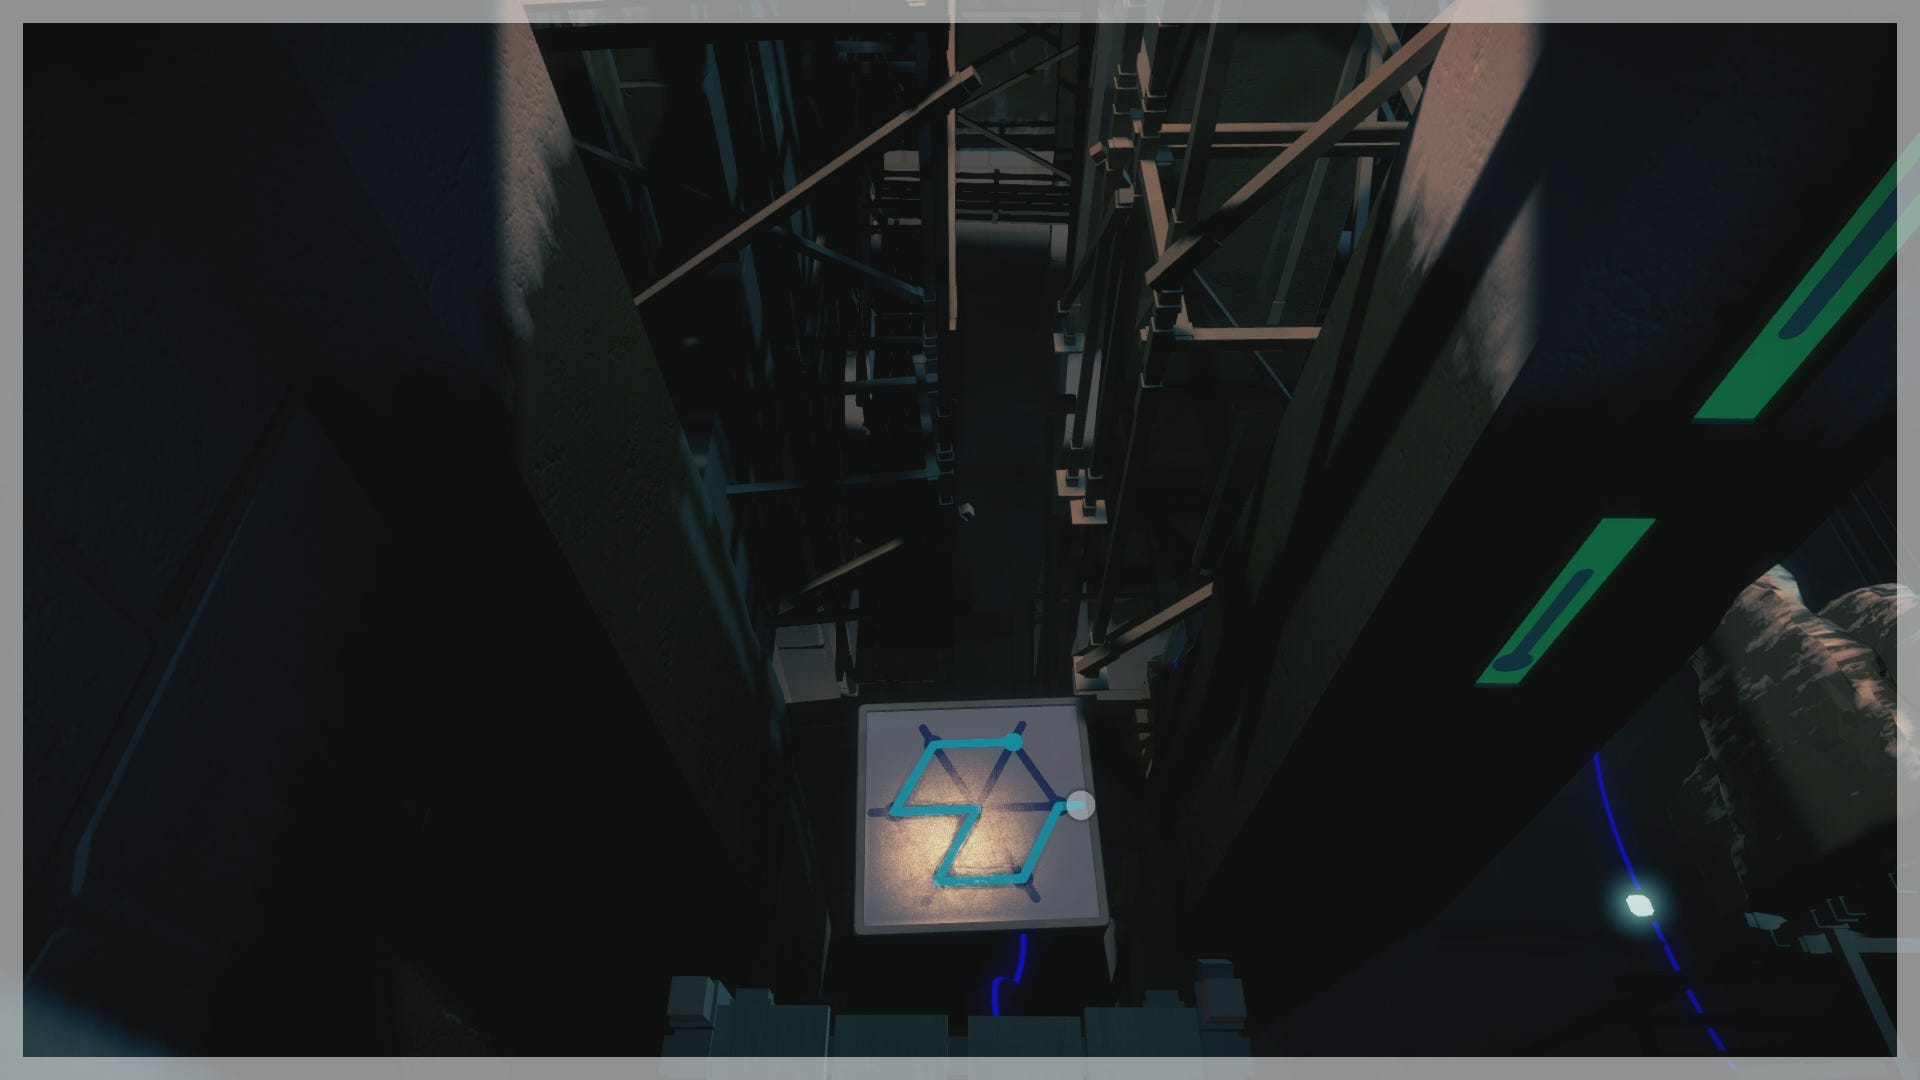
To solve the final hexagonal puzzle in the center, activate the adjustment line at the back of the puzzle to shift its positioning. Solve the puzzle using the reflection clue beneath the panel, or follow our solution below.
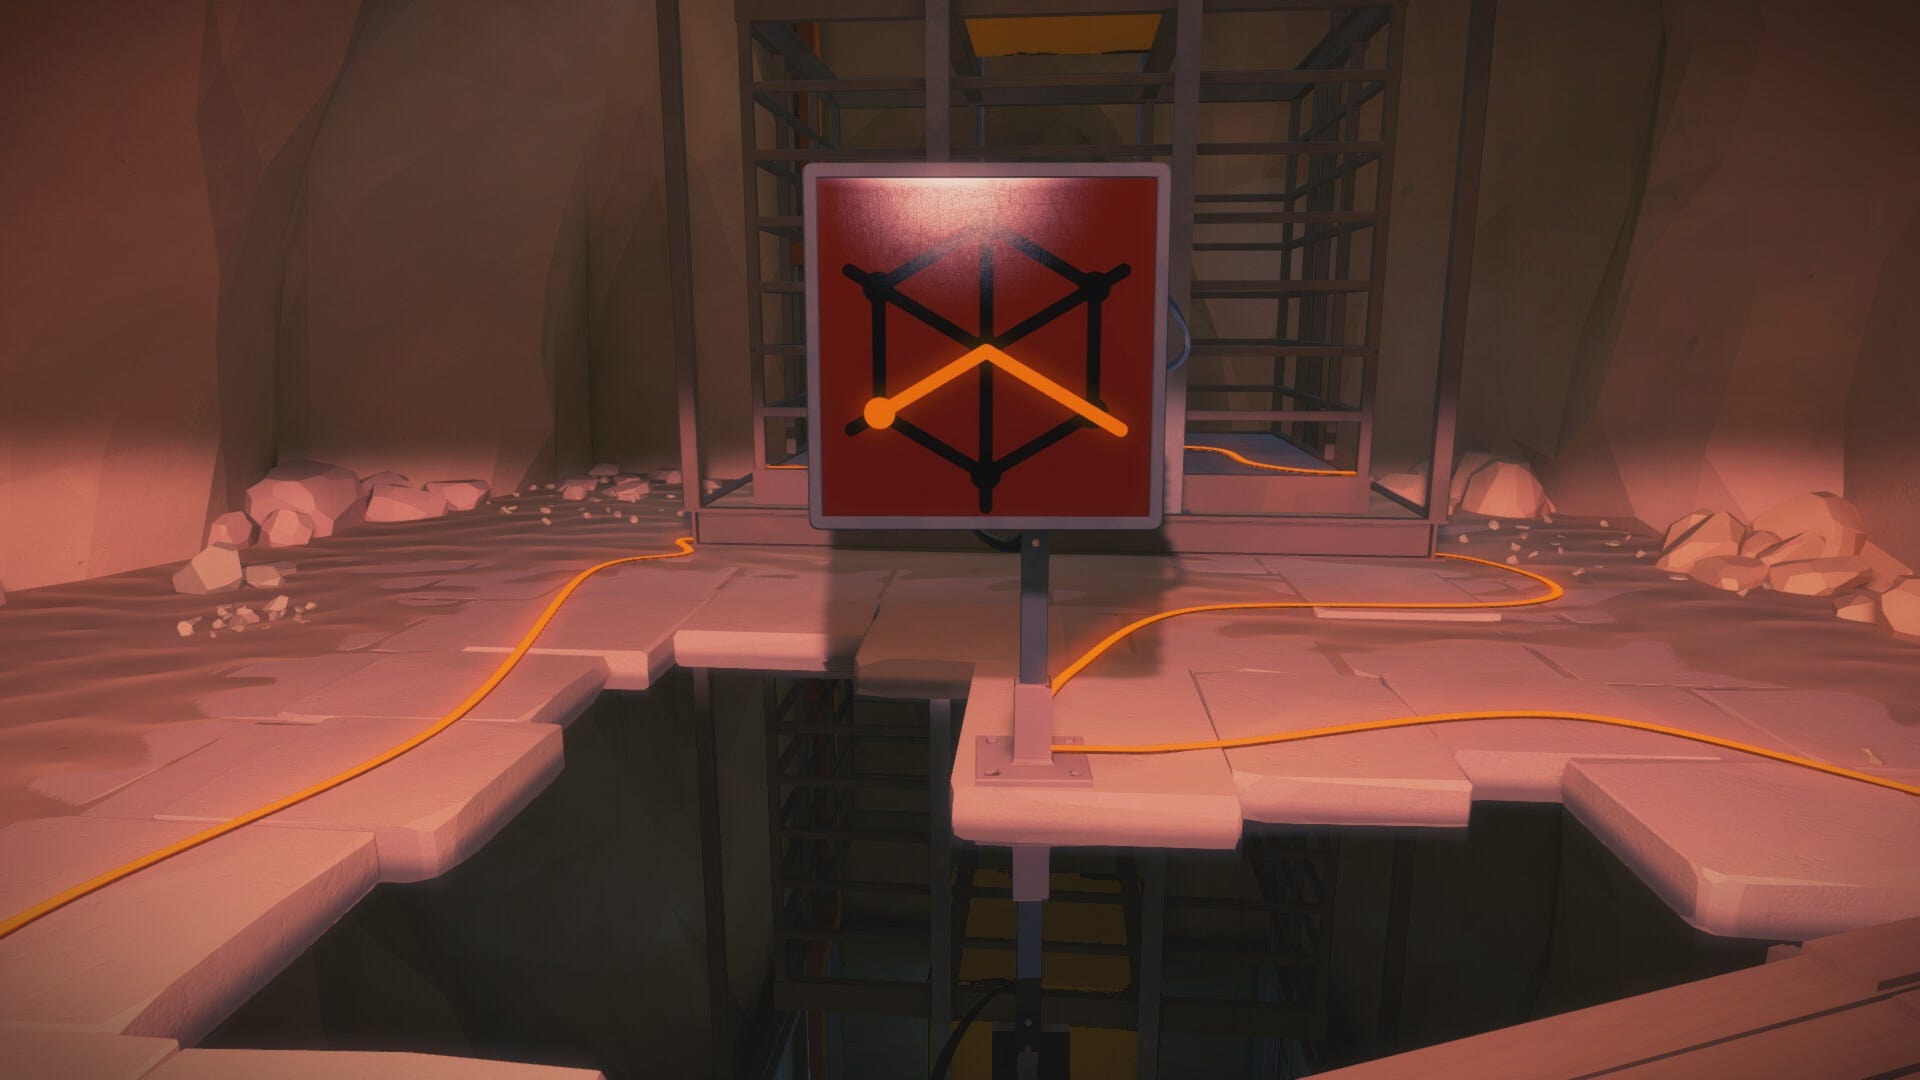
There should now be two illuminated wires connected to the main switch of the elevator. Complete the line puzzle to activate the elevator, and ride the lift back to the sandy surface. The Desert Ruin Puzzle concludes with a new beam of light shooting across the island from the top of the elevator.

Just beyond the Desert Ruin Puzzle, you’ll find another small ruined wall that contains a large sun relief. Walk along this sun depiction towards a rock ledge on its back side. While standing on the rock, look down to find an audio recording on the ledge below.
- Page 1: The First Puzzle and General Tips
- Page 2: The Symmetry Puzzle
- Page 3: The Desert Ruin Puzzle
- Page 4: The Monastery Puzzle
- Page 5: The Keep Puzzle
- Page 6: The Shady Trees Puzzle
- Page 7: The Marsh Puzzle
- Page 8: The Quarry Puzzle
- Page 9: The Jungle Puzzle
- Page 10: The Town Puzzle
- Page 11: The Bunker Puzzle
- Page 12: The Treehouse Puzzle
- Page 13: The Mountain Puzzle (Game Ending)