The Taken King quest walkthrough - Step 4: The Dreadnaught

Time to take a look at The Taken King's biggest new area.
You’re now heading onto the Hive's Dreadnaught using the stealth ship. You’re trying to disable the super-weapon that wasted all the Awoken at the beginning of the quest here.
 Destiny_20150915121550
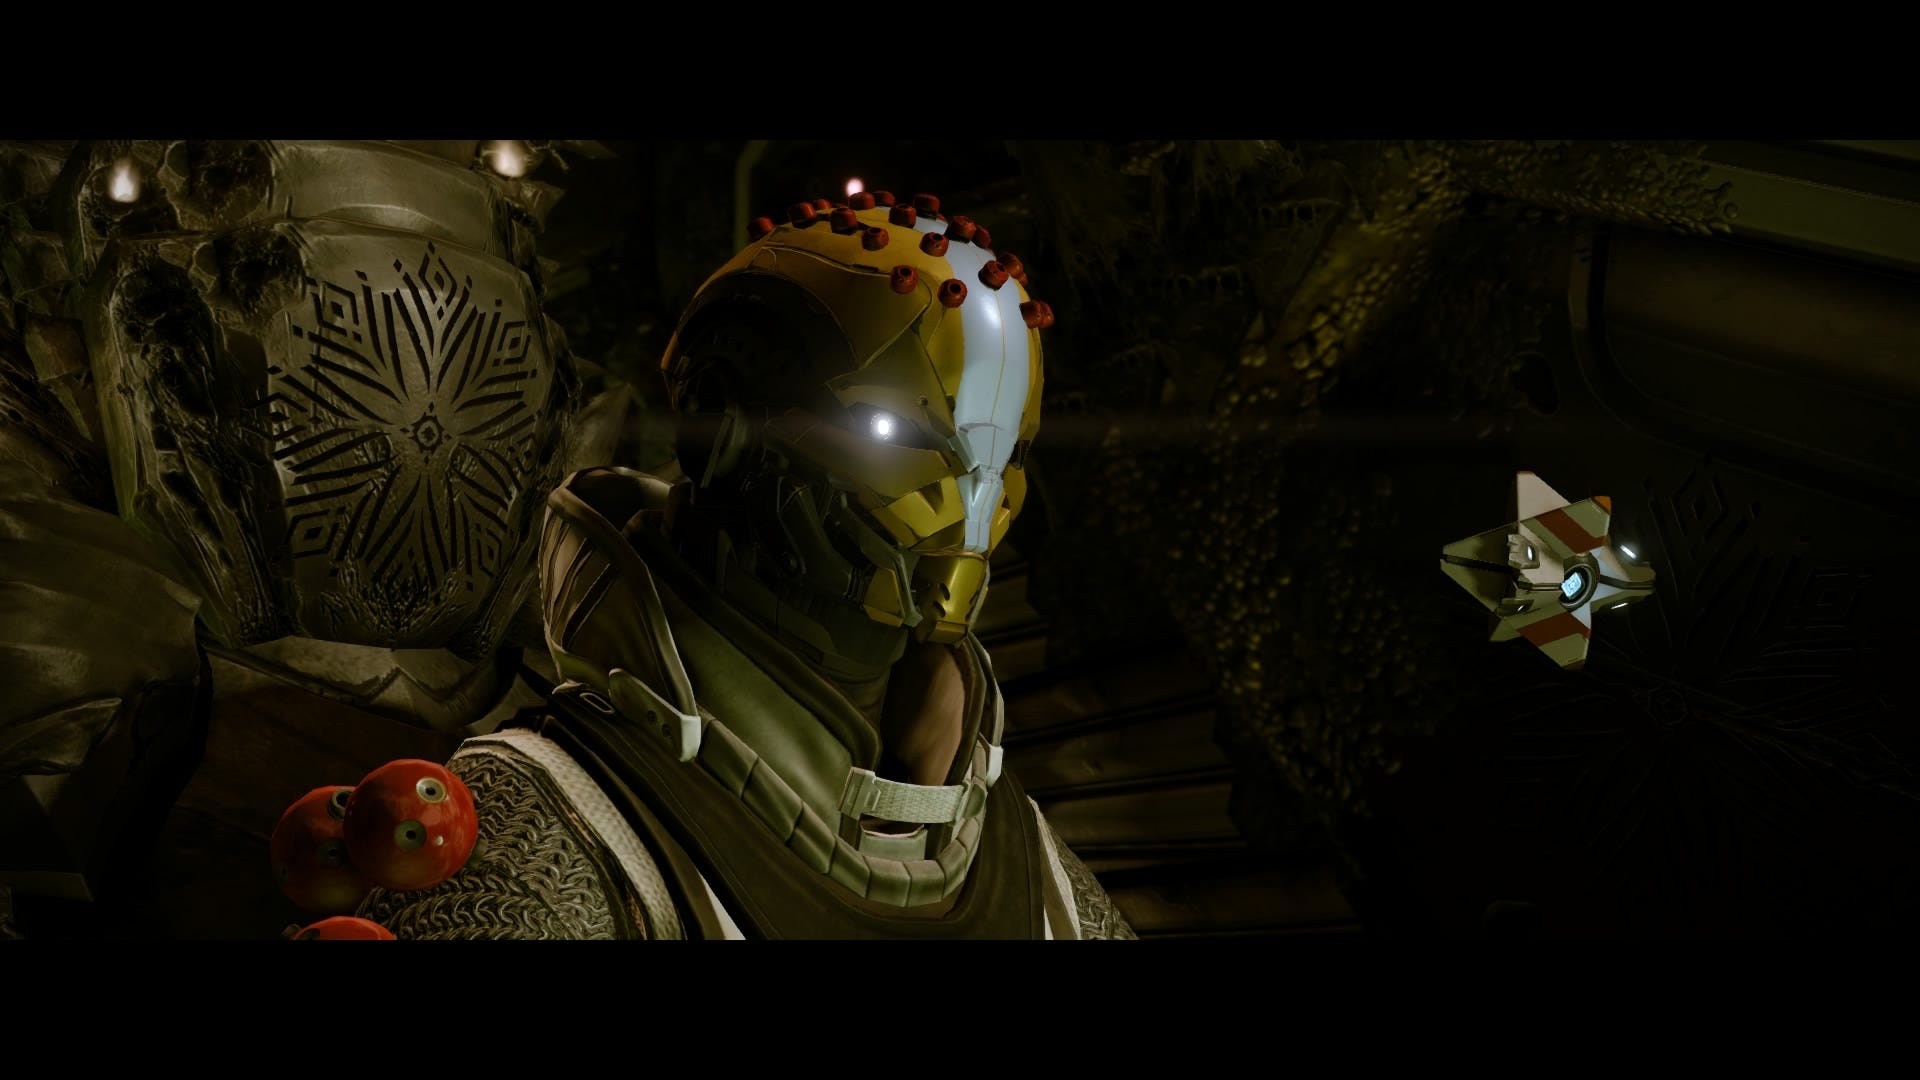
The stealth drive malfunctions but you get blown up just after you teleport onto the Dreadnaught. Hooray for that.
 Destiny_20150915121703
Head into the ship. The game tries to be clever here by removing the arrow, but you'd have to be wearing a bag on your head and not actually playing Destiny to get lost.
 Destiny_20150915121846
Follow the white lights through a door to the right.
 Destiny_20150915121942
You’ll see a bridge, but it’ll vanish. Scan the chasm by pressing the controller's touchpad to bring out your Ghost. The real bridge lights up. Walk across.
 Destiny_20150915122112
Head right, then into a corridor on the left. Kill the dudes and crouch down to pass through a hole in the wall.
 Destiny_20150915122514
Follow the arrow until you come out to another hidden bridge section.
 Destiny_20150915122620
Cross the to the left. You’ll see a glowing shard embedded into the ground. This is one of three power sources you need to knock out to disable the Dreadnaught's main weapon.

Walk up to it, scan it (twice), then shoot it.

Go back and up the red walkway, then cross over until you see the second power source. Again, just scan it and shoot it.

Cross the bridge towards the chandelier. Turn right and follow the arrow down. Keep killing the enemies as you go. You’ll soon see the final power source. Kill the Tortured Wizards and the other adds and destroy the pillar.

The weapon now goes offline. Follow the instructions, and go to secure the Transmat Zone. Just follow the arrow through the Dreadnaught, through a glowing door and down more tunnels. You’ll reach Hull Breach and see Hive Tomb Ships flying into the Dreadnaught as the Hive fight the Cabal.

Kill everything, then drop a beacon on the highlighted marker.

A Goliath tank will appear on the other side of the arena. Kill it, in time-honoured fashion, by shooting its legs. Smash it with rockets and it'll soon be dead. Once you kill it, the mission ends.

Head back to our Taken King quest guide, or hit our full Destiny: The Taken King guide.