If you're not seeing other players in Destiny 2 Public Events, make sure you don't have bad NAT settings


Destiny 2, much like the original, relies a lot on co-op play and interacting with other players in public spaces.
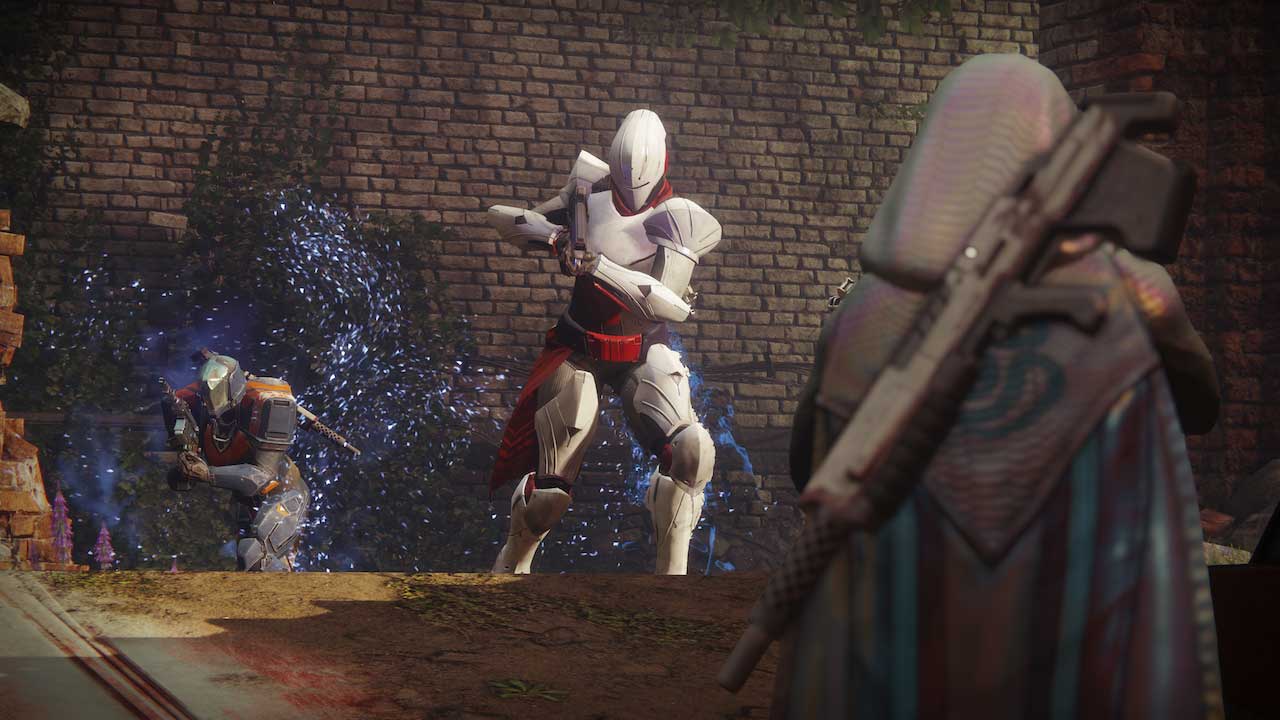
For instance, Public Events in Destiny 2 are a big source of gear. The weekly Milestones always ask you to play a few Public Events. This is one of few ways that provide gear beyond the 265 point, essential to gaining Power and levelling up fast in the game.
For this reason and many others, you really need to sort out your network to try and avoid cases where you're all alone in these events. A bad connection also results in problems like disconnecting mid-strike, seeing near empty social spaces etc. The main thing that causes mishaps is the type of NAT state your connection has. There are three NAT types: Open, Moderate, and Strict.
NAT controls how Destiny 2 connects you with other players, but it also affects every online game you play on your PC, PS4, or Xbox One. Reddit user LegendaryRav has helpfully rounded up the general information you need to get your NAT to stay open.
Assuming you've tried the easy methods of turning on UPNP in your router's settings, and making sure to connect the console directly to the router through a wired connection, the only solution left is to manually forward the relevant ports on your router. In order to do that, you first must assign a static IP address to your console from within the router's settings.
Every router is different, so you'll need to Google the steps for your current router make and model. Port Forward is a good place to start, as it has a massive database of models. You should also keep this site handy for the next step, port forwarding.
Port forwarding means allowing traffic to pass through these specific ports which could otherwise be blocked for one reason or another. For most routers, you do this through a simple menu where all you need is enter the port numbers you want forwarded. See below for a list of the Destiny 2 ports you need to forward in your router.
PS4
- Port 80 (TCP)
- Port 443 (TCP)
- Port 465 (TCP)
- Port 993 (TCP)
- Port 5223 (TCP)
- Port 8080 (TCP)
- Port 1935 (TCP)
- Port 3478-3480 (TCP)
- Port 3478-3479 (UDP)
- 3074 (UDP and TCP)
- 2001 (UDP)
Xbox One
- Port 88 (UDP)
- Port 3074 (UDP and TCP)
- Port 53 (UDP and TCP)
- Port 80 (TCP)
- Port 500 (UDP)
- Port 3544 (UDP)
- Port 4500 (UDP)
- Port 7500-17899 (TCP)
- Port 30000-40399 (TCP)
- 1200 (UDP)
And that's pretty much it. Once you've added the appropriate numbers, restart your router and test your connection through the PS4, or Xbox One's network settings menu. You should see open NAT from this point. For tips and guides, our Destiny 2 guide is pretty thorough.