The Ascent Tips | How to save, navigate, and fight your way to the top

Life’s tough in the brutal dystopia of The Ascent.
As you climb the corporate ladder leaving your enemies and allies in your wake, you’ll have to master all of the systems at your disposal to survive.
To get you started on the right rung and ease you into the more overwhelming aspects of the Ascent Group’s Veles arcology, here are our 8 top tips for The Ascent.
The Ascent Tips
From its surprisingly deep systems to its rich and complex world, The Ascent can make a confusing first impression.
With that in mind, we’ve compiled some frequently asked questions that you might find yourself asking during your time on the Veles arcology, as well as some sage advice we’ve learned from multiple playthroughs.
The Ascent Tips | How to save
When you’ve fought tooth and nail through streets full of gangsters, there’s nothing less appealing than the thought of losing progress.
To save in The Ascent, you don’t have to do anything.

The game autosaves constantly as you roam the city, so you can quit the game without sweating.
To see when The Ascent last autosaved, go into the pause menu, and choose the quit option at the bottom of the list. This will show you a popup with the time since your last autosave.
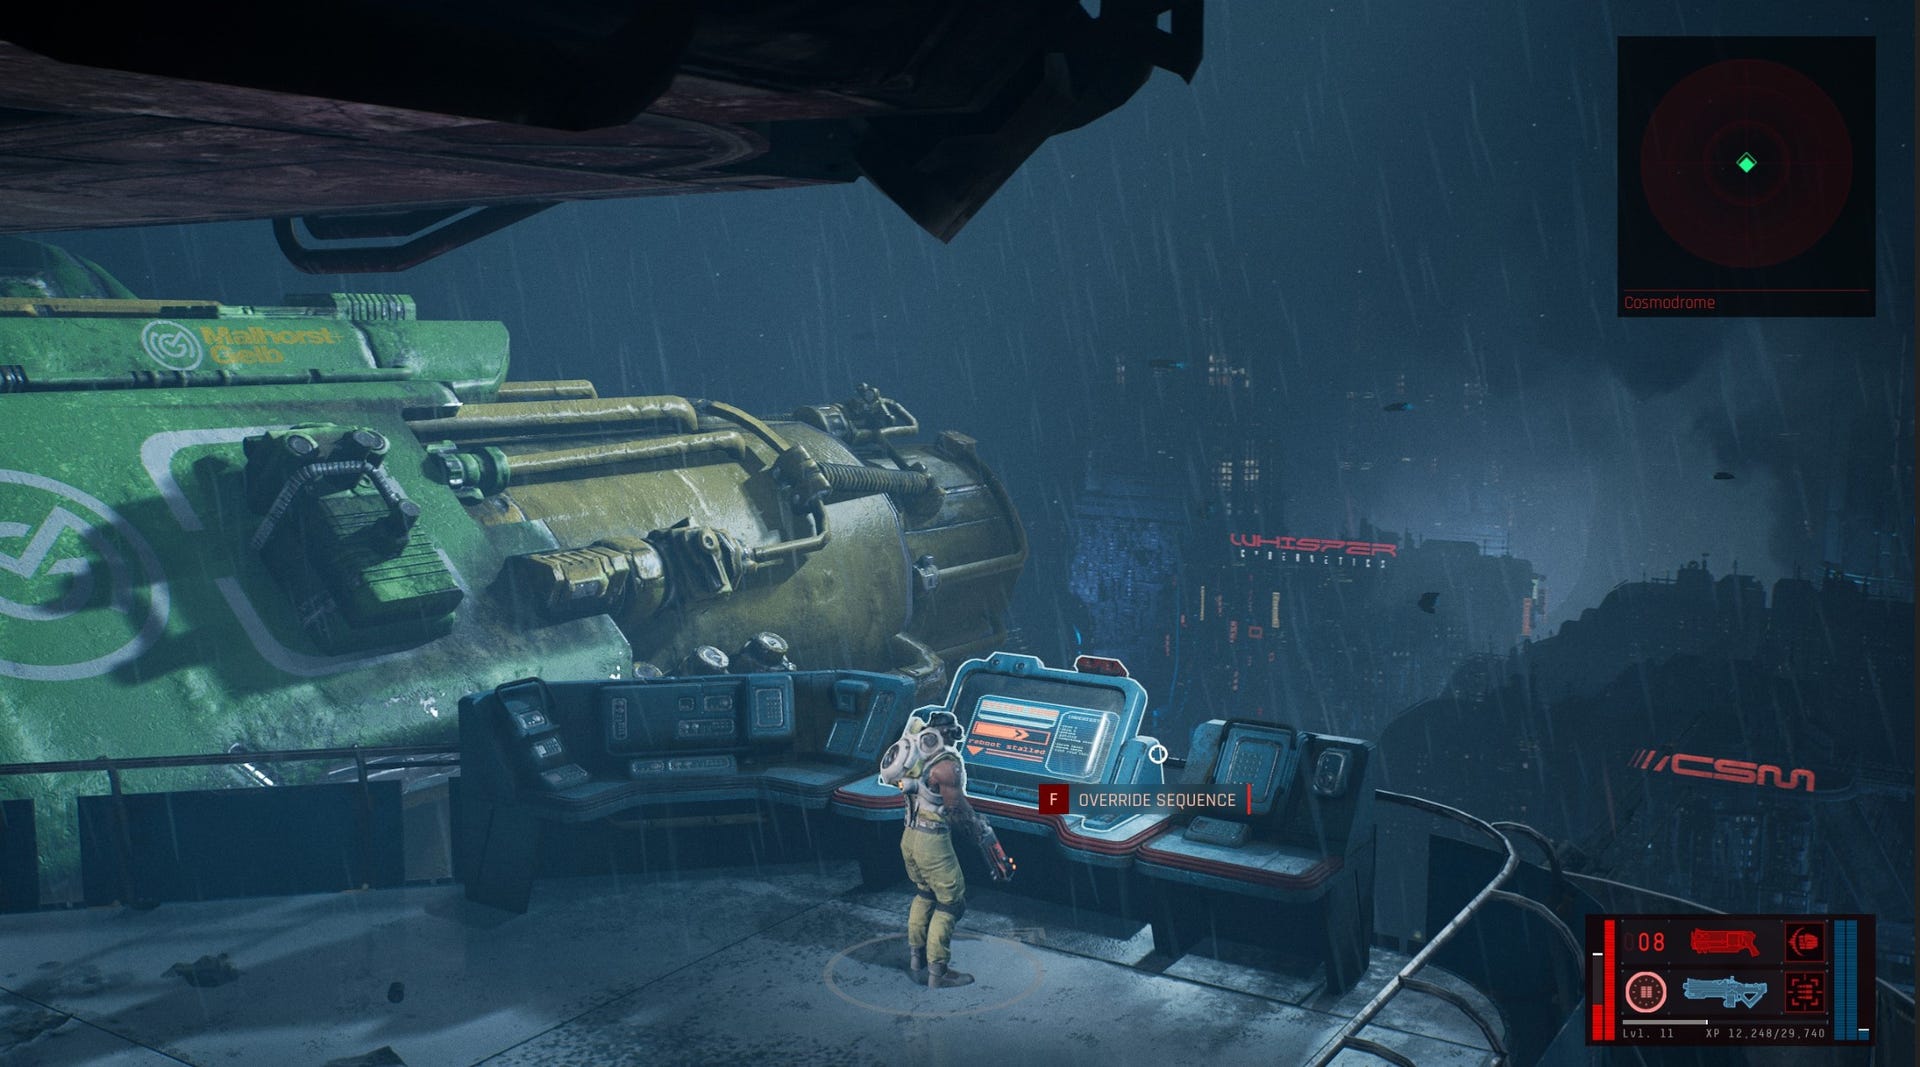
The Ascent Tips | The Mission HUD is your best friend
From the dirty Deepstink to the hacker hangouts of Blake Lake Towers, the Arcology’s multi-layered, labyrinthine streets are a nightmare to navigate.
If you’re having trouble finding your way to quests, make use of the Mission HUD (“o” on Keyboard, or Up on the d-pad).
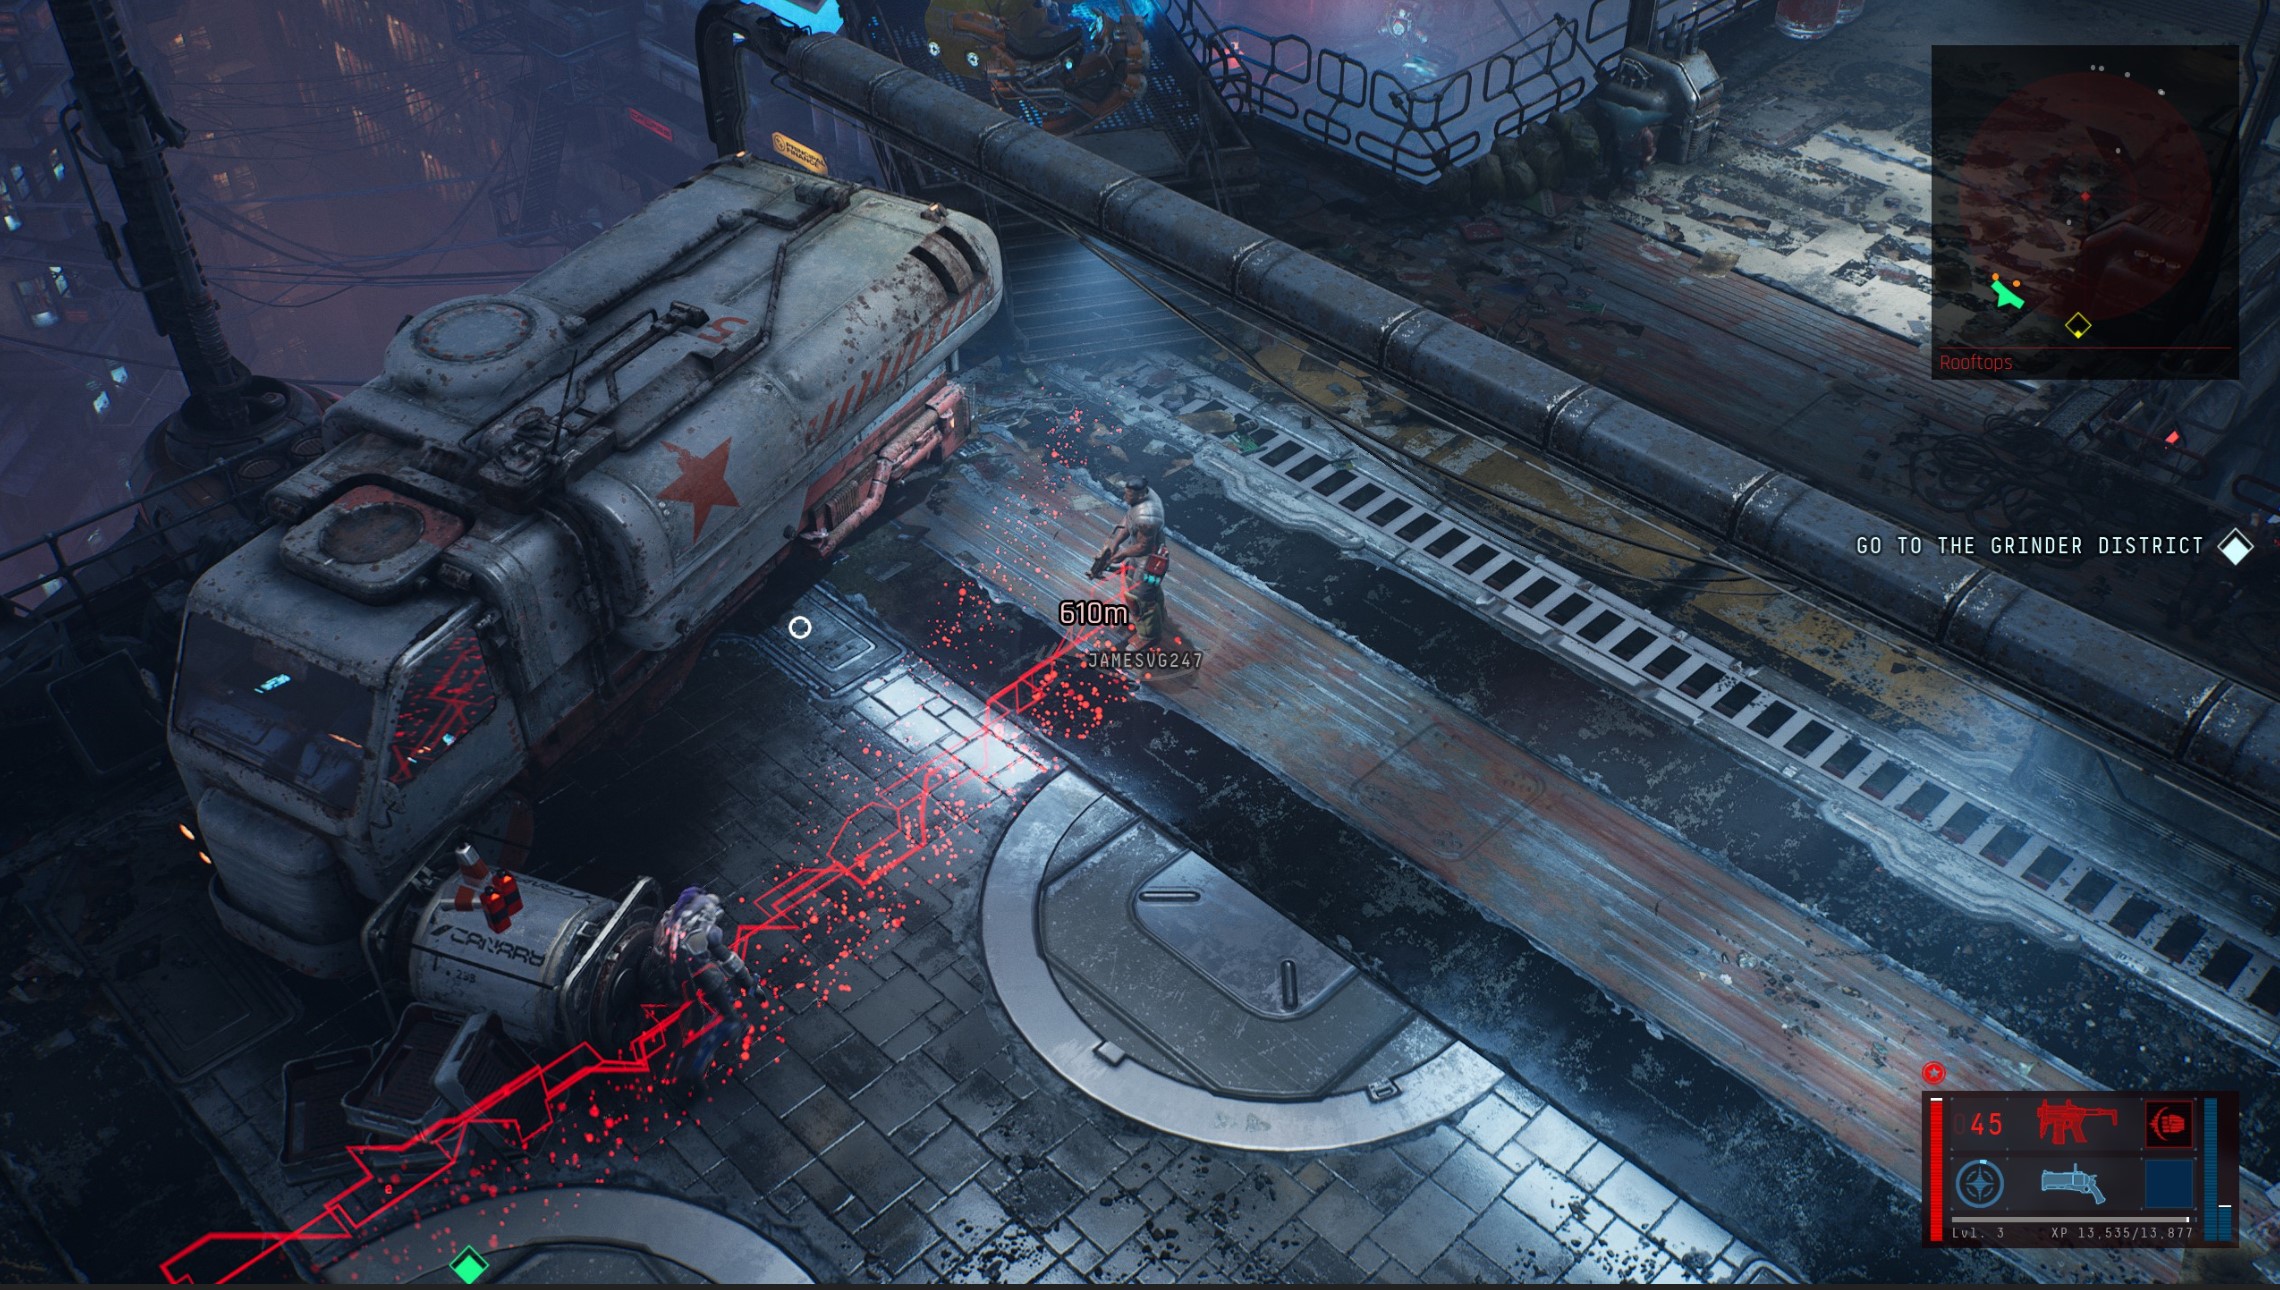
This sends a digital red line sprawling out in the right direction towards your objective. If you’re ever lost, simply spam the Mission HUD until you’re in the right place.
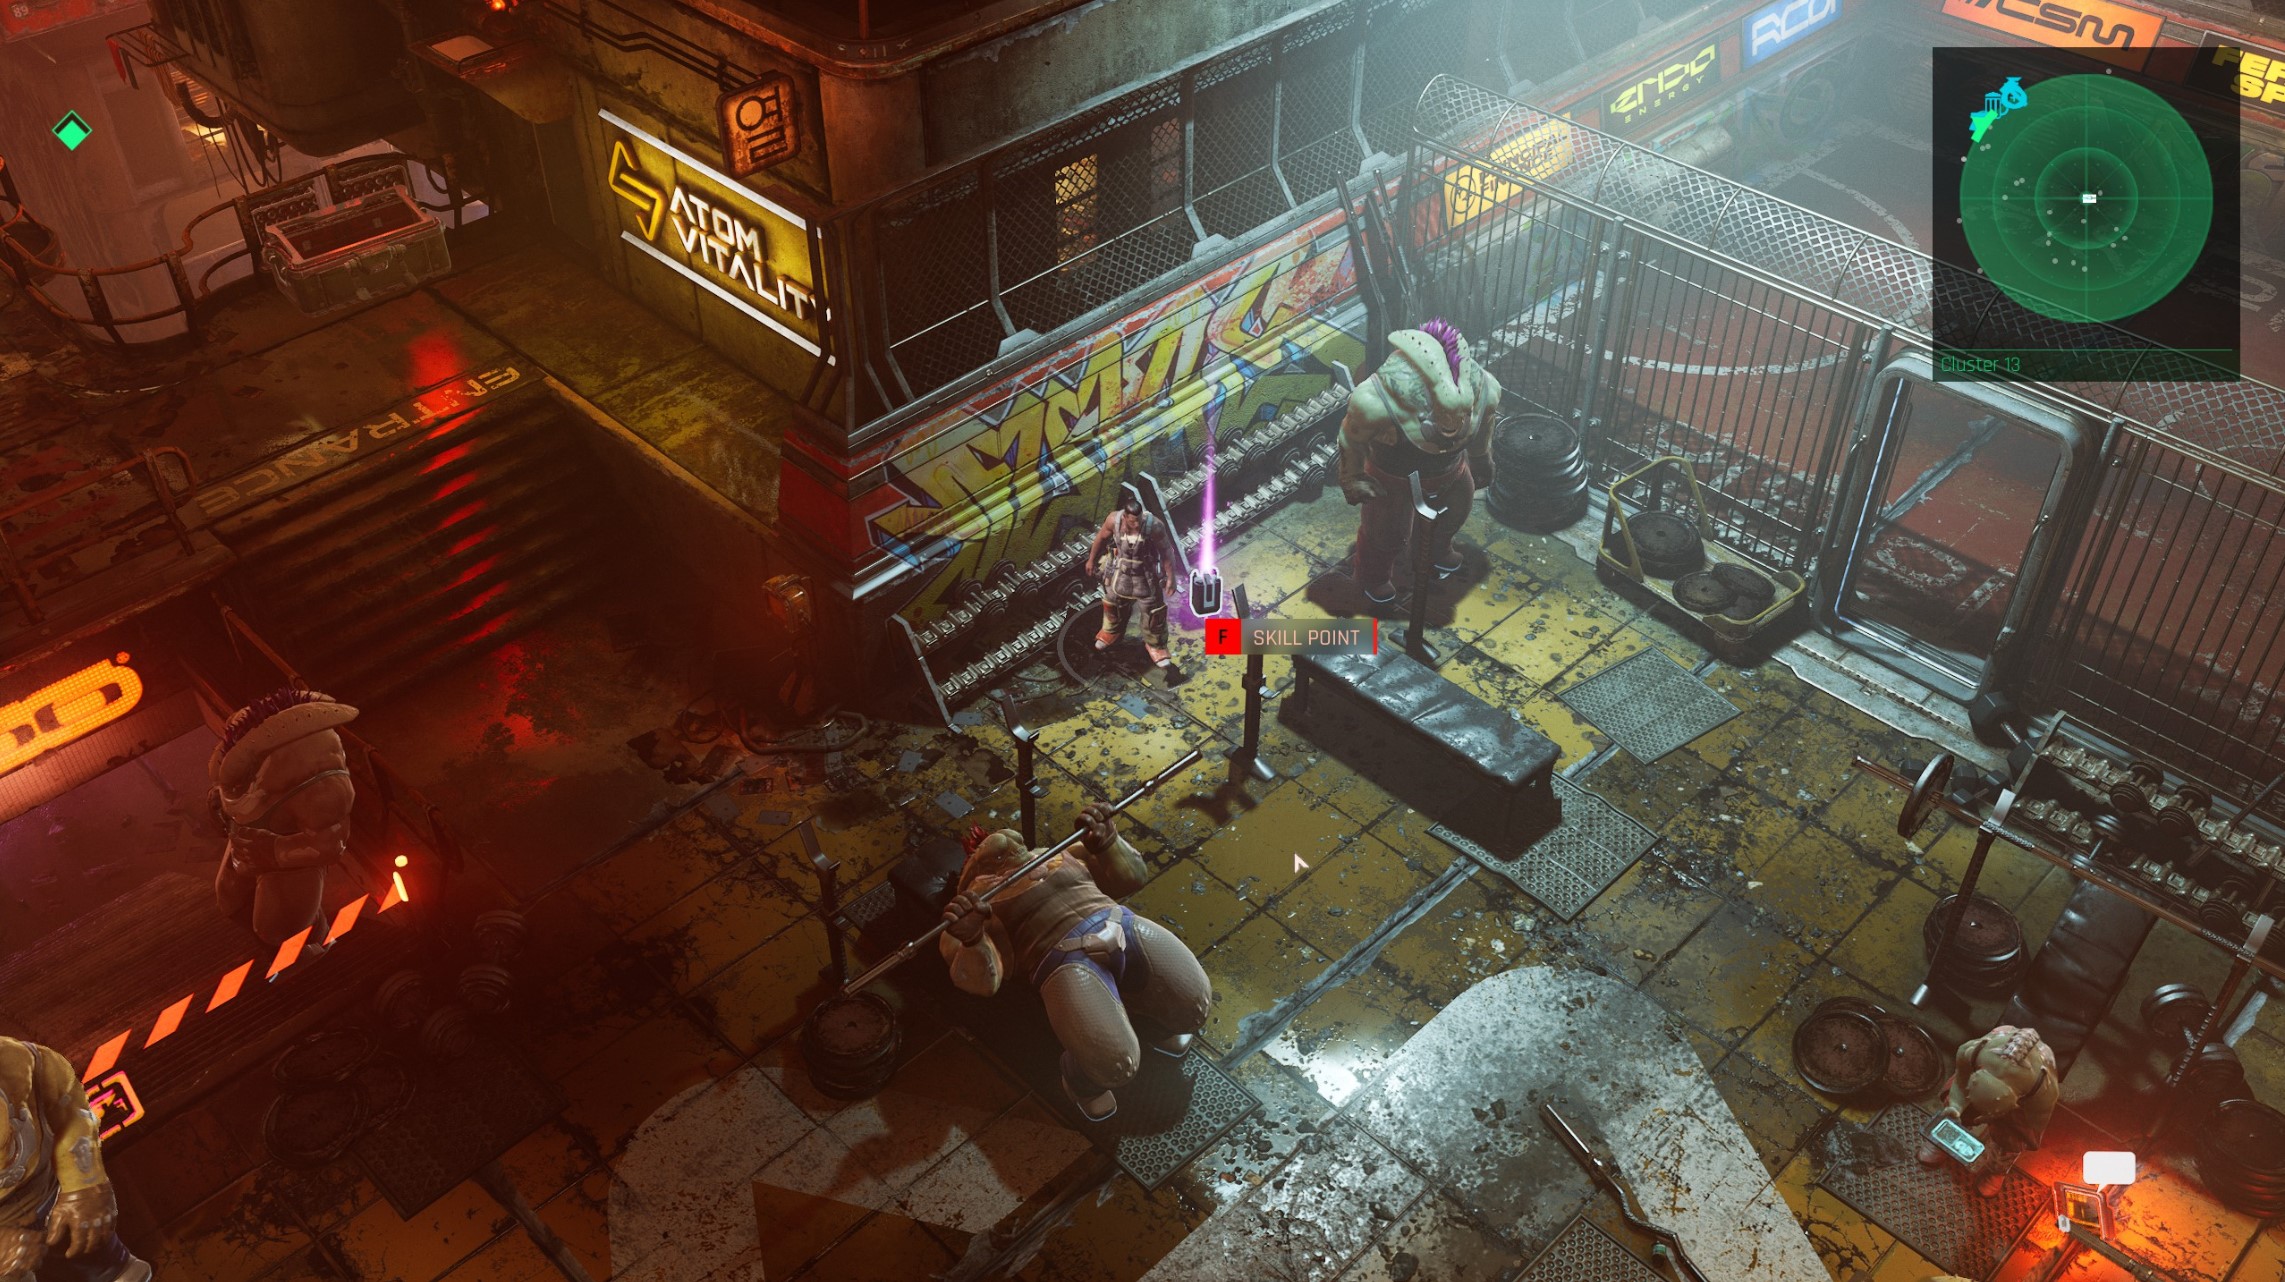
The Ascent Tips | Explore the Arcology - you’ll find everything eventually
As you make your way from quest to quest, it pays to check your map often and make a beeline for the marked chests you see around the map.
These often contain either useful items, new gear, or permanent upgrades for your character and equipment.
Indulge your curiosity and you’ll be richly rewarded. But this does mean that it's not very useful to buy things from merchants, because you'll find everything eventually anyway.
The Ascent Tips | Don’t explore too much - you’ll get stomped
The flip side of that however, is that if you stray off the beaten track too eagerly, you’ll run straight into high-level enemies who’ll send you packing from their neighbourhood quicker than you can say “Netrunner”.
Our suggestion is to generally follow the Mission HUD from place to place, but check your map often.
As you pass a marked chest, make a detour, then return to the known path - otherwise things can get frustrating.
The Ascent Tips | Spend the Components you find
We all do it.
You spend a whole game waiting for the opportune moment to invest your upgrade materials in the perfect weapon, only to see the credits roll with them sat safely in your inventory.
During your time with The Ascent you’ll collect components from chests, the open world, and by collecting Bounties.
There are three tiers of materials: basic, advanced and superior.
Especially by the end of the game, you should have enough basic materials to upgrade at least 5 weapons to Mk. 5, by which time you should know which ones you want to take all the way to Mk. 10 with your higher grade components.
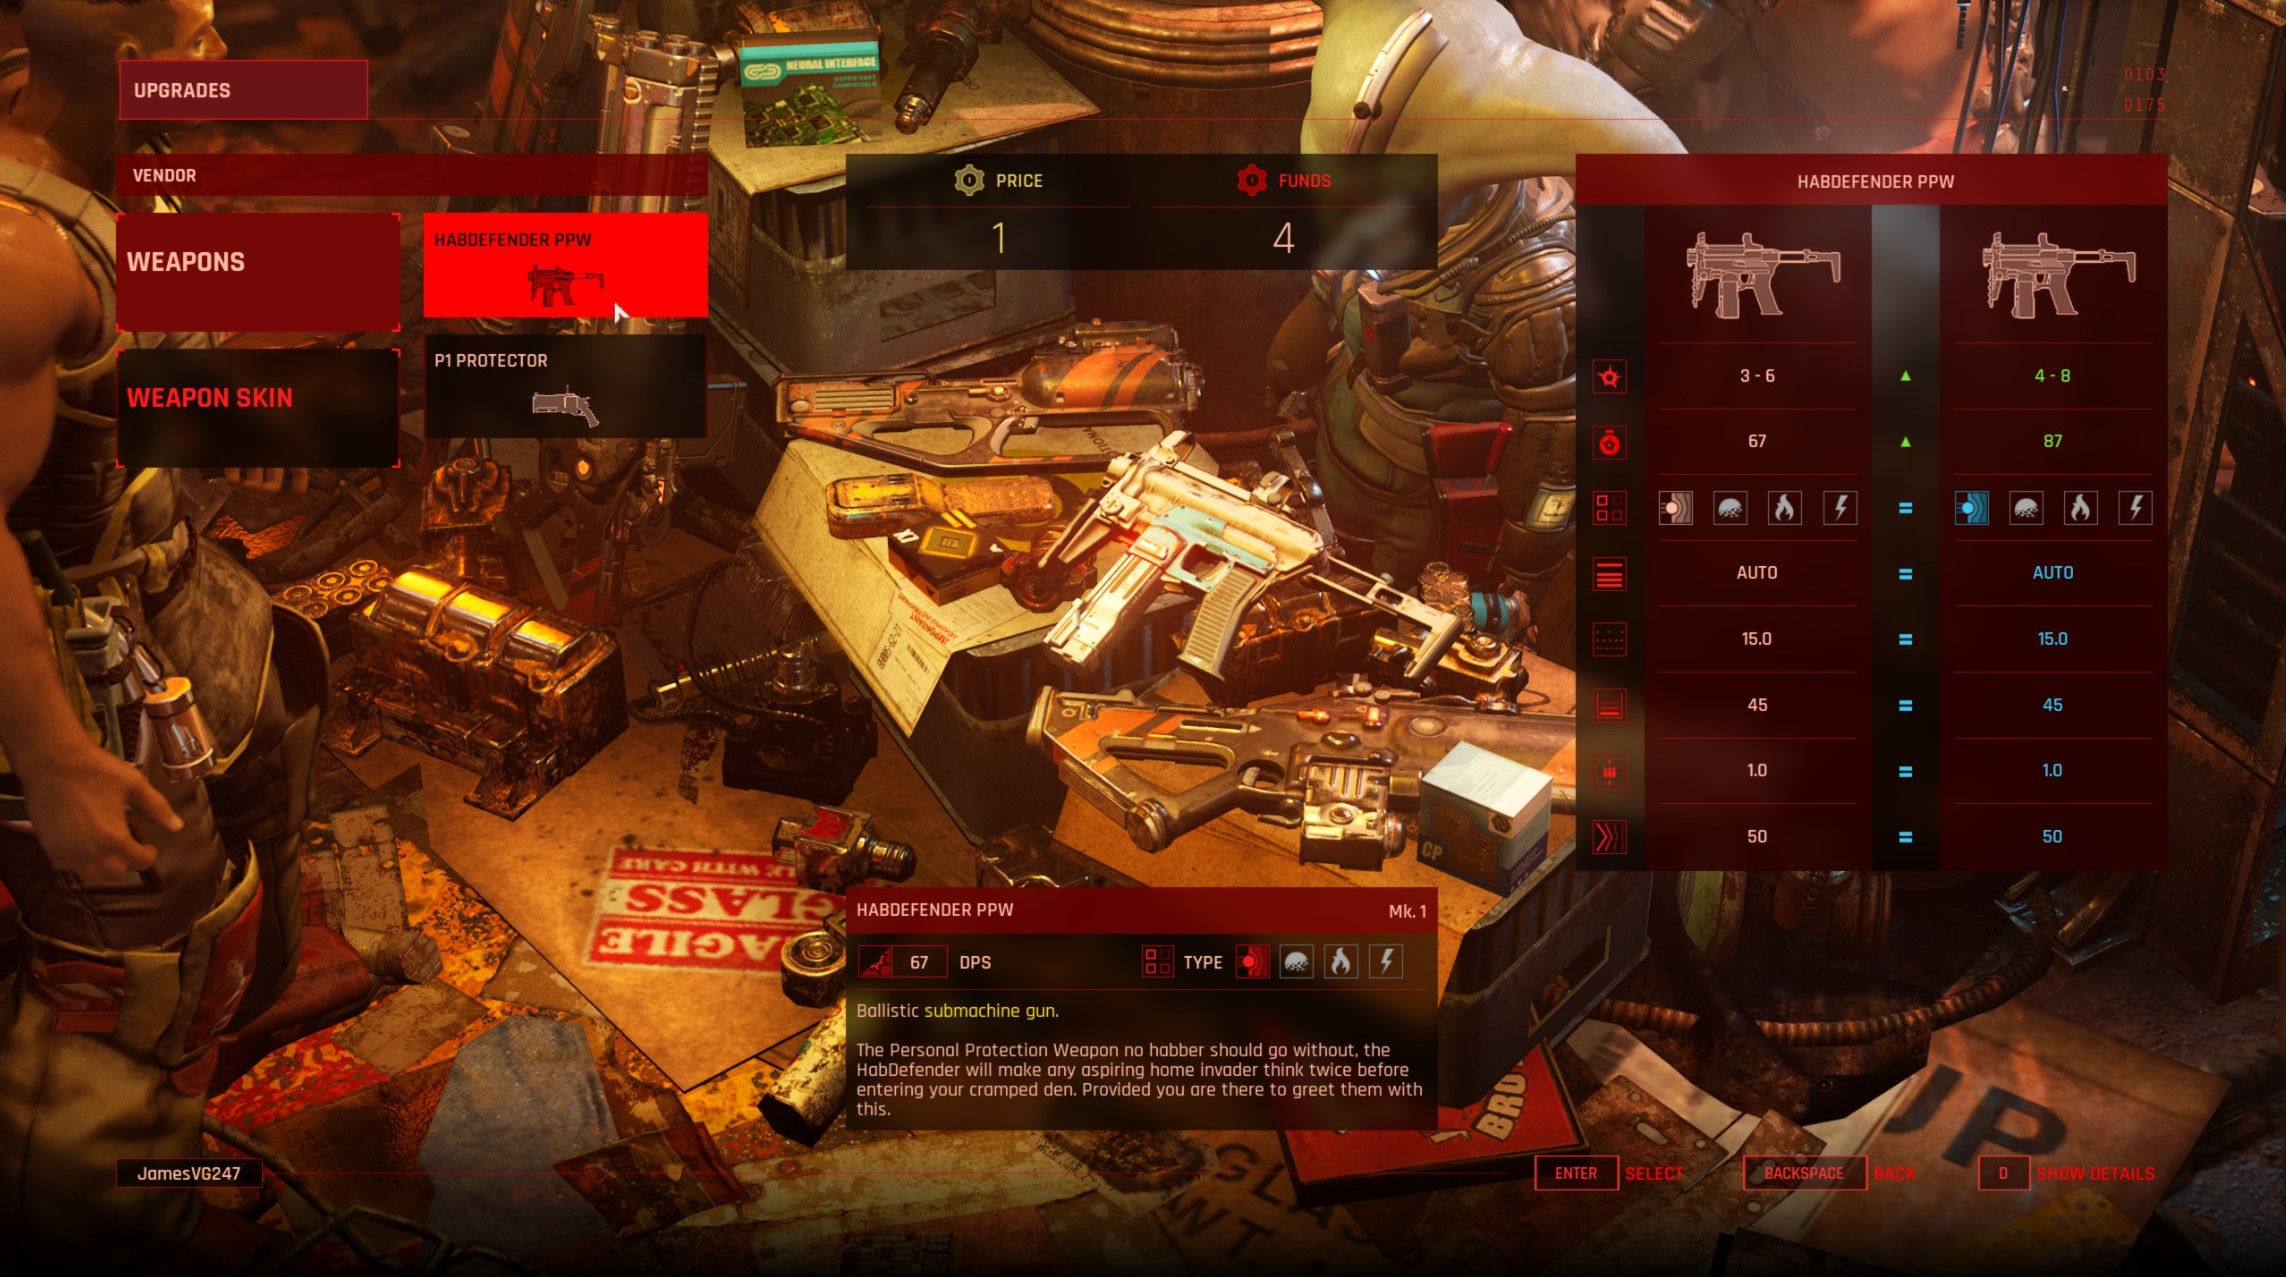
Once you’ve upgraded a weapon, every weapon of that type you find from them on will be upgraded too, so you don’t need to worry about selling them off either.
This level of flexibility means you can invest in a few different weapons you like, before settling on your favourites to take further. So don’t worry too much about wasting materials if you’ve only upgraded a couple of guns.
But by that same token, this isn’t the kind of game where you’ll have the whole weapon roster at maximum level. So you do need to choose wisely to an extent.
The Ascent Tips | Dig into cover if you find a set-piece overwhelming
While The Ascent is challenging throughout, there are certain set-pieces that crop up throughout the game which are much, much more difficult than anything else.
For most of the game, you can get away with running and gunning like a twin-stick shooter, but in these situations, it can pay to be a bit more tactical.
Crouching behind cover shields you from bullets, and you can then raise your weapon to return fire without being hit.
If you find yourself getting melted by enemy fire, try making better use of cover to pick off ranged enemies before turning your attention back to more aggressive melee foes.
The Ascent Tips | Use abilities that take aggro away from you
Similarly, especially if you’re playing solo, the augmentation abilities which summon friendly robots are very powerful.
This is because they take your enemies’ attention away from you, letting you backpedal into a better position, heal, or focus your fire on a particularly tough bad guy.
My favourite are the Spiderbots, which you get as a reward for a mid-game boss fight - but the Mono Scrapper-type augments work too.
The Ascent Tips | Don’t get stuck being a jack of all trades
The Ascent’s dizzying array of stats and figures is definitely one of its more confusing aspects.
When divvying out your skill points, keep in mind the kind of weapons and playstyle you enjoy, rather than just keeping everything even.
You can quite happily keep some Skills on 0 throughout the entire game without feeling the negative effects. Letting you focus your efforts on collecting bonuses which make the biggest difference.
For example, if you don’t use grenades a lot because - like me - you forget to press the button, don’t invest in Tactical Sense. It’s that easy.
The only skill I’d definitely suggest every character raise is health, but the rest is up to you.
For more on how to build your character, here's how Skills and Attributes work in The Ascent.
Or for the definitive verdict on the game, check out our The Ascent review.