The Last of Us 2 Seattle Day 1 Downtown Full Map - All locations for the Sightseer Trophy
Here's a full map of Seattle Downtown in Day 1 of The Last of Us Part 2. Visiting every location gets you the Sightseer Trophy!


With the release of The Last of Us 2 Remastered on PS5, the excellent open area of Downtown Seattle looks even better than ever. But whether you're playing the new version or the PS4 original, you can still find everything on this map in the same place!
After The Last of Us 2's impactful opening, Ellie and Dina head out to Seattle. Once they’ve gained entry to the now walled city, they emerge in one the game’s largest and most open hubs, filled with all sorts of goodies to find.
Here’s to make sure you tick off every building on your map of Seattle and claim the Sightseer trophy for yourself.
The Last of Us 2 Seattle Day 1 Hub Map
First and foremost, here’s an image of the completed map for the most spoiler-free view of the area we can give.

Completing all of the circled areas shown here grants you the shiny silver trophy: Sightseer.
For a more in-depth look at each of the buildings, and a little of what you can find in each, we’ll go clockwise from the bottom (south) of the map.
There are about 12 points of interest with 9 buildings in total, only two of which are necessary to advance the story, so there’s a lot of juicy additional flavour to savour here - which can take hours to chew through.
Bank - intersection of 6th Ave and Cherry Street
From where you enter the Seattle Day 1 hub - the bottom right corner of the map - likely the first building you’ll come across is the bank on your left.

Dismount from your horse and enter through the waterlogged entrance before dropping down into the vestibule.
There are a few infected to deal with inside the bank foyer, which you can either do quietly or loudly. It’s quite simple to slip behind the teller points to clear the room stealthily, but there’s also a decent amount of cover if things don’t go according to plan.

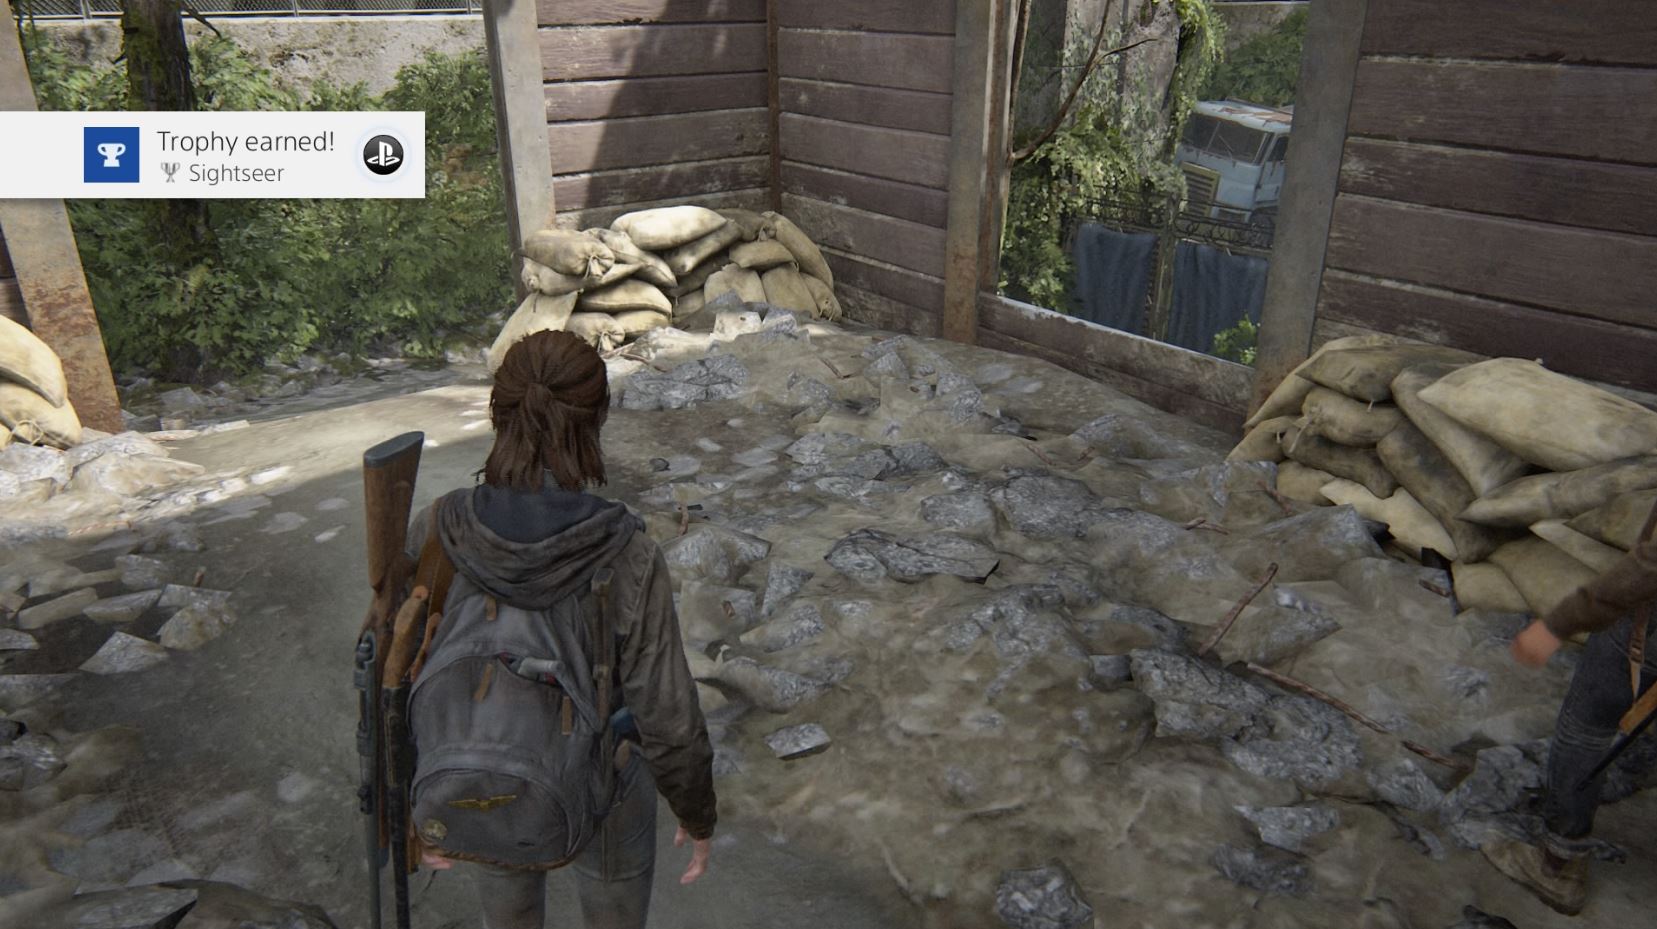
To tick the bank off your map, you need to head to the far end from where you came in to the deposit area. There’s a locked door here you can open if you search for the note in the vicinity. The code is 60-23-06 and we have a full page on all of the safe combinations and codes, here.
Inside, you’ll find an addition to your arsenal - we have another full page on where to find every unlockable weapon, here.
Make sure you search the boxes around the walls for an absolutely brilliant Easter Egg.
Tank - intersection of 4th Ave and Cherry Street

Nestled right in the bottom left corner of the map is a clapped-out old tank, which you can open up for some bits and pieces.
Domed building (Synagogue) - intersection of 5th Ave and Marion Street
This is the dome you’re looking for that was mentioned in an earlier cutscene. You can get inside around the left-hand side of the building at any time.
I went here last, but you’re not cut off from exploring the rest of the area if you decide to duck in here earlier.
FEDRA camp - intersection of 5th Ave and Madison Street
Further along the street from the Synagogue is a disused FEDRA camp from when this area was a functioning quarantine zone.
There are various bits and pieces, including notes and supplies, scattered around to find.
In the main tent, you’ll find a workbench. We have a list of where to find every workbench - which nets you not one but two trophies - here.
West QZ gate - Madison Street
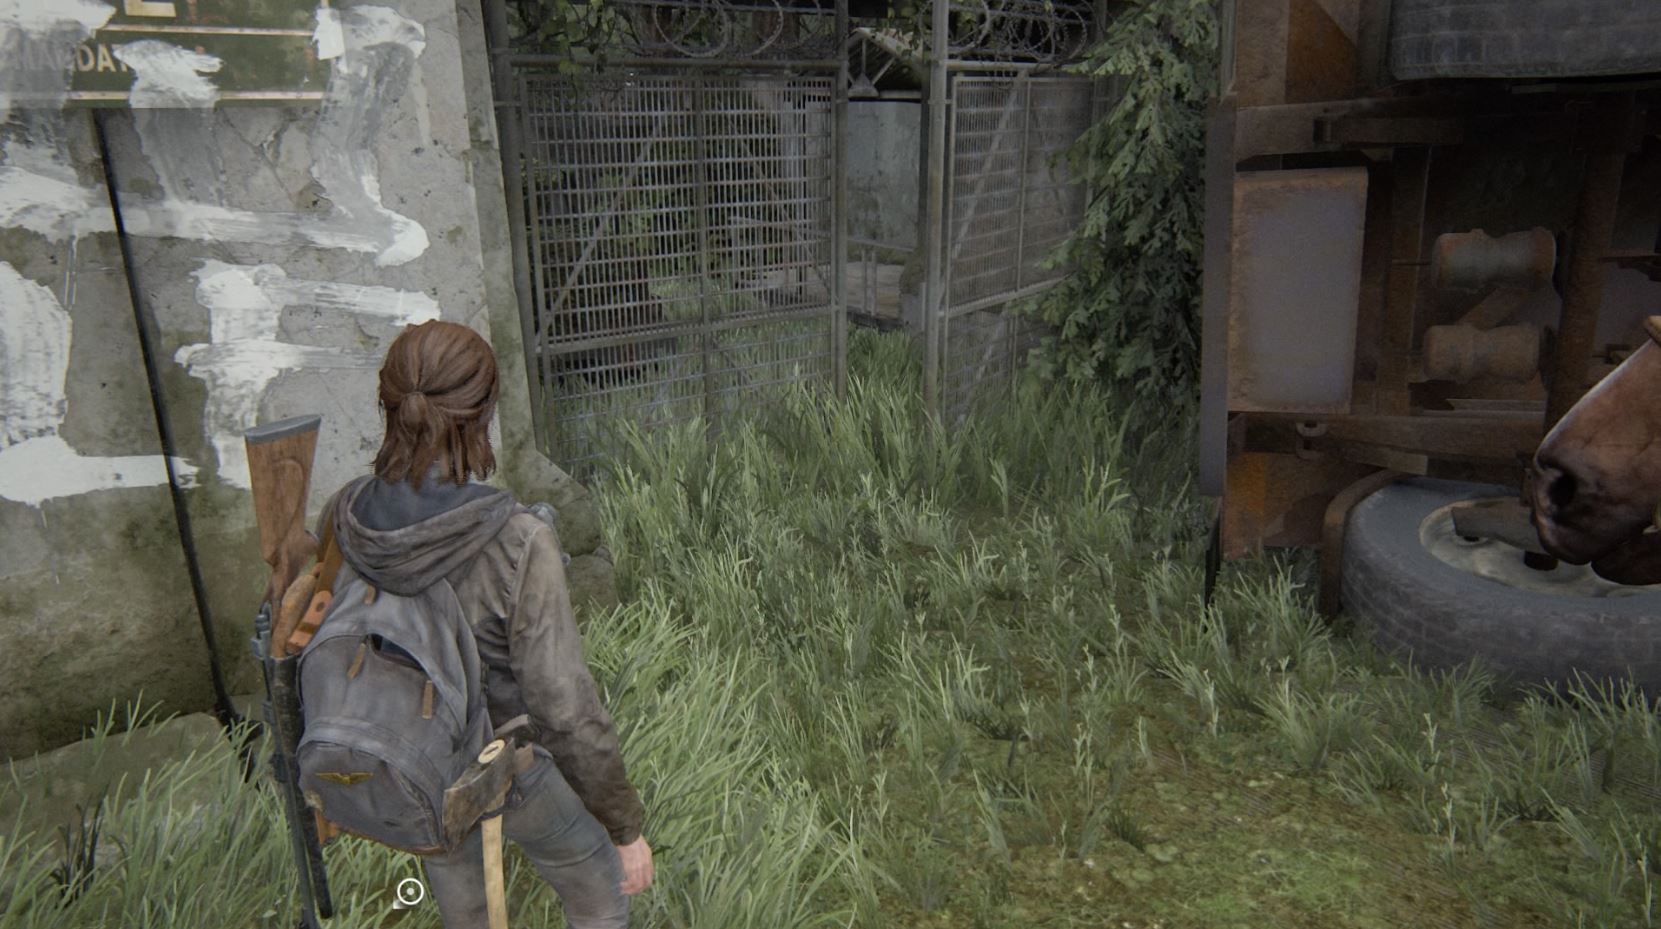
On Madison Street, next to the FEDRA camp, is a QZ checkpoint that you can squeeze through a fence to access.
In the back you’ll find another cache to open. As before, we have a full page on every safe combination and code in the game, here.
Or you can use 04-51 from the note in your backpack to open it here and now. There's another of the superhero trading cards inside.
Coffee Shop - intersection of 5th Ave and Spring Street

Up in the top corner of the map, you’ll see a coffee shop with missing persons posters in the window.
Lob a brick or bottle through the glass and hop in, rifling through the drawers and cupboards as you go. There’s the Big Blue card in a drawer behind the counter for example - and we have a full guide to every superhero trading card location here.
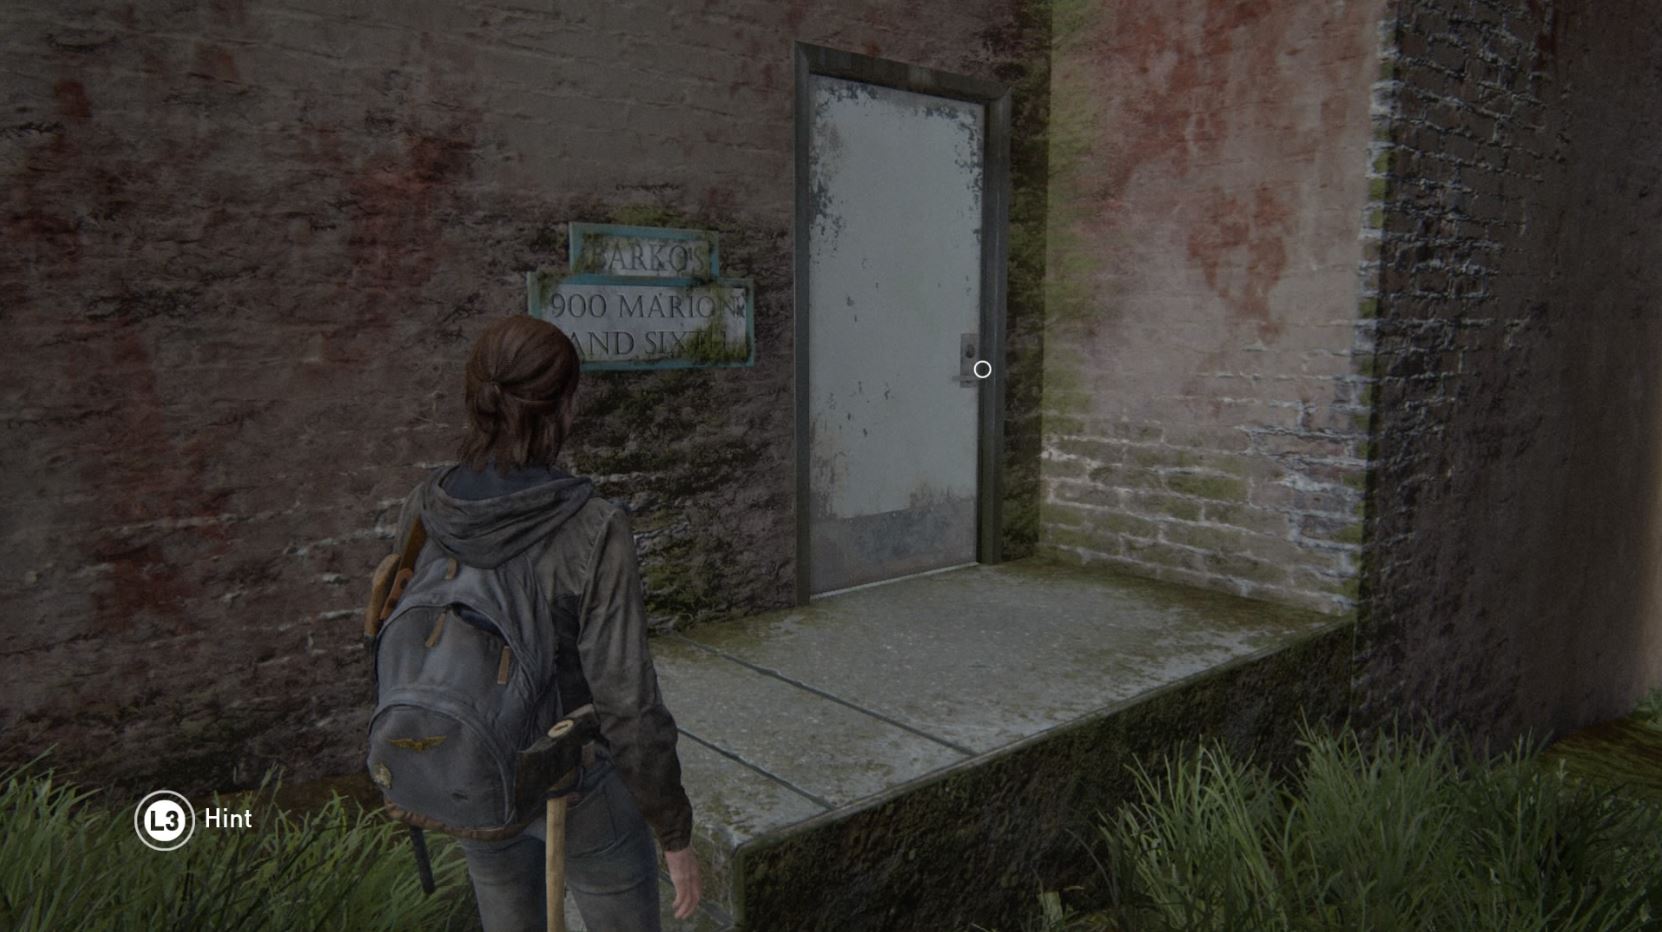
Make your way through to the back of the shop and into the bathroom - there’s a key to Barko’s pet shop hidden in the changing facility.

Courthouse - intersection of 6th Ave and Madison Street
There’s quite a lot of stuff squished into the middle of this Seattle Day 1 hub area, and next to the coffee shop you’ll find the Courthouse.
I know the map says “No Gas” in big letters next to it above, but you’ll still need to go through it to progress the story.
Once you reach the area with metal detectors, there’s an office you can smash a window and hop into on the left. There’s a cache inside, under the desk.
Again, you’ll find what you need in our The Last of Us 2 safe combination page - or you can look on the whiteboard around the corner to find: 86-07-22.
FEDRA transport - in the river off Madison Street
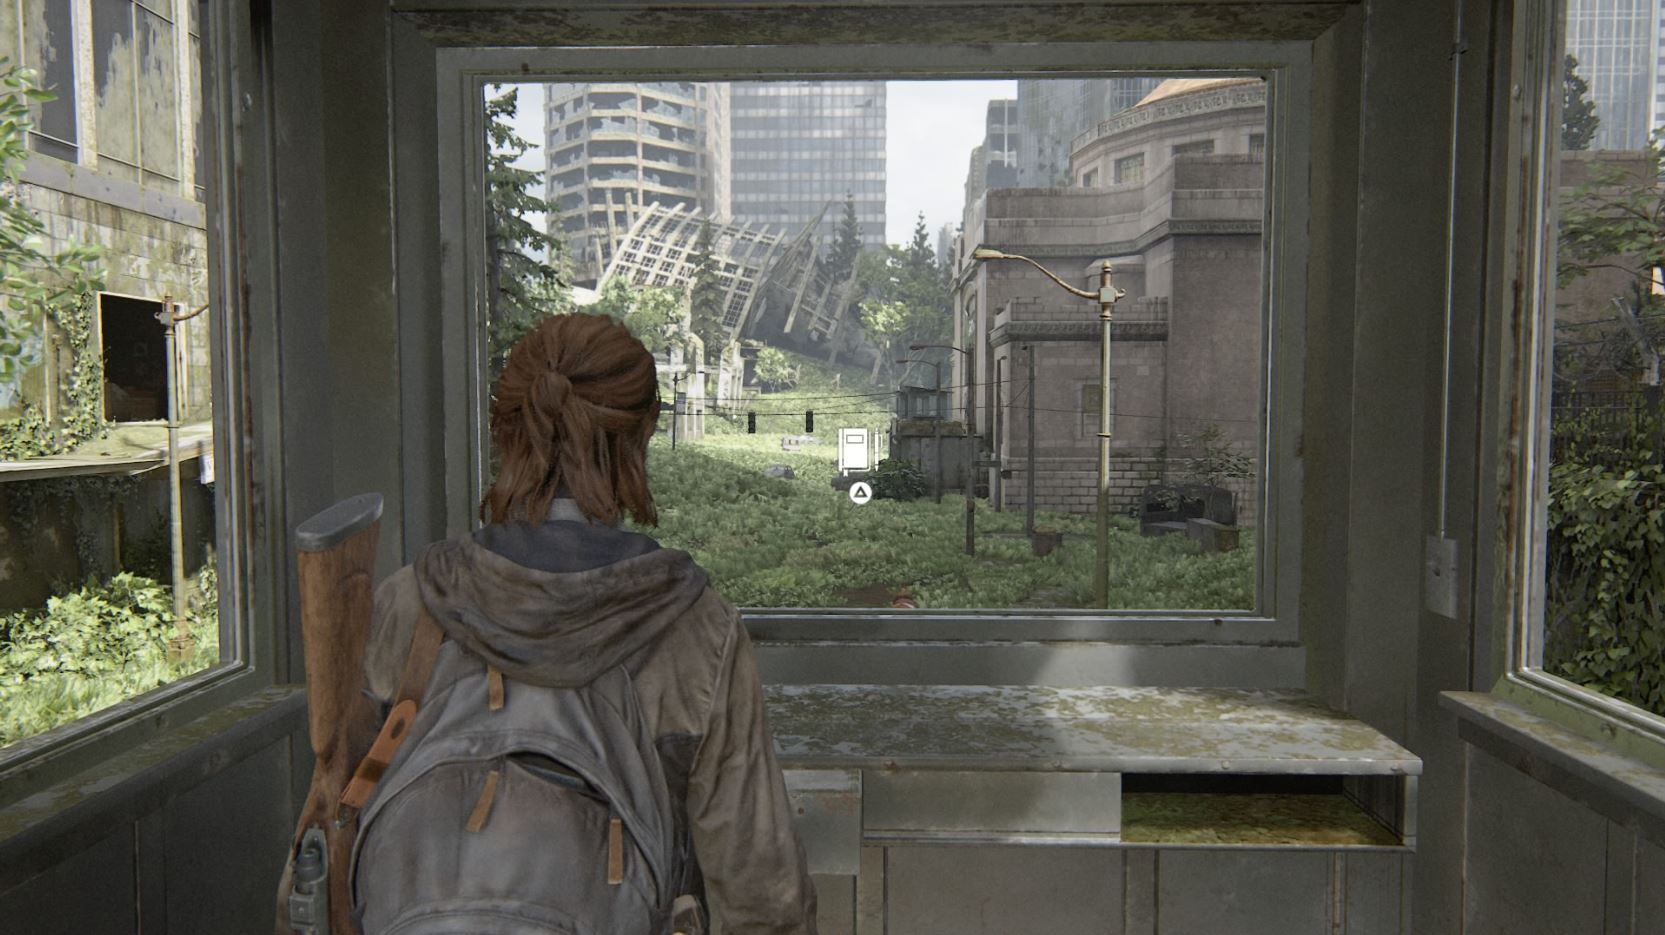
About level with the courthouse, wade into the river and interact with the back of the partly submerged troop transport.
![]()
There are some supplies to stuff your pockets with, and this counts as a location on your map.
Fire truck on the bridge - collapsed bridge off 6th Ave

As you keep going down the street, you’ll see a fire truck stranded on a collapsed bridge. Climb up onto the hood of the truck and use it to jump over the gap to get onto the bridge, then roll up the shutter towards the back of the truck to grab a fire axe.
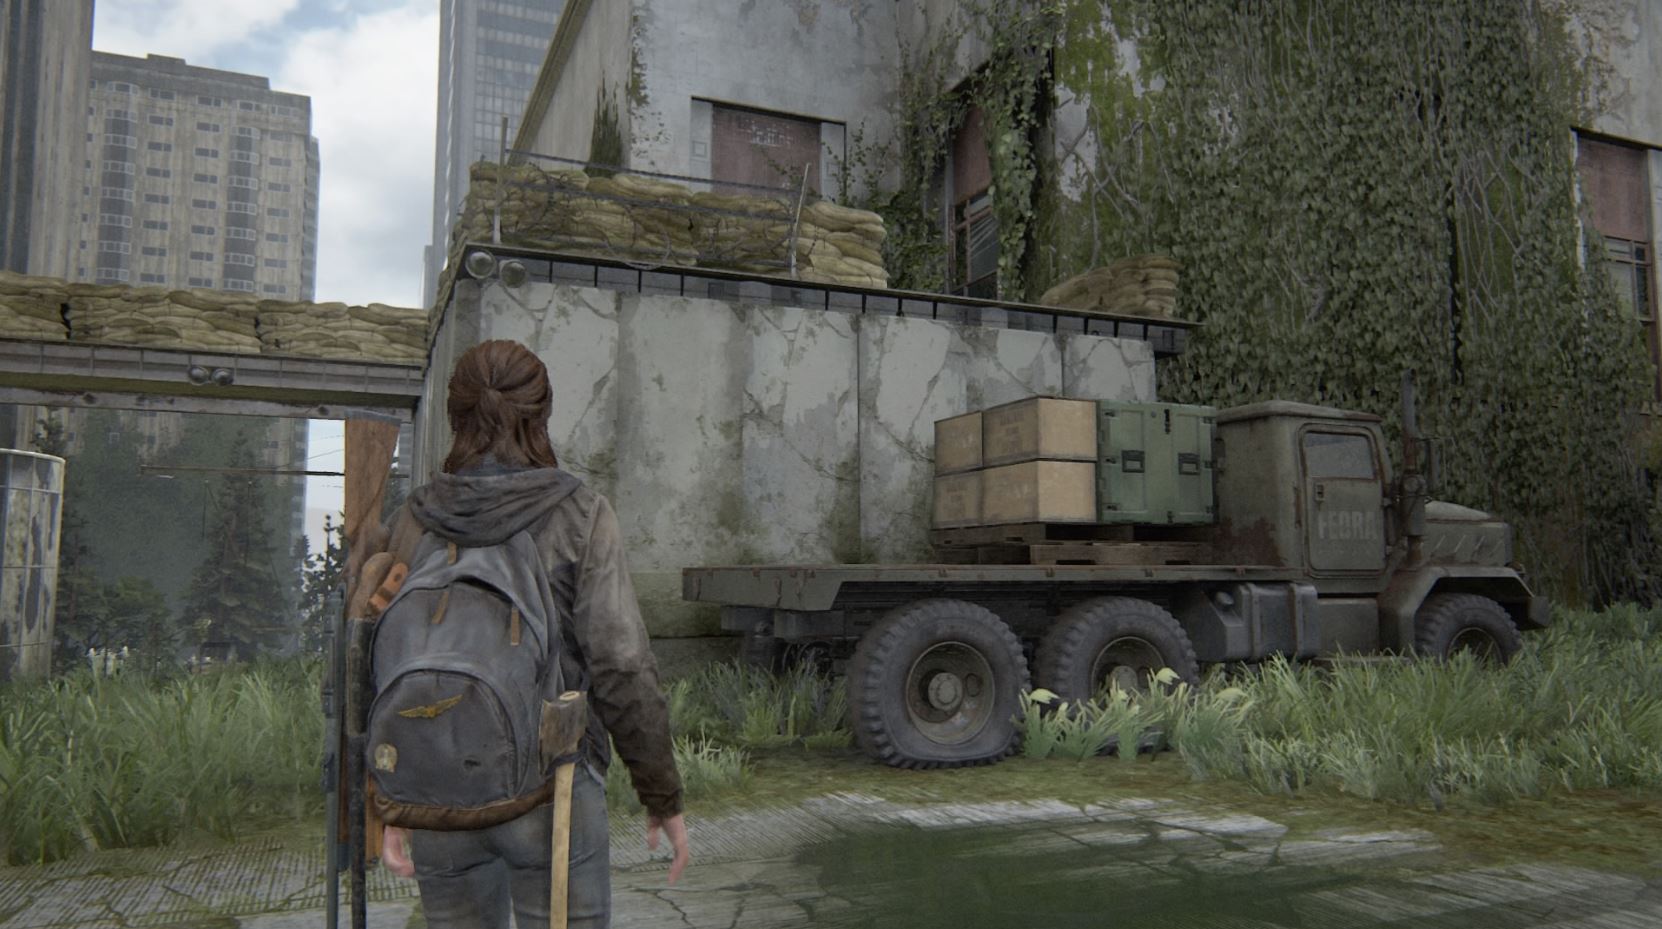
Shipping Container off the side of the bridge - on the ledge off 6th Ave
Next to the fire truck, on the floor to its right is a climbing line you can carry by pressing Triangle.
Throw it over the side of the collapsed bridge and abseil down. This gets you onto a raised platform below with an overturned truck on.

In the back of the overturned truck there’s a character training manual with some other supplies. We have a full page on where to find all of the training manuals throughout the entire game, here.
Barko’s Pet Store - intersection of 6th Ave and Marion Street
Next up is Barko’s Pet Store, which you found the key to in the coffee shop in the top left of the map.
To get inside, you need to go through the delivery entrance in the back alley to the rear of the shop.
There’s plenty to grab inside, including a new stun grenade and a long gun holster which improves your ability to switch your equipment. We have a guide on where to find all of the holsters inside the best weapon upgrades page, here.
Music Store - intersection of 5th and Marion Street
To get in the music store next to Barko’s, you need to enter via the second floor window.

This is accessible from the ladders at the FEDRA checkpoint on Madison Street.
Inside there’s allsorts to find, including a superhero card in a drawer on the ground floor - which again we have the rest of here - and some great easter eggs.
Burned out building - intersection of 6th and Marion Street
Finally, there’s more stuff to find than you’d expect in the shell of the burned out office building near the middle of the map.
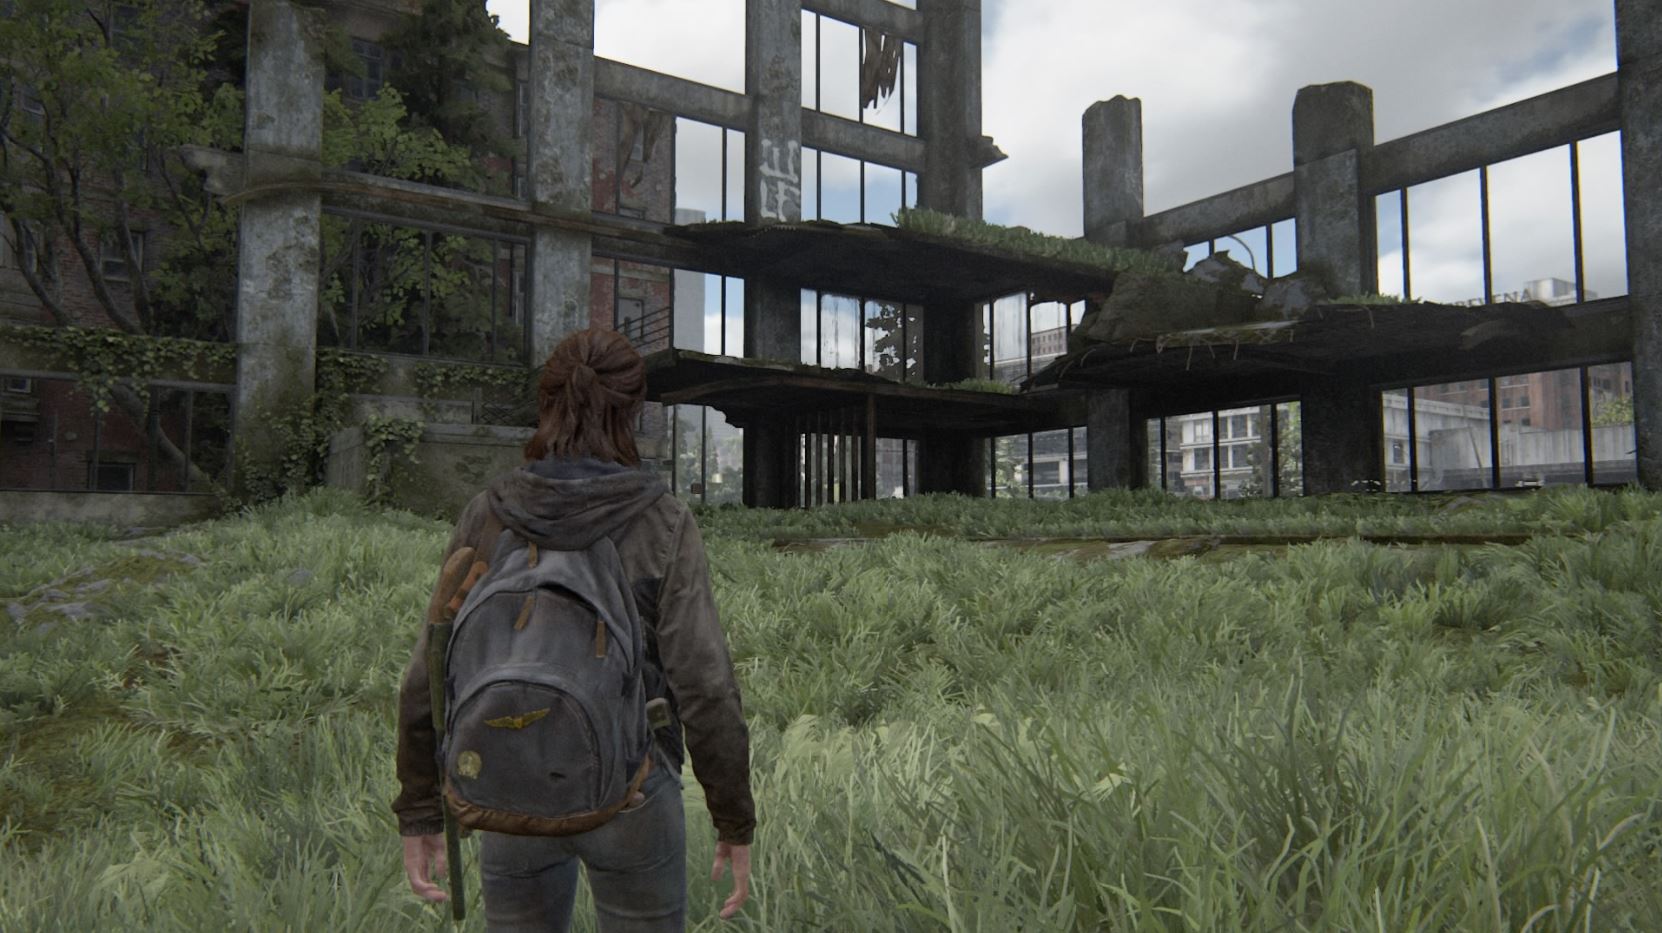
Climb the outside of the building to reach to top, where you can search the shelves for some supplies and an absolute meme of a superhero trading card.