The Outer Worlds "Radio Free Monarch" Quest guide - how to clear the airwaves

As your adventure through The Outer Worlds continues, you touch down on the independent planet of Monarch in search of vital information to help the Hope. But like everything in the colony, there’s work to be done first. Here’s how to complete the “Radio Free Monarch” quest, and the related subquests: “Bolt by his Name”, “Errors Unseen”, “The Commuter”, and “Pay for the Printer”.
This is a long one, and has multiple different paths to success - however, this is a pragmatic route that keeps main characters alive and happy.
Following your exploits on Edgewater during “Comes now the Power”, and the covert lab during “The Doom that came to Roseway”, “Radio Free Monarch” is more similar to the latter, with different interweaving side quests rather than a big binary choice.
At its summation you unlock another quest, Canid’s Cradle, which we also have a guide for, here.
Radio Free Monarch quest guide
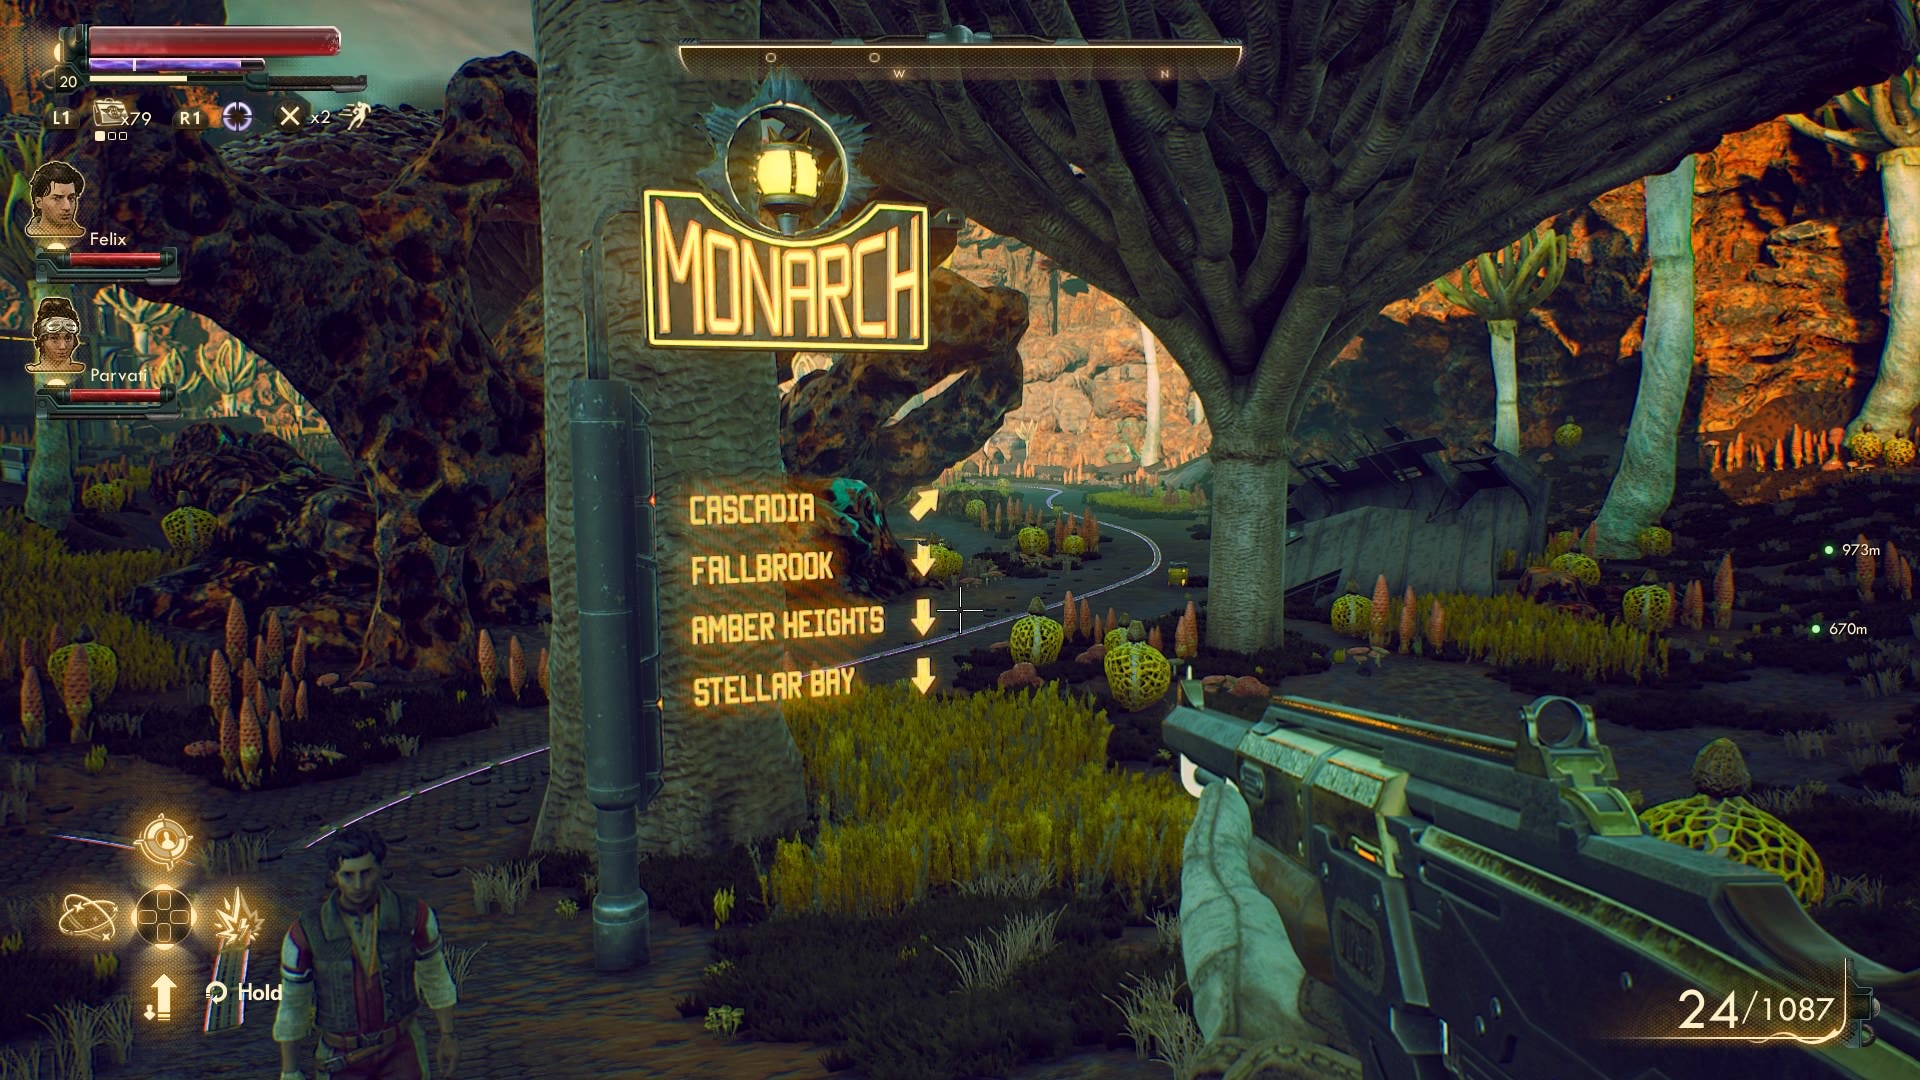
Now that you’ve bought the Stellar Bay Navkey from Gladys and touched down on Monarch, Phineas sends you after a long time contact of his: the famed big-game hunter Nyoka.
She hangs out at The Yacht Club in Stellar Bay, so once you’ve dealt with the port authority on the landing bay, follow your quest marker to the pub.
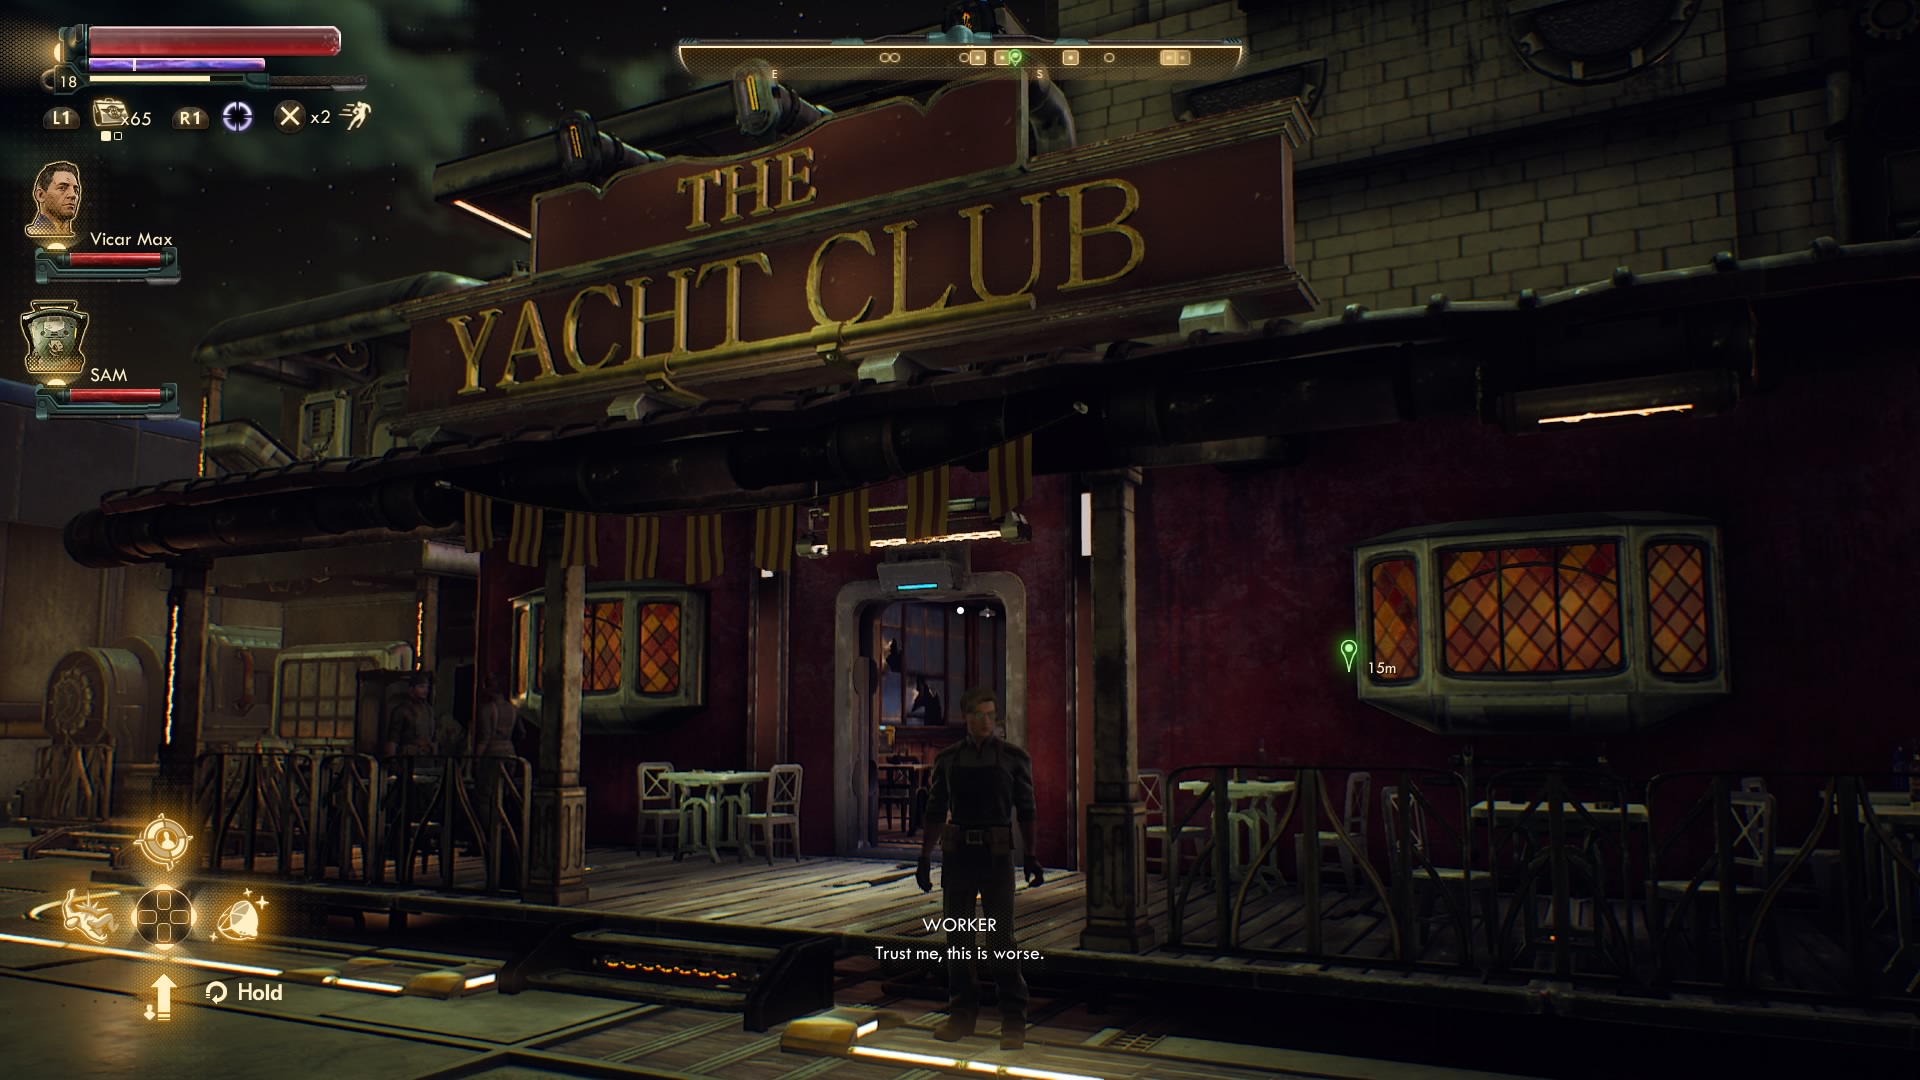
Nyoka is at the bar, drunk as a lord. She agrees to help you track down the information broker, but your first objective is to sober her up, which starts its own side quest, Passion Pills.
It’s not too tough, but requires a little bit of busy work.
Passion Pills side quest guide
Once you’ve agreed to pick up Nyoka’s Caffenoid hangover cure, follow the quest marker down the street to Auntie Abi’s.
Speak to Abigail Edwards and ask about the supplement. It transpires that the town’s running low on the medicine, and Abi won’t dish it out willy-nilly.

There’s a Intimidate 50 check here to bully the Caffenoid out of the old lady, but if you can’t pass it, ask about Dr Williams. She lets on that what you need is stored in a locked closet upstairs, so you can creep straight there if Lockpicking is your speciality. Otherwise, you’ll need to get Dr. Williams’ key.
Turns out the Dr’s dead as a dodo, with his body left in the Stellar Bay cemetery. Follow the quest marker south out of town and lift the Supply Room Key from his pockets.

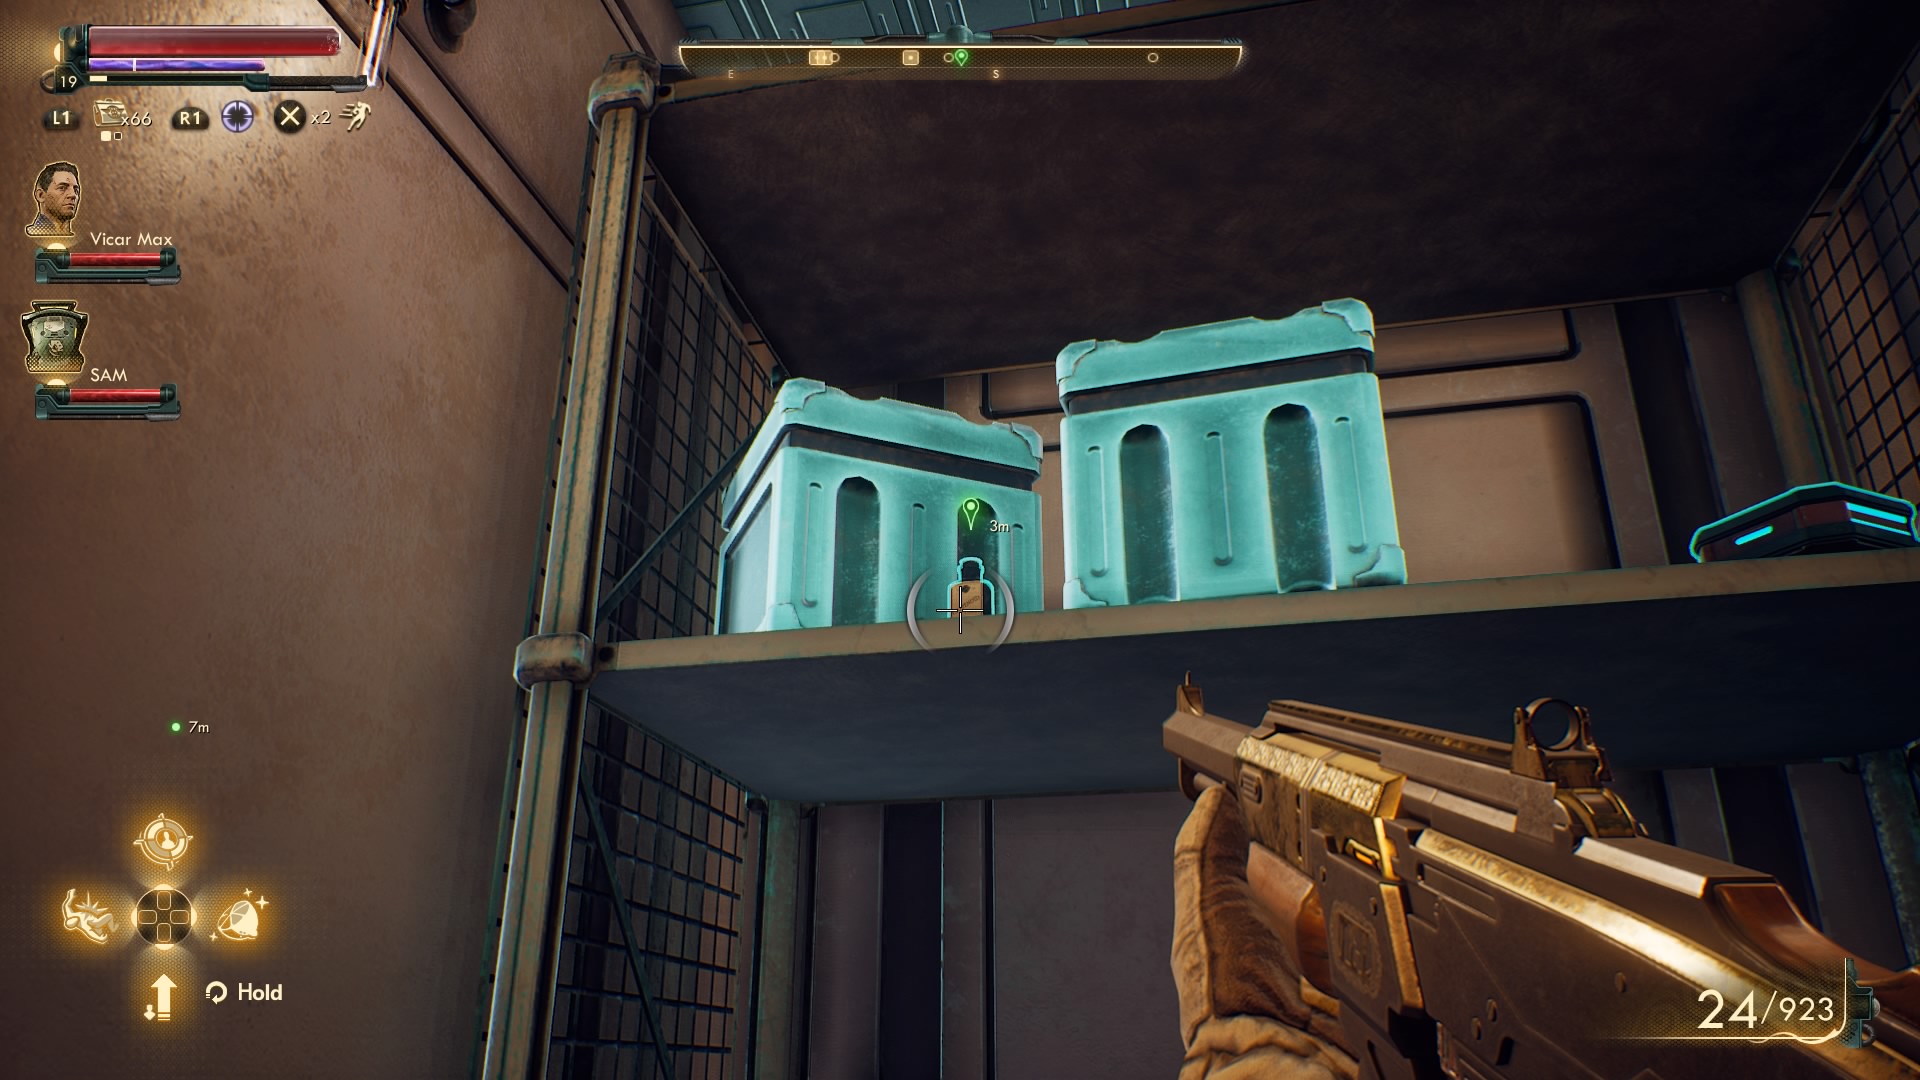
Now return to Abi’s, go upstairs and grab the Caffenoid from the now unlocked supply room.
Go back to The Yacht Club and hand over the cure to Nyoka. Refreshed, she’ll join your party and give you a quest marker for Devil’s Peak.
There are two ways to go: up the mountain pass from the south, or through the caves to the north.

The pass is supposed to be more dangerous, but by this point in the game you’re most likely more than well-equipped enough to take on a couple of Mantiqueens.
Equip your best armor and weapons and use your follower special attacks often, then you should be fine.
Approaching the Devil’s Peak from the south is quite circuitous. Follow the road south from Stellar Bay past Amber Heights, all the way to the Forlorn Crossroads fast travel point.
Then go across the bridge past the abandoned safehouse and turn right before you get to the C&P Boarst factory.

Now turn right again once the road forks and you’re at the base of Devil’s Peak.

Walk up the slope, taking out the enemies you see with a mixture of TTD criticals, follower specials, and good ol’ fashion shooting.
Once you’re at the top, in front of the facility you should see a merc by the name of Joy Voivode. Speak to her and you’ll find out she and her company have been hired by the Info Broker to protect him from outlaws, who have since overrun his building.

You have two choices here: if the fights are too tough you can complete a side quest to get some help from the C3 mercs, otherwise you can just storm the Broker’s base yourself.
If you want to take the side quest option, turn around from Joy and head east down the other side of the mountain from the pass you came up. Here you’ll find a band of mercenaries who’ve lost their commander.

Say that you didn’t come from the caves, that you’re the CEO of your own company, and that Joy sent you. You can then either offer a bribe of around 750 bits or pass a Persuade 20 check to get the quest to look for Berite, which is called Mandibles of Doom.
All you need to do is head further down the path into the caves, follow the quest marker inside and kill the Mega Mantiqueen that’s keeping Bertie hostage. With the queen defeated, return to the C3 base and speak to Berthold. He’ll give you the keys to any stashes in the building behind them, which includes the unique electrified assault rifle, Thunder.

If you chose this path then you can return to Joy and give her the go-ahead to attack. She’ll help to clear out the outlaws.
Mop up any stragglers then transition into the Devil’s Peak facility upstairs.
There are more enemies inside, but you’re on your own for now. Make your way through the linear building taking out all the enemies, then speak to the Broker through the intercom. Agree to help him out, then return to the elevator in the first room you visited.

After the short ride you’ll enter another floor filled with enemies. It’s at this point that Berthold and the others join the battle if you went to find him.
Either way, battle through this second linear area, then speak to the intercom at the top of the stairs.
The Broker opens the door, so speak to him inside.

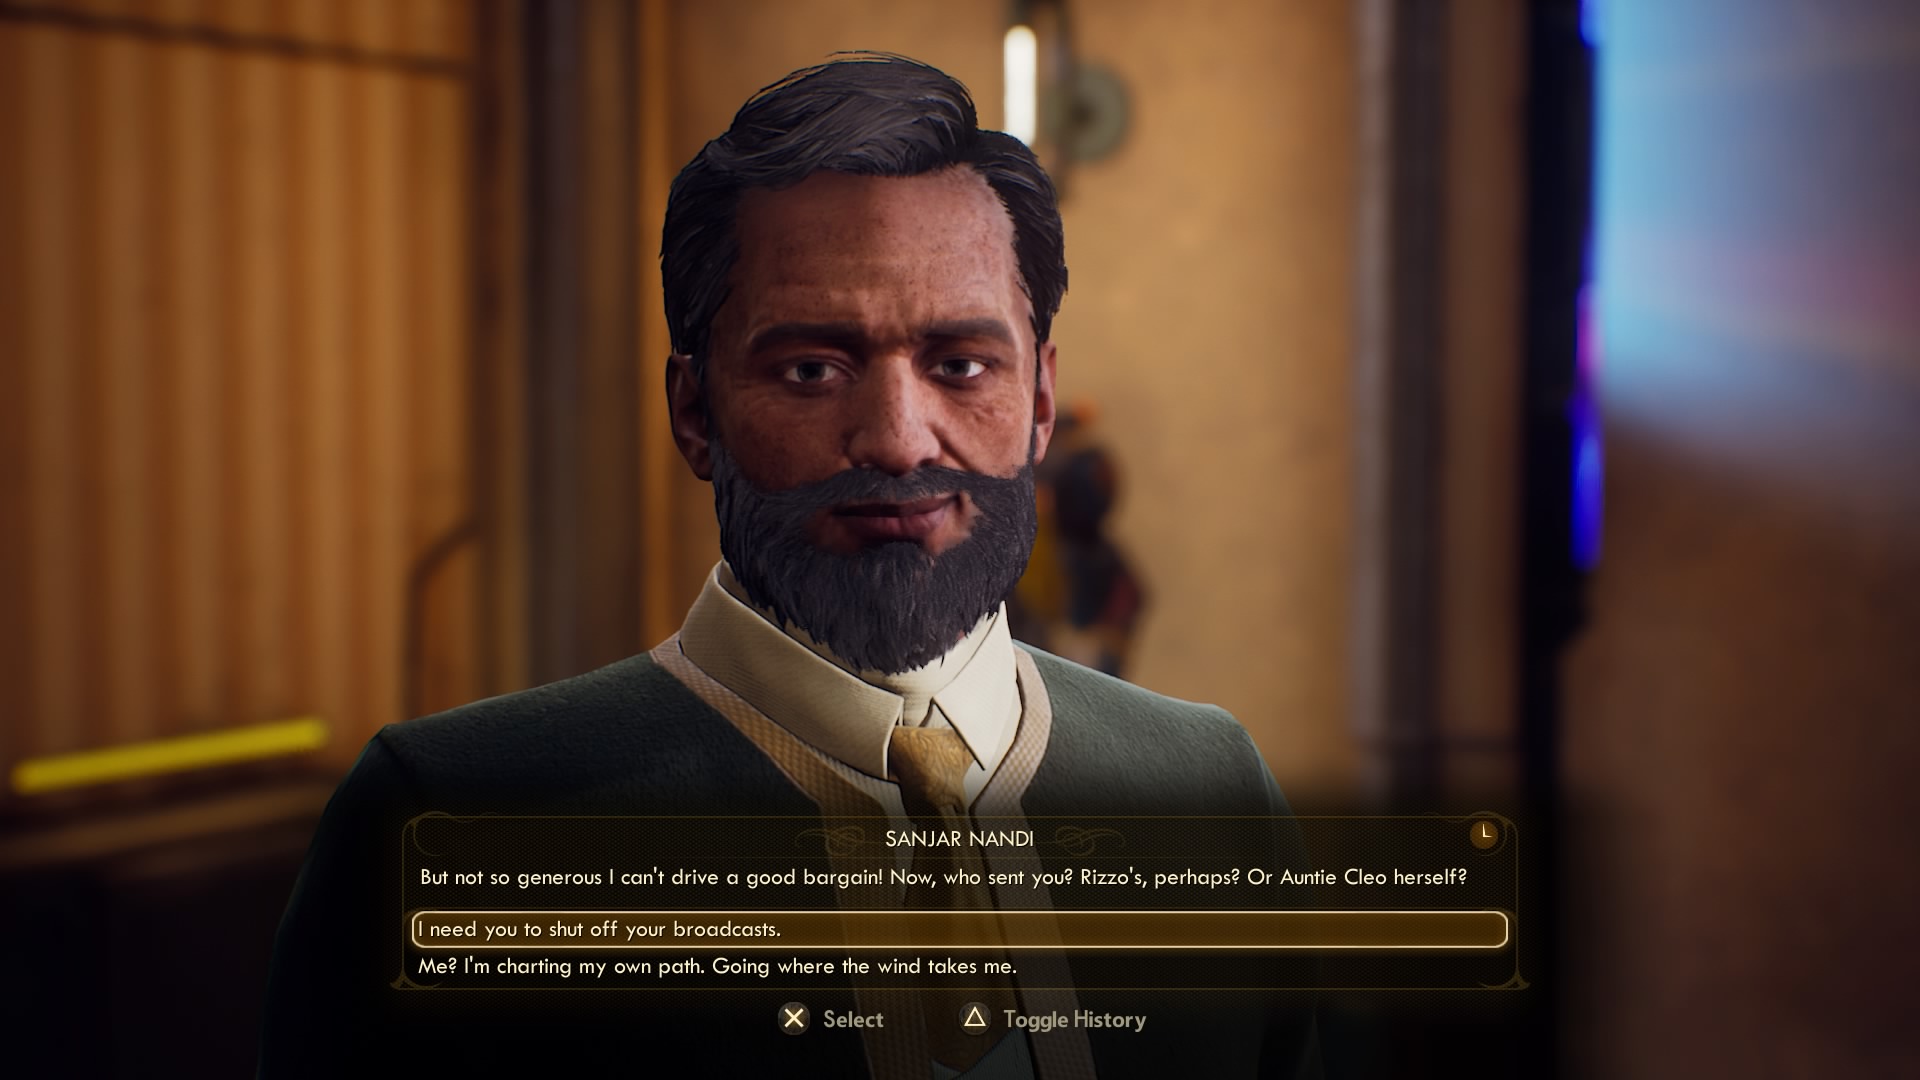
He pays you for your trouble, but is coy about handing over the information you need.
Talk to him about Phineas, then agree to broker a deal with MSI and the Iconoclasts to get them off the airwaves.
First on your list is Sanjar and MSI. Fast travel back to Stellar Bay to speak to him.
Bolt with his Name quest guide
Sanjar is worried about Monarch’s relationship with The Board. But he has a plan to stick it to them. Tell him that you want him to stop broadcasting and he’ll initially refuse unless you can bring him the BOLT-52 cartridge.
With MSI more secure, they won’t need to advertise with broadcasts. He also gives you the objective to delete some compromising files from a nearby computer.
Agree to get the BOLT-52 and set off south out of Stellar Bay, then turn right (over to the west) towards the quest marker.
You’ll come across plenty of raptidon enemies this way, so take them out. When you come to a bridge you will see a raptidon colossus stalking around on the other side. Smoosh it in your preferred weaponry, then search the body it was grazing on. Here you’ll find the ARMS building key.

Now continue into the abandoned town and take out any leftover enemies. Your destination is on your right, and with the ARMS key you’ll be able to unlock the door on the lower floor.
As you enter, interact with the terminal in front of you to access the files Sanjar wants deleted - you can’t help but read his less than glowing company review. Peruse the rest at your leisure, then delete them.

Now head upstairs and out onto the balcony. Speak to the trapped Iconoclast over the intercom. You can then open the door with the ARMS key, or it will give you a quest marker with its location if you didn’t pick it up.
Open the door and let the Iconoclast go on her way. Loot the items from the storage room, then pick up the BOLT from the shelf on the left.

Now you can fast travel back to Stellar Bay and Sanjar. Turn in the BOLT-52, letting on that you’ve seen Sanjar’s review if you wish, and you’ll get some unique MSI armor and some Monarch reputation points.
Errors Unseen quest guide
This quest is much quicker to complete, especially if you’ve already looted the Monarch Science Weapon from the Void. Sanjar now needs some leverage over the other corpos, so he sends you after evidence of illegal activity on Monarch.
He tips you off that Catherine in Fallbrook might have answers, but it’s much easier to skip this step and go straight to the UDL facility in the wilderness.

It’s to the south of Stellar Bay and south west of Amber Heights. Once there, you’ll need to clear out the bandits and scour every computer and datapad inside the facility for evidence.

If you’re short on Hacking skill, return to the ship and bring Vicar Max and SAM along to boost your rating. Once you’ve found what you need, export it to an external datapad using the terminal options and return to Sanjar.
With this he’ll have everything he needs to knock off the broadcasts.
Now it’s time to visit the Iconoclasts.
The Commuter quest guide
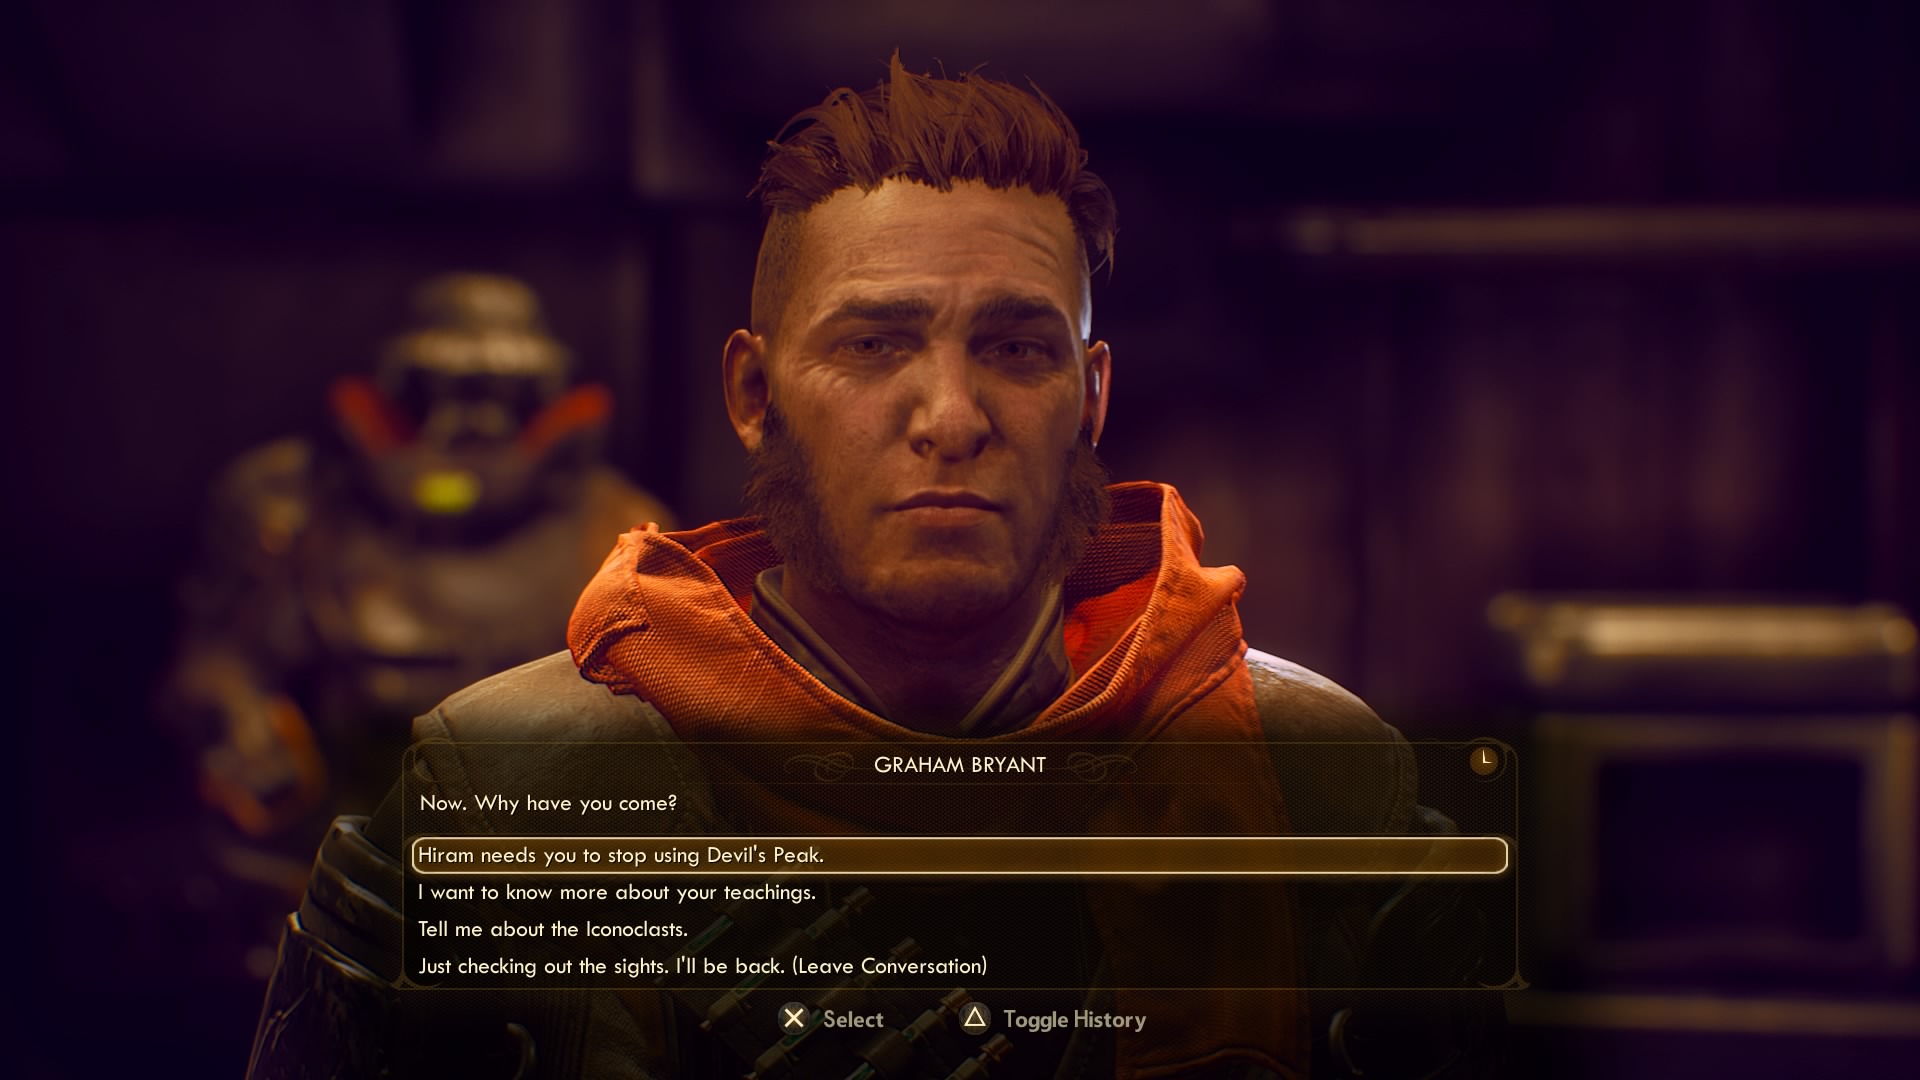
Walk a little south of Stellar Bay along the road to Amber Heights. Transition inside and speak to Rose at the gate. She’ll direct you to Graham and Zora in the building behind her.
Talk to Graham and ask him to stop transmitting radio signals. He’s skeptical to begin with, but you can convince him that the strategy isn’t working and to pivot to printed material.
He’ll send you after some printing press rollers from a nearby smuggler who trades with the Iconoclasts.
She’s found to the north of Amber Heights, up a hill in a secluded area.
As you approach you’ll see the gate guarded by a Sublight thug, Niles.

If you’ve done the Space-Crime Continuum quest, you can get past him by saying you’ll give him the credit, or if you have Lie 55 or Persuade 55 you can convince him after saying “I need to get in”. You can also bribe him with about 2000 bits by selecting this option.
If none of those are palatable to you, and you have Hack 55, you can sneak through the grassy hole in the fence to the left of him.

Walk through the grass making sure you’re not spotted by the other thugs on the right, until you reach a door to the building on your left. Sneak inside and there’s a hackable terminal here which lets you vent poisonous gas.

Vent the gas, then turn it off again at the same terminal or you’ll die too.
Either way, once Sublight are out of your hair, approach the door.
Inside, get the rollers from Carlotta then buy either supplies or cartridges too - I went with supplies but it doesn’t seem to make too much difference.

Return to Graham with the goods in hand and deliver the bad news about their supplier.
Pay for the Printer quest guide
With tensions between MSI and the Iconoclasts at a new high, Graham will send you to secure the printing press, which is overrun with beasties.
Zora isn’t happy though. She asks you to save the valuable soldiers that Graham ordered into almost certain death.
Now follow the quest marker over to the west side of Monarch, where you’ll find May van Noy and her crew.

Choose the option “Zora sent me to look for you guys”, and May will ask you for a trauma kit to heal her wounded comrades. Follow this new marker south and over to the west, dealing with the raptidons on the way, then pick up the kit from the Iconoclast’s dead body.

Return to May and hand over the kit, then head into the printing press building. There are yet more raptidons to deal with inside, but once they’re out of the way it’s a simple task of following your quest marker to the highlighted terminal and installing the rollers.
With the press repaired, head back to Amber Heights and speak to Graham and Zora. You’ll complete the quest and receive some more bits and unique armor, along with Graham’s word that he’ll stop his broadcasts.
Zora asks you to speak to her separately, but you can leave this for now - although it will be important later.
Finishing Radio Free Monarch
With the airwaves clear, it’s time to fast travel back to Devil’s Peak and talk to Hiram.

He’ll ask you to crank up the antennae outside and start the relay. Once you do...things... will happen.
You don’t need to worry about them straight away, but resolving that quest line does figure in the ending you see at the end of The Outer Worlds. Use our guide for Canid’s Cradle for a peaceful resolution.
To advance the main story though, your next job is to visit Phineas in his lab - return to the Unreliable and travel there.
Your next stop is the golden city of Byzantium, which you can now access via a shiny new Navkey - it’s time to meet The Board!