Zelda Link's Awakening Tail Cave & Introduction walkthrough

Famed hero Link washes up on the shores of a mysterious island. Can he figure out the mystery and make his way home? Here's our full walkthrough, starting with the level 1 dungeon, Tail Cave.
Starting out: Getting your Sword and Shield
After entering your name, you'll wake up in Marin's House. Speak to her and Tarin, her father. He'll give you your Shield, which is vital to continue.
Leave the house and follow the path out and to the West, then South towards the beach. On the way to the beach you'll pass two young boys either side of a path playing catch; the building near them in a library that's full of tutorial books on how to play, in case you need help. We'll be revisiting here later in the game, too.
On the beach you'll want to head East; there are spiked enemies with faces in your way. You can't kill these, but hold up your shield with R and walk into them to safely push them out of the way. On the beach, where Link washed up, is a sword. You need this, obviously. Grab it.
After a chat with your owl friend, head back to Mabe Village - that's West and the North. Now you have a sword, you can defeat the Octoroks along the way.

The Mysterious Forest: getting past the Raccoon with the Toadstool, Magic Power and the Tail Key
With your sword you can totally head back to Mabe Village and explore some. There's mini-games, people to talk to and more. When you're ready, head to the far West of the village as if heading back to the beach, but now head north - this leads to the Mysterious Forest. When you enter the forest the owl will swing by and give you a hint - there's a key in this forest for the Tail Cave. Spoiler: Tail Cave is our first dungeon. We need that key.
First, some things to keep in mind in the forest. One, you encounter Moblin enemies here. They use spears, swords and shields. They're not that difficult to beat, but for a small tip - make liberal use of that shield. Enemies will be vulnerable after a blocked hit. Second, there's an area of the forest with a raccoon - don't approach it until we tell you to, or else it'll teleport you somewhere random in the forest to make you get lost.
From the forest entrance, head north then east until you come to a cave entrance in the shape of a hollowed-out tree trunk. There's a sign nearby that warns "Beware of floors with cracks!" Head inside.
When inside beware the Keese enemies and indeed the cracked floor - don't stand on these for too long. You can smash the crystals with your sword. Follow the path around, smashing all the crystals, then push the rock in the center of the room to the left, thus allowing you to access the chest, which has 50 Rupees inside.
Now heard North and around to the West. You'll come to a room with lots of stone blocks. You can't get the Piece of Heart right now - we'll come back later. Instead, push the two bottom-right rocks down in order to exit to the South.
In the screen you exit into, you'll have a Moblin to kill and then, on the left of the screen, a Toadstool. Pick it up. This is a key item. We don't want to go any further for now, so head back inside the cave.

Inside the cave, you're faced with the same rock-pushing puzzle, except from this direction it's harder. Thankfully, it's not that difficult, and we've put the solution above. All you need to do is push all of the rocks you can to the right, and then the final rock on the top-right of the screen up; this clears a path back.
Once back outside, head north, and then right at the fork where there's another tree-cave entrance thing blocked by stones. Follow this out to the Koholint Prarie area, past another unobtainable piece of heart in the long grass, then south until you see a creepy old tree that's been hollowed out and turned into a house. A witch lives here.

Head inside the Witch's house. Talk to her and she'll notice you have the Toadstool, which she calls the Sleepy Toadstool. Give it to her and she'll do some manic mixing and magic stuff, the end result being - of course - magic powder.
Magic Powder is your first equippable item, and it can be used to light unlit torches, can be thrown on enemies to result in slightly random effects and is also key to getting into the first dungeon. It's an inventory limited item, but you can get more with ease.
Back in the Mysterious Forest, head as far West as you can until you're in the last area and can't go West any further. Now head North from here - you'll encounter the raccoon we previously mentioned. Don't try to walk past or talk to it - just sprinkle the raccoon with magic powder and... hey, that's Tarin!

Now the Raccoon is gone, you'll be able to head north from this area. Straight away you'll bump into a chest; slash away the plants with your sword and open the chest to get the Tail Cave key.
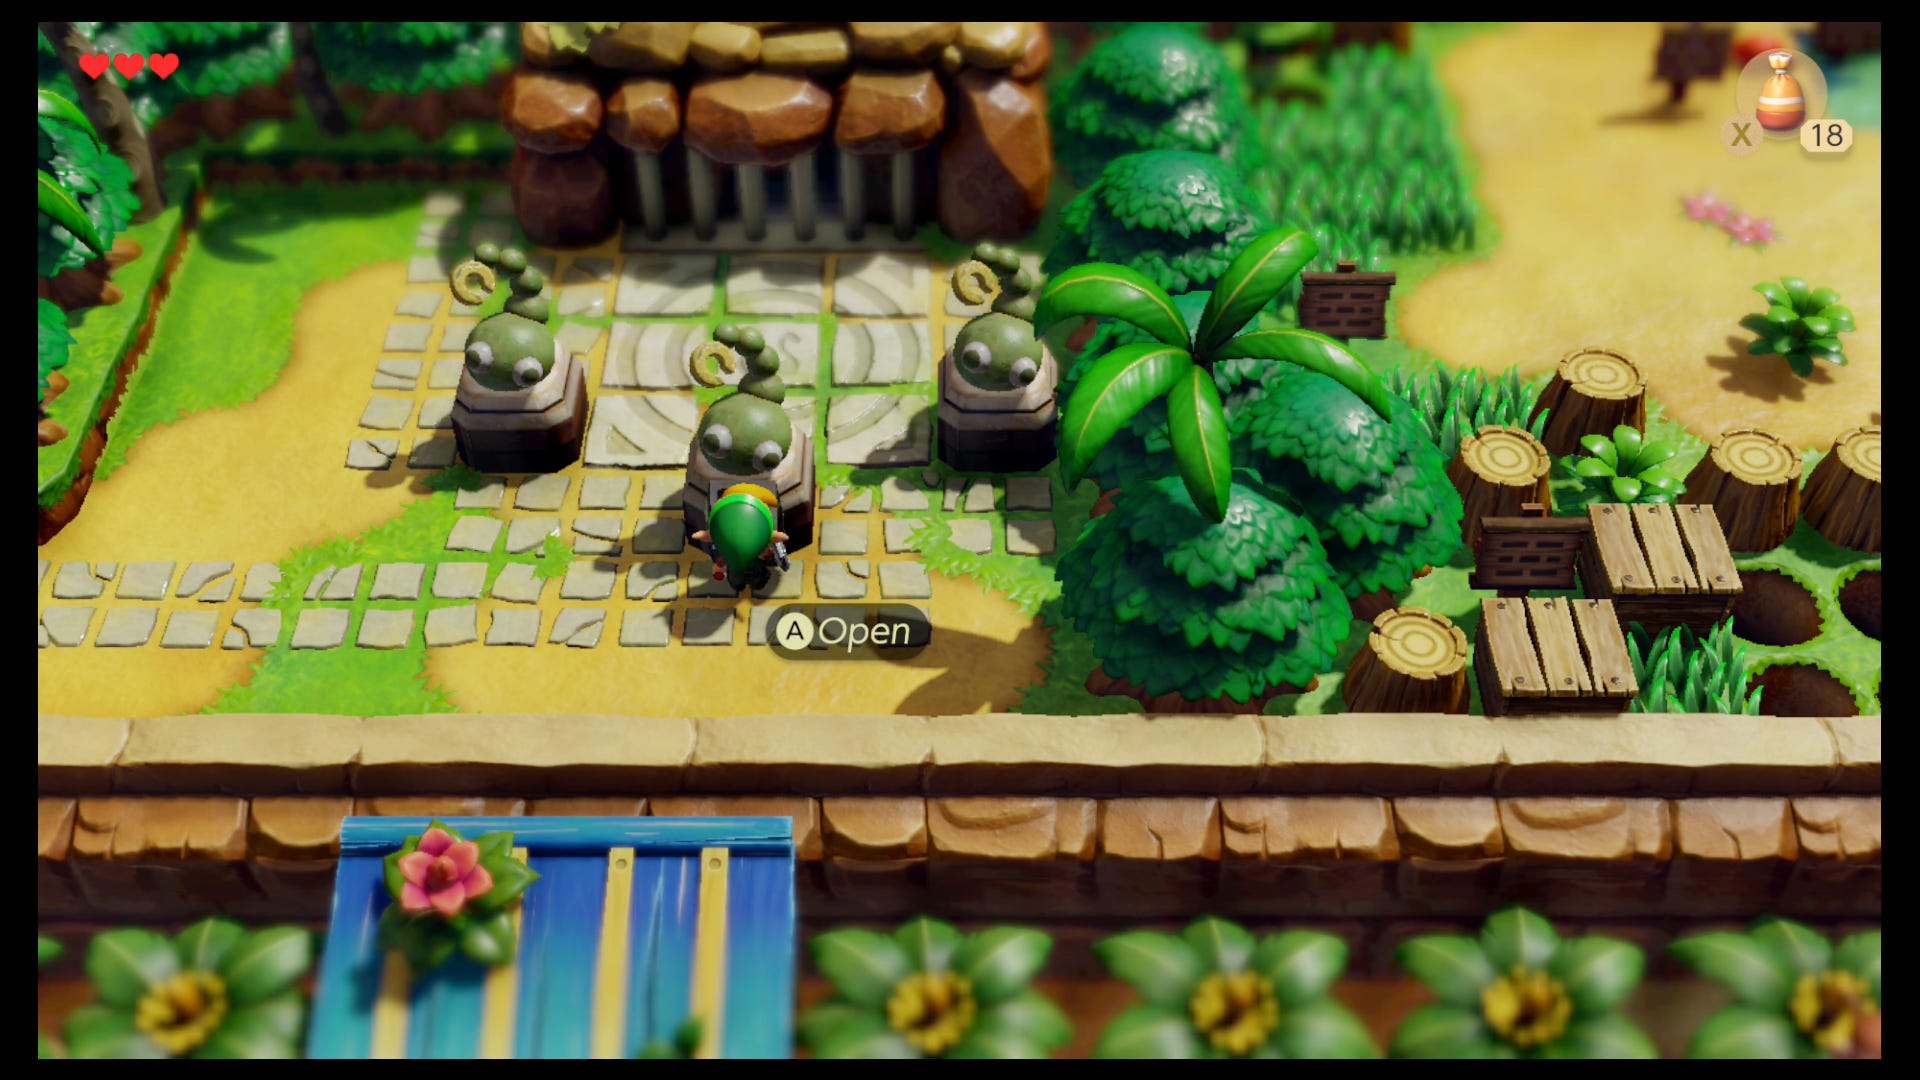
In order to reach the Tail Cave, head south again as if heading toward the beach. Instead of hitting the beach itself, though, head East on the grassy area until you can no more. The path will loop back on itself, then south, then around the corner and north again. You can't miss the tail cave entrance with its statues and stone paving. Use the key on the front statue and head inside.

Tail Cave Walkthrough - Dungeon Level 1
Tail Cave is a nice little primer dungeon for the rest of the game: to be honest with you, it isn't very tough, and is designed to ease you into the combat, puzzles and general flow of dungeon crawling in Link's Awakening - and if you're a Zelda veteran, it's even easier still.
Anyway - from the first room, head West. In the first of these rooms there are two enemies that can't be killed with simple sword strikes - but use the knock-back from hitting them to knock them off the level and to their doom. Once that's done, a small key will drop to the colored tile.

Head West into the next room. There's a few blob enemies in here, plus a chest. Defeat the enemies to unlock the auto-locking door, avoid the fireballs and grab the chest - inside is the Compass, which helps in navigating the dungeon. The compass is most useful because when you have it there'll be a short musical jingle that plays to indicate there's a hidden item in a room upon entry.
Go back to the first room of the dungeon and now head north. In the first room, defeat the enemy by knocking it down the pit and then step on the switch to spawn another chest with another small key. Now head East out of this room.
In this room there's some more enemies. Defeat them and another chest will spawn - this with the dungeon map. Head north out of this room via the creepy one-way door.
While there is a door to your right upon entering this room, instead head left, to the West. There's another small key chest in the middle of this room ready to be taken, and if you defeat all the killable enemies another chest will spawn with 20 rupees for your efforts. Keep going until you reach the western wall of the room. Then head north, through the locked door.

You'll have to wind up through this room, right and then back left, to each the other side. There's a series of blocks here in a pattern with the fireballs running around them. You need to push the leftmost block to the right to attach it to the others in the same pattern. That'll unlock the door; head through.
The enemies in this room require you block their dash attack with your shield first; then they'll flip upside down and be vulnerable to sword strikes. Kill them both to make stairs appear, then head down into the 2D section. Pass through this section avoiding or killing the Goombas, then at the other end follow the corridor up to get Roc's Feather, your second major item and this dungeon's special item.
Backtrack to the larger room we were in earlier. Directly north of the one-way door is another path; follow this up. You can now use Roc's Feather to jump a gap and get up onto an upper level. You'll find the boss key, known in this game as the Nightmare Key, up here. Finally head back to where the one-way door is - this time take the right path, to the East.

In this room there's two paths: one north, which leads to a single screen room where if you defeat the card suit enemies by matching their icons you'll get an optional dungeon item completionists might want, the Owl's Beak that allows the statues in this dungeon to give hints. Otherwise, head East again for the mini-boss.
The mini-boss is quite simple - jump over the weapon he pushes back and forth with Roc's Feather, then hit him while he's vulnerable. It'll take a few hits to kill him. A fairy spawns when he's gone to recover your health, as does a portal that'll take you back to the dungeon entrance. To continue, head north. In the next room, ignore the staircase and instead open the boss door in the north.
This boss is nice and simple. Moldorm has a weakness at the end of its tail. Every time you hit it, it'll briefly be invulnerable before becoming able to be hurt again. Hit it a few times and it'll die. You can use Roc's Feather to hop clean over Moldorm every time it gets close to you, or you can just skirt the room's edge or use your shield. If you fall off the edge, you'll land in an underground area - that's where the ladder in the previous room leads.
Once the boss is dead, pick up the Heart Container and walk north once more to pick up the dungeon item, the Full Moon Cello. That's Tail Cave complete, and it's time for your adventure to continue... but there's been a kidnapping and other drama to take care of before you can reach the level 2, the Bottle Grotto.