Zelda Link's Awakening: Angler's Cavern Dungeon walkthrough, Animal Village and Yarna Desert

Once you're out of the Key Cavern dungeon, it's time to set our sights on dungeon 4 - but there's a lot else we need to do first.
First of all, take yourself back to Mabe Village. You can get there any way you like - walk, teleport, whatever. We trust that you know the map well enough at this point to find your way back. Once you're in the town, head to the north-east of it, where there's a building surrounded by stones. We can lift those stones now, of course, so head inside.

Completing the Dream Shrine to get the Ocarina
In this room, the Dream Shrine, there's a bed. If you get into the bed, Link will fall asleep and seemingly be within a dream. There's plenty of enemies here that are near-invulnerable, but you can finally take them out with the Pegasus Boots, which you picked up in the last dungeon. Dash into them to kill them, following the room around. That's why we left this place 'til now - you really need both items to succeed. On the other side of the room there'll be a set of steps leading to a chest with Rupees, then some blocks you can smash gain with the Pegasus Boots to reach the second set of stairs where there sits the Ocarina.
This obviously is far more associated with some other Zelda games, but it's still extremely useful in Link's Awakening. Exit the shrine, and once out head to Marin, who as always is hanging out near the wind vine in town. If you speak to her you can play a duet on your new Ocarina with her, and that'll teach you a sweet new song, the Ballad of the Wind Fish. Nice. This can come in handy throughout the rest of the game.
With that done, it's finally time to move on. You'll be getting to where you need to go from just south of Kanalet Castle, so head in that direction.

Animal Village and Yarna Desert
Just south-west of Kanalet Castle is one of the phone booth buildings. Head east from this building, then when you hit a dead end head south some until you pass the branch that leads to the Secret Seashell building, then east again. Alternatively, you could just teleport to the Seashell Mansion and then head south some, then east. There's even a signpost that says Animal Village, but it leads... nowhere?
Have no fear! Just east of that signpost is another suspicious shrub. Chop this bush down to size to reveal a stairway. Enter, and then avoid the fish in the underground area and keep going right, using the Pegasus Boots to smash the obstacles. Head back up the other set of stairs and you'll be the other side of the river. Head south from here, and the Animal Village will be right in front of you, on the right.
Feel free to explore Animal Village, but the important thing is to visit the bottom-right house, which is home to a huge bear. He's actually one stage of the trading side quest if you have the Honeycomb, but even if not he gives you an important hint: there's a Walrus blocking the path to the Yarna Desert, but you could wake him up with Marin and her song. If you want to visit the Walrus by taking the left-hand southern exit from Animal Village and following the path around, you'll even see in his text he's dreaming of Marin.
So! We have to head back to Mabe Village, right? If you take the right-hand southern exit from Animal Village there's a warp portal, or you can walk it - up to you. When you get there, if you head to where Marin usually sings... she's not there. There's a young lad here, though, and he acts like he thinks Marin is with you. Marin found you on the beach when you washed up at the start of the game, so she clearly goes for walks down there... so let's head to the beach.

On the beach, directly south of the monkey tossing things (who you can now knock down with the Pegasus Boots dash, by the way), you'll find Marin hanging out at the water's edge. Stick around for a cute story sequence and then you'll get Marin to tag along with you. What we have to do next is pretty simple: return to the Animal Village and Walrus to clear a path. However, you can take some time out to explore with Marin in tow if you like. There are a few scenes hidden around (for instance, on the western-most penninsula of the beach out to the ocean, inside the well at Mabe Village and best of all at the Trendy Game) and Marin will also react to things you do like digging, hitting chickens, smashing pots or even Link getting beat up in a dungeon. It can be fun to just explore with her.
When you're ready, return to Animal Village (the quickest way is to take the warp portal at Ukuku Prairie to the Animal Village portal), then head out through the south-west exit. Visit the Walrus, wake him up with Marin's song, and you'll finally have a path to the desert. Marin will head back to Animal Village to entertain its inhabitants.
The desert is really quite small in the grand scheme of things - from where Marin helped you move the Walrus, just head east into the desert. There's a bunch of enemies here. Head up through the small gap in the north and then north again; you'll notice a place where there's quicksand. As you approach you'll see a special enemy - that's the Lanmola, a sub-boss of sorts. Defeat the boss by hitting it on its head; it'll take several hits, but you've got to be careful not to get sucked down the middle, or else you'll have to start over to escape. When the boss is killed, you'll get the Angler Key, which is key (get it?) to entering the next dungeon.

Tal Tal Heights, The Waterfall, and Anglers' Tunnel Entrance
Now is a great time to take some time to explore more, if you like. There's one particular notable task you can undertake at this point in the game - if you head to Mabe Village, you can use the Pegasus Boots in the library near where the kids are playing catch to find the instructions on how to enter the Color Dungeon, a unique and optional dungeon in the game that has a reward that can power up either your attack or defense. If you want to do that, head to the library and knock the book off the top shelf at the back - but we're not covering that dungeon in this guide as it's easy and also not part of Links Awakening's critical path. If you're wondering where the blue tunic in screenshots is from, it's that dungeon.
Otherwise, take yourself to the north, through the forest or the graveyard. We're heading back towards where the entrance to Bottle Grotto (dungeon 2) was, with the flowers you needed BowWow to clear. Press east from there and then toss some rocks to clamber up towards the mountains. You can go up the first set of steps, bit they're not what you need right now - keep heading east until you find a gigantic lock. You genuinely can't miss it. Use the Angler's Key here to open the dungeon door - but you can't get to it from here.
Head back west, and head up the first set of steps you come across, up onto the mountain. Lift the rocks to gain entrance to the cave, then follow the cave through. You'll reach a room with the blocks you can only smash with the Pegasus Boots across the bottom of the screen - do that and take that exit, then keep heading east on the path. Eventually you'll reach a ledge where you can drop down - and enter the Angler's Tunnel.

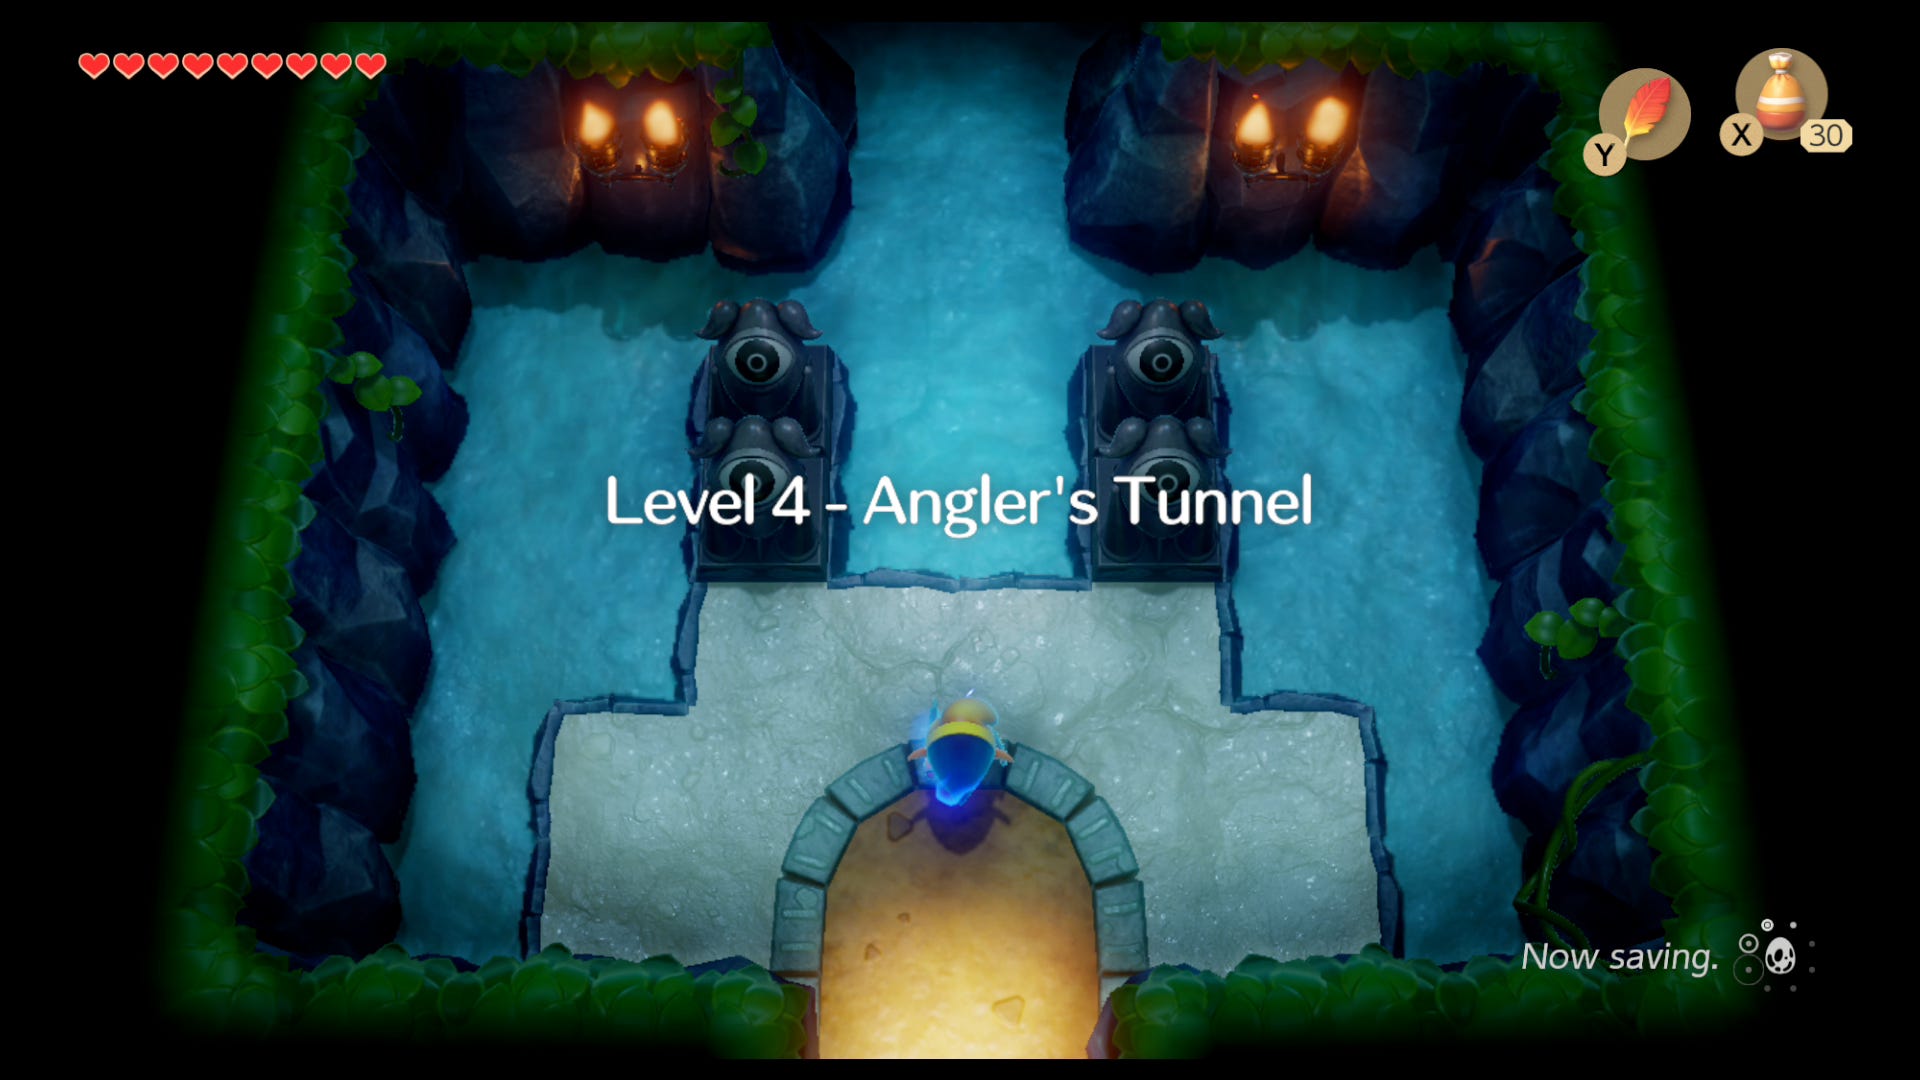
Angler's Tunnel Walkthrough – Dungeon Level 4
As always, you enter into a basic room. Head north and defeat the enemies, then up the steps and east. From here head north, then east, following the path around. When you reach a screen edge and can go north or east, take the eastern path to grab the dungeon map for Angler's Tunnel. Head south from this chest to where there's a plus-shaped hole in the floor - use the Pegasus Boots and Roc's Feather combo to jump from the left side to the right side, then go into the eastern room.
Here there's two blocks in front of a chest. One of them is cracked. Bomb that block to smash it to smithereens, then push the other into the water. This'll let you open the chest to grab a key. Head north until you see another cracked block - three of them, in fact. Bomb, head through, and grab the chest for another key. Now backtrack to the plus-shaped gap and jump back over, right to left.
Climb the stairs and then head west and south, backtracking. Keep going south until you can no more, then head east. There's a free chest in the next room with the stone beak for Angler's Tunnel.

Now head back up the stairs in this room and then up to the screen with the upper walkway. Head west, then back down the steps to that first area you walked into. Defeat the enemies then head east, and in this room there's another chest, this time containing the compass. If you've killed the enemies the door to the south will be open, so head that way.
You'll need to defeat the enemies in this room to reopen the door you came through, smash the crystals to grab the key from the chest, and avoid drowning in the deep water. Do that, then head back north, and this time head east, using a key to open the door there. Work through this corner room, which you visited the upper level of, and then north, through another locked door. Keep going north until you reach a gap and some blocks - this is the plus-shaped hole, but from another angle. Use the Pegasus Boots and Roc's Feather again to jump the gap, this time bottom to top.
Keep going north. There's blocks and some enemies here. Unlock the key block and then push the nearby block to move on. The enemies will give you a hard time here. Head west once you're through - we can't take those stairs just yet. Defeat the blob enemies in this room to spawn a key - except it drops down a hole. Head south.

There's an owl statue in this room that gives a hint; "The glint of the tile will be your guide..." Make a mental note. Head south from the statue and then when you hit the bottom of the room go west, jumping over the gaps in the shallow water platforms so you don't drown. Eventually the path heads north - there's a chest here, but it has an enemy inside. Keep going north instead.
Here's where the mysterious tiles are. We actually don't need them right now, however - head east, and grab the small key inside that room's chest. Grab it quick and head back west to the tile room before the Beamos zap you. Now head south, backtracking all the way around - south, then east, then north - right to the room where the key dropped through the hole in the floor. Use the key to open the door to the north and meet Cue Ball, Angler's Tunnel's mini boss.
Cue Ball isn't very difficult. It simply charges you. If it gets close block it with your shield. The easiest way to beat it is to jump over it with Roc's Feather and then slash it in the back. You can also chase it with Roc's Feather or use bombs, but they're harder methods. Once Cue Ball is defeated, the door to the north will open. Head on through.

Here's a timing-based puzzle. You'll need to pull back the lever in this dungeon to move the blocks, but the lever then slowly returns to its base position. Pull the lever all the way back and then dash to get through on the west before the blocks seal the entrance back off. In the following room you'll get this dungeon's priceless item: the Flippers! These let you swim in deep water, so you won't need to tiptoe around the Angler's Tunnel to avoid drowning now.
Head south from this room. There's more tiles in here. Defeat the enemies to clear the room, and then walk over the tiles in the order of the glisten. The tiles will light up blue as you walk over them in the right order. Understand? Cool. Now head south, shove the block out of the way, then west.
We're back in the other tile room now. Clear the enemies, again, and then walk over the tiles in the order. This order is randomly generated, so it'll be trial and error, but tiles flash blue when you get them correct. This makes stairs appear. Head into the first of Angler's Tunnel's sidescrolling areas.
The blocks here will smash down on you like Mario's Thwomps, so just tease them to make them drop and then dash past when they're retreating back to full height. The second one you actually need to use as a platform - get it to drop, then dash to the ladder, climb it and jump atop it as it rises. Then use it to jump to the upper platform and the ladder out of this area. Head south a screen from where the stairs spit you out to grab the Nightmare Key.

From here, head north, jump off the ledge and use your shiny new flippers to swim to an optional chest just to the east for some cash. We need to pass by this way anyway: head north from here to reach the room before the boss, with the two holes where the key dropped. Go east from here, then down the staircase we ignored earlier. Head through the side scrolling area and dive into the water to grab your final key for the Angler's Tunnel. This is the key that dropped through the hole; if it's missing, go back to the room with the two holes and defeat the red blobs to force it to spawn.
Leave this side-scrolling area. If you push the blocks and head south from this area there's an optional chest you can swim over to with more rupees. otherwise, head from the stairs back to the room with the holes, then south and west. There's a switch on this bottom edge of the path as it loops around. It's next to a locked door. Swim over and stand on the switch to unlock the door, then head through and unlock the block with your last key. Finally, head down the stairs. There's a side-scrolling section with more Mario enemies, Cheep Cheeps.
Head through this area then through the boss door, then down more stairs. That's right - it's a side-scrolling, underwater boss. Don't forget that you can swim faster with the A Button, but generally you should just aim for the big glowing appendage on the head of the Angler Fish boss. Avoid rocks when it makes them fall and kill any other fish it summons. Other than that, this boss is just a war of attrition - keep hitting it.
Head back up to the previous area and through the newly open door when the fish is dead. It's time to grab the Surf Harp instrument - and get a clue of what's next - a trip to the Bay. Before that there's a brush with a ghost, then a trip to find the Catfish's Maw dungeon. As an aside, when you first exit Angler's Tunnel if you swim to the west a little there's a cave where you can meet a fish, Manbo, who will teach you an optional Ocarina song. That song lets you teleport out of dungeons, so it's worth grabbing.