Control boss guide - how to beat Former, the Anchor, Essej, and Mold-1

Control houses a series of optional bosses that can be tough to take on if you come at them without certain skills. In this Control boss guide, we’ll talk you through how to best tackle them.
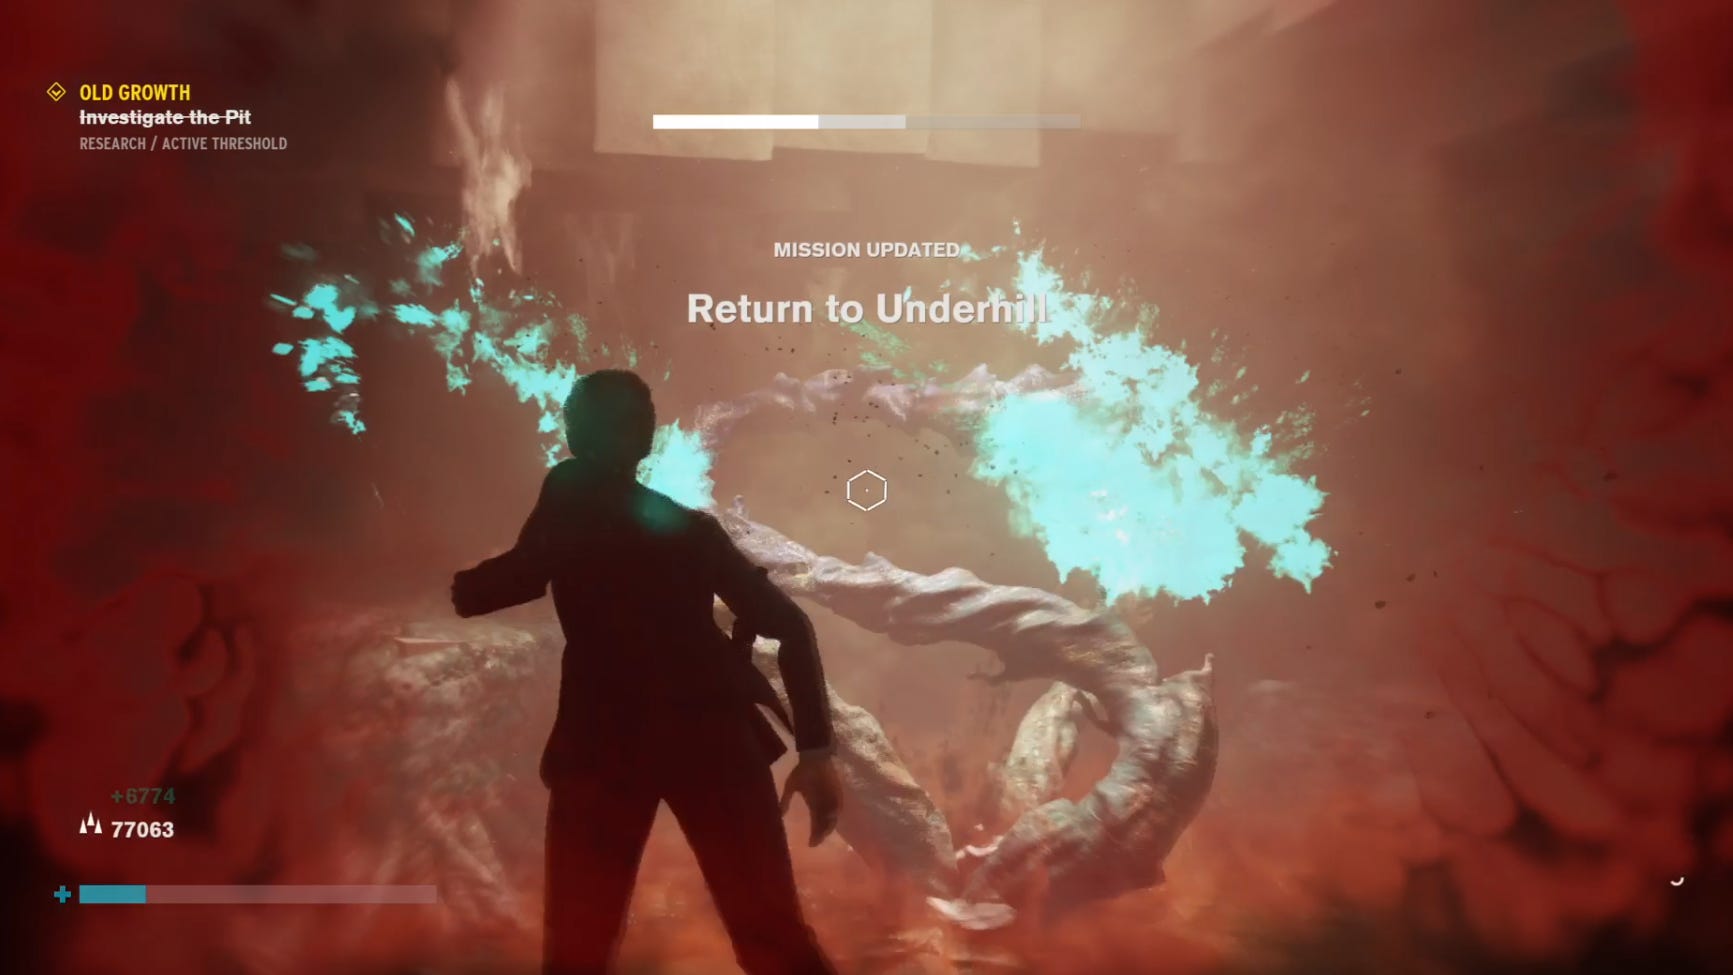
Control - Former boss guide

You first encounter this boss in the optional fridge quest in the Panopticon. Once you’ve met Dylan Faden, head back to the man staring at the fridge, follow the steps, and you’ll be transferred to another dimension where there’s a big eye bastard called the Former.
Like all of the bosses, this guy hates telekinesis. You can pull up random debris and launch it into his eye, but the best way to damage him is to use the few black cubes dotted around - these do big damage. Keep your Service Weapon in its original pistol form, as this is handy to quickly shoot any black orbs he fires at you. One shot on each is all it takes to stop them from hitting you.
Once you’ve done a certain amount of damage, he’ll duck away and pop back up somewhere else. Now he’s going to start stamping his spindly legs at you. This presents two dangers: one, it hurts; and two, it creates holes in the floor that you can fall down and die instantly. The best tactic is to float in the air when he raises a limb and use an air dash to avoid getting hit. Not only does this negate damage, it allows you to pick out a safe landing spot where you won’t fall into oblivion. Keep lobbing stuff at his eye while shooting orbs to protect yourself.

Again, he’ll duck away. When he comes back, he’ll pretty much relentlessly attack with his legs. It’s pretty brutal and can easily (and fairly cheaply) kill you. The best thing to do is to float into the air and just go mad with telekinesis. Just try to hurt him as much as possible as quickly as you can and you should be able to take him down before he kills you, which he inevitably will if you go on the defensive.
It really helps to have your push power maxed out here - it does silly damage when it is. I’d also spec your character upgrade slots around mods that give you more energy - this means you can throw more stuff at him more quickly in that final phase.
Control - Mold-1 boss guide

Just like Former, Mold-1 is best tackled with aggression. This time, just run or float in circles around the arena. Make sure to float when he pulls down the explosive spores from the ceiling. Speaking of which, throw them at his head before he does that. Like the cubes with Former, these explosives do big damage. Just be relentless and keep launching stuff at his head while running in circles, using the raised cover to block the homing shots he fires.
Control - Anchor boss guide

This boss fires a big energy beam onto the four platforms in the arena and it can kill you in one if you’re unlucky. This one is a test of whether you’ve mastered levitation or not since the drop will kill you as often as that beam.
While the boss is shifting, it’s invulnerable. At this point, you should be standing on the edge of whatever platform you’re on, with a clock ready to fling at its exposed core. The big clocks do more damage. Figure out the timing between shots and levitate just before it’s about to fire. Float up between two platforms, a safe space, and just hang there with your clock. If you can get a shot on the core from this angle, fling the clock at it when it locks on, then float dash to the platform it is not firing at.
When enemies appear, focus on them while keeping an eye that you’re in a safe place, or floating. If you’re coming up short while floating to a new platform, dash.
If you can’t get a clear throw at the Anchor’s core, you can still damage it on its hide when it’s firing if you fire charge shots. This is a good way to finish it off in the final phase.
Control - Essej boss guide

Essej has three different forms of increasing difficulty, but the tactics are the same to defeat each. Don’t give in to the temptation to hang back - get right up in her grill and strafe while flinging objects at her and firing charge shots. Charge shots only do scratch damage, but it keeps the pressure on while your energy recharges. Keeping close to her pretty much guarantees she can’t avoid your projectiles.
When she appears on the stairs in phase two, she will start throwing objects of her own. This is a great time to do big damage as she’s stationary, so just throw everything you have at her as soon as she appears. Done right, it’ll put her right into phase three. If she still has some fight left in phase two, be sure to use your shield whenever she throws something at you and immediately throw something back once it hits.
Between phases, run to where you damaged her and scoop up the health.
In phase three, she starts floating. Rather than panicking, float up to meet her in the air and fling stuff from close range. You’ll beat her in no time.
Control - Old Boys' Club glitch boss

This boss is pretty straightforward since you can't damage it outright. You need to trap it in the room with the large shutter. First, get the two power blocks into position. Then, simply draw it in as far as you can, throw something at it to delay it, then run out past it and quickly push the button.
Need more help with Control? We have a guide to entering Black Rock Processing, how to solve the tricky punch card and mirror puzzles, and where to find the Alan Wake easter egg.