The Sinking City: Fleeing Phoenix guide
The Sinking City puts your detective and mystery-solving skills to the test as you roleplay as private investigator Charles W. Reed, and this time you’re looking for an archaeologist.
The mission Fleeing Phoenix revolves around finding a supposed vampire who’s loose around in the area. Things are not as they appear, however, and depending on what actions you take, you’ll be faced with three possible conclusions.
This guide contains some spoilers for the penultimate Main Case, so consider this your only warning.
It's one of the longer questlines available in The Sinking City, so let’s dive in and crack this case.
The Sinking City - Fleeing Phoenix
This case will open automatically when you complete the Self Defence quest. The first thing you need to do is visit Joseph Hill’s house in the Reed Heights district.
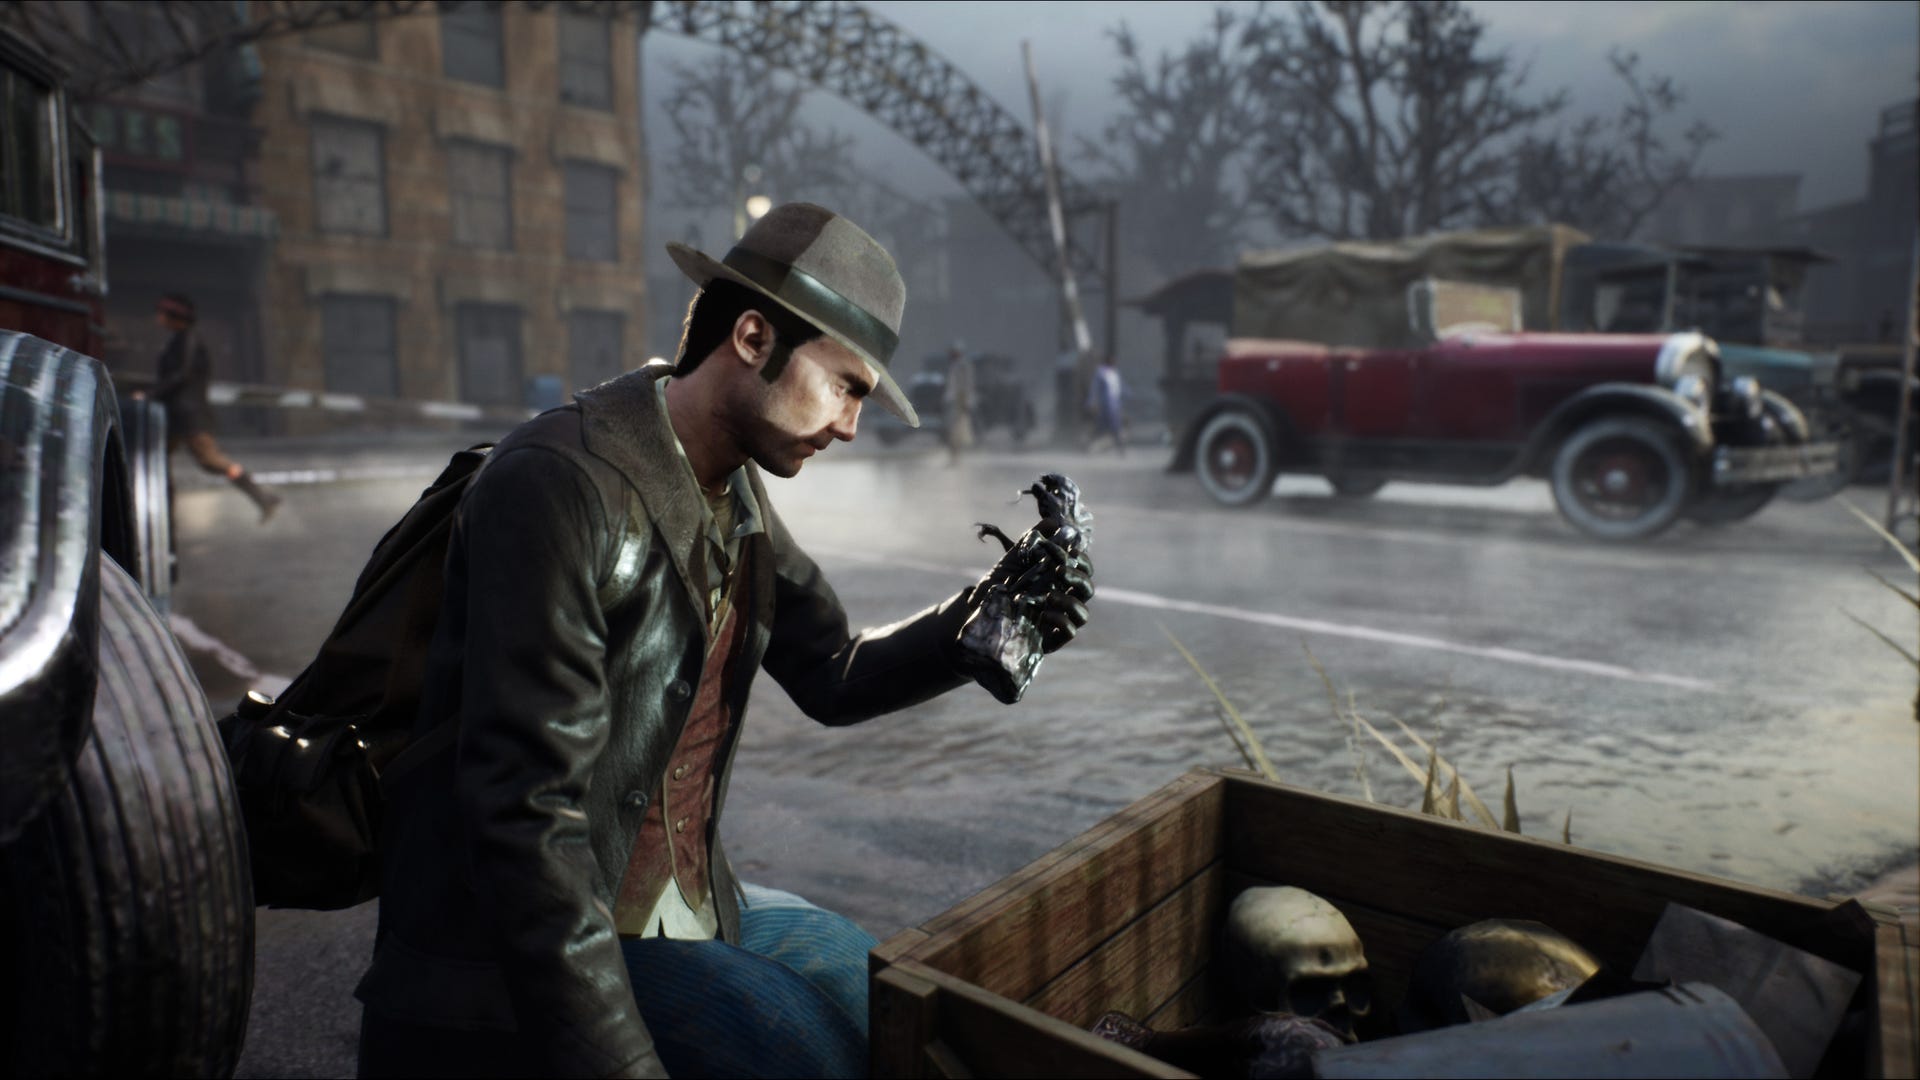
Upon entering the building, you’ll find a corpse, naturally. Examine it then head inside to the basement where you’ll find a few more corpses, as well as the body of a monster. If you hang around for long enough, another monster will appear that you can deal with pretty quickly. Loot everything in sight, including the cabinets.
You can climb over the furniture to get to the apartment on the first floor, where you’ll find yet another body. You’ll also find a key item, A Letter from the Landlord and some more loot. Climb back down to the level below and exit to the main foyer.
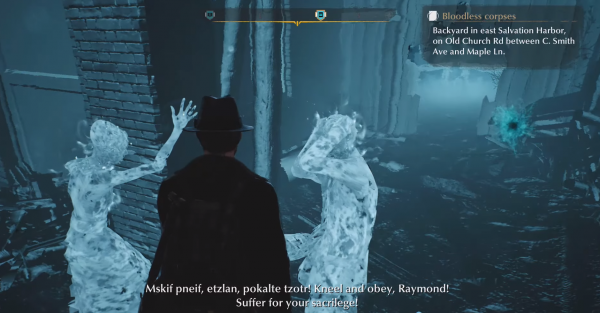
Now, you’ll want to go up to the first floor using the stairs and enter Hill’s apartment through the door. You’ll be greeted by Usha, a Mayan Priestess, so keep walking backwards while firing at her. After she’s dead, you’ll pick up a trail about the Undead Maya.

Head back to your apartment and speak with Hill, who you’ll find standing in a magic circle. Go through every dialogue option - and I mean all of them - to unlock a trail called Hill’s Request.
- Go back to his apartment and search again, this time for:
- The Crumpled Letter
- Sedatives
- Loot
- Mayan artefacts
- Photos from the Expedition
Hill’s request states that the Usha kills people and drinks their blood, so you’re on the lookout for a vampire of sorts. There are rumours one has appeared in Salvation Harbour, but first, you’ll want to find a report about the Bloodless Corpses.
Head over to the Oakmont Police Department archive and select Hill’s Request. Then, open up Crimes and Violent Crimes, Subjects and Victims then finally District and Salvation Harbour.
After that, open up the Mind Palace and connect the clues: A so-called vampire has killed people and Usha needs blood to become stronger.
This will lead to the conclusion that Usha is an insatiable murderess, so head to Salvation Harbour for the next part of the quest.
You’re looking for the Backyard Crime Scene location on Old Church Road, and it’ll be covered with police lines. There will be a few monsters around, so defeat them and take care not to scare any civilians by luring the monsters out into the open.
There are a few items you can pick up here and look at that will help you along the way:
- Examine all the corpses lying around
- Examine the fire
- Examine the blood trail and weapon marks on the wall
- Pick up the Hotel Owner’s Note from the bag
- Search containers for loot
Doing all this should trigger a Retrocognition, which shows that a group of men and Usha were fighting, and Usha ends up taking control of a man called Raymond.
If you open up the Mind Palace, you can connect the Usha hypnotised Raymond and A bag with a letter clues to deduct Raymond’s whereabouts.
Now that you’re done here, it’s off to the Devil’s Reef Hotel. Speak with the owner on the ground floor then head to the second floor to find Raymond’s room.
Examine the fragments of the suit, then use your Mind’s Eye on the desk and the board on the wall. You’ll need to examine every item in order to progress.
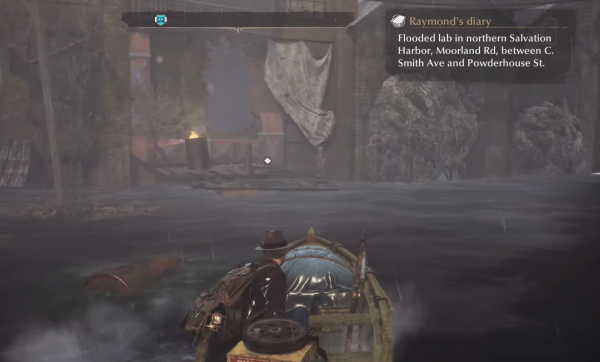
The Hidden Lab
You'll be able to find the Hidden Lab in Moorland Road, near the border between Salvation Harbour and Shells. You'll need to use a boat to access the lab and you're looking for a docking point where some cans are on fire.
As usual, there are some monsters in the lab, so head to the exit and jump over the wall where they can't follow you. It would be a good idea to lob some grenades at them since you're at a safe distance.
Once you're free to explore the area, you'll come across a range of items and clues. You'll need to find:
- A bloodied and damaged door
- The Auctarium ad Vitam Peirescii book
- Use your Mind's Eye to examine the shackles
- Examine the torture tools
- Examine the green jar
- Pick up the Alchemist's Journal
After you've done this, open up the Mind Palace. You'll first want to connect the Alchemist tried to learn from Usha and Hill will help me if I find Usha clues.
Then, connect the Alchemist seeks a cure for madness and Hill will help me if I find Usha clues. You'll then get the Usha told Hill nothing and Hill revived the dead for answers conclusions.
Next, you'll want to start a Retrocognition, which shows Hill and Raymond arguing on the ground floor, and Usha managing to break free and getting to Raymond. You'll then be able to determine the Secret of the Alchemy Lab, as Raymond and Hill were trying to torture Usha.
After you've managed all that, you'll be able to talk with Usha, who is controlling Raymond's body. Explore every dialogue option and eventually, she'll give you the choice of murdering Hill or not, which opens up the Usha's Proposal trail.
Make a decision, but note that it isn't binding, provided you follow the next steps.
Open your Mind Palace to connect the new clues together:
- Usha wants Hill Dead and Resurrected Mayan tried to kill Hill will unlock Usha will help me if I kill Hill. Then, click on the question mark to see the options of Usha won't tell me anything or Usha can tell me about Cthygonnaar.
- Connect Raymond was hired as a graverobber and Hill left Raymond in mortal danger to conclude that Hill betrayed Raymond. Click on the question mark to see that Hill can either be your ally or cannot be trusted.
- Finally, connect the An Underwater Tomb and Stone fingers in the Garden of the Dead clues to unlock Usha's Hideout.
From this, you can safely assume that either Hill, Usha or both must die. Before you commit to a choice, you'll need to find Usha's Hideout. Head to St Botolph's Cemetary in the Southwest of Reed Heights. Again, you're travelling by boat, so make sure you land at the correct spot. Head towards the Crypt and you'll find a diving suit, which you'll use later.

Hill, Usha or both?
It's crunch time, so we'll help you weigh up your options. Regardless of who you choose to kill, you'll always unlock the final mission, so there's no fail state. However, if you're looking for certain trophies, you might want to consider your options.
Both choices have an underwater sequence. Interact with the diving suit and you'll be transported underwater. It's important that you keep moving as Reed will lose his sanity if you stay still for too long. There's also a big monster creeping around, so fire the harpoon at it.
You'll reach a statue that you can use your Mind's Eye on. Let the symbols match up and you'll be able to continue past the illusion. Eventually, you'll reach the cave where you'll find Usha in all three scenarios.
Regardless of your decision, make sure you take care of health and ammo immediately after exiting the suit and before you speak to anyone.
Killing Usha
If you decide to side with Hill, speak to him first at his home. He'll give you the Mystical Ointment which you'll use at the end of the fight. Now, follow the underwater level instructions above to find her.
During the fight, clouds of smoke will indicate where she moves to next. Keep moving as she'll be throwing knives at you. Don't try to melee her because you will be obliterated - use weapons like the shotgun instead.
Upon defeating her, you'll get Usha's Ashes and The End Justifies the Means trophy. Interact with the diving suit and immediately you'll see Hill, who'll invite you to his Hidden Lab. After a lengthy conversation, you'll find out how to enter Cthygonnaar and the final mission, Into the Depths, will unlock.
You can also kill Hill now, if you like.

Killing Hill
To kill just Hill, go to his home and tell him you won't kill Usha. Shoot him with any weapon and you'll get the Still Salty trophy, and you'll still be able to find the Mystical Ointment. You'll meet Usha via Raymond's body, but you'll still need to visit the underwater cave again.
Speak with her to unlock Into the Depths and select Goodbye if you want to avoid a fight. If you want to kill her too, you can either choose the second option and battle it out, or say Goodbye, pull out a gun and shoot her while she's defenceless. This will unlock the Dodge This trophy.
And that's it! You can now move on to Into the Depths to complete the game.