Destiny 2: Outbreak Perfection guide - how to solve the elemental configuration puzzles and complete the Outbreak Perfection Catalyst
The Outbreak Prime Exotic pulse rifle was added to Destiny 2 last week as the revitalised Outbreak Perfected and it comes with quite the challenging questline.
Once you’ve earned Outbreak Perfected, you’ll be able to gather SIVA Particulates and get the Outbreak Perfected Catalyst, a perk which increases nanite damage. You'll need 500 Precision kills and 500 SIVA Particulates in order to complete the Catalyst.
There’s an additional quest you can do that will speed the process up a bit, and you’ll get a ship as an extra reward, but it's no easy feat.
You’ll want to be a minimum of around 690 power for this mission and it would be handy if you had a weapon like Arbalest with you, which you should have picked up during The Revelry.

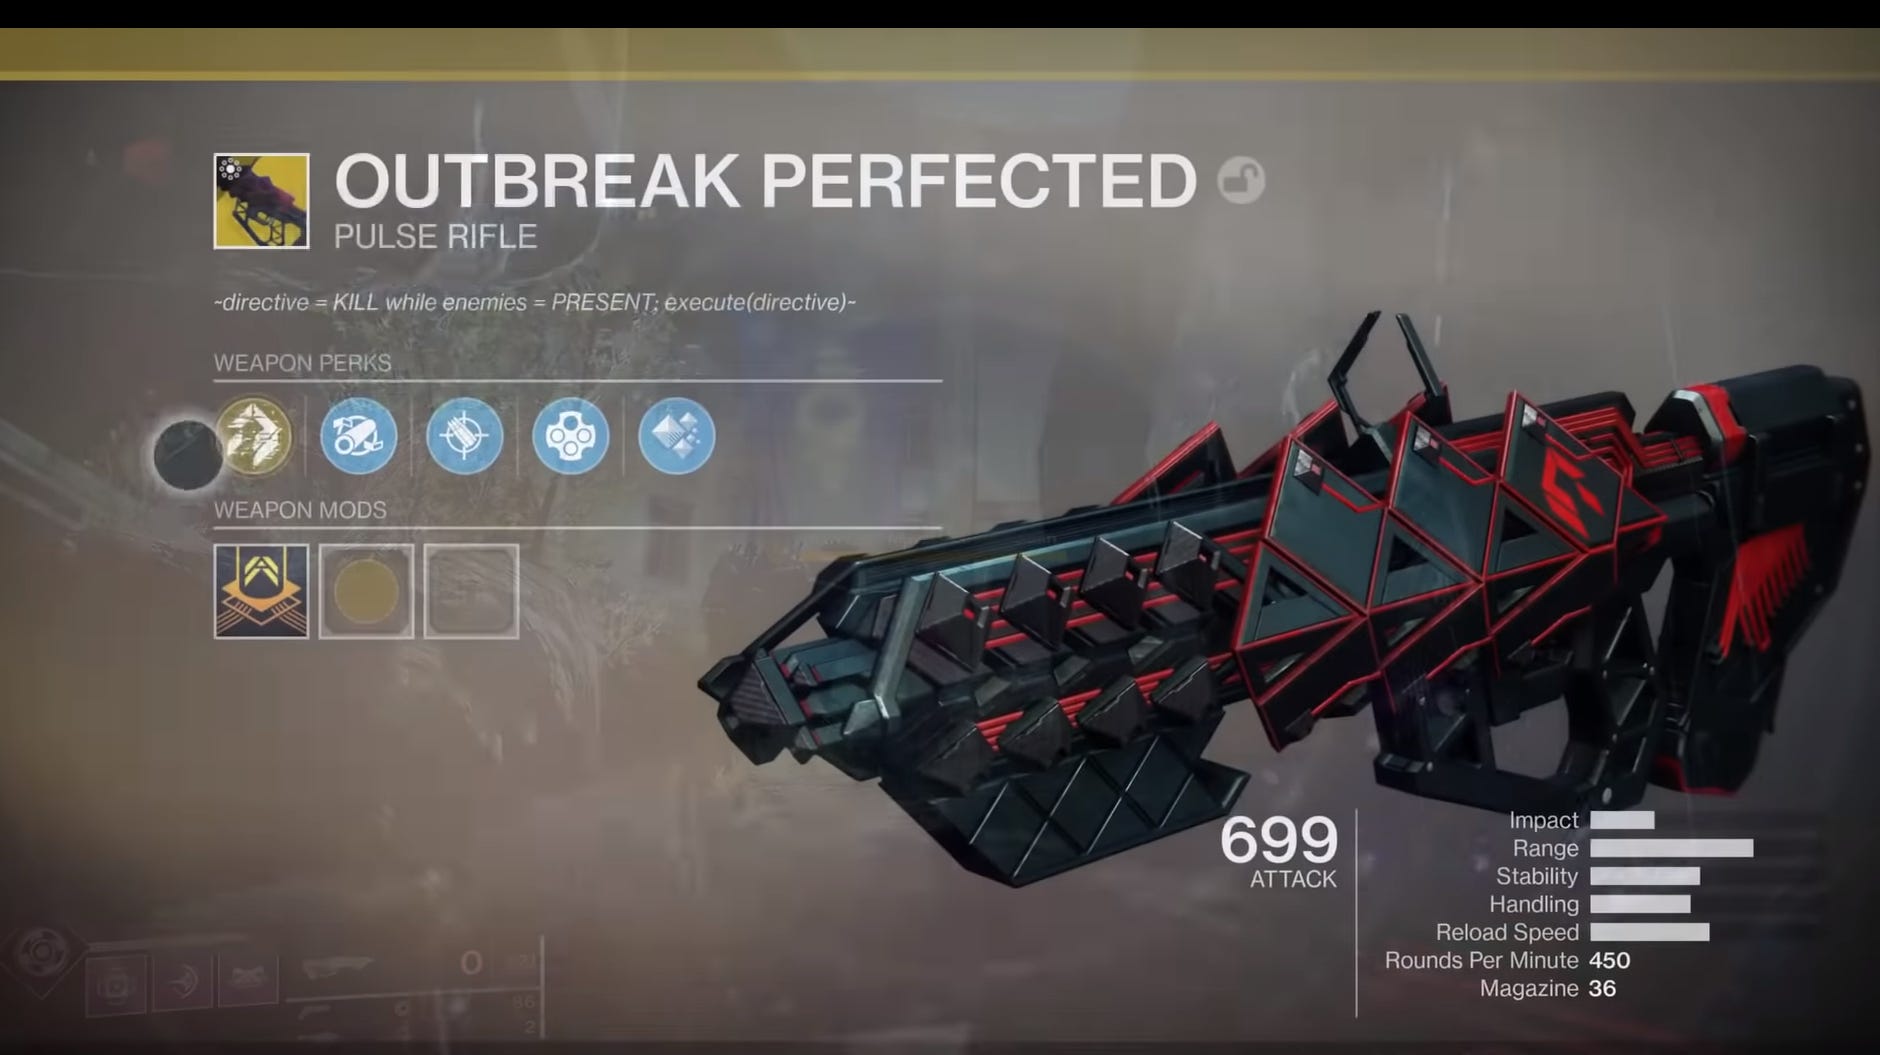
Destiny 2: Outbreak Perfected
To begin this quest, you first need to find the Fallen Transponder. Head to Titan and begin the Bad Neighbours Heroic Adventure near Tidal Anchor and battle your way through until you reach the first Shrieker. Kill it then look for a door on the left with the “unlocked” prompt.
If the door is locked, you’ll need to go and finish the Enemy of my Enemy quest on Titan before you can head inside.
Once inside, you’ll find the transponder on the table at the bottom of the stairs.
The quest will update and you’re looking for six nodes across the map. Four of the nodes can be found in the EDZ, with the rest found on Nessus.
The first one can be found in The Drain Lost Sector in the EDZ. Kill the captain and run past the chest until you enter a giant cavern.
You’ll find the first node between crates covered in purple sheets, and you’re looking for a prompt to collect node data.

For the second node, head to the pit in the Whispered Falls Lost Sector in the EDZ. On your right, you’ll see a green light. With your back to the skulls, look around and you’ll find the second node.
The next node is in the Atrium Lost Sector. Clear the first room of Fallen then stick to the left when you go out the door. The third node can be found behind a pillar in the alcove.
Head over to the Widow’s Walk Lost Sector for the last EDZ node. Clear out all the enemies then walk up to the chest. There should be a small landing near the dilapidated building, so jump up to find the node.
For the next two nodes, you’ll be heading to the Carrion Pit and The Rift Lost Sectors respectively. The first node can be found after you kill the boss. Jump down to the right of the chest, turn around then jump over the hidden wall to find the fifth node.
The sixth node can be found near the giant red light. Face the light and turn to the left to see a storage container hanging off a ledge to find it.
![]()
Once you’ve collected all the nodes, head back to The Farm. Get a good Fireteam together, go to the barn and head into the cellar until you find Mithrax, the Fallen captain. He’ll give you a mission called Zero Hour, so get ready to grind.
Destiny 2: Zero Hour normal mission
There’s a 20-minute timer for this mission, so make sure you’ve got your best weapons and that all Fireteam members are at least 680 Power.
You’ll be defeating rounds of enemies in order to unlock doors, so bring weapons such as Arbalest that make short work of enemy shields and heavy weapons, such as grenade launchers, for larger enemies.

Once you’ve gone through the vent at the bazaar, you’ll reach the Speaker’s chambers. Clear out the enemies and go through the hallway until you reach the courtyard. You’ll reach an area that’s filled with Shanks, so take out the ones with shields first.
After that, you’ll reach the Hangar and there will be a Walker, some snipers and a Servitor. After this, carry on through the scaffolding and slide under the door near the M and jump down the lift shaft and into the vent.
You’ll eventually reach a shipyard, so follow the path around the ship nearest you until you reach another vent. Once you’ve dropped into the hallway, follow it around and then jump into the vent above you. Stray left and enter yet another vent behind a toolbox.
Once in this vent, keep going until the first right turn. Go through the doorway directly under you, step off the ledge, turn around and push forward against the wall as you fall. You’ll see a ledge you can climb which leads to another vent.

You’ll see that you’re no outside the Tower. Jump onto the scaffolding until you see two drain openings and a platform on the left, which you’re aiming for. Once on it, you’ll see a small ledge down below.
Land on this, look out towards the Traveller and turn left. Jump on the pipes and keep going until you reach the next landing, where you’ll find a switch which will help your friends reach you faster. Leap to the scaffolding above and head towards the next open vent.
Keep going until you reach the second level from the top in the lift shaft and shoot open the vent in front of you. The room will be full of spinning fans, so look for red lights and jump into them, keeping close to the wall. Once you’re at the bottom of the shaft, you’ll reach a long hallway which leads to another ledge. Jump from this onto the silver vents on the wall until you reach the open door on the other side.
You’re now ready to begin the Zero Hour Maze.

Destiny 2: Zero Hour Maze
This section has a Heroic version that unlocks after you’ve earned Outbreak perfection, but for now, let’s look at the regular version.
Follow the vents until you get to Ventilation and look at the map. The white lines are the hallways you can pass through and the red arrows are switches. You begin in the bottom section, near the very bottom white line.
Get someone to have a photo of the map - or this guide right here - to hand before you begin, just to make things easier.
Study the map, turn around and jump down two floors to begin. Send one player to the left and another to the right, and each move is a mirror of the other.

Once you get started, take a left and keep going until you find a split in the path. Go to the right, into the next rectangle and follow the path around until you reach the switch. Interact with it, then keep going until you come back to the first hallway.
You’ll need to wait for a wall of electricity to pass, or run through it if isn’t fully formed yet. Take a right when you’re past it and you’ll notice a damaging electrical pulse going through the corridor. Dip into wee alcoves until it passes then carry on until you see a giant cavern. Jump on the pipes to avoid the pulse and wait for the shredder machine to pass.
Once it’s gone, jump back into the hall and take a left, following the path until it opens on the right. Hit the switch and return to the normal path. Head to the right and keep going until the next right again where you’ll find the exit. Providing you’ve opened all four switches - this is a mirrored maze, remember - then the door will be open.
Once in the room, jump into one of the lifts. Once you’ve gone up to the rafters, jump onto the platform and shoot the vents. Jump down the chute and stay in the centre of the slide as you go. Once at the bottom, turn left, then right, then crawl through yet another vent to reach the Cryptarch Vault.
Destiny 2: Cryptarch Vault
You’ll see some pipes on the wall and a Cryptarch symbol. If you interact with it, stand near it or melee it, a secret door will open for you, where you’ll find an old case. There’s a burned hole in the ground which you can drop down and find a vent.
There’s a Fallen captain, Siriks, Loyal to Eramis, and an army of Fallen at the bottom, so get ready to fight. There are a few turrets on each side, so deal with those first, then use Arbalest to take down enemy shields.

A Servitor will eventually spawn alongside more shielded Shanks, so take those out first. A Solar version of this group will spawn soon after, followed by two Walkers. During this section, try and take out Siriks as quickly as possible.
Remember, this whole section has a countdown, so if you managed to clear out every enemy before it runs out, Mithrax will appear in the centre platform. You’ll then receive Outbreak Perfection.
Time for a quick break, then it’s time to tackle this mission again on Heroic difficulty.
Destiny 2: Outbreak Perfection Catalyst
The Heroic version of the Zero Hour Maze can be accessed from The Farm. It has a new route and difficulty, so get together a strong Fireteam.
The first section plays the same until you reach the first ship. Instead of going left, go straight ahead and onto the roof. You’ll see three rows of ventilation shafts, so go to the third one then spin on the spot to see the open vent. Head inside and follow the path until you reach the sewer.
Go left and jump down to the walkway below, and the one beneath that until you reach the room with four red pipes. Find the corner pipe with a waterfall behind it, and from there, go to the corner directly diagonal from this pipe to find a switch.
Go back to the waterfall pipe, jump over it and go up the waterful. Once you reach the top, look to your left and the hatch should be open, provided you flipped the right switch. Jump onto the hatch lid and glance up to see the yellow ledge above. Keep jumping up until you reach the vent, go left, and go through another vent.
You should now be in an area with yellow alcoves on either side. Jump from each yellow alcove to the other until you reach a switch which should make this bit easier for any lagging teammates. There’s a vent at the end you can enter, so follow the red pipe then crawl through the big pipe on your left.
The outside section of the Tower is much more difficulty on Heroic difficulty, so be ready. Once you’re out of the pipe, turn left, and carefully jump along the electrical pipes and protrusions until you reach a new platform.

Watch the rotating windows for a moment then wait for a new cycle to start before jumping across them all in one go. You’ll reach a dark wall which you can jump up, then enter the open hatch. Turn right and go down the slide again, pulling to the right as you reach the end.
Try and land in a safe space, look right and climb up, then climb on the pipes until you reach the little landing and crawl through the vent. The fans section plays the same as before, so make your way through until you reach the Maze.
The Maze also plays the same, so make your way through until you reach the real challenge, the Heroic version of the Cryptarch Vault.
This is where things get interesting. There have been two Elemental Paths already, Void and Arc, with the Solar Path coming this week. The room is six spaces long and five spaces across, so thanks to the Destiny 2 Reddit for creating an easy to understand grid system for this section.
Destiny 2: Void Path

Destiny 2: Arc Path

Destiny 2: Solar path

Once you’re past the burning room, there’s a switch on the wall that will shut off the panels in the room so slower pals can reach you. Drop through the burned hole in the ground and fight Siriks again.
All of this will contribute towards getting the Outbreak Perfection Catalyst, but there is one more mission you can do to speed things up.
Destiny 2: Terminal Sequencing Puzzle
There’s a hidden mission in this playthrough, the Terminal Sequencing Puzzle , which rewards you with the Repair Schematics so you can eventually build a ship. You’ll need to find three keycards, with the final keycard becoming available this week.
The keycards are in the same place for each element, and you can find them near the beginning of the mission. You’ll need to pick up the Elemental Configuration first, which can be found in the first courtyard full of enemies, just left of the stairs on a shelf by the storage lockers.
Continue on until you reach the shipyard, then walk forward and jump over the railing. Turn around and look under the railing platform for a small crawl space, where you’ll find the Blue Card.
Just before you go outside, in the room with the pipes that lead out of the Tower, move to the far right. Turn around and look at the pipe on the left for another small crawlspace to find the Red Card.
To find the Green Card, complete the outside jumping puzzle, then go to the left when you enter the Tower before the chute. There’s a small alley with a vent where you’ll see the Green Card.
After this, you’ll need to do the Terminal Sequence Puzzle. Carry on through the Cryptarch’s Vault until you reach the treasure room with the Outbreak Perfected case at the end. Instead of jumping down the hole, you’re going to solve a puzzle.

This is quite complicated and hard to get your head around, so thanks again to the Destiny 2 Reddit for the diagrams and spreadsheets to help things along.
There’s a red, green, white yellow, purple, blue and cyan room, each containing seven terminals. There are three consoles with clock faces with 12 blocks on them. For Void and Arc week, you’ll want to be at Terminal 1 and Terminal 2 respectively.
When all players are in the room, have a player interact with their clock console to begin sequencing. Each player needs to read where the orange light stops on the dial, such as block four and six, and what colour appears.

The two numbers on the clock face will match with the corresponding spreadsheet column designed by the Destiny 2 community, which will give you a location, such as Purple-1. It will show you three lots of numbers, so write them down and look for a match.
You’d then need to go to the Purple room and select the correct terminal to progress. You’ll need to do this 49 times and if you mess up, you need to start the whole thing again, so have someone have a copy of the room layout to hand before starting.
Once you've collected all the keycards and input the 49 codes correctly for each elemental configuration, you'll get the SCRAP CF-717-91 Exotic ship and boosted Outbreak PerfectED Catalyst progress, which has a very familiar logo on the side.

Remember, you'll also need to get 500 Precision kills with Outbreak Perfected to complete the Catalyst. If you've managed to do that and finish the three configurations, the Catalyst should be complete. The quest will update to say "Masterwork objective complete".
Look at Outbreak Perfected in your inventory and you'll see that there's now an Empty Catalyst Slot which can now be filled. You'll now have created a Masterwork weapon.
It comes with a Crucible and Kill tracker so you can keep score of how many guardians and enemies you take down.
Want more? Then check out our Destiny 2: Forsaken guide for walkthroughs for succeeding in Gambit Prime, how to get Thorn and where to find Xur and his Invitations of the Nine.