Sekiro walkthrough Part 9 - Ashina Castle Upper Tower

With Mt. Kongo and the Ashina Reservoir ticked off your list, the interior of Ashina Castle beckons.
The area starts with a tough fight against a big samurai, and it only gets worse from there.
From the Ashina Castle shrine, go through the gate and up the stairs. Grapple up onto the wall on your right and you’ll be able to listen in to the General’s rallying speech to his troops.
General Kuranosuke Matsumoto
Get in position on the rooftop to jump down into the group of riflemen guards, stealthblow one from the air, then make your way taking out the rest, avoiding the big samurai for last.
When he’s the only one left, grapple up onto the wall again then grapple again across to the roof on the other side. If you walk all the way to the end and drop down you’ll break the samurai’s aggro, meaning you can sneak up behind him as he walks back up the stairs and stealth him for a head start on damage.
With him weakened, approach this fight similar to the first samurai Yamauchi and the Seven Spears fight - wait until their combos finish to swoop in for counterblows or Whirlwind Strikes, and double jump on their head to deal posture damage and get some cheap hits in.
Once his health is lowered and his posture starts to heal slower, whip out your Shinobi Axe and get to work dishing out some real damage to his posture bar.
Keep up the aggression from there, deflecting his regular sword blows and jumping over his sweeps to amp up the momentum.
With him down, you’ll get a Prayer Bead for your trouble. Now go and open the chest next to where he was standing and you’ll get some Divine Grass.
Now go right around the corner and you’ll see a man sitting on the floor hiding. He’s a thief being pursued by guards, and if you take out most of the guards in the area he’ll appear at the Dilapidated Temple and sell you items.
Now make your way back to the Ashina Castle Shrine to rest and replenish your Healing Gourd.
With your charges back, go back up the stairs and grapple onto the right-hand wall.
Grapple across the rooftops in front of you, and bear left, you’re aiming to get to the roof of the tallest tower that the big samurai was standing in front of.
When you get to the edge of that roof, you’ll be attacked by some fast crow ninjas. If you let them spin up they can be absolutely deadly, so try as hard as you can to deflect their blows and aggressively keep the pressure on them until they’re broken.
As you walk along the roof, another ninja will fly through the sky and try to land on you, which deals a ridiculous amount of damage.
Sprint back the way you came away from this and deal with him in the same way as the others.
The crow ninjas have low health and weak posture, so to stop yourself being overrun try to focus on one at a time, defeat them, then move on.
When you reach the end of the roof, go around to the right, and you’ll be beset by yet more crow ninjas.
When you reach the next corner, turn right again, staying aware that another flying crow will smash into the roof.
Around that second corner, you’ll see a high window that you can grapple up to - make your way up here.
This is the Upper Tower of the Castle. Open the Treasure Chest on your right to grab a valuable Gourd Seed, then rest at the Sculptor’s Idol just past it.
Head back to Emma at the Dilapidated Temple to give her the seed, then warp back here to press on.
Sabimaru
From the Antechamber Shrine, go up the little staircase and around to the right. Go through the open screen and you’ll see the back of a blue-robed samurai. Deathblow him, then turn right through the second screen.
Wait for the second samurai to walk past with his back to you, then sneak up and deathblow him.
Now jump down the gap in the middle of the room and fall all the way to the bottom.
On the right you’ll see a group of guards, take them out - paying special attention to the samurai - then go through the door they were in front of.
In this room you’ll find a treasure chest containing the Sabimaru, a poisoned blade attachment for your shinobi prosthetic.
Now run back through the room where you fought the guards and out the other side, here you’ll find a door that you can open back out to where you fought the samurai general.
Make your way back to the Ashina Castle Shrine, then travel back up to the Antechamber Upper Tower Shrine.
Now go back up the stairs, around to the right and take out the samurai.
Turn right into the central room, let the second samurai walk around past you, then sneak up and deal with him too.
Wait for the old lady on the other side to walk with her back to you too, then sneak attack her as well.
There should be another samurai walking around the corner in front of you. Crouch-walk behind him and follow around the corner, then take him out as he’s looking out of the window.
Now look left. In the side room are two more samurai, so sneak in there and deathblow one. Face up to the other, blocking his regular strikes and giving his thrust a lot of distance.
When they’re done, walk over and hug the far wall of the room - it’s a secret room that you can find a Prayer Bead in.
Return to the side room and grapple up to the attic using the point at the bottom of the room.
Creep around and you’ll get to the hole in a ceiling. Drop on the guard that you can, then face up to the samurai. Two more will come around the corner, so keep your wits about you, focusing on breaking their posture one at a time so you’re not overwhelmed.
When they’re done, deal with the old lady in the corner, then go around the corner where the other two samurai came from.
Walk up the stairs and take a left. You’ll find a Sculptor’s Idol here where you can rest.
Ashina Elite - Jinsuke Saze
This guy is basically just a tougher version of the samurai you were fighting earlier.
If you’re relentlessly aggressive, he goes down quite quickly indeed.
Rush in as he’s sat on the floor and give him a taste of your shinobi axe, then follow up with plenty of regular slashes and Whirlwind Strikes - he should stagger in no time.
You get another Prayer Bead, along with some Eel Liver behind him, as well as a little tutorial on Lightning Reversals.
Genchiro
Now go and rest at the Shrine and get ready for a brick wall.
When you’re ready to subject yourself to the horror that’s coming, jump out of the open window near the dojo and onto the roof. Turn the corner to the right and grapple up.
Yes, that is the Young Lord! But there’s a certain someone standing guard - Genchiro, the man that took your arm at the start of the game.
I’d recommend watching the video above of how to do this fight, it starts at 22:16.
The first two phases are hard as nails, but you can eventually learn enough of the patterns to get through them. He then has a third form which you need to master as well.
The toughest part is the time investment to learn the patterns of each form, and deal with the crushing loss of getting to the last part only to be sparked out instantly by something you’ve not seen before.
One thing is vital in this fight: knowing what to deflect and what to dodge.
Try to deflect the majority of his regular sword blows, this will allow you to stay close to him and get in single counter hits to whittle down his health bar. After it’s down far enough, you’ll be able to be more aggressive to stagger him.
You also need to deflect his arrow shots. They’re very annoying, and he’ll go for them every time you retreat to heal, however, you can interrupt them so keep slashing if you see him reach for his bow mid-combo.
Try to dodge his unblockable attacks where you see a kanji, as well as his long five-hit combo. This is a very exploitable move that you can punish heavily, so stay out of its way until it draws to a close then let loose.
Step dodge sideways when he jumps in the air, then run the heck away from his follow-up thrust attack. It has a nasty habit of tagging you even if you dodge, so be very careful of it.
In his second health bar, he’ll start to mix up the jump combo with a sweep instead of a thrust, but you can avoid this in the same way.
Your Whirlwind Strike is a good way to get in chip damage, but your main method of attack should be to get in his face, block the basic combos, retaliate, then retreat when he does crazy stuff.
For the love of all that is holy, do not get panicked and greedy when he’s about to stagger. If you try and force it in this form you’ll just end up dead. Play smart and keep your head.
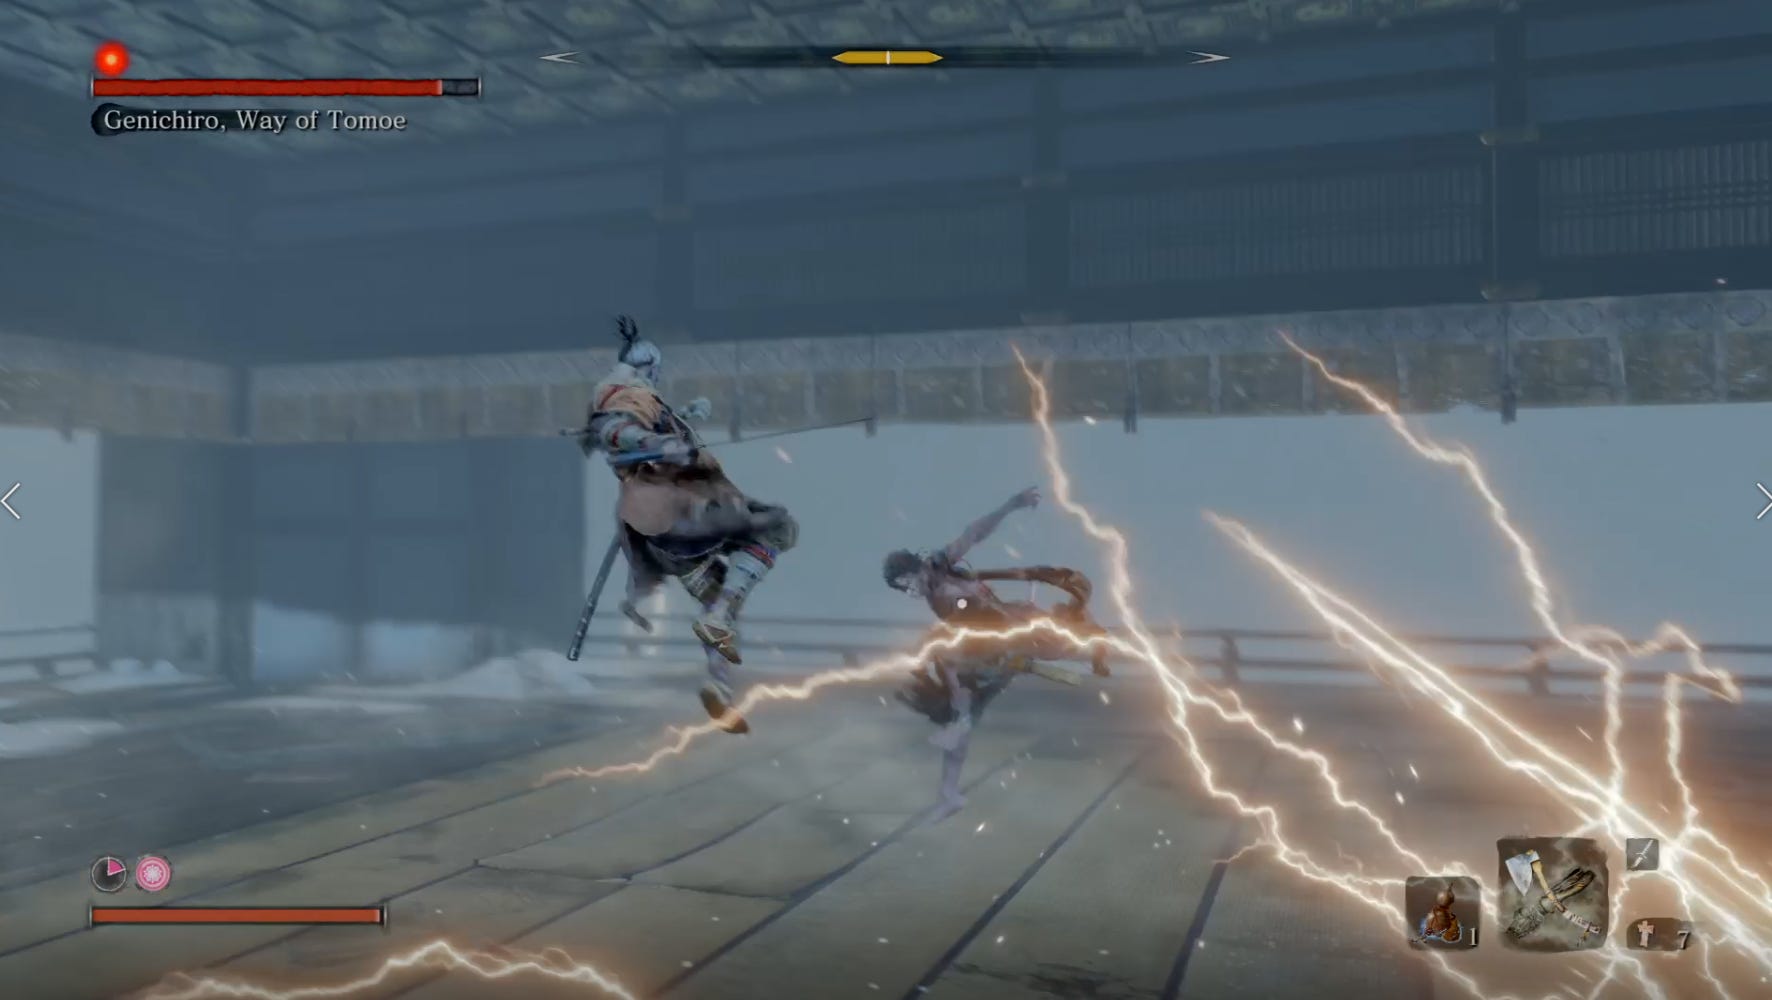
The third form is a whole ‘nother kettle of fish.
He’ll start to whip out absolutely mad lightning attacks with nutty range that do ridiculous damage.
The one saving grace is that he staggers more quickly in this form, and that’s what you have to exploit.
Right at the start of the battle he’ll do a running jump towards you - back off and retaliate quickly.
Keep up your strategy from before, get in his face, deflect and retaliate. When he jumps up surrounded by lightning, jump around to his side. If you’re close in it doesn’t seem to hit you (see the vid).
Watch out for the unblockable hits at the end of combos and, if it feels safe, try and work in a shinobi axe. This deals a ton of damage to his posture.
Once he’s broken, the fight is over - rejoice!
After the cutscene, walk over to the new shrine that’s there and confront his memory for an attack boost. Then go downstairs and talk to the Kuro the Young Lord.
After some conversation he’ll send you off to find Lord Isshin, which we’ll cover in the next part.
Sekiro guides
- Sekiro walkthroughs
- Sekiro walkthrough Part 1 - Yamauchi, General Naomori Kawarada
- Sekiro walkthrough Part 2 - Chained Ogre
- Sekiro walkthrough Part 3 - Find the Flame vent, Shinobi Axe and fight General Tenzen Yamauchi
- Sekiro walkthrough Part 4 - Find the Shinobi Firecracker and fight the horse-rider
- Sekiro walkthrough Part 5 - How to reach Ashina Castle
- Sekiro walkthrough Part 6 – finishing the Hirata Estate
- Sekiro walkthrough Part 7 – Ashina Reservoir
- Sekiro walkthrough Part 8 - Senpou Temple, Long-Armed Centipede Sen'un
- Sekiro walkthrough Part 9 - Ashina Castle Upper Tower
- Sekiro walkthrough Part 10 – Where to find Lord Isshin
- Sekiro walkthrough Part 11 – Ashina Depths and Hidden Forest
- Sekiro walkthrough Part 12 – Mibu Village, Corrupted Monk Spirit, Screen Monkeys
- Sekiro walkthrough Part 13 – Sunken Valley, Gun Fort and Bodhisattva Valley
- Sekiro walkthrough Part 14 – Owl and Fountainhead Monk Cheese
- Sekiro walkthrough Part 15 – Finding a Persimmon and collecting the Frozen Tears
- Sekiro walkthrough Part 16 – Mibu Manor, Fountainhead Pot Noble and Dragon
- Sekiro walkthrough Part 17 – Clean up and Isshin Sword Saint Cheese
- Sekiro - best ending guide
- Sekiro skills and combat
- Sekiro - top combat tips
- Sekiro - best skills
- Sekiro - Boss guide
- Sekiro crafting and items
- Sekiro - how to remove Rot Essence and cure the Dragonrot
- Sekiro - crafting and upgrade materials guide
- Sekiro - Gourd Seeds and Prayer Beads locations
- Sekiro - Treasure Carp Scales Guide
- Sekiro - Mask Fragment Guide
- Sekiro - where to find more Divine Confetti and Snapseeds