Sekiro walkthrough part 8 - Senpou Temple, Long-Armed Centipede Sen'un

Before you make you way into the Castle proper, there's a huge side path to explore. You'll gain plenty of powerful items and boosts that will be invaluable later, so it's well worth the effort.
This is one of the longest protracted sections in the whole game, so settle in for a long ride.
From the Ashina Castle Idol, grapple onto the branch on the left-hand side of the bridge and continue through the open gate in front of you.
Eavesdrop on the Guards’ conversation in front of you, then sneak up and deathblow them, collecting the Gatehouse Key for your trouble.
Keep going across the bridge and grapple up onto the large gate above. You’ll see a large boi carrying a bell on his back. Turns out he’s pretty good at swinging it, so rather than try and engage him head on, sprint (hold the dodge button) past him through the open door behind him.
Inside you’ll find a Sculptor’s Idol that you can rest at to break his aggro. Now go back into the courtyard and stealth kill him from behind.
Next to the Idol you’ll find a Memorial Mob merchant who has some interesting items, including a Prayer Bead, more Dragons Blood Droplets, and a Mask Fragment of the Dancing Dragon Mask.
Abandoned Dungeon
Once you’re done, run past the merchant and down through the open door at the end of the hall.
At the bottom of these stairs you’ll enter the Abandoned Dungeon, which is filled to the brim with zombies and killer crickets. Don’t trouble yourself too much with the zombies, since they resurrect after a short time anyway.
Continue forward and to your left you’ll meet a strange man who gives you a message to deliver.
After you’re done talking, continue further into the Dungeon.
You’ll encounter more zombies, who have a pretty gnarly unblockable grab attack that deals a ton of damage, so be careful not to get overwhelmed.
Jump into the hole just in front of the strange doctor, and walk deeper into the cave until you reach a Sculptor’s Idol.
From here, you’ll see a body of water in front of you.
To advance through this section, just keep swimming forwards through the water until you reach a bank.
Deal with the Guards on the first bank, then jump back into the water on your right and keep going.
On the second bank you’ll fight a couple more Guards, before going through a door into another cave. At the back of this cave you’ll be able to interact with a mechanism to call an elevator.
Go up the elevator and you’ll come to a new area and a Sculptor’s Idol.
Rest here, then go through the open door into the forest.
Senpou Temple, Mt. Kongo
You’re about to take on one of the longest areas in the game, so steel yourself.
Outside, jump and grapple to the left at the top of the cliff, then swing to the second tree to get above the wandering monk.
Deathblow the monk below you, then make your way up the path, aggressively engaging another enemy.
A third will probably see you, but stand firm until you attack. Make use of your Shinobi Axe to break through their guard and keep up the aggression until you stagger them.
Go through the gate, and you’ll meet three more enemies in group. Deal with them as you have the others, aggressively striking them until you break their posture. If you let them get going with their own attacks, you’re in for a bad time.
Follow the path up the hill and face the group of enemies walking up. Stealthblow one, then take out the others.
There’s a large building at the top of the slope, guarded by even more monks.
Defeat them as you have the others, then head over to the right and collect all the items hidden there.
Next approach the large building. On the left-hand side you should be able to grapple up to the second floor.
Inside you’ll see some more of those killer crickets, so take ‘em out as you make your way right down the corridor.
Go down the stairs here and you’ll be in a room filled with monks praying near a mummified body. Deathblow the monk patrolling to the left, then focus on the three that are praying. Use Whirlwind Slash to hit multiple monks at once through their guard, then hit crouch when they’re dead.
Behind the statue in the far side of the room is a big boi with a hammer, so creep around to the right and deathblow him from behind. Grab the lump of fat wax from under his feet too, which you can use to upgrade your tools.
Now collect the item from in front of the mummy - it’s a Gourd Seed! But be aware and get in and out when you’re grabbing it though, it’ll barf up more killer crickets if you’re not careful.
Head out of the door to your left and you’ll find the weird old rice lady again - you can use Balloons here to get items as well, so do that if you wish.
Now head over to the left, where you’ll see an open area with long grass, stairs, and a straw-hatted enemy with a long spear.
You really don’t want to alert this enemy to your presence, they’re really hard, so crouch and stick to the grass. Grapple up onto the building on the right and move around the roof. There are two monks on the right-hand side here that you can take out quietly.
Then crouch-walk back to the central area and drop into the long grass. You should be able to take out the two patrolling enemies from the grass without being spotted by the spear guy.
When they’re done for creep around to the left. There are two enemies near the cliff edge who you can sneak up on and kill without alerting others too.
Now crouch-walk back towards the main area and jump up onto the ledge in front of you, crouching immediately when you do. On your left should be the stairs the straw hat guy is guarding, which you’re now in position to jump onto and stealthblow him from behind.
With him dead, another one will start to walk down the stairs. Go around to the right of the stairs and you’ll be able to grapple and get behind him for another easy deathblow.
Go to the end of the bridge and look to your left. Grapple up to the ledge and run through the tunnel, then rest at the Sculptor’s Idol.
From the Idol, run along the narrow wooden walkway in front of you, then grapple up. Run through the tunnel, but watch out towards the end. There’s a little dude climbing on the wall who will drop down. Keep aggressive with these guys, since they’ll strike you down in a flash if you let them spin up.
Once the first is down, grapple across to the island in front of you and defeat the second.
Now grapple back across and take out the third, before continuing up the wooden walkway and jumping to grab the ledges at the top.
Shimmy across then climb up and grapple. Now grapple again up to your left and you’ll see a covered bridge.
Before you try to cross it, head over to the cliff edge on your left and grab the Red and White Pinwheel at the end.
Armored Knight
Return to the covered bridge, and you’ll be confronted by the unkillable man the two guards we talking about before you entered the dungeon.
He attacks slowly, but powerfully. Your goal here isn’t to kill him outright, but to break his posture.
Hang back while he swings his big sword and step dodge away from his hits. At the end of his combos, swoop in and land a few hits before dodging back out.
Make use of your Shinobi Axe to deal more posture damage, and it’ll start to rack up quickly.
During the fight, he’ll break down the walls of the bridge, so be careful not to fall off, but it’s these gaps that you’ll use to beat the Knight.
Once his posture is broken, deathblow him to kick him off the side of the bridge, and net a Prayer Bead for your trouble.
Continue along the bridge and rest at the Sculptor’s Idol.
There’s a lot more of Mt Kongo to explore yet.
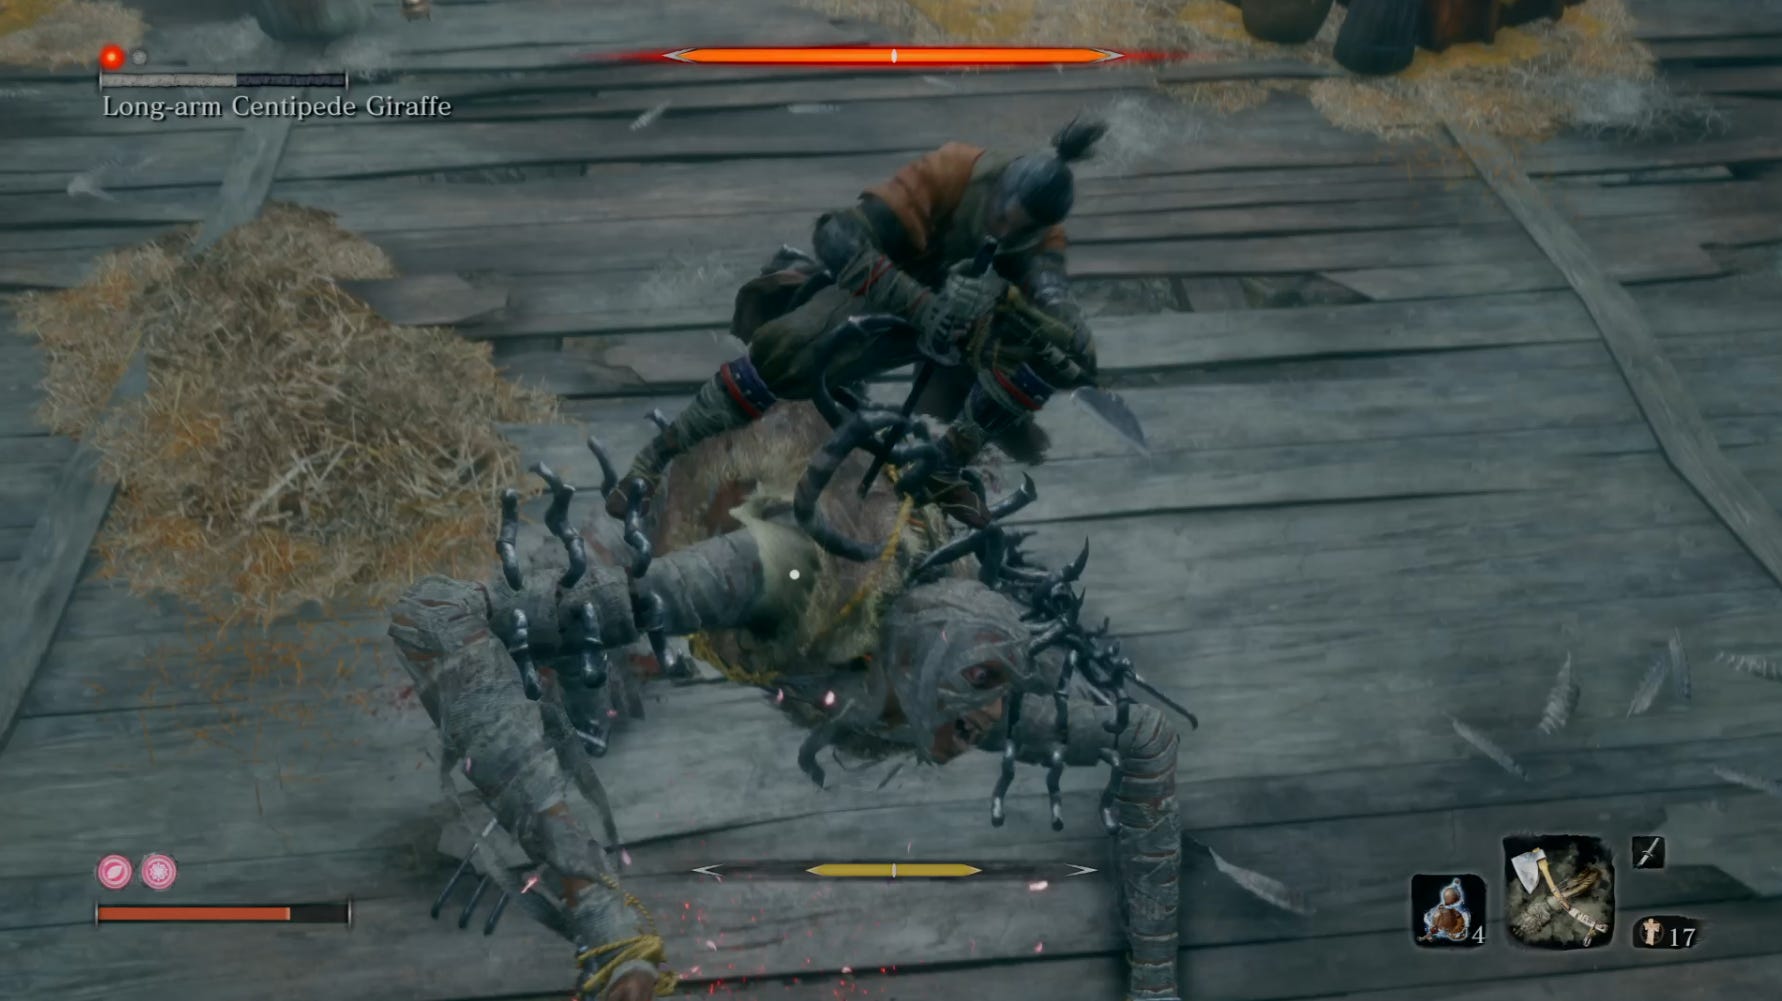
Long-armed Centipede Sen’un
From the Sculptor’s Idol, run forward and jump onto the roof of the pagoda in front of you.
Continue forward, then grapple to the tree branch on your right, then the rooftop on your left.
On the other side of the building are a couple of monks that you can drop down and kill quietly, before engaging the rest of the group.
Double jump up the cliff to get behind the first veiled monk and deathblow them. Then creep around and stealth the one on the other side of the stairs. Next, jump back down and take out the other two in front of you.
Now turn around to look at the large temple they were stood in front of. Run up the stairs onto the stone floor, then run around to the right hand side of the temple.
Jump across to the tiered pagoda on your right, then drop down from the top level to the one below.
Turn around and you’ll see an opening in the roof. Sneak inside and grapple to the rafters, crouching when you’re on them.
You’ll see a load of freaky dudes that walk on all fours milling around.
There’s one that’s bigger than all the others, so position yourself above it before dropping to deliver a stealth deathblow.
Things will get a bit hectic after this since the smaller guys will throw down flames on the floor.
However, if you grapple back up to the rafters you can jump around and deathblow the majority of the smaller guys, or at least brute force them to break their posture.
Make your way around them to even the odds with the largest centipede.
Sen’un is a desperate, unrelenting attacker who can shred you with impunity. To counter him, spam deflects on his claw slashes, before double jumping on his unblockable follow-up. You can then counter attack with your own strikes.
Alternatively, you can nip in and out from the rafters, get behind him for a couple of slashes, before retreating.
His defeat will net you another Prayer Bead as well as some Yellow Gunpowder.
Once he’s down, grapple up onto the rafters and go out the front door.
Continue up the hill and you’ll be attacked by some poisonous lizards and wolves. They’re both easy fodder - jump attack the lizards and block and counter the wolves.
Follow the path up the hill and around, and deathblow the walking monk you catch up with.
There are two more to deal with on the other side of the bonfire.
Go up the stairs they’re stood next to, but be careful of the big dude to your right.
There’s another big dude and a monk coming down the stairs, so hide in the long grass or behind the big rock on your right.
Wait for everyone to be turned away from you, then creep up behind the large shield boi and deathblow him, then get rid of the monk.
If this aggros the other big guy, you can run away back down the hill, wait for him to forget about you, then creep up behind him again.
Otherwise, just sneak up and deathblow.
Keep going up the stairs and take out the veiled monk in front of you, then grapple up to the gate at the top.
There are two more monks on the other side, who you can take out quietly by grappling up to the tree branch above the gate. Jumping deathblow one, then take out the other.
Ascend the stairs and take out the monk around the corner, but be careful, there are more of those straw hat spear guys stood close by.
Creep around to the left, and you’ll be able to grapple onto the edges of the wooden platforms, and if you crouch right by the fence you’ll be able to get past the first two straw hats without alerting them.
Then is however another one hiding around the corner that you can’t avoid, but if you don’t fancy facing them you can just leg it past them and through the door on the right at the end of the path.
Inside this temple, there’s a Sculptor’s Idol, which you can rest at to break his aggro.
Free from your straw-hatted pursuer, talk to the monk sitting in front of the large statue - he’ll give you an item, and you can scour the rest of the building for more loot.
The only thing left to do here now is nip back to where you ran away from the straw hat man and take the left turn instead of the right that leads into the temple. At the end of this path you’ll find a book that unlocks a tree of monk-style abilities you can learn with Skill Points.
With that, you can return to the Main Hall Sculptor’s Idol and travel back to Ashina Castle.
In the next part, we’ll be entering the castle itself and facing the toughest foe yet.
Sekiro guides
- Sekiro walkthroughs
- Sekiro walkthrough Part 1 - Yamauchi, General Naomori Kawarada
- Sekiro walkthrough Part 2 - Chained Ogre
- Sekiro walkthrough Part 3 - Find the Flame vent, Shinobi Axe and fight General Tenzen Yamauchi
- Sekiro walkthrough Part 4 - Find the Shinobi Firecracker and fight the horse-rider
- Sekiro walkthrough Part 5 - How to reach Ashina Castle
- Sekiro walkthrough Part 6 – finishing the Hirata Estate
- Sekiro walkthrough Part 7 – Ashina Reservoir
- Sekiro walkthrough part 8 - Senpou Temple, Long-Armed Centipede Sen'un
- Sekiro walkthrough Part 9 - Ashina Castle Upper Tower
- Sekiro walkthrough Part 10 – Where to find Lord Isshin
- Sekiro walkthrough Part 11 – Ashina Depths and Hidden Forest
- Sekiro walkthrough Part 12 – Mibu Village, Corrupted Monk Spirit, Screen Monkeys
- Sekiro walkthrough Part 13 – Sunken Valley, Gun Fort and Bodhisattva Valley
- Sekiro walkthrough Part 14 – Owl and Fountainhead Monk Cheese
- Sekiro walkthrough Part 15 – Finding a Persimmon and collecting the Frozen Tears
- Sekiro walkthrough Part 16 – Mibu Manor, Fountainhead Pot Noble and Dragon
- Sekiro walkthrough Part 17 – Clean up and Isshin Sword Saint Cheese
- Sekiro - best ending guide
- Sekiro skills and combat
- Sekiro - top combat tips
- Sekiro - best skills
- Sekiro - Boss guide
- Sekiro crafting and items
- Sekiro - how to remove Rot Essence and cure the Dragonrot
- Sekiro - crafting and upgrade materials guide
- Sekiro - Gourd Seeds and Prayer Beads locations
- Sekiro - Treasure Carp Scales Guide
- Sekiro - Mask Fragment Guide
- Sekiro - where to find more Divine Confetti and Snapseeds