Sekiro walkthrough part 13 - Sunken Valley, Gun Fort, and Bodhisattva Valley

With the spirit of the Corrupted Monk defeated, the Mortal Blade in hand, and the first step towards Immortal Severance acquired, a whole new area beckons.
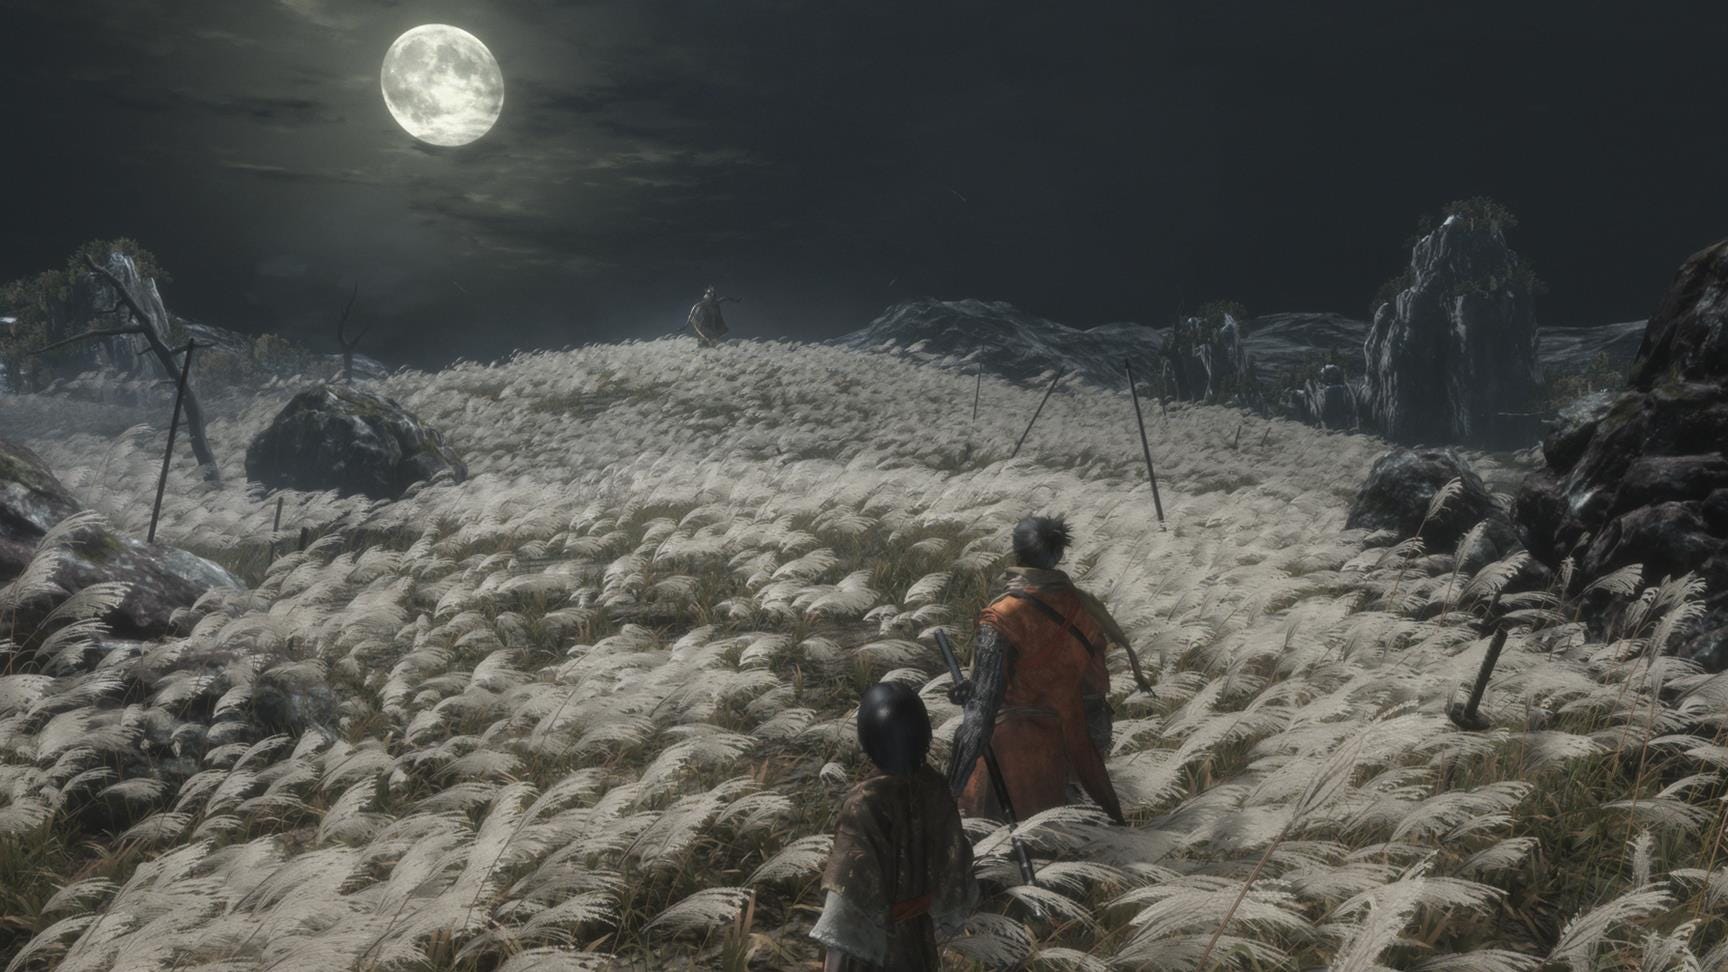
This protracted section covers the whole of the Sunken Valley, the mysterious Gun Fort and its explosive inhabitants, and the relentless foe waiting at the end of the ravine.
Sunken Valley
To make your way to the valley, you need to leave through the bottom of the castle tower, through the room where you found Sabimaru. From the Upper Tower - Antechamber Shrine, go up the stairs, bear right, and take out the samurai with his back to you in the adjoining room.
In the next open room, just down the centre to get to the bottom, then defeat the group of guards and samurai having a lovely party.
Continue through the room that they were stood and sat in front of, go to the right, then out of the door on your left.
Outside, head around the corner to the right and follow the path. Grapple onto the tree branch and survey the area. There are two guards here, one normal, and one with a big spear - try and sneak up on the spear-wielder using the ledge on the right hand wall and deathblow him, he’s pretty tough otherwise, then deal with the regular joe.
Through the gate to your right, you’ll find the Old Grave Shrine. If you look just over the edge near the Old Grave Shrine, you can see a building with a hole in the roof. Inside you’ll find the Badger merchant who has a unique shield tool and a useful skill scroll.
You’ll be able to get these items from the Treasure Box at the Dilapidated Temple later if you don’t buy them now though.
If you go through the gate over to the left, you can get a Dragon’s Blood Droplet from in front of the actual Old Grave.
Then from the Old Grave Shrine, turn back around and go through the archway you came through to the bridge on the right.
Eavesdrop on the guards for a bit of story, then sneak up and deathblow the larger samurai on the right. Then defeat the smaller guy on the left.
Continue across the bridge and kill the gunner on the right.
Now go through the large gate into the snowy area. Go down the path and you’ll face some baboons in the long grass - they’re weak, but can overwhelm you if you let them get going.
At the bottom you’ll see a temple, head inside, and you’ll meet the long-nosed shinobi again. Rest at the Shrine in the second room, then continue through the back of the temple.
Jump over the side and grapple on the ledges and branches until you reach another Shrine at the bottom.
From this Shrine, you can either go left or right. To the right, there are two Snake-eyes gun enemies followed by a shimmy across a high ledge. On the other side is a tough fight with some spectral samurai which gets you a Prayer Bead.
That’s optional though, so head to the left to advance. Jump down the ledges, then grapple over to the right where you see the gun enemy. Aggressively, take them out with quick strikes before they can react.
Then continue through the tunnel behind them. Grapple up onto the branch to the left at the end, then the second branch in front of you. Take out the enemy on your right, then turn around and climb the ledge to the left. Go through the tunnel in front of you, take out the enemy on the left, then grapple up and take out the one on the right. Climb up the ledge to the left, in a little hut here you’ll find a precious Gourd Seed.
Now use your Homeward Idol to return to the Sunken Valley Idol, travel, and turn the seed in to Emma.
From the Sunken Valley Idol, jump down the ledges and grapple over to the enemy, then run through the tunnel behind them.
Grapple up to the tree on the left, then the second branch to the left. Take out the enemy in front of you, then turn right and drop down.
Now grapple across to the second ledge, then go around to the left and drop down again.
Hug the wall and shimmy across. Grapple to the tree branch, then drop and deathblow on one of the gun enemies below. Take out the second, which should probably aggro the heavy gun enemy.
These are really tough to fight head on, so grapple back up onto the tree branch and cliff edge until they lose interest. Then sneak back over and deathblow them from behind.
At the edge of the cliff is a shrine where you can rest - the Sunken Valley.
Gun Fort
Jump off the cliff edge and grapple to the small island as you fall. As soon as you do, snipers will start to shoot you with deadly accuracy, so quickly grapple to the second island on your left, then up to the cliff where you can see the Buddha in front of you.
There’s a mini-boss here, Snake-Eyes Shirafuji, but it’s much easier to take her down with her sniper support, so I’d recommend running past her for now and coming back later.
Run and jump up the ledge to the left of the boss’s starting position, then shimmy around the wall.
Jumping seems to have the best chance of dodging the bullets, so make a break for the rickety rope bridge, watching out for the hole in the middle, jumping every couple of seconds to avoid shots.
On the other side, grapple to the left, then jump and climb up the ledge on the left. There’s another ledge to climb in front, then jump across the gap behind you, taking out the enemy there.
Jump up again in front of you, then kill the next enemy.
Turn around and grapple to the tree branch, then climb up the ledge at the end.
Kill the enemy at the top, then follow the path around and up to the left. There’s a heavy gunner looking out over the edge, stealth them, then creep into the tunnel you can see next to you. Take out the weak enemy in the tunnel quickly, then run through the next room with two heavy gunners.
If you’re quick, you can make it through the door to the left without alerting the two heavy gunners here and make it to the Shrine on the other side to rest and reset their positions.
With your resources replenished, you can take on the area in reverse and go after Snake-Eyes Shirafuji.
From the Shrine, take out the heavy gunner by the door, then rush the second. Take out the third enemy up on the barricade, then systematically make your way back down the mountain towards Snake-Eyes Shirafuji assassinating all of the enemies who’re now facing the other way.
Retrace your steps down onto the bridge, across it, and then around the shimmy wall.
Now creep around the corner, and you’ll be able to get a sneaky deathblow off on the Snake Eyes.
In this enclosed space, use the big rock next to her starting position to your advantage. You can use it as cover from most of her attacks, rushing in to chip away at her now lone health bar until she eventually goes down.
She has a strong guard, so tools and skills that deal damage through guard are very effective.
She drops a Prayer Bead, and you can find a few other items around her island
Long-Arm Centipede Giraffe
Back at the Gun Fort Shrine, head down the stairs in front of you. At the bottom here is another mini-boss: the Long-Arm Centipede Giraffe.
The tight arena might make this seem annoying at first, but you just have to spam deflect at his slashing combo, then when the kanji appears, double-jump on his head.
This will break him posture in no time.
As the fog gate clears, grab the Fan shinobi tool from in front of the statue, then crouch into the hole in the floor. You’ll find more items down here, like Yellow Gunpowder, as well as tunnel that leads into some caverns.
At the end of the tunnel turn left and you’ll find an opening with some grapple points. Go right, then grapple to the second point on the wooden plank.
Go into the tunnel on your left and you’ll be attacked by a ton of poisonous lizards but get some items for you trouble.
If you grapple over to the right, then look down, you’ll see a glowing item that you can grapple down to. Do so, and you’ll see that it’s surrounded by smaller Long-Arm enemies.
Jump at them and you should be able to deathblow them easily. The item is a Prayer Bead.
Now follow the path grappling back to the left. This will eventually lead back to the Gun Fort Shrine.
To continue, go through the door behind the Buddha statue in the room where you fought the Giraffe. You got the key after you beat Genchiro.
This leads to the Sunkey Valley Passage where you’ll meet a familiar friend.
When you drop into the water, swim over to the right as quickly as you can, using the right-hand side of the rock archway as cover. You’ll see a cave door here, which leads to a cavern with a new Shrine: Riven Cave.
From the Shrine, grapple up and grab the scrap on your left, then continue out of the cave and around to the left.
Jump up the ledge, then grapple across - first to the second ledge, then the Buddha’s hand.
Use the tree branch on your right to get to the second Buddha’s hand, then jump down to where you can see the monkeys below.
Head over to the left-hand side of the valley and grapple across the Buddha’s hands there.
Now move over to the right and look over the cliff. That’s a lot of baboons..
Drop down and creep around to the right of the area and you should be able to sneak past them and grapple up to the Buddha statue on the other side of their clearing.
On the next ledge you’ll find a Shrine, as well as another creepy old snake fruit lady.
You can use your Mibu Balloons to get items from her too. Now’s also a good time to grind some Sen to go and buy the Terror healing Gourd from the Mibu Village Memorial Mob, it’s very useful in the next fight.
Guardian Ape
Oh boy, get ready for this one. The Guardian Ape is unlike anything you’ve faced in the game so far, combining speed, unpredictability, and devastating damage.
It’ll be tough to even work out how to hit him at first, but once you’ve got the hang of it, you’ll be able to prevail.
First, equip your Shinobi Firecrackers - he’s a beast after all, and will be scared by them.
To start the fight, jump into the arena and grapple towards him, then jump and hit him a couple of times as he turns around.
Your preferred position of attack is just next to his back leg, so try to get yourself there. Throw down your crackers and he’ll flop to the ground, so run around and hack away.
This only works a couple of times though, after that he’ll try and body slam you when you cracker - but you can still step dodge to the side to get into attack position and hack away.
When he drops onto his back and wriggles around, back off and wait until he’s just finishing to attack again.
You can block his regular combo, even though it doesn’t look like you should. Basically, your strategy is to stay at a safe distance from his attacks until you can chip away at him as they finish, throw down crackers to create openings, and get into that attack position at the base of his legs as often as you can.
Sometimes he’ll jump in the air and throw poo at you. To avoid this, either sprint to one side and jump as it reaches you, or try and sprint towards him so you kind of get underneath it.
Eventually he’ll hit the deck. Time for phase two.
Phase Two
This part of the fight is all about baiting one or two attacks that you can punish.
The first is his basic four hit slash combo. You’ll want to be at a safe distance away from the first two slashes, then move into range and deflect hits three and four. This will lead him to do an overhead slash that, if deflected, causes him to slump to the ground, totally exposed.
The second exploitable attack is where he stumbles forward across the ground and sweeps. Simply jump over the attack onto him and get some hits in.
Sometimes he’ll mix things up with a flurried combo - this can be deflected, but isn’t as punishable at the regular combo, so just stand your ground and wait for the pattern to resume.
When you see the kanji appear, sprint away as fast as possible. He’s about to do a scream attack that deals heavy Terror status that will kill you instantly.
Stick to the strategy, and you’ll have him down in no time, this section of the fight has a much more predictable pattern so once you’ve got it, you’re on the way to victory.
Once the Ape is defeated, head into the cave that was covered with fog and grab the Lotus - the last ingredient you need.
In the next part we’ll be bringing them back to Kuro.
Sekiro guides
- Sekiro walkthroughs
- Sekiro walkthrough Part 1 - Yamauchi, General Naomori Kawarada
- Sekiro walkthrough Part 2 - Chained Ogre
- Sekiro walkthrough Part 3 - Find the Flame vent, Shinobi Axe and fight General Tenzen Yamauchi
- Sekiro walkthrough Part 4 - Find the Shinobi Firecracker and fight the horse-rider
- Sekiro walkthrough Part 5 - How to reach Ashina Castle
- Sekiro walkthrough Part 6 – finishing the Hirata Estate
- Sekiro walkthrough Part 7 – Ashina Reservoir
- Sekiro walkthrough Part 8 - Senpou Temple, Long-Armed Centipede Sen'un
- Sekiro walkthrough Part 9 - Ashina Castle Upper Tower
- Sekiro walkthrough Part 10 – Where to find Lord Isshin
- Sekiro walkthrough Part 11 – Ashina Depths and Hidden Forest
- Sekiro walkthrough Part 12 – Mibu Village, Corrupted Monk Spirit, Screen Monkeys
- Sekiro walkthrough Part 13 – Sunken Valley, Gun Fort and Bodhisattva Valley
- Sekiro walkthrough Part 14 – Owl and Fountainhead Monk Cheese
- Sekiro walkthrough Part 15 – Finding a Persimmon and collecting the Frozen Tears
- Sekiro walkthrough Part 16 – Mibu Manor, Fountainhead Pot Noble and Dragon
- Sekiro walkthrough Part 17 – Clean up and Isshin Sword Saint Cheese
- Sekiro - best ending guide
- Sekiro skills and combat
- Sekiro - top combat tips
- Sekiro - best skills
- Sekiro - Boss guide
- Sekiro crafting and items
- Sekiro - how to remove Rot Essence and cure the Dragonrot
- Sekiro - crafting and upgrade materials guide
- Sekiro - Gourd Seeds and Prayer Beads locations
- Sekiro - Treasure Carp Scales Guide
- Sekiro - Mask Fragment Guide
- Sekiro - where to find more Divine Confetti and Snapseeds