Resident Evil 2 Remake - S Rank Leon A walkthrough Part 2: Parking Garage

So, you’ve got the three medallions and you’re in the safe room beneath the Goddess Statue. Now you need to stock up.
Hopefully you’ve been hoarding Gunpowder like I suggested in Part 1 of our Resident Evil 2 Remake walkthrough. If so, get it all out of the storage box and start mixing it up so you have plenty of ammo. Once you’re done, head down the elevator.
Leon A Guide Parts 1-6:
- Part 1: RPD
- Part 2: Parking Garage and Kennels
- Part 3: Mr X
- Part 4: Kendo, Alligator, Ada Wong
- Part 5: Sewers and Chess Puzzle
- Part 6: Nest Lab and Plant 43
Resident Evil 2 Remake S Rank guide for Leon A - William Birkin boss fight

Head down the stairs and through the door on your left, then follow the walkway across until you reach a fallen shelf. Interact with it to move it out of your way, then walk forward to trigger a cutscene.
Now it’s time for your first boss fight with the mutated former doctor, William Birkin. It’s a pretty straightforward fight. Keep firing at him, preferably aiming for his weak point - that massive eyeball on his shoulder - and run away when he gets close. In the corners of the room there are stashes of ammo and health items, which you should grab whenever you’re nearby. There’s also a grenade knocking about that you can either toss at him or use to defend yourself from one of his grab attacks.
Once you’ve beaten him, climb up the ladder in the middle of the room. Turn to your right at the top and grab the Green Herb and from inside the doorway and the Gunpowder from the locker. Then turn around and head the other way, up the stairs at the end of the walkway. Flip the switch inside the control room to lower a platform bridge to cross, then head over it.
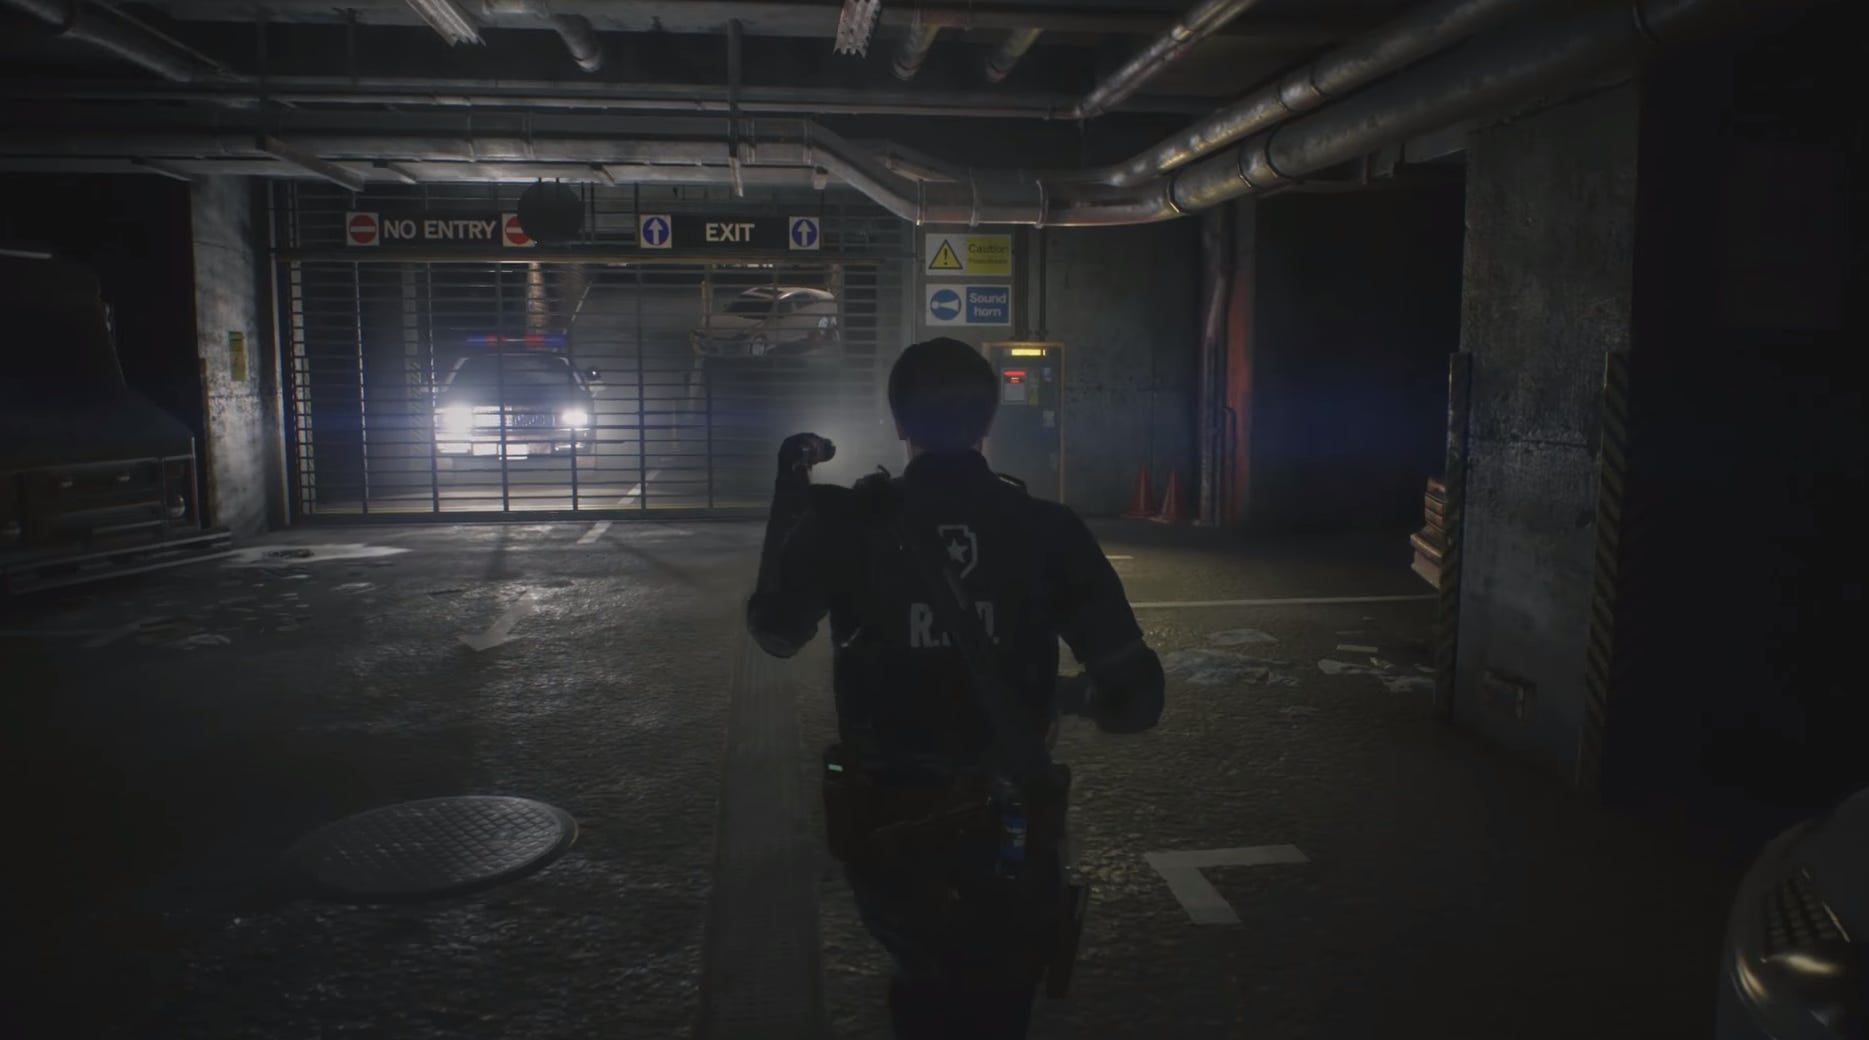
Resident Evil 2 Remake S Rank guide for Leon A - Parking Garage and Jail

Once over, head into the room with the typewriter and grab a Hip Pouch from the locker on the right. Now go up the ladder in the corner of the room. You’ll trigger a cutscene and emerge in the Parking Garage. Head straight forward to the control panel by the shutter to trigger a cutscene and meet Ada Wong.
Follow Ada through the door she enters, then take the room on the left to grab a map. There’s also some Handgun Ammo in the same room. Leave the room and head through the cell door on your left and into the Jail. Run straight past the cells, ignoring the zombies, and get to the end to trigger another cutscene. Once it’s over, grab the Tool from the nearby table and head back into the Parking Garage.
Now head to the door on the other side of the Parking Garage, turn right and follow the corridor around until you come to the Kennels. You’ll see some dogs inside here but they can’t get you yet. You can use your pistol to put them down, reducing the number of crusty canines attacking you later on.
Follow the room around and you’ll pop out the other side, near the Morgue, Head inside. Next to the door you enter is a dead body - this will actually attack you later, so take the time to finish it off while it’s idle. Now head around to the back side of the Morgue and open up the tray in the left corner - second from the left. There’s a zombie that will fall off and leave behind the Diamond Key on the tray itself. You can open the other trays for other items, but it’s a time consuming process and we want that S Rank.

Grab the key and leave the room. On your right is a slot for your Tool - use it to open a shutter and head to the Generator Room. Grab the red box from the table in front of you and examine it to open it up, uncovering one of the Electronic Parts you need for the Jail. Now follow the room around until you get to an electric box. You need to flick up the two switches on the right and the power should come back on. The dogs will be gunning for you now, so leg it out the room the same way you came in. Grab the herb by the door if you need it.
Run through the Kennels and back towards the Parking Garage, but take a quick detour to the Firing Range first. Grab and examine the tin box to get an Electronic Key for a car in the garage. Also use the Diamond Key on the door inside the Firing Range - this will allow you to discard they key later when you’ve unlocked the other doors. Grab the Red Herb from inside and run back to the Parking Garage before the zombies on the range itself break through the door.
There are dogs in the garage now and it’ll make your life easier if you put them down. Then interact with the Electronic Key, press the button on it, and head to the trunk of the police car it pops. This gets you the Gun Stock for Matilda. Now head back towards the Firing Range, run past it, and go through the door on your left. Follow the corridor around, head up the stairs, and you’ll find you’re back in the police station. There’s a safe room nearby so head inside, turn on the light, and grab all the items. Make sure you pick up the Electrical Part from the back room and keep it on you. The key items you want on you are the Electrical Part, the Electronics Part, the Tool, and the Diamond Key.
Click here for Part 3 of our Resident Evil 2 Remake S Rank walkthrough: return to Raccoon City Police Department and meet Mr. X.
Leon A Guide Parts 1-6: