Resident Evil 2 Remake Walkthrough Part 10 – Claire B - Alternate Sewers
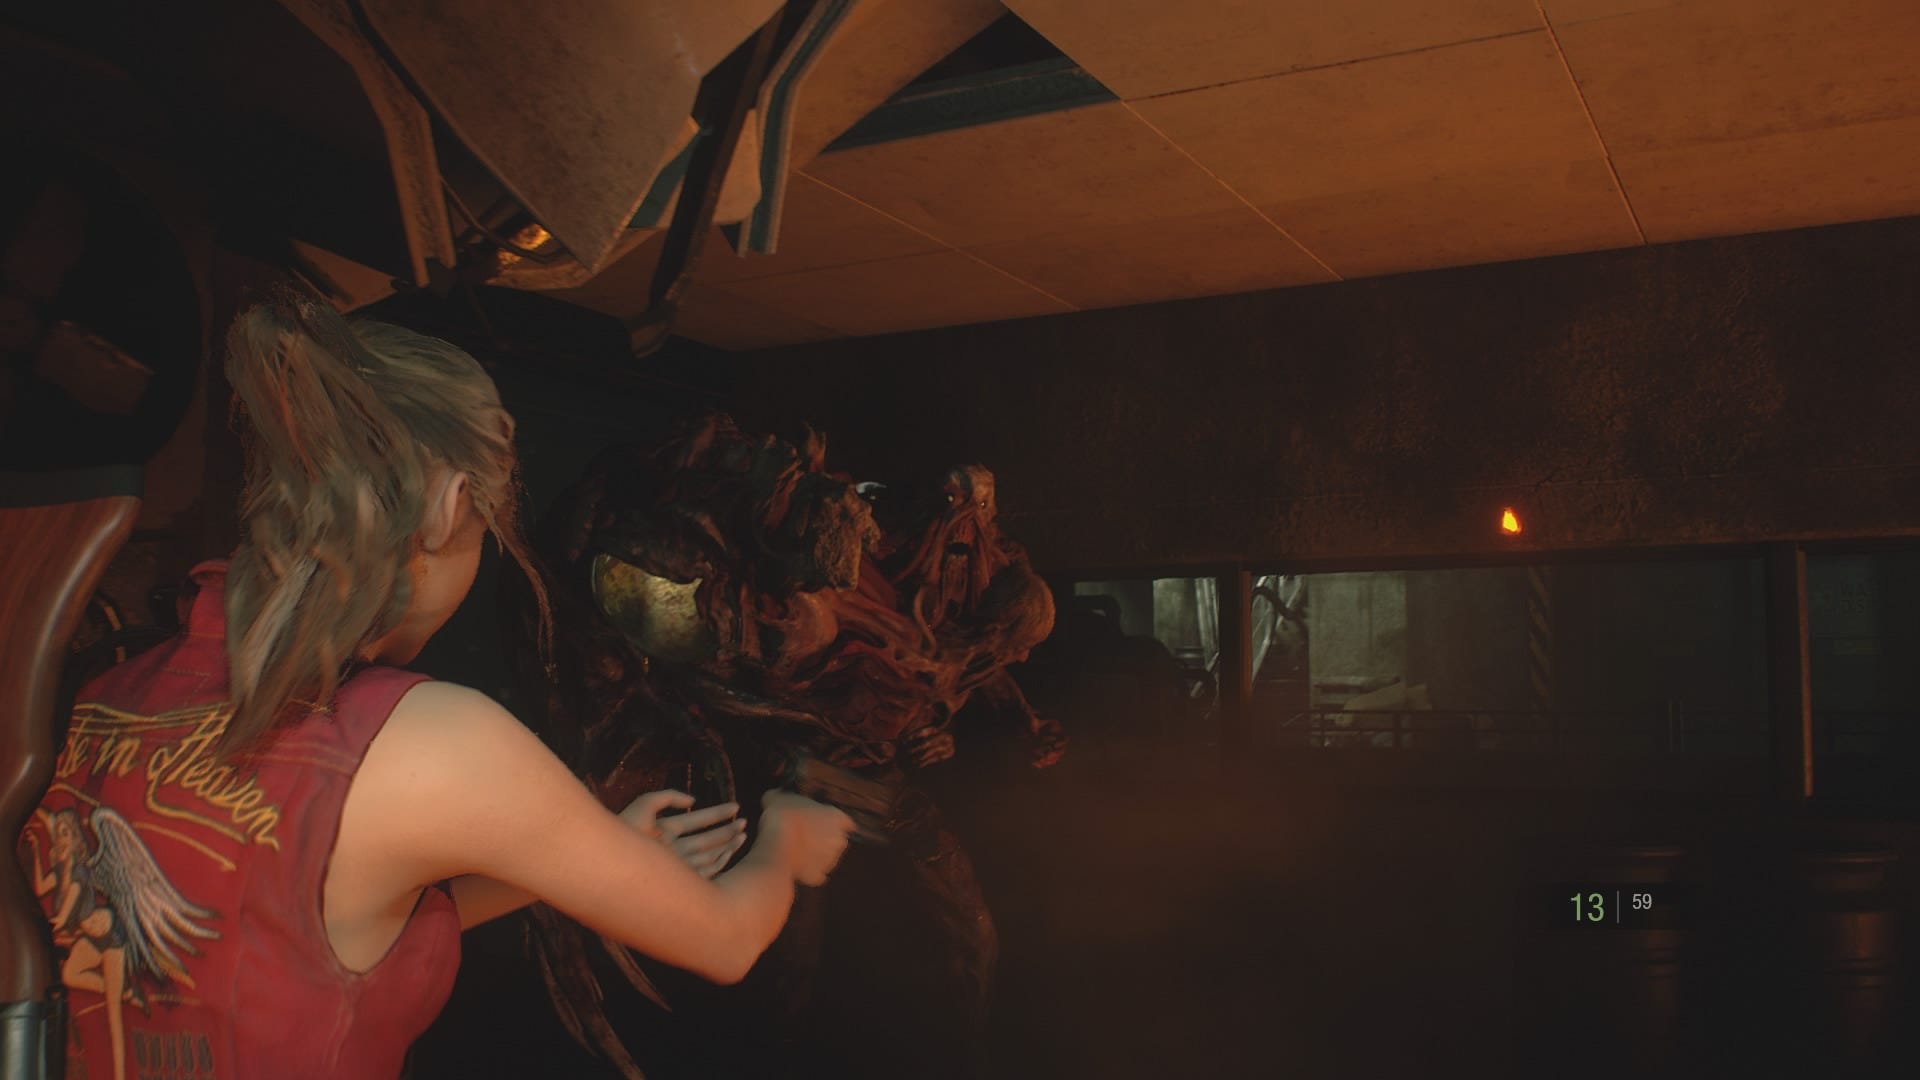

After a close encounter of the mutant kind, Claire wakes up in the dank sewers below Raccoon City. Sherry is nowhere to be seen and, despite the protestations of her mother Annette, Claire needs to make sure she’s safe.
In the last part we left Claire straight out of the cutscene where said goodbye to our old friend Mr X. Turn around and grab the SMG bullets behind you, then walk forward through the only door to advance.
Save up in this new office if you wish, collect all the supplies, then press on through the next door. Except you can’t, it’s locked.
Return to the large room you woke up in and jump down the broken gap on the east wall.

Follow the hallway around, then jump down the ledge at the end.
Turn right, then grab the blue herb to the left of you before continuing on downstream.

Walk through the right-hand tunnel and climb up onto the bank on the left.

Follow this hallway around, go up the stairs and through the door - this leads into the cable car room.
Go up the stairs to your left, then climb the ladder.
Walk into the Control Room and deal with the three zombies. Collect the supplies from around the room - the code for the locker is SZF - then jump down the gap in the corner of the room.

This triggers a cutscene. When you regain control you’ll be in the Monitor Room, which is your main hub in the sewers.
Checkmate
Over on the far side of the main is a electronically locked door which is connected to the plugs beside it.
The contracting company that designed the system had a thing for chess, so each plug is designed to look like a different piece. Pick up the note on the desk and your primary objective will change to looking for them.

Leave those plugs where they are for now, and leave the room through the door on the east side of the room. Before you go, grab the Sewer Map off the wall next to the door. Make sure to bring a couple of Blue Herb items with you and a stack of three flash or frag grenades too.
On the other side of the door, pull the lever in front of you, then walk across the bridge.

Turn right, then right again. At the end of the path you’ll see a zombie and a safe.
Shoot the zombie, then open up the safe. The code is written on its right-hand side. It’s 2 left, 12 right, 8 left.

Inside is a frame the makes your SLS 60 more powerful.
Either equip it to your revolver or nip back to the Monitor Room to deposit it.
Now go to the other side of the room near the cable car and pick up the T Tool from next to the computer.

Then go through the exit on the eastern wall of the Treatment Pool Room and down the stairs.
Shoot the zombies at the bottom of the stairs, then turn left. Run down the second set of stairs and use your new T Tool on the mechanism next to the door.
Run through and across the bridge. Then take the Sewer Key from the box on your right.

Steel yourself for this next bit, it’s pretty gnarly.
Climb the ladder down to your left, then follow the stream around. Climb up onto the bank to your left, then jump down on the other side.

In the interest of conserving ammo, you’re going to have to run through this next area.
It’s quite hard to run past these G-monsters, but is possible. Walk forwards from where you jumped down off the bank and the first monster will surface. Sprint around to its left and past it.
This one is actually the most likely to catch you, but it’s not a disaster if it does - just press to counter with one of your grenades then run through the first opening you can.
Once you’re past the first one, keep running forward but hug the right wall. You should be able to squeeze fairly easily past the second monster. Then make a beeline for the opening in front of you, banking to the left to avoid the last monster.

There’s a zombie in your way here, so try your best to disable it with your SMG.

Once you’re on the other side, climb up onto the bank and go through the door. Climb up the stairs on the other side.
You’re now in the Supplies Storage Room. Walk around the path and go down the stairs.
Turn left at the bottom and go through the open gate. On your left as you walk through is the Queen Plug - take it.

Turn around and walk forward until it opens out a little. On your left is another box for you to put the Queen Plug, so use it from your inventory.

Go through the now open gate and go up the stairs to your right.
A zombie will fall off the banister and wake up, so turn around and send him back to sleep with your gun.
At the top of the stairs is a box with the King Plug in. Take it - then jump down from the gap in the railings.

Turn around immediately and shoot the zombie right behind you, then go back through the open Queen Plug gate.
Put the King Plug in the box next to the bottom of the stairs, then go through and grab the Spark Shot from the wall.

Now unlock the door behind you, and go back and take out the King Plug.
Then go back and get your Queen Plug.
Finally, to get out, put the Queen Plug in the box you originally found it by the stairs.
Then walk through and put the King Plug in the box at the bottom of the stairs. Now walk through and collect your Queen plug from the other side, before retracing your steps to get the King Plug.
Now go back up the stairs and over to the terrible sewer river place with all the giant monsters.

To get back to dry land, run back towards the way you came, but hug the left hand wall.
This takes you to a different bank. Climb up, then jump down the other side.
You’re can’t really avoid being grabbed by the next monster, so just counter it with a grenade or knife, then run past while it’s stunned. Climb back up the ladder, and thank your lucky stars you never have to go down there again.
Once you’ve climbed the ladder, turn right and retrace your steps back across the bridge.
Go up the small staircase and deal with the zombie on your left. Then instead of going back up the stairs to your right, walk forward and pull the lever in front of you on the wall.

This opens a sewer grate in front of you, so jump down and go through.
Walk forward, countering the monster in front of you and slipping past - or this time, shooting it with your grenade launcher.
On your right past the monster is another T Tool door, crank it open and go through.

On the other side, go up the small elevator.
This lands you up in the Workroom. Shoot the zombie on the floor to wake it up. Then headshot it to make sure it stays down. Next grab the Hip Pouch on the left. On the right is the Hiding Place Roll Film which gives you the Treasure Hunter Trophy - we’ve had a separate guide on how to complete it if you want to take the time out of your run.

To advance, unlock the door in front of you, then take the Rook Plug out of the box on your left.
With the plug in your inventory, deal with the zombies and head over to the right.

Turn left down these sets of stairs and keep following them down.

At the bottom, climb into the water and turn left. Walk forwards and another monster will rush you. Not a problem a grenade launcher and some SMG fire can’t fix.
Keep walking forwards until you see a crank door on your left. Open it and walk through. You can now discard the T Tool.

This completes a big loop so you’re now back near the area with all the G-monsters.
Go back around across the bridge and up the first small set of stairs, but then turn right to go back up to the Treatment Pool Room.
Go back across the bridge to the Monitor Room, then make sure you’ve got six spaces in your inventory.
Make sure you have the Queen, King, and Rook in your inventory, then go to the electronic door and take the Knight, Pawn, and Bishop from their plugs.
On the wall closest to the door put the plugs in the following order - left to right: Queen, Bishop, King.
Then on the other wall - left to right: Knight, Rook, Pawn.
This unlocks the door.
Saving Sherry
Before you leave grab some healing items, some guns, and any grenades you’ve got into your inventory.
Then head through the door and down the stairs. Turn left and pull the lever on the side of the compactor door.

The power’s out, so turn around and go into the Main Power Room behind you.
Inside the Power Room, go over to the circuit breaker on the far wall. Turn the three switches on the right to return power.

Walk over to the door and ol’ Bill will come and say hello.
Keep moving around the room and he’ll keep crashing through the ceiling to attack you. If you keep running around he shouldn’t hit you.
After a few misses he’ll break down the door on the left. Sprint past his right hand side and out of the door he broke down.
Follow the path around and eventually you’ll jump down onto a metal platform.

Run to the far side and press the button on the console.

What you’re trying to do is stun William so you can hit him with the shipping container.
Once you’ve pressed the button to move the container, run over to where it was. This lures William over to where you are. Soften him up with gunfire to the head, then when he’s near you run back over to the other side of the platform and throw a grenade at him - this should stun him for long enough that you can press the button on the console again and knock him off.
When that’s done, go up the lit up stairs, unlock the door at the top, then pull the power lever that didn’t work before.

This triggers a cutscene with Sherry. Once you get control back, carry Sherry back up the stairs to the Monitor Room.
Then go through into the Treatment Pool Room and over to the Cable Car.

This is the point of no-return, so if you want to go and do anything in the sewers or Police Station, now’s the time.
When you’re ready, pull the lever in front of you. Now onto the end.

After the cutscene you’ll be in the NEST lab, which we’ll walk you through in the next part!