Call of Duty: Black Ops 4 - best perks for Blackout mode
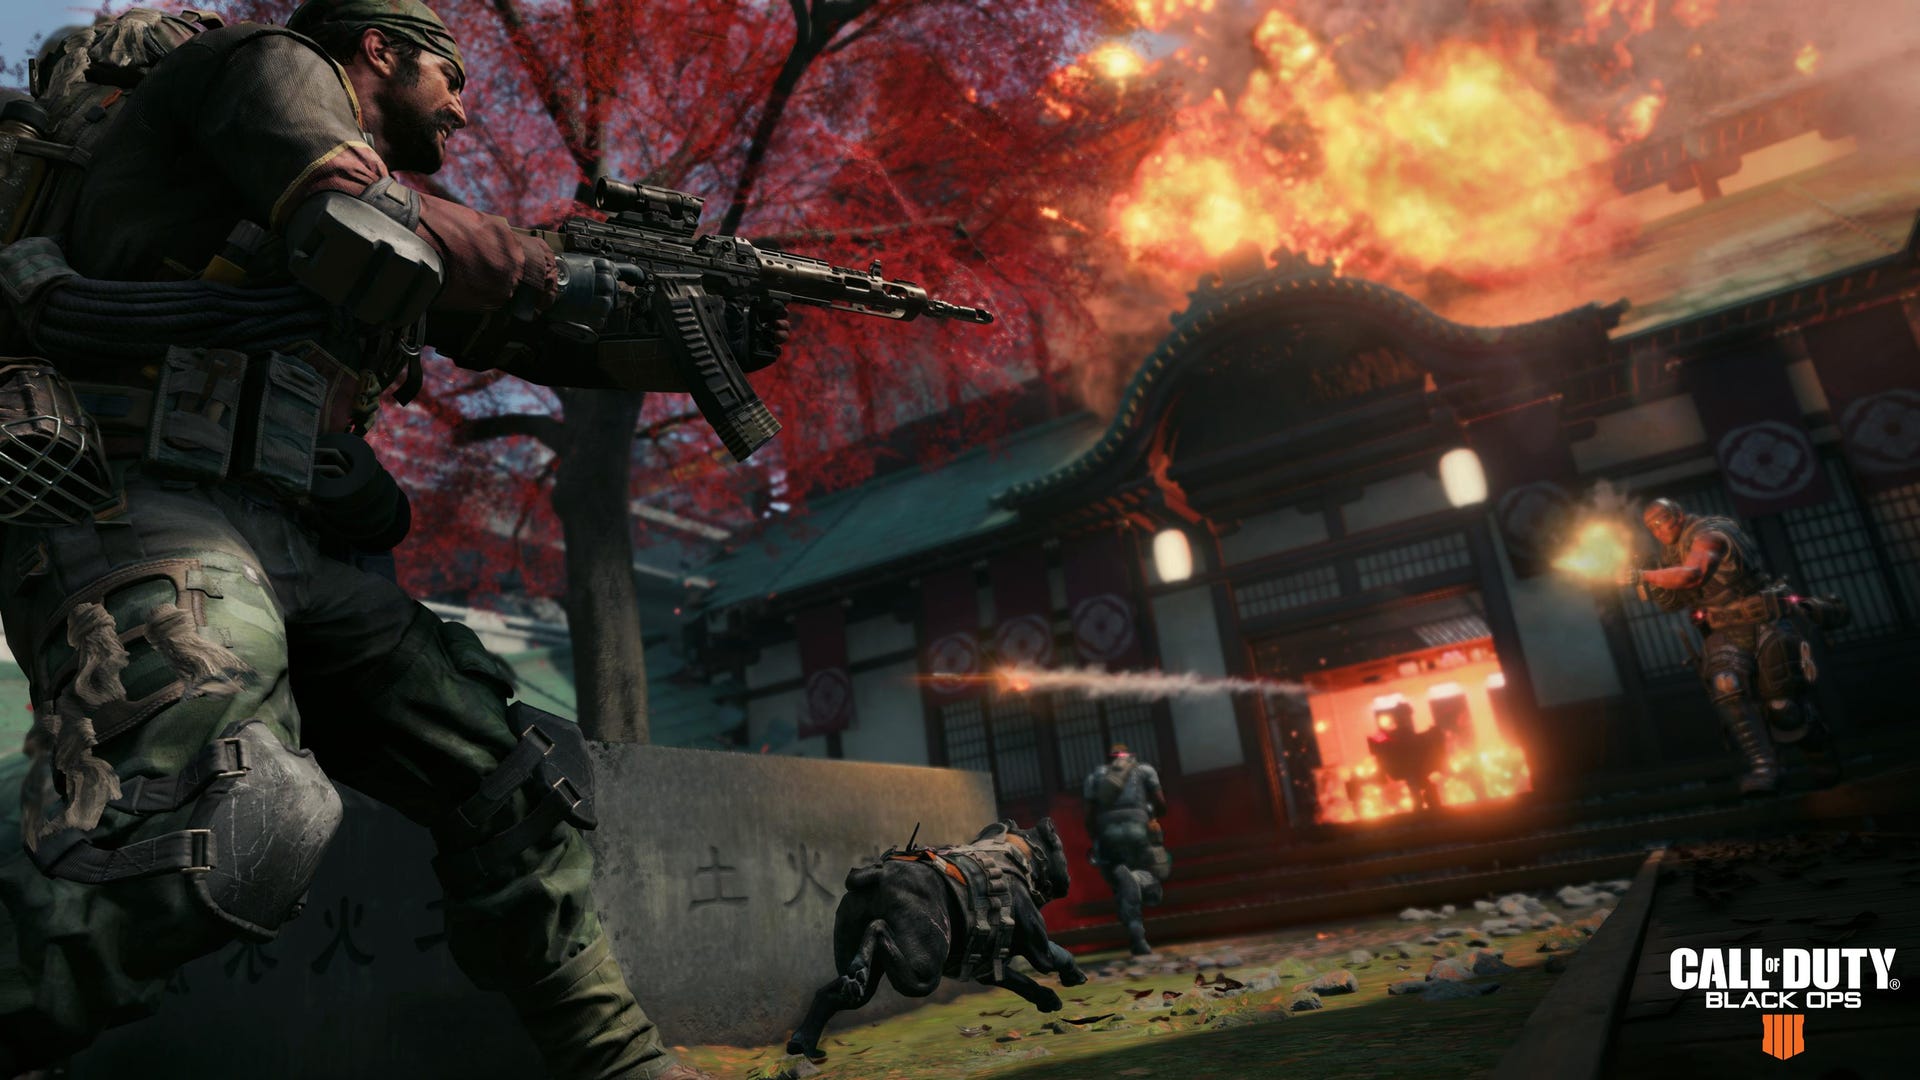
Nailed the landing and found a decent weapon? Then you better equip the right Perks for your best shot of winning in Call of Duty: Black Ops 4 Blackout.
There are a total of 21 Perks available in Blackout. Here, we’ve listed the Perks we currently know about and a few tips to help you decide which will fit your play style.
We'll keep updating this as we learn more about Blackout as the mode is set to evolve over time.
How Perks work in Blackout
Perks in Blackout are consumable items that provide their benefits for a limited period of time. You’ll be able to have six Perks active at any given time, so it’s worth considering which ones to use together for maximum effect.
You won’t be able to stack Perks in your inventory and an active Perk will occupy a space in your inventory until it has worn off.
Blackout Perk list
As we said, there are 21 Perks available in Blackout, but only the following 15 have been confirmed. Each has its own pros and cons, so we’ve included a little descriptor for each to help you choose wisely.
- Awareness: Makes enemy footsteps louder. Duration: 120 seconds, uses: 2
With Awareness, you’ll hear incoming enemies from further away, thanks to their noisier footsteps. This should help you either improve your defensive position or set up for a kill with an environmental advantage.
- Brawler: Increases melee damage and awards 50 health for each melee attack. Duration: 240, uses: 1
Brawler is super useful in the very early stages of the game, where it’s unlikely your foe has picked up a weapon. The super stealthy among us might be able to sneak up and rabbit punch you in the back of the head for an impressive kill, but it’s unlikely you’ll use it for long.
- Consumer: Use time of health and consumable items reduced by 50%. Duration: 300 seconds, uses: 1
This Perk allows you to very restore your health either just after, or in the middle of, an encounter. It lasts a surprisingly long time, so definitely one for the risk takers out there.
- Dead Silence: Move quietly and make less noise opening stashes. Duration: 240 seconds, uses: 1
Dead Silence, as the name suggests, lets you slink around the map and open stashes without being noticed. It might be worth teaming this up with Brawler if possible to one-punch your enemies out of the game.
- Engineer: Reveals nearby equipment and vehicles. Duration: 240 seconds, uses: 2
You’ll have immediate visibility on any vehicles, but chances are you’ll hear or see them anyway, so we’re not too sure how useful this one will be.
- Iron Lung: An increased steady time when using sniper and tactical rifles, as well as underwater breath time. Duration: 300 seconds, uses: 2
Your shots will be much steadier with this Perk, which is good news for players who favour a sniper rifle.
- Looter: Highlights nearby lootable items and stashes. Duration: 120 seconds, uses: 3
This is another Perk that will be useful at the beginning of a game and could give you more of a tactical advantage for the mid-game.

- Medic: Revive and heal faster. Healing items give more health and downed allies can be revived with more health. Duration: 240 seconds, uses: 2
Medic will be particularly useful in Duo and Squad modes and could dramatically up your odds of winning a round. Fast healing is a must in any Battle Royale mode, particularly a Call of Duty one.
- Mobility: Faster weapon swaps and movement. No damage when falling. Fire weapons and use equipment while sprinting and move faster when reloading. Duration: 300 seconds, uses: 2
Mobility grants a few bonuses, such as a faster weapon swap and not taking any fall damage should you accidentally leap to your death. We don’t expect many people to be running freely across the map, so it will be interesting to see this perk in action.
- Outlander: Take less damage and gives faster movement in circle collapse. Duration: 180 seconds, uses: 2
If you find yourself trapped in the circle of damage, Outlander gives you the perk of taking less damage and letting you run a little faster to help you stay in the game. Or, you could keep your eye on the map and timer...
- Paranoia: Gives an audio alert when targeted by an enemy. Duration: 240 seconds, uses: 2
If another player targets you, you’ll get an audio cue alerting you to their presence. If they’re aiming at you, chances are they’re also firing as most folks don’t take too long to plan a shot in Battle Royale.
- Reinforced: Less damage from fire and explosives, with improved resistance to flashbang, razor and concussion. Duration: 240 seconds, uses: 3
If you see some explosions happening ahead, it would be a good idea to activate this perk and take out any injured foes.
- Skulker: While in prone or crouched, you will move faster. Duration: 180 seconds, uses: 3
Skulker, again as the name suggests, means you can move faster when in prone position or crouching. We’re not sure how useful this will be on its own but could work well in combination with other Perks.
- Squad Link: View teammates through walls. Duration: 120 seconds, uses: 2
You can see your teammates through the walls. We’d rather we could see our enemies, really.
- Stimulant: Increase max HP by 100. Duration: 180 seconds, uses: 2
This perk increases your max HP which we can see being very useful.
We’ve also looked at the zombie locations on the map where there’s a chance you’ll find some excellent gear. We've also listed the best starting points on the map as well as how to try and get there first.
For everything else, head over to our Blackout guide.