Destiny 2: Forsaken – Last Wish raid: How to defeat the second boss, Shuro Chi the Corrupted
We have a few tips for you on how to beat the second boss, Shuro Chi the Corrupted, in the Last Wish raid in Destiny 2: Forsaken.
For Destiny 2: Forsaken players who are just beginning the Last Wish raid, we have a complete guide to the first boss encounter: Kalli, The Corrupted.
There are five separate encounters players need to complete in order to beat the Last Wish raid so we’re going to break our raid guide into sections. It will save you a bit of reading, plus it will be easier to find the specific information needed.
Before we get started, here’s a quick recap of what you’ll need:
- You must have completed Forsaken’s campaign and have access to the Dreaming City.
- You must be at least Power level 520 to tackle the raid – but 550 is recommended.
- Communication is key, so make sure each person knows their role and ket instruction phrases before starting.
If you’re looking for help in reaching those levels in Destiny 2: Forsaken, our detailed guide includes plenty of advice including unlocking subclasses and supers, Exotic weapons like the Two-Tailed Fox, and the Double Trouble Triumph.
Last Wish raid: Shuro Chi
This next section is more mechanical than the previous boss, with more moving parts to contend with, but once you’ve figured out what you’re doing it’s not too bad.
Several Taken enemies will come in waves whilst the boss, Shuro Chi, is on a plate in the middle of the room. There will be two damage phases before entering a puzzle room.
You will be filling in spaces on randomised wall puzzles, which then activate some moving platforms that allow you to move up to the next level. There are six damage phases and two puzzle rooms in all with a countdown timer present throughout, so you want to work fast and effectively.
Some tips before starting this section:
- If you have a Warlock in your team who has the Well of Radiance, use this so all players can stand inside the circle and maintain health during the waves of attack. However, if two Knights use a fire attack and stack it, the Well can’t heal two immediate waves of fire.
- Titans with Solar Hammers are also very useful for clearing out waves of enemies.
- If your team isn’t a high enough Power level, you will struggle to complete each stage before the timer runs out. Good communication and planning are key - it would be difficult to complete this stage just by winging it.

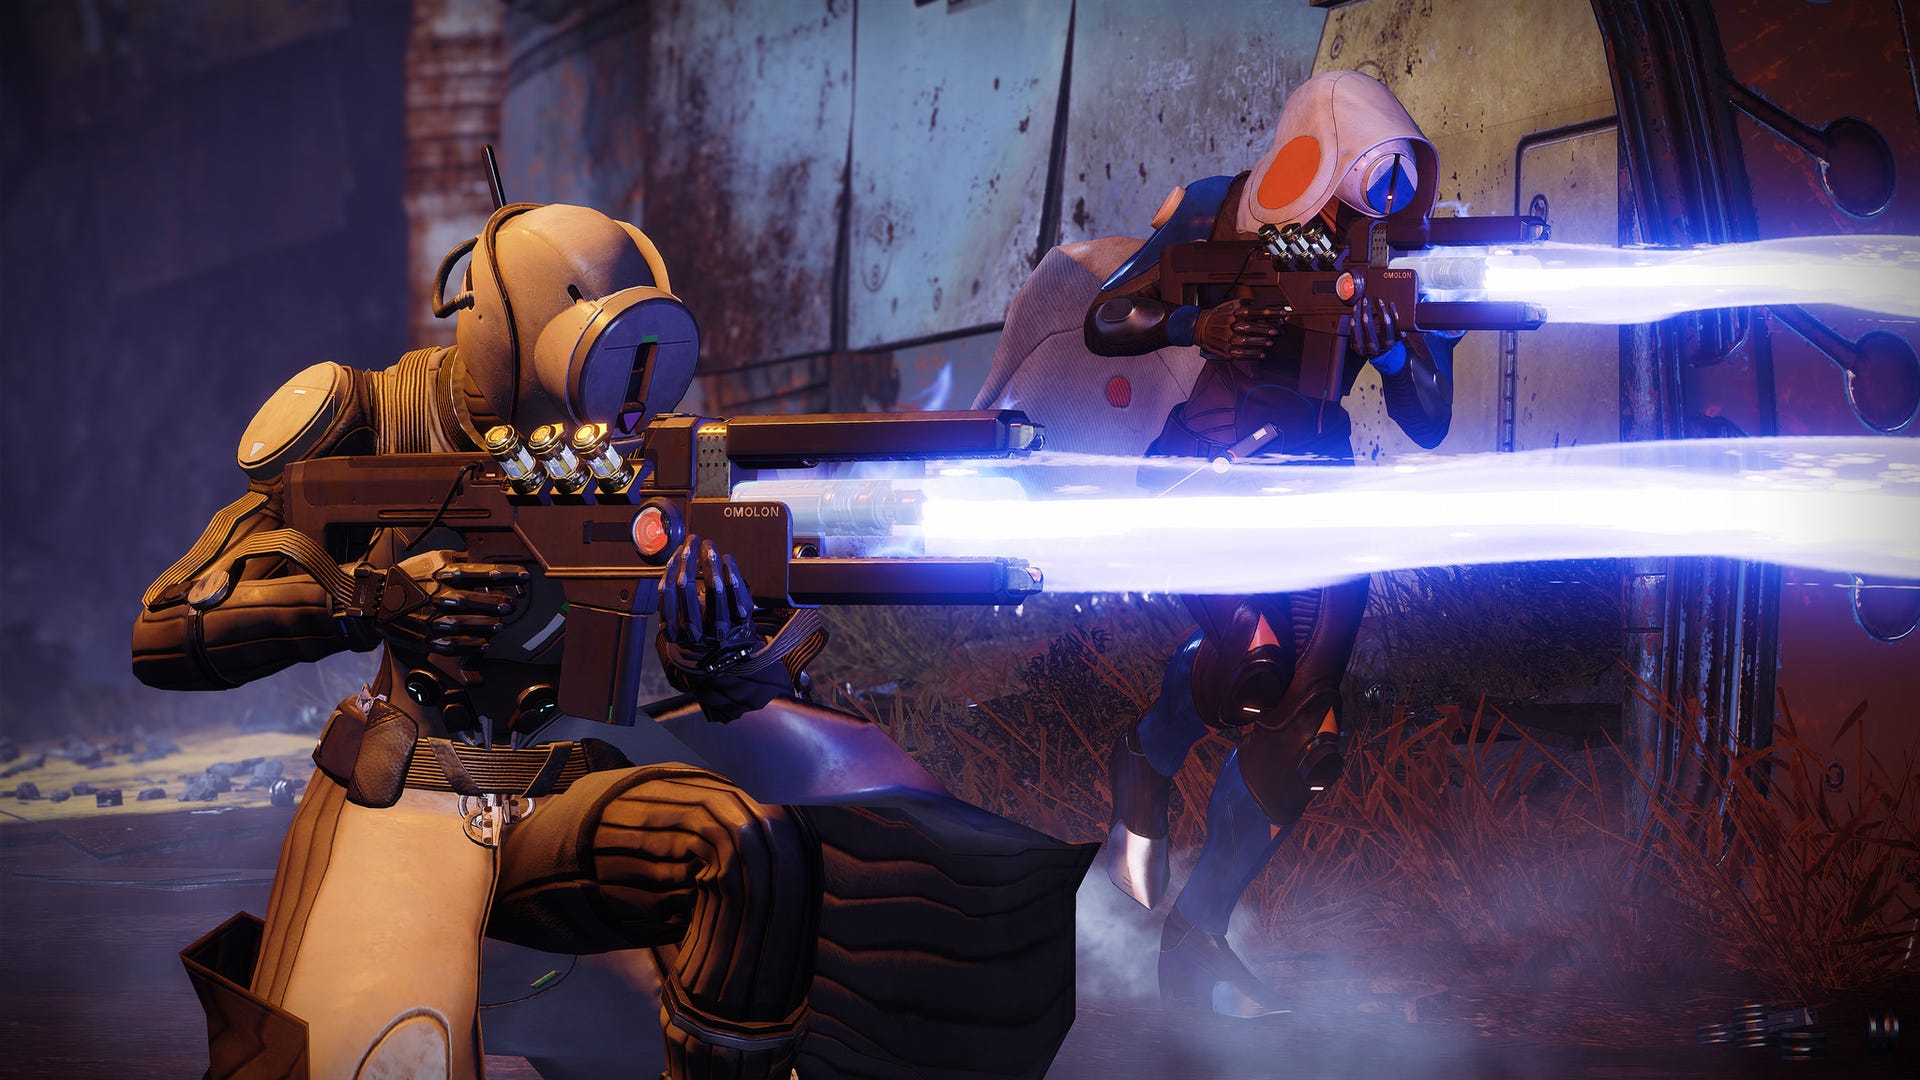
Destiny 2: Forsaken - Last Wish raid - How to beat Shuro Chi the Corrupted.
- As you open the door, you’ll want to use a crowd control grenade or Super to impede the first wave of enemies. Once you enter the room, your four-minute timer will begin. This timer, Shuro Chi’s song, is how much time you have to clear the first floor, so focus on the Taken enemies first. There will be Taken Thralls and Knights, and also a shielded Taken Knight called Eye of Riven. An orb will drop upon killing this Knight.
- During the damage phase of Shuro Chi, if you are unable to do enough damage quickly enough she wipes your team out. This is where you can use the orb. If you use the orb's Super ability on her before she finishes the team wipe move, it stuns her, and she has to restart charging it, giving the team more time to do damage and get through the chunk of health in order to move on.
- Once the many waves of enemies are defeated, three crystals will appear around the Boss. A message will appear saying that “Shuro’s tempo quickens” and the timer will count down at an accelerated rate. You need to take down her barrier to stop this. Nominate three people in your team to interact with the crystals in sync, firing to the person on your right to form a triangle of light that destroys her barrier.
- Don’t linger on the crystal platforms for too long as you will also start to take damage. Once her barrier is down, fire as much as you can at Shuro Chi. Her health is broken down into chunks and you want to get through as much as you can every time her barrier drops. Remember: if you don’t do enough damage, it will end the mission. If you deal enough damage, she will move on.
- The timer will continue to count down to move quickly to the next area to take down the new wave of enemies. After she moves on, an Ogre will appear at the back which you should tackle last once the annoying swam of Thralls have been dealt with. Eventually, you will reach the next Boss platform and you can carry out the same process again.
- There are two damage phases per floor, so after she moves again you will enter the first puzzle room. There is a three by three grid of circle plates on the floor which correspond to the images on the wall. The orientation of the plates is based on facing the image. When you look at the wall, you’ll see there are four squares missing from the image, so you must stand on the plates to fill in the gap. The plates hurt you, so you can’t stand on them for too long. You can also only stand on each plate once, so if for some reason you were to fall off a plate, you can’t get back on it because it locks you out, so team organisation is key.
- As you’ll be in a team of six, have two people taking care of the waves of enemies and the other four focusing on the plates. Have each of the four players call out which plate they plan to jump on, stand beside it and coordinate your jumps so that you all jump and land at the same time. You’ll probably only have about a minute or so left on the timer, so make sure each player knows their role. Jump on the plate and watch the image on the wall in front of you. Once the image has filled up, you can jump off. The first is on the left when you enter the room, straight ahead and to the right. Remember, you can’t jump on the same platform twice, so if you were on the middle platform for the first image, you can’t stand there again.
- If done correctly, the platforms above will come down, allowing you to jump up and carry on to the second floor. The timer will also reset to four minutes, giving you enough time to defeat the adds and inflict damage upon Shuro Chi. After two damage phases, you will enter a second puzzle room which works in the exact same way. You’ll then be able to reach the third and final floor.
- The final damage phase works in the same way as before, except there are a few more Knights and Ogres. Make good use of healing wells and radiance rifts as well. Complete another two Boss damage phases and the fight is over.
Congratulations, Guardians! You can now progress to the next part of the Last Wish raid.