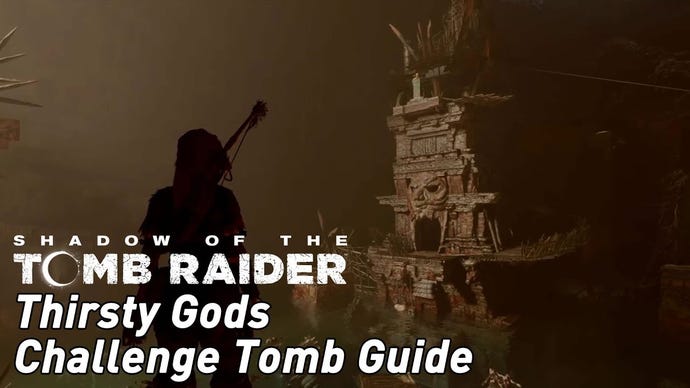
Shadow of the Tomb Raider - Thirsty Gods Challenge Tomb guide
Our guide for the Thirsty Gods Challenge Tomb in Shadow of the Tomb Raider.
Shadow of the Tomb Raider: Thirsty Gods Challenge Tomb
Swim along the canal until you emerge into a clearing. You’ll find an artefact on the left titled “Last Words” from an unknown man.
As you carry on, a message will pop up that instructs you to “Explore the local mysteries” before another message pops up to tell you you’ve started a challenge tomb.
Walk into the water ahead then dive down to enter the underwater cave. Take care to avoid the Moray eels - they are not your friends.
Climb your way out of the pool once you’ve resurfaced and head to your left. You’ll find a small statue and a message saying “God of Cocoa” will pop up. Turn around and use your Survival Instincts (SI) to highlight a blocked doorway.
Shoot an arrow at the white rope and pull the blockage down. The water will then drain away revealing a huge skull. Go down the stairs and head into the mouth of the skull.
Slide down into the cave below and dive into the water. This time, you’ll have to be on the lookout for Lara’s arch nemesis - Piranhas. Dive down to the bottom of the pool to avoid them until you get to the far wall. Come up a bit and you’ll see a gap to squeeze through.
Once on the other side, use your SI to highlight a raft. Cut the raft loose and climb up on it so that you can run and jump to the wall in front. Climb up the ledge and you’ll find a base camp at the top. As ever, light a fire here before you continue.
Head up the little ramp to your right and climb up the wooden ladder to the platform above. You’ll soon see a huge underground ruin.
Jump down to the wooden platform below and onto the raft in front. Keep in mind there are piranhas in the water, so be very careful where you step!
Once you reach the second raft you’ll see a third that’s tethered underwater. You’ll have to quickly dive in and release it before the fishes get you.
Once on the third raft, use your SI and you will see yet another raft you’ll have to untether and then climb upon, before climbing up the ledge on to the monument. Follow the path to the left until you come to a turning mechanism. If you look out over the ruins, you will see a jet of water over a water wheel to your left and a weighted structure to your right. You want to push the mechanism until the structure turns and the water flows onto the weight.
The water should now have drained away, revealing a staircase. Jump back down to the platform beside the water wheel. At the ruins, there will be a circular object with white rope visible. Shoot an arrow at this and attach it to the water wheel. You then need to jump back up to the pulley and direct the water over the wheel long enough for the gate to open, then pull it off before the rope snaps.
You then need to drain the pool again to continue to the next section. Head towards the stairs at the bottom of the ruins and enter the tunnel.
Carry on up to your left and follow the path winding round the side. Once near the top, climb up the ledge to find the statue. Your reward for completing this challenge tomb is Sip’s Strike.
Head back over to our Shadow of the Tomb Raider guide for more tips and walkthroughs.


