Destiny 2: Eater of Worlds Raid Lair walkthrough - all encounters and final boss

The first raid lair in Destiny 2 is Eater of Worlds. This walkthrough will take you through it step by step.
Destiny 2 players who own Curse of Osiris spent the weekend battling with Eater of Worlds, the first Raid Lair to be added to Leviathan. Its secrets have been busted wide open, so as part of our Destiny 2 guide, we're now able to bring you a full Eater of Worlds Raid Lair walkthrough. Read on for all the details, or check out Arekkz's video if you're more the visual type.
You'll need to be pretty high level to tackle the Eater of Worlds Raid Lair, so if you're not yet up to scratch check out our general Destiny 2 levelling and Power guidelines and more specifically our page on how to get to the Power cap in Destiny 2: Curse of Osiris.

Starting the Eater of Worlds Raid Lair
Load up the Eater of Worlds Raid Lair from the Director - it has its own node in the Leviathan area, so don't fire up the main Leviathan Raid by mistake. Once you zone in, approach and then enter the door directly in front of you, and pass through the bowels of the ship. You'll need to do a bit of platforming including jumping through holes in turning gears before you reach a gravity well that will springboard you to the next area.
When you land, push forward a bit to spot a purple-lit room. This is the arena for the first Trial, but it takes a bit of effort to get to the seat of the action.
Floating platforms above the purple lake Trial
The floating platforms have two behaviours. First, if a single Guardian stands on one for a short amount of time, the next platform will spawn in. Second, if two or more Guardians stand on a platform, it itself will despawn, dropping them to their doom.
The solution is simple: form an orderly queue and cross single file. When the first Guardian jumps to the next platform, the Guardian behind them follows suit, landing on the previous one. Hop frog your way along the sequence.
The backmost platforms will despawn as you move along, but you get warning - the platform goes red, and you'll have about 10 seconds to move to the next one. Stay calm, ensure the group keeps moving at a steady pace, and you'll be fine.
When you've progressed far enough you'll notice the path branches. Divide into two groups of three and have one team go in each direction. Later, the paths reconverge, and you'll have to zip merge together, and in the last segment, the path winds around itself a bit - so you need to keep track of which platform is the next one at all times.
The floating platform path is divided into four segments. Throughout the floating platform section you'll find "islands" where a few enemies have gathered. Jump on and clear them out to activate a checkpoint, and save yourself having to repeat the previous section if you mess up part way through. Be wary of the Psion Snipers on distant platforms.
Eater of Worlds Raid Lair: first encounter
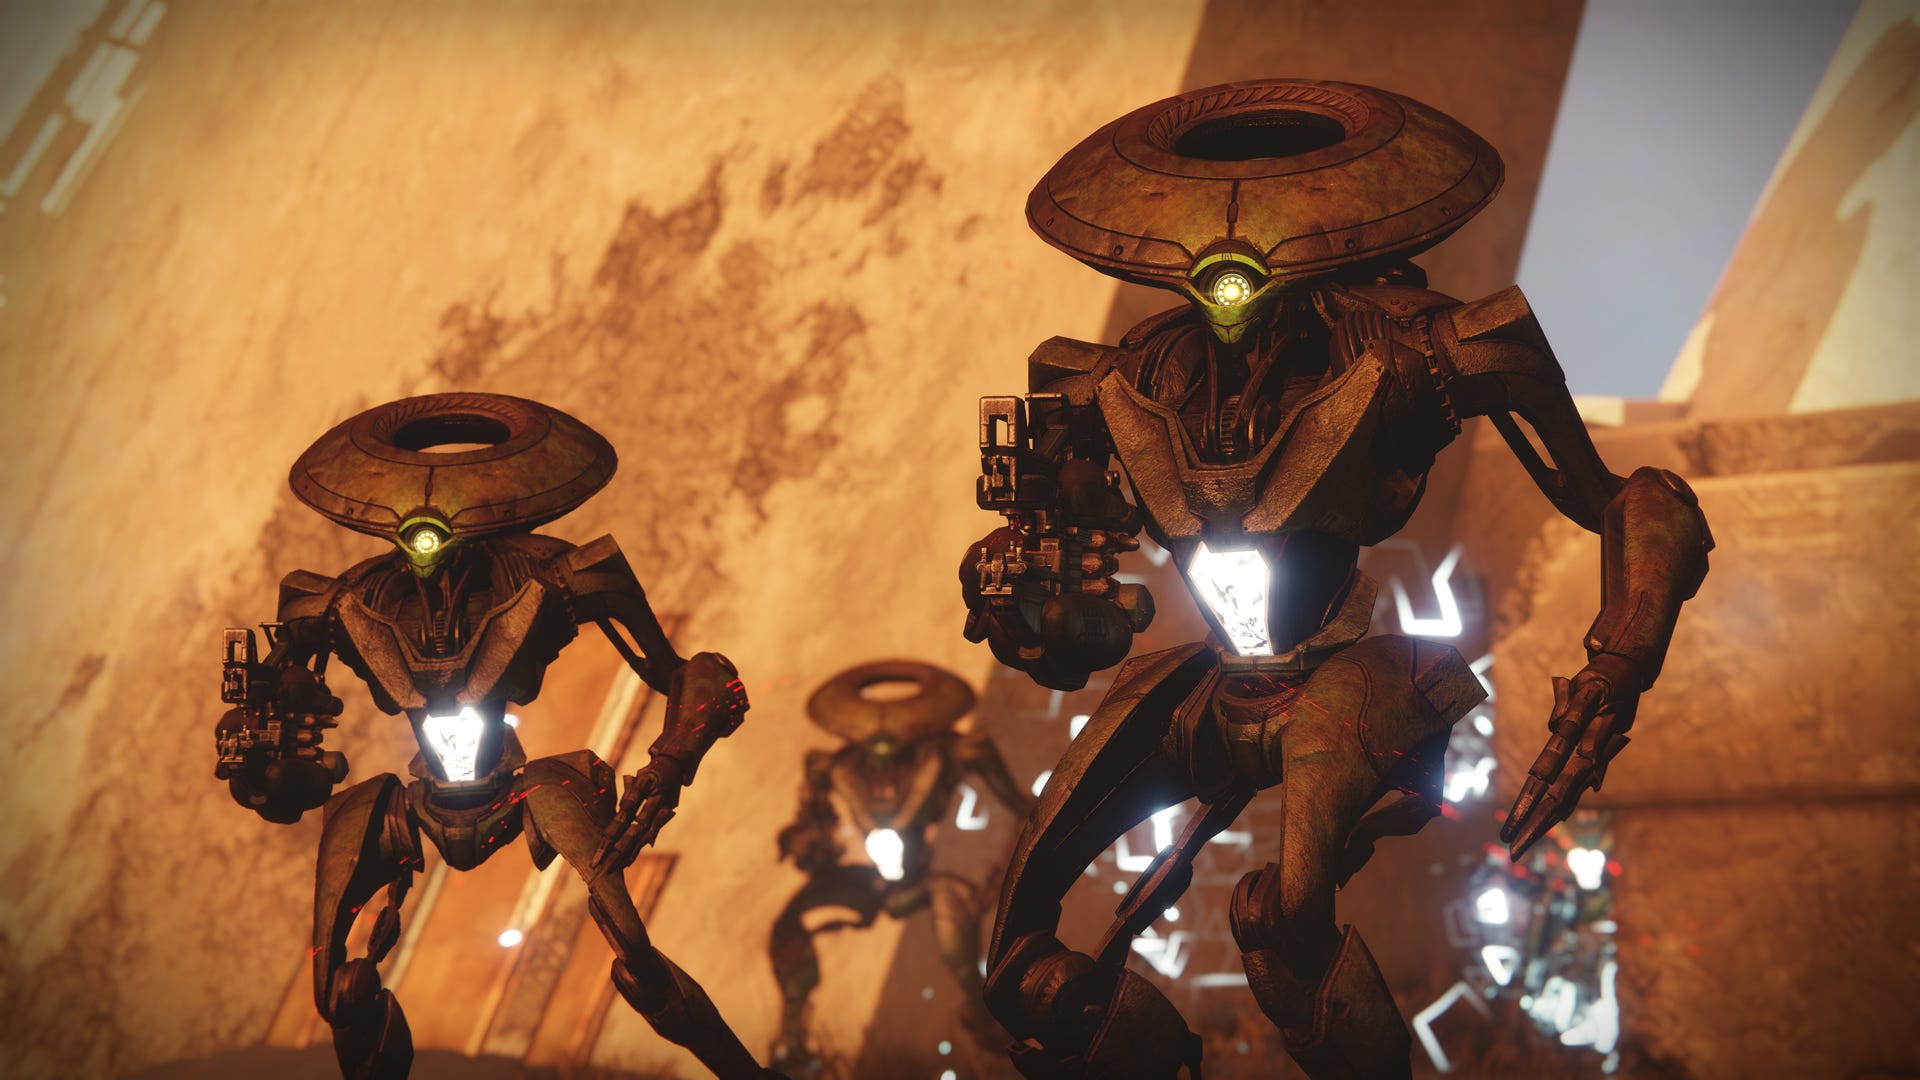
Once you get up onto solid land you'll trigger the first encounter. It's a wave battle against stacks of Cabal, and while the action is intense it's not super difficult, and there are no special tricks or actions to perform.
Simply divide into two teams and half your crew cover the left side of the area and the other cover the right. You've faced far worse than this, and as long as you are all decently equipped with on-par weapons and armour, you'll be fine. Use any suppression abilities you have on the Marauders to stop them closing with you, and save your big guns and supers for Colossi.
When you have defeated all the enemies, a chest will spawn with your loot, and the floor will open up revealing the path to the next area.
Arc pistons trial
The next challenge is to cross a big engine room of some sort by running across the pipes. The only problem is that whenever the enormous pistons overhead fire, Arc energy suffuses the pipes and anybody standing on them dies.
Happily, physics comes to the rescue: a good rubber mat will save you from being shocked. Make sure that you are tucked into one of the little sheltered corners with the safe floors when the pistons fire, and you'll have no trouble.
On the far side of this room you'll be transported through - something? - and end up in the final room, where you must complete another encounter before you face the final boss.
Eater of Worlds Raid Lair: second encounter
The final room is laid out with three platforms marked by a flaming altar. Each of them provides a view of the overhanging three-sided central structure, which is notable for the large circular craters on it. Additionally, there are six Vex Cranium cannons placed around the room, with two between each platform. The cannons can be collected and placed in the flaming altars to charge up with matching element; when they're finished charging, the flames will go out and you can grab them.
The encounter starts as soon as you pick up a Vex Cranium. A number of mines will appear in the craters on the central structure; you need to destroy these, but the only way to do it is by shooting them with a Vex Cranium charged with the matching element. You need to destory all the mines, on both sides of the structure, to complete the encounter.
Split your team into three defenders and three runners. The defenders each take a plate and keep it clear of adds. The runners dash off to fetch Vex Craniums and bring them back to the altars to charge them with elemental power.
Each altar can charge up to three Vex Craniums at once, and you'll want to charge with the element you actually need to destroy the mines. Have the defenders call out what elements they can see, and have the runners call out which element they're charging, so that you don't end up with everyone doing Arc, for example, while all the mines are Solar and Void. While a Vex Cranium is charging, the runner who deposited it should be off fetching another one - you have a limited time to take out all the mines, and if there are lots of the same element you really need to have multiple Vex Craniums charging at once.
Once a Vex Cranium has charged, the runner grabs it, runs to wherever the appropriate mines are, and shoots heck out of them. You will have enough ammo to destroy one and a half mines if you aim well, so be sure to move on to any remaining mines of the same element after you've destroyed one, and call out to your teammates if a mine is half-damaged. Make sure you empty the Vex Cranium charge completely, so that it despawns, as this is what causes new ones to appear.
Once all the mines on all three sides are destroyed, you'll begin the final boss.
Eater of Worlds Raid Lair boss: Argos
Divide into three defenders and three runners.
Argos is surrounded by a three-sided shield which is punctuated by cylinders, ports or tunnels of some kind. One of these three cylinders will be glowing at all times; this is the "active" side of the shield, where you'll want to focus your attention during that round. The defenders should protect the platform on this side from adds.
Surrounding the shield on the active side, you'll spot three big orbs of elemental energy - they can be any combination of elements. The runners need to choose one of these orbs, then run off and charge a Vex Cranium with the matching element.
While the first three Vex Craniums are charging, it's worthwhile grabbing the remaining three Vex Craniums and charging them in any element, preferably on the active side altar if there are enough free flames.
When the matching elemental Vex Craniums are charged, the runners should bring them to the active side, ready to drop the shield. When you fire on the orb with the matching Vex Cranium, it will move towards the central cylinder, and in this way the three runners can push them all into the cylinder at the same time, forcing the shield to drop. Make sure you countdown to ensure everyone does this together.
If you get all three elemental orbs into the cylinder, the shield will drop and you can damage Argos - use up the rest of the cannon charge, for a start, before switching to your favourite heavy damage weapon to target Argo's central eye - its critical point. Sins of the Past is a great rocket launcher choice for boss damage.
Argos has something to say about all this, of course. As well as bringing in stacks of adds, it will fire a pyramidal containment field at individual players. If caught in this, the trapped player will begin floating off skywards, and will have to be busted out by their teammates with weapons fire.
Argos will also fire out some sort of weird hybrid torpedo Harpies, which will all dive bomb one particular player. Call them out, and have the team shoot them out of the air to prevent massive damage.
You only have four damage phases to defeat Argos, as you'll see in the next section.
Destroying Argos's weak points
Between damage phases, Argos will drop its shield independently, and platforms will appear around the room. When this happens you have a short window in which to prevent a team wipe by destroying two of its six weak points. The easiest way to do this is to split into two teams of three, each focusing on one weak point, and quickly climb up as close as possible before unleashing hell.
There are two weak points on Argos's head, two on top of its back, and two on its limbs. The limb weak points are the hardest to hit so you're better off doing these first, then moving onto to head and finally back. They glow white, and then red when attacked.
Don't use rockets or snipers on the weak points during these phases as the point is not to dish out massive damage but to maintain steady fire so that the red glow charges up and up until the weak point explodes. Think of it like an ever-charging shield you have to wear down rather than a total number you need to chip away at; you're better off using a trace rifle, an auto rifle or some other rapid fire weapon than something that hits hard but at intervals.
When you have destroyed Argos you'll be returned to Calus's rooms on Leviathan and can collect your loot.