Ark: Survival Evolved - 9 essential tips for starting out

When you boot up a new game in Ark: Survival Evolved, you’ll be unceremoniously dumped into the wilderness. Here's what you need to know to survive.
With no tutorial and the clock ticking on how long it takes the environment, the wildlife, and your characters’ biological needs to kill you, you’re going to need a hand. Our tips and tricks will come in handy for survival.
Character Creation
For the most part, this is fairly straightforward.
Character customisation allows for all sorts of weird and wonderful body parts, and while short arms or legs won’t impede you, if your character is very tall, very wide, or fairly small, it will have an effect on certain aspects of gameplay, like visibility.
All characters will start out bald so don’t fret if you can’t find the hairstyle options. Hair will grow with time spent in the game.
Once you’ve got your character setup, you should choose a spawn point in the southern part of the island, which is the easiest area. But that doesn’t mean there aren’t dangerous creatures lurking nearby, so keep a weather eye out.
Heading inland will be harder and the difficulty will increase the further north you go.
If you want to know more about levelling up your character, we have a guide for that too.

Starting out
Once you drop in, your character’s hunger and thirst meters will begin to slowly deplete. You need to get food, water, and shelter fast.
Check out our Engrams guide for a more detailed breakdown of which crafting recipes you should focus on, but for now, you should get to punching trees to gather just enough wood and thatch for a Stone Pick. You’ll also need a stone which you can pick up from the ground.
There’s no point punching trees for longer than necessary as it will deplete your health.
The Stone Pick engram is already unlocked, so you can navigate straight to the crafting menu to make it.
Continue gathering materials - specifically flint - until you level up. Once you’ve decided on which stats to invest in on the character menu, you’ll be taken to the Engrams menu.
For the first few levels, you’ll receive 8 Engram Points (EP) each time you level up, but this will increase as you level up.
Focus on crafting the Stone Hatchet and the Spear for more efficient resource gathering, and to start hunting for hide and meat.
Hunger and Thirst
If the wildlife doesn’t kill you, these two will.
While you’re gathering materials and XP to unlock the Spear engram, forage berries from bushes by interacting with them with your bare hands. You can read more about resources and the best ways to gather them in our resource locations and harvesting guide.
Don’t eat Narcoberries. As the name suggests, they’ll send you to the land of nod, The berries are used in the dinosaur taming process, so they’ll come in handy eventually. Just not as a snack.
Stimberries dehydrate you, so if there isn’t a body of water nearby, you’re better off giving them a miss. The berry prevents your character from getting knocked out, so it’s worth hanging onto them for emergencies.
Once you’ve made a spear, you can go in search of something small and innocent-looking, like a dodo, and kill it. Chuck the meat into your campfire inventory, or eat it raw to satiate your hunger.
The Hatchet yields hide when used on a corpse, while the Stone Pick will give you meat.
Until you make your first kill and gather enough hide to make a Waterskin, you can stay hydrated by submerging yourself in water for a few seconds or by standing in the rain.
If you decide to go foraging further inland, a Waterskin is a must, but they slowly leak water, so you’ll want to upgrade to a Water Jar sooner rather than later.
Temperature Regulation
Running around in your underpants is going to get a bit drafty in the old nether regions, and everywhere else for that matter.
Getting too hot will dehydrate you, while getting too cold will eat into your hunger bar.
As long as you start gathering resources straight away, it shouldn’t take more than a few minutes to unlock the Campfire, which will keep you nice and toasty.
If you need to venture further afield, a torch will also keep you warm. If you get too hot, find some water to take a dip in.
Eventually you can unlock engrams for armour, and you can invest points in fortitude which helps you survive adverse weather conditions. If you have plans on trying out Scorched Earth, investing points in your Fortitude stat is a must before you venture off the island.
Insulation is also important when it comes to armour and maintaining your temperature. Some armour sets will keep you cooler than others, while others will do a better job of keeping you snug.
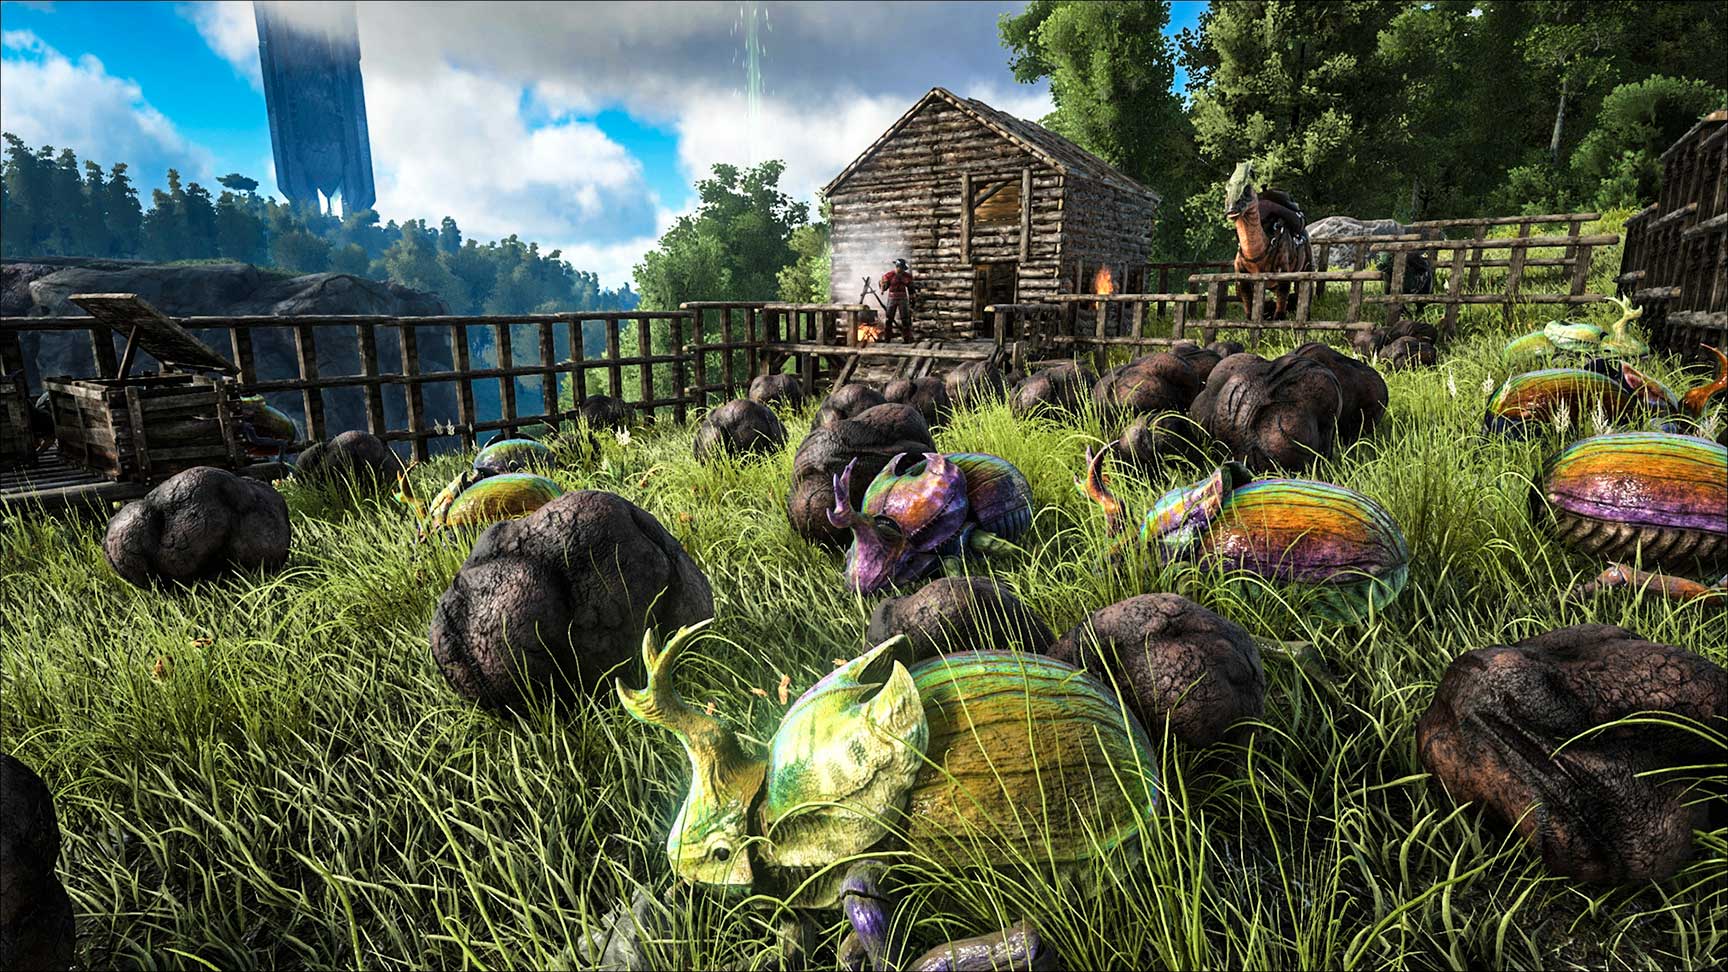
Base Building
Building a safe haven in Ark: Survival Evolved is imperative to survival, both in PvE, and PvP.
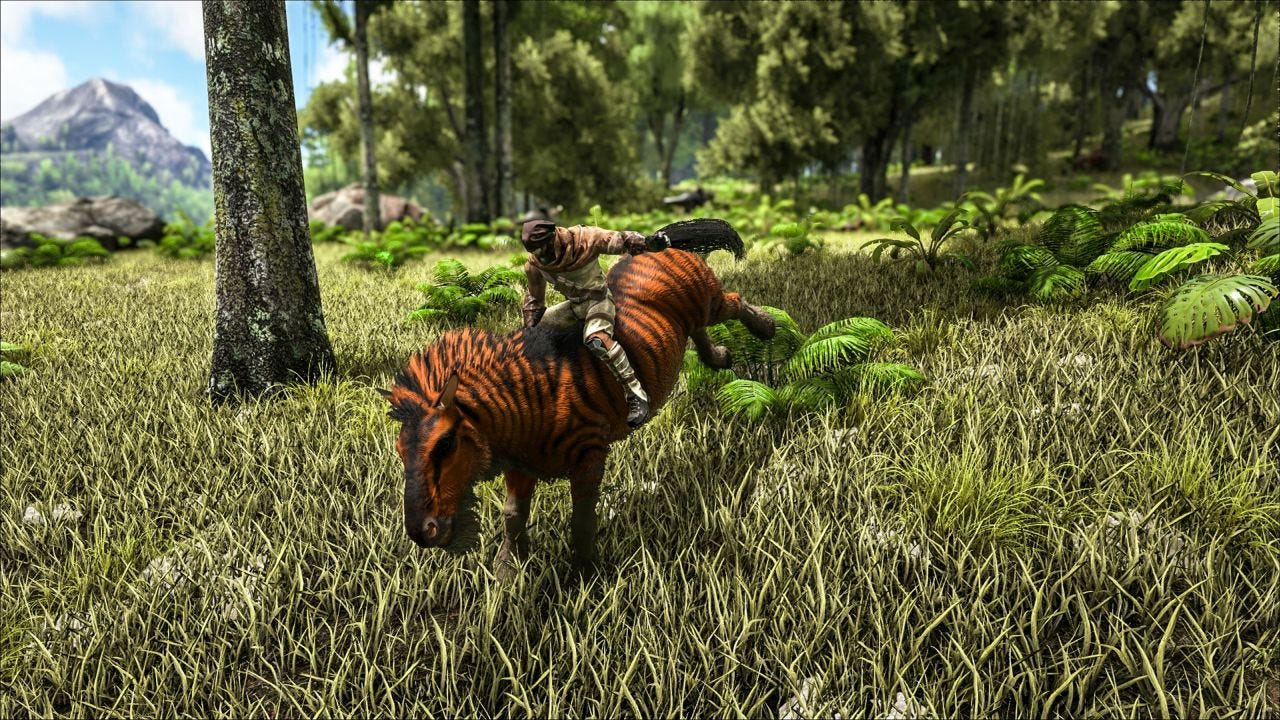
As well as offering shelter from the elements, it’s a fortress against other players, and a stronghold to house your dinosaur army. You can check out our dinosaur taming guide when you're ready to start amassing your scaly followers.
The search for a prime bit of real estate will take some time, so you’ll have to build a few makeshift shacks in locations that are less than ideal when you start out.
Building a simple thatch hut straight away is advisable. You can gather materials to build sturdier structures and scout for better locations as you level up and start exploring further afield.
To begin with, try to find somewhere tucked out of the way, but not too far from the south beach - which is where we recommend you spawn in.
Of course you need to be aware of the local wildlife. You’ll want some animals around for resources, but avoid areas where large and deadly creatures roam.
If you set down a structure in the wrong place, press and hold the interact button and highlight demolish.
Popping a Storage Box in your house to store resources in, and laying a sleeping bag down as a respawn point should be next on the list.
Stick to thatch until you’ve found the perfect place to settle down. By then you’ll have enough resources to build a new house made of stronger stuff straight away.
Loot Crate Beacons
As you go about life on the island, you’ll notice huge beacons of light peppering the landscape, in a variety of colours.
These are loot drops, and the colour of the beacon indicates the level required to open them.
Inside, you’ll find resources, weapons, and blueprints. The better quality items are in the higher level containers.
If you’re playing PvP, expect to fight to the death for the spoils. If the crate isn’t present at the beacon, it hasn’t yet dropped, so stand clear of the light to avoid getting hit by it.
Here's how the colour coding works:
- White: Level 3
- Green: Level 15
- Blue: Level 25
- Purple: Level 35
- Yellow: Level 45
- Red: Level 60
The durability of the crate will gradually decreases. If it reaches zero before it’s been looted, it’ll fall apart.
Hotkeys
After you’ve crafted tools, you’ll naturally equip them in your hotkey bar.
When they eventually break, rather than rifling through the menu to craft it again, you can simply press the mapped button for the specific tool or weapon to immediately craft another.
This goes for whatever is in your hotkey bar - whether it’s a door, a wall, or a campfire. As long as you have the materials, you’re good to go.
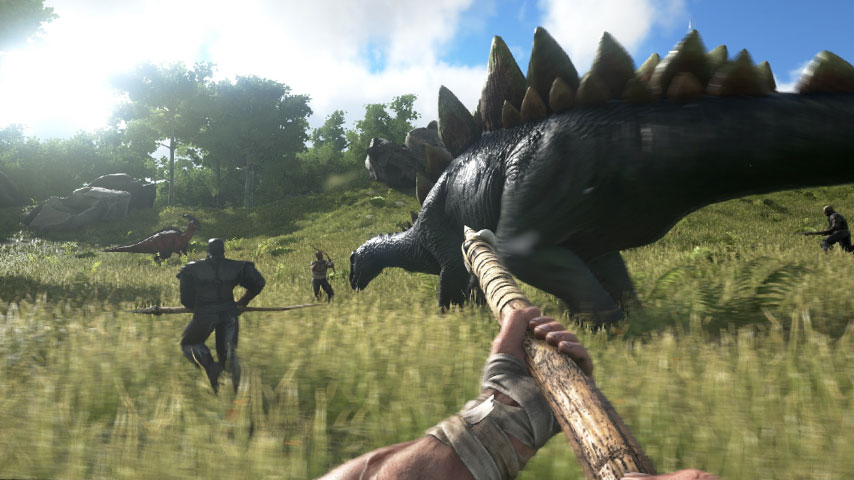
Combat
Your first weapon is going to be a Spear. They’re pretty handy for keeping dinos at bay whilst you're poking them to death, and as an added bonus, you can throw them, so it’s always best to have a few to hand.
The slingshot is ideal for ranged combat, and if you use the terrain to your advantage, you stand a good chance of taking out the more difficult enemies while you remain out of their reach.
Bolas are also handy if you’re outmatched, giving you time to make an escape, or get some serious stabbing in before the immobilisation effect wears off. Bolas are great for PvP too.
Keep an eye on your stamina bar. If it runs out, you won’t be able to run. Have some Stimberries to hand in your hotkey bar to replenish stamina, as well as food to top up your health.
Tribes
Tribes are an integral part of PvP, and if you want to thrive, you should shack up with one.
Not only will it offer you protection against rogue players and the more scary dinosaurs, but you’ll level up faster thanks to the bonus XP shared between members when carrying out activities with one another.
Tribe members share spawn points and, depending on your settings, they’ll share tamed dinos too. It’s wise to be sure of your allies before fully committing your pets to the tribe, because they won’t follow you when you leave.
Just like a regular guild, players are promoted and demoted to specific roles to assist with tribe management and other mundane team-related tasks.
Access to gates and doors can be restricted to allow certain members to pass. Or you can opt to set it to open for the entire tribe, keeping out non-members entirely.
Of course, tribes aren’t just useful for waging war on other players and building a dino army. If you’ve got your eye on taking down end-game bosses, you should buddy up.
Have you got any tips of your own for players starting out in Ark: Survival Evolved? Pop them in the comments below.