Dishonored 2: bonecharm, rune and Outsider shrine locations

A complete guide to bonecharms, runes and Outsider shrines in Dishonored 2: where to find them, and why you should bother.

Dishonored 2 players would do well to look for bonecharms, runes and Outsider shrines as they explore Karnaca. These powerful collectibles allow you to progress and customise your character, as well as guiding you to some very interesting locations with some of the best of Dishonored 2's story content and world building.
Here's a quick summary of the whats and hows of bonecharms, runes and Outsider shrines in Dishonored 2:
- Runes are a currency used to unlock super natural abilities.
- Bonecharms are equippable items that subtly alter your character, giving you, for example, slight health regen while using Dark Vision, or faster swimming speed. The effects of bonecharms are randomised, so each time you play through you'll have a slightly different build. (You can craft your own, though.)
- Outsider shrines trigger short cutscenes when you interact with them, and usually reward the player with runes or bonecharms.
Bonecharms, runes and Outsider shrines are available from the beginning of the second mission, The Edge of the World, onwards. Don't bother looking for them in Dunwall at the start of Dishonored 2.
Bonecharms and runes (and therefore most Outsider shrines) are highlighted on your HUD while you have the Heart equipped. By pointing the Heart at a specific icon and pressing square/X, you can lock on to that particular item, which keeps the other ones off your screen. When you have the Heart stowed away, it will beat if you wander close to a bonecharm or rune. By default, you'll also get an on-screen text notification.
We've presented the items in the same order as we came across them in our Dishonored 2 walkthrough, and linked out to the appropriate page in the heading for each section below, so if you can't find an item on the list look for it in context.
Mission 2: Edge of the World part 1 - The Dreadful Wale
There are three runes and one Outsider shrine in this section.
- Rune 1, Rune 2 Outsider shrine 1
Interact with the Outsider Shrine at the end of the Void sequence for two runes. - Rune 3
Before leaving for Karnaca, jump off the deck of the ship and swim under the upturned boat. It's tricky.
Mission 2: Edge of the World part 2 - Dockyard Quarter and Addermire Station
There are seven runes, six bonecharms and one Outsider shrine in this section. One of the bonecharms is a corrupted variant.
- Rune 1
In the mouth of a dead whale in the Dockyard Quarter. - Rune 2
Purchase from the Black Market Shop. - Bonecharm 1
By a bloodfly nest on the second floor of the infested house before the first checkpoint. - Bonecharm 2
On the floor in the heretic's house. - Rune 3, Rune 4 and Outsider Shrine 2
Interact with the Outsider shrine in the heretic's house to receive three runes. - Bonecharm 3
On a high and lonely rooftop above the shopping arcade northeast of the Overseer's Outpost. - Rune 5
In the safe in the Overseer's Outpost. - Bonecharm 4 (corrupted)
On a table in the locked interrogation room in the Overseer's Outpost. - Rune 6, Bonecharm 5
On a table outside the Overseer's Outpost, heavily guarded - Rune 7
Shoot the board blocking the flow of water into the canal beside the Overseer's Outpost. The rune will wash towards you. - Bonecharm 6
Open the safe in Winslow's Safes near Addermire Station.
Mission 3: The Good Doctor - Addermire Institute
There are five runes, four bonecharms and one Outsider shrine in this section. One of the bonecharms is a corrupted variant, and one is a black bonecharm.
- Bonecharm 1
Under the starting platform in a little cave. - Bonecharm 2
On a cabinet at the entrance to the main lobby (F1). - Rune 1
On a plaque on the wall in the dining hall, surrounded by guards (F1 West) - Rune 2
In the little room at the very top of the elevator shaft. - Outsider shrine 1, Rune 3, Rune 4
In one of the private rooms in the west wing of Floor 4. - Bonecharm 3 (black)
In a bird's nest on the roof of the building housing the elevator shaft. - Rune 5
In the basement, in a loot stash. Accessible by breaking the elevator. - Bonecharm 4
In a bloodfly nest in Recuperation (F3 East)
Mission 4: The Clockwork Mansion part 1 - Aventa District
There are three bonecharms including a black variant, five runes and one Outsider shrine before you even reach the Clockwork Mansion itself.
- Outsider Shrine, Rune 1, Rune 2
In a bloodfly-infested building very close to the sewers where you start the level. - Bonecharm 1 (black)
On the third floor of a building off an alley close to a Howler ambush. - Rune 3
In a cabinet in a courtyard where Howlers wait in ambush. - Bonecharm 2
In a glass cabinet in an apartment close to the sewers where you start this level. - Bonecharm 3
Upstairs inside the station in Lower Aventa District. - Rune 4
On sale at the Black Market Shop in Lower Aventa. - Rune 5
In a posh apartment in Upper Aventa.
Mission 04: The Clockwork Mansion part 2 - Clockwork Mansion
Collect three bonecharms and one rune as you navigate this mysterious mansion.
- Bonecharm 1
On the Assessment Chamber level, use the configuration lever to send the waiting room area upwards. Climb into the gap between it and the lower floor as it rises. There's a bonecharm near a body and some bloodflies in this crawlspace. - Bonecharm 2
In a drawer in a small room near a wall of light right by the Assessment Chamber. - Bonecharm 3
Near the laboratory where you confront Jindosh you'll find a room with a spinning section, with either a bath or a desk. Climb onto the desk version and pull the lever to ride it around. In the corner of the room, near a (hopefully) inactive clockwork soldier, you'll find a small silverograph developing room. Push the button on the wall to find the black bonecharm. - Rune 1
On one of the many moving sections in Jindosh's laboratory. Will surface when you power the electroshock machine, or you can slip into the lower level while the plates are moving to grab it.
Mission 05: The Royal Conservatory - Cyria Gardens and Royal Conservatory
Five runes, one Outsider shrine and a whopping nine bonecharms await you. Thanks, witches!
- Rune 1
On sale at the Black Market Shop. Don't steal it until you've completed the side mission. - Outsider shrine, Rune 2, Rune 3
Behind the rooftop bar, facing away from the Royal Conservatory, you should see a blue building with a tempting balcony. The Outsider shrine on the top floor has two runes. Beware the many tripwire traps and climb the broken ceiling to reach it. - Bonecharm 1
On the poker table in the bar, on the same level as the sweeping civilian. - Bonecharm 2
On the floor by the safe in the apartment with the nestkeeper. - Bonecharm 3
In an apartment building linked to the Royal Conservatory by a long pipe along the wall of the area. Climb over the infestation blockade on the stairs to enter. - Rune 4
In the sitting room on floor 2 of the Royal Conservatory. - Bonecharm 4
On floor 3 of the Royal Conservatory, climb through the ceiling hatch in the lift to see a cozy little nest with various goodies including the bonecharm. - Bonecharm 5
In the rooms above Breanna Ashworth's office in the Royal Conservatory. - Bonecharm 6, Bonecharm 7
Kill or sleep dart Breanna and you can loot her body for two bonecharms. She cannot be choked. - Rune 5
Outside Breanna Ashworth's office in the Royal Conservatory, on floor 4, towards the back wall. Guarded by two gravehounds. - Bonecharm 8
In a glass case in the custodians office in the basement of the Royal Conservatory. Crawl inside through a high window accessible from the courtyard with the large tortoise statue. - Bonecharm 9
On a blackboard in the rooms on the south side of floor 3 of the Royal Conservatory.
Mission 06: Dust District - Batista District
One Outsider shrine, five runes and eight bonecharms await you in this windy place. Why? Who knows.
- Rune 1
In the square with the statue by the Jindosh Lock, break some boards leading into the lower story of the derelict building where you met Meagan to find the rune in a cabinet. - Bonecharm 1
Break through the Black Market Shop combination lock and find the bonecharm in a drawer by the shutters. - Rune 2
In an abandoned building on your left as you pass through the gate covered in overseer helmets from the Jindosh Lock square. - Outsider Shrine, Rune 3, Rune 4
On the top floor of Paolo's apartment, found above The Crone's Hand Saloon. - Rune 5
In the Confiscation Room on the second floor of the Overseer;s Outpost. Loot the key from a sleeping overseer in the barracks nearby. - Bonecharm 2
In a cupboard in a desk in vice-overseer Byrne's office on the third floor of the Overseer's Outpost. - Bonecharm 3
Found in Mindy's Tattoos - look for the sign in the street leading away from the Overseer's Outpost. Break the boards to climb in. - Bonecharm 4
Behind a bottle of Mulberry Mead in Durante's Room, accessible from the inner balconies above The Crone's Hand Saloon. The key is in vice-overseer Byrne's office. - Bonecharm 5
In the basement below The Crone's Hand Saloon, accessible via the inner courtyard. - Bonecharm 6, Bonecharm 7, Bonecharm 8
Loot from an unconscious or dead Paolo.
Mission 07: A Crack in the Slab - Aramis Stilton's Mansion
This one's a bit tricky. There are three runes and three bonecharms available in Stilton's mansion, but if you make a significant change to the past you can find one more run and four more bonechamrs. 100% worth it.
- Rune 1
Lying on the floor in a room just up the stairs after you first enter the mansion (original present). - Bonecharm 1
In the attic above the dining room (original present). You need to reach the balcony above the dining room in the past and set all three chandeliers to their highest setting, then hop across to the distant one and return to the present to climb in. - Rune 2
In the flooded basement (original present). Visit the past and throw the nearby crankwheel through to the flooded area, then go back to the present and use it to drain the water. - Bonecharm 2
Above the elevator in the basement (original present). Climb to the ledge above the door and transition to the past to open the hatch, pass through and return to the present to collect it. Repeat in reverse to exit again. - Bonecharm 3
In the combination safe in the furnace room (past). Get there from the boarded up door near the courtyard with the two hounds in the original present; crawl under the desk in the past to bypass the debris blocking the entrance, then transition back and forth to get past the wall. - Rune 3
In an inaccessible side room (past). Tricky. On the second floor in the original present, locate some repaired windows - a document on the subject marks the right place. Transition into the past and knock out the two workers. Return to the original present and crawl out the window hole to enter the side room. The rune is in some crates in a corner where a guard is rummaging. - Bonecharm 4
On the desk in Stilton's new study (altered present). - Rune 4
In a backroom of the United Miners of Karnaca building in the Dust District (altered present). - Bonecharm 5
In the Dust District, inside the scaffolding along the road between the Jindosh Lock and the path to the skiff (altered present). - Bonecharm 6
On the roof of a building in the Dust District where, on your first visit, there was a windmill powering the wall of light (altered present) - Bonecharm 7
Lying on a table on the path to the skiff (altered present).
Mission 08: The Grand Palace part 1 - Ravina Boulevard, Palace District
There are three runes in this area if you count the two on an Outsider shrine, and three bonecharms, too. Neat.
- Bonecharm 1
In a vice in the sculptor's studio upstairs and opposite Winslow's Safes. - Outsider Shrine, Rune 1, Rune 2
Climb up into the grassy area border near the Black Market Shop and look for a boarded up tunnel. - Rune 3
Go up onto the rooftop with the windmill and drop down to the pair of balconies on the wall of light side. The rune is in this apartment. - Bonecharm 2
Under the bathroom sink in Lucia Pastor's apartment, on the same side of the street as the seized apartment but further from the wall of light. - Bonecharm 3
Under a cushion on the bed in the seized apartment. Hit the cushion with your sword combo to move it.
Mission 08: The Grand Palace part 2 - Grand Palace
Collect four bonecharms and two runes as you tiptoe through the halls of power.
- Bonecharm 1
In a room with two civilians and a corpse, off the gallery above the dining room. - Bonecharm 2
Under the bathroom sink in Delilah Coppersoon's quarters. - Bonecharm 3
On the duke's throne in, uh, the throne room. - Rune 1
In the combination safe in the First Captain's Office. - Bonecharm 4
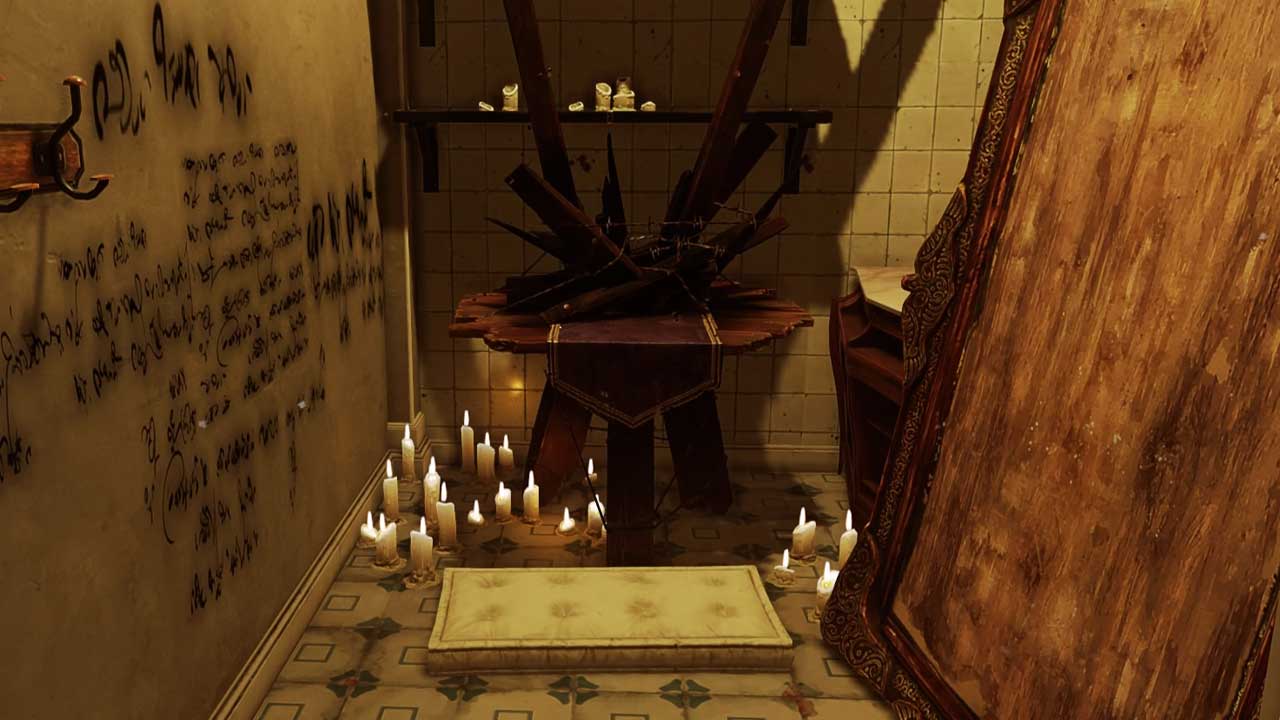
On the altar of the creepy shrine to Delilah in the vault beneath the palace. - Rune 2
In the flooded, abandoned storage rooms beneath the vault; bash the screen in the corner of the shrine area to find the entrance. A tricky swim.
Mission 09: Death to the Empress - Dunwall Streets, Dunwall Tower
At this stage, are five more runes, nine more bonecharms and an Outsider shrine really going to make the difference...? Who cares! This is our life now: getting into strange places and looting them dry.
- Bonecharm 1, Bonecharm 2
Pickpocket a key from Meagan Foster and loot her quarters on The Dreadful Wale for two bonecharms. - Outsider shrine, Rune 1, Rune 2
In a hidden room in an apartment opposite the collapsed building frontage in Dunwall Streets. Twiddle the barometer on the blank wall to find the cache. - Bonecharm 3
In the (blocked) secret passage leading out of the safe room; climb up the rooftops in Dunwall Streets to reach it. - Rune 3
Buy (or steal) from the Black Market Ship in Dunwall Streets. - Bonecharm 4
In the greenhouse in Dunwall Tower Exterior; sneak past the four witches to take it. - Bonecharm 5
At the far end of the Waterlock structure in Dunwall Tower Exterior. Use the pipes near the final painting to reach it. - Rune 4
Beneath a walkway in the pump room in Dunwall Tower Exterior. Drop town a tiny gap near some vertical pipes to reach it. - Bonecharm 6, Bonecharm 7
Loot from the strung-up body of the High Overseer in the Overseer Chapel, Dunwall Tower Interior. - Rune 5
In the security room in Dunwall Tower Interior, up high on some pipes. - Bonecharm 8
In one of the small rooms around the top floor of the grand library in Dunwall Tower Interior, guarded by a lone witch. - Bonecharm 9
In a hidden room on the top floor of the grand library in Dunwall Tower Interior. Blink or Far Reach to a small ledge leading inside from the light fixtures above the patrolling clockwork soldier.
Holy heck, we're done - that's every rune, bonecharm and Outsider shrine in Dishonored 2.