The Witness walkthrough and map guide

The Witness doesn't tell you what to do - but we will. PlayStation gamers can try The Witness as part of their March 2019 PS Plus, so if you never got around to it at the time - now's your chance.
The Witness walkthrough and map guide
The Witness is best experienced clean; go in with no idea what's in store for you, and enjoy puzzling it out. But if you've tried that and are feeling a bit lost and confused, we can help you out.
Everything on this page could be considered spoilers, so please don't proceed unless you're sure you want the help. That said, we won't show individual puzzle solutions on this page, but will link out to walkthrough pages when available.
This guide is a work in progress and will be updated with new information as it comes to light; also, we made up most of the names and terms, and may change them if better descriptions surface. Let us know which zones you'd like walkthroughs and maze solutions for.
Contents
- Goal
- Using the boat
- Secrets to watch for
- Map
- Zone descriptions
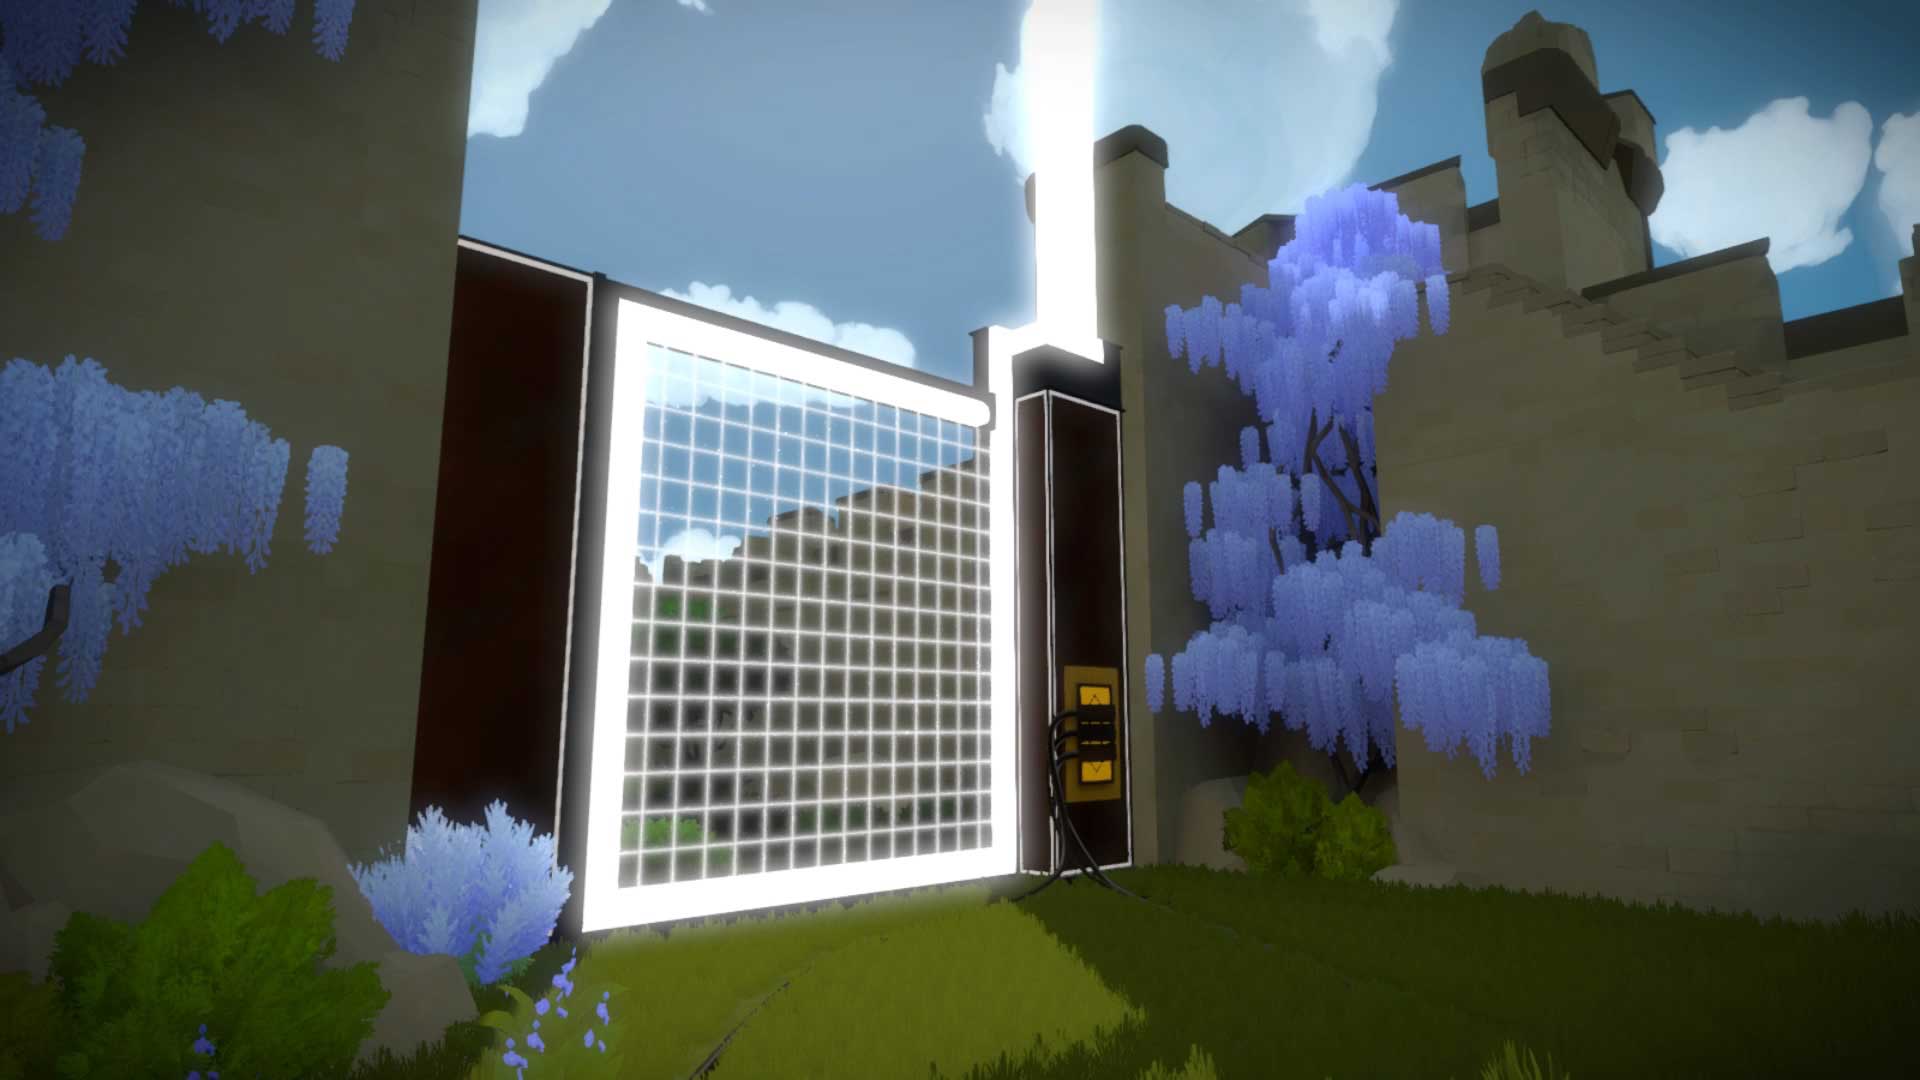
- Walled Garden
- The White Door
- Artist's Studio
- Symmetry
- Desert Ruins
- Quarry
- Shady Trees
- Windmill
- Cherry Trees
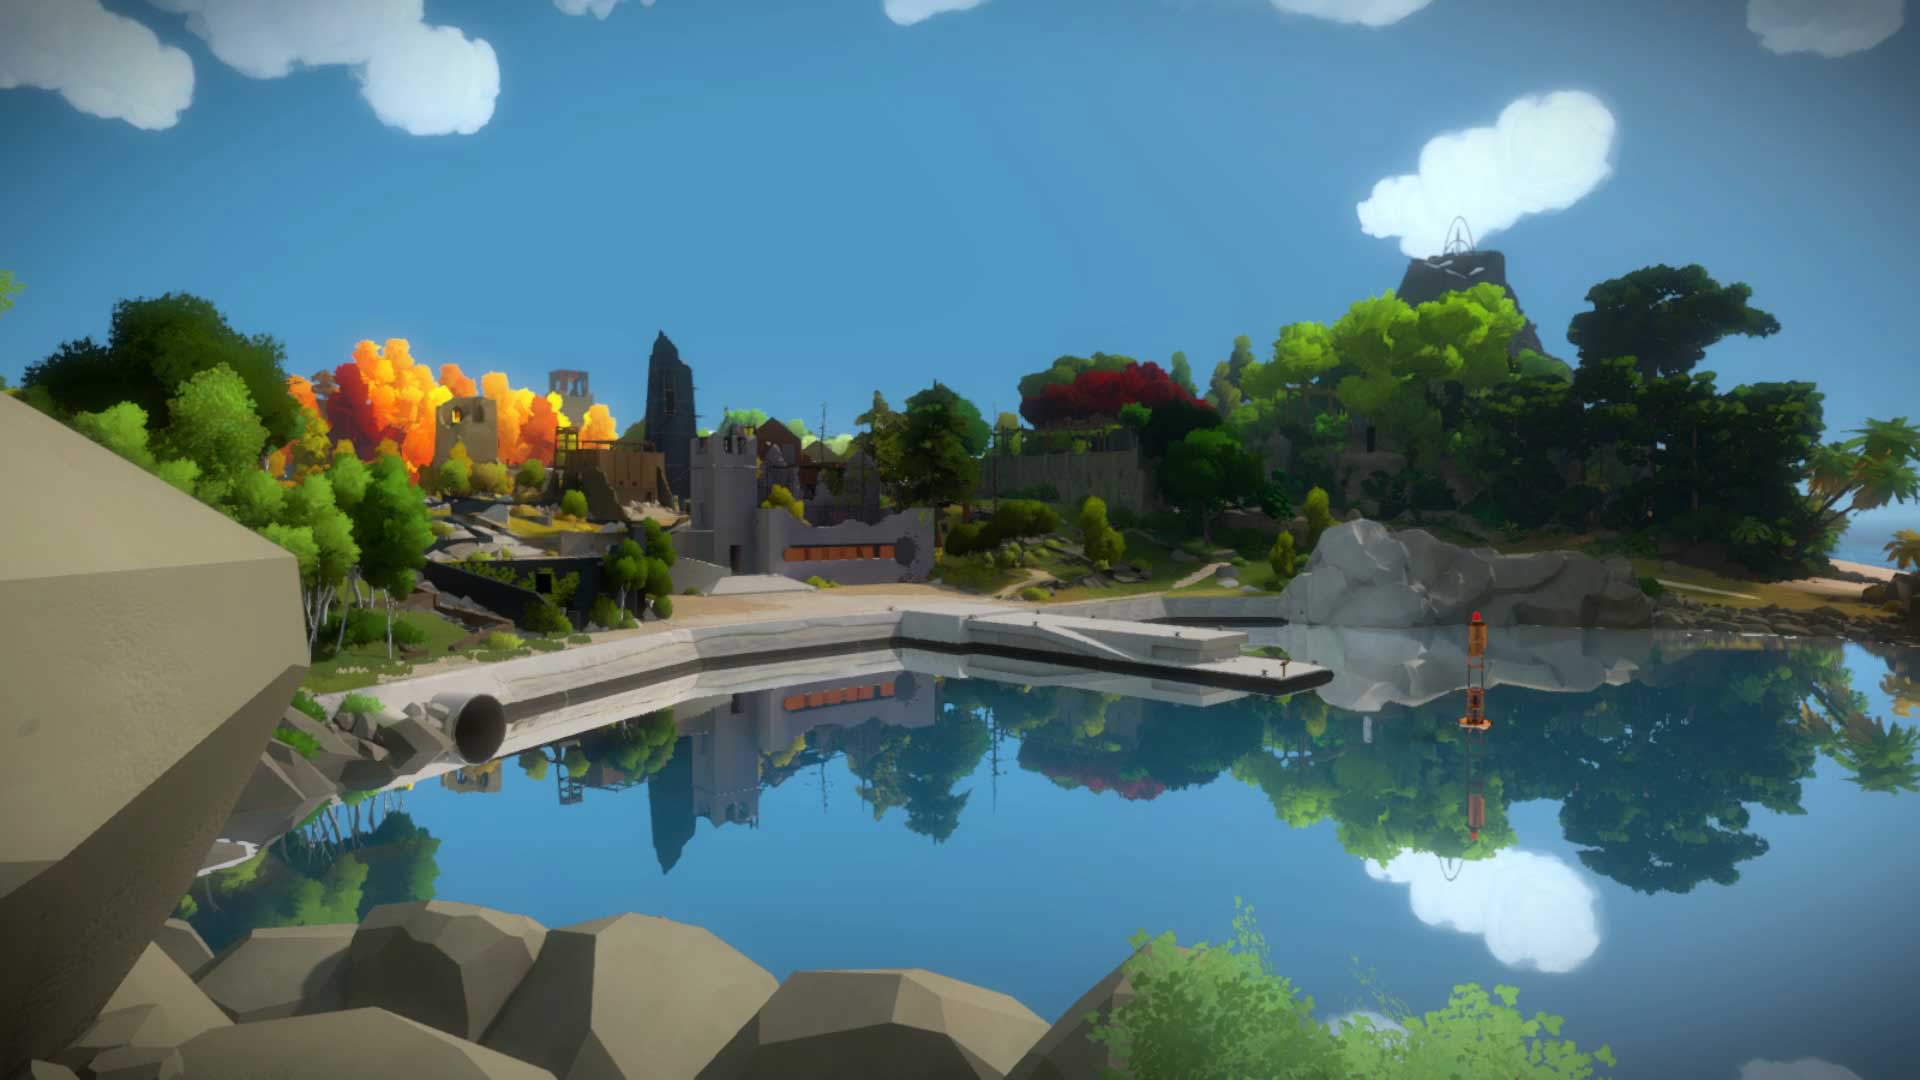
- Town
- Monastery
- Jungle
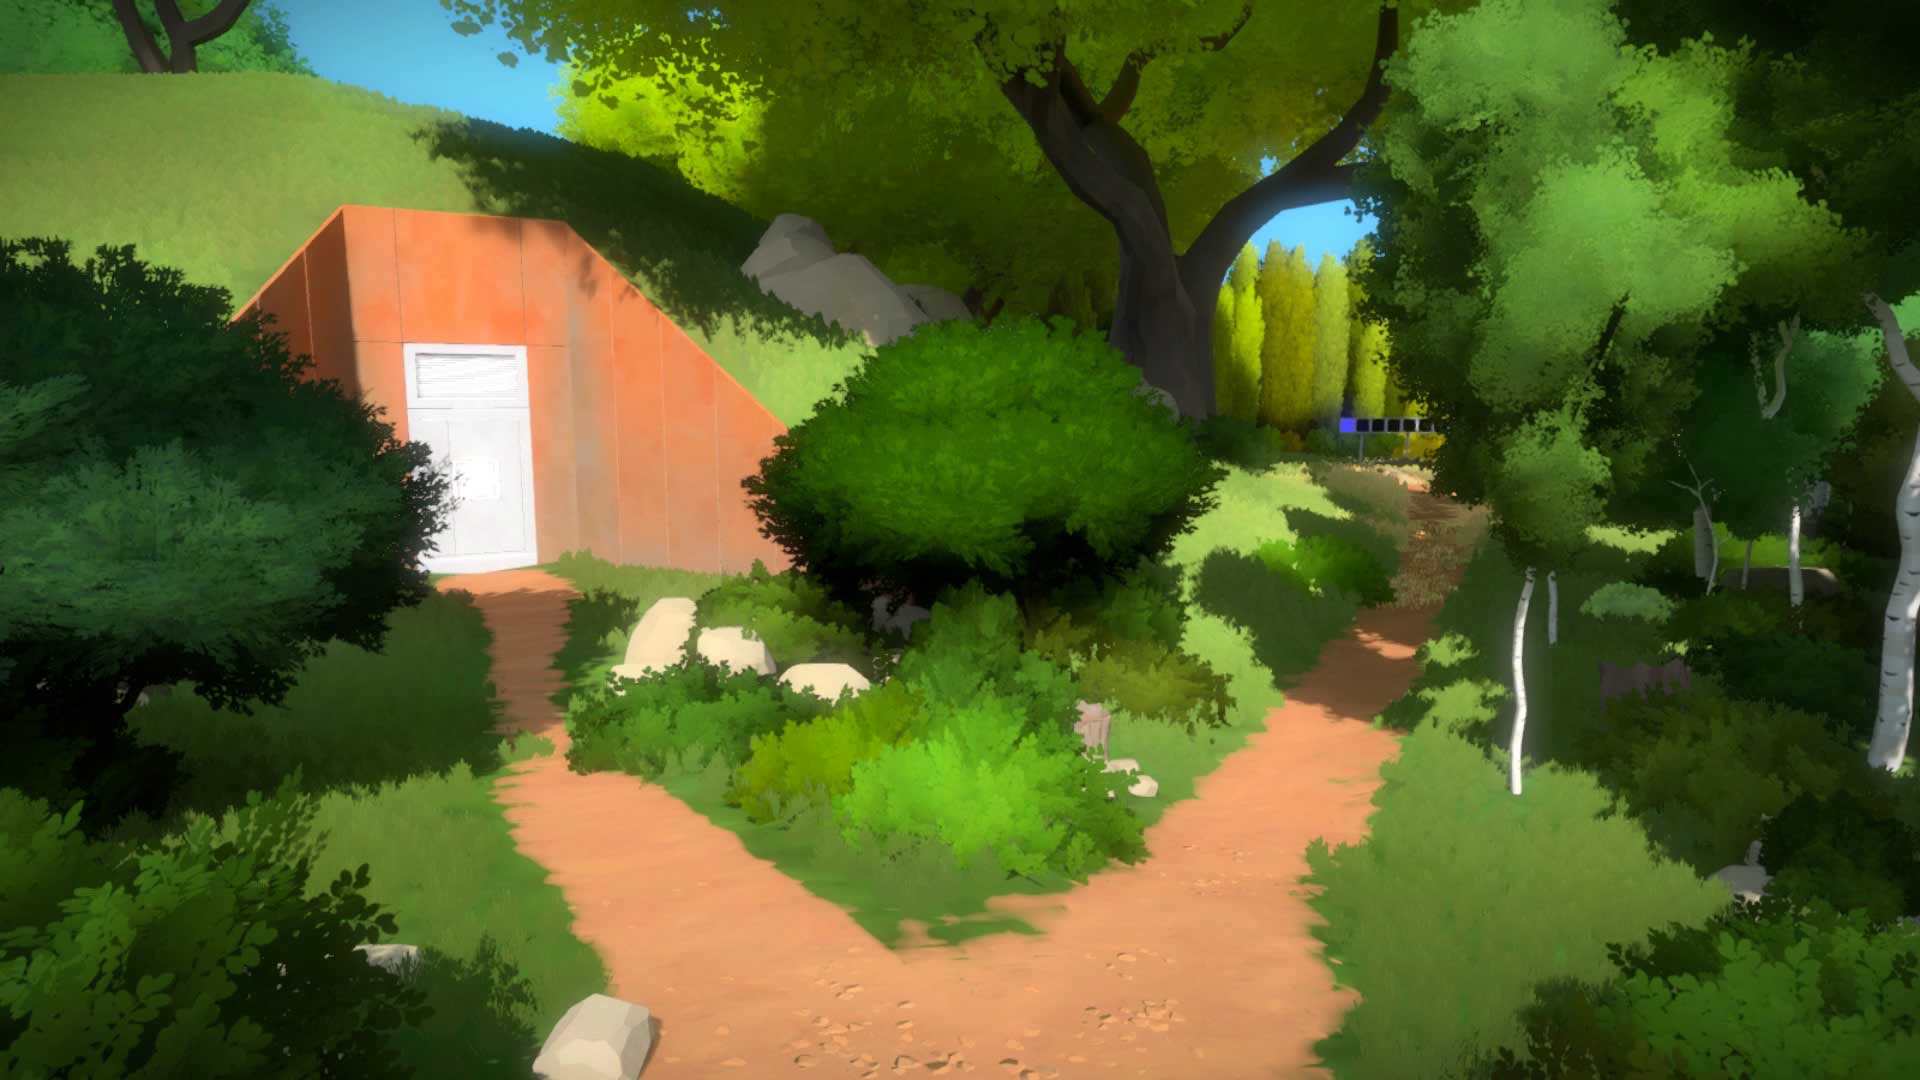
- Bunker
- Mountain
- Marsh
- Treehouses
- Keep
- Rusted Ship
- Grail Point
Goal
The ultimate goal of The Witness is to solve all 600 puzzles, discover all the secrets and cover yourself in glory. Most people won't get that far, and should settle for meeting the primary objectives: activating an array of lasers pointed at the mountain which dominates one side of the island.
These lasers are activated by completing all the connected puzzles in a particular zone. In addition to mandatory puzzle boards you'll also come across some that serve as training tools, or protect secrets.
Puzzles are presented as maze boards. The high-level goal of each and every board is to connect a starting point to a goal point, but there are multiple rule variations within each zone. Figuring out these variations is half the struggle; applying them is the rest.
Using the boat
At a few points around the island you'll find a board suspiciously close to the water, showing a simple slider in the shape of a boat. Activate this to summon a boat.
Board the boat and activate the slider on the map (the start point is your current location), then close the circuit at one of the other docks to be whisked off to your destination, affording you lovely views of the island. Once in motion, you can increase or decrease your speed using the slider panel on the right of the map.
Secrets to watch for
There are several known varieties of secrets in The Witness - and we suspect there may be more.
- Audio Files are self explanatory, but well hidden.
- Puzzle Boards are (usually) loose panels unrelated to nearby sequences, of a type not seen elsewhere on the island.
- Theatre Keys are found in locked rooms and used to unlock short videos under the Windmill.
- Monumental Puzzles challenge players to trace glyphs on the landscape itself, and are related to the black pillars you see here and there. There are loads.
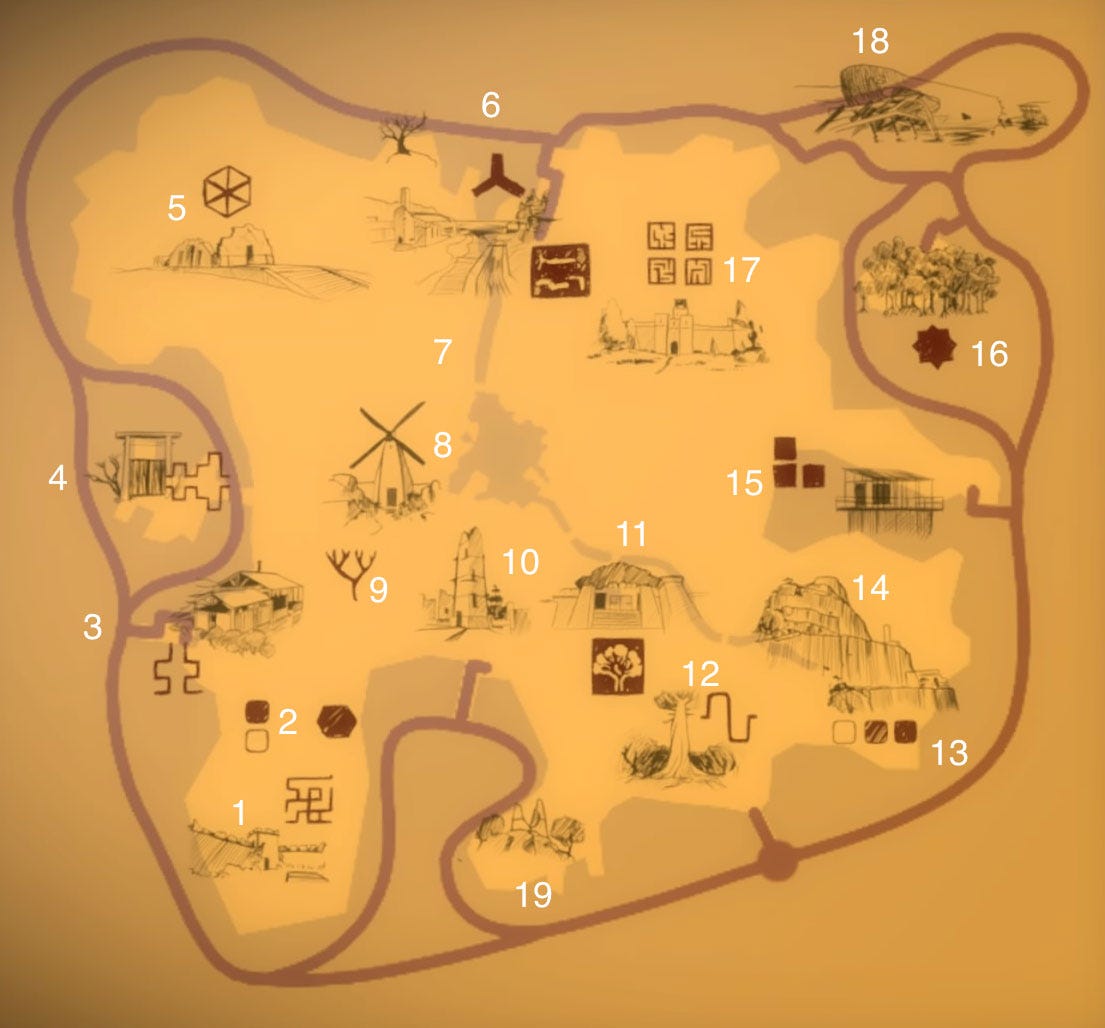
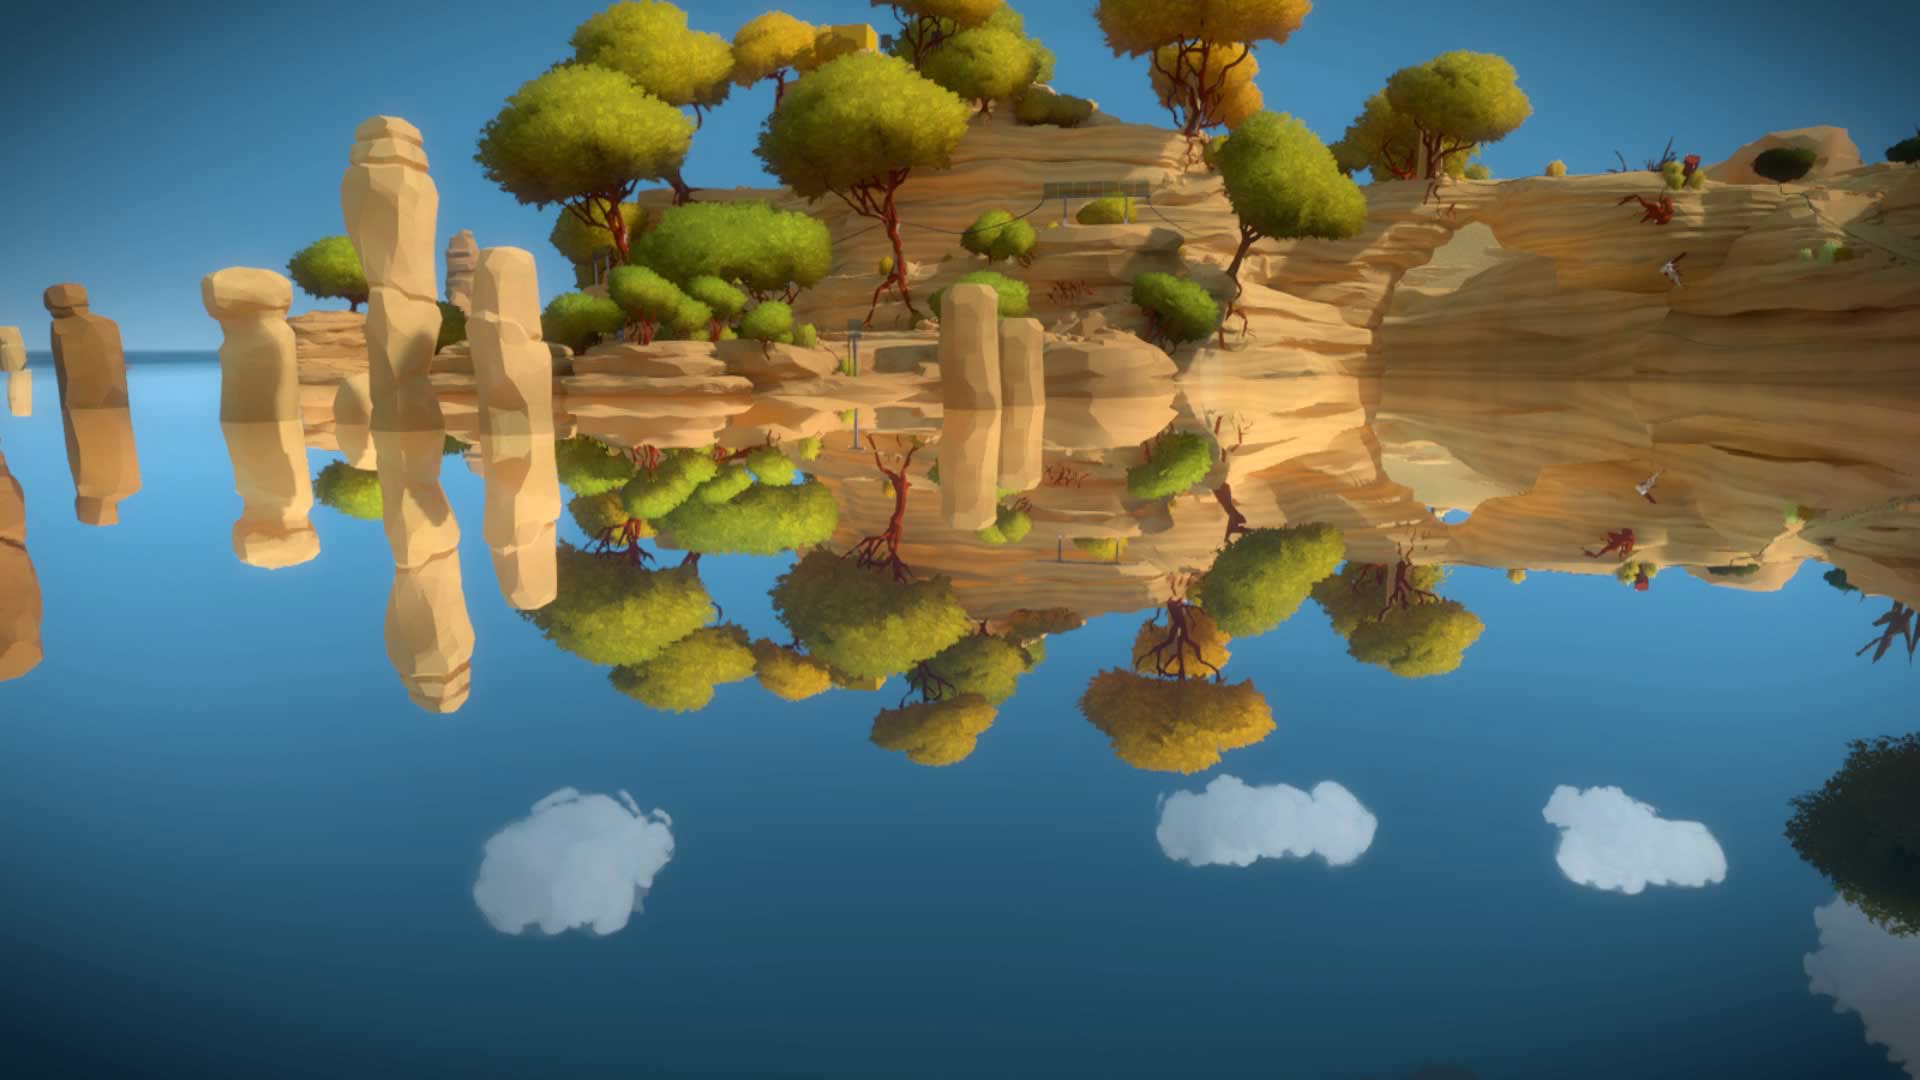
Map

The symbols on the map indicate the main puzzle variants used or introduced at each location. If you come across a puzzle type you've never seen before, visit the associated location to learn how to use them. Most secrets are locked behind multi-variation puzzles, and "later" zones like Quarry, Keep and Treehouses leverage multiple puzzle types. Town should not be attempted until you've mastered every puzzle variation, and Mountain does not unlock until all other primary zones have been mastered.
To quickly tour every puzzle type, your itinerary should be: 1, 2, 3, 4, 5, 7, 11, 12, 13, 15, 16, 6. To complete the game, you should then proceed through 17, 10 and 14. 18 and 19 are optional. Apologies for the silly numbering; we'll update this once the rest of the guide is complete.
Zone Descriptions
1. Walled Garden
- Puzzle variants: none
- Trophy: none
- Secrets:
- audio file x2
- puzzle board x1
- Walkthrough
The first room in The Witness acts as a tutorial, introducing the slider and maze board, as well as the flow of energy from one puzzle terminal to the next. There's one little trick that may keep you contained for a while; see our walkthrough for the answer.
2. The White Door
- Puzzle variants:
- Hit all the dots
- Quarantine black from white
- Trophy: none
- Secrets:
- Theatre Key #1
- Walkthrough
Not a true zone but an important stop on your learning process. Shortly after escaping the Walled Garden you'll see a mysterious door set into a hill on the left side of the path. You aren't expected to know how to open the lock here; proceed a little further down the path to find two sets of maze terminals that will teach you a couple of puzzle variants. Once you've mastered these, you'll be able to open the door and claim the secret inside.

3. Artist's Studio
- Puzzle variants:
- Symmetry
- Distortion
- Trophy: Symmetry
- Secrets:
- puzzle board x1
- Walkthrough
One half of the Symmetry laser set, the Artist's Studio is a bit of a warm up before things get truly mind-bending. Don't miss the switch at the end of the studio when you've solved all the puzzles inside; you can't use it yet, but it's pretty cool.
4. Symmetry
- Puzzle variants:
- Hit all the dots
- Symmetry
- Invisible Symmetry
- Trace
- Reflection
- Trophy: Symmetry
- Secrets: ??
- Walkthrough
This area houses the other puzzles you'll need to complete to activate the Symmetry laser. This is where The Witness starts to get really clever, leveraging the environment in maze board design in ways that may cause headaches. Once you get it, though, you'll be well set up to tackle the island's other challenges.
5. Desert Ruins
- Puzzle variants:
- Glare
- Trophy: Desert Ruins
- Secrets:
- Monumental Puzzle Glyph
- audio file x1
- puzzle board x1
- Walkthrough
Much simpler than it appears at first glance. A pal gave me a series of hints and I exploded with wrath when I finally got it.
6. Quarry
- Puzzle variants:
- Hit all the dots
- Quarantine black from white
- Grace engine
- Quarantine colours
- Star pairs
- Trophy: Quarry
- Secrets:
- puzzle board x1
- Walkthrough
In the Quarry you'll discover an unusual puzzle type, but you'll need to have mastered puzzles found all over the island in order to see everything here. There's a lot more to this zone than we've uncovered so far, so stay tuned for updates.

7. Shady Trees
- Puzzle variants:
- Shadows: positive
- Shadows: negative
- Trophy: Shady Trees
- Secrets:
- audio file x1
- Walkthrough
Located between the Quarry, Windmill and Castle, the Shady Trees laser is connected to a series of puzzles in the green and orange woods. You'll need to use creative thinking to solve some of these, and you'll want some graph paper to jot down solutions unless you have a good visual memory.
8. Windmill
- Puzzle variants: various
- Secrets:
- puzzle board x1
- Monumental Puzzle Glyph
The Windmill guards an entrance to the tunnels that seem to race all over the island. It's the most direct route to the Theatre - if you can get the door open.
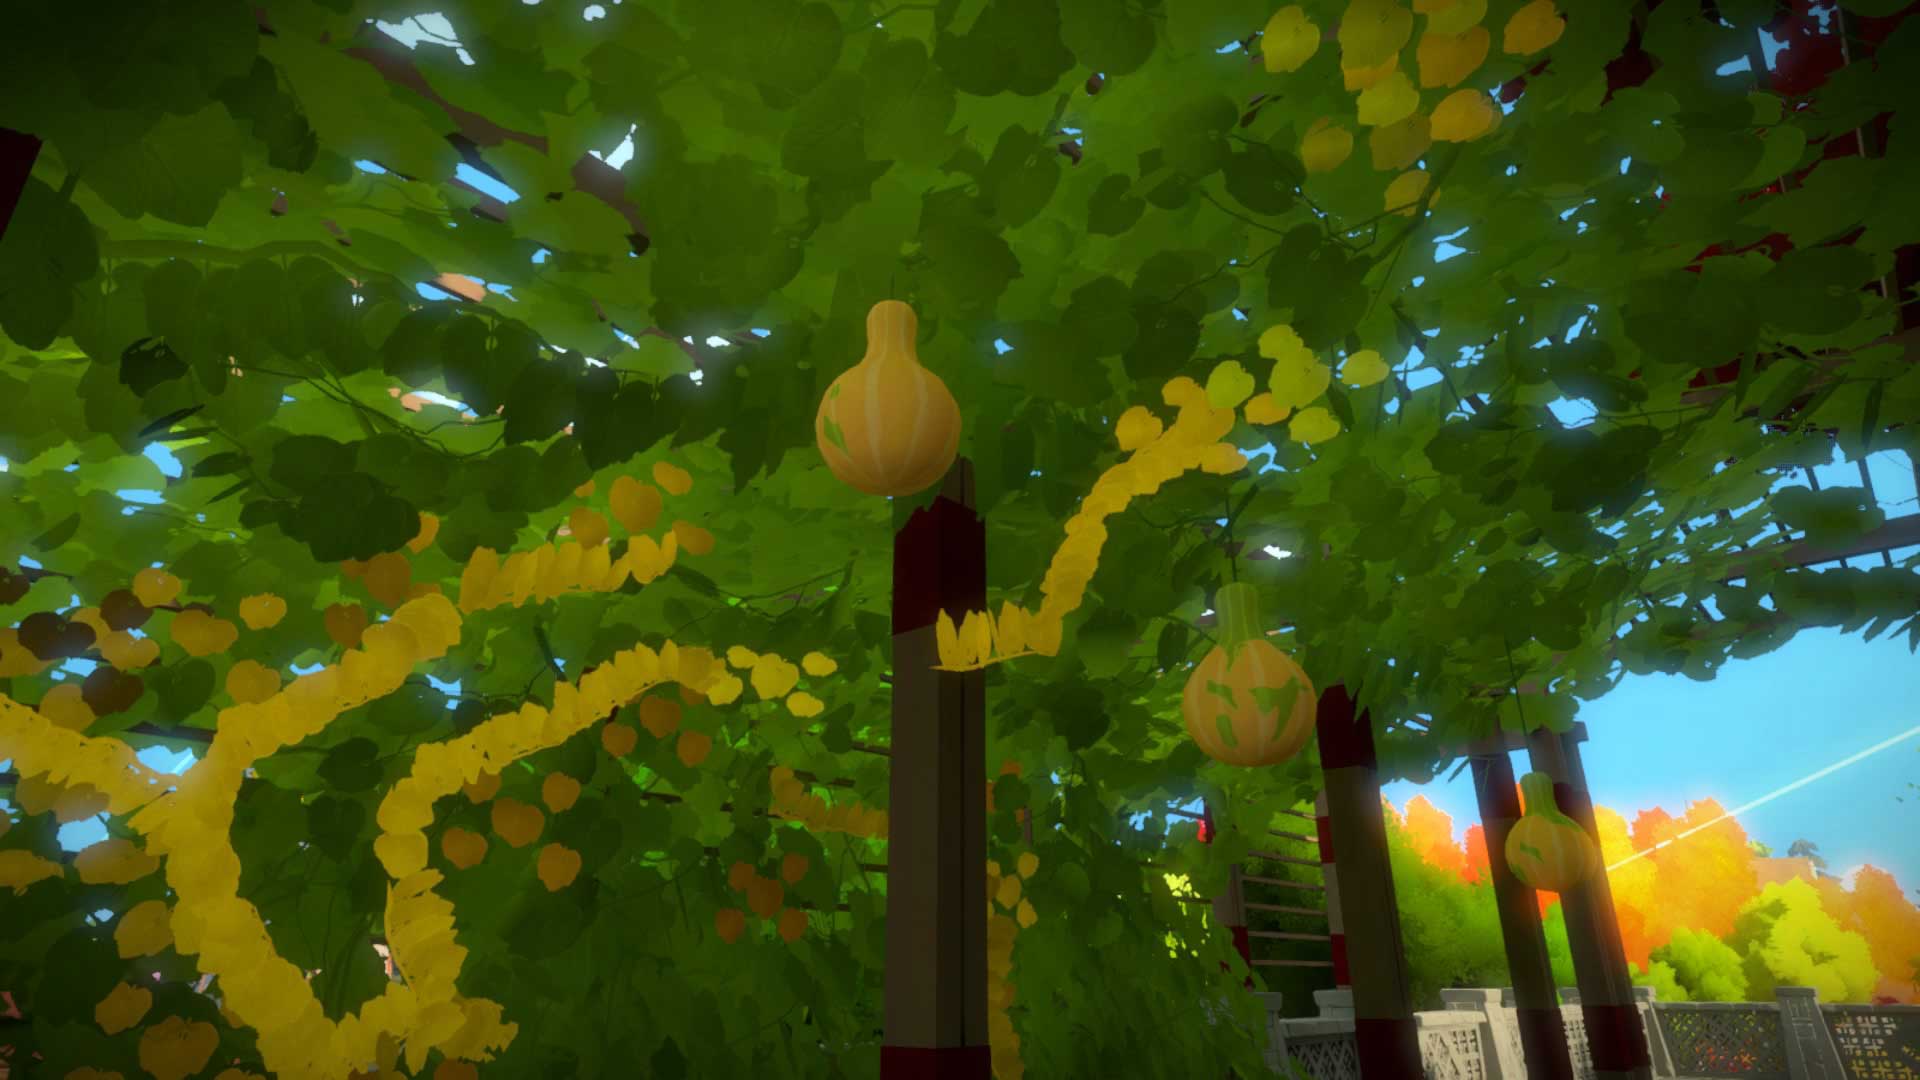
9. Cherry Trees
- Puzzle variants:
- Trees
- Secrets: ??
- Walkthrough
A pleasant spring-time atmosphere pervades a grove of trees behind the Windmill. Opening the gate here doesn't seem to achieve much, to be honest - but maybe we'll find more later.
10. Town
- Puzzle variants: various
- Trophy: ??
- Secrets: ??
- Walkthrough: let us know if you want one!
A collection of puzzles combining variants from all over the island. Avoid this mess until you've got most of the other zones under your belt; it will only give you The Fear. More info when we've stopped crying.
11. Monastery
- Puzzle variants:
- Perspective mask
- Trophy: Monastery
- Secrets:
- Monumental Puzzle
- Walkthrough
One of the shortest laser sequences in the game, but a long way from the easiest. You'll need to solve two sets of puzzles, but first you need to figure out how to switch the boards on.
12. Jungle
- Puzzle variants:
- [too much of a spoiler]
- Trophy: Jungle
- Secrets: ??
- Walkthrough
It's quite easy to miss this zone entirely, but if your attention is caught by something out of place, you'll be halfway to finishing it. Halfway, we said; the puzzles in here will be powerfully challenging for some people.

13. Bunker
- Puzzle variants:
- Quarantine colours
- Trophy: Bunker
- Secrets:
- Audio File (walkthrough coming soon)
- Walkthrough
Perched on the side of the mountain, the Bunker has been outfitted as a conservatory, and is stocked with various kinds of plants. Make your way through the vertical structure and conquer the malfunctioning elevator to activate another laser.

14. Mountain
- Puzzle variants: various
- Trophy: Endgame
- Secrets:
- Theatre Key #2
- Puzzle Board #7
- Walkthrough
This is where all those lasers point. There's not much reason to faff about up here until you've got them all lit up, bar a few secrets. The view's good, though, and the figures tell an interesting story.
15. Marsh
- Puzzle variants:
- Tetris
- Trophy: ??
- Secrets: ??
- Walkthrough
Marsh is where you'll learn all about those puzzles that include shapes that look like Tetris blocks. Or, alternately, where you'll stand wistfully on the other side of a gate trying to figure out the eighth puzzle until you die of exposure.
16. Treehouses
- Puzzle variants: ??
- Trophy: Treehouses
- Secrets: ??
- Walkthrough: let us know if you want one!
Only accessible by boat. A maze of interconnected, reconfigurable suspended walkways, culminating in a dash to a door on a timer.
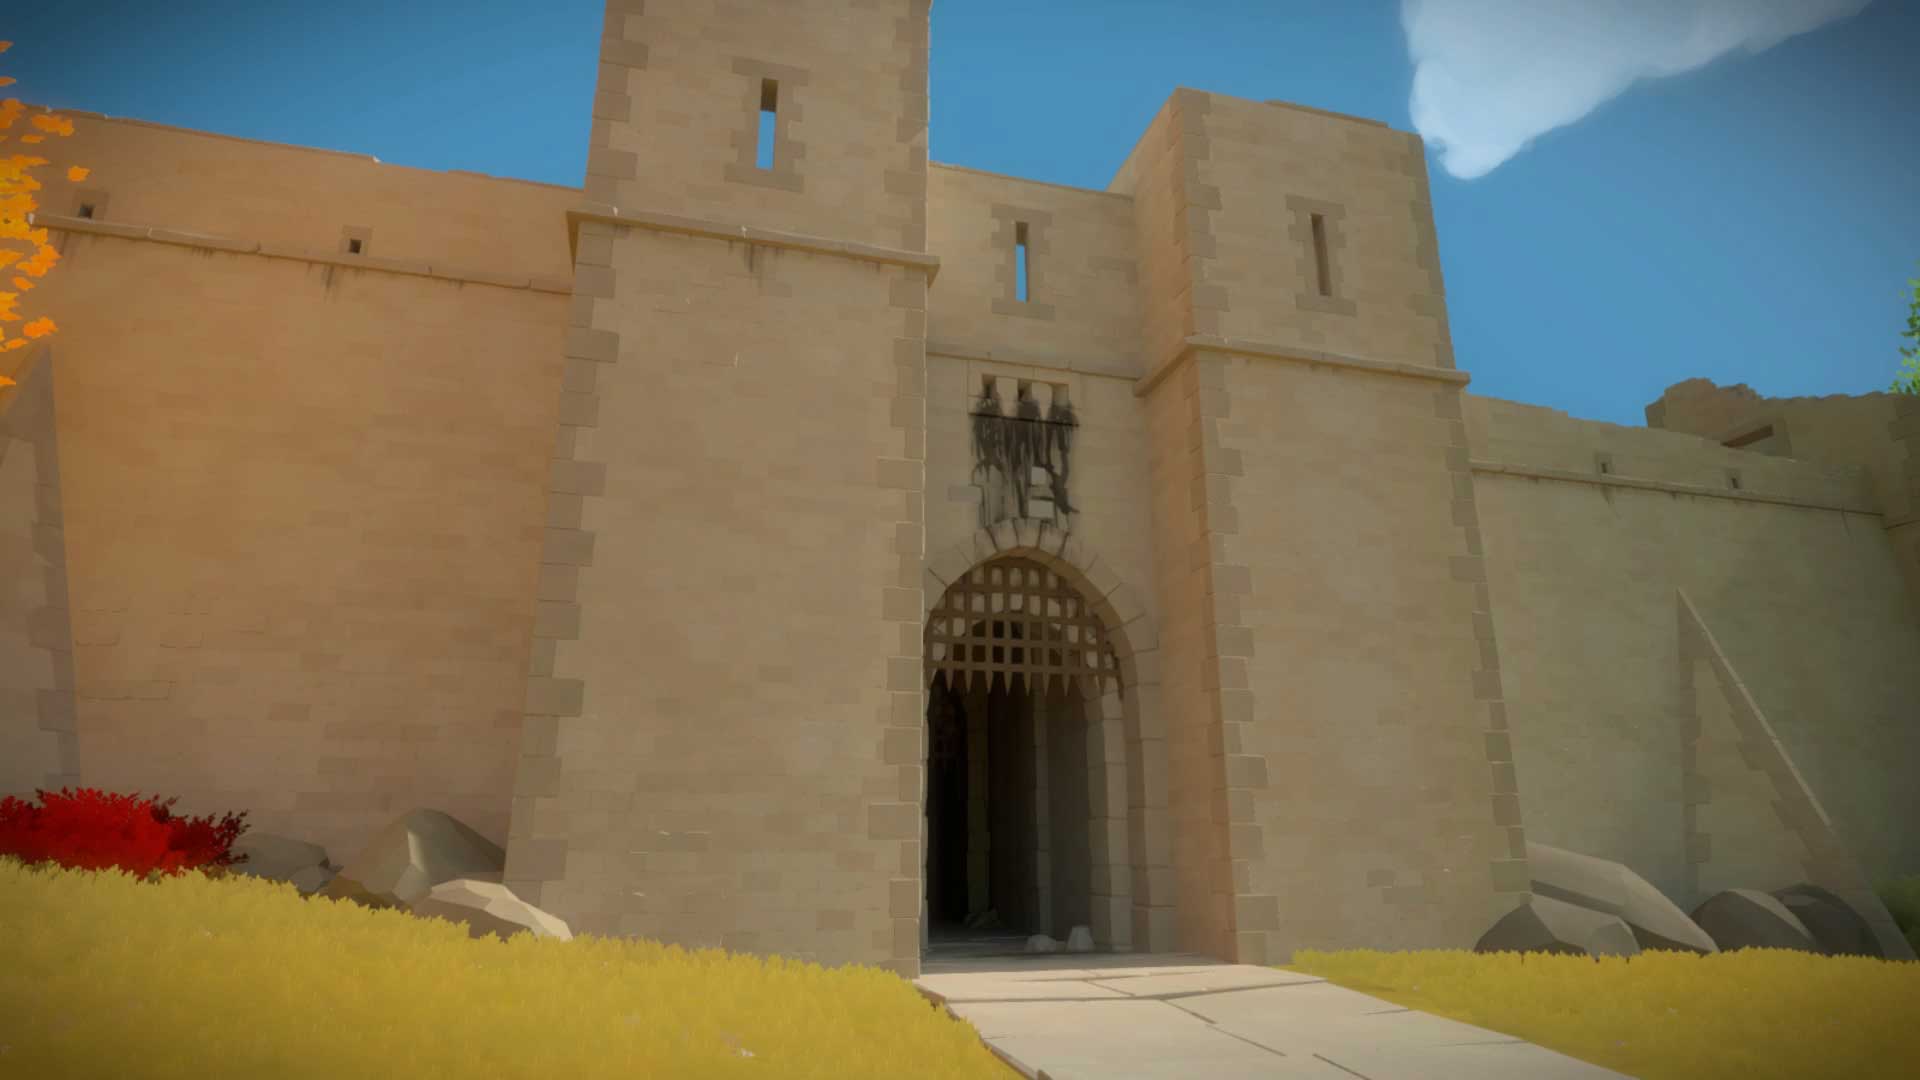
17. Keep
- Puzzle variants:
- Hit all the dots
- Tetris
- Hedge maze
- Trophy: Keep
- Secrets:
- Puzzle Board #6
- Walkthrough
The gimmick of Keep is you have to walk around inside mazes to solve them. When you exit the tunnel from the centre of the island you'll be facing one set of puzzles; don't miss the hedge maze set behind you.
18. Rusted Ship
- Puzzle variants: various
- Trophy: ??
- Secrets:
- Audio File #5
There's not much going on in this wreck... or is there? What's behind this red door? I have no idea. I'll get you one day, red door!

19. Grail Point
- Puzzle variants: ??
- Trophy: ??
- Secrets: ??
In this area you can find a statue of a man reaching for a golden chalice - a motif you can see in a few other places around the island. There's probably more here, and we'll certainly find it! Eventually.