Dark Souls 3: Pontiff Sulyvahn to Anor Londo
You knew this was coming.

Dark Souls 3: Pontiff Sulyvahn to Anor Londo
We start our next adventure back in Irithyll of the Boreal Valley, at the Pontiff Sulyvahn bonfire. Head out the nearest door.
If you have just come trotting out of Yhorm in Ember form, be very wary ahead. If you see a ton of red and purple summon signs in this area - a popular duelling arena - you are clearly in the right level range for invasions, and you will be hit with them. Do the Blue Sentinels and Blades of the Darkmoon a favour and equip the Way of Blue sigil, unless you’re looking to farm PvP trophies for your own covenant.
There are two Crystal Lizards in the arena just outside the Pontiff's back door (hurh hurh), both of whom hold Twinkling Titanite. It’s difficult to get them both, so you may need to return later (don't worry, you'll probably die). With your back to the door, head right to collect a Large Titanite Shard from the corpse, and then turn left and follow the path around.
See the item glow ahead? We’ll get to that in a minute. For now, some warnings: if you advance any further into this area, in any direction, you’ll trigger either two Aldrich Faithful player invasions if you’re in Ember form, or aggro two Drang Knight NPCs if you’re a phantom.
We can’t help you with the invasions (which never stop), but the NPCs aren’t too bad, and you can even control their aggro if you’re careful and lucky. They come running at you across the field of giants after you advance slightly, and if you back right off you can usually get them to forget you briefly. Shoot one and lure him back to the nice safe duelling circle in front of the Pontiff’s back door (hurh hurh). Both of them use twin weapons (spears and maces) and your best friend here is patience and a good shield. Circle, dodge and block their combos until they do a powerful, slow attack, then punish them. Back off and repeat. Far easier than fighting actual humans! If you're lucky, they may drop Drang weapons for you.
Before you cross the field of giants and grab all the treasure, we need to deal with some threats on the bridge to the side. Cautiously ease over to bridge and slip underneath it. Look around and you should be able to spot two invisible slaves ahead, and an invisible slave mage sitting down, at one end of this area. There’s a second invisible slave mage around the corner, so this can be very deadly. You can collect a Dark Stoneplate Ring when they’re all down, and then had back to the other end of this area to find some stairs leading up to the bridge.
There are eight deacons up here. Deal with any who aggro immediately, but your first goal is to collect the Large Titanite Shard we saw from a distance earlier; explore back towards the Pontiff’s back door (hurh hurh) along these upper ledges to find it.
Next, head away from the deacons and enter the upper reaches of the cathedral. On your left as you enter is a suspicious pillar; step on it to activate a lift. A fairly spurious shortcut.
Go back up and take the path leading around this same side of the cathedral to find a Crystal Lizard with a Simple Gem. Cross to the other side of the cathedral to locate a Mimic at the end of the path. Kill it for the Golden Ritual Spear.
Head back outside and kill the rest of the deacons on the bridge. Don’t be tempted to explore towards the trees ahead, as you’ll be sniped from above with devastating results. Instead, double back and go all the way to where you first spotted the giants. Some of these are alive, if the snoring didn't tip you off.
Tread quietly here (walk, don’t attack anything) and you can grab the goodies without too much trouble. The first item glow is a Soul of a Weary Warrior. Hug the right wall and you can collect a Large Titanite Shard behind a little conifer in the semi-circular area.
There’s an Ember lying on a corpse in the middle of the path, and another Ember at the feet of a sleeping giant. This one will aggro if you go for it, but you can sprint away and avoid the whole situation.
Alright, we’re done here: go through the door at the far end of the field of giants. Before taking the stairs on the right, attack the illusory wall in the back left corner. The ladder here leads down to the Aldrich Faithful covenant, but also: two crocodile wolf miniboss horrors like the one you encountered back at the Irithyll bridge. They are impossible to cheese, even with the ladder, but if you stick to the small area at the bottom of the ladder you’ll only face one at a time. They do not respawn.
If you manage to beat them, you get the Ring of Favor and can collect a Deep Gem from the corpse in the middle of the room. You can also activate the Water Reserve bonfire and speak to Archdeacon McDonnell to join the Aldrich Faithful. For many players, this is not worth the effort: the two beasts are among the most difficult foes you will ever face, and it’s very hard to get a co-op pal down here due to the constant Aldrich Faithful invasions. Learn more about the Faithful in our guide to covenants.
When you’re done down there (or done ignoring it), climb the stairs and circle the rooftop to grab a Titanite Scale. On the other side of this circular rooftop you’ll be able to look over the stairs ahead. There are four Silver Knight archers up here with greatbows. Oh ho ho! What excellent fun! We’re going to enjoy this so much!!
There’s a sort of decorative steeple thing between the circular platform and the knights, which you can hide behind and snipe at the first one. He’ll forget you exist if you go back into hiding, so it’s easy to do, if a little boring; just be sure you don’t let the next one up catch sight of you while you’re sneaking out. The good news is, this first one will usually fall off its perch to its deaths if you headshot it, let it calm down, then headshot it once more.
Anyway, once the first one is down, quickly move to the right (you'll be shot at) and drop down to the platform below. Circle anti-clockwise to grab a Large Titanite Shard, then head up the sloping blue rooftop; the other knights generally can’t get a bead on you until you start to climb, and at the top, you can get behind the pillar and wait for them to forget you again.
The second knight is much closer than you may expect, so don’t go charging up; scan the area carefully. See him hidden behind that short stone thing ahead? Yeah. It’s hard to get a shot on him, but it can be done – once. The second time, you’ll need to sneak up the slope a bit, then leg it back down. Or you could duel him; the other knights can’t see you from here. When the second knight is down, look for some stairs at the opposite end of his platform and head down to grab the Easterner’s Ashes. Take this to the Shrine Handmaid to unlock some tasty gear.
The third knight is much easier to deal with, comparatively; just hang out behind one of the pillars along his ledge. By the way, if either the second or third knight falls, they won’t die – but they're mostly out of your hair for now, and you can finish sniping them from the sloping rooftops, once the fourth archer is down.
For the fourth one, advance right to the end, ignoring the melee Silver Knight to your right, and snipe him right in the bean. You can then take out his pal; be sure to really put some distance between you after each arrow, as he can and will follow you up to the rooftop. Finally, you can advance around the building a bit more to find one more Silver Knight archer hidden in a corner, the git. Feel free to run right past him, as he’s not guarding anything.
If you must take him down, the trick to out-sniping him is to stand as far away as you can, keeping the edge of the wall between you – if you can’t see the tip of his arrow, you’re fine. Stay in first person aiming mode, and immediately after his arrow hits, strafe out and let loose; don’t wait for the dust to clear! Strafe back into cover again immediately, and remember you can roll while in aim mode.
If you’re a melee character who’s been advancing to each archer to duel, this bit is much trickier; your best bet is to lure the melee guy up to you with arrows, so you don’t have to fight him in either archer’s sights, then rush the archers. Again, you might just want to ignore the archer in the corner and just drop down on the other one after the melee knight is down.
Now that this area is clear, snipe off any fallen knights, then return to where the third archer was. Use Spook or the Silvercat Ring to drop down to the ledge below. Collect any loot from fallen knights that may be here, then look for another ledge below. Drop down here to collect the Dragonslayer Greatbow and some Dragonslayer Arrows. Nice. You can drop down to the sloping roof below and then to the ground to make your way back up to where you fought all the knights.
Head down the sloped roof and circle the platform in a clockwise direction to grab a Large Titanite Shard. Run to the end of the bridge and climb down the ladder to open a shortcut gate. Return, and take the door previously guarded by the melee knight.
As you emerge into this circular room, glance to either side to spot paths to the left and right; if you can’t see the right path, which is open for those on track for he third ending, hit the statue directly opposite the left path to reveal it hidden behind an illusory wall.
Go right first. If you have been following Anri of Astora and Yuria’s quests in pursuit of the third ending, you can talk to the pilgrim here to receive the Sword of Avowal (it’s not a usable sword, but a key item). In either case, you can move ahead to grab the Brass set from a corpse on your left. Go right to the end of this corridor to the large, quiet room. In the right hand corner you’ll find a chest with the Reversal Ring, which allows males to perform female actions and vice versa. What does that mean? Well, if you’ve reset your character through Rosaria and you’re now the “wrong” gender for the Rite of Avowal, you can get married anyway. Nice.
Anyway, if the conditions are right, you’ll be able to activate the Rite of Avowal at the bier at the end. Congratulations on your marriage, Lord of Londor. If you travel away and come back here later, you can collect Anri’s Straight Sword from the bier. Meanwhile, the pilgrim’s body yields the Chameleon spell.
Now for the opposite path. When you hit a dead end, collect the Ember from the body and pull the lever just to your right. You’ll then be able to cross the bridge. Take the stairs all the way to the top, admire the view, then turn the crank in the centre.
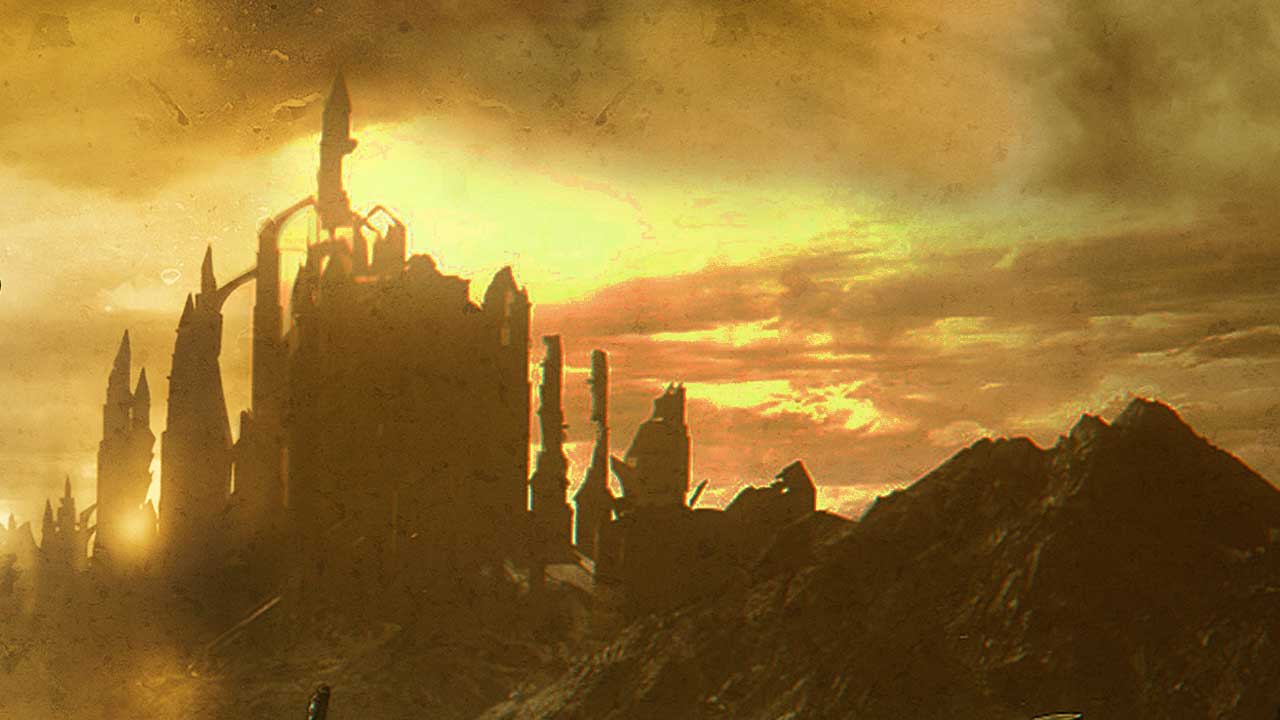
Cross the new bridge and activate the Anor Londo bonfire. Welcome.
Continue via Anor Londo to Aldrich, Devourer of Souls.
Back to Dark Souls 3 guide and walkthrough.